Lunch
Lunch Module of Odoo 14 is an essential ERP module for managing lunch. As many organizations
arrange food for their workers, the Lunch module can be a great help to them. The
number of employees using the food facility, the management of food items and proper
coordination of food supply becomes effortless with the lunch module. Odoo offers
the best support for appropriate administration of all food related tasks. Odoo
14 Lunch module also helps the users to manage the nutrition needs and nourishment
requests.
First, you have to install the Lunch Module from the Odoo App list
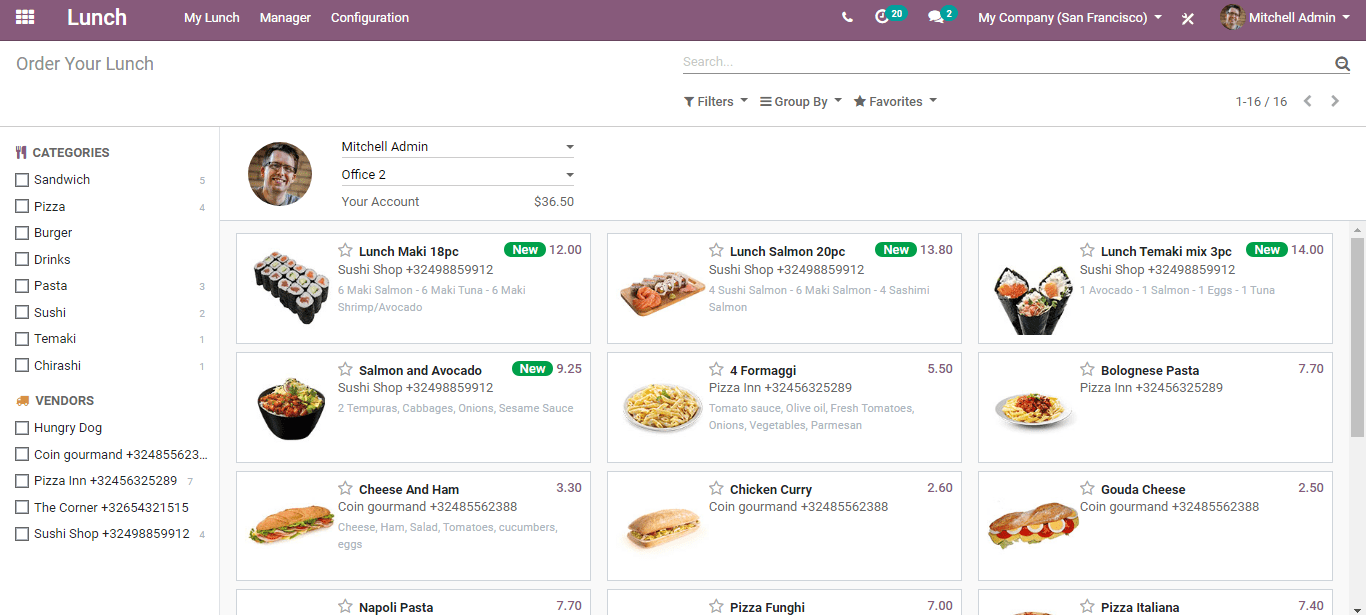
On clicking the module you will be taken to the dashboard of the module. There you
can find already created lunch orders or food orders. Odoo makes the categorization
of lunch orders easy with a set of parameters. Lunch order can be placed based on
the parameters listed on the left side. The user can also find the list of vendors
and the food categories.
Products
First, you have to configure the products
TO configure products, you can go to Lunch> Configuration> Product
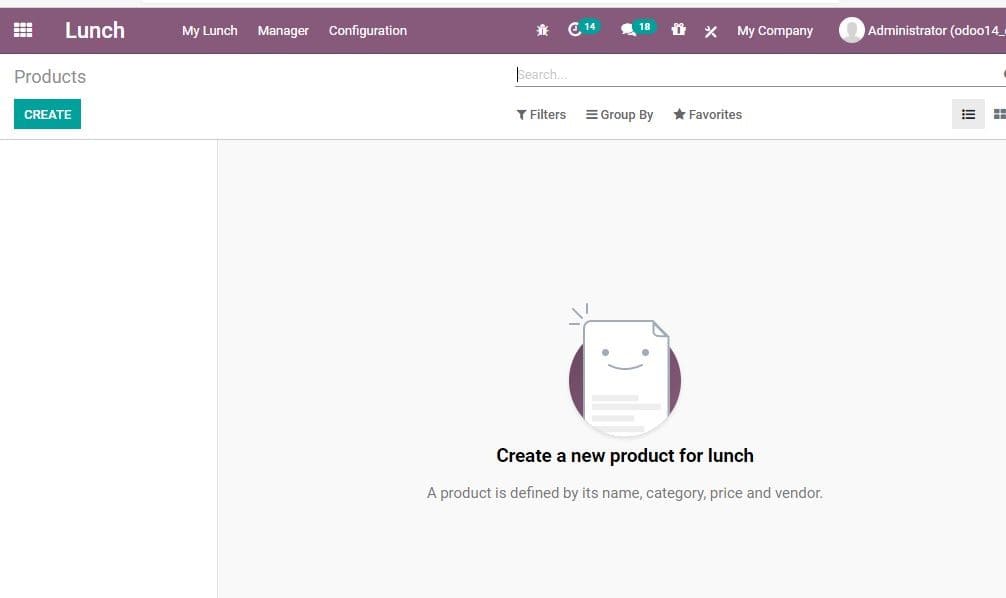
Here you can click CREATE button to Configure a new product
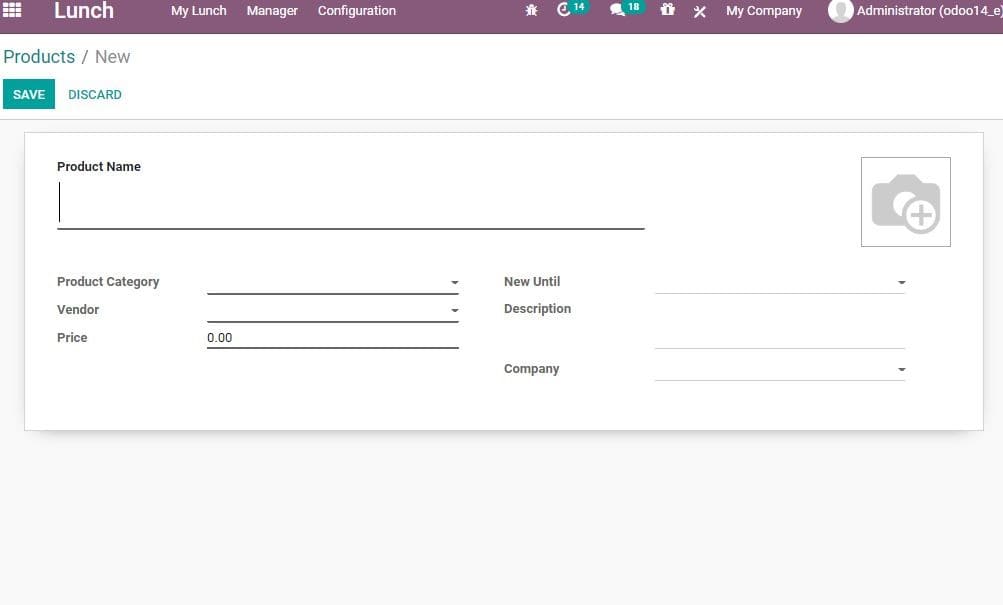
In the Product Create form the user can add the product name, product image, product
category, default vendor for this product and the price of the product.
New Until is the field where you can set the order’s validity.
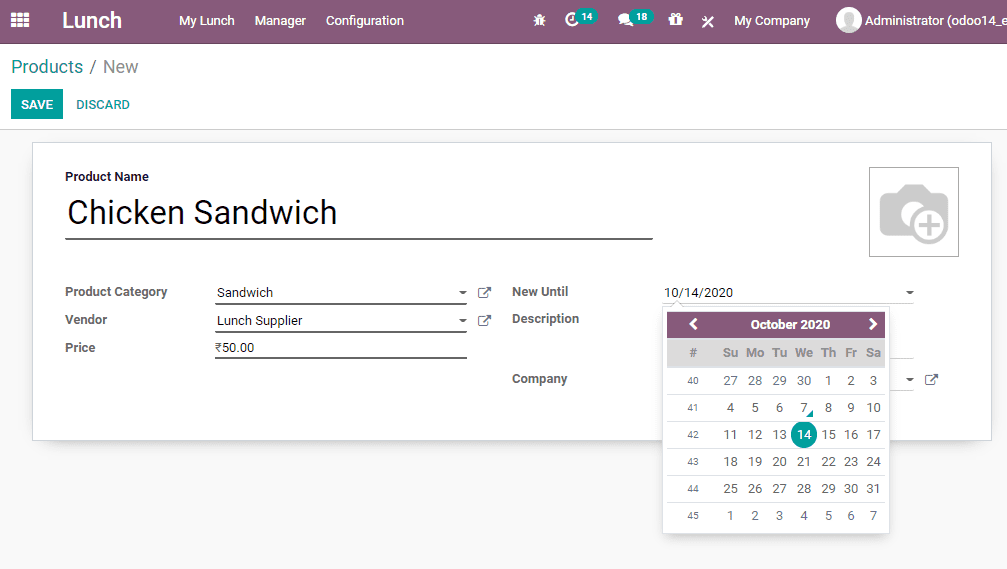
After filling all the required fields you can click SAVE to mark the changes.
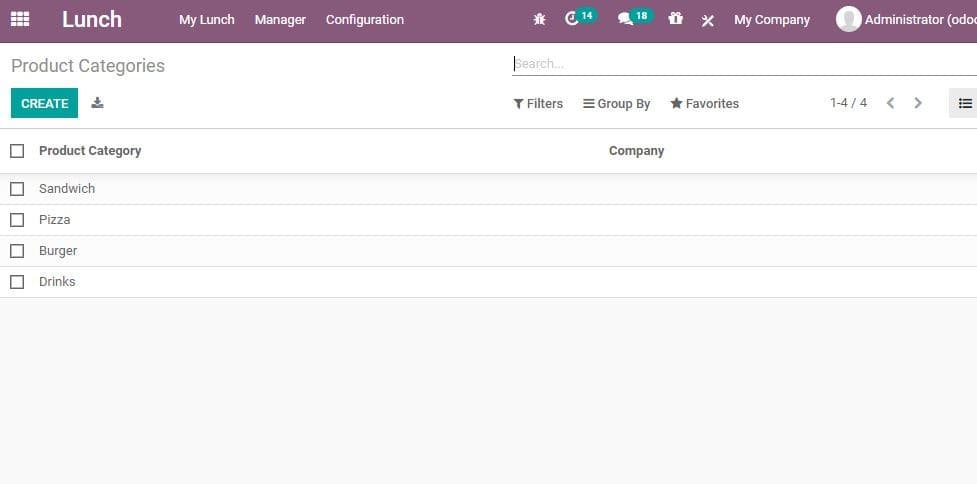
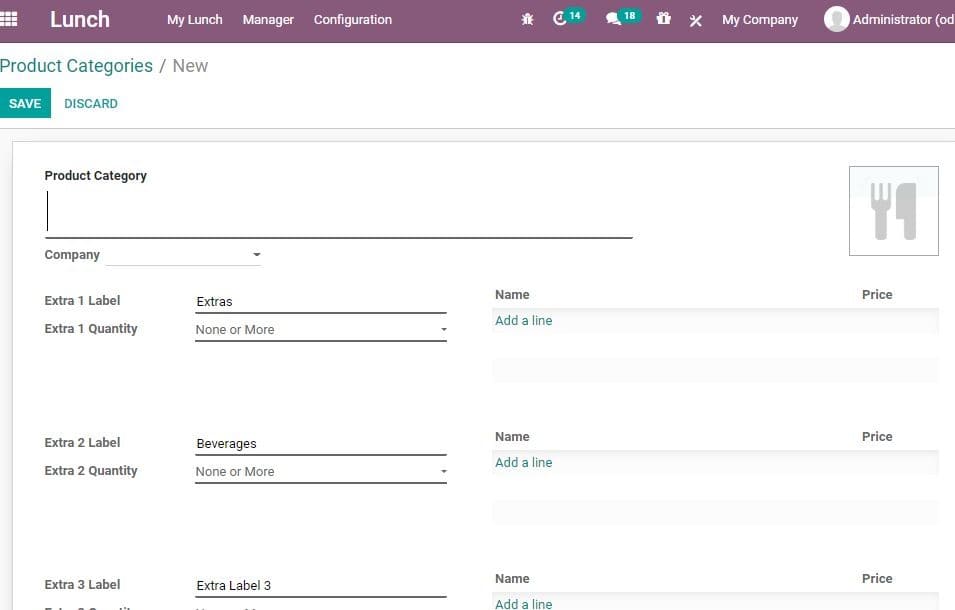
Product Category
You can also create Product category. This can be done the following way.
Go to Lunch> Configuration> Product categories.
Generate Alerts
Alert feature helps an employee. At times the employee may forget to order food
items. This can also cause delay in the processing of the order and in its delivery.
Odoo lunch module has come up with Alert feature to avoid such a situation. The
feature will generate alerts messages to avoid delay in placing the order.
A user can create Lunch Alert by clicking Lunch> Configuration> Alert> Create

The user can also manage the way the alert is generated. It can be Alert in app/
chat notification. The user can also set recurrence for the Alert ( days), Message,
Location, and Show until timing.
Creating Order
Lunch Order can be created with the help of Lunch Module, User can select a product
from the product form to place the order.
This can be done from the dashboard.
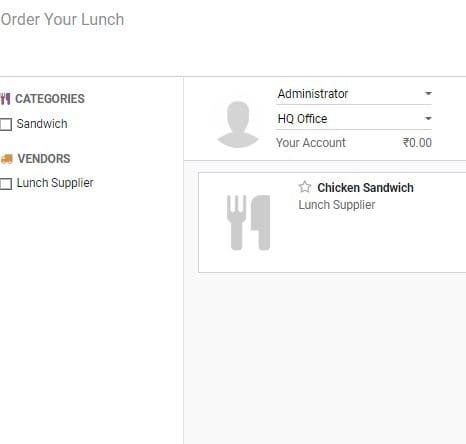
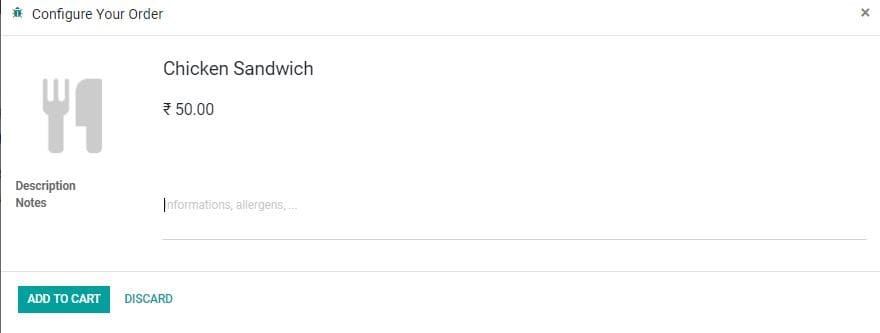
Here, you can select the desired product from the listed products. You can also
add specifics like. This could be your allergy to certain ingredients or the salt
or sugar level in food.
After selecting the product you can add the product to the cart. Then it will appear
in the menu
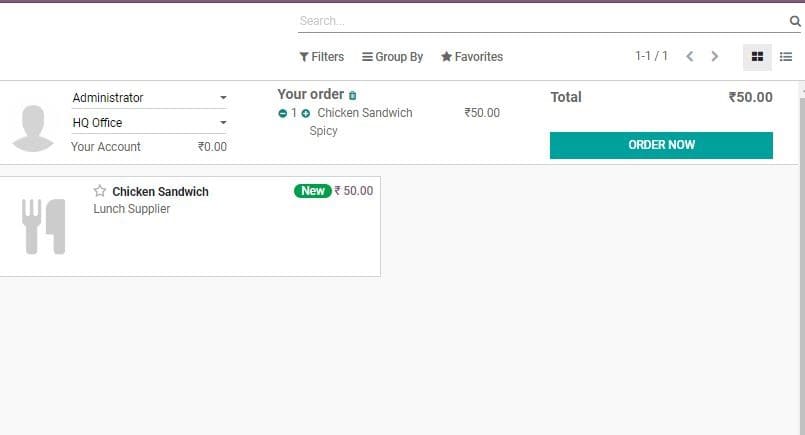
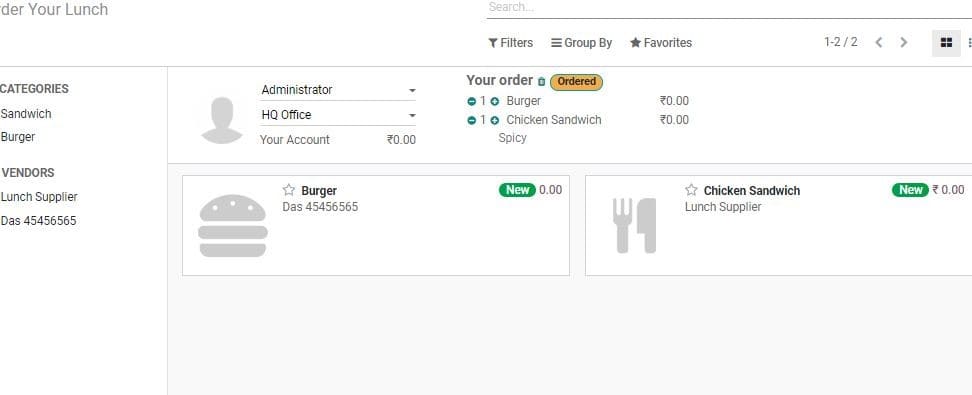
The product added to cart will appear under Order Now Tab. On clicking the Order
Now button to place an order.
The status of the item will then change to Ordered.
Today’s Order
Go to Lunch> My Lunch> My Order History, to view created orders.
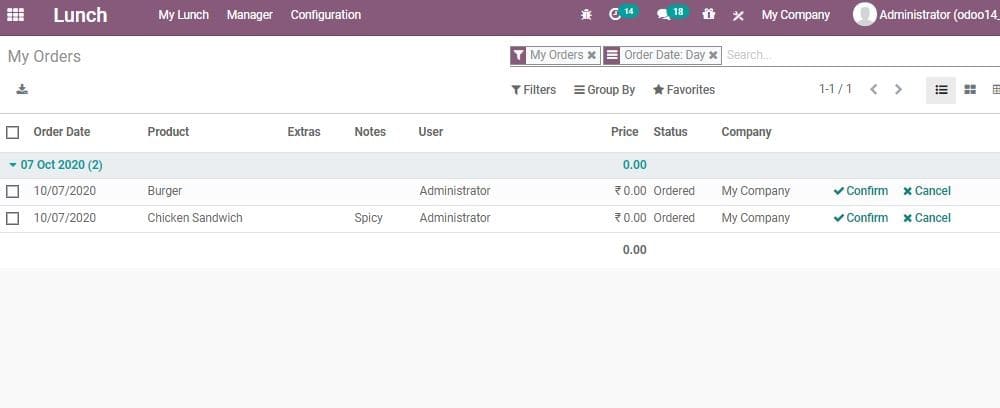
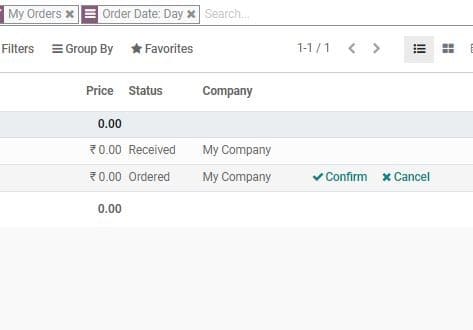
You can confirm or cancel the order here by clicking the required button.
Order History
A user can create orders and order history using the Lunch Module. This can be done
in a few steps. For this, go to Lunch>My Lunch> My Order History
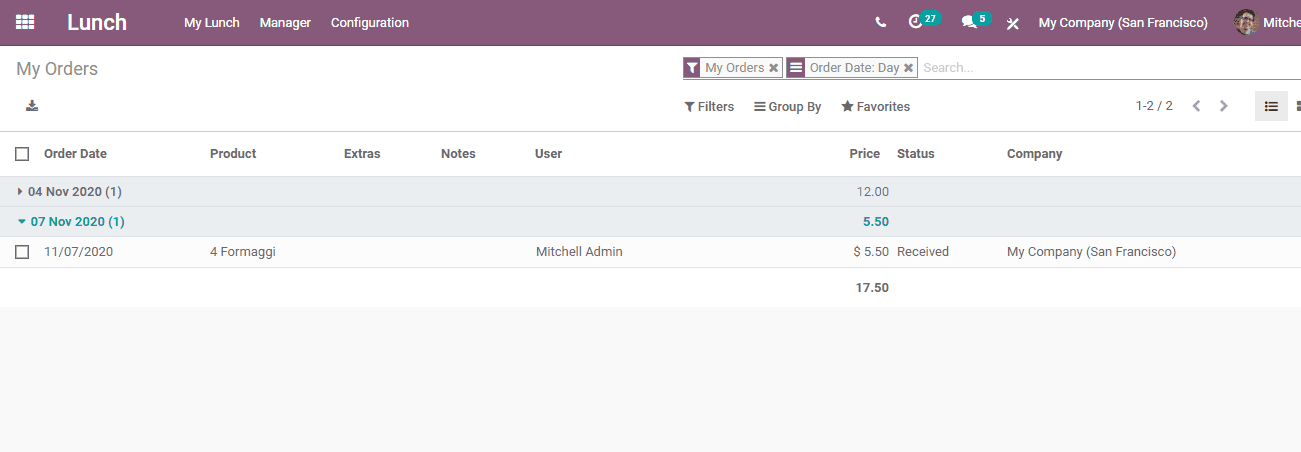
Here, the user can view all his orders. The payment, product name, date of order,
status of the product and other details can be viewed from here.
My Account History
A user can view all his lunch account details also using this module. This can be
done by going to My Lunch> My Account
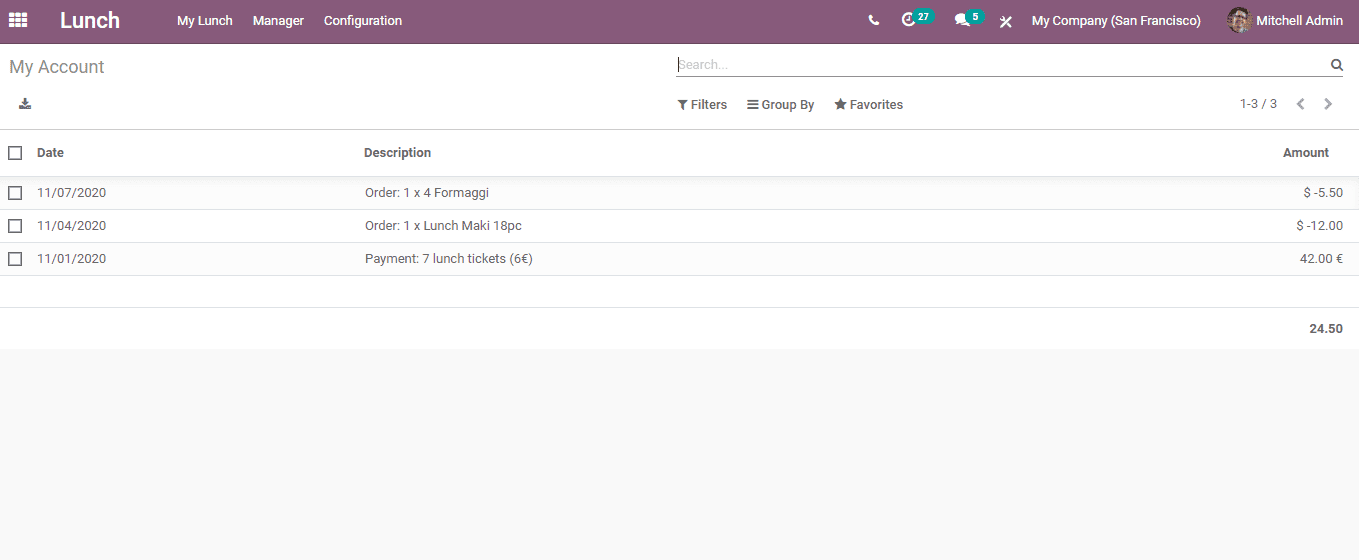
In the above given image you can find the details of the purchase and the amount
spent on that particular order. The date of spending can also be viewed. Besides,
it also helps the user to view the total amount spent.
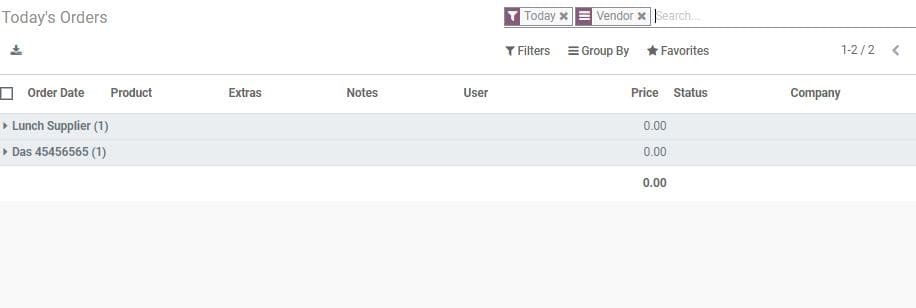
Managers
Managers also can view the orders created by the user. This can be done by going
to Lunch> Managers>Today’s Orders.
Create Vendor
A user can create a vendor for a lunch module easily. For this, go to Lunch> Configuration>
Vendor
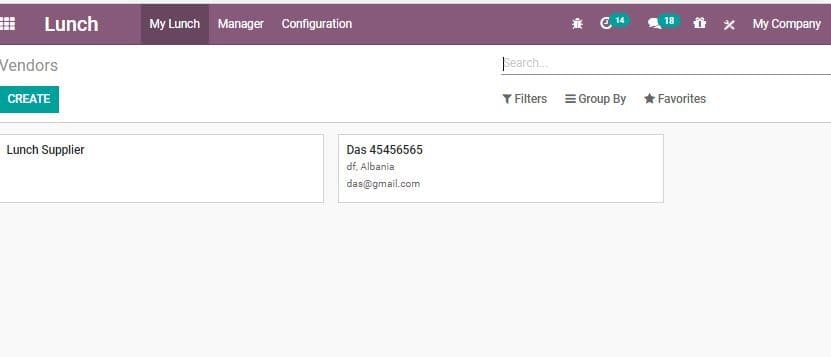
The user can view all already existing vendors here. Then click the Create button
to create a new vendor.
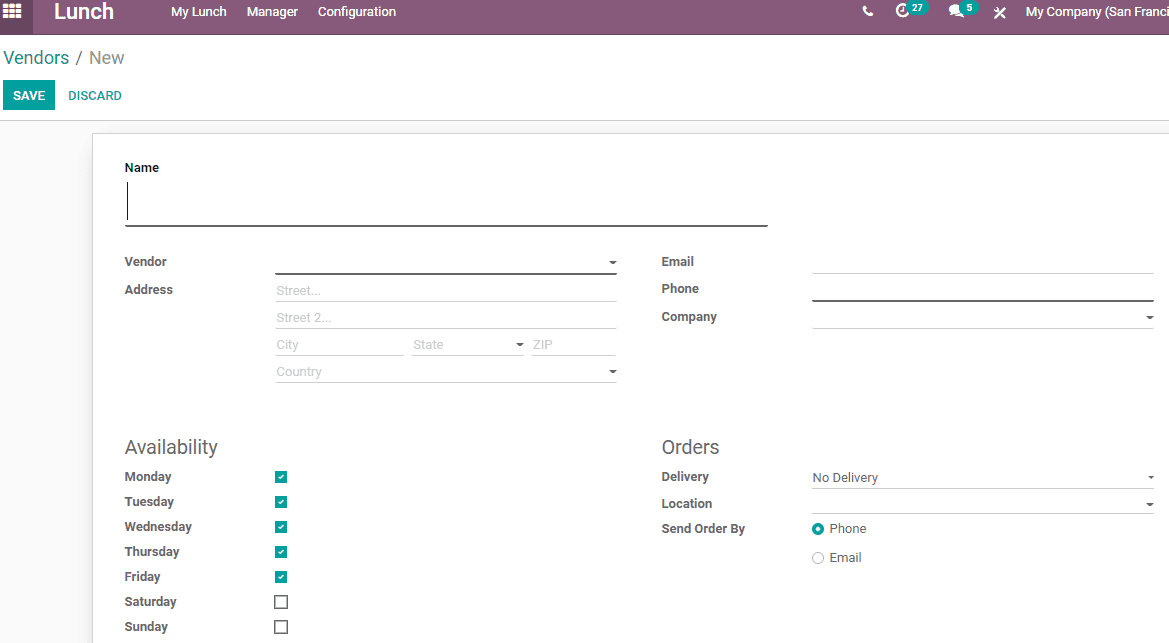
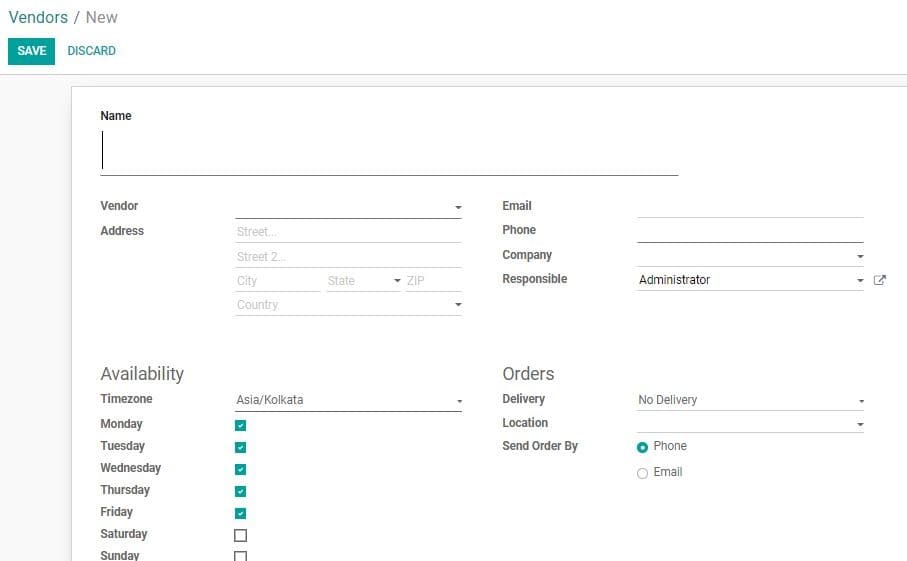
The user will get a create form as given above. The user can add the name of the
shop, vendor details address, email, phone, company and other details. The user
can also select availability of the vendor. Under Orders tab, the user can choose
if delivery is available or not, location and send order by options.
Control Vendors
AS there could be more than one refreshment zone in an office a user can control
the vendor to deliver the product.
For this, go to Lunch> Manager> Control Vendors.
A user can predefine the vendor for each product. If you are not satisfied with
the vendor, you can configure the new vendor.
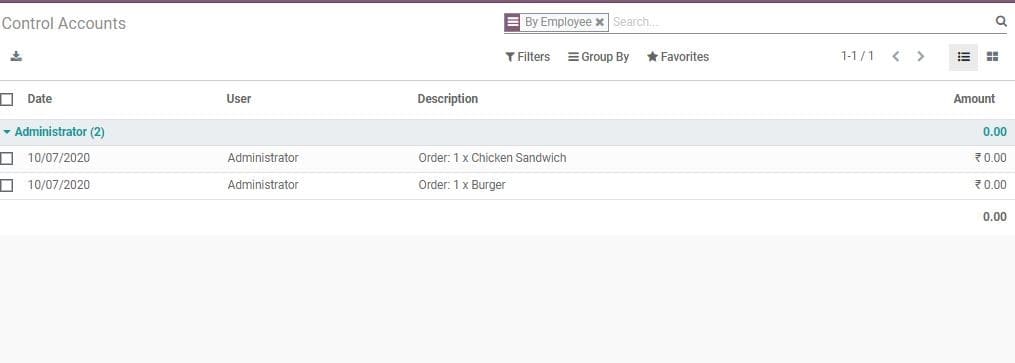
Control Accounts
Odoo enables the manager to manage all accounts. This can be done by going to Control
accounts.
Configuration
Lunch>Manager> Control Accounts
Cash Moves
This feature that comes under the Manager tab helps to track the cash moves. A user
can view all cash moves in this dashboard. The user can also view the user details,
descriptions, amount and the date here.

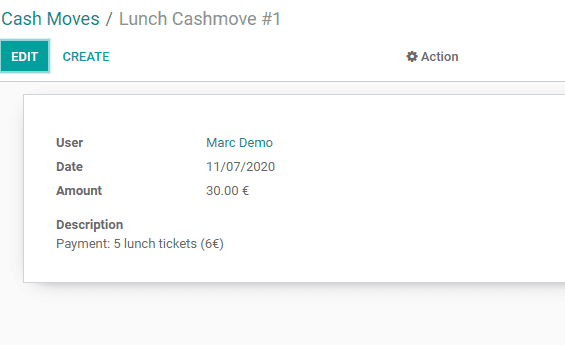
A user can also create cash moves in a few steps. For this, click Create button.
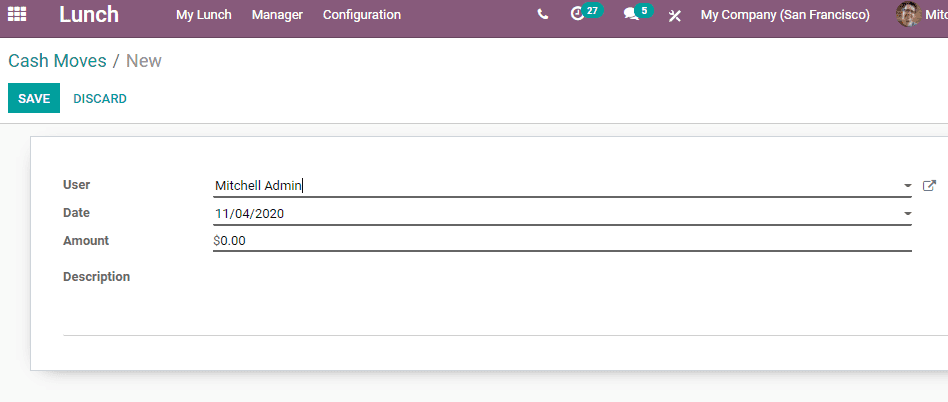
Then you will get a window as given above. Add the user name, date, amount and description.
Then click the Save button to mark changes. A cash move has been created.
Lunch Locations
A user can configure Lunch Locations using Lunch Module.
For this, go to Lunch> Configuration> Locations
Then you will get a window as given below.
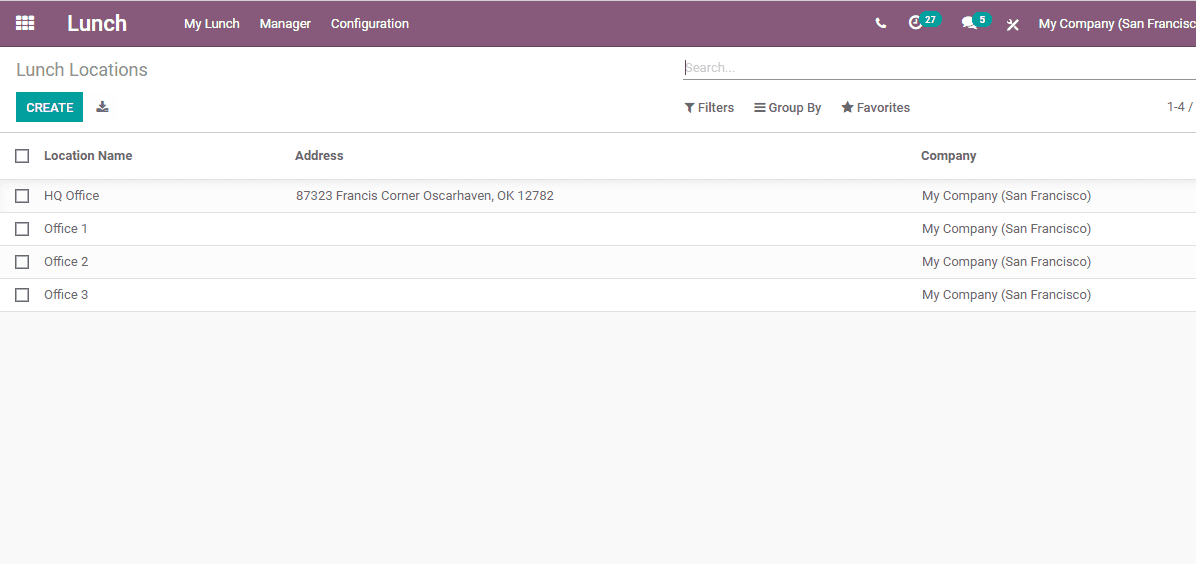
Here, you can view the existing locations. The user can also create new locations
by clicking create. On clicking Create, the user will get a new line as given below
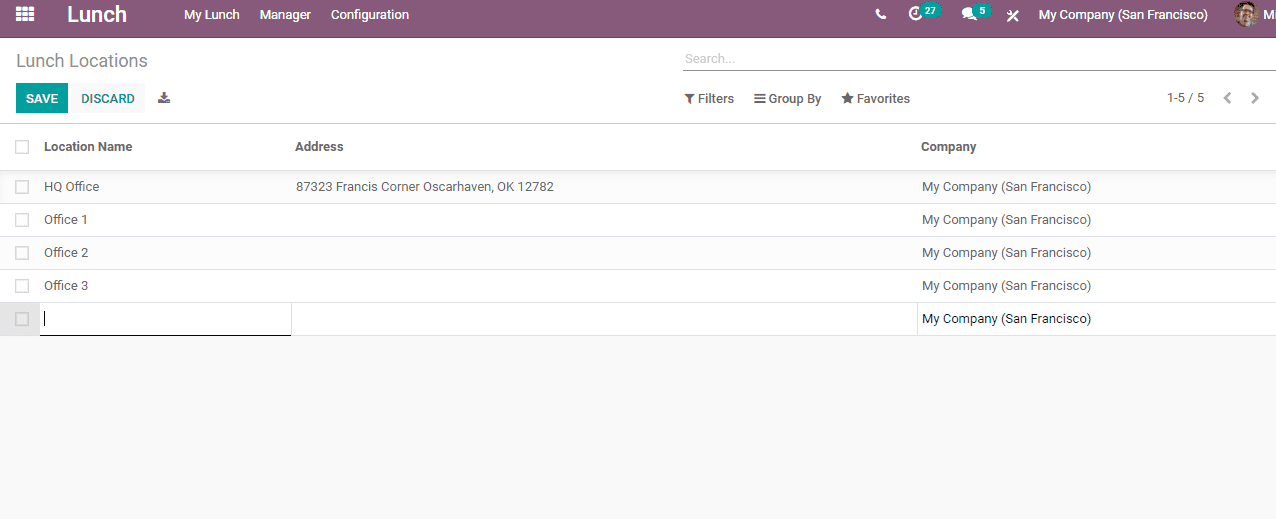
Here, the user can add new location, address and company details and save locations.