Configurations
We can configure applications, job positions, activities, and employees under the Configuration tab of Odoo 16 Recruitment. To manage extra settings in the Recruitment module, choose the Settings menu in the Configuration tab. You can manage the recruitment process and job posting settings from the Settings window. Activating the Online Posting option under the Job Posting section assists you in posting existing jobs on the website. You can forward the interview survey to the candidate after enabling the Send Interview Survey option below the Recruitment Process. Additionally, users can mark the CV Display box to view the resume on the application form.
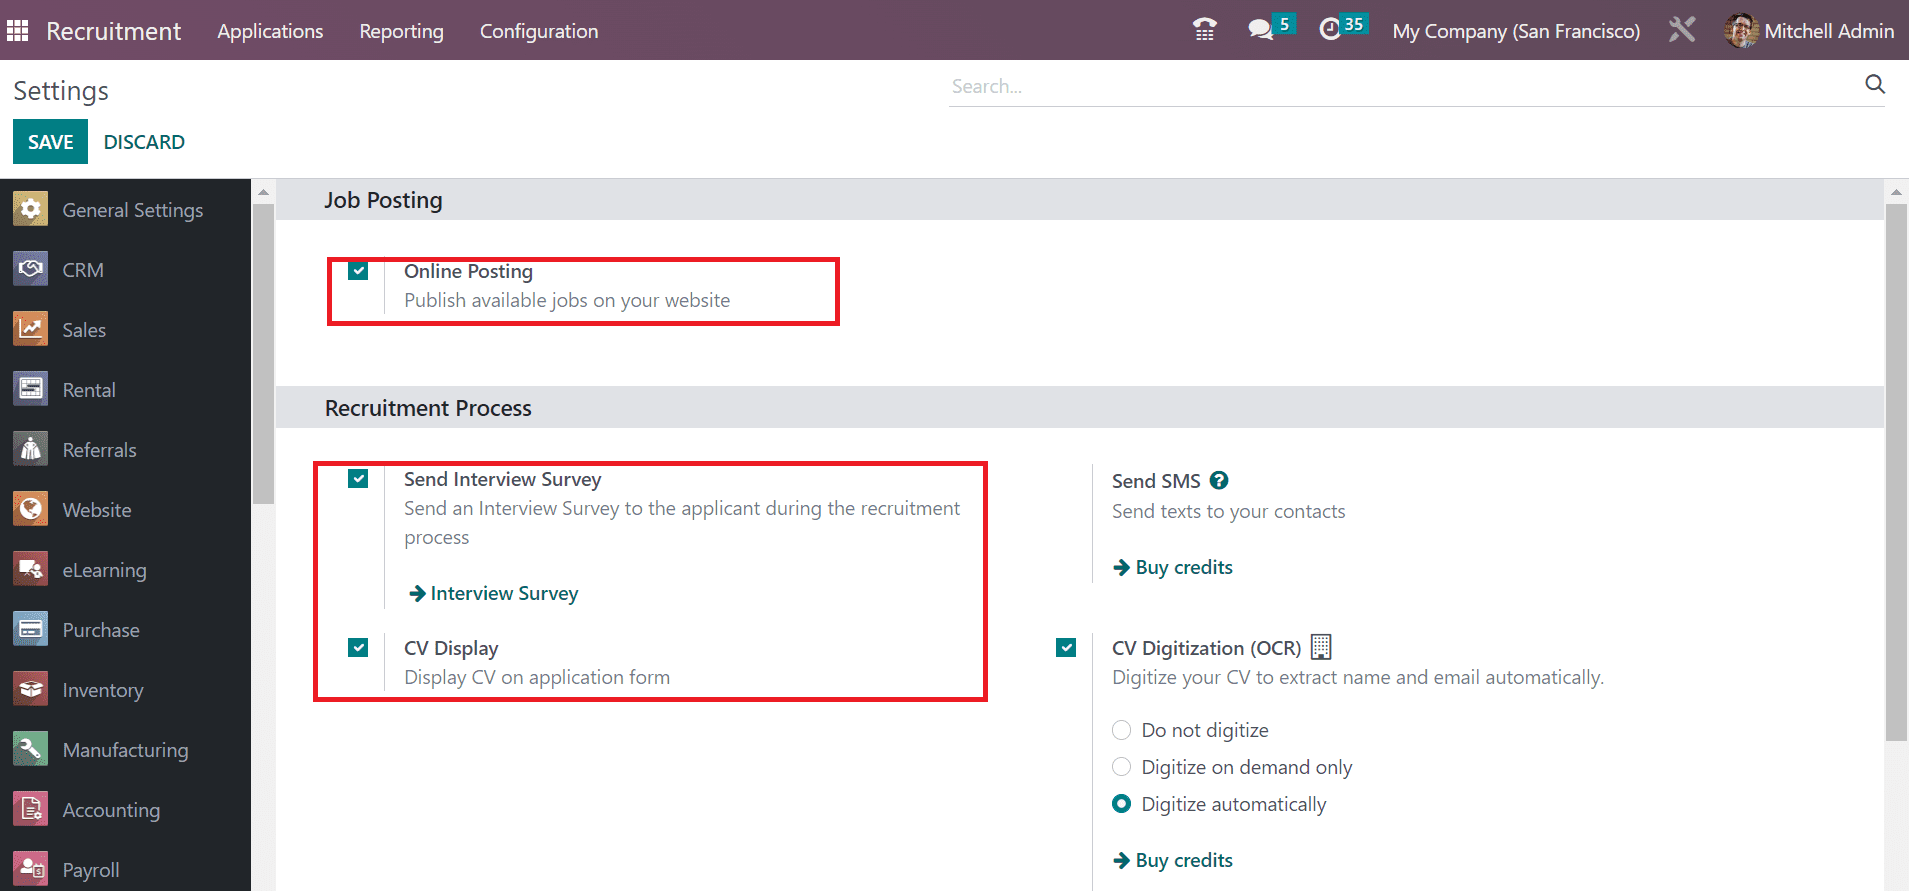
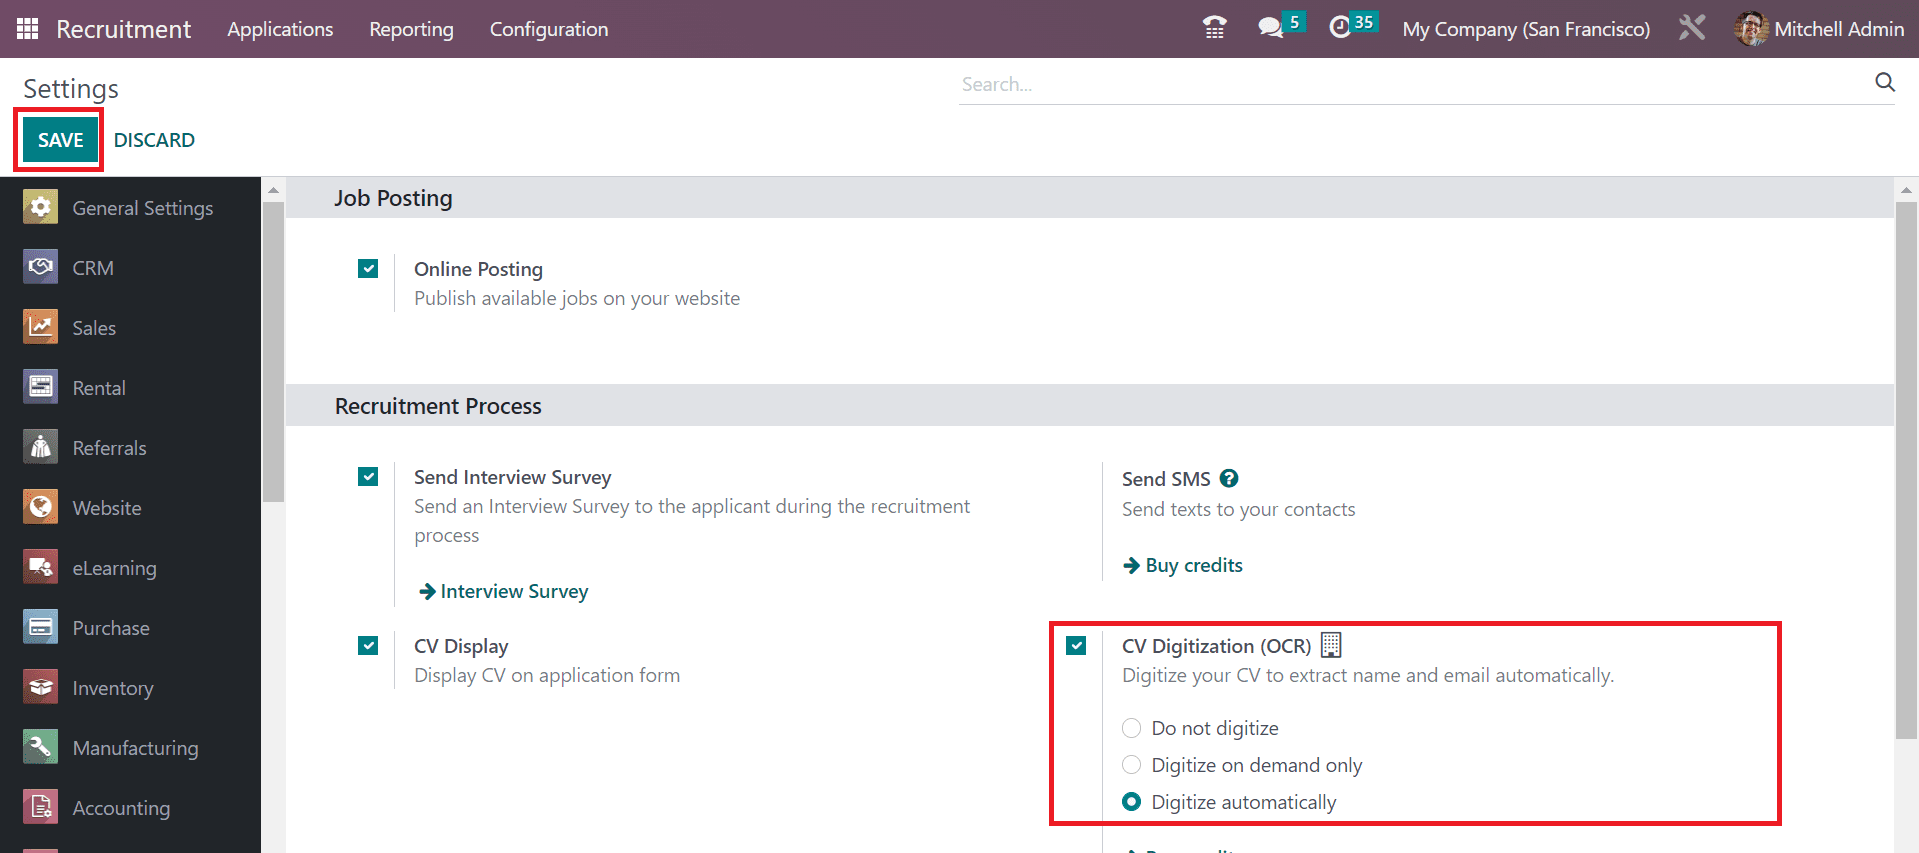
For digitization email and CV to extract names automatically, you must enable the CV Digitization(OCR) option. It is possible to manage CV digitization as per Digitize on-demand only, Do not digitize and Digitize automatically. You need to select the SAVE icon if any of the options in the Settings window is enabled.
Job Positions
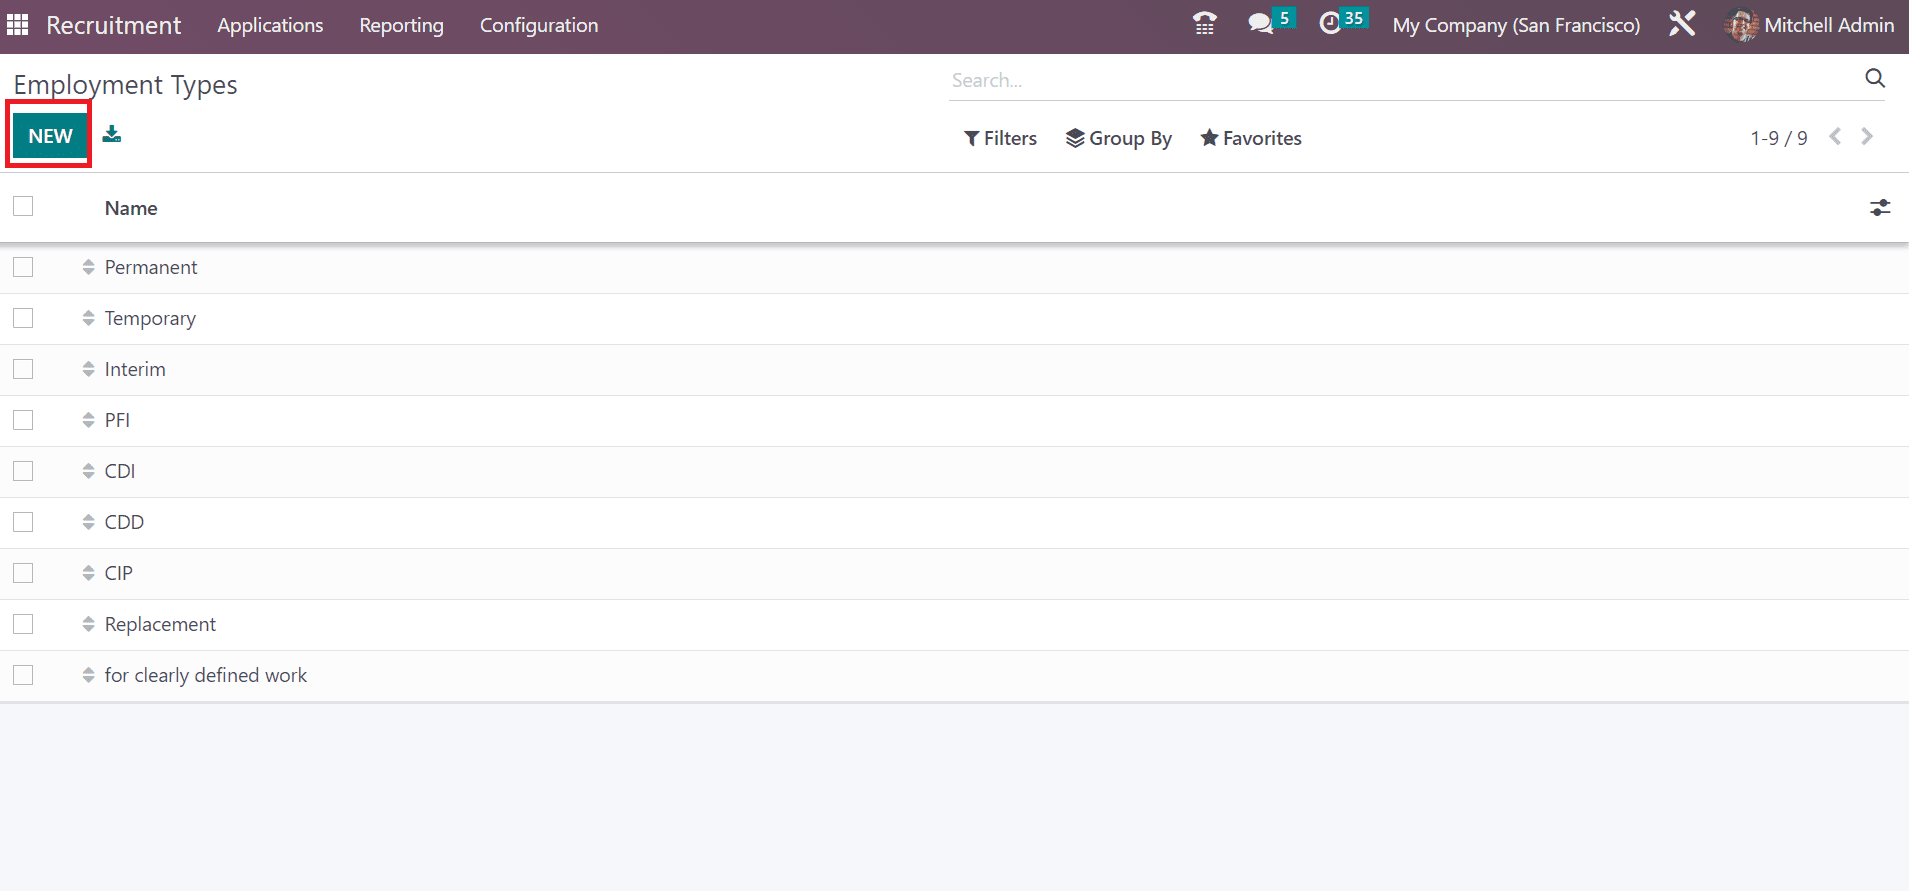
Each company comprises various categories of employment types, including full-time, temporary, and part-time. Users can configure the employment types within the Job Positions section under Configuration. The list of pre-configured employment types is visible to the user in the open window. Users can view the names of all employment types, such as Replacement, Interim, Permanent, and more. To formulate a new employment type, choose the NEW icon, as noted in the screenshot below.
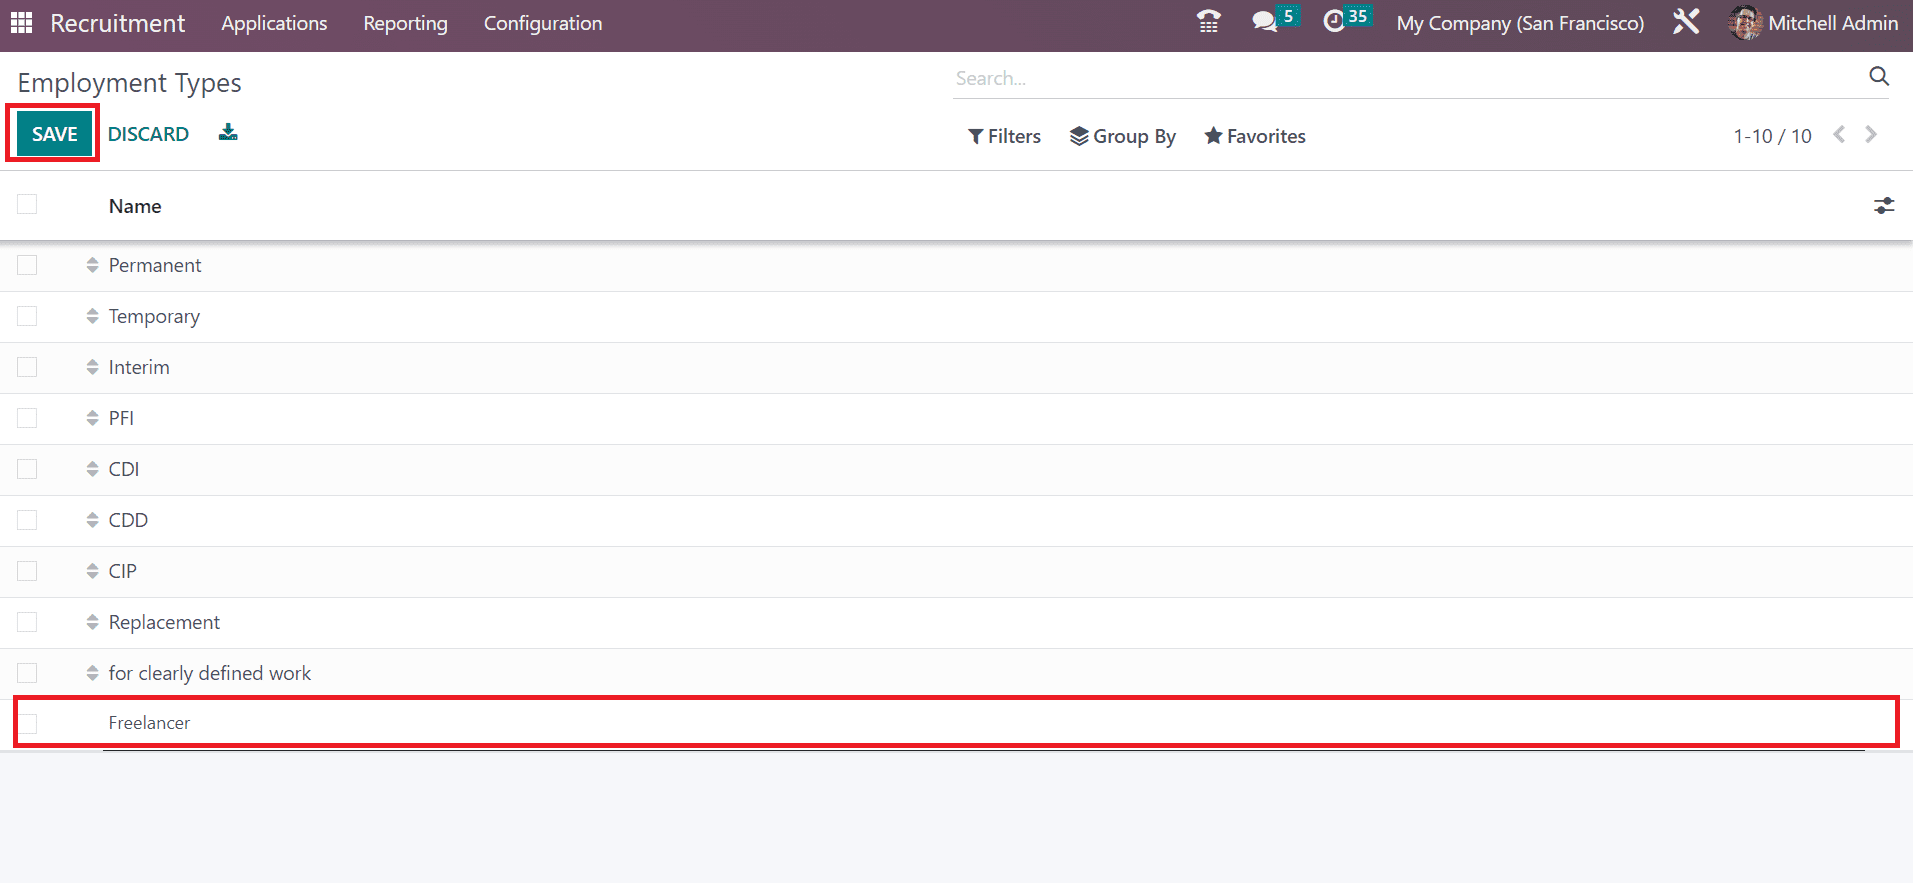
A new space opens before the user after selecting the NEW button. Add the employment type name in the visible space and select the SAVE icon.
Refuse Reasons
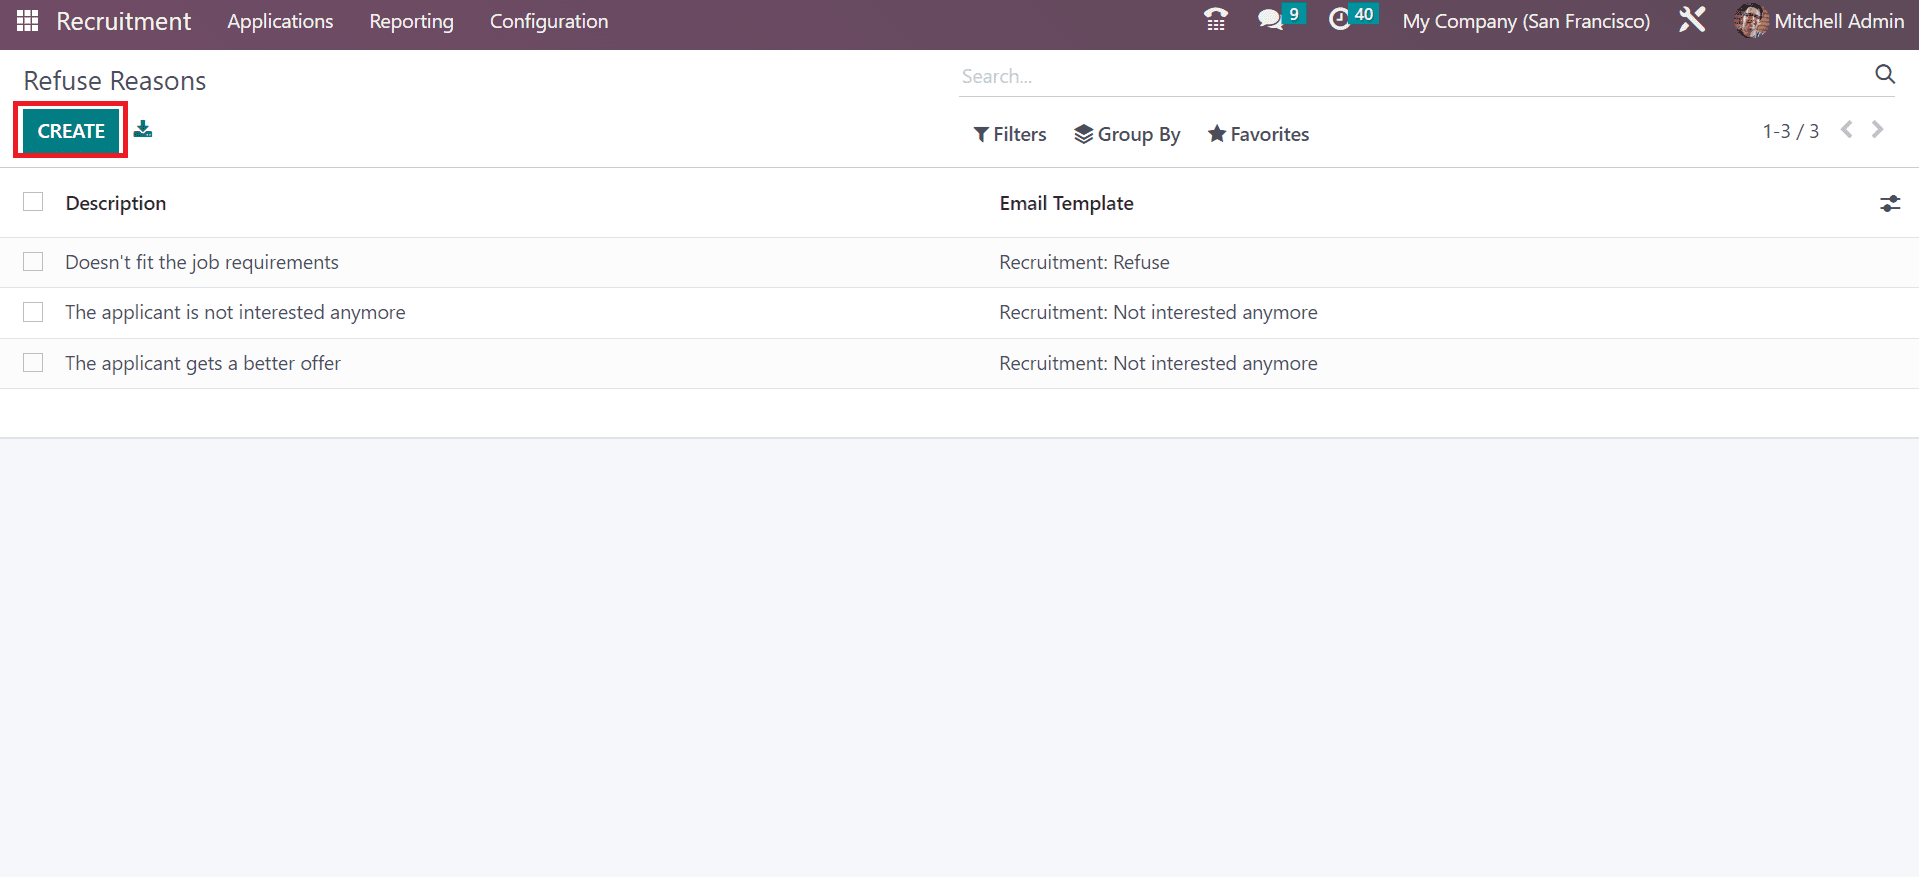
You can access the Refuse Reasons menu inside the Applications section of the Configuration tab. Users can view the details of each refusal reason, including the Email Template and Description, in the open window. To formulate a new refuse reason, select the CREATE button.
After clicking the CREATE icon, a new space appears at the bottom of the Refuse Reasons screen. You can mention the description and email template for your reason. Choose the SAVE button once applying the refuse reason details.

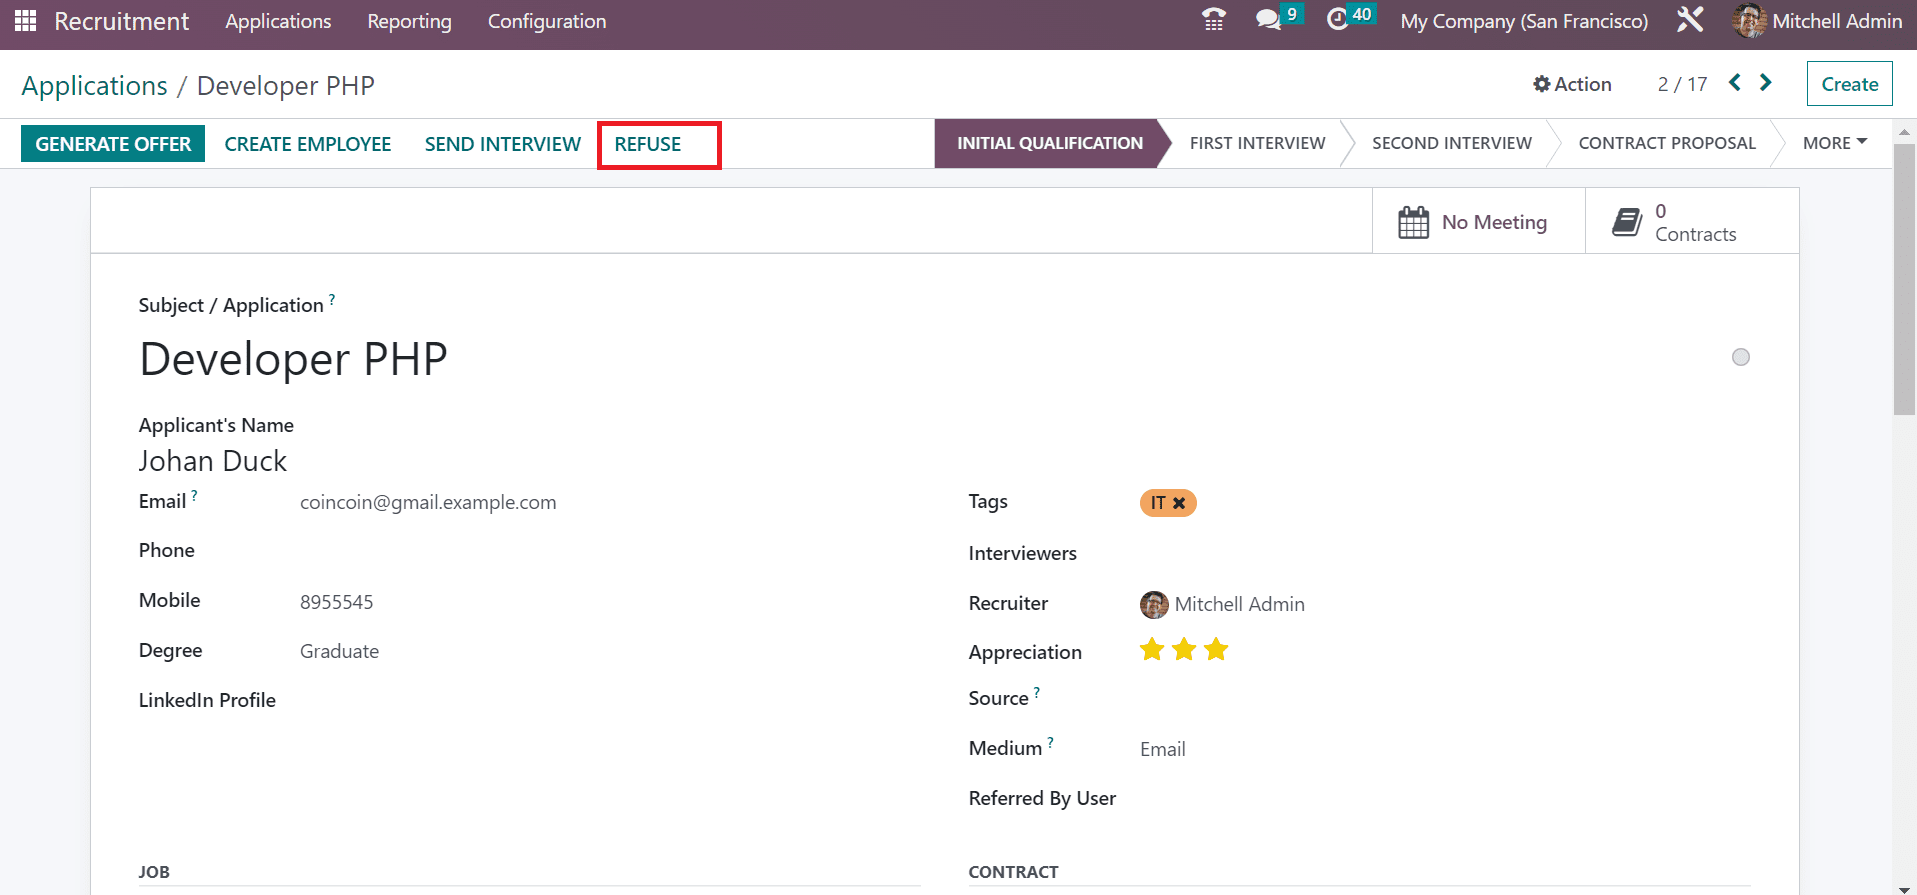
You can refuse the job application if you’re unsatisfied with the applicant's qualifications or performance for a specific job. You need to select the particular application and press the REFUSE button for that purpose.
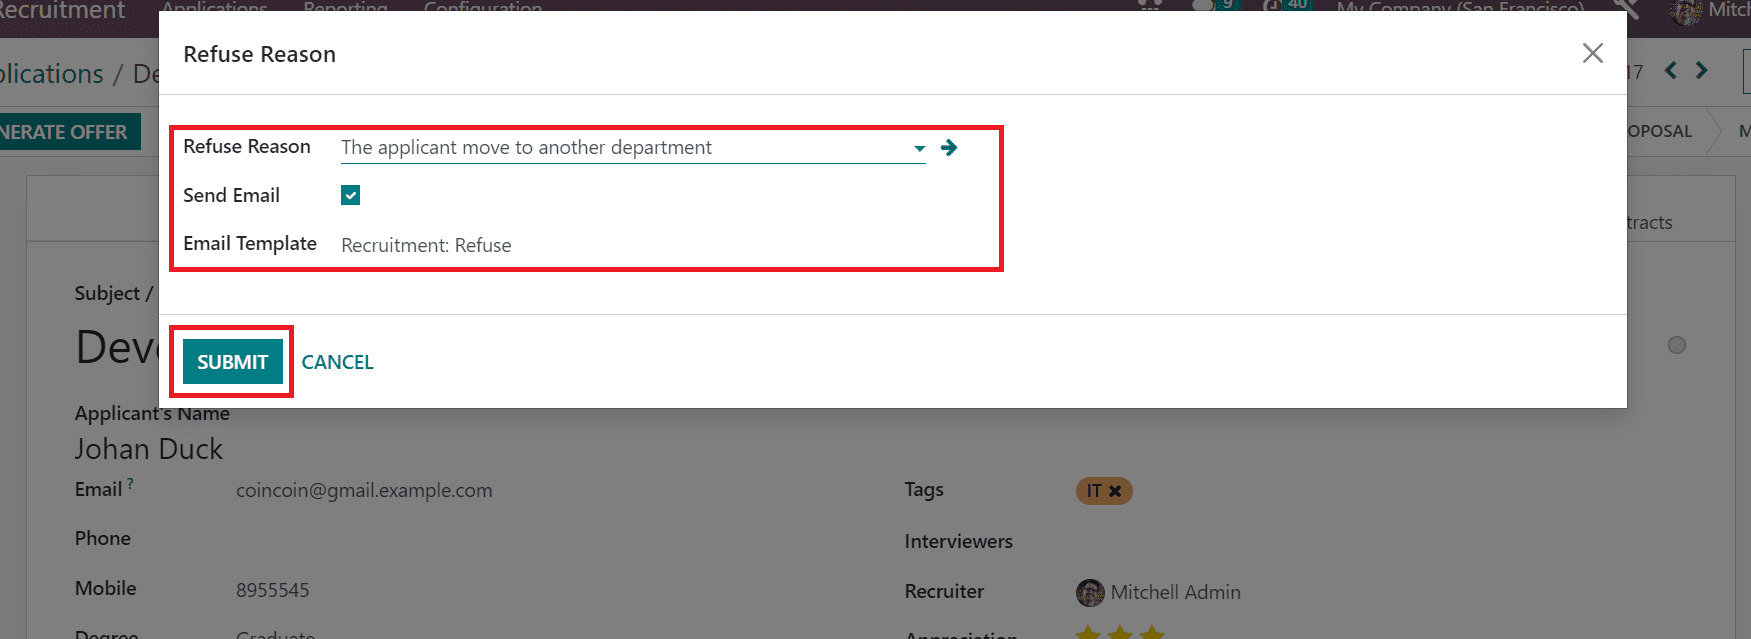
A Refuse Reason window opens to the user and chooses the reason for refusing in the Refuse Reason field. It is possible to pick your created Refuse Reason before. Once selecting the Refuse Reason, Send Email and Email Template options appear automatically. You can forward an email to an applicant regarding the reason once enabling the Send Email field. The template for your specific email is chosen easily within the Email Template field. After entering this information, click the SUBMIT icon.
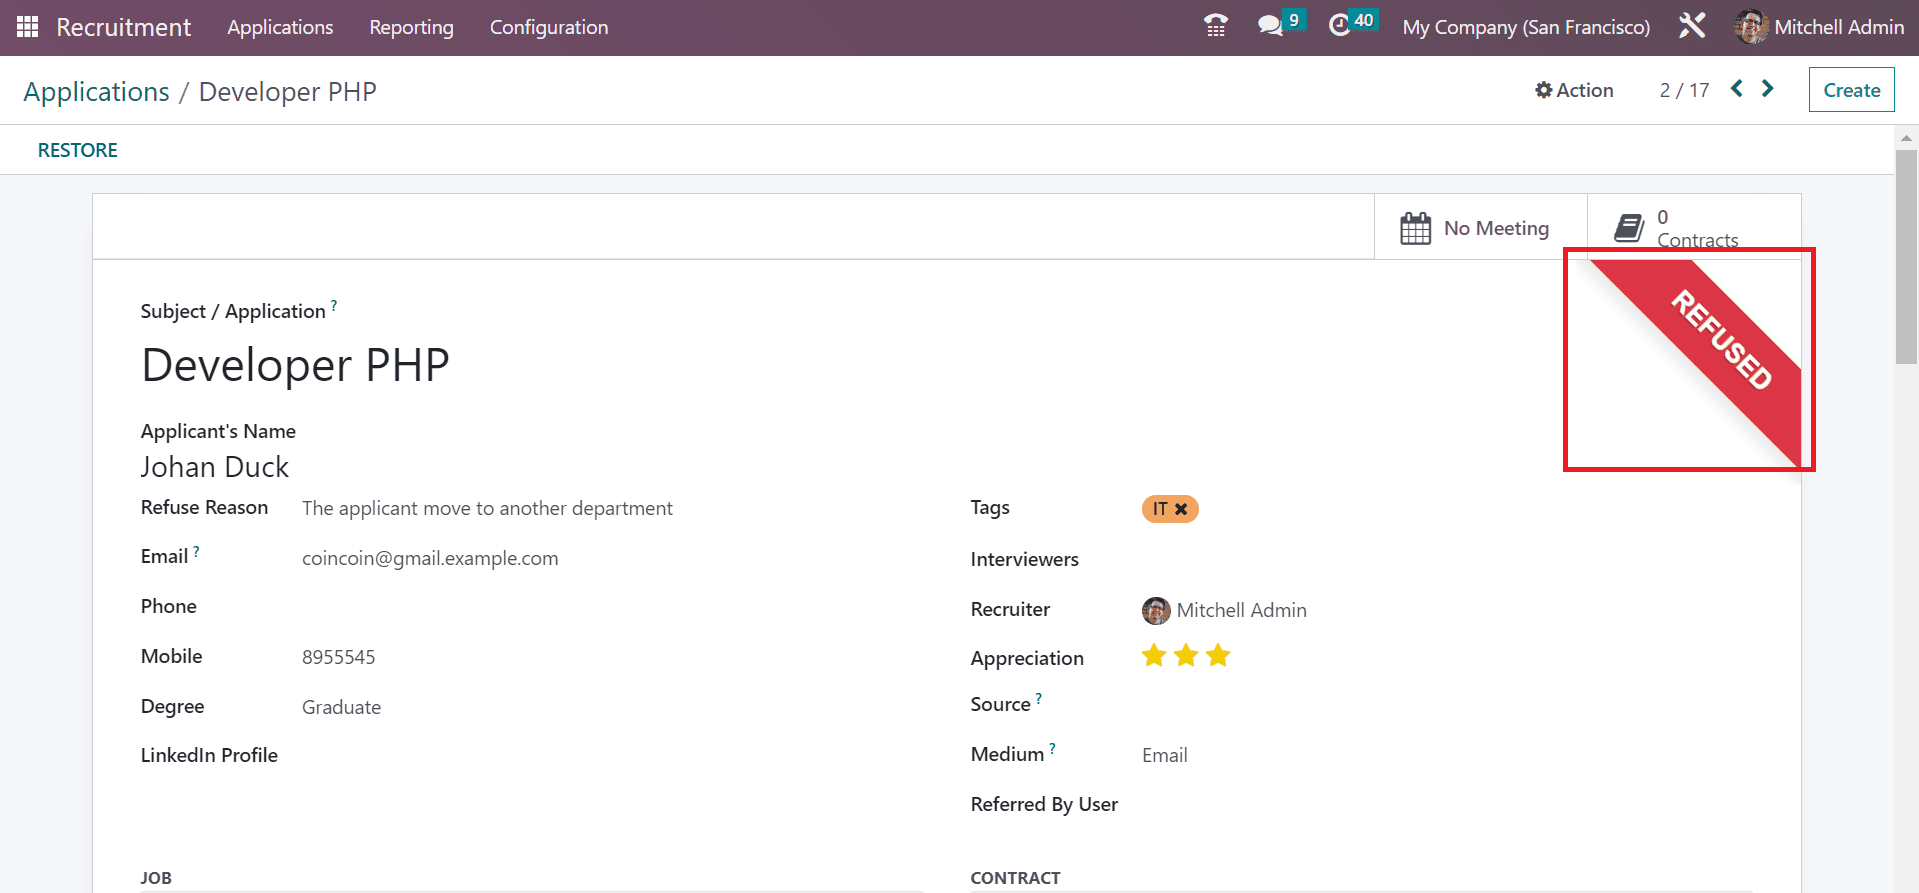
Once submitted the reason, you can view a Red color REFUSED mark in the Applications window. So, it is simple to refuse necessary applications within the Recruitment module.
Departments
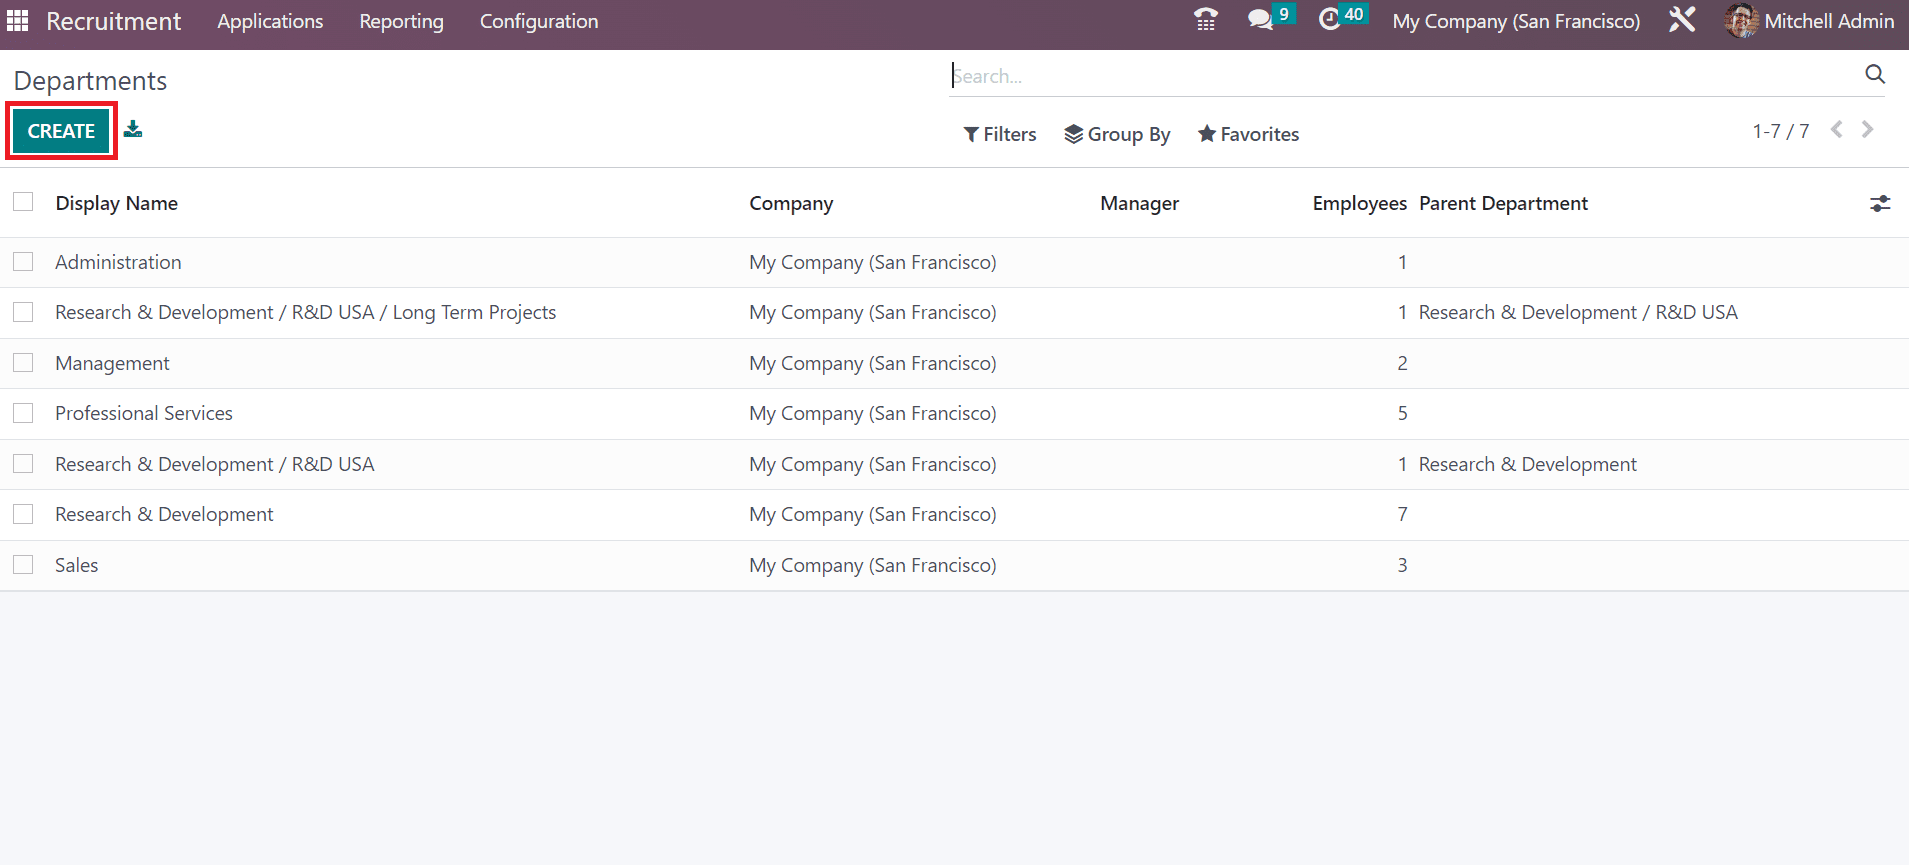
Most companies function under various departments for special services. Based on organization size, a huge number of departments exist for work management. You can obtain the Departments menu under the Employees section of the configuration tab. In the open window, each department list, such as Display Name, Employees, Company, and more is visible to the user. By choosing the CREATE button, we can describe a new department in your company.
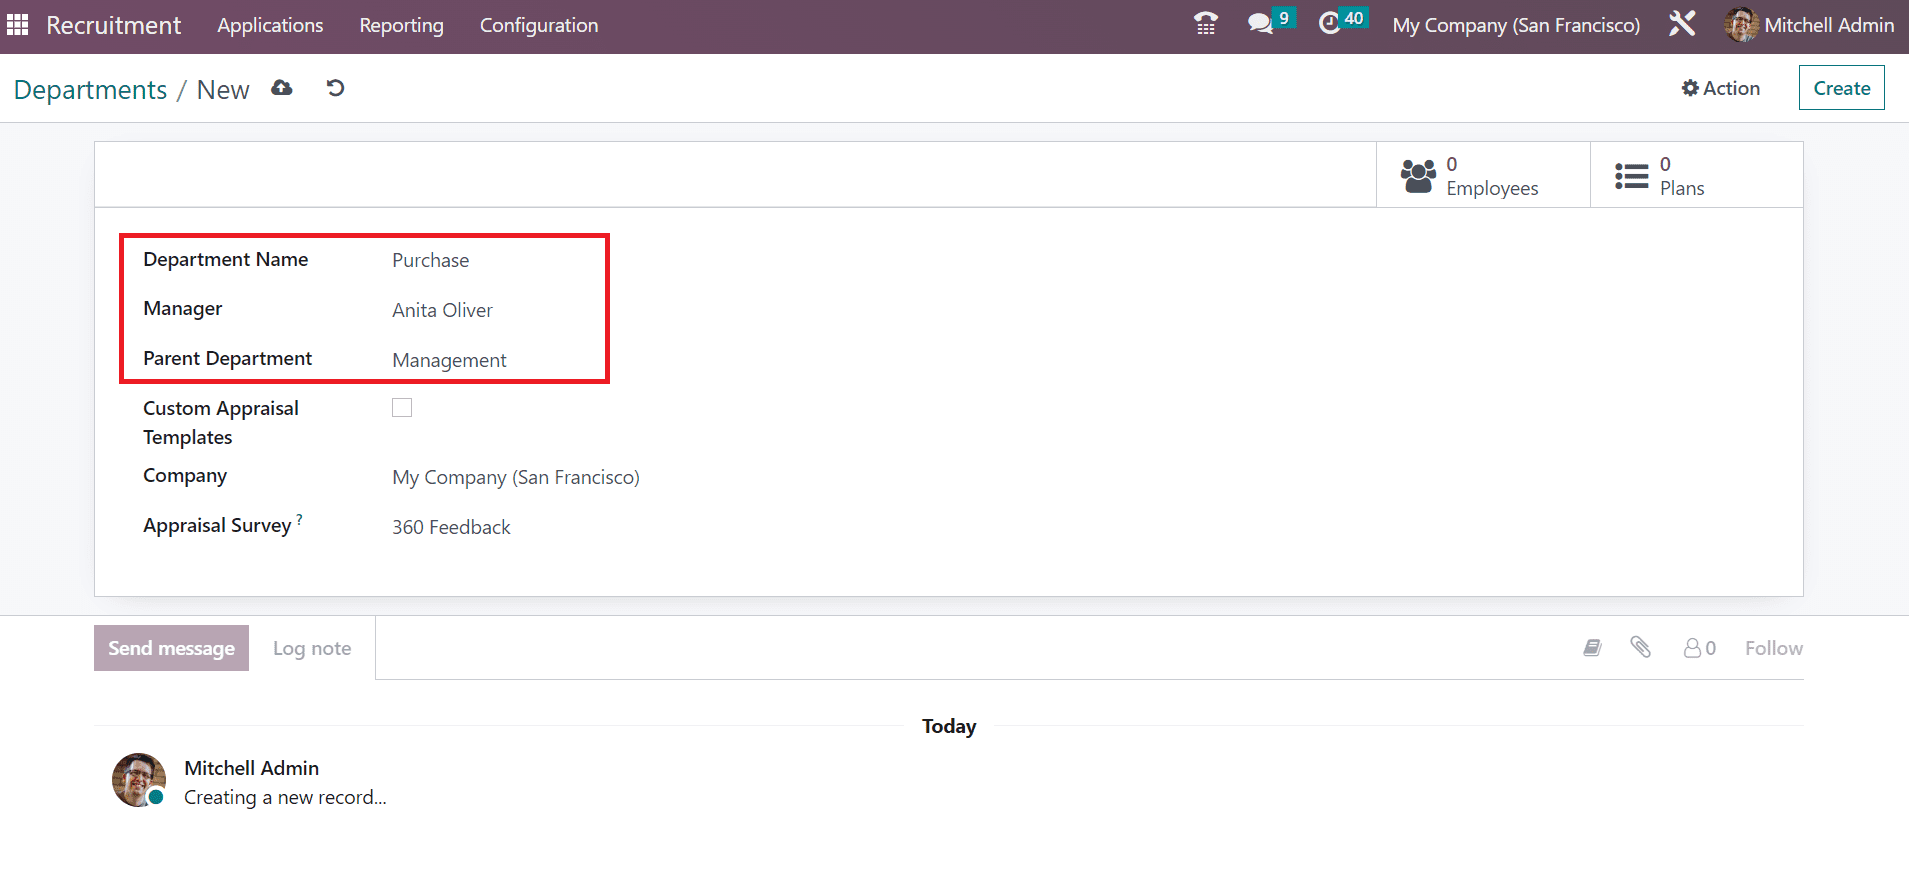
On the open page, add your new department title in the Department Name field and name of the manager concerning your department in the Manager option. You can subcategorize various company departments once allocating a parent department.
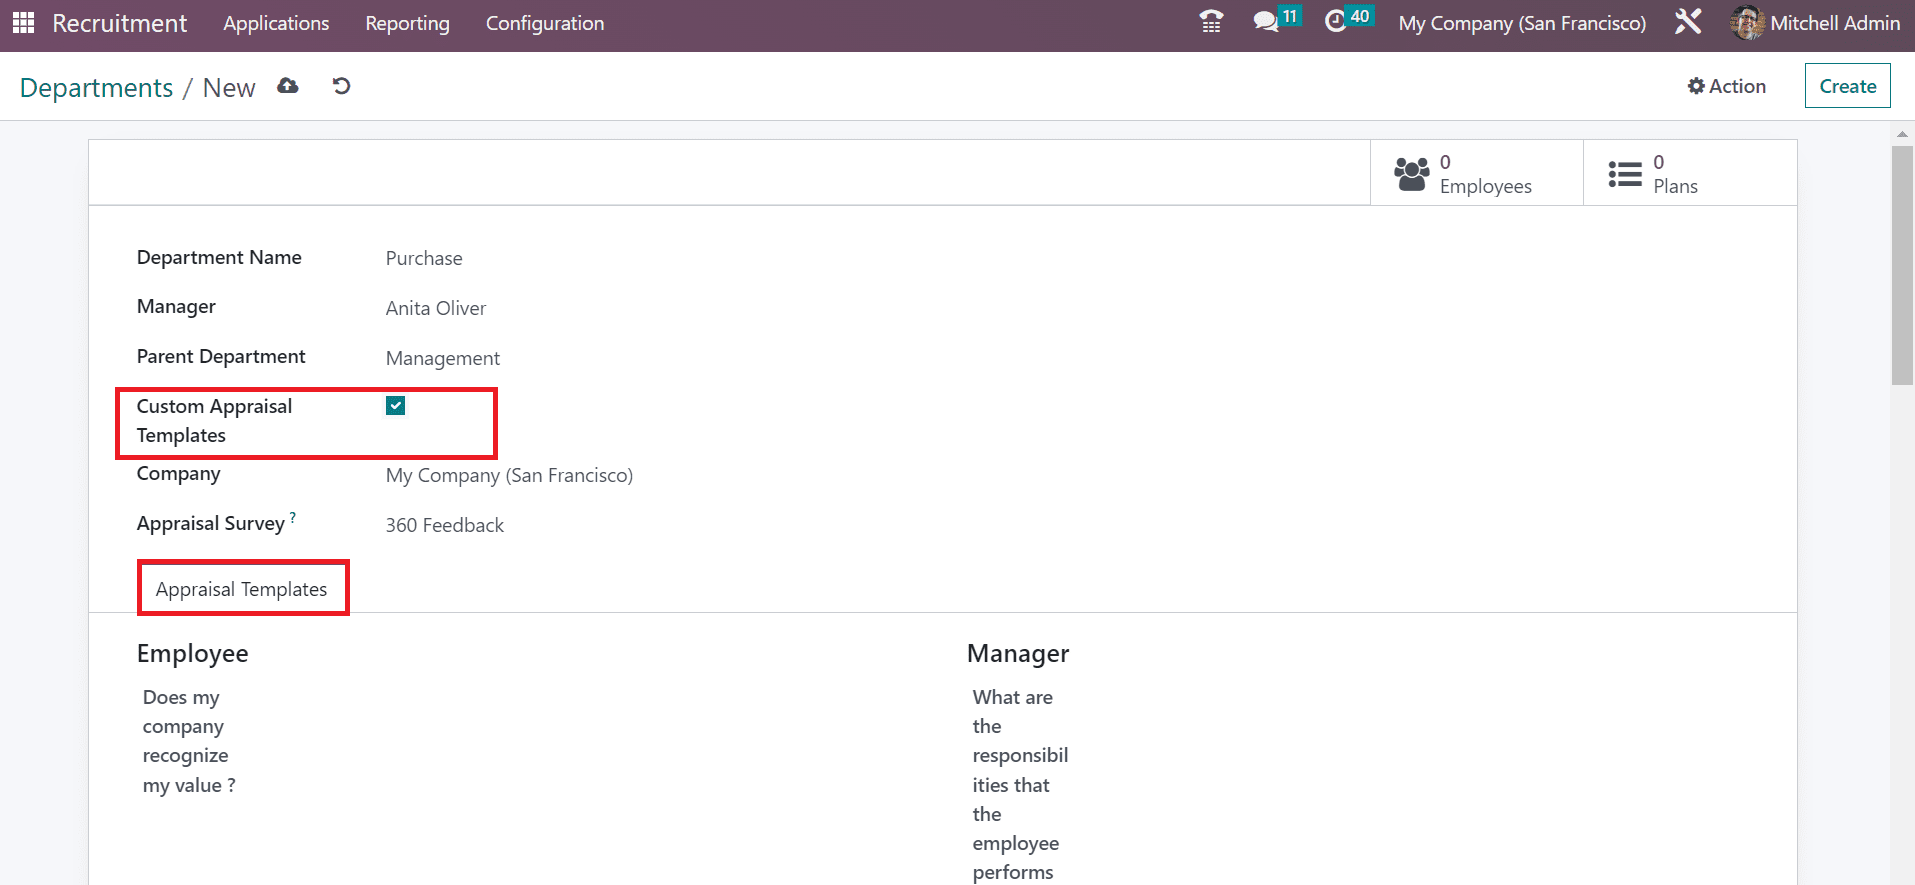
You can apply default appraisal templates once activating the Custom Appraisal Templates field. After the activation, an Appraisal Templates tab is visible to the user, and you can manage the necessary templates.
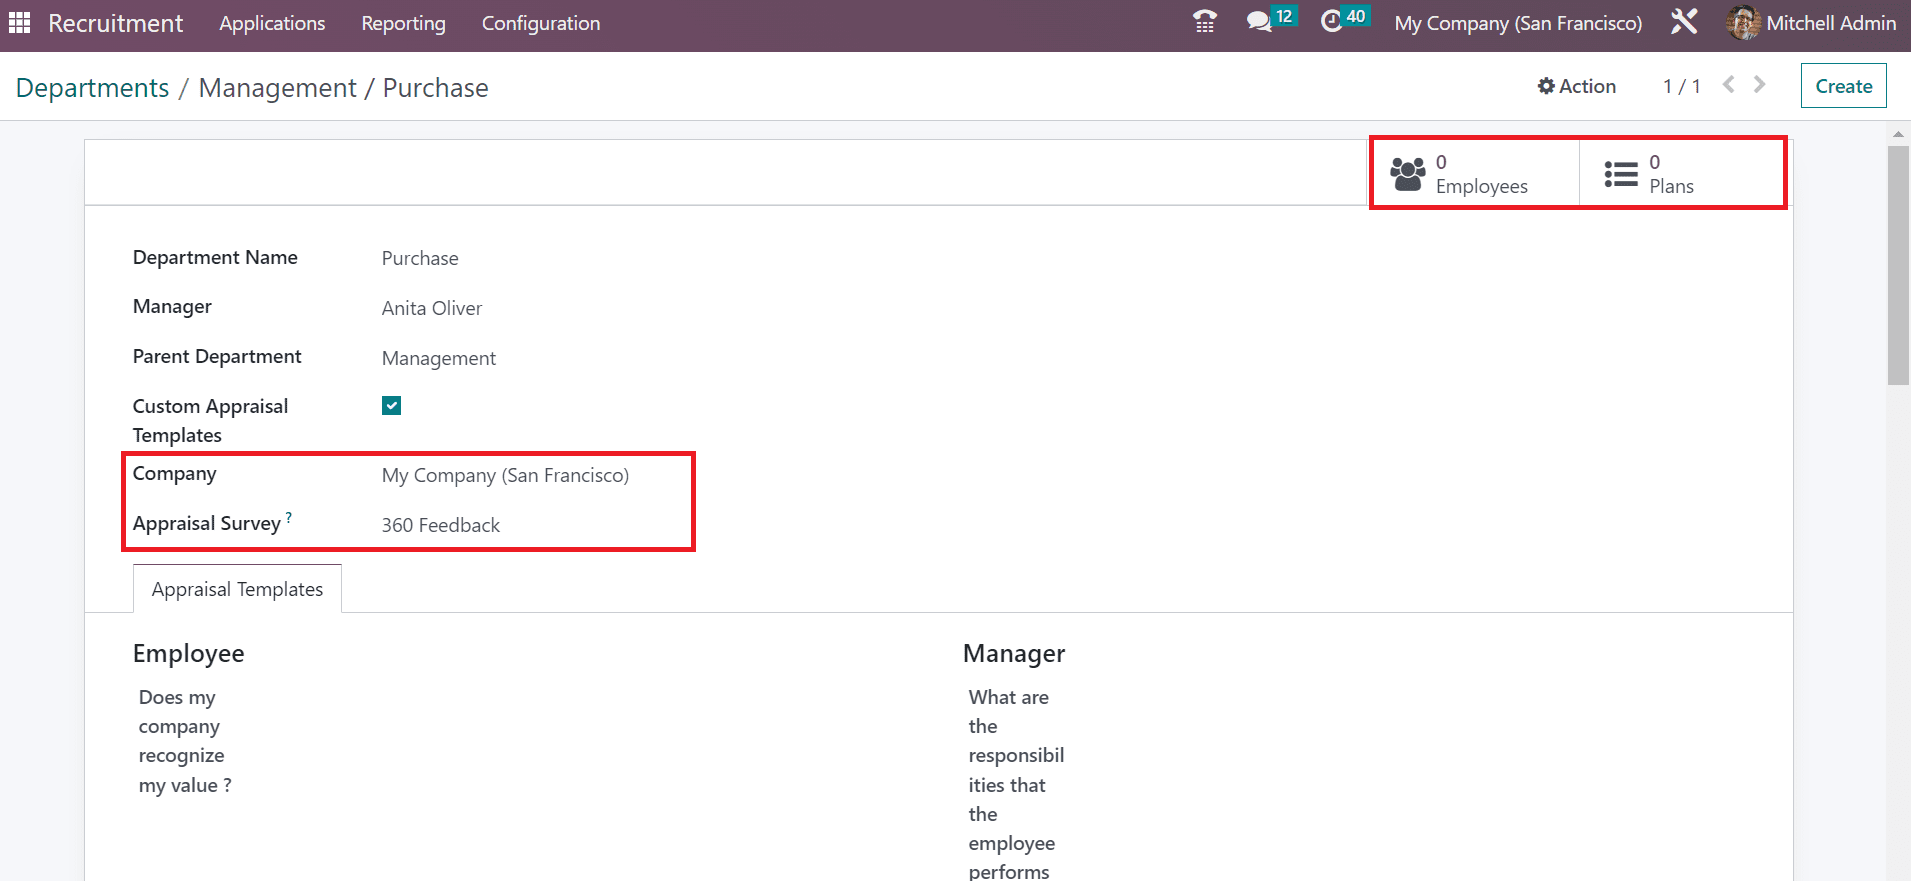
You can apply the company name in the Company field and define the default survey template in the Appraisal Survey field. Each detail is saved automatically in the Odoo 16 Recruitment. You can view the list of employees and other details under your department within the smart buttons Employees and Plans.
Hence, you can quickly manage the departments in your organization.
Activity Types
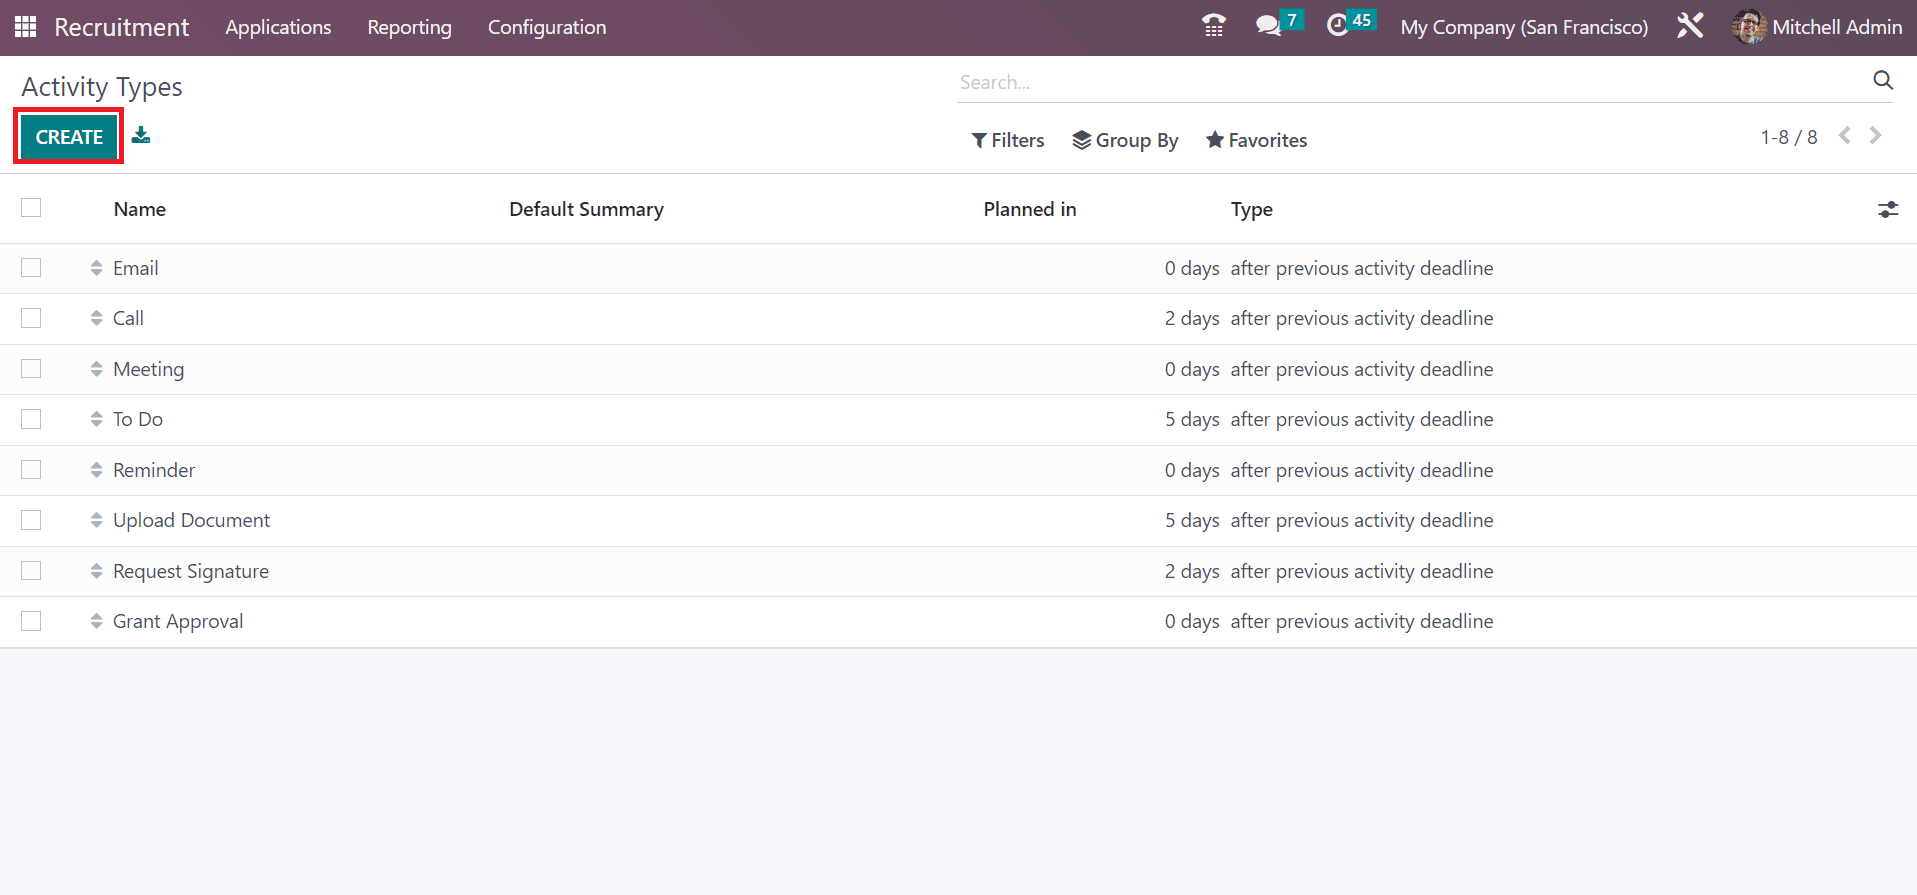
The different types of activities performed in a company are known as activity types. You can obtain a list of all created activities once choosing the Activity Types menu in Configuration. In the Activities window, the user can view the data concerning each activity, such as Name, Type, Default Summary, and more. You can design new activities by selecting the CREATE icon in the Activity Types window.
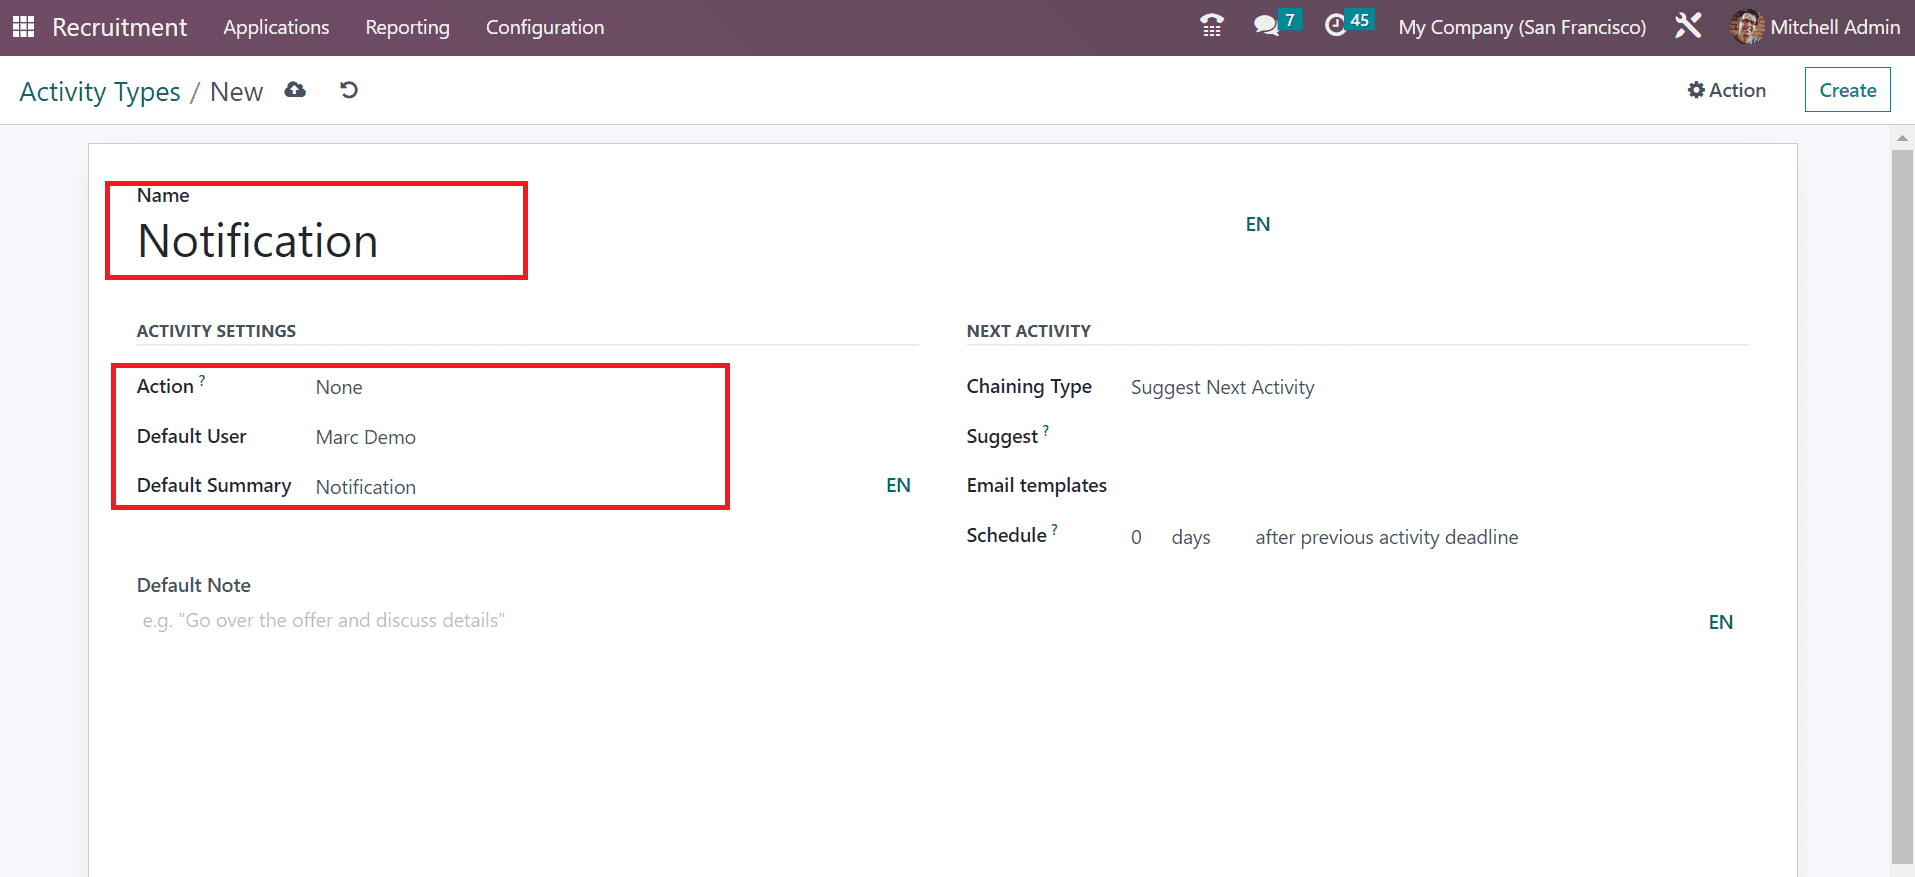
A new window opens to the user after clicking on CREATE icon. Add the activity type title in the Name field, and it is possible to manage the detailed settings of the activity. Below the ACTIVITY SETTINGS, you can pick an action such as Meeting, Tax report, Upload document, and more. Later, you can select a default user and enter a description of the activity type in the Default Summary field.
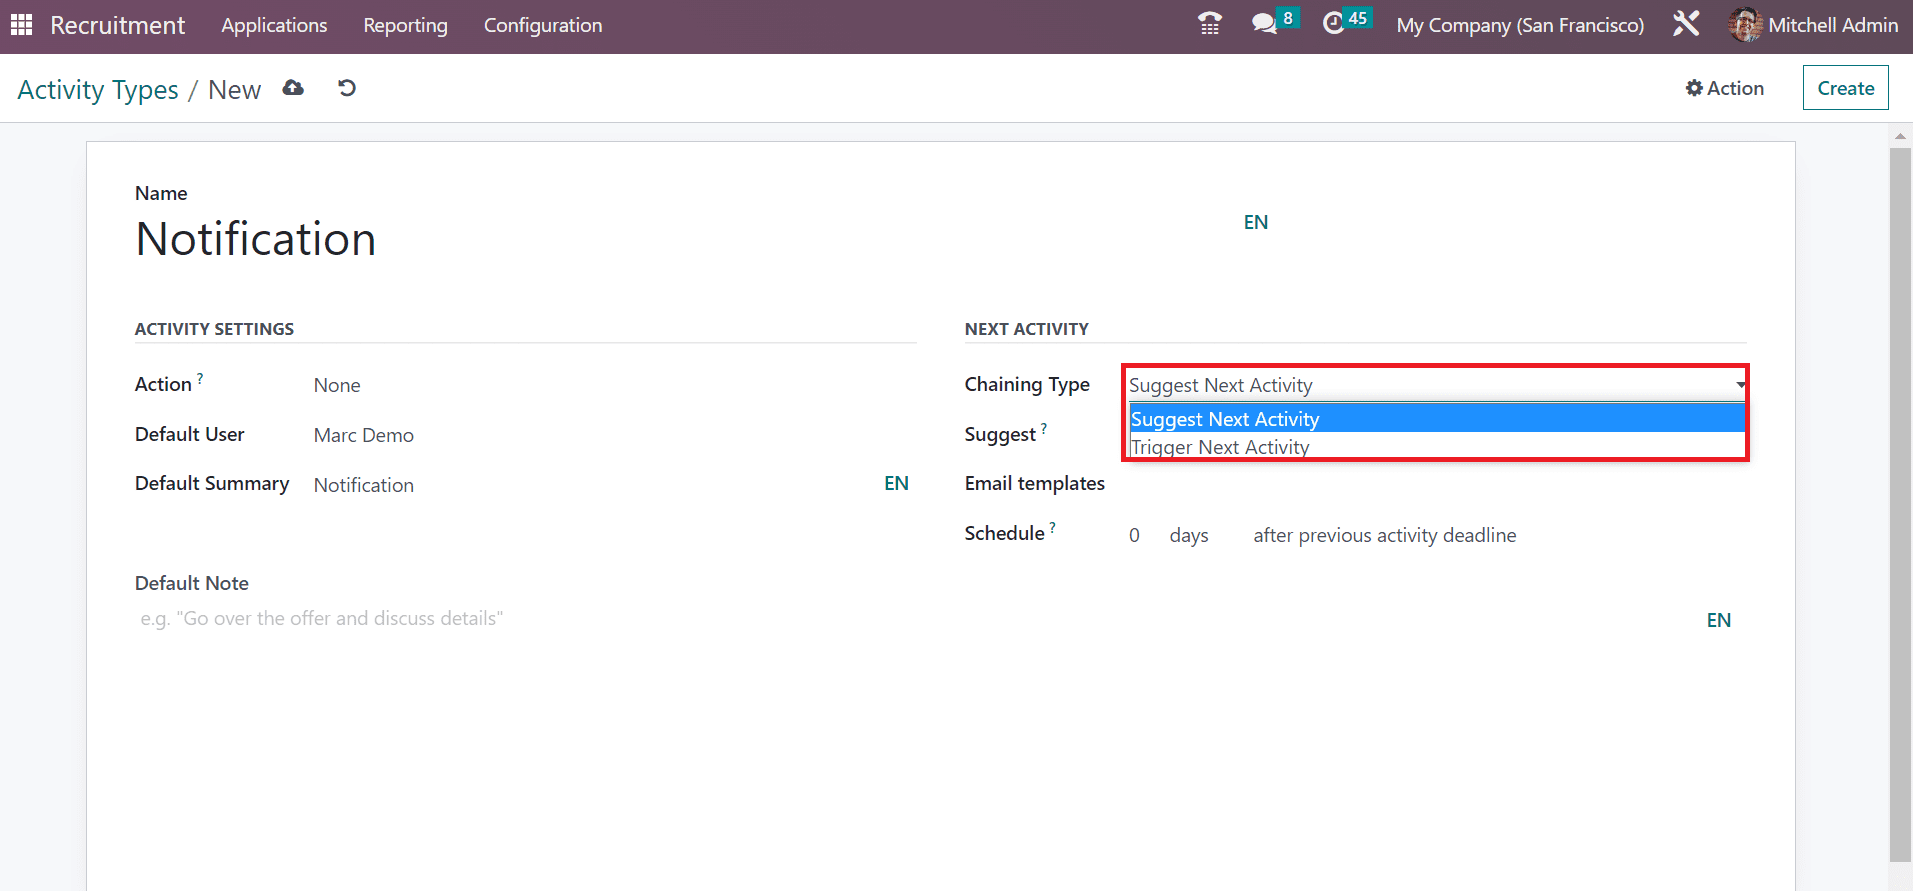
We can find additional data regarding the activity inside the Default Note section. Under the NEXT ACTIVITY section, the user can pick the chaining type as a trigger or suggest the next activity. If you select suggest trigger activity option in the Chaining Type field, a suggest option is visible, and you must add the suggestion for the next activity. On the other hand, a Trigger field appears to a user after choosing the Trigger next activity option.
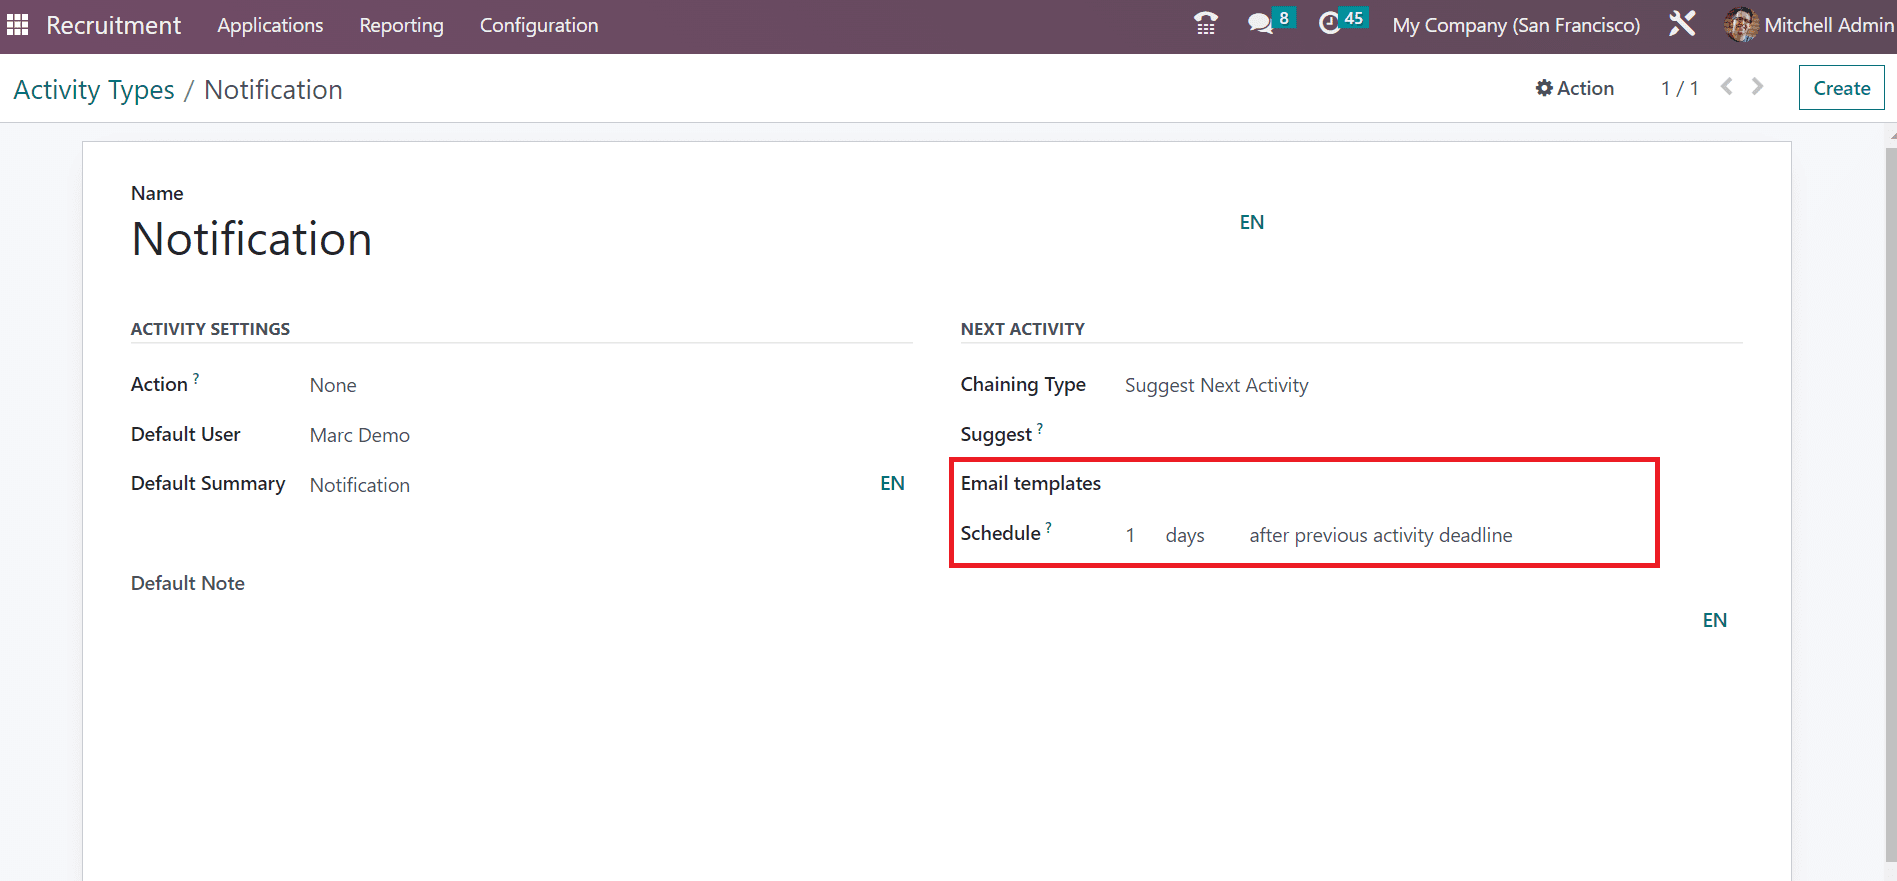
Once choosing the Chaining Type, select a template for the next activity in the Email templates field. Moreover, in the Schedule option, you can specify the day count after the previous activity completion.
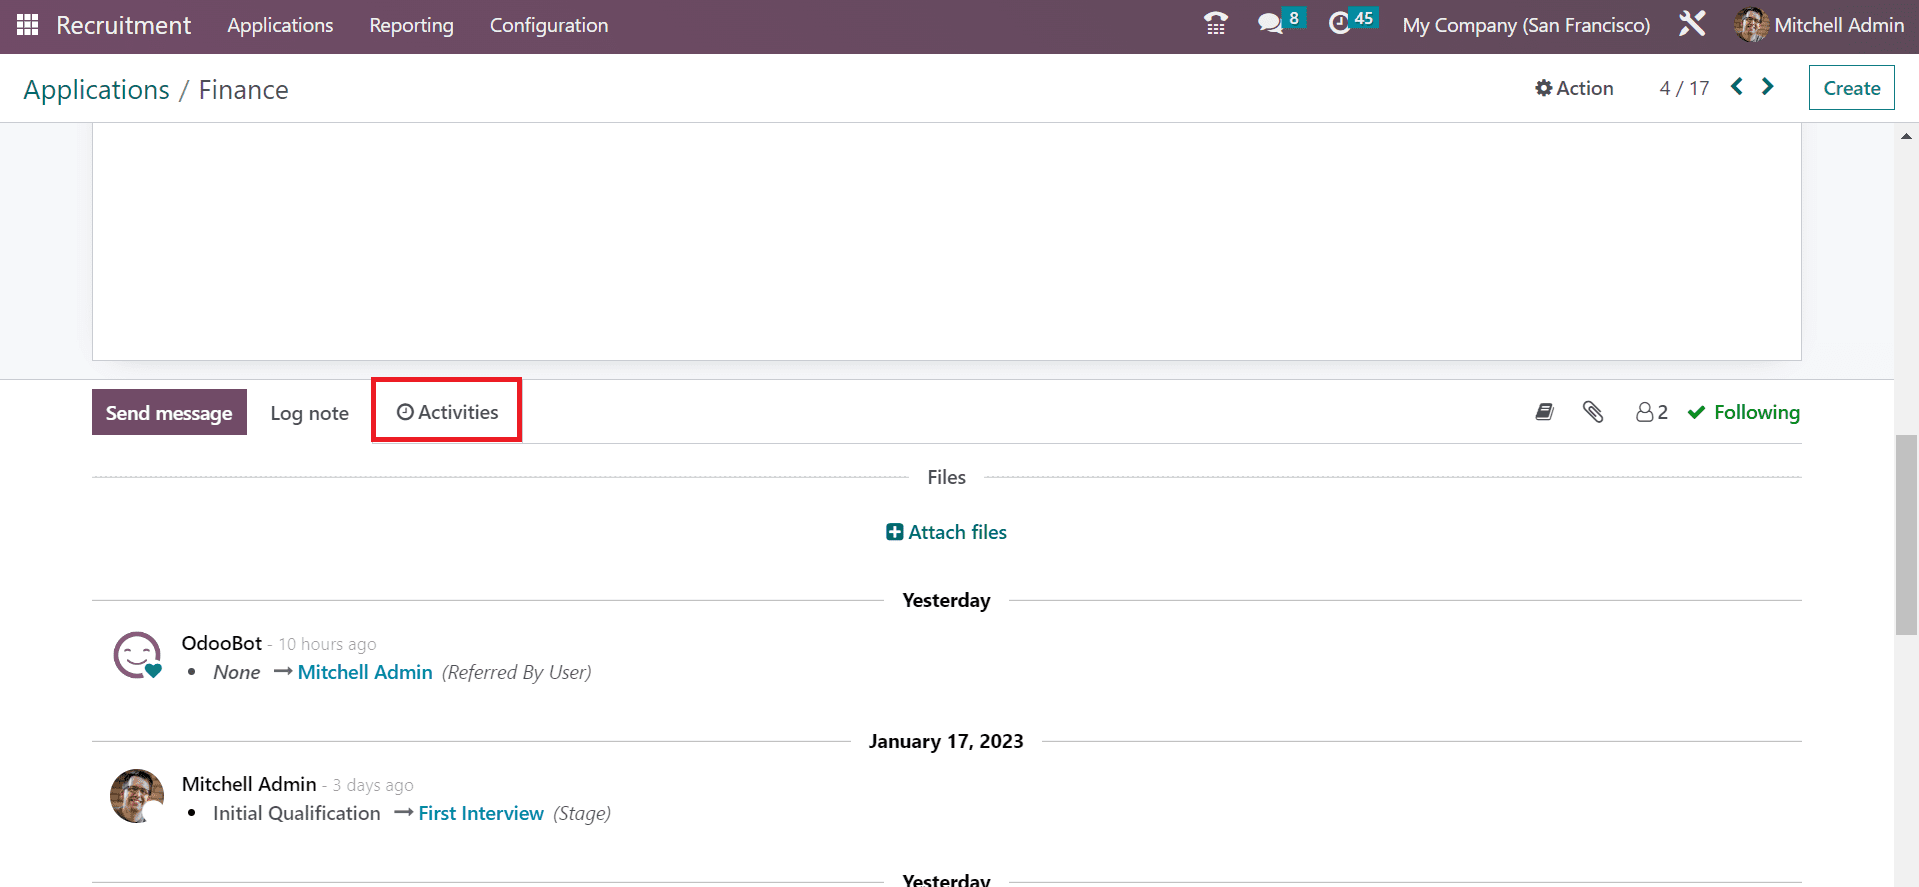
Each data regarding Activity Types is saved manually in the Odoo 16 Recruitment. You can schedule different activities for several company operations within the Odoo system. For example, it is possible to schedule activities once creating an application in your company. Move to the Applications window in Odoo 16 Recruitment and select your application. You can access the Activities menu at the end of your Application screen, as pointed out in the screenshot below.
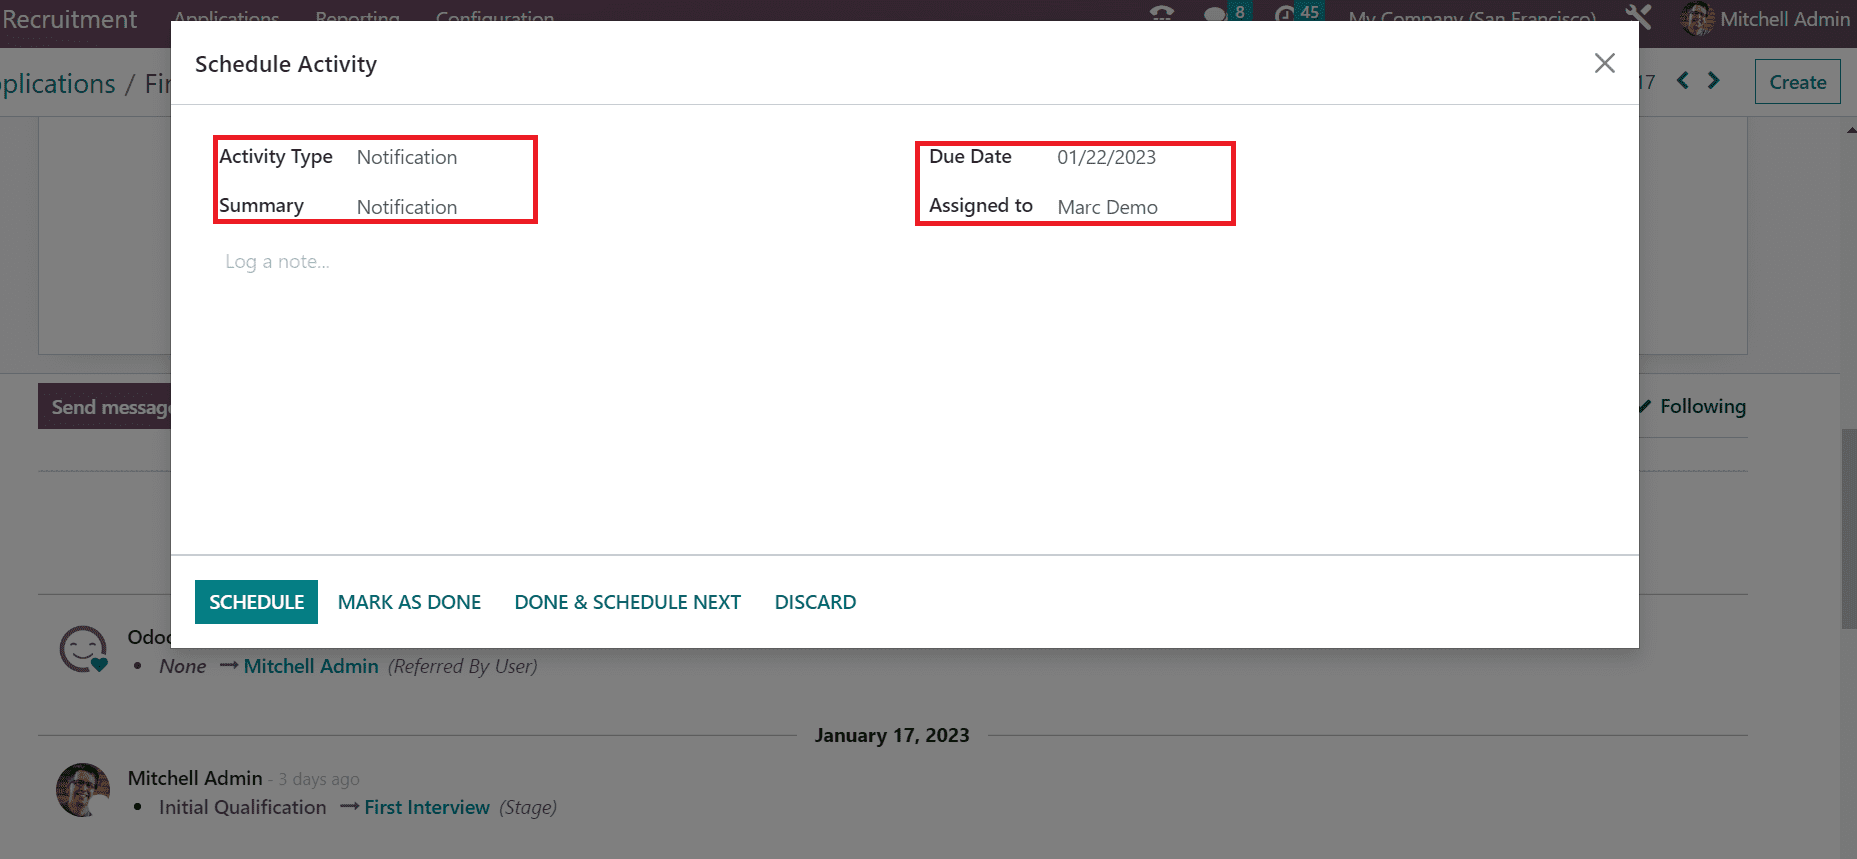
After selecting the Activities menu, a new window opens for the user. You can choose your created activity type and Summary in the Schedule Activity window. Furthermore, set the last date of the activity in the Due Date field and add the assigned person.
User can describe the additional details of scheduled activity inside the Log a note section. Once mentioning each data, click the SCHEDULE icon.
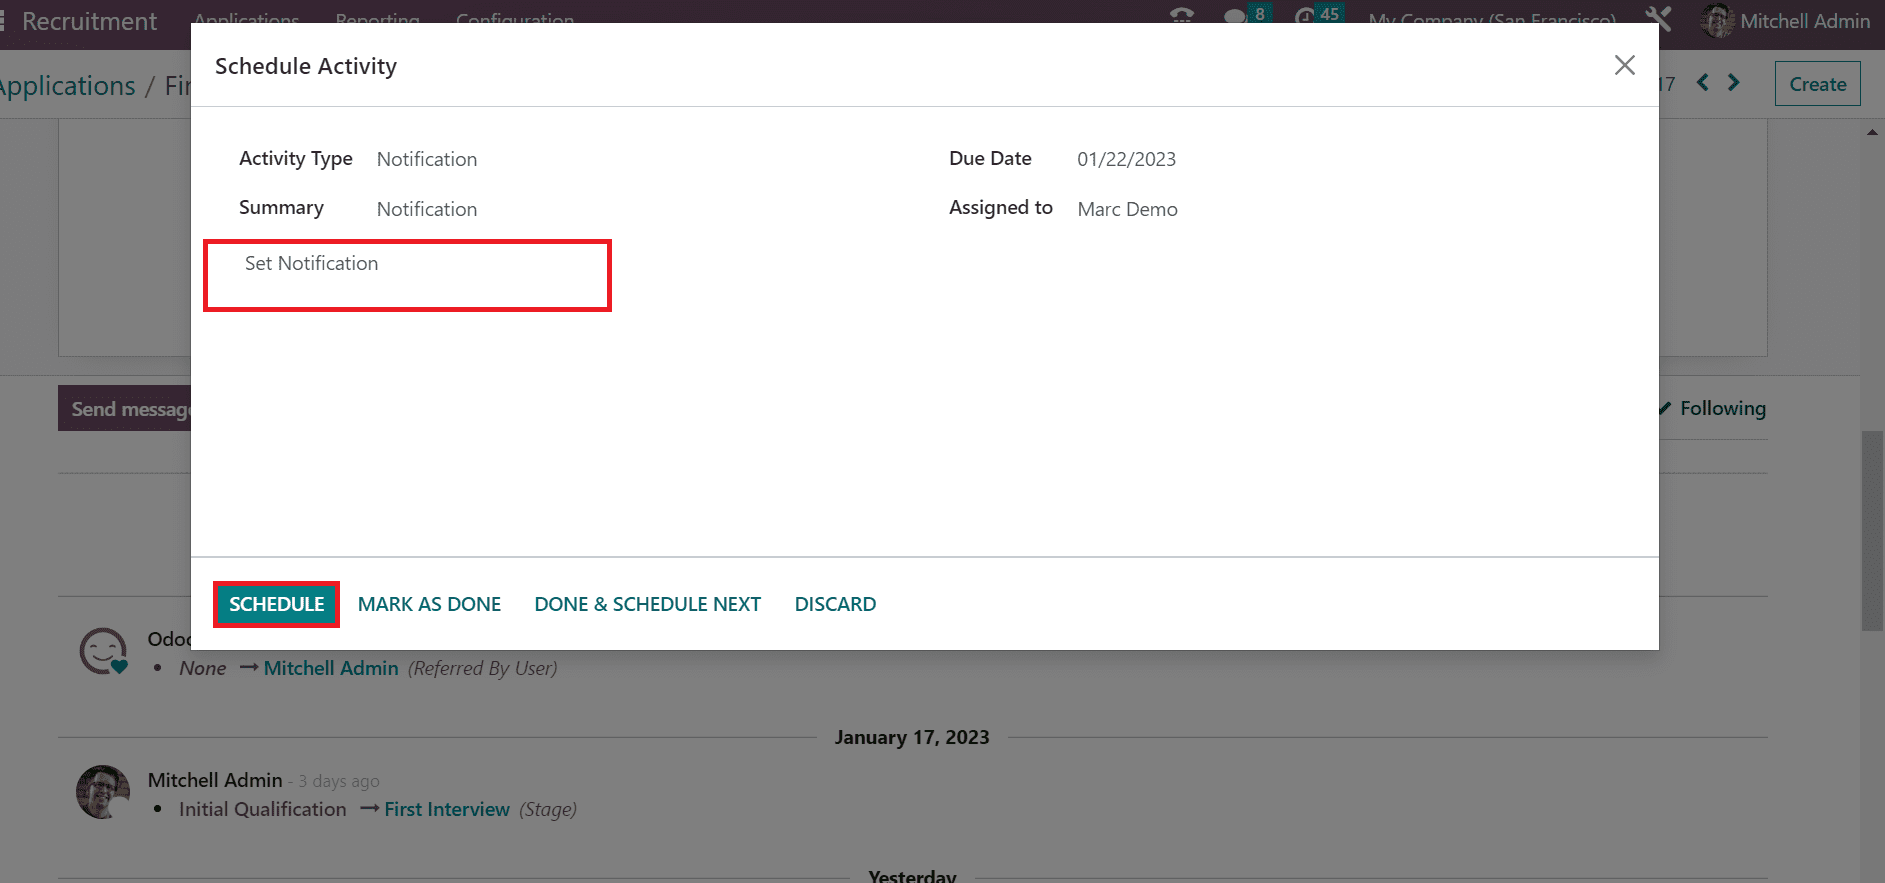
So, it is easy to plan various activities regarding your company's recruitment applications.