Point of Sale
POS Dashboard
In the Odoo platform, the POS operations are conducted in a systematic way. It allows you to create and run all the POS operations as customized and organized sessions. Odoo POS sessions will help the users to track cash flow on each sales operation and it provides a simple user-friendly interface. It is sure that the integration of Odoo POS with other modules like sales, purchase, inventory, etc. will increase productivity and will save your time. It will provide users with an organized view of sales, stocks, revenue. The platform can run multiple POS sessions and the user can stop a session according to the need.
You can view all the created POS sessions in the POS home dashboard.

The above image represents the POS dashboard. You can run the respective POS sessions by selecting the Resume icon and the session can close by selecting the Close icon available in each session.
As soon as selecting the Resume menu it will start to load the respective operation and after loading has completed, you will follow a new window where all the products with unit prizes related to this POS are being displayed.
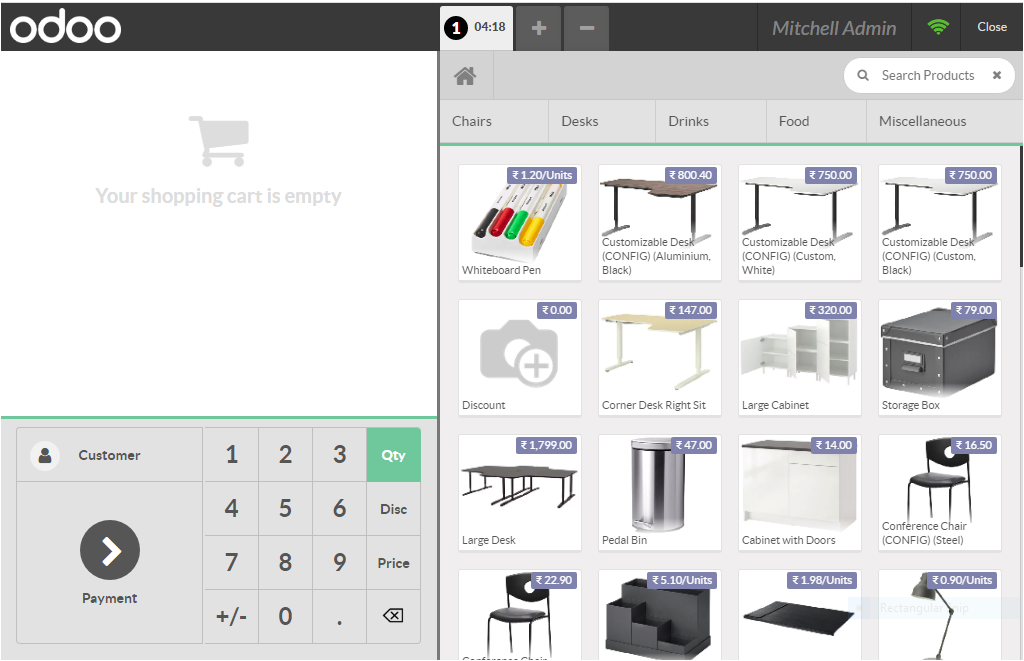
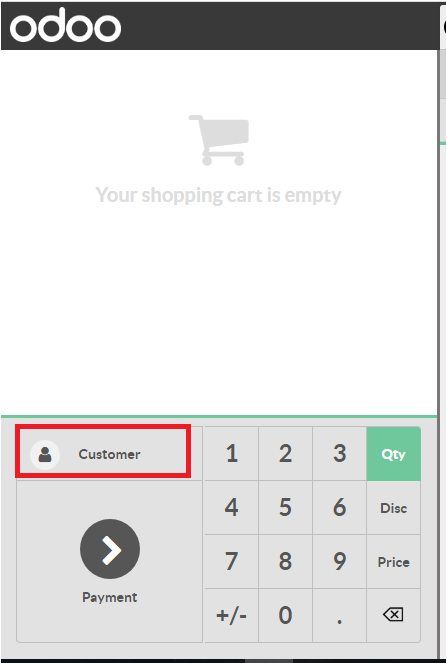
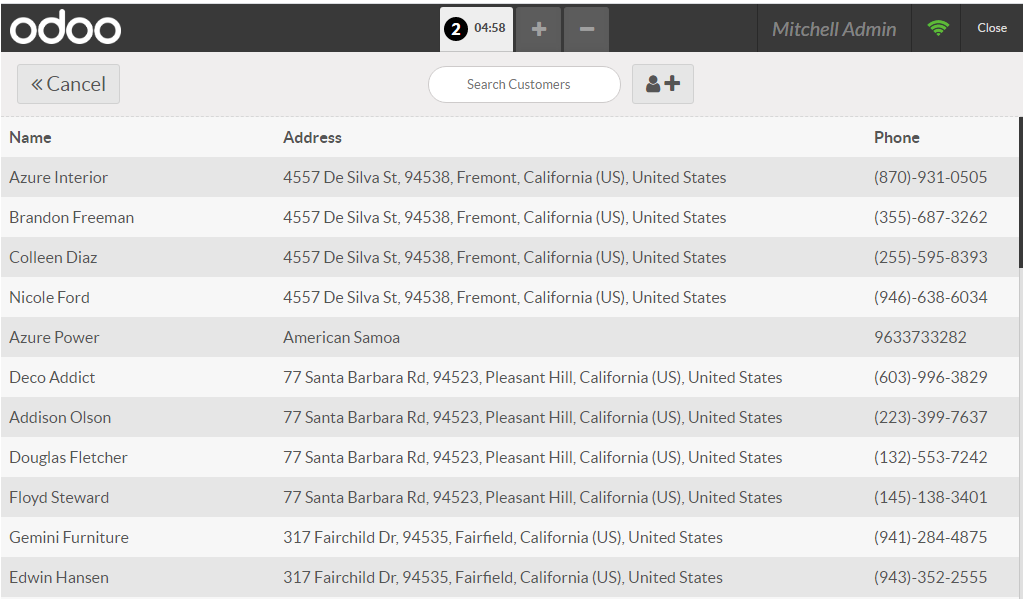
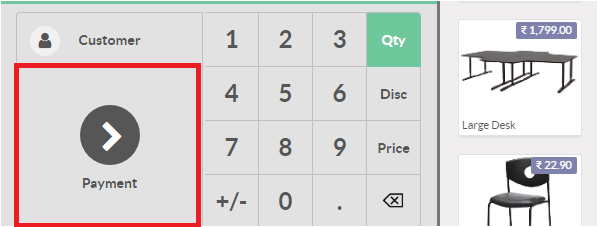
The left portion of the window is designed for billing purposes. You can select the desired product by clicking on them and it would be added to the cart. You can add multiple quantities of the same product by clicking on the same product again. If the customer wants to cancel any product he/she ordered, the seller can delete the order by clicking the backspace button. The user can assign the customer by selecting the customer icon available in the window. Upon selecting the customer icon, the regular customer name window will appear. If the customer is a new person, the user can have the create option.
If the user wants to create a new customer, can select the plus icon available in the customer window. The image of the customer creation window is given below.
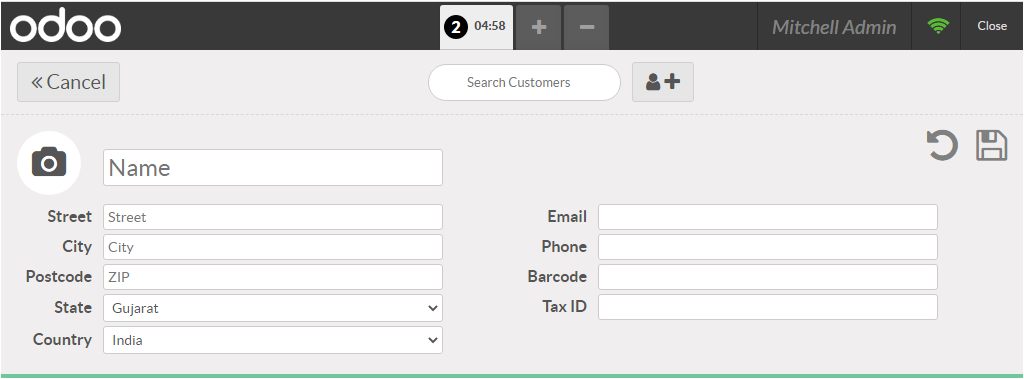
In this window, the user can provide the customer name, address, tax details, contact details, etc. in the appropriate columns. Undo, save, search, and cancel buttons are also available in this window.
After allocating the customer details to the POS session, the next step is the Payment section. For accessing the payment details window, can select the Payment icon available in the POS sales window.
The image of the payment window is shown below.
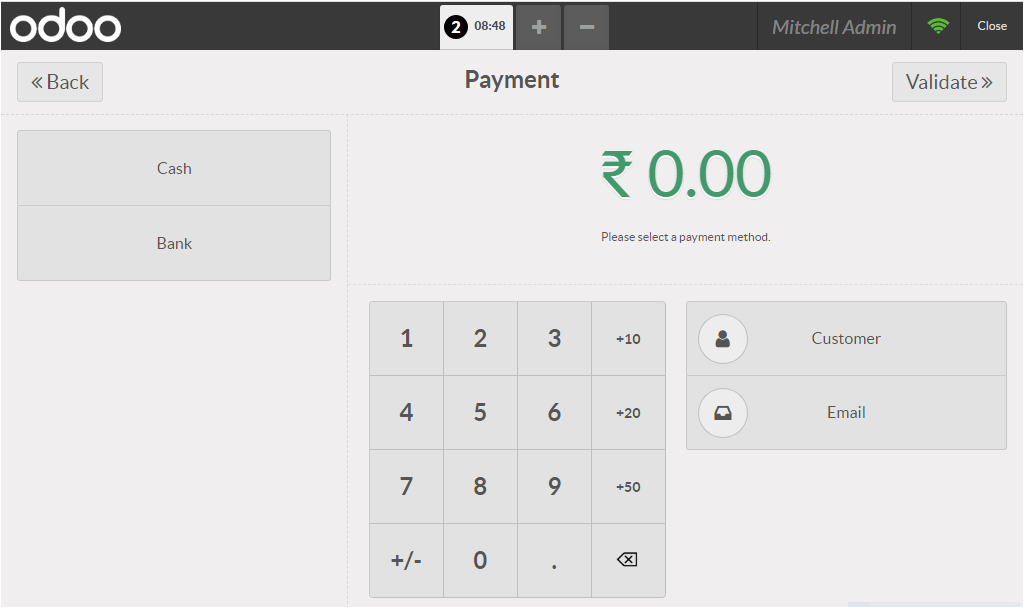
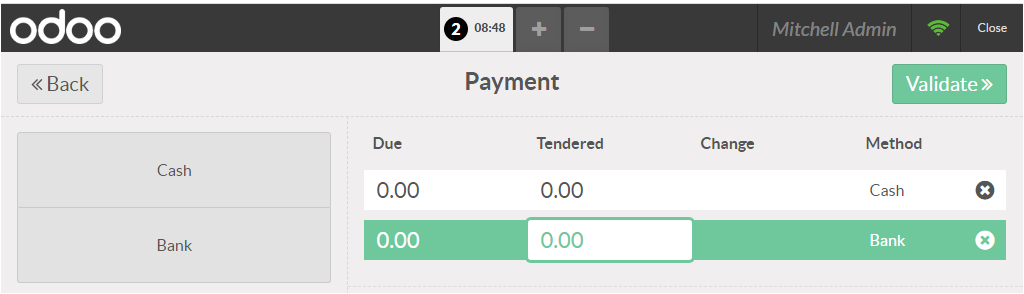
The users have the possibility to choose the payment procedures either by cash or bank. By selecting the payment through cash or bank the user can specify the amount being provided and can allocate the details like payment amount and if he/she applying any offers can be allocated under the option Tendered. After confirming the details the user can click on the Validate menu.
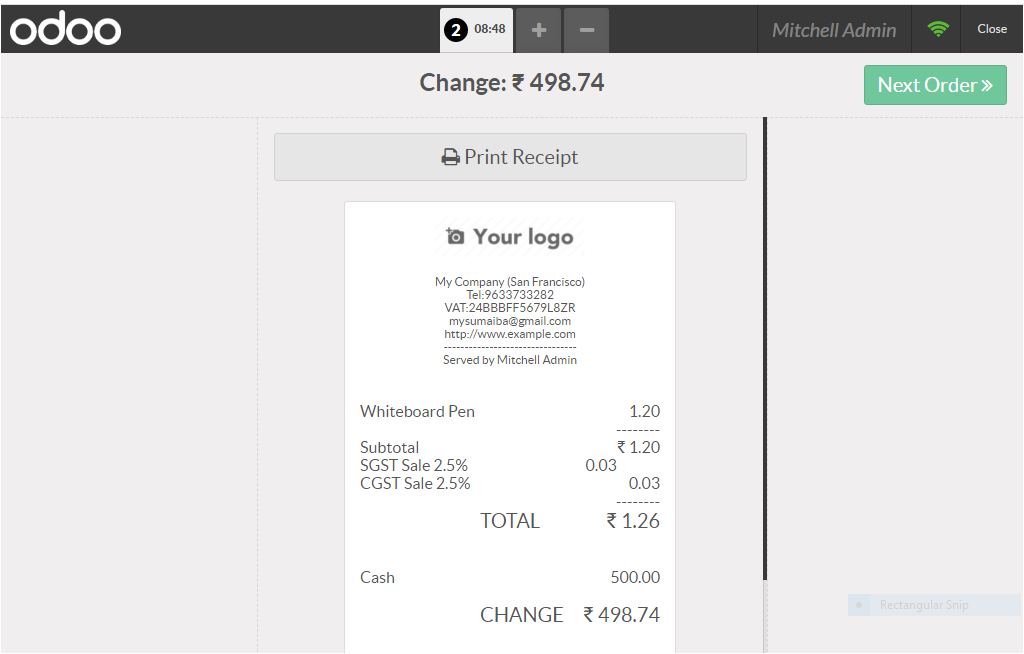
If the user selects the validate menu, he/she will receive the receipt for the payment. The image of the receipt window is given below.
The user can close the POS session by selecting the close button available on the top right corner of the window and confirm.
We made a detailed analysis on POS operations and let us discuss the restaurant POS session of this module.