POS Dashboard
In the Odoo POS module, the POS operations can be conducted as a customized and
well-organized session. These POS sessions will help you to track cash flow on your
each sales operation and this simple user-friendly interface allows you to easily
operate and run multiple POS sessions. You are also able to pause and stop a session
based on your requirements.
Moreover, the Odoo POS module can be easily integrated with all other modules in
the Odoo such as Sales, Purchase, Inventory, etc will help you to conduct the POS
operations effectively.
You are possible to view all the created POS sessions in the POS home dashboard.
The image of the POS dashboard is depicted below.
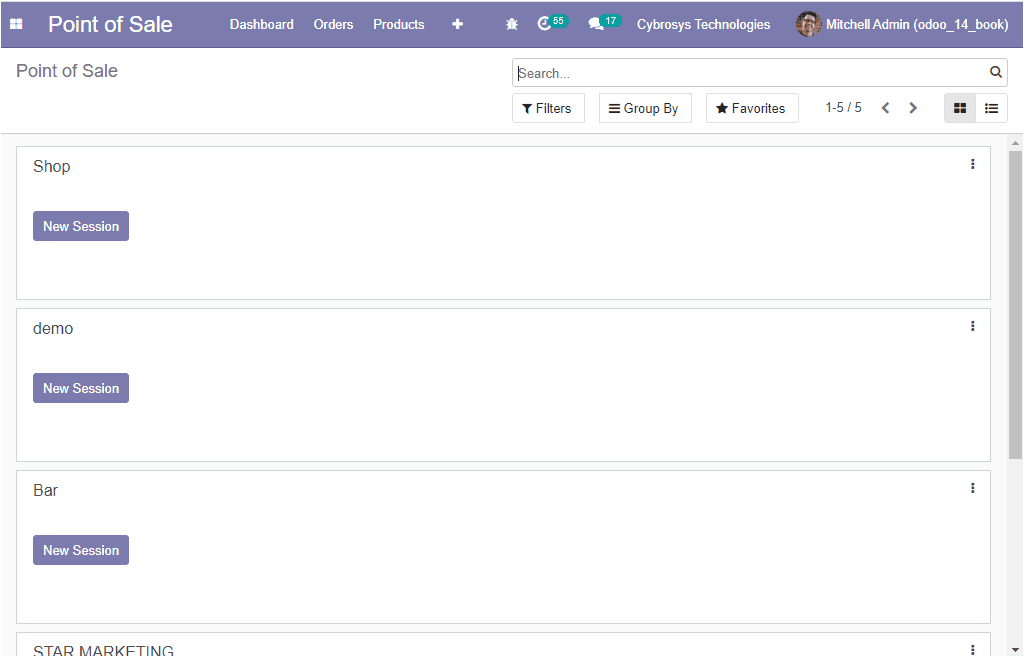
For running the POS sessions, you can select the respective POS being described
in the home dashboard. From this window, you can either select a new session or
can resume the existing one. In addition, the sessions can be closed by selecting
the close icon available in each session.
Upon selecting the respective session to resume or start new, it will start to load
the respective session operations. This will take a few more seconds to load the
operations. After loading has completed, you will be depicted with a window as depicted
below.
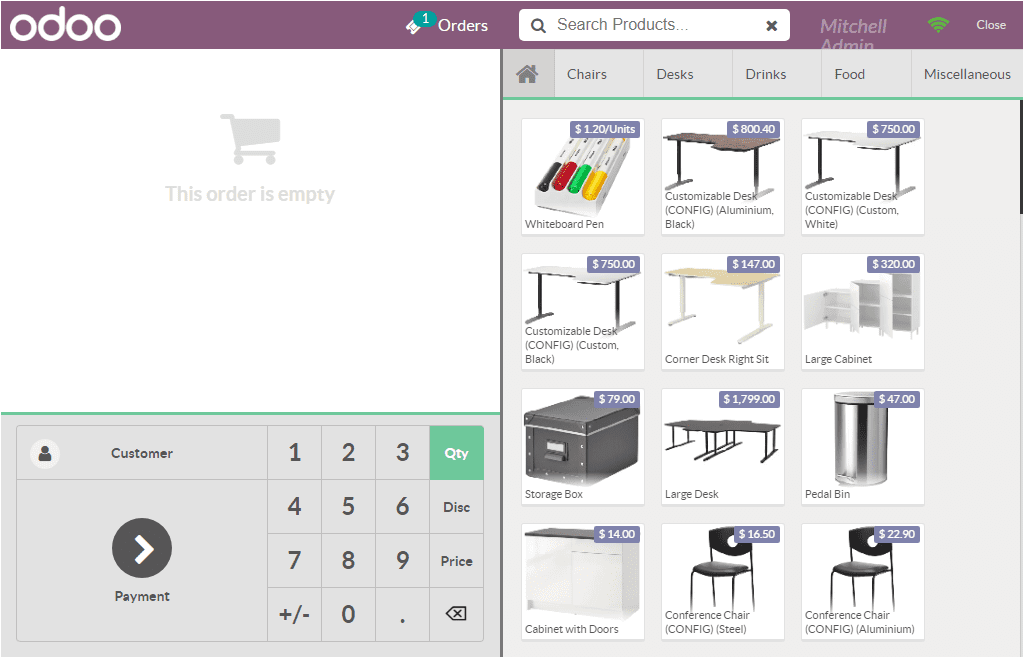
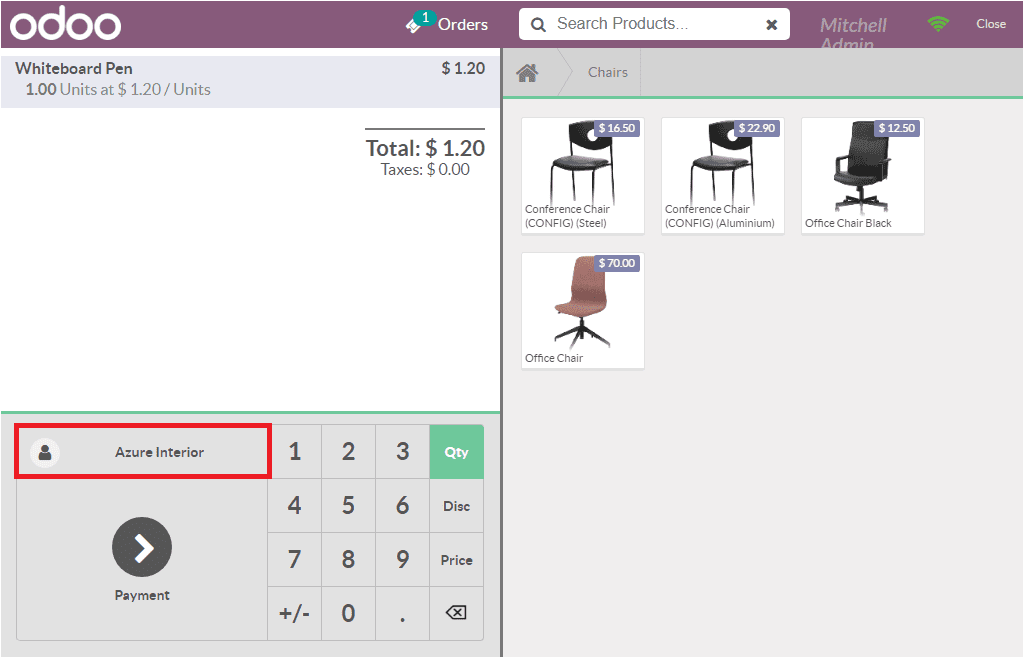
In the right portion of the window, you can view all the products described along
with the unit prices which are related to the POS operations. You have the provision
to select and attach the required product by clicking on them and it would be added
to the cart. This will be displayed on the left portion of the window. You are also
able to add the same product in multiple quantities. This can be done by selecting
the same product again. There must be some situations when the customer wants to
cancel any product that he/she ordered. In these cases, the seller can delete the
order by selecting the backspace button.
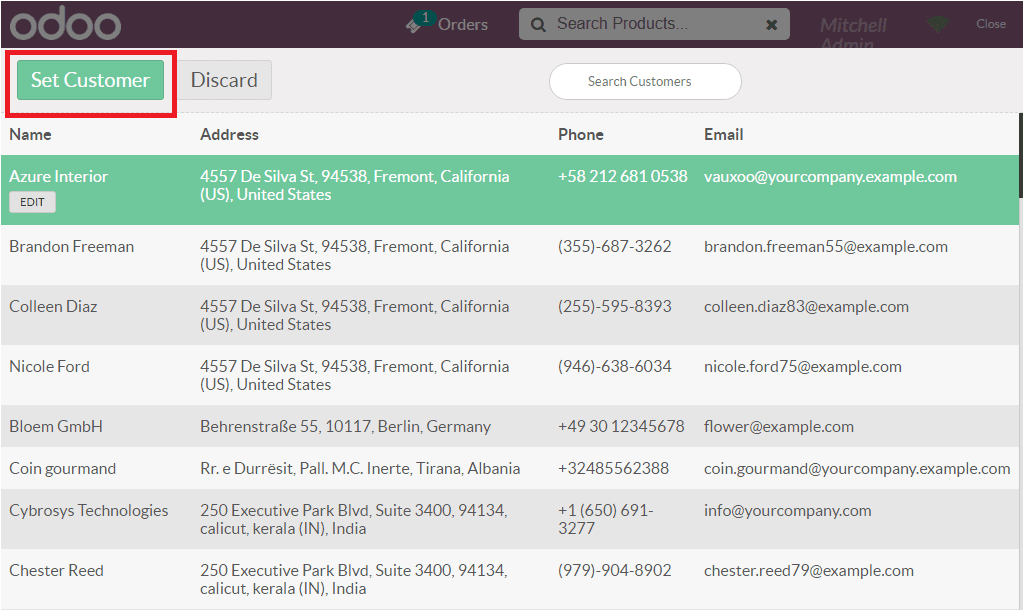
To allocate customers, you can select the customer icon available on the billing
section of the window. On selecting the Customer icon, you will be navigated to
the customer selection window. You can select the customer from the list available
if the customer is a regular person. In the customer list, you can view all the
described customers along with their contact information such as Address, Phone
number, and email ID. In the window, you have the Search customers option for easily
accessing the respective customer if the list is a long one. You can view the customer
window in the below image.
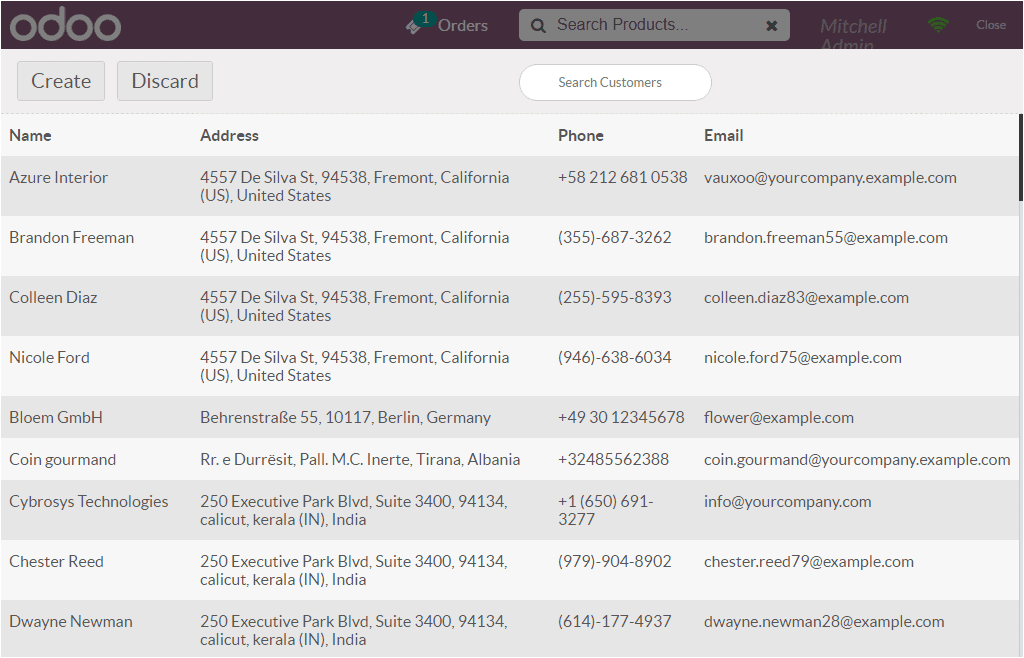
If the customer is a new person, you can select the create option available on the
top right corner of the customer window. On selecting the Create icon you will be
directed to the pop-up window as depicted below.
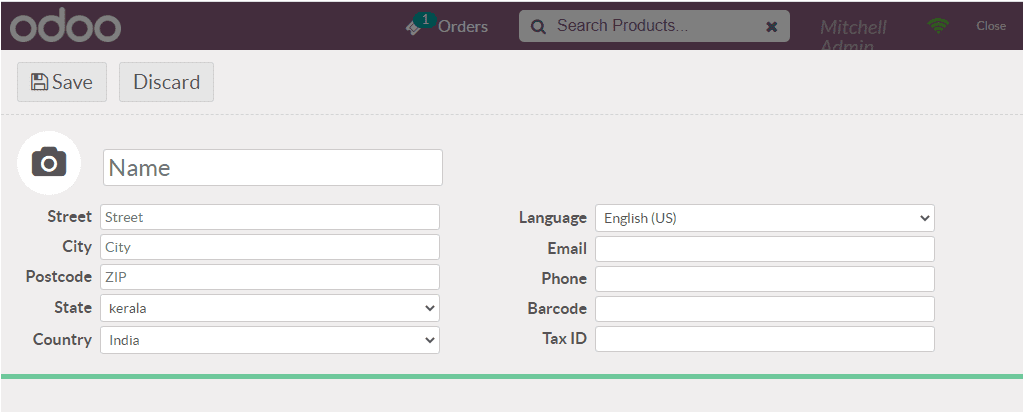
In this customer creation window, you can provide the customer name and the image.
Then you can allocate the Street, City, Postcode, along with the State, and Country.
Moreover, the Language can be selected along with the Email, Phone number, Barcode,
and Tax ID can also be provided. After providing all the required data, you can
save the details by selecting the Save button available. After saving your newly
created customer you can select the Set Customer icon available on the window as
depicted in the below image.
Now you can view the customer details set on the payment section of the session
window as shown in the below image.
If the customer is set, you can now move on to the payment section by clicking on
the payment option available in the POS sales menu.
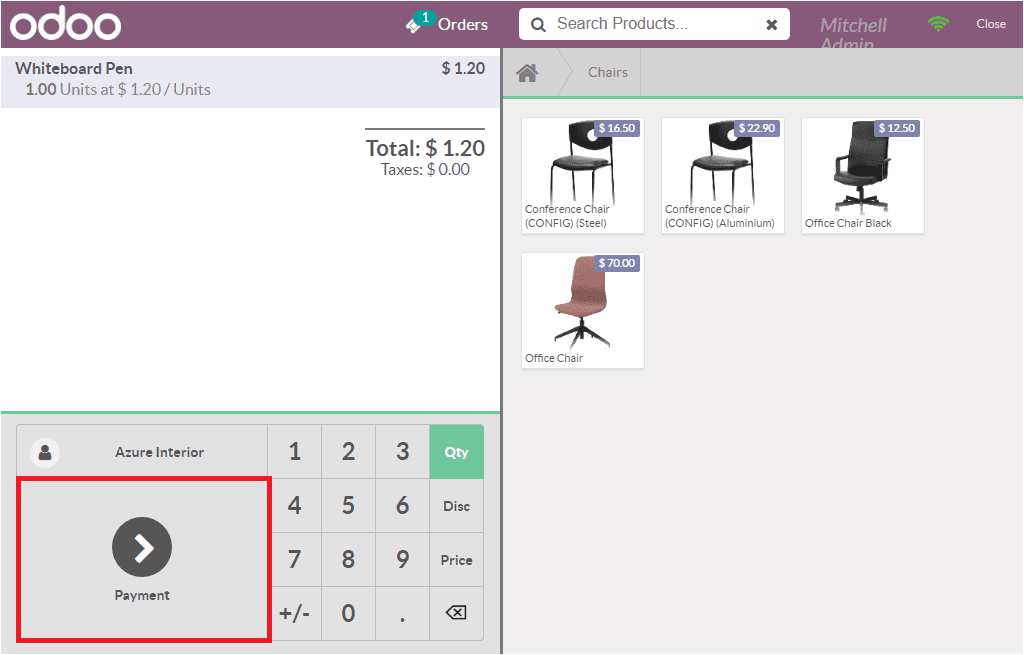
On selecting this Payment icon you will definitely be taken into a new window as
depicted below where you can conduct the payment procedures either by Cash or Bank.
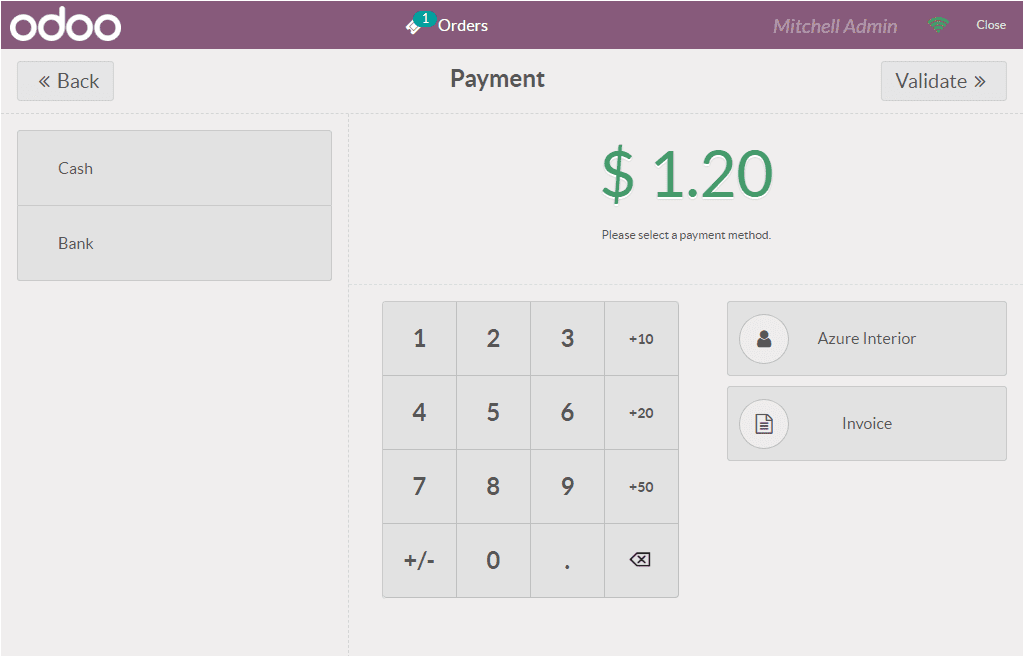
On selecting the payment through cash or bank you have to specify the amount being
provided and after verifying it, you can select the Validate option available on
the top right corner of the window.
Upon selecting the Validate icon, you will be showcased with the following window
where you can verify the sales invoice and can send the invoice through an auto-allocated
auto-allocated email as per the description provided in the customer information.
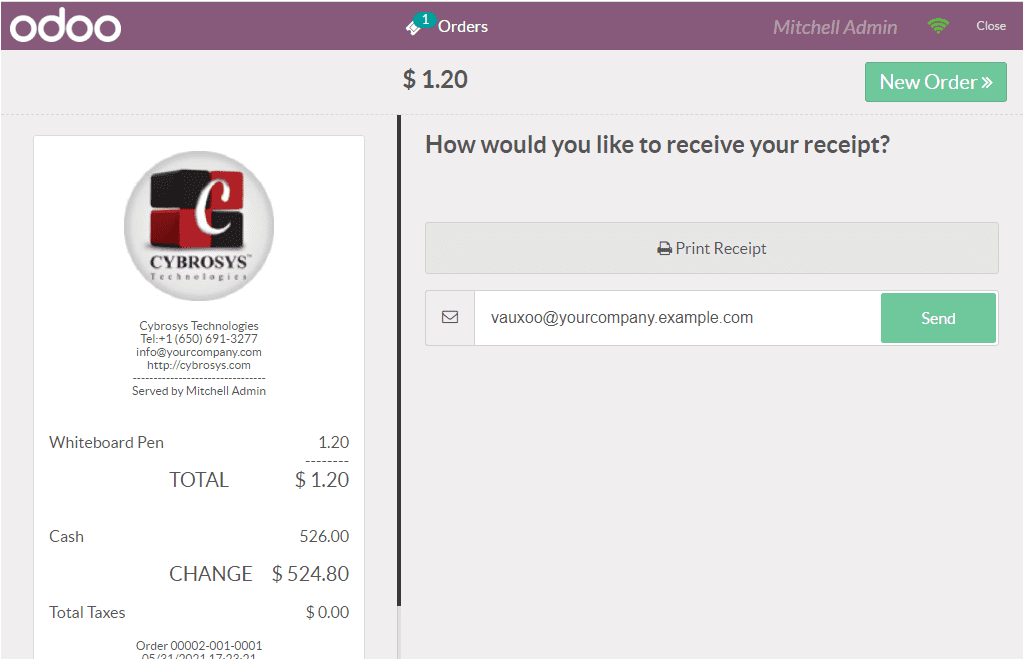
Moreover, you can take the print of the receipt by selecting the Print Receipt option
available. We made a detailed analysis on POS operations and now let us move on
to the restaurant POS session of this module.