POS Dashboard
The POS dashboard will record the POS sessions created in this module, which will effectively track the cash flow of each sales operation. It is easier to create and run new POS sessions on this platform, and you can operate each of them effortlessly in the same window. The sessions can be stopped or paused as per your requirements.
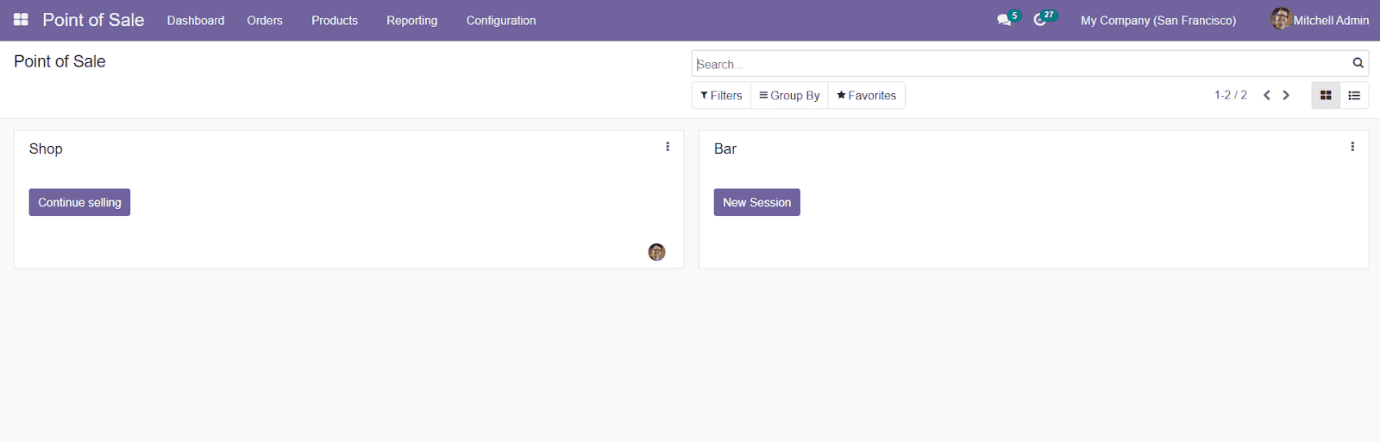
As you can see in the image above, you can select the respective one from the dashboard for operating a POS session. When you select a session from the dashboard, it will take a few seconds to load and direct you to a new window, as shown below.
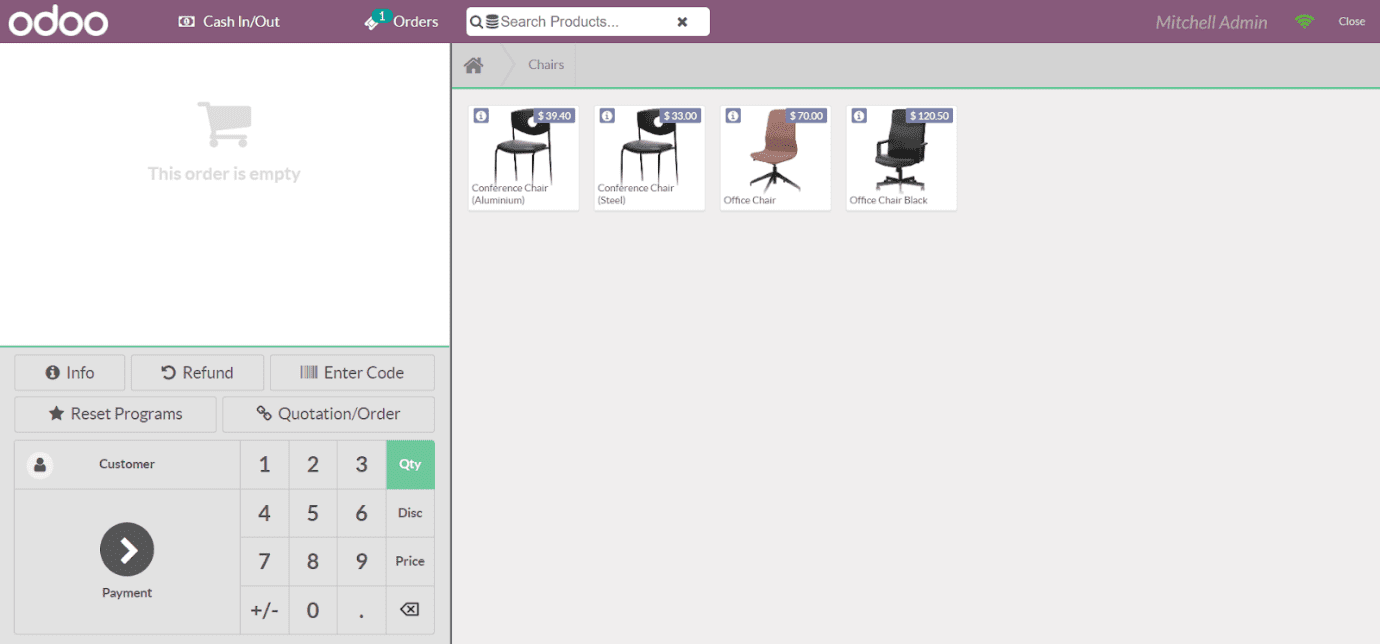
The right side of the window will display the products with their unit prices, and you can select them by clicking on the required product to add to your cart. You can buy as much as you want and they will appear on the left side of the window.
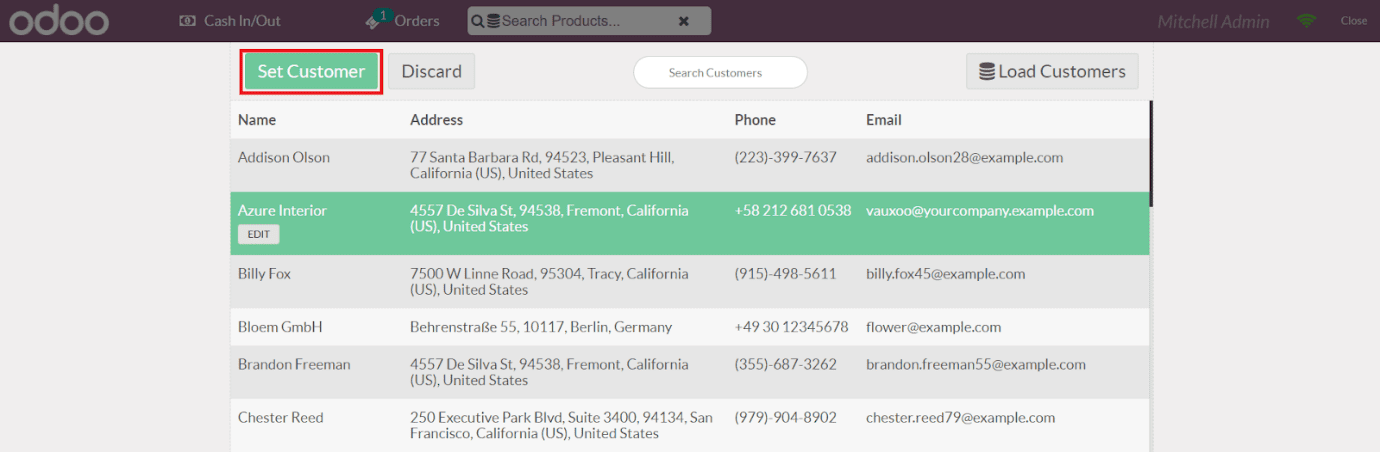
After selecting the required products, you can now add customers to the operation by clicking on the ‘Customer’ button given in the window. You will be able to get a list of customers and using the search option provided in the window. You can search for a particular customer. The list will show the Name, Address, Phone, and Email Address of each customer.

If you want to configure a new customer to the existing list, you can use the ‘Create’ button. By clicking the Create button, you will be directed to a new field, as shown in the image below.

You can add the Name, Street, City, Postcode, State, Country, Language, Email, Phone, Barcode, and Tax ID of the customer in the given fields. Then, click the Save button.
By selecting a customer from the given list, you will get an option in the window ‘Set Customer’ to click.
You will be redirected to the earlier window after adding the customer to the operation.
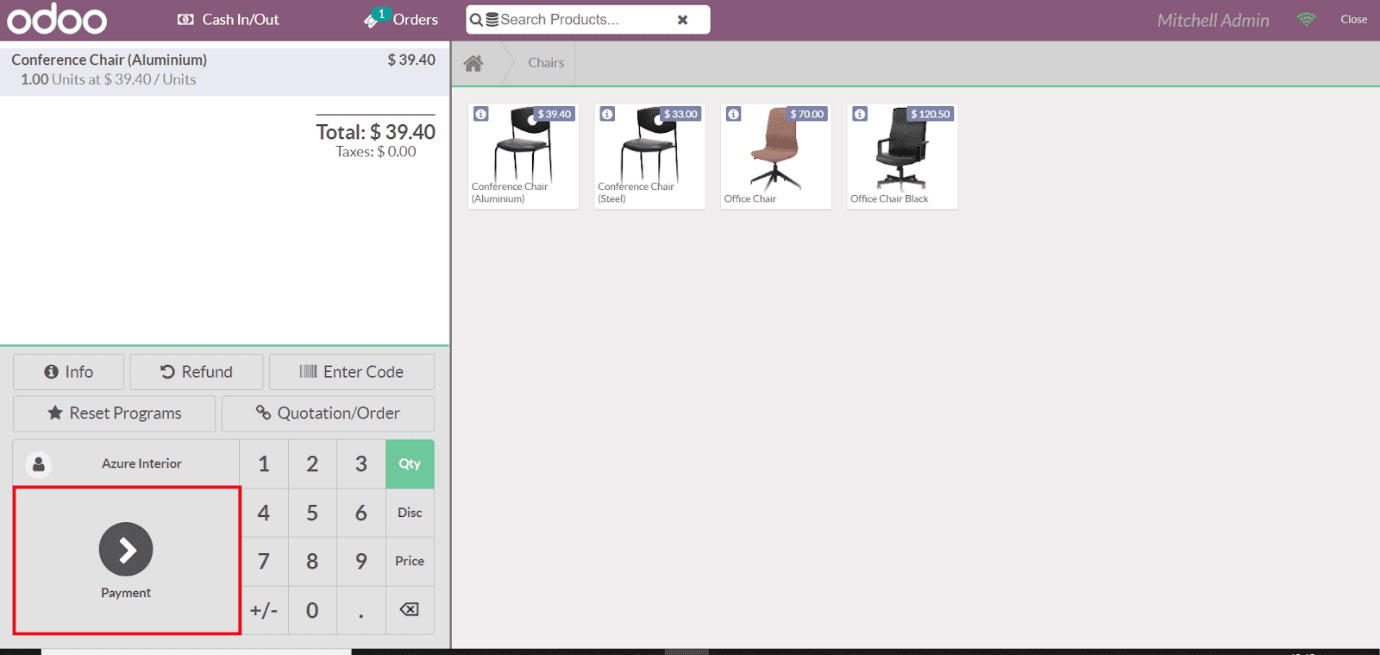
The window will show the payment option to click where you can complete your payments.
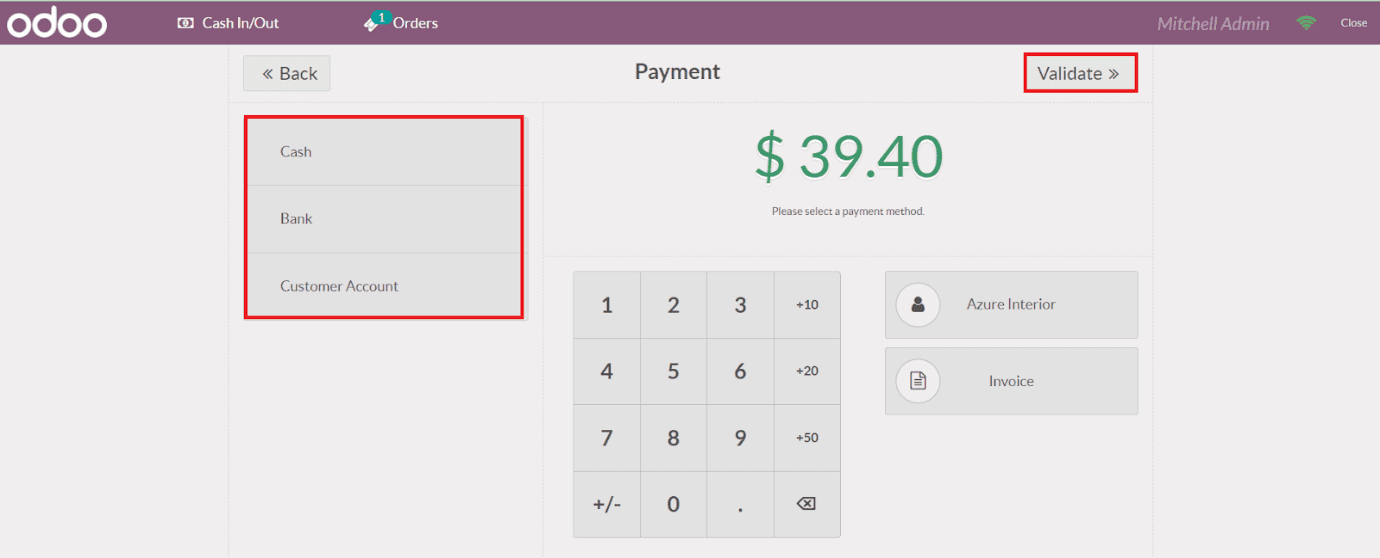
You will get all available payment methods on this platform. You can select suitable payment for the POS operation. After selecting the payment method, you can click on the Validate option to confirm the payment. You can also select the ‘Invoice’ option to generate an invoice on this order.
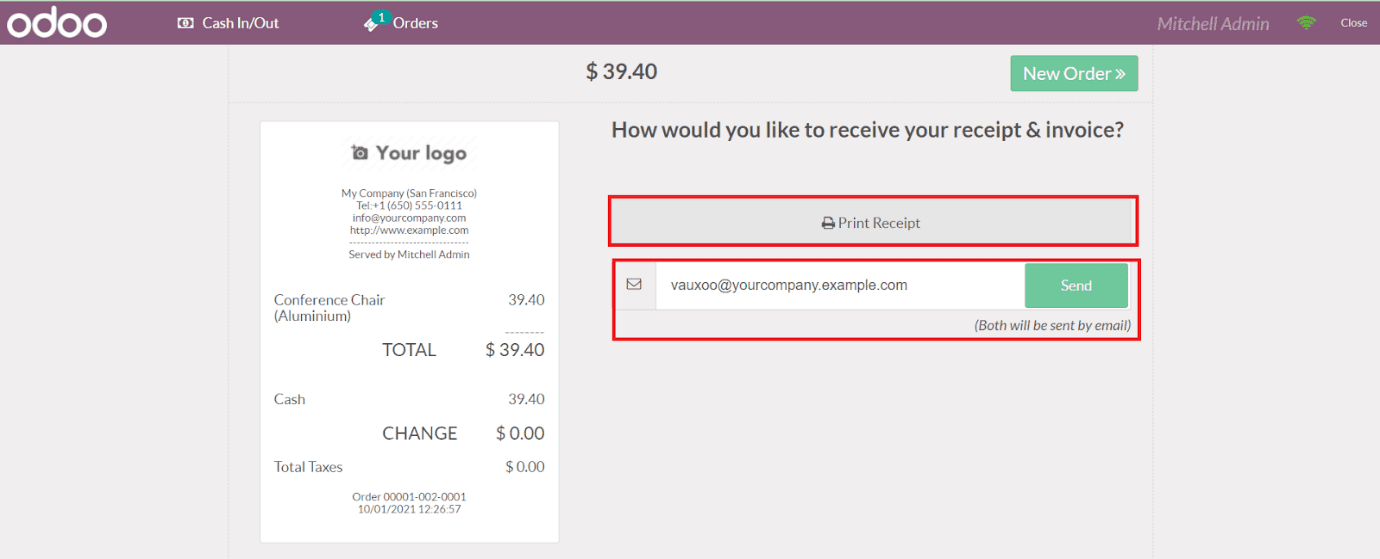
Using the ‘Print Receipt’ option, you will be able to take print of the receipt and also send the invoice to the respective customer by clicking the ‘Send’ option.
This is how we can run POS operations in the Odoo Point of Sale module. As we got a clear idea about the POS operation in the module, let’s move on to the next section which is the promotion programs.