Customize Customer Receipts
This section demonstrates how to modify POS receipts.
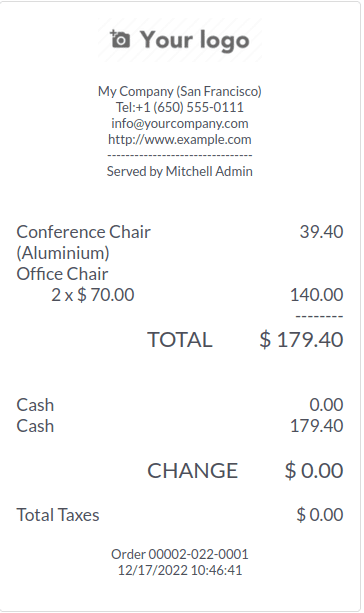
This receipt is the default receipt in the POS.
Now we are going to display the customer's name below the cashier's name on the receipt.
For that, we need to add our customized changes and inherit the template "OrderReceipt."
<templates id="template" xml:space="preserve">
    <t t-name="OrderReceipt" t-inherit="point_of_sale.OrderReceipt" t-inherit-mode="extension" owl="1">
        <xpath expr="//t[@t-esc='receipt.cashier']/.." position="after">
            <t t-if="receipt.partner">
                <div style="font-weight: bold;">
                    Customer: <t t-esc="receipt.partner.name"/>
                </div>
            </t>
        </xpath>
    </t>
  </templates>
We modified the Odoo default OrderReceipt template, and using XPath, we inserted the client name to the template below the cashier name. When a customer is set on the order, their name will display.
The assets in the manifest file should include the XML file.
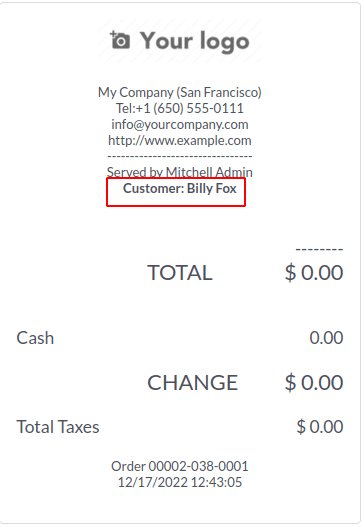
If a customer is set in the order, then the name of the customer will be displayed on the receipt. The customer details are already available in the receipt environment. If we need to display other information that is unavailable, then we need to override the export_for_printing() function to send more data to the receipt environment. The Qweb template of the receipt will include all the data sent by this function.
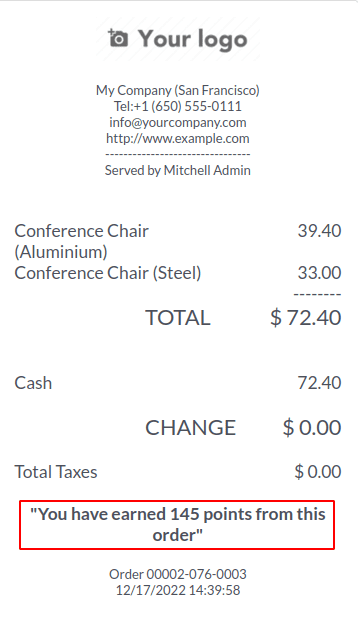
For example, since we reward customers with loyalty points for their purchases, the receipt must include their earned points for this order. Give 2 points for every amount spent.
In the js file,
odoo.define('custom_pos_javascript_file.receipt', function (require) {
"use strict";
   var { Order } = require('point_of_sale.models');
   var Registries = require('point_of_sale.Registries');
   const CustomOrder = (Order) => class CustomOrder extends Order {
       export_for_printing() {
       var result = super.export_for_printing(...arguments);
       var loyalty_points = Math.floor(Math.round(result.subtotal * 2))
       result.loyalty_points = loyalty_points
       return result;
   }
   }
       Registries.Model.extend(Order, CustomOrder);
   });
Here, we override the export_for_printing() function, calculate the earned loyalty points from the subtotal, and pass it to the receipt environment as earned_points.
In the XML file,
<templates id="template" xml:space="preserve">
    <t t-name="OrderReceipt" t-inherit="point_of_sale.OrderReceipt" t-inherit-mode="extension" owl="1">
        <xpath expr="//t[@t-esc='receipt.footer']/.." position="before">
            <div style="font-weight: bold; text-align: center;">
                    "You have earned <t t-esc="receipt.loyalty_points"/>
                points from this order"
                </div>
        </xpath>
    </t>
  </templates>
Now, the receipt environment has the key earned_points, which holds the value we passed from the export_for_printing() function. Using XPath, we extend the OrderReceipt template and display it in the appropriate position.
The receipt will now display as shown.
The Odoo POS module supports the proper management of your company's operations. Using Odoo POS, you may manage multiple shops or restaurants. Even if you are not online, it will still function.
It also uses a different architecture from a development perspective since it needs to be worked offline.
We can customize the POS applications given by Odoo to meet our demands. We can modify the current business logic and customize the POS UI and customer receipts.