List Connected Devices
After successfully connecting the devices and the IoT box with Odoo, we can see the connected devices from the IoT App > Devices. By default, it will display the list of devices grouped by the IoT Box. We can also see the connection status, whether it is connected or not, and the connection type, like over WiFi, USB, or Bluetooth.
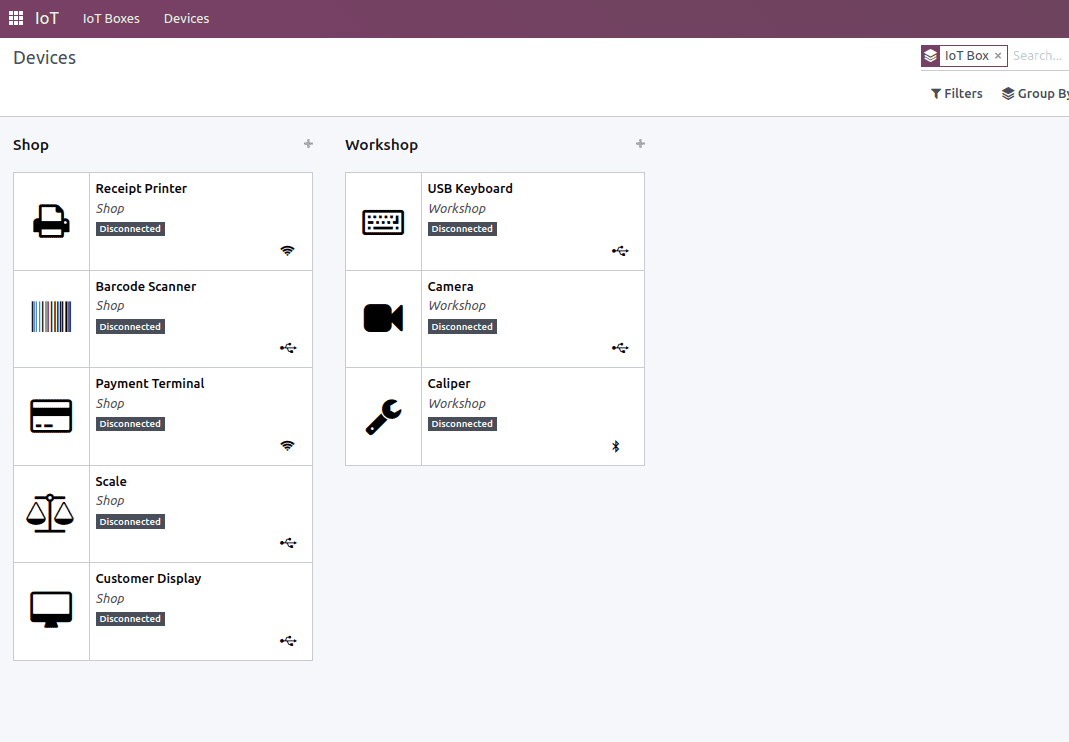
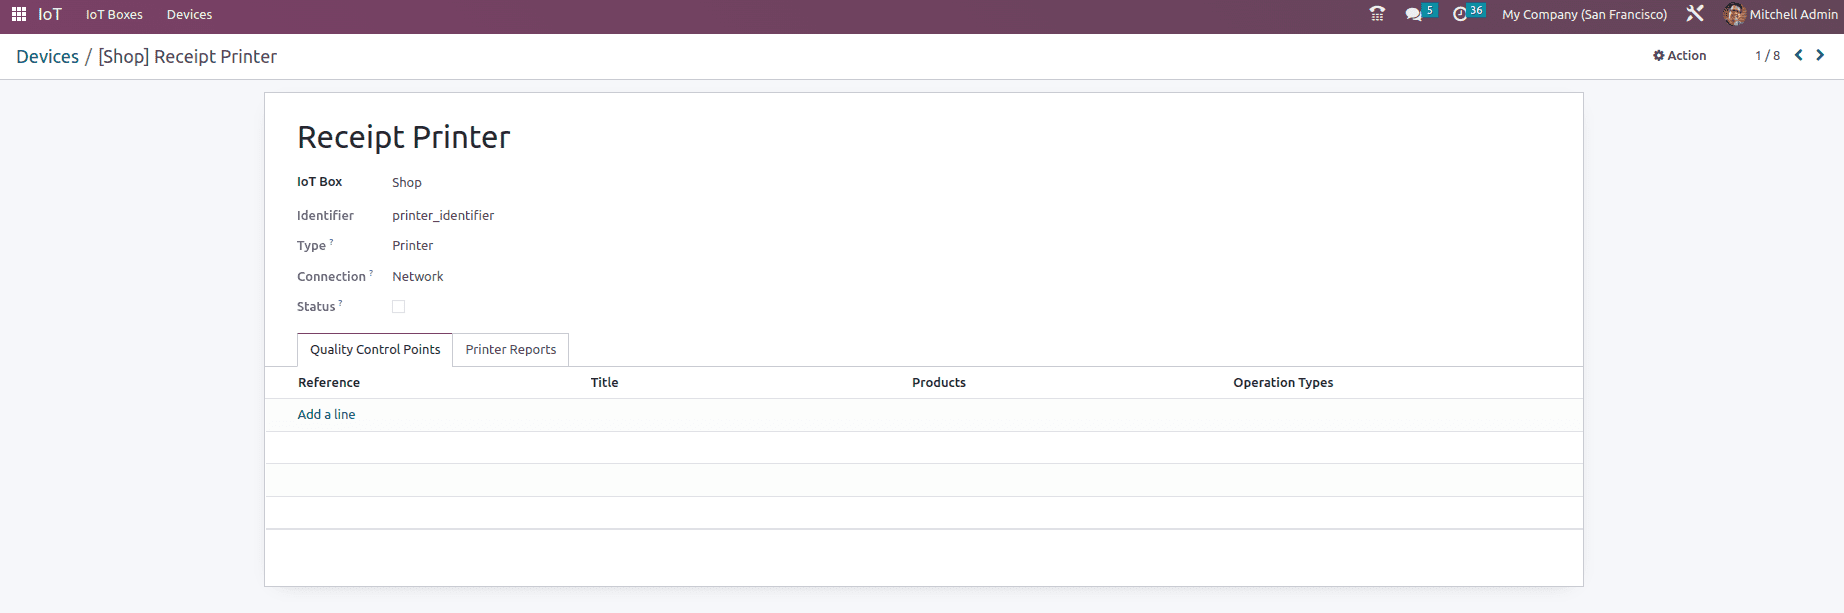
We can see more details about the device by clicking any of the tiles.
Input from device
The IoT Devices that are popularly used is QR code scanners, cameras, etc. Odoo IoT Box may not support all the devices out there, so we may have to provide support for the device to communicate with the IoT box. You can find the list of supported devices on this page https://www.odoo.com/page/iot-hardware. If your desired device is not on the list, we have to develop the driver for it.
Let’s say we are trying to connect a camera to the IoT box to capture the image of incoming products in our shop. After connecting the device to the IoT Box and loading the drivers, the camera will be ready. Now we have to fetch the image from the camera. For that, we can add a new field on the stock.picking model.
class StockPicking(models.Model):
		_inherit = 'stock.picking'
		device_id = fields.Many2one('iot.device', string='IoT
Device',domain="[('type', '=', 'camera')]")
ip_device = fields.Char(related="device_id.iot_id.ip")
device_identifier = fields.Char(related='device_id.identifier')
		input_picture = fields.Binary()
There is a quality_iot module which is part of the Enterprise edition, and it contains a widget that allows us to request an image from the camera through an IoT box. We can use this widget to capture the image. So we can add this module to our depends list. We can also create our own widget if we want.
...
	depends : [ 'quality_iot'],
...'
Now we can use the widget in the form view of the receipt transfer,
<group>
    <field name="device_id" required="1"/>
    <field name="ip_device" invisible="1"/>
    <field name="device_identifier" invisible="1"/>
    <field name="input_picture" widget="iot_picture" options="{'ip_field': 'ip', 'identifier': 'device_identifier'}"/>
</group>
The user should select the Camera from the list of devices, and the IP and identifier of the device are necessary for the widget to communicate with the camera.
Install and update the module, and you will get a button to capture the image in the Receipt transfer form view. Clicking the button will request the IoT box to capture an image and will return the image data as a response. It will be saved in the binary field.