Invoices
After confirming the sale order from the client, the user can send invoice to the
customer. The Seller can send the invoice to the customer with information including
sale transaction info (products, quantities, agreed prices ). Payment terms can
also be stated in the invoice.

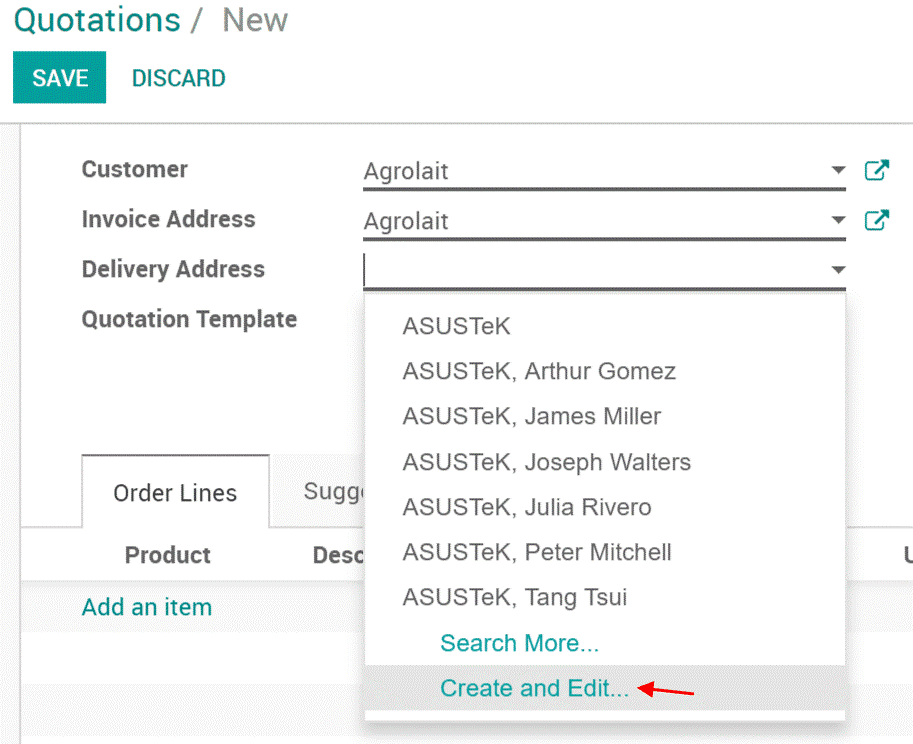
You will be navigated to a new window after clicking Create invoice button.
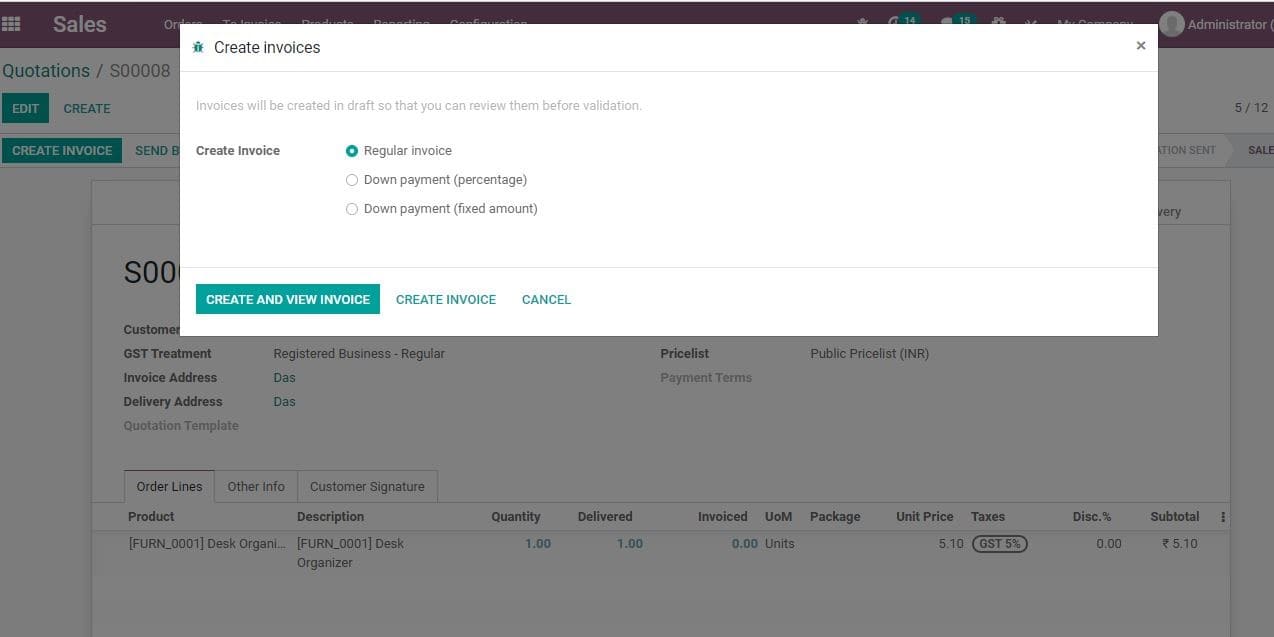
Here, you can find the below given options
- Regular Invoice
- Down Payment (percentage)
- Down Payment (Fixed Amount)
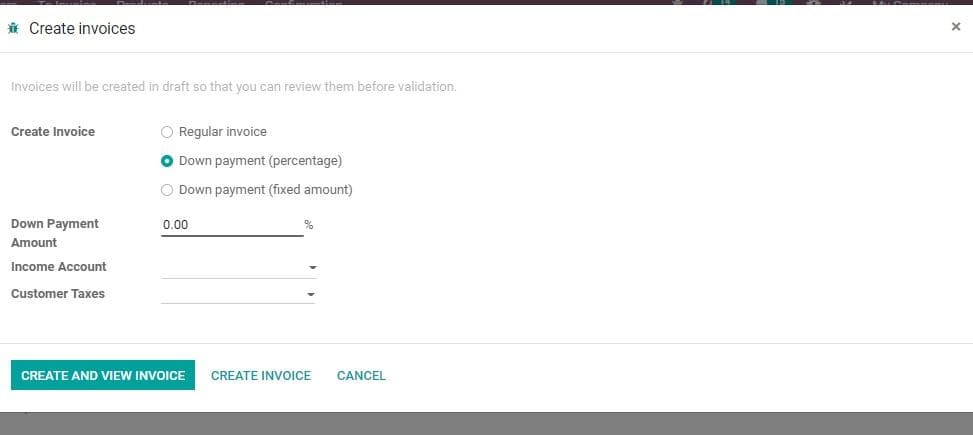
If you select down payment option, you will get two options- fixed amount and percentage
of the total amount. IF the user selects any of these he will get two fields- income
account and customer taxes.
IF you click the Create and View Invoice Button you will be redirected to a new
window.
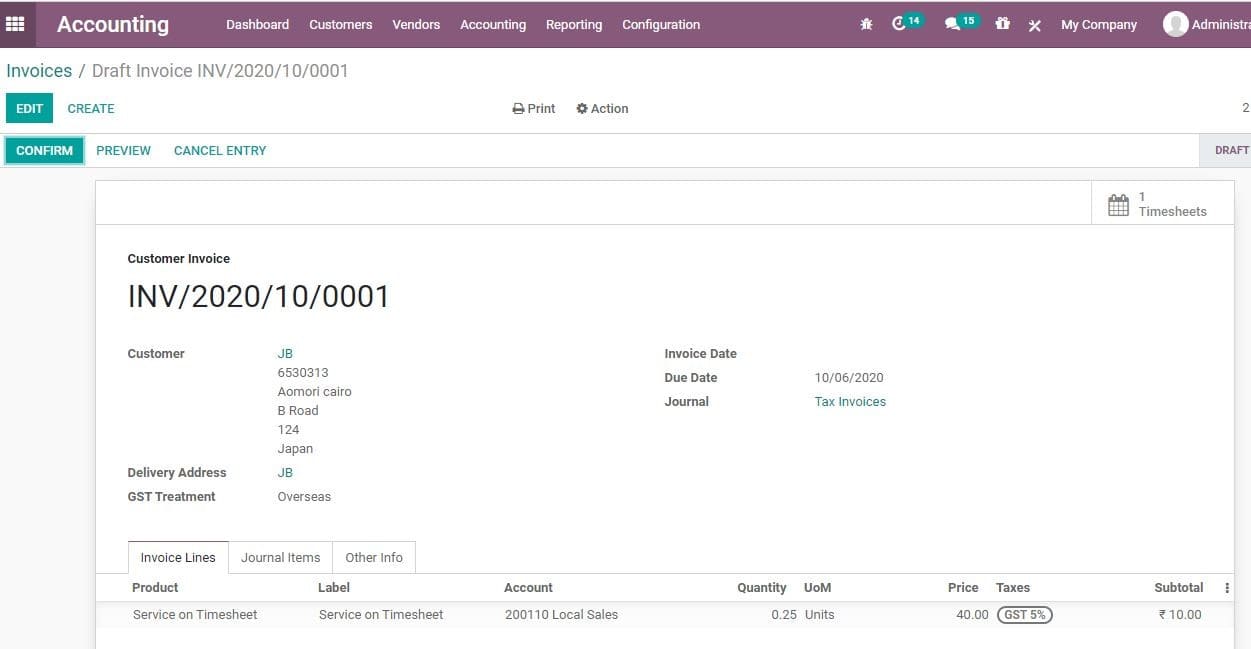
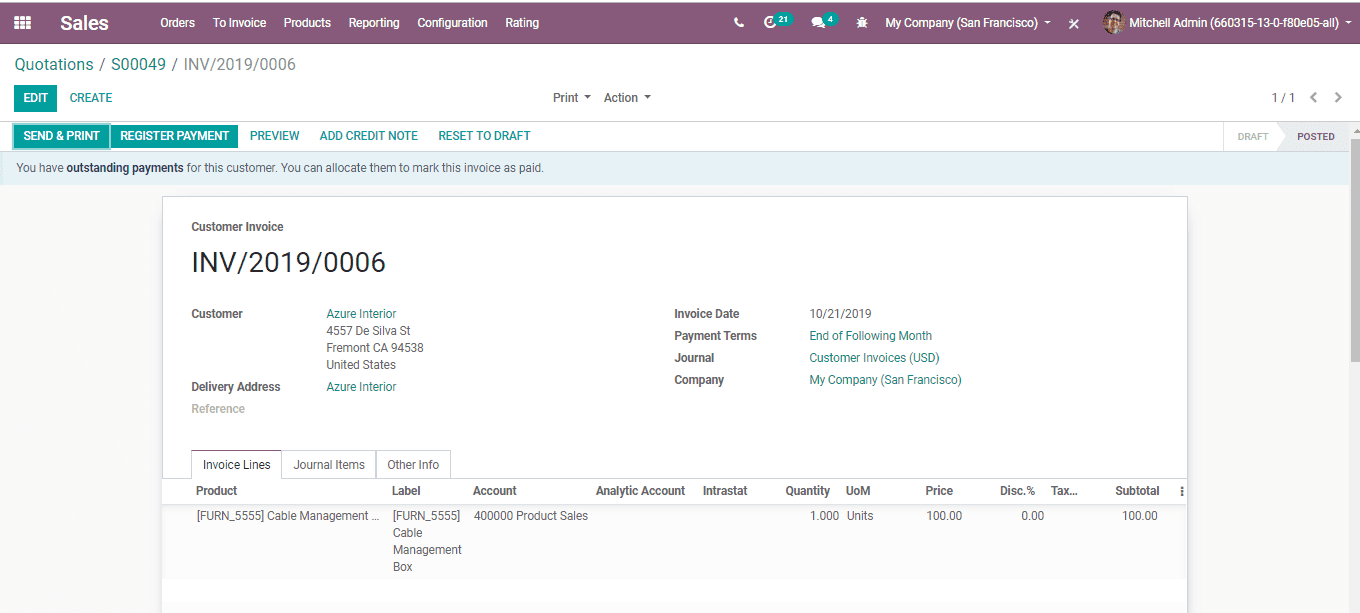
This is the invoice for the down payment.
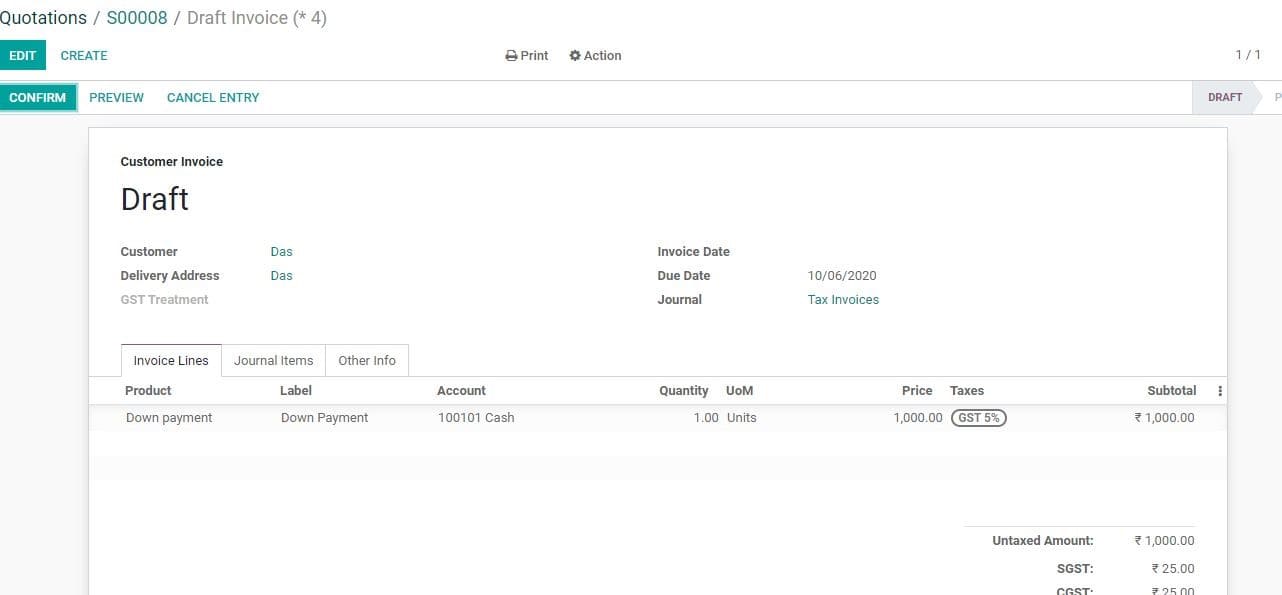
As the invoice here is DRAFT INVOICE, the user can make required changes in the
invoice by clicking the EDIT button.
You can also use the PREVIEW button, one can see the website view of the invoice.
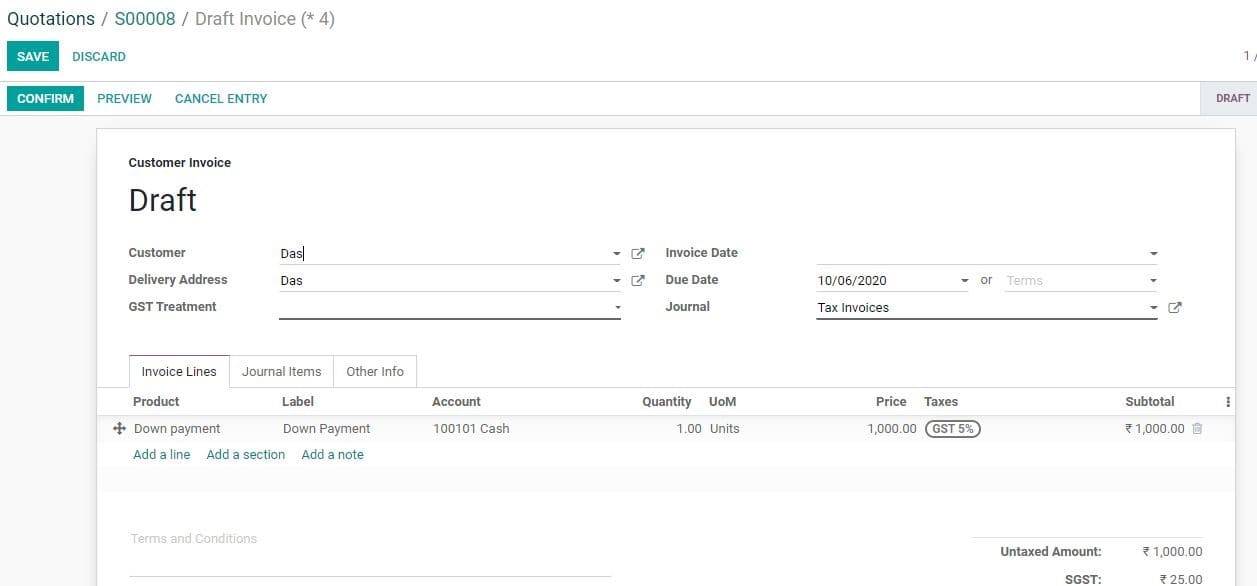
After making changes you can save the Changes.
If you do not want to make any changes, you can confirm the order by clicking POST
button.
Click POST button, then you will be navigated to new window like below:
Then you can click Send and Print button to send the invoice
You will get a default email template here.
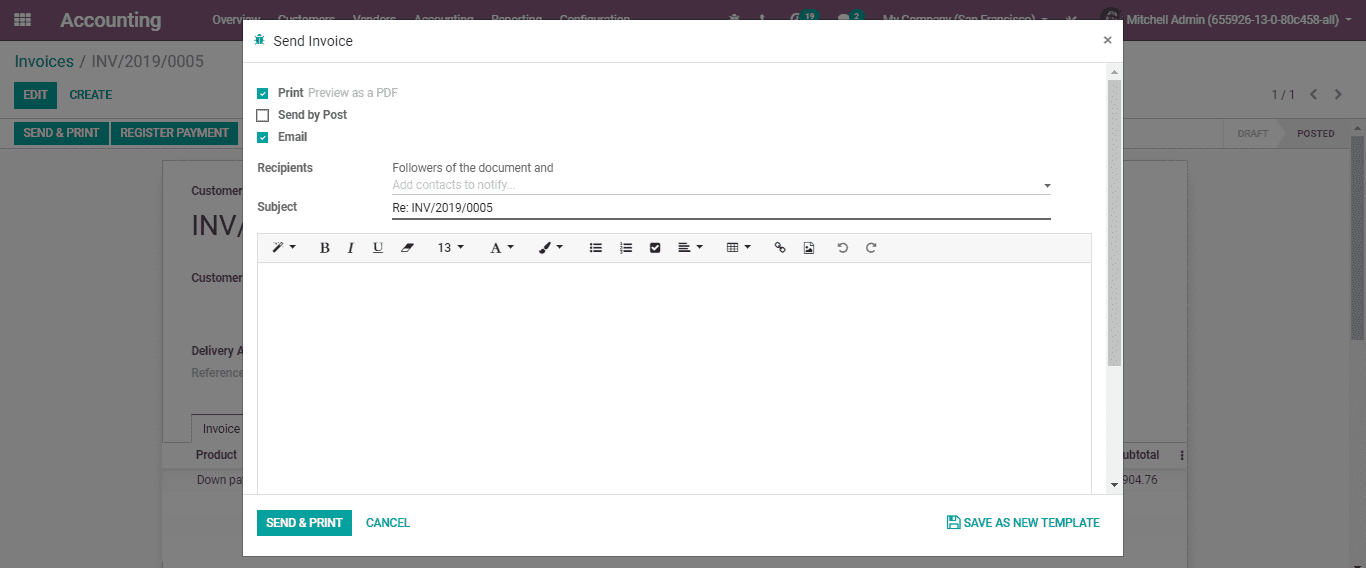
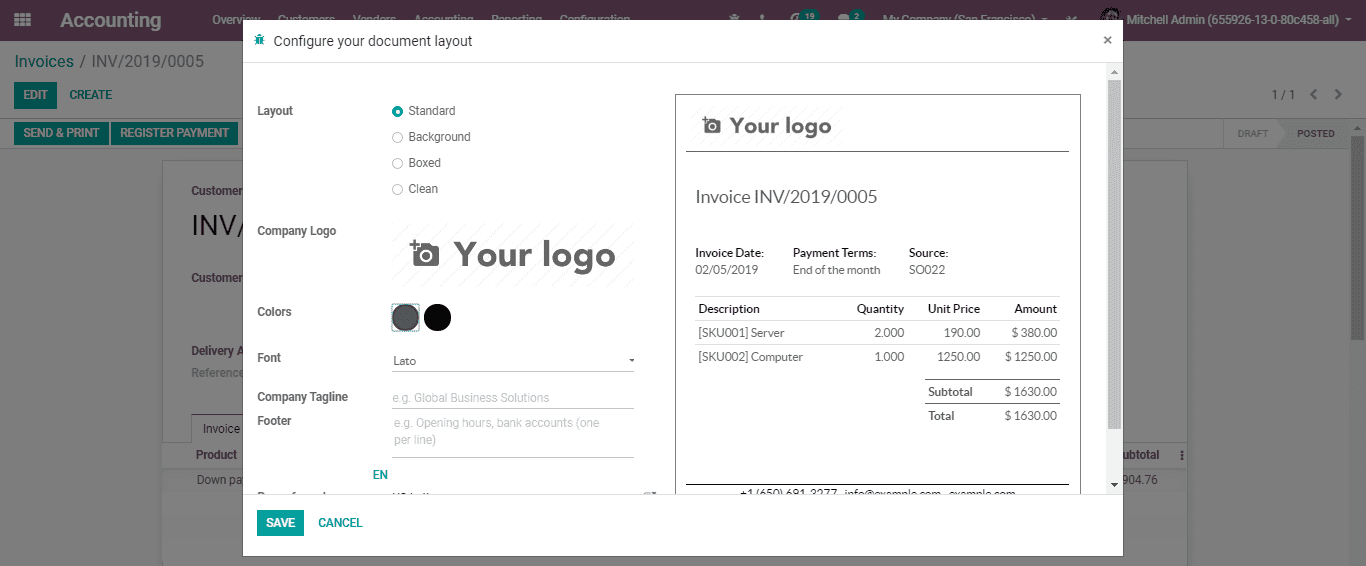
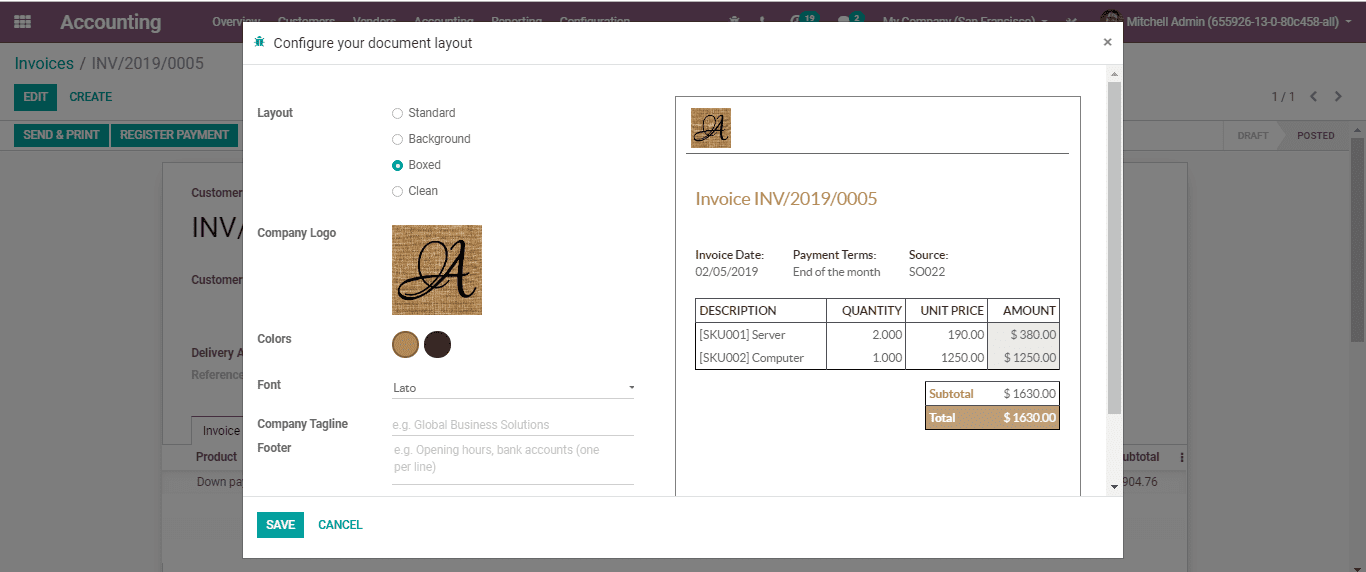
Here, you will be able to make changes in the layout. You can add back ground to
the invoice; add boxes, logs, and change colour and font. A user can also add a
tagline of the company and footer to the invoice.
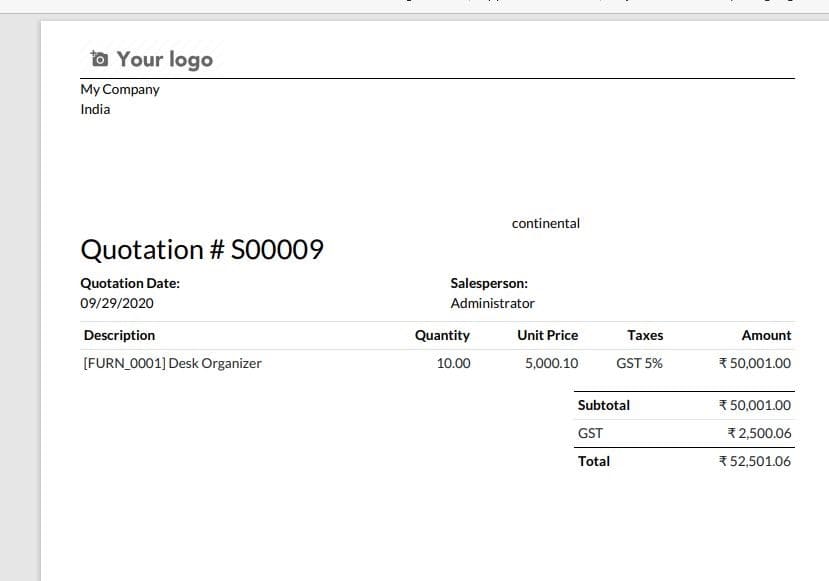
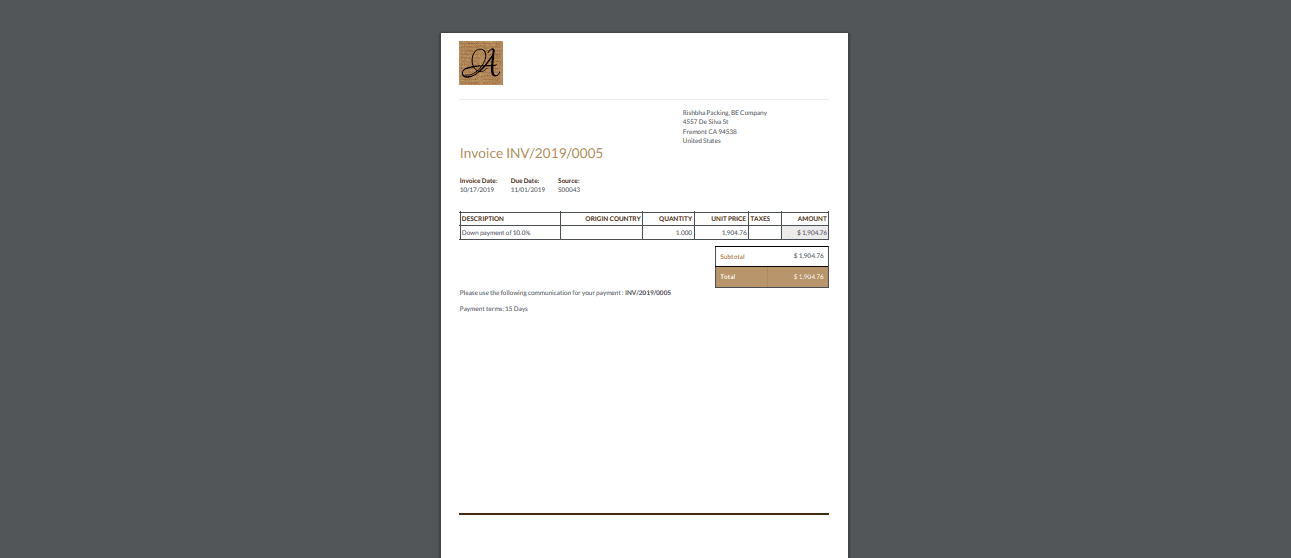
The print out of the invoice will appear like this.
Here, the next step is Registering Payment.
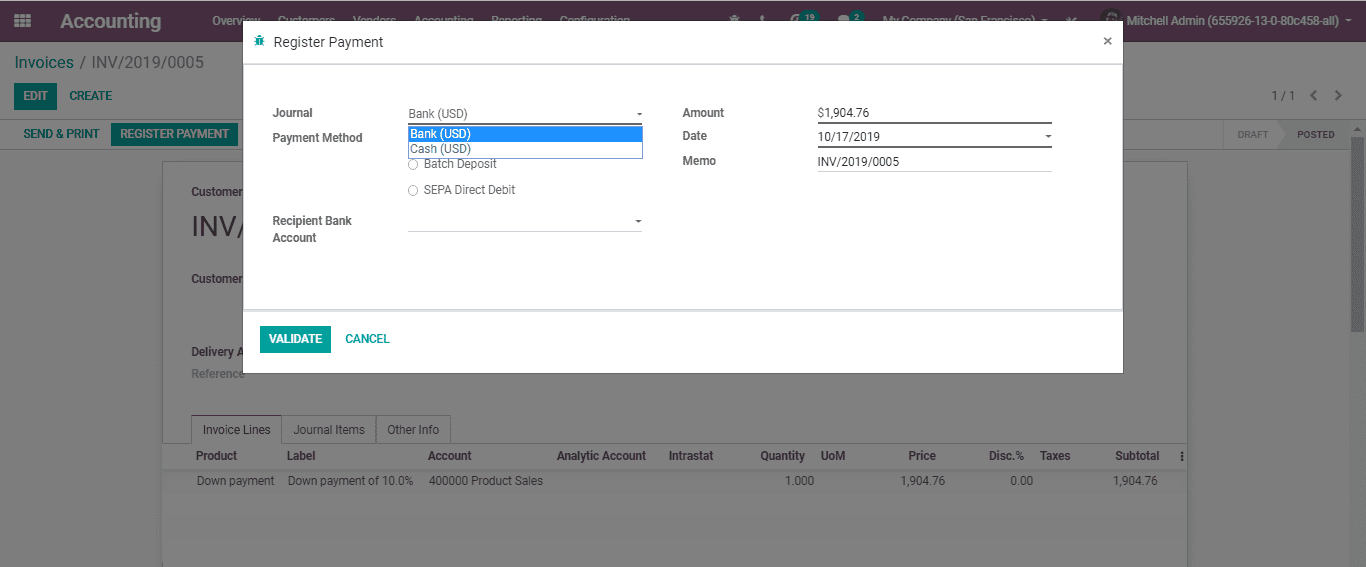
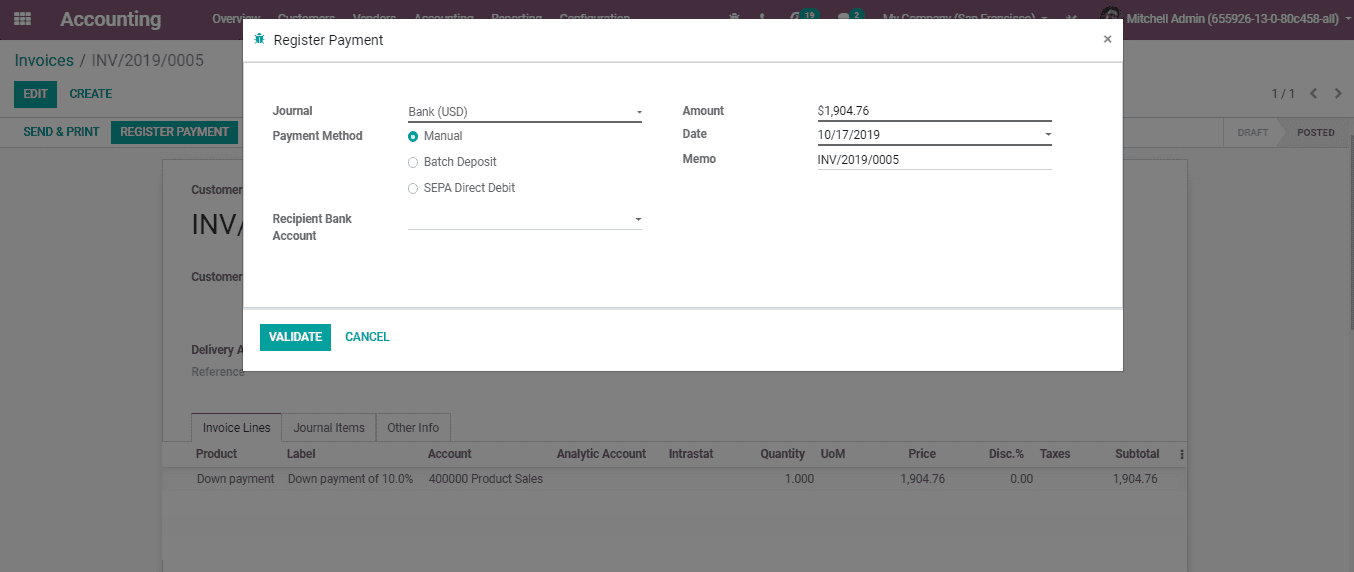
On clicking the Register Payment button, you will be navigated to a fresh window.
You can also select the journal.
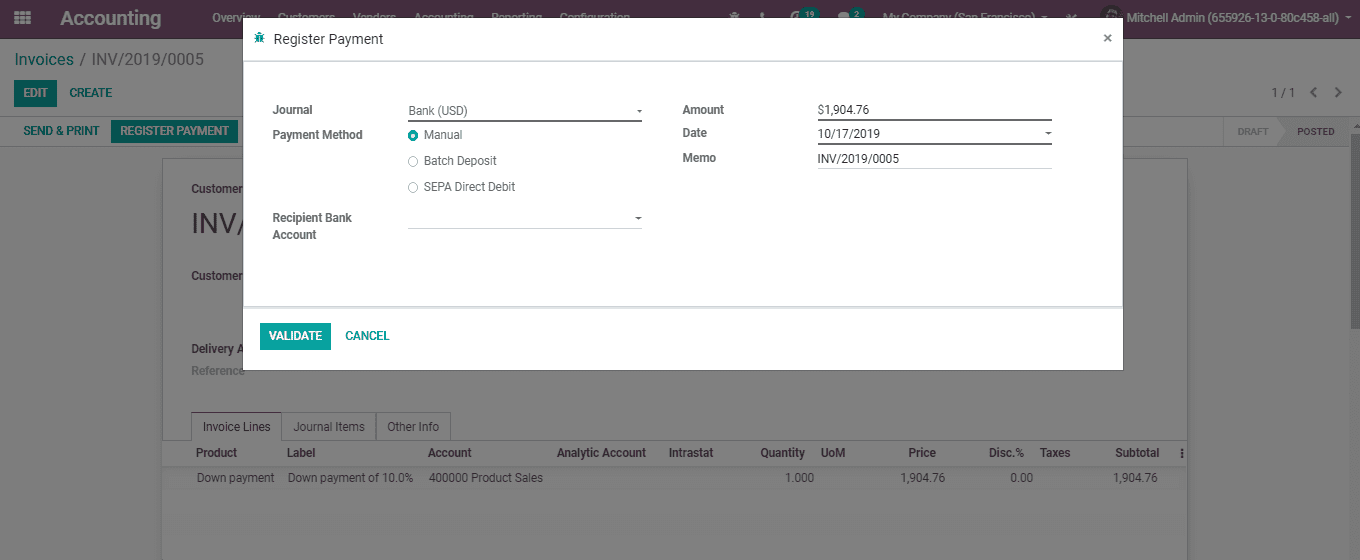
Selection of payment method is also possible,
You will be redirected to a new window on clicking Validate Button. This will confirm
the payment.
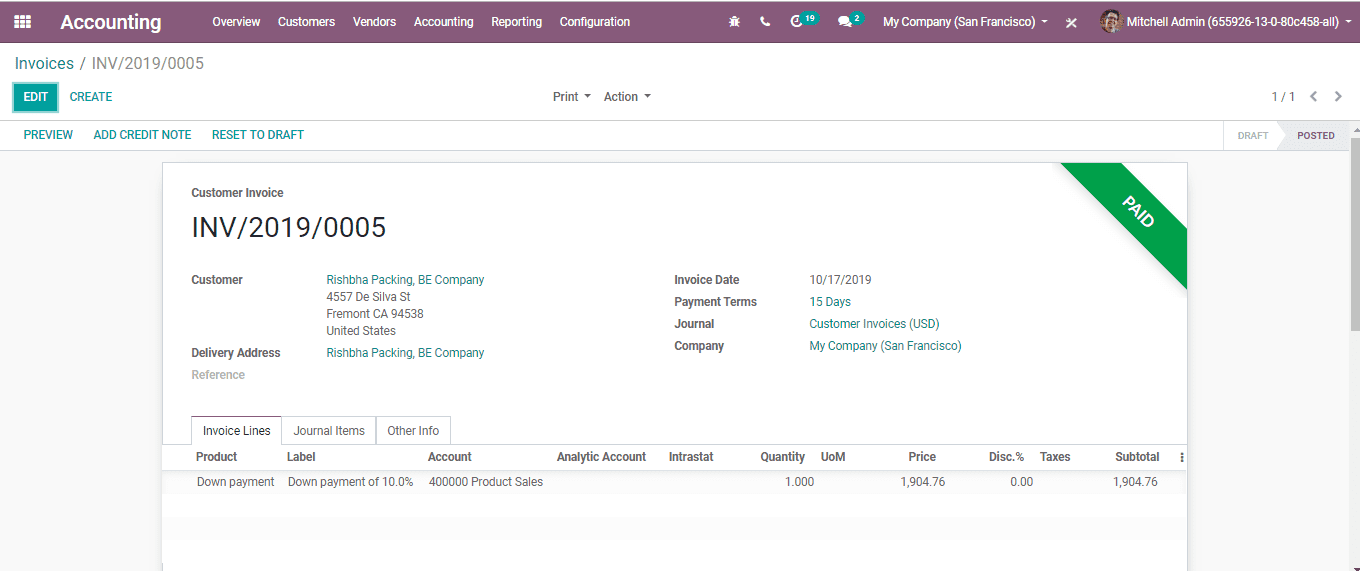
The user can also find a ribbon widget notifying invoice paid status.

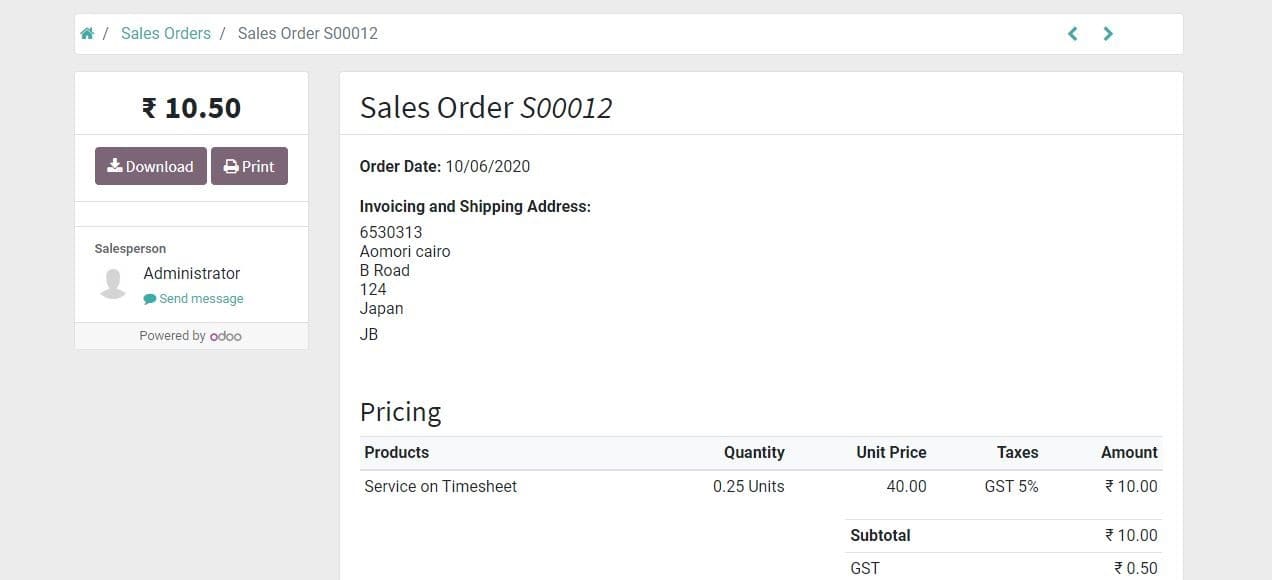
Preview of the invoice
You can get a preview of the invoice by clicking the PREVIEW button. This will show
you the preview of the paid invoice.
The above given is a delivery order based on the invoice. In Odoo there are two
invoicing policies.
Invoicing policy
Odoo gives two invoicing options
Invoice what is ordered: This enables the invoice to generate an invoice for the
full order as soon as the sales order is confirmed.
Invoice what is delivered: Here, you can generate invoice on what you delivered
even if it's a partial delivery.

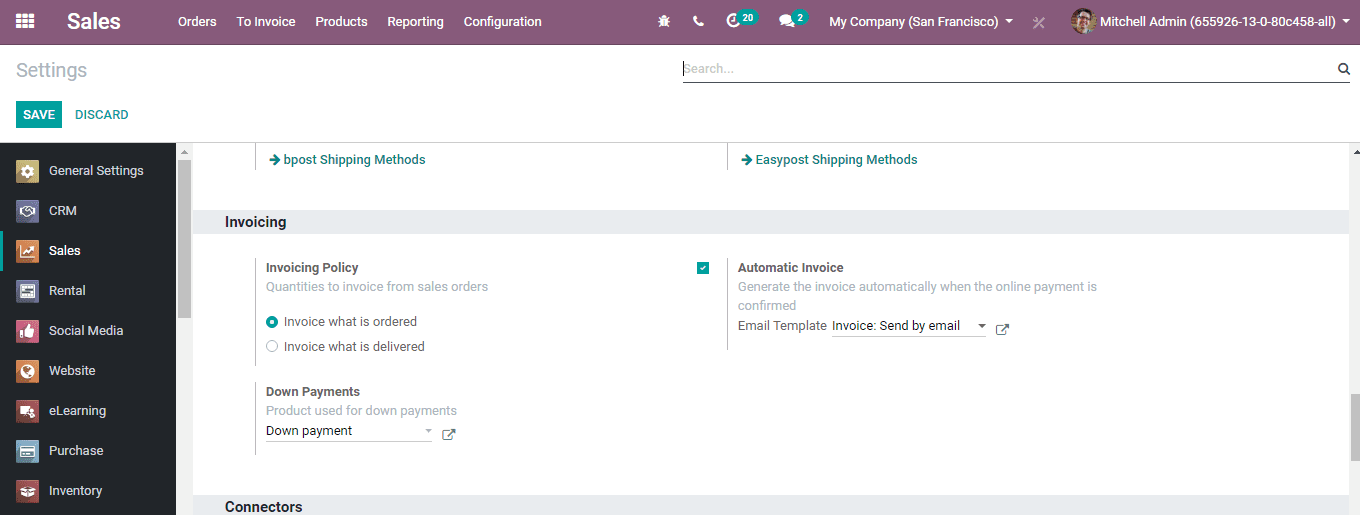
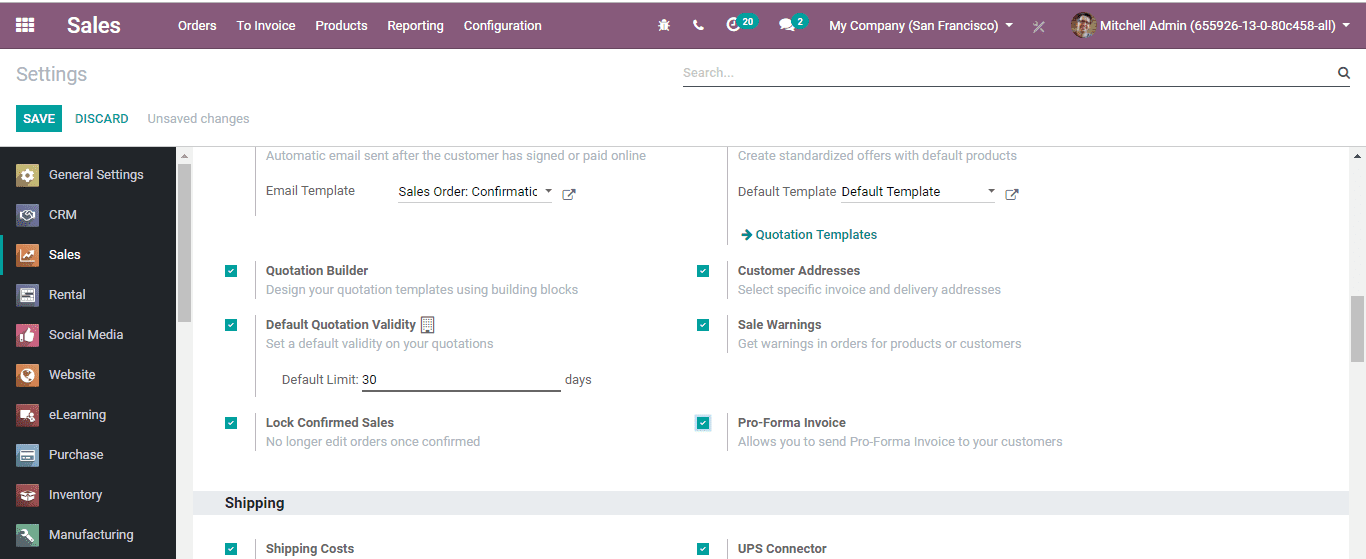
To enable the desired invoicing policy, Go to Sales>Configurations>Settings. Select
the invoicing policy under Invoicing Option.
In Odoo default mode is Invoice on ordered quantity. But the Invoice on delivered
quantity can be beneficial for some business. For example, food businesses can use
invoice on sold quantity.
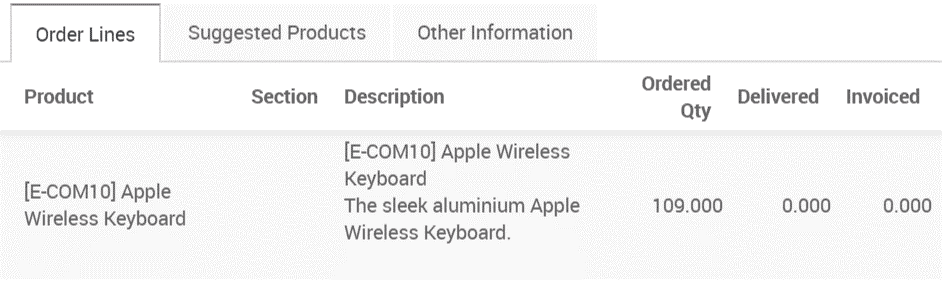
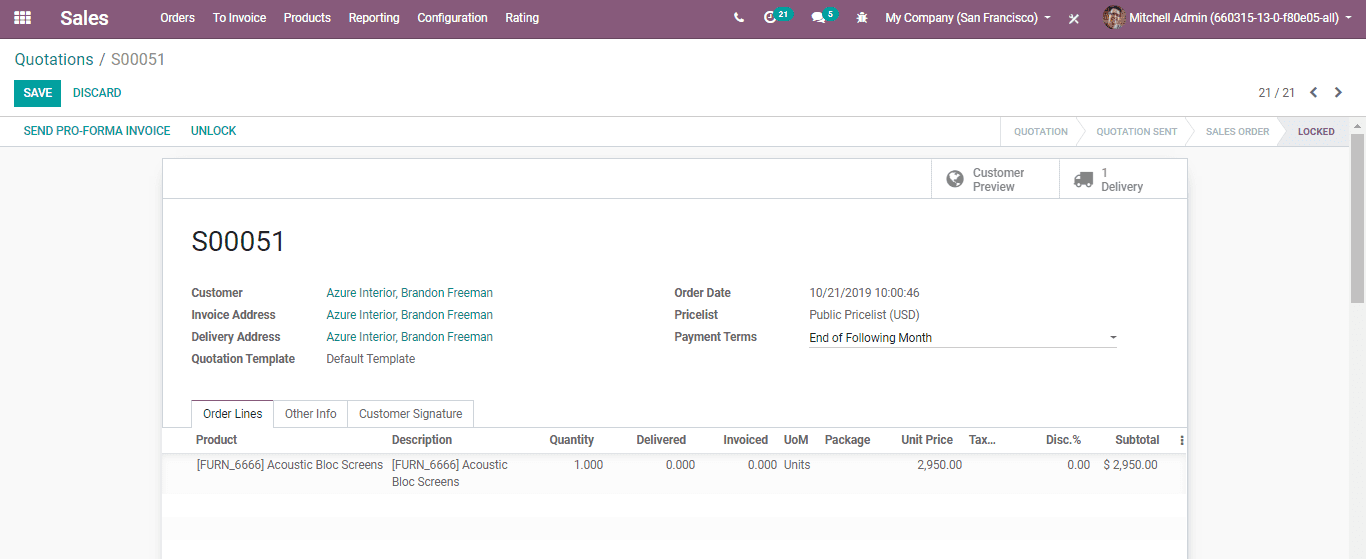
A user can see the delivered and invoiced quantities on confirming the sale.
If you set the invoice policy as ordered quantitates, the invoice can be generated
when the sale is confirmed.
If the invoice policy is set as delivered quantities, the user will first have to
validate the delivery. Then only they can generate an invoice. In case of partial
delivery validation, the invoice will be based on the delivered quantity.
Automatic invoice
Odoo helps to generate the invoice automatically. Invoice generation gets automated
when the online payment is confirmed.
To perform the action, go to Sales>Configuration > Settings and Activate Automatic
Invoicing under Invoicing
Refund
Odoo does not allow making changes in invoice that have been approved and sent to
the client. IF a mistake is committed in an approved receipt, the user will have
to follow a legitimate method- Refund Receipt. This enables the generation of another
invoice.
This can be done by clicking ADD CREDIT NOTE button
By clicking ADD CREDIT NOTE Button, you can navigate to a new window.
You will be able to choose the CREDIT Method here. IF you want partial refund you
can use PARTIAL REFUND [refund]. For full refund you have to use the cancel option
and for full refund and new draft invoice you have to modify it. The reason for
refund can also be cited here. Other fields Refund date and Journal also have to
be filled.