Model creation in the Odoo Studio module is straightforward and less time-consuming. Using the studio module, we can create fields in our custom module or an already existing module. We can create or modify the fields using Studio; it is a very easy process. Using this studio, you can create custom modules for your needs in easy and simple steps.
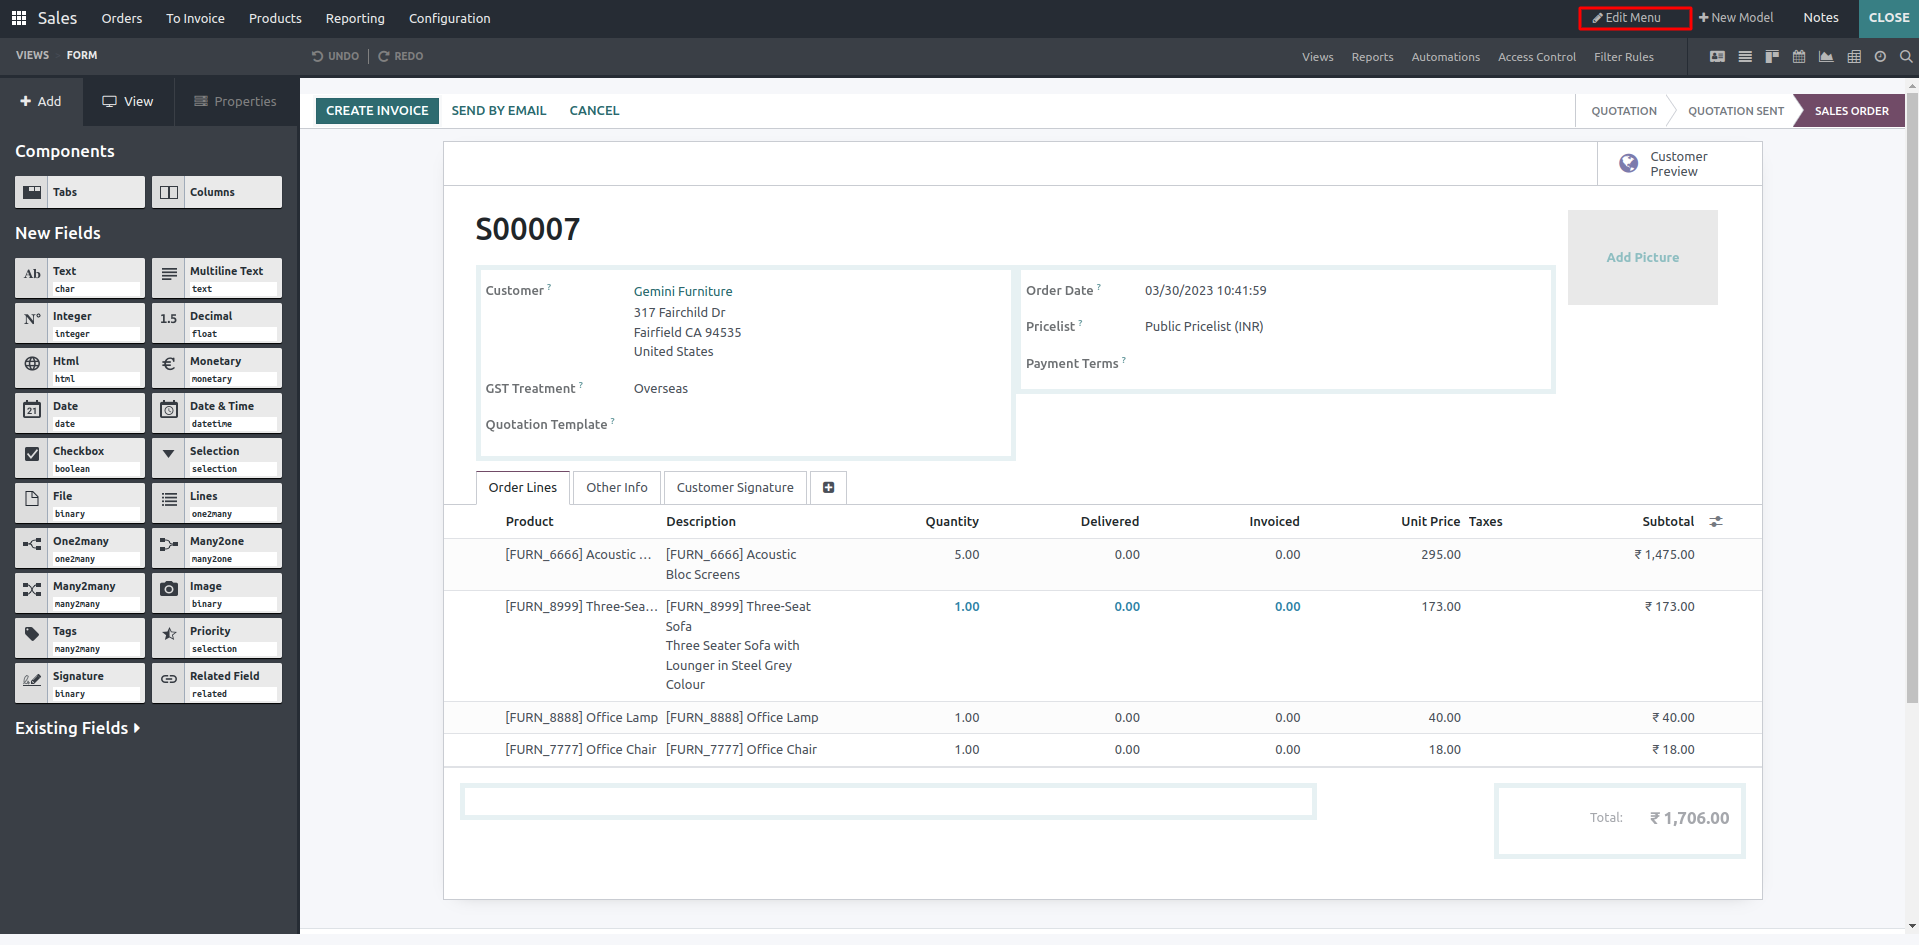
While clicking the toggle studio button, a new window will be opened. In this window, we have the option to create a model.
After clicking the "new model" button, we need to provide the model name in the next window.
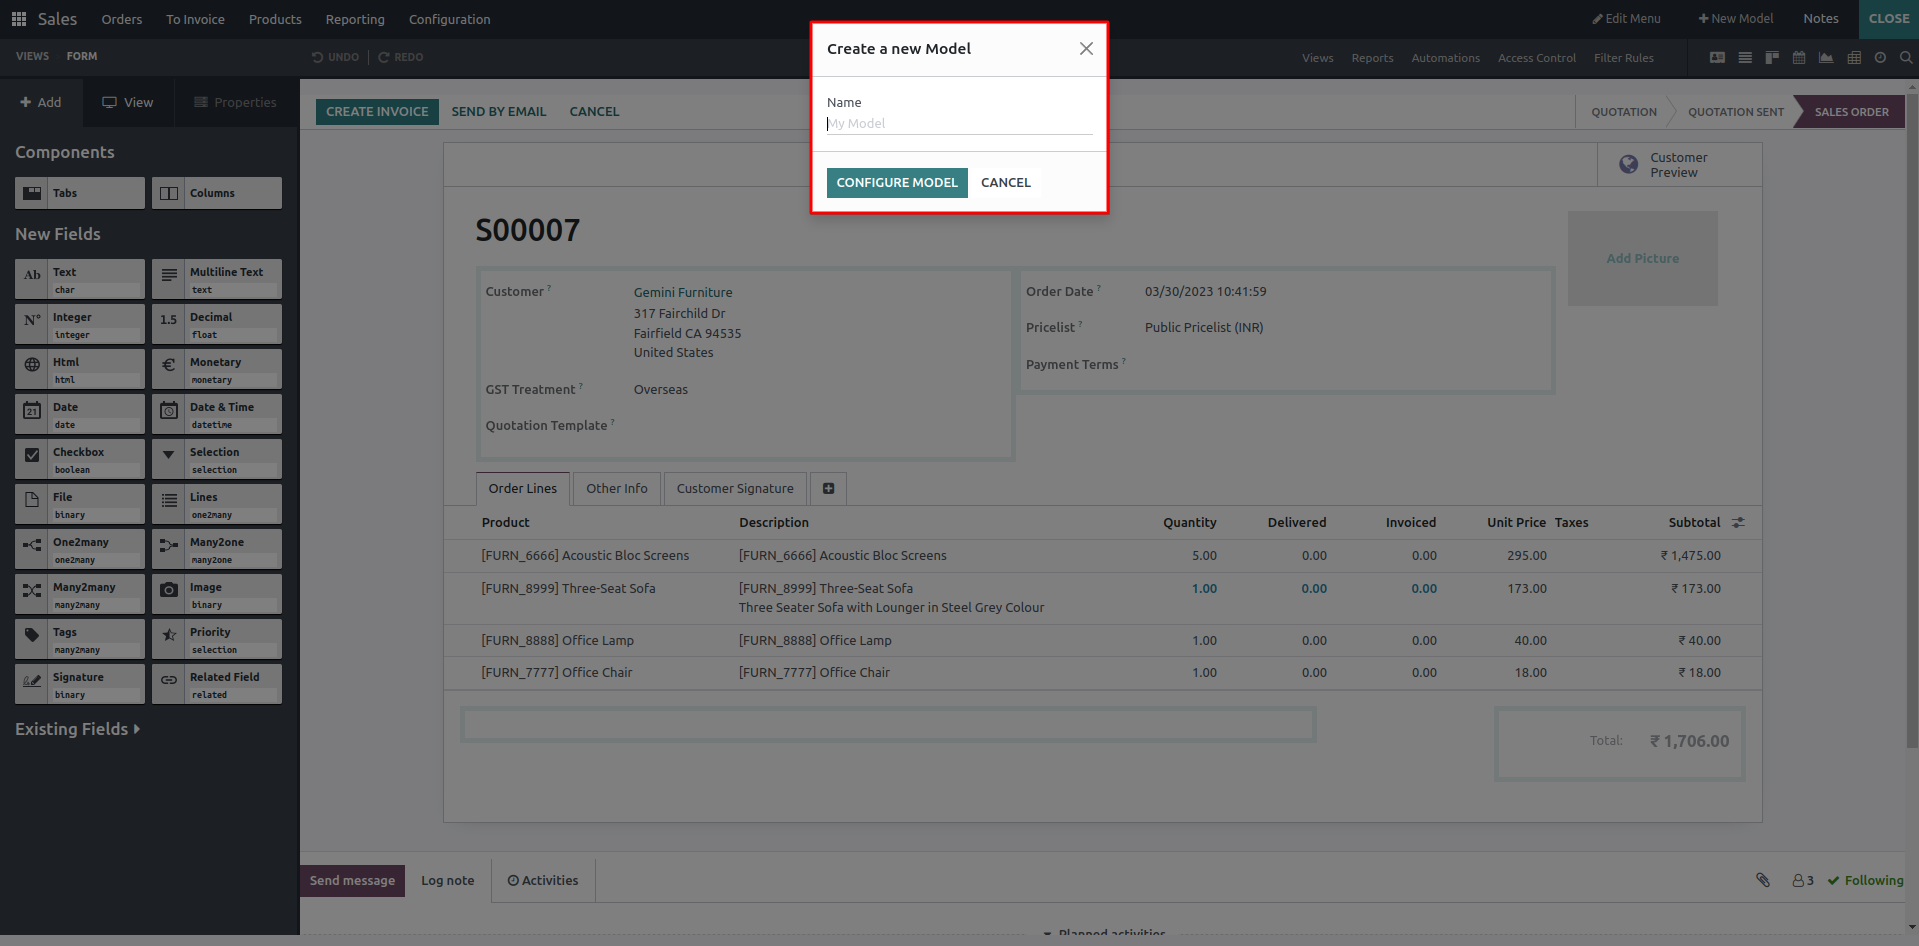
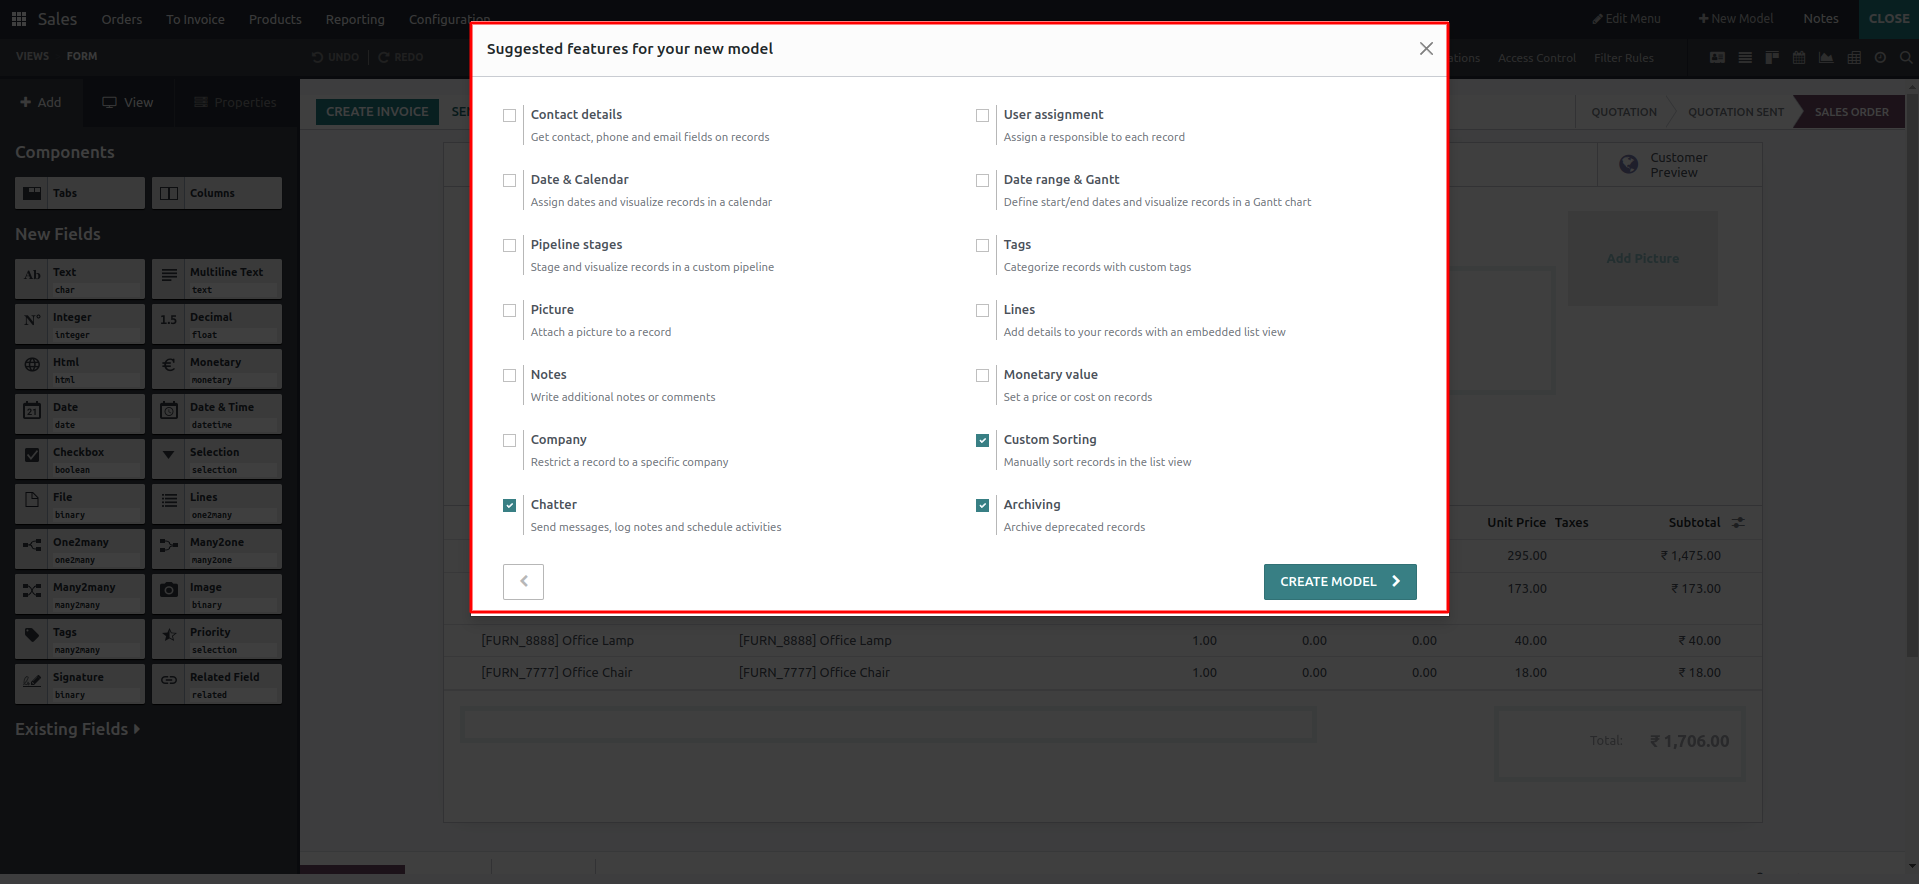
After that, we can add features to the model and create it.
For views:
Odoo Studio has different types of views that will display the contents of the model or database table. The views in the studio are more user-friendly. You can create multiple views in a few steps.
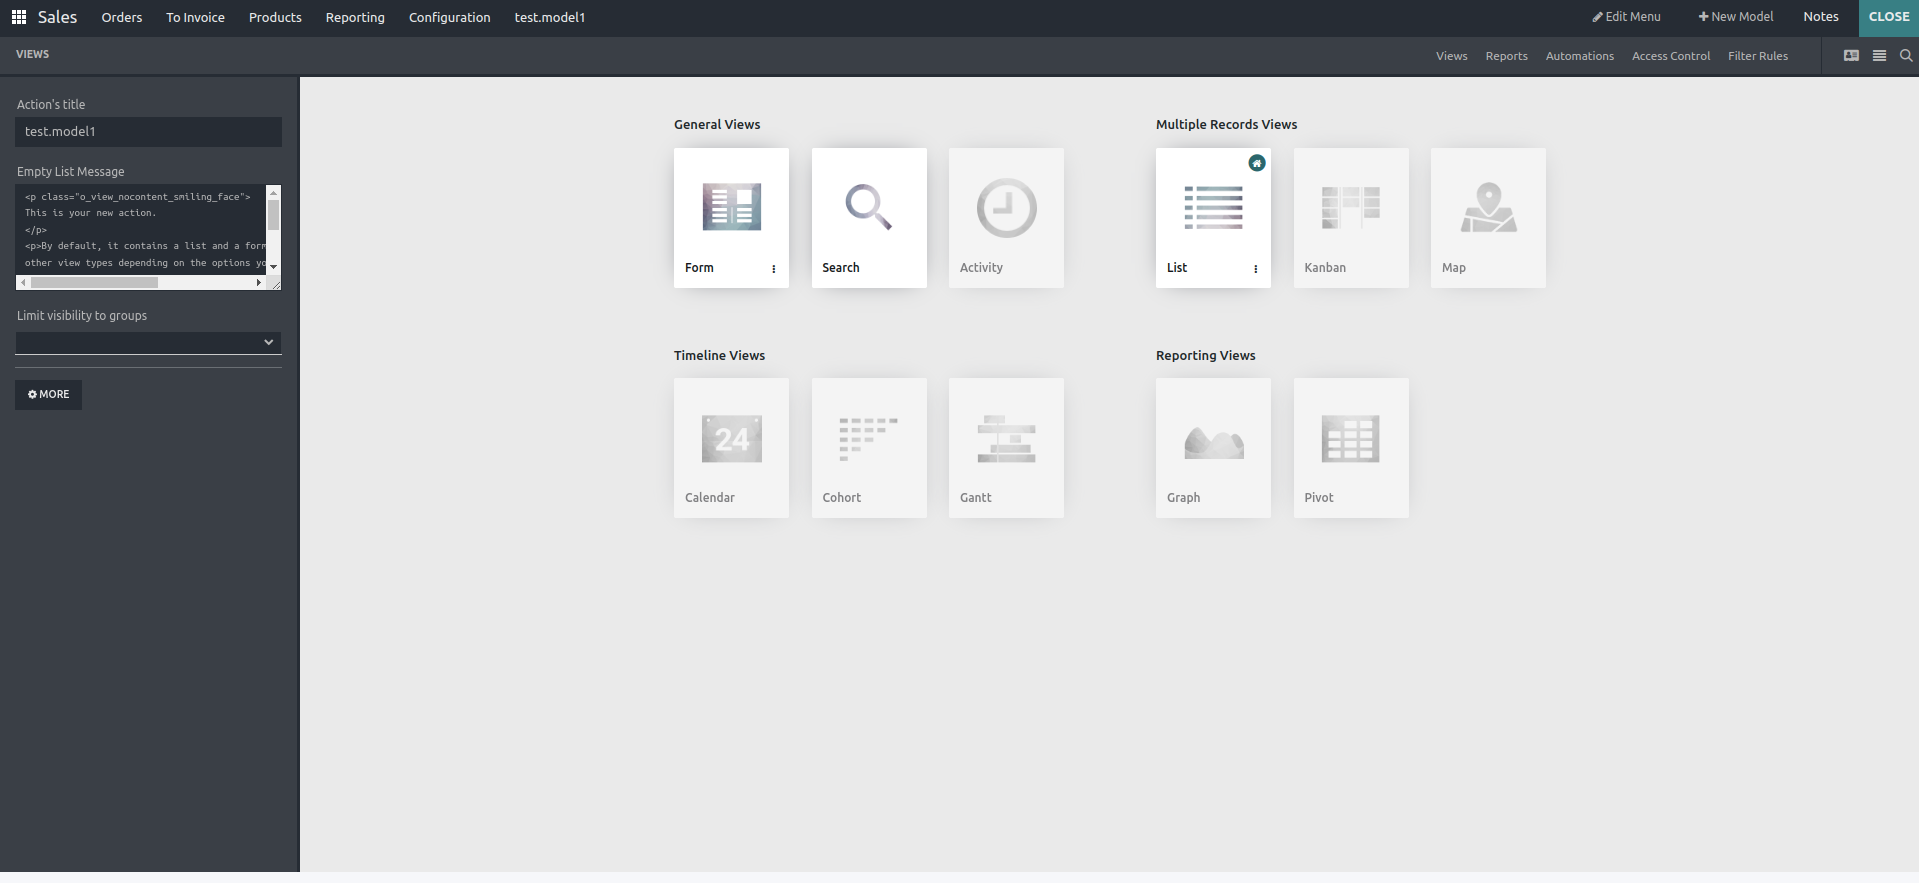
General Views:
Form
A form view will display a single record of the model, or it will display the single raw of a database table. In this, you can create, edit, and delete records.
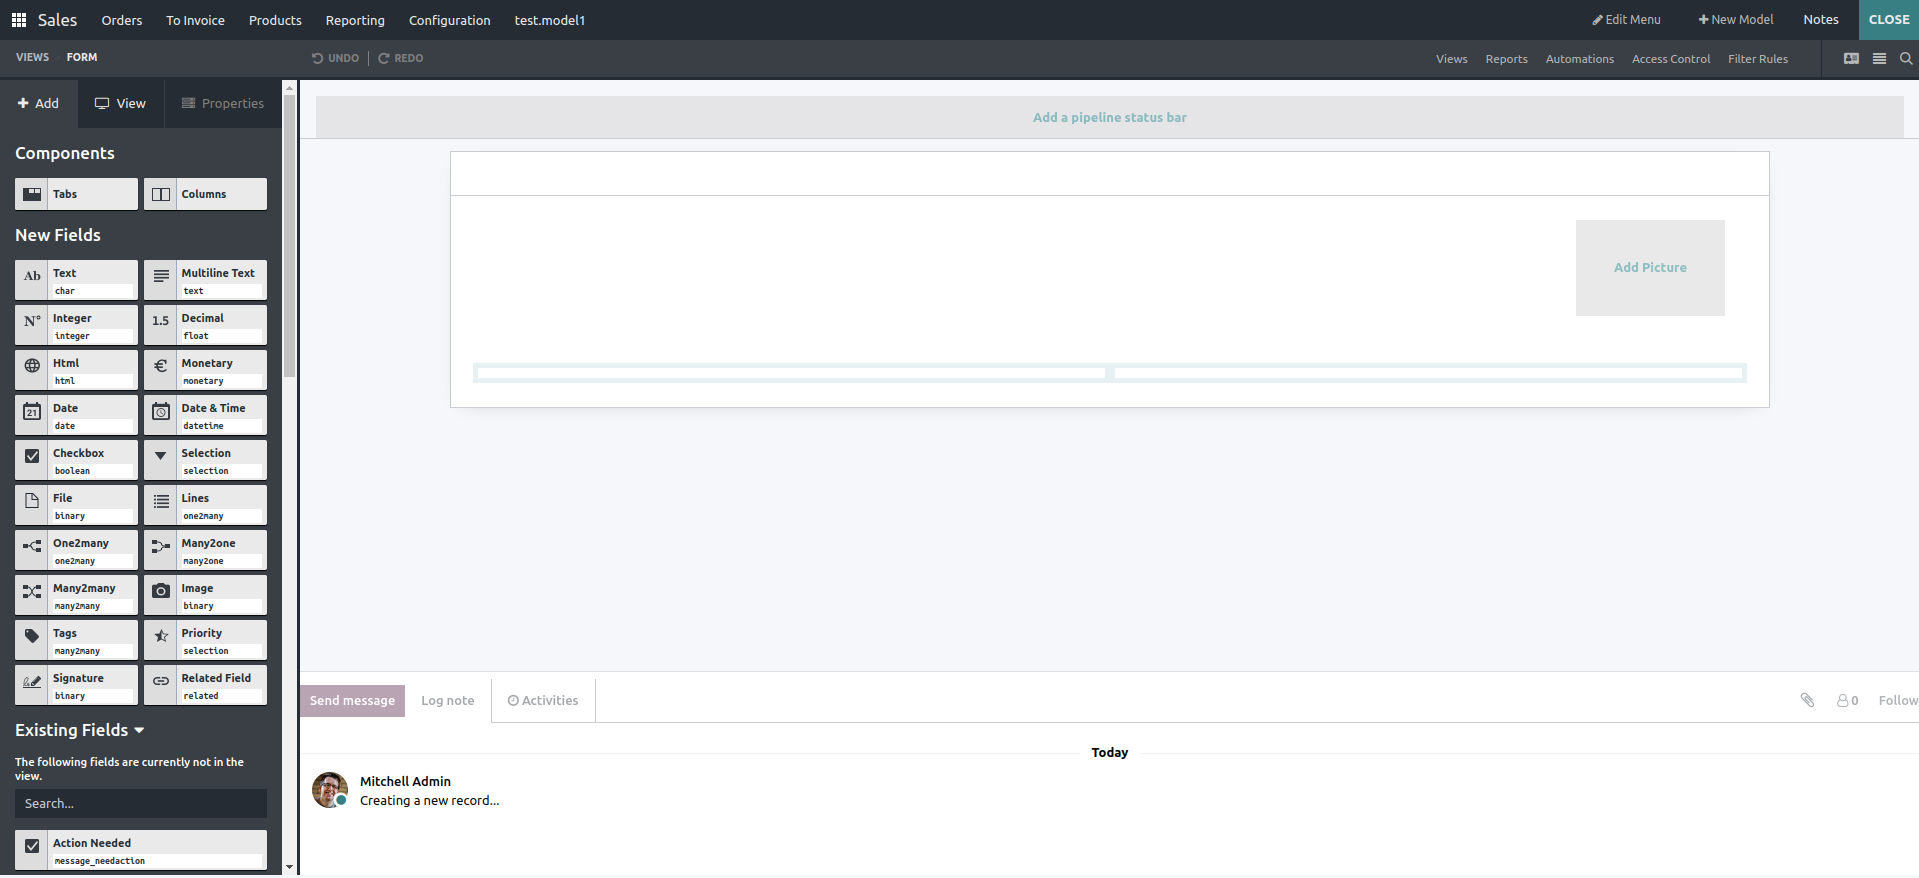
We can select different types of components and fields, and then drag and drop them to the needed place.
When we select the tabs, we have options for changing labels (names) and adding user groups.
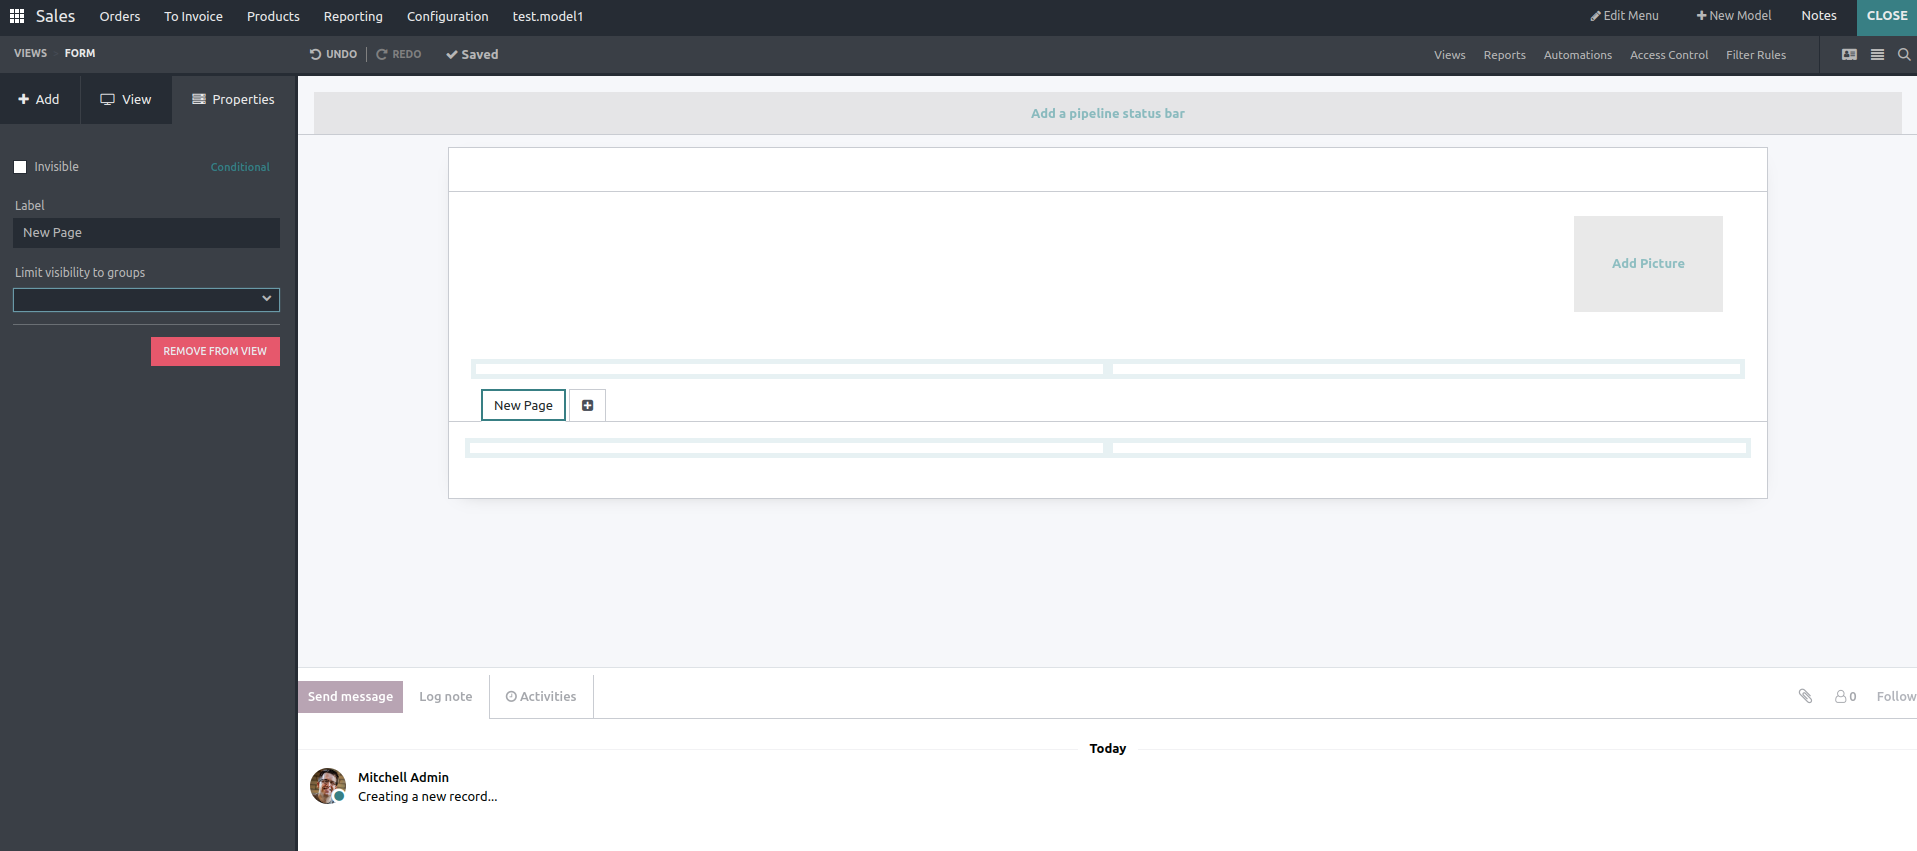
Also, in the columns, there are options for names and user groups.
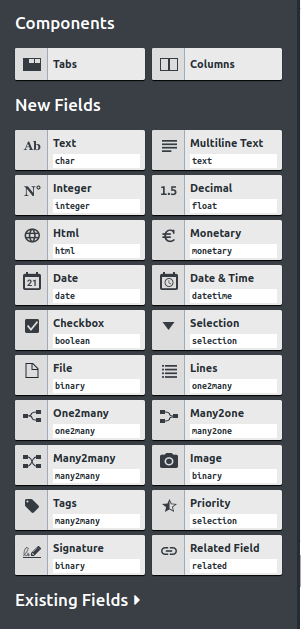
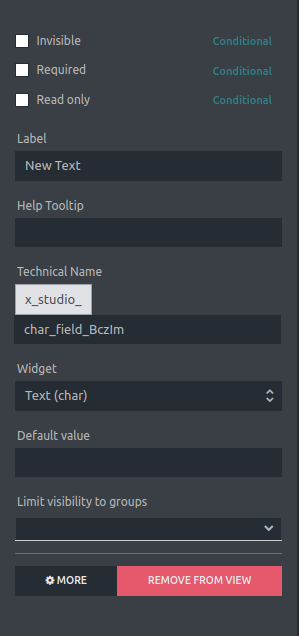
Under the new fields section, different types of fields are available. While we select the field we change the properties of fields like widget, required, read-only, help, etc
Text field:
For this field, you can set the condition as required, and invisible. You add help, labels, default values, and user groups. If you don’t want this field, you can remove it from view.
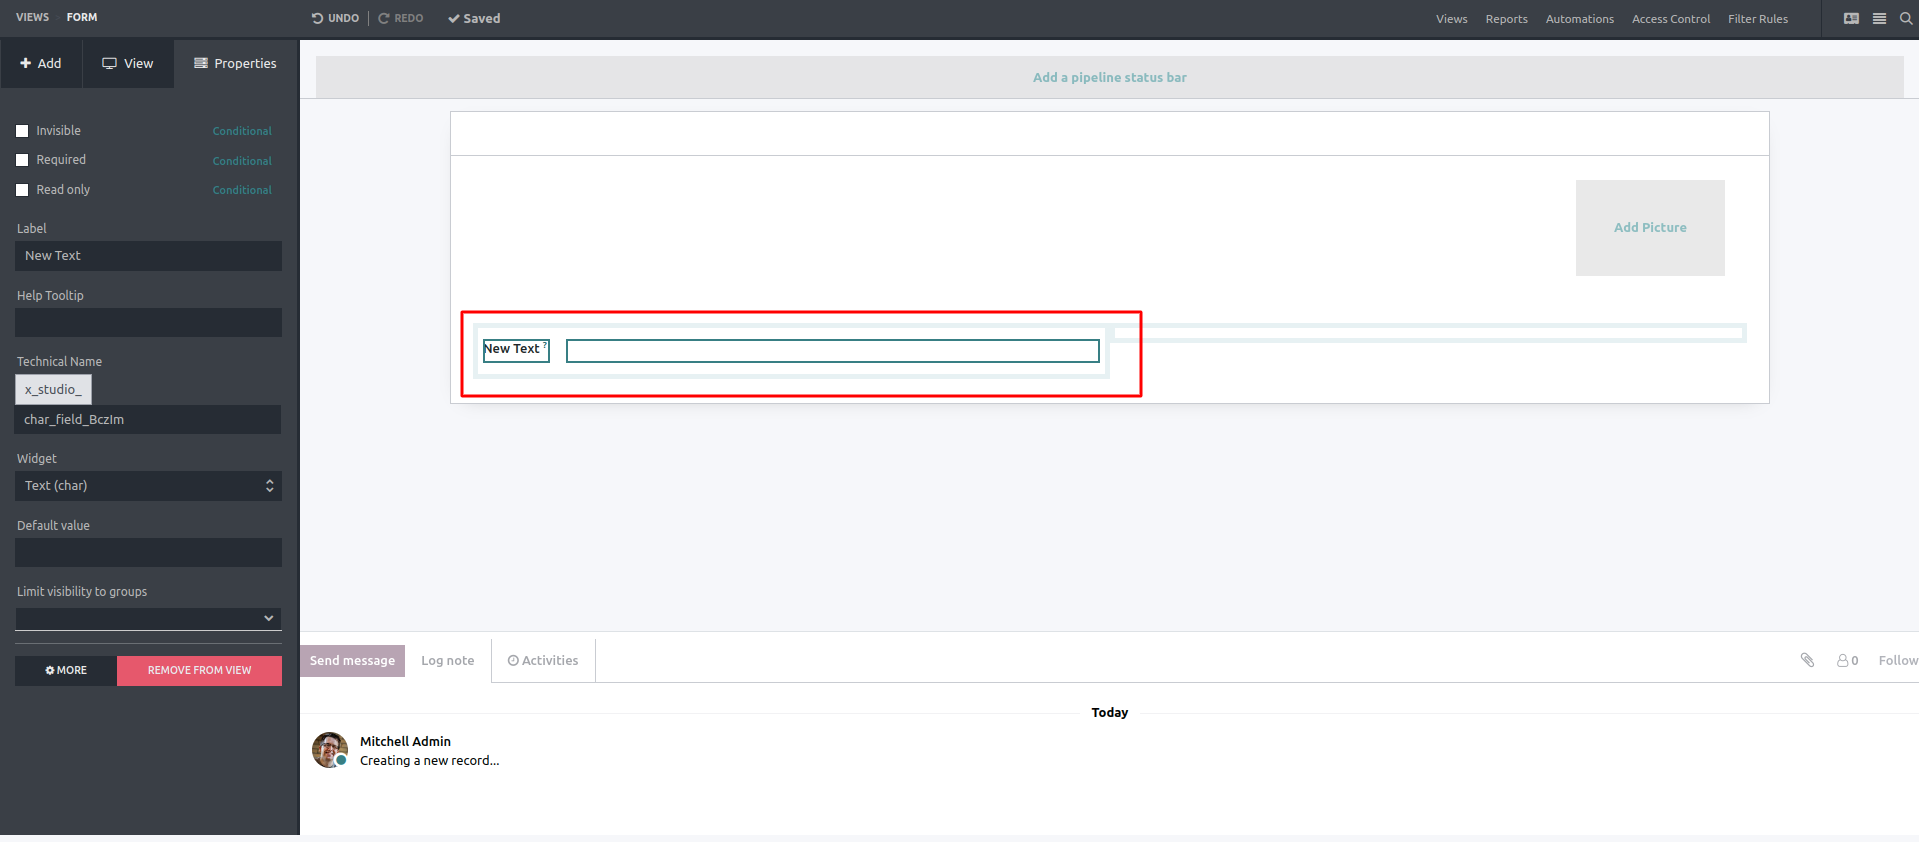
You can see the invisible field in the shaded portion by clicking Show invisible elements.

Multiline text: Multiline text is used for adding more than one line.
Integer: In this field, you can add integer numbers. The default value is zero.
Decimal field: You can add decimal numbers.
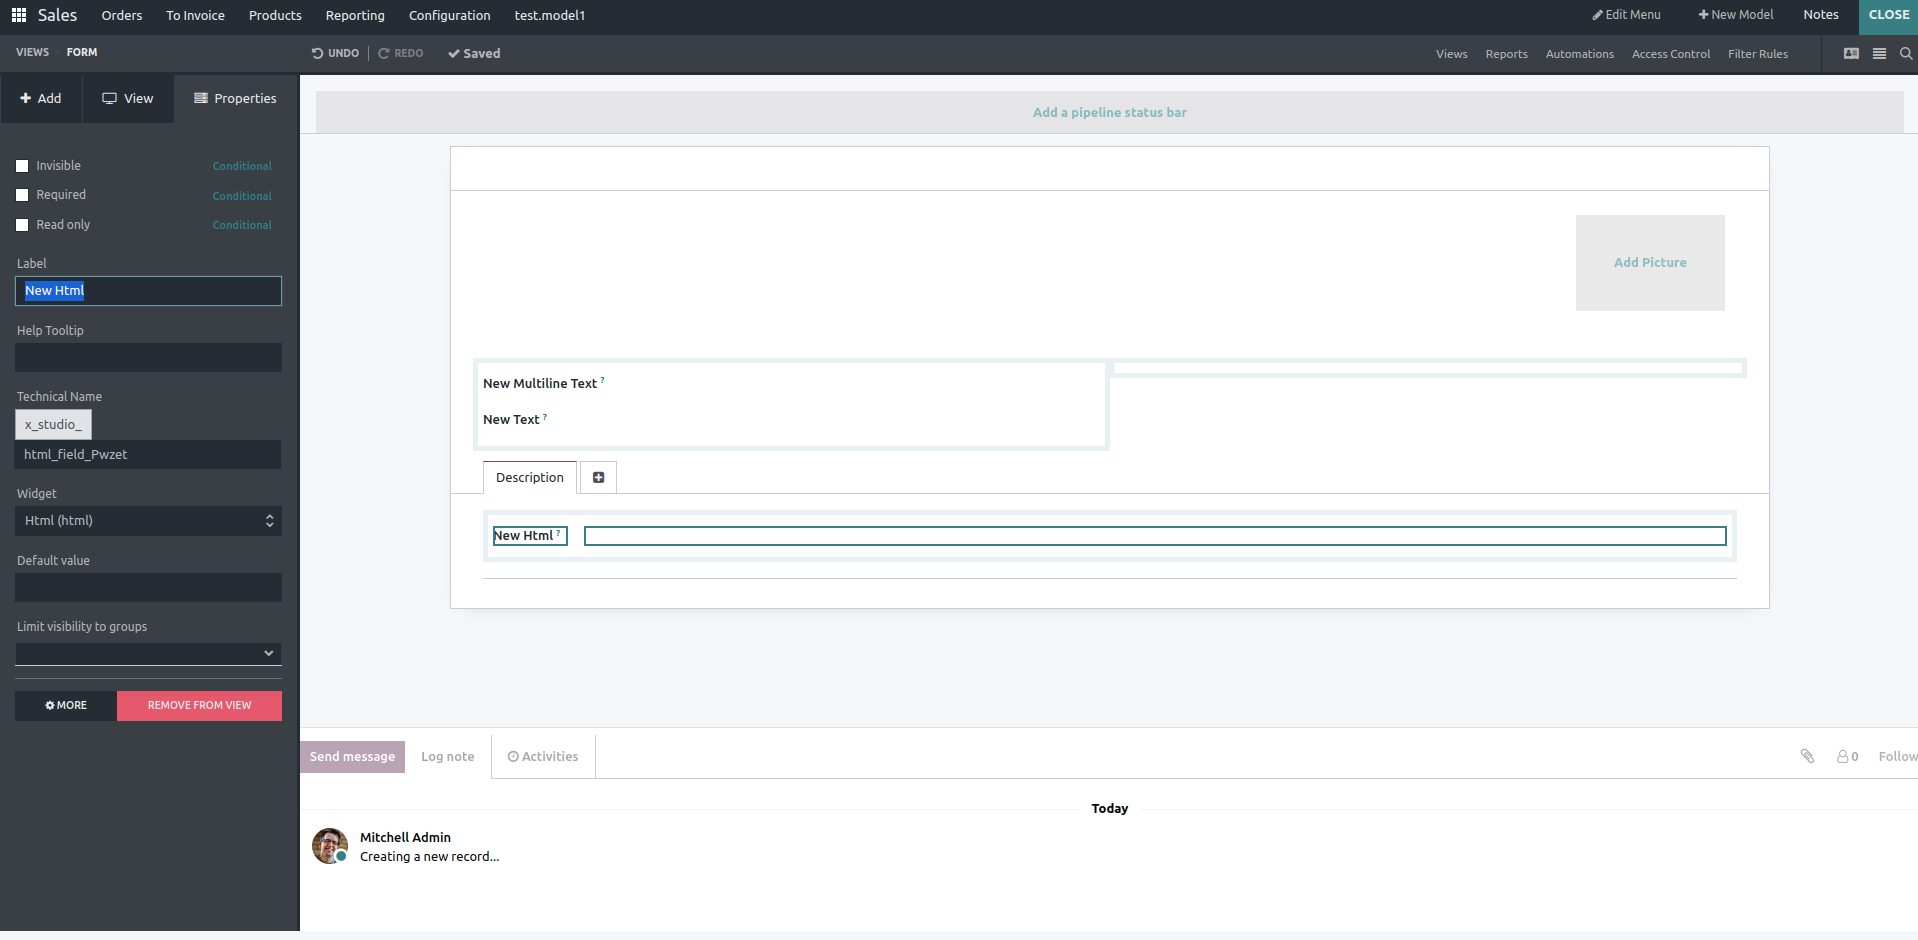
HTML: The HTML field is shown in the image below.
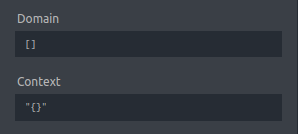
Monetary field: If you want to add a monetary field, first, you need to add the currency field; otherwise, a popup will be shown.
After adding the currency, you can set the domain and context of this field.

Date, Date and Time: These are the two fields for entering date and datetime, respectively.
Checkbox: It is a boolean field having a value of true and false
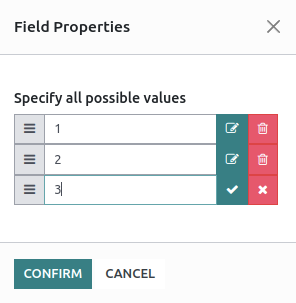
Selection field: if you want to add a selection field, you need to enter possible values first.
File: You can upload a PDF and any other attachments.
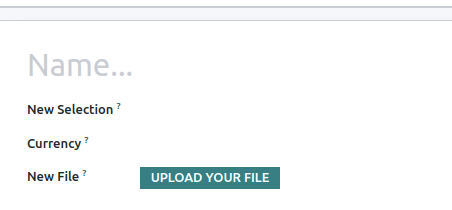
Lines: In lines, you can edit the list view and form view, too. You can enter data line by line in a single section.
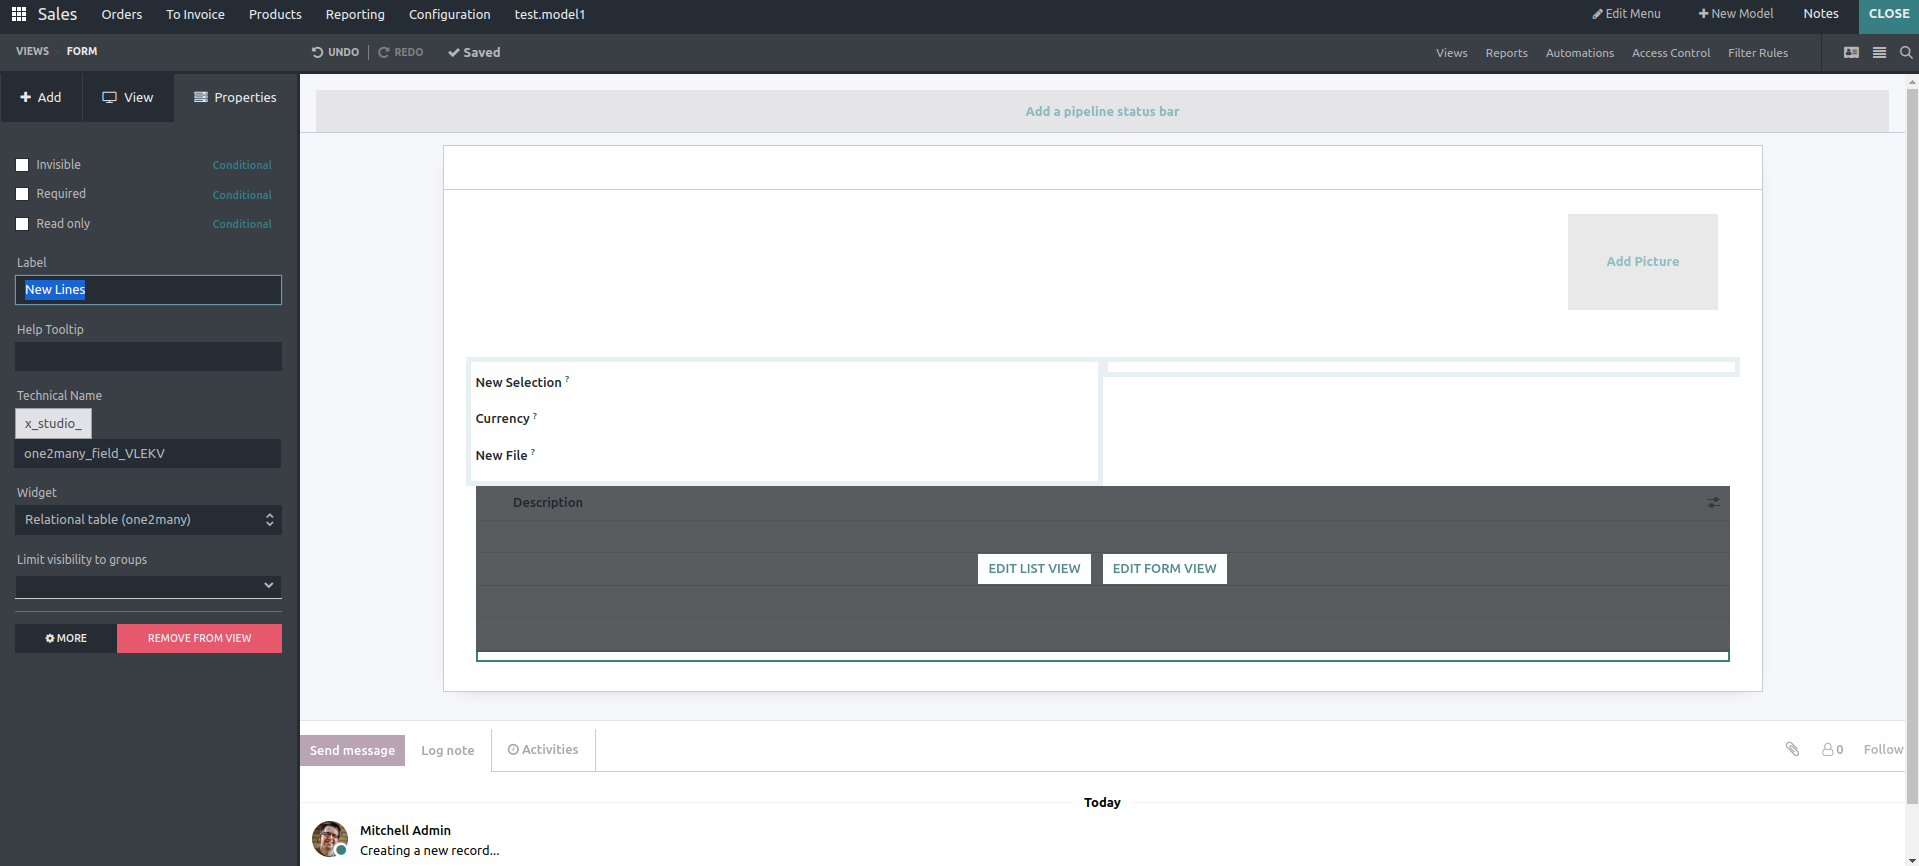
One 2 many:
If you select the one2many field, you have to add the relation, and then you can edit the list and form view.
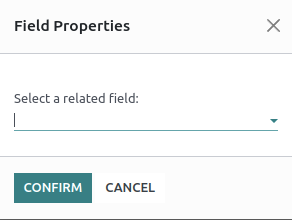

Many2one: If you select many2one, you need to select a relation like one2many.
Many2many: For many2many also, you need to add relations first.
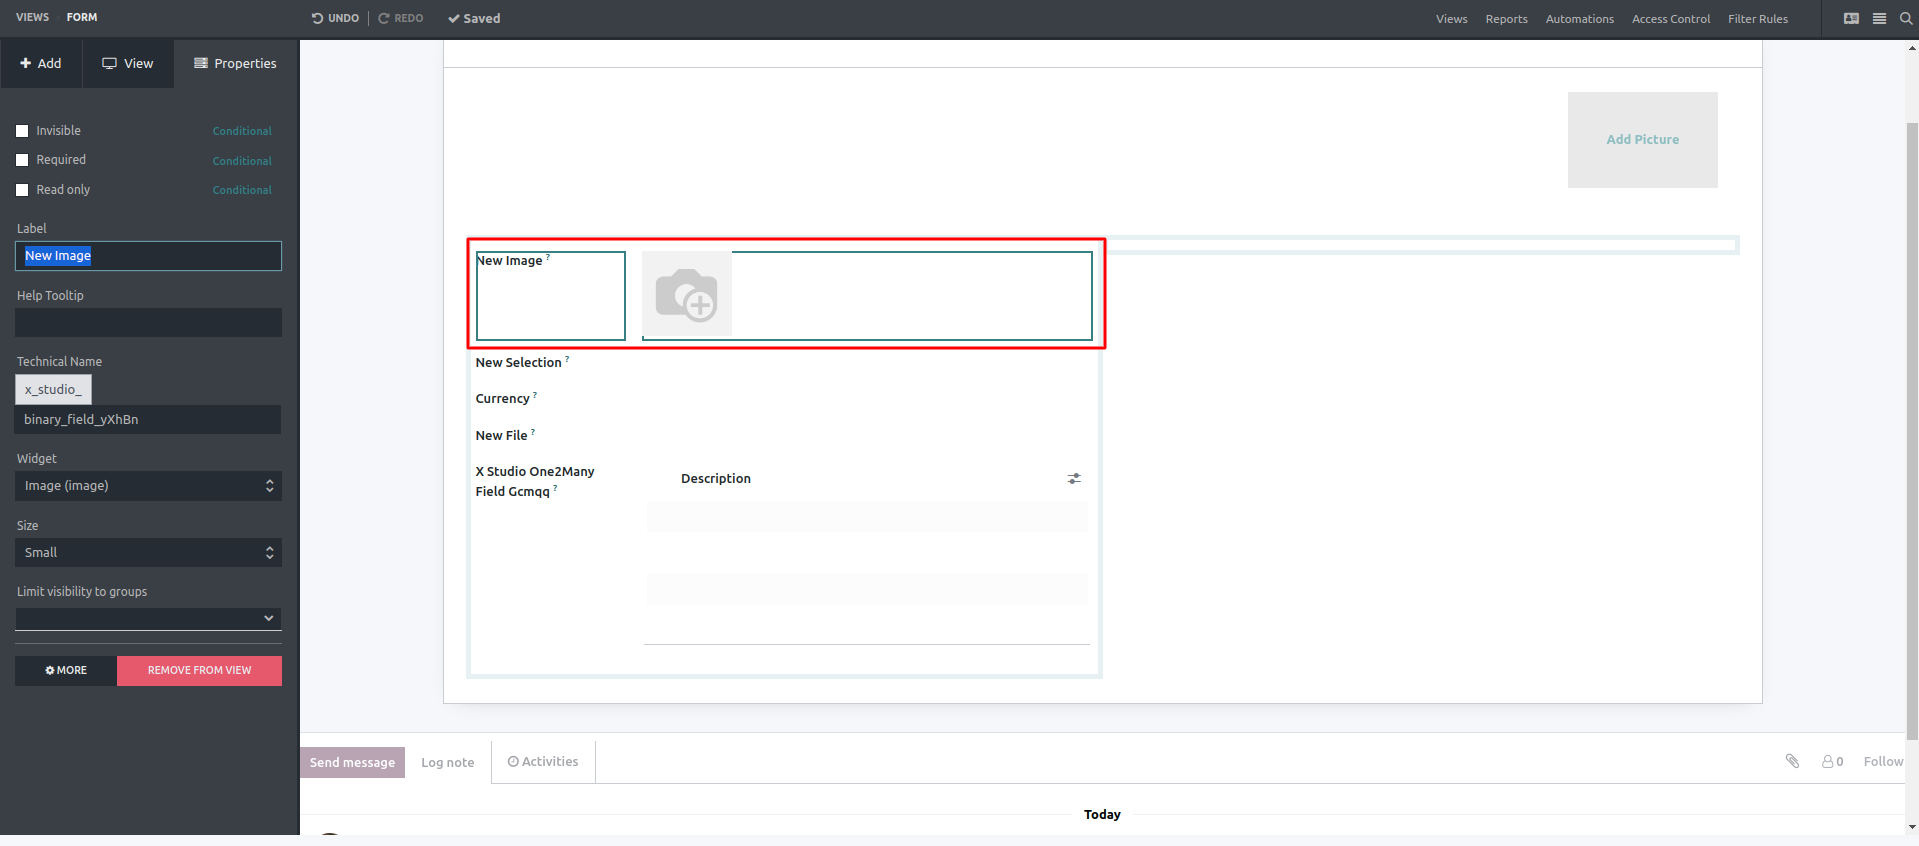
Image: If you select the image field, you can add the related images as jpg files. You can also set images.
Tags: Itself is a many2many field, so you have to add a relation.
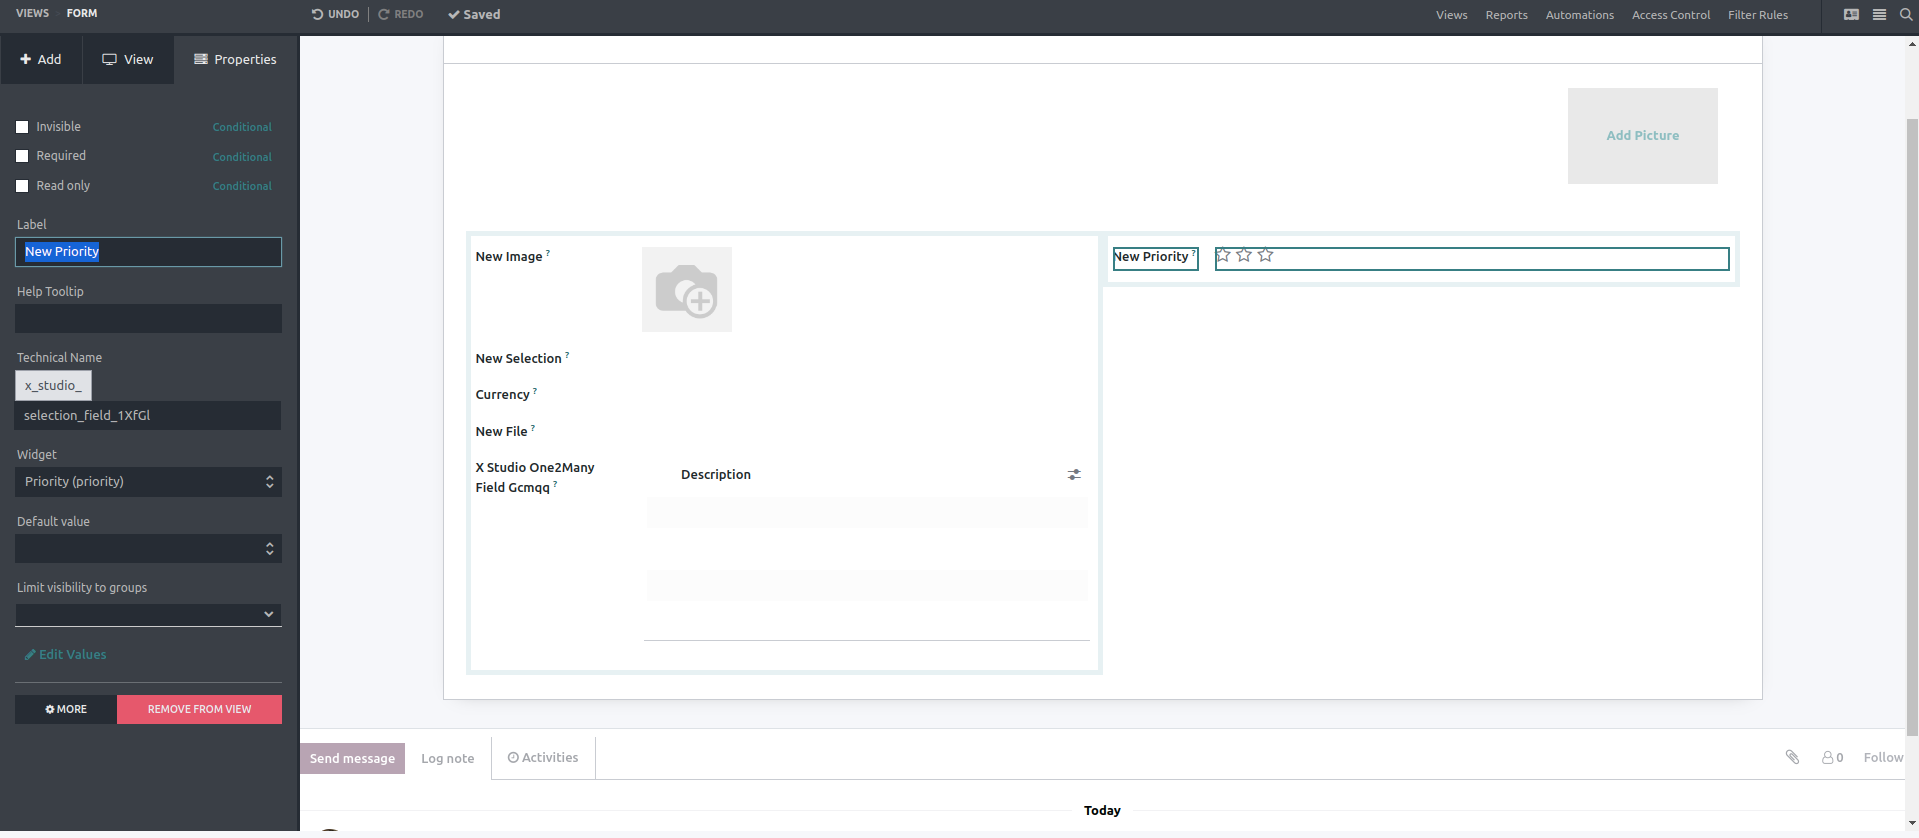
Priority: It's a selection field. This field helps add the priority for records.
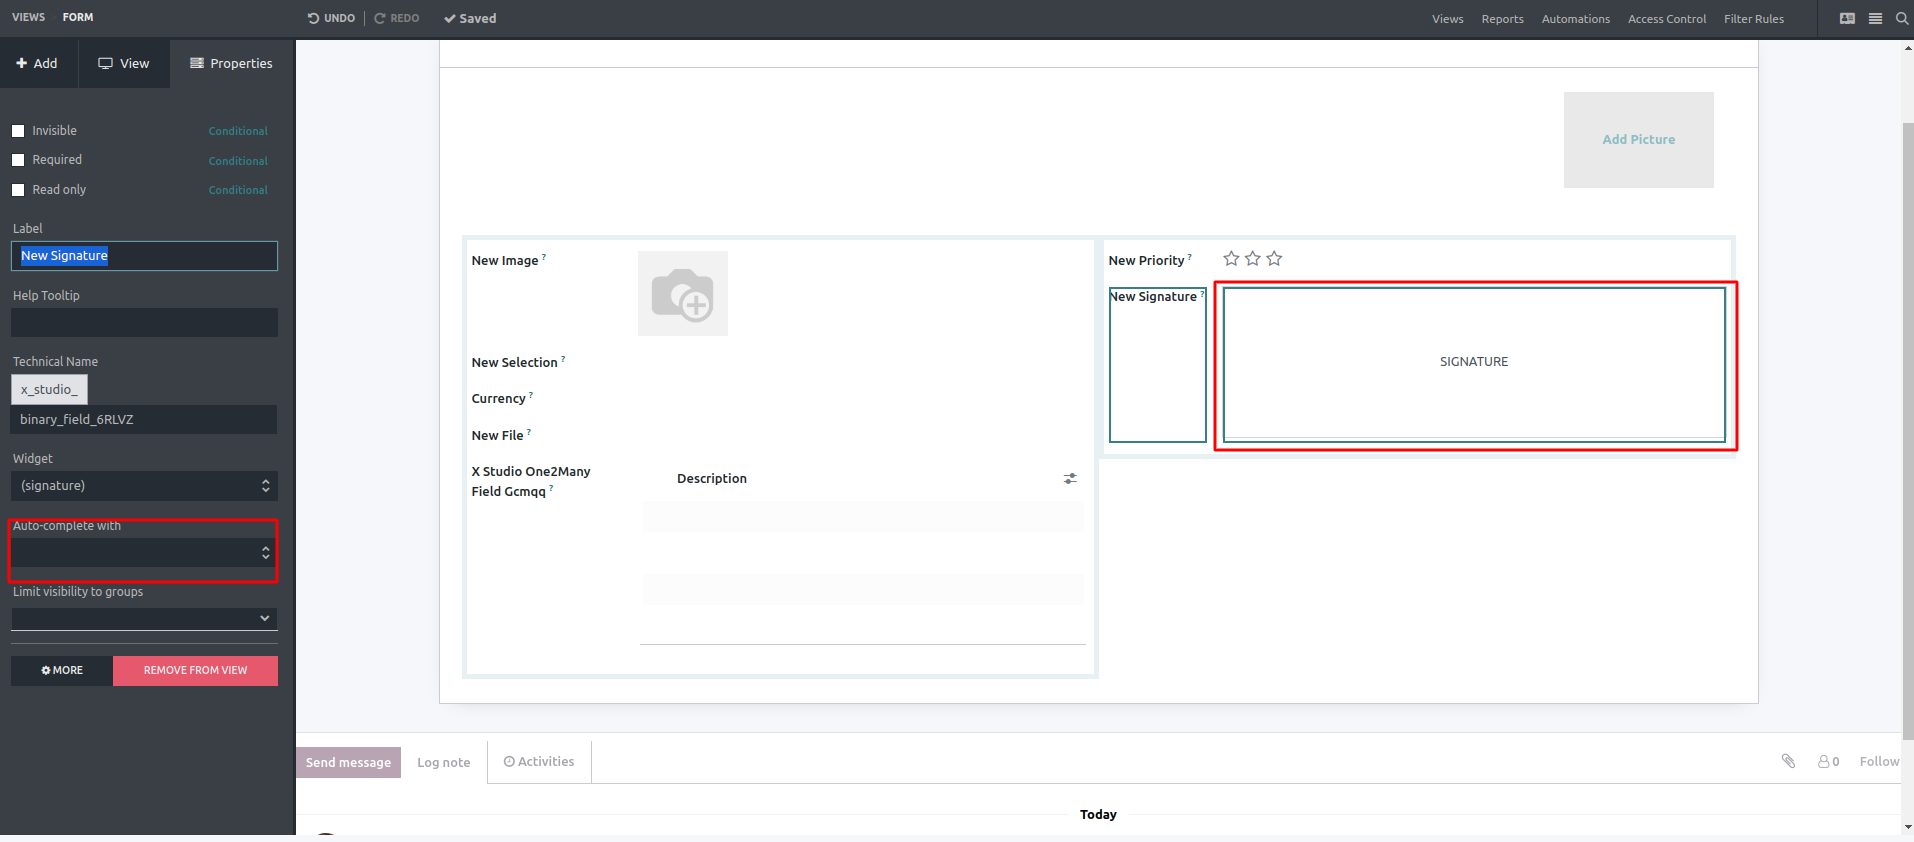
Signature: This field is used to add the electronic signature. You have the option to autocomplete with contact, phone, etc.
Related Field: You can add a related field by selecting this type of field.
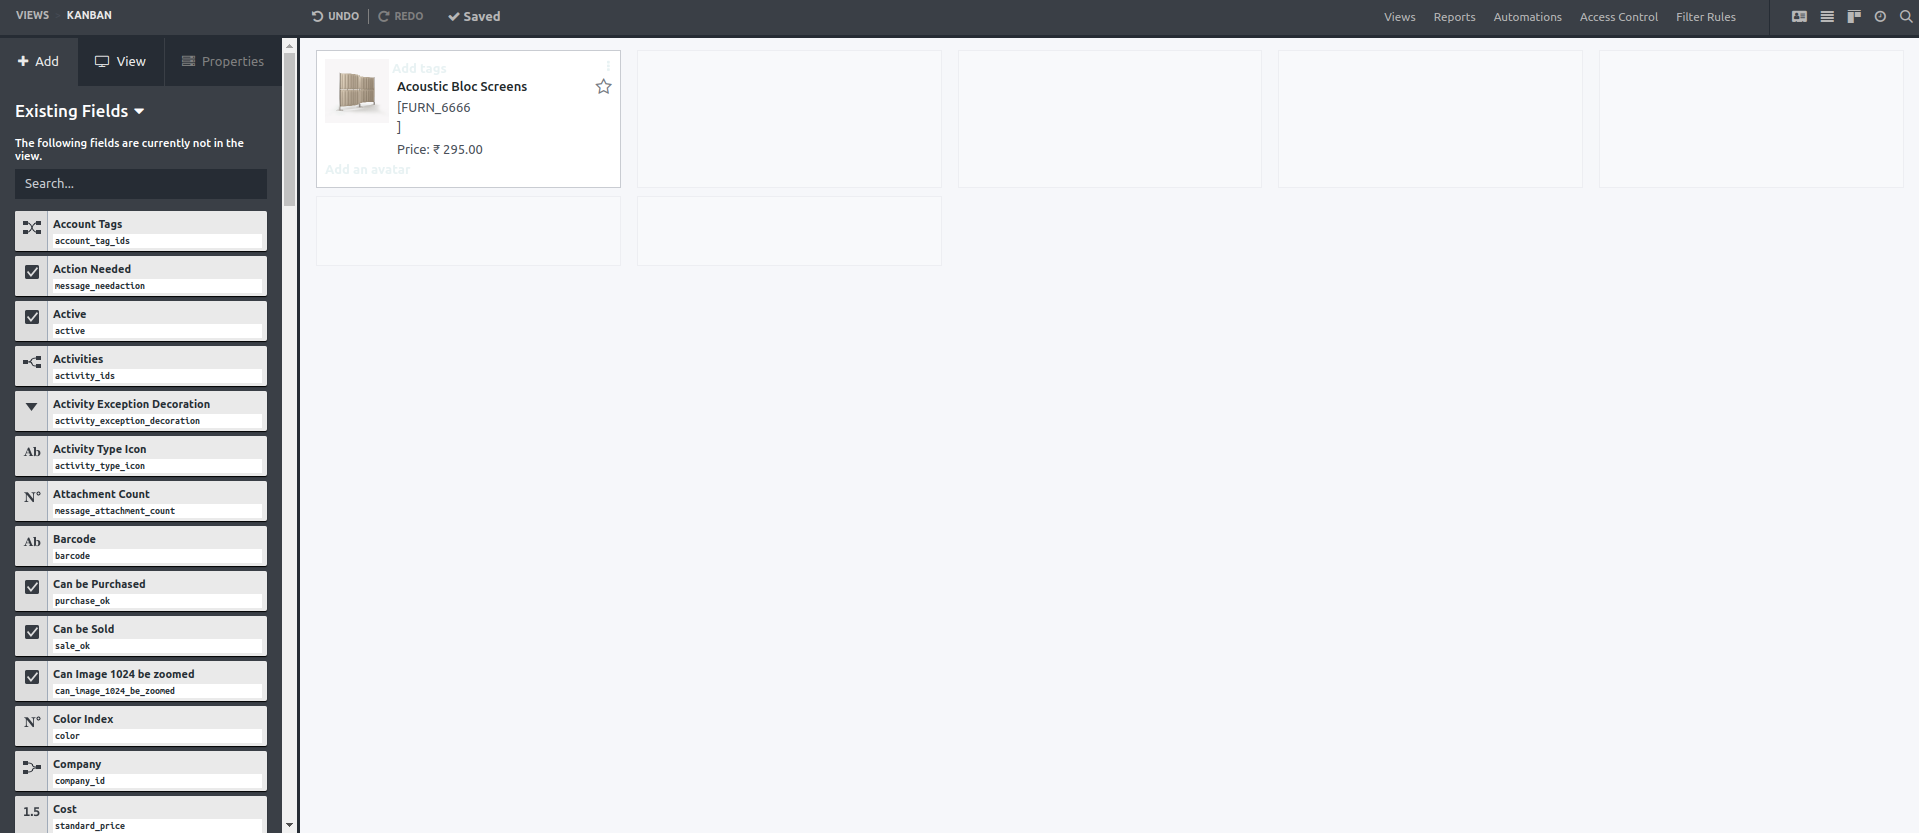
Existing fields: These fields are already created; if you want to add them to different views, you can drag and drop them into the particular view.

Here, you see that product type is an existing field, but it's not in the Kanban view.

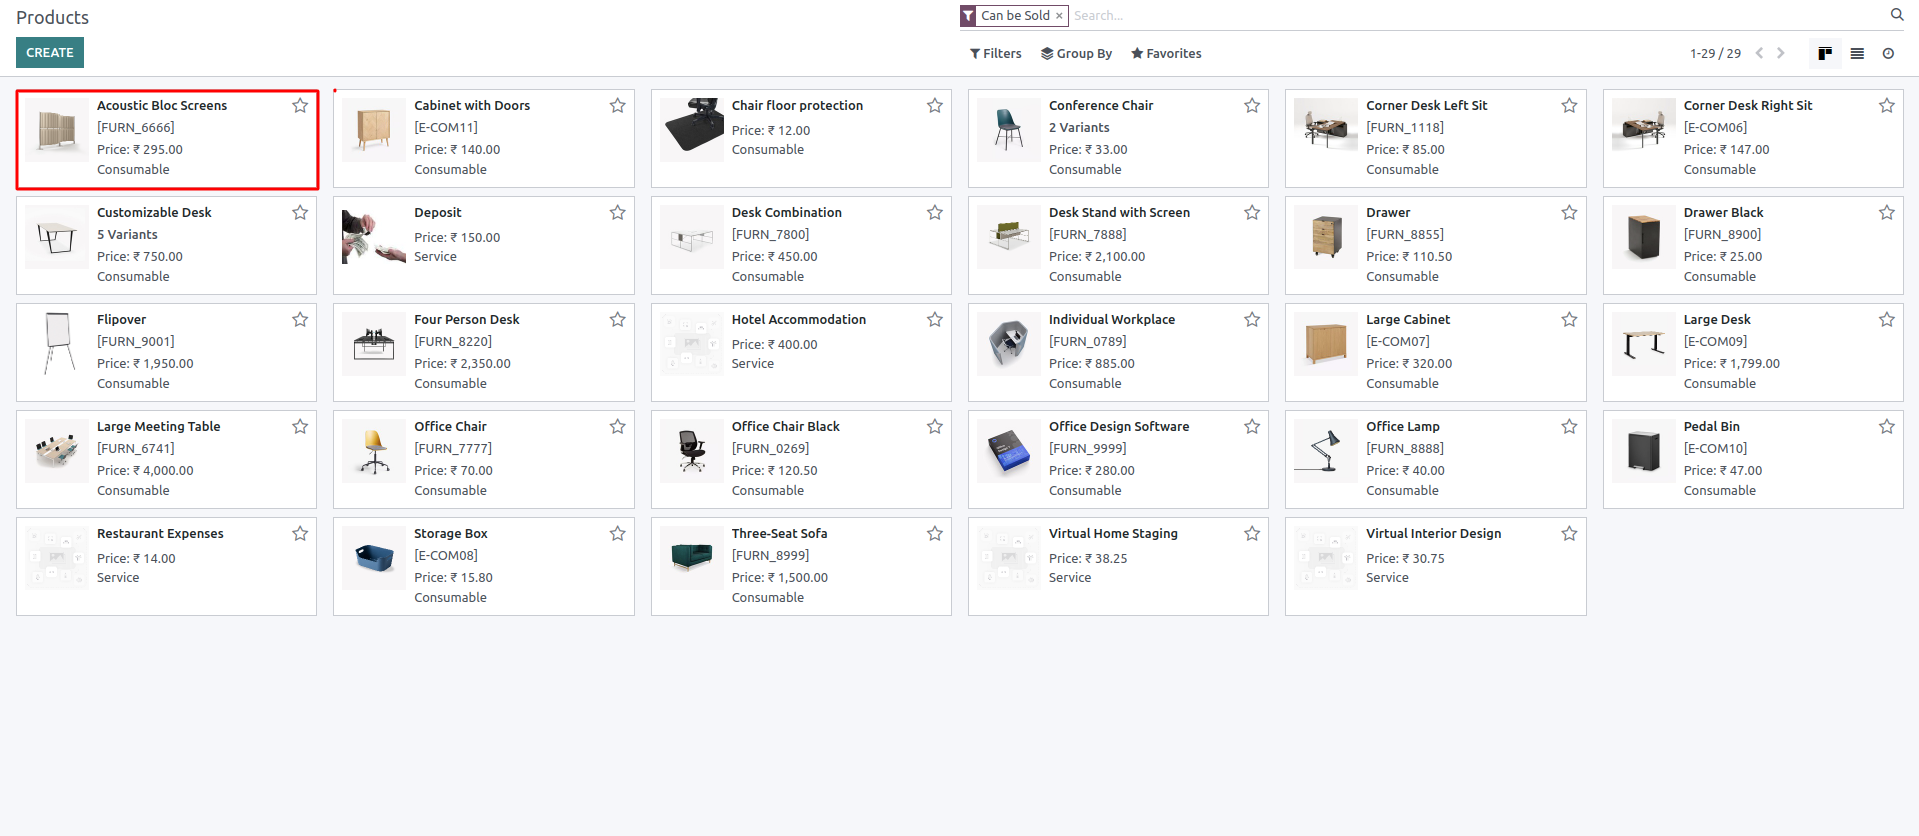
Drag and drop the product type field.
After that, the product type field is added to the Kanban view.
In this way, you can add existing fields in different views.