Products
The products window in the platform is depicted below where you can see all the
products described in the platform in the Kanban view.
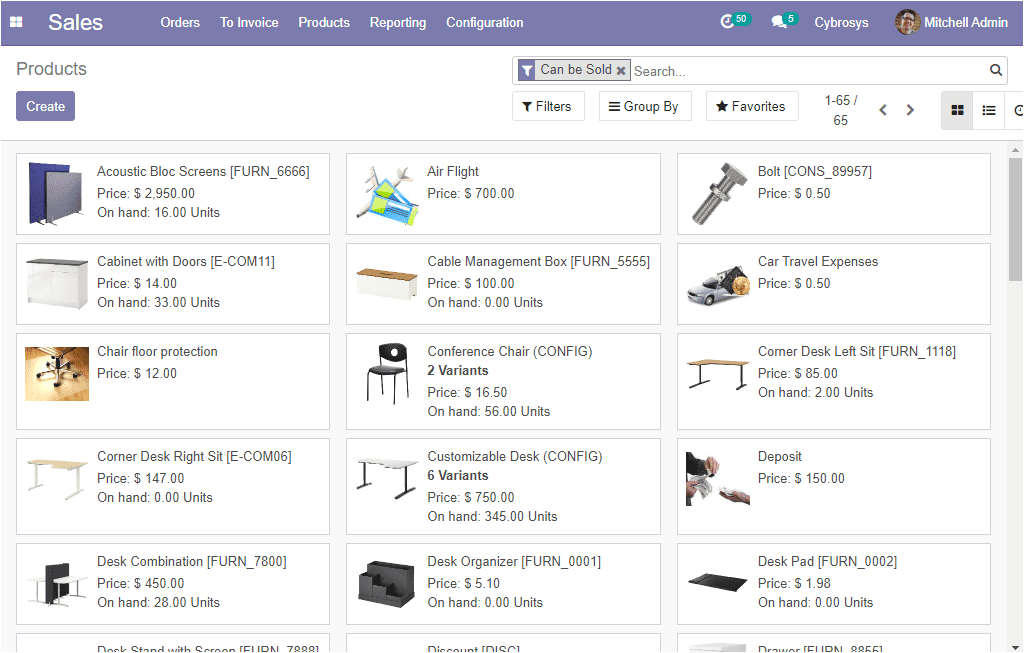
You can also view this window in list view and the image of the window is depicted
below.

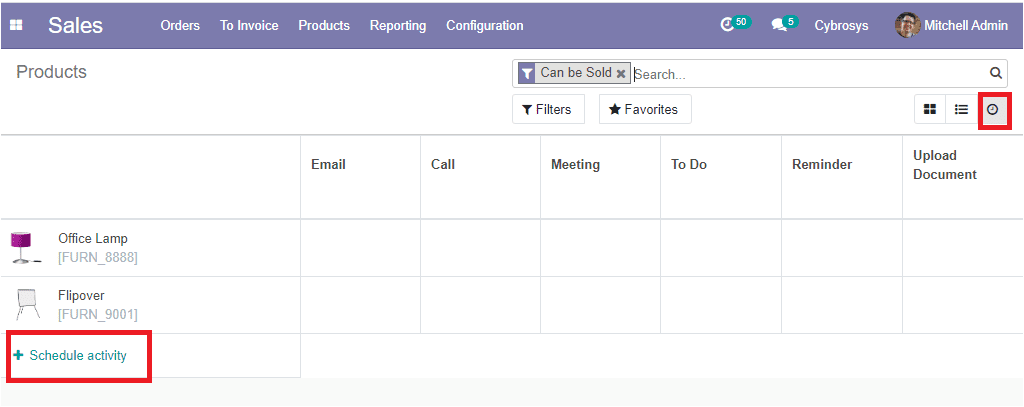
Like any other window in the platform, here also you have the customizable and default
functions such as filters, group by, favorites, and favorite search. Moreover, you
can schedule activities by selecting the view activity button.
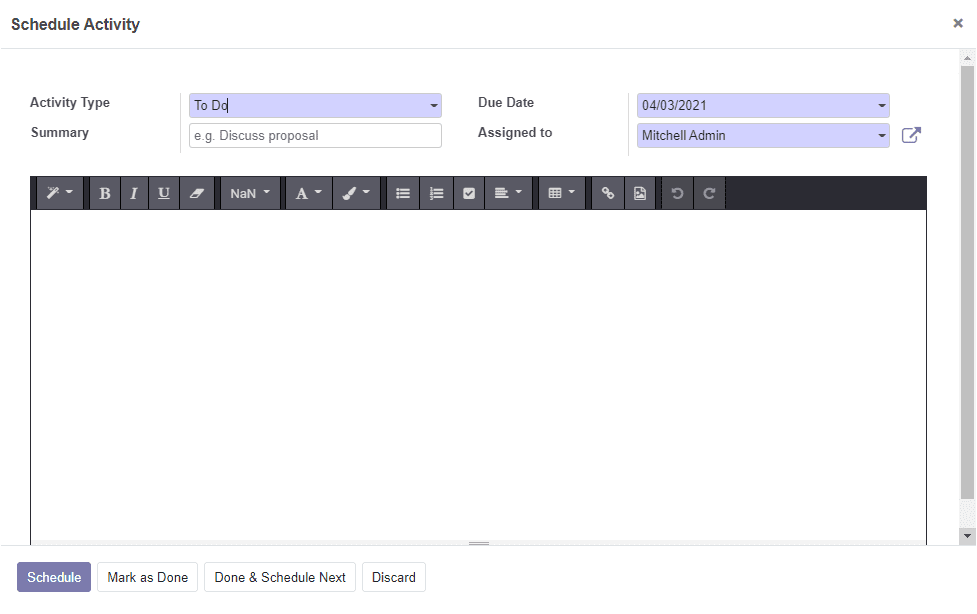
The image of the schedule activity window is depicted below where you can mention
the Activity Type, Due date, allocate assigned person along with the summary of
the activity.
Now it is time to come back to the product window. Here in the window, you have
the provision to create new products. This can be done by selecting the Create icon
available on the top left corner of the window. The image of the window is depicted
below.
You can create new products here by providing all the required information. First
of all, you can provide the product name which is the name of the product and it
will be displayed on all platforms when mentioning this particular product. Next,
you have three enabling options such as can be sold, can be purchased, can be
expensed. This opinion is used mainly in the time of creating a raw
material or a product for internal consumption. If the product is for selling purposes
you can enable this option. When the product is for purchasing you can select the
can be purchased option. Additionally, the expensed option is for specifying whether
the product can be selected at an expense.
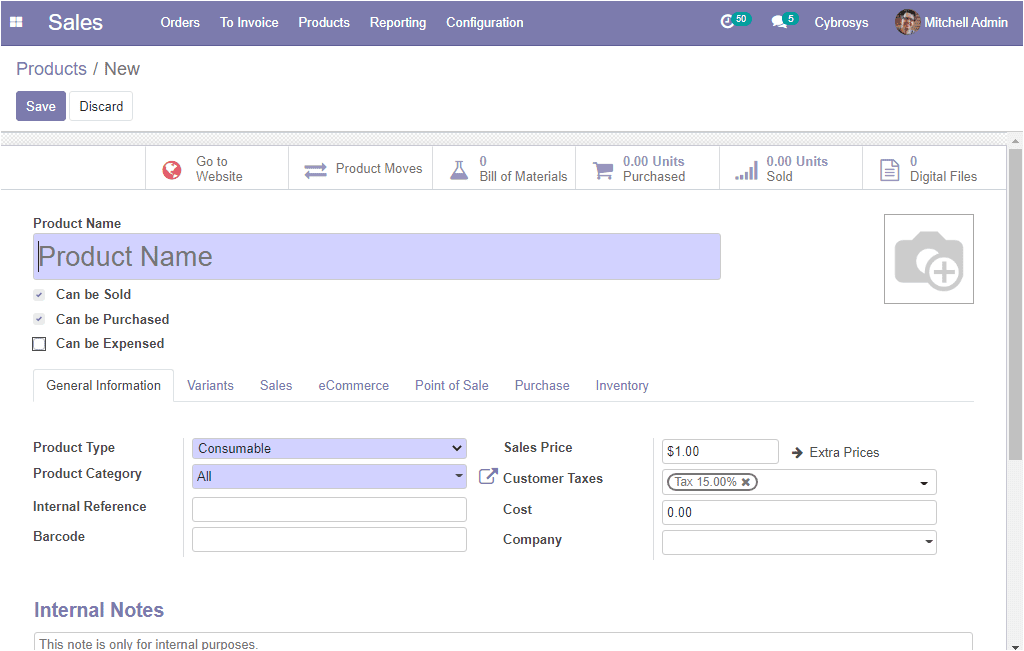
Under the general information tab, you have so many options such as product type,
product categories, internal reference, bar code, sales price, customer taxes, cost,
and company. Under the product type, you have three options
1. Storable product
2. Service product
3. Consumable product
The storable products are the products used in the stock management system and its
restoration of stock or supply to a formal level is more or less automated as described
by the rules in the system. It can be managed with the help of an inventory and
you can easily manage your minimum stock level by setting reordering rules for stock
in your system. This will keep a product from running out of stock. Also, the platform
will show warning messages or alerts in the quotation if you fail to set reordering
rules.
A consumable product is a tangible product and it can be taken care of as a storable
product with the exception that the stock management was not taken into account
by the system. On the other hand, it can be directly received by the customer from
the supplier. Odoo handles it as the product always has sufficient stock.
Odoo considers the services which the company provides to the customer as the product
and it is labeled as non-material products. This type of product does not seem in
the stock operations. The assumption of services as the product will be helpful
for the easy running of the business ERP.
After confirming the product type you can select the product category from the drop-down
menu where you can view all the created product categories and you can also have
the create option
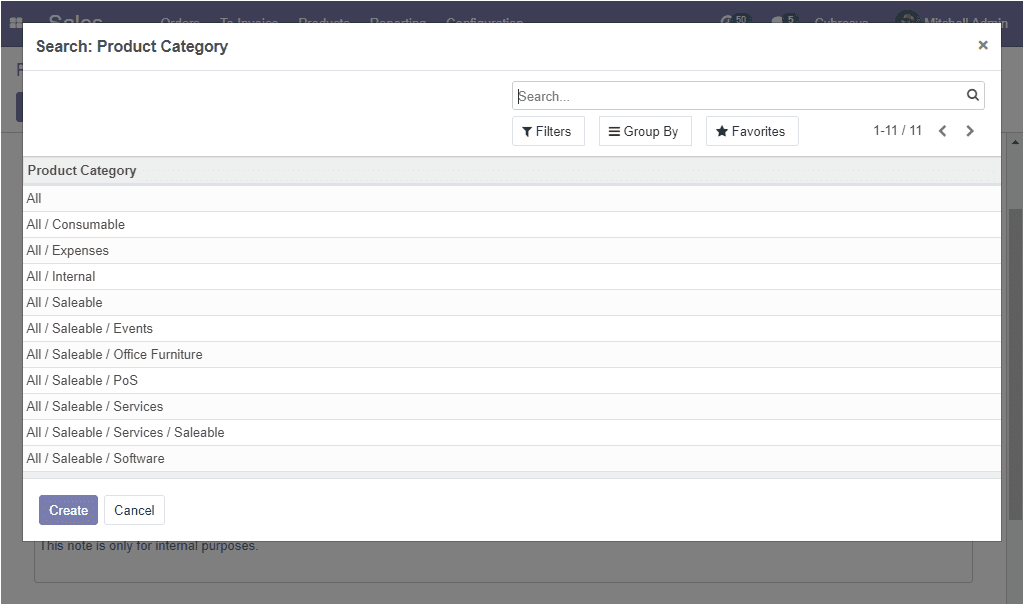
By enabling this option you can organize the products under a specific category.
The internal reference field is used to enter the product code which is used as
an alternative code for the product. Most of the time Odoo uses the product name
field and the product description when displaying the product information. In the
case of a company, It is quite common to have a specific coding system for their
products. So the internal reference field is practical to enter the alternative
product code.
The advanced Barcoding functionality is definitely helpful when managing products,
especially when dealing with a large number of products. This will help you to reduce
human errors and human efforts. In the barcode field, Odoo allows you to add or
update product quantity or other details by scanning the product barcodes. This
is possible in both the time of receiving and selling products.
Now you can allocate the sales price which is the selling price of the particular
product. Additionally, you can define the customer taxes which are the default taxes
used when selling the product. Odoo has a tax engine and it supports various kinds
of taxes such as GST, CST, SST, and many more. If you are mentioning the tax details
here, this tax will come as the default one for the product in the sale order. Along
with the customer taxes, Odoo allows you to set different types of taxes such as
value-added taxes (VAT), federal taxes, eco-taxes, withholding taxes, retention,
vendor taxes. The chart of accounts used in most of the countries is pre-configured
with the major taxes of the country. Moreover, you can define the cost of the product,
company, along with the unit of measure and the purchase unit of measure which is
the default unit of measure used for purchase orders. It must be in the same category
as the default unit of measure. Finally, you may add the internal notes if it is
needed.
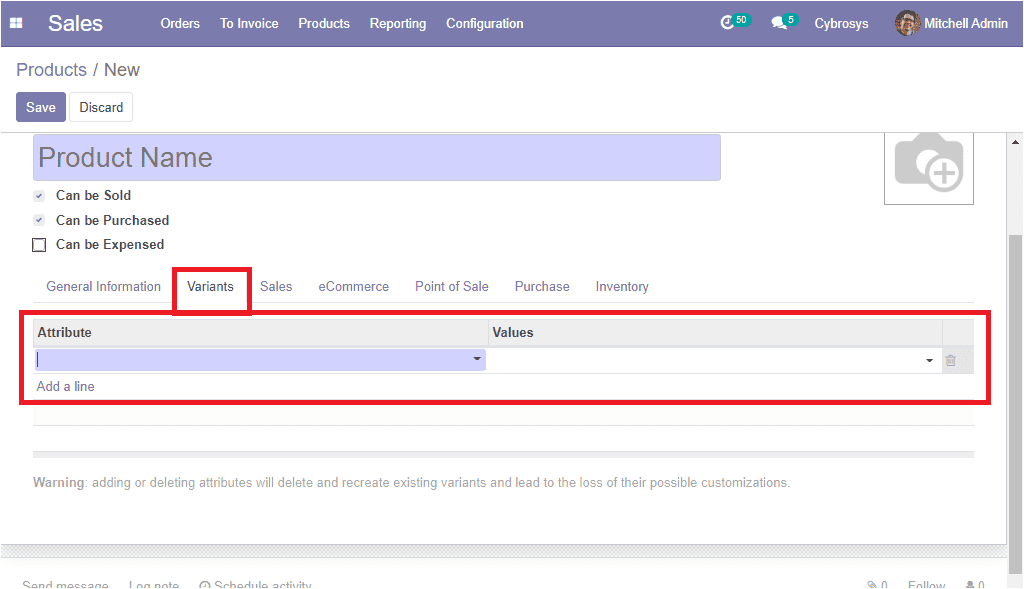
Under the Variants tab, you can add the values and attributes by
selecting the Add a line option. Attributes define the color, size, or other features
of the product variant and the values mean the attribute values such as the sizes
like large, medium, and small.
Now we can come to the sales tab of the product creation window,
and here you can select the invoicing policy manually. If you are activating the
ordered quantities option, what is the ordered rule is used as
the default mode. This means the invoice quantities used by the customer. In the
case of Delivered quantities, which means the invoice quantity
that has been delivered to the customer. The re-invoice expenses can be enabled.
This means a validated expense can be re-invoiced to a customer at its cost or sales
price. If there are no such expenses you can enable the ‘No’ option. Additionally,
you can allocate the email template and it will help you to send a product-specific
email once the invoice is validated. Moreover, you can specify the optional products
which are the suggested products when a customer hits the Add to cart menu and you
can enable the ‘Is an event ticket’ option for automatically creating an event registration
for this product at the time of sale order confirmation. Finally, you can provide
a sales description of the product that you want to communicate to your customers.
This description will be copied to every sales order, delivery order, and customer
invoice or credit note.

Under the eCommerce tab, you have so many options. The website
option allows you to restrict publishing to this website and you can allocate products
under the categories option and the selected products will be available in the mentioned
eCommerce category. This can be done by going to shop -> customize and enable the
eCommerce categories.
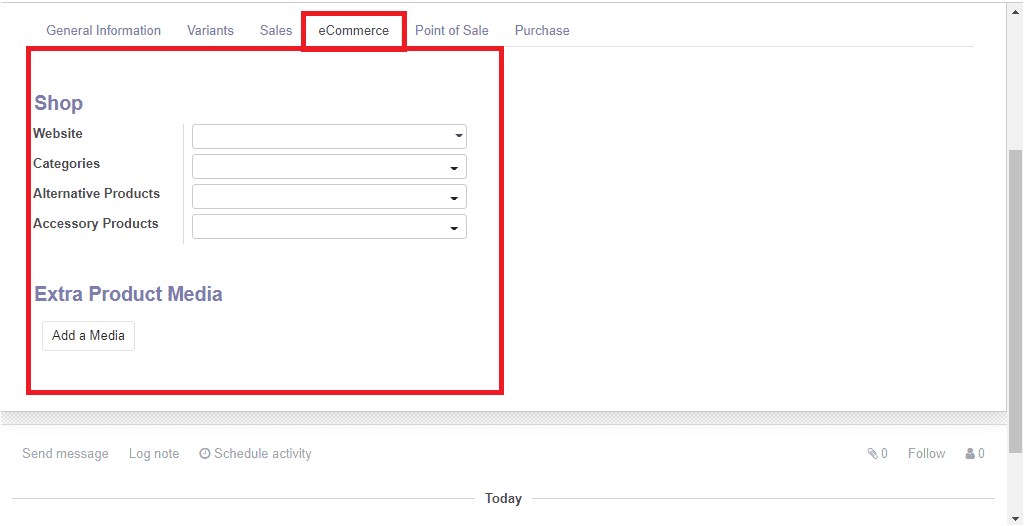
Moreover, you can mention the alternative products for recommending it to your customers
and it is considered as the upsell strategy also these products show up on the product
page. Additionally, you can also include the accessory products and it will show
up when the customer reviews the cart before the payment and this is part of cross-sell
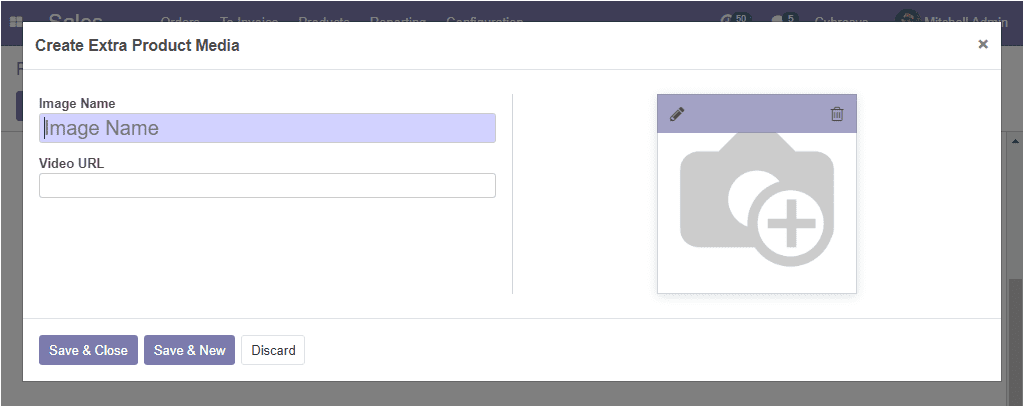
strategy. And also you have the advanced option named Extra Product Media and this
option allows you to upload a video URL or photograph of the product to give a better
experience to the customer.
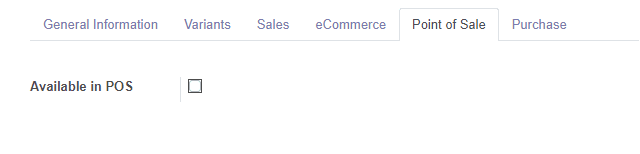
Under the Point of sale, you have an option named Available
in POS. By enabling this option you can make the product appear at
the point of sale.
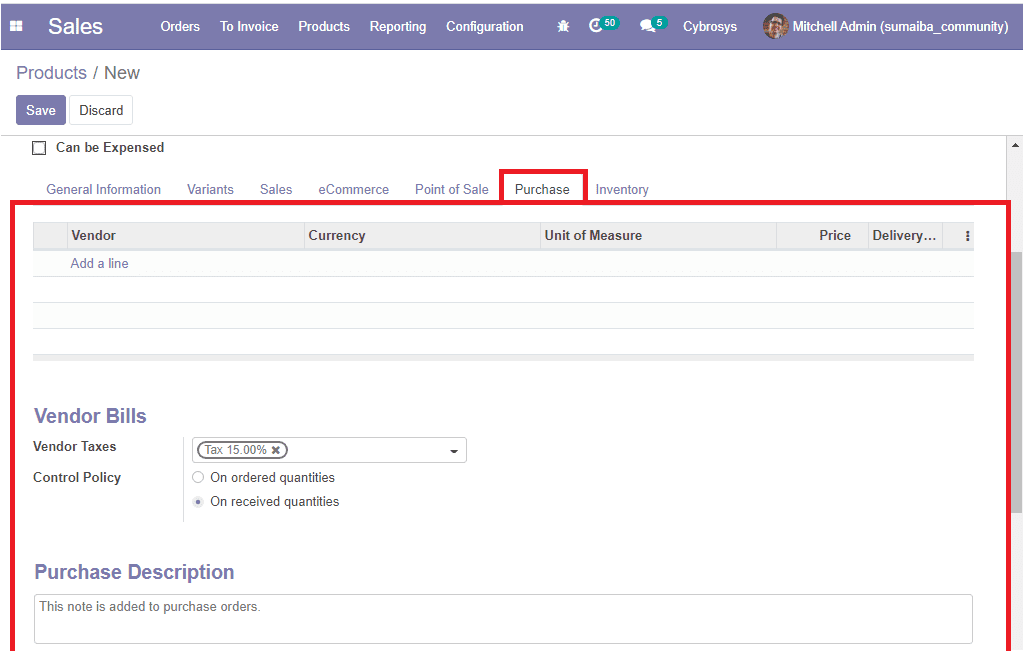
Under the Purchase tab of the product creation window, you can
define vendor pricelists. Here you can provide the details of the vendor by selecting
the Add a line option. You can also enable the option Purchase automatically for
auto-creating RFQ to buy the product each time you sell this product through a SO
and keep in mind to set a vendor on the product. Moreover, you can define vendor
taxes which are the default taxes used when buying the product along with the control
policy. Finally, you can provide the purchase description and this note will be
added to purchase orders.
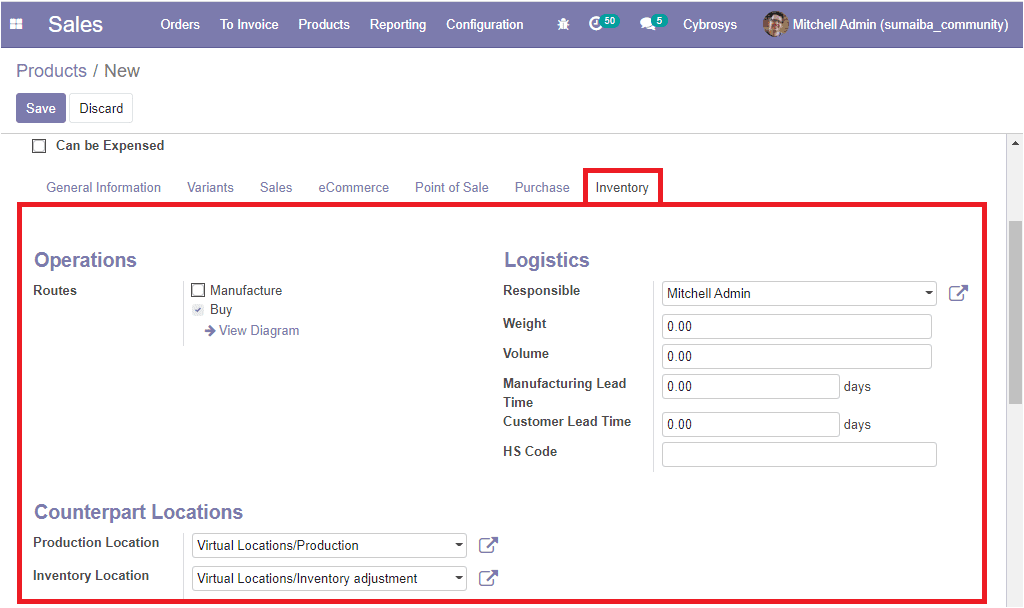
Now let us discuss the option available under the Inventory tab
of the Odoo product creation window. Firstly you can view the Routes option and
it will allow you to define the route of the product depending on the modules installed.
This can be helpful for deciding whether the product will be brought, manufactured,
or replenished on orders and so on. Under the logistics heading, you can allocate
the responsible person who is responsible for the next activities related to logistic
operations for this product. You can also mention the weight along with the volume,
manufacturing lead time, customer lead time, and HS code. Additionally, you can
set the counterpart locations and these stock locations will be used instead of
the default one as the source location for the stock moves generated by manufacturing
orders.
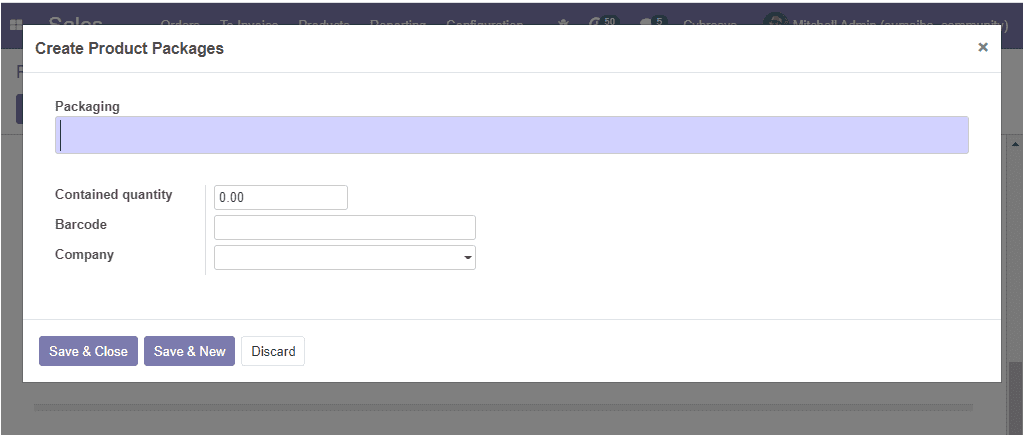
You can create different product packages by selecting the Add a line option available
under the Packaging option. This option allows you to package the same product in
different ways. The image of the product packages creation window is depicted below.
Finally, you can include the description for delivery orders and the description
for receipts.
So far we were discussing the product creation window and now let us move on to
discuss the Customers window available in the platform.