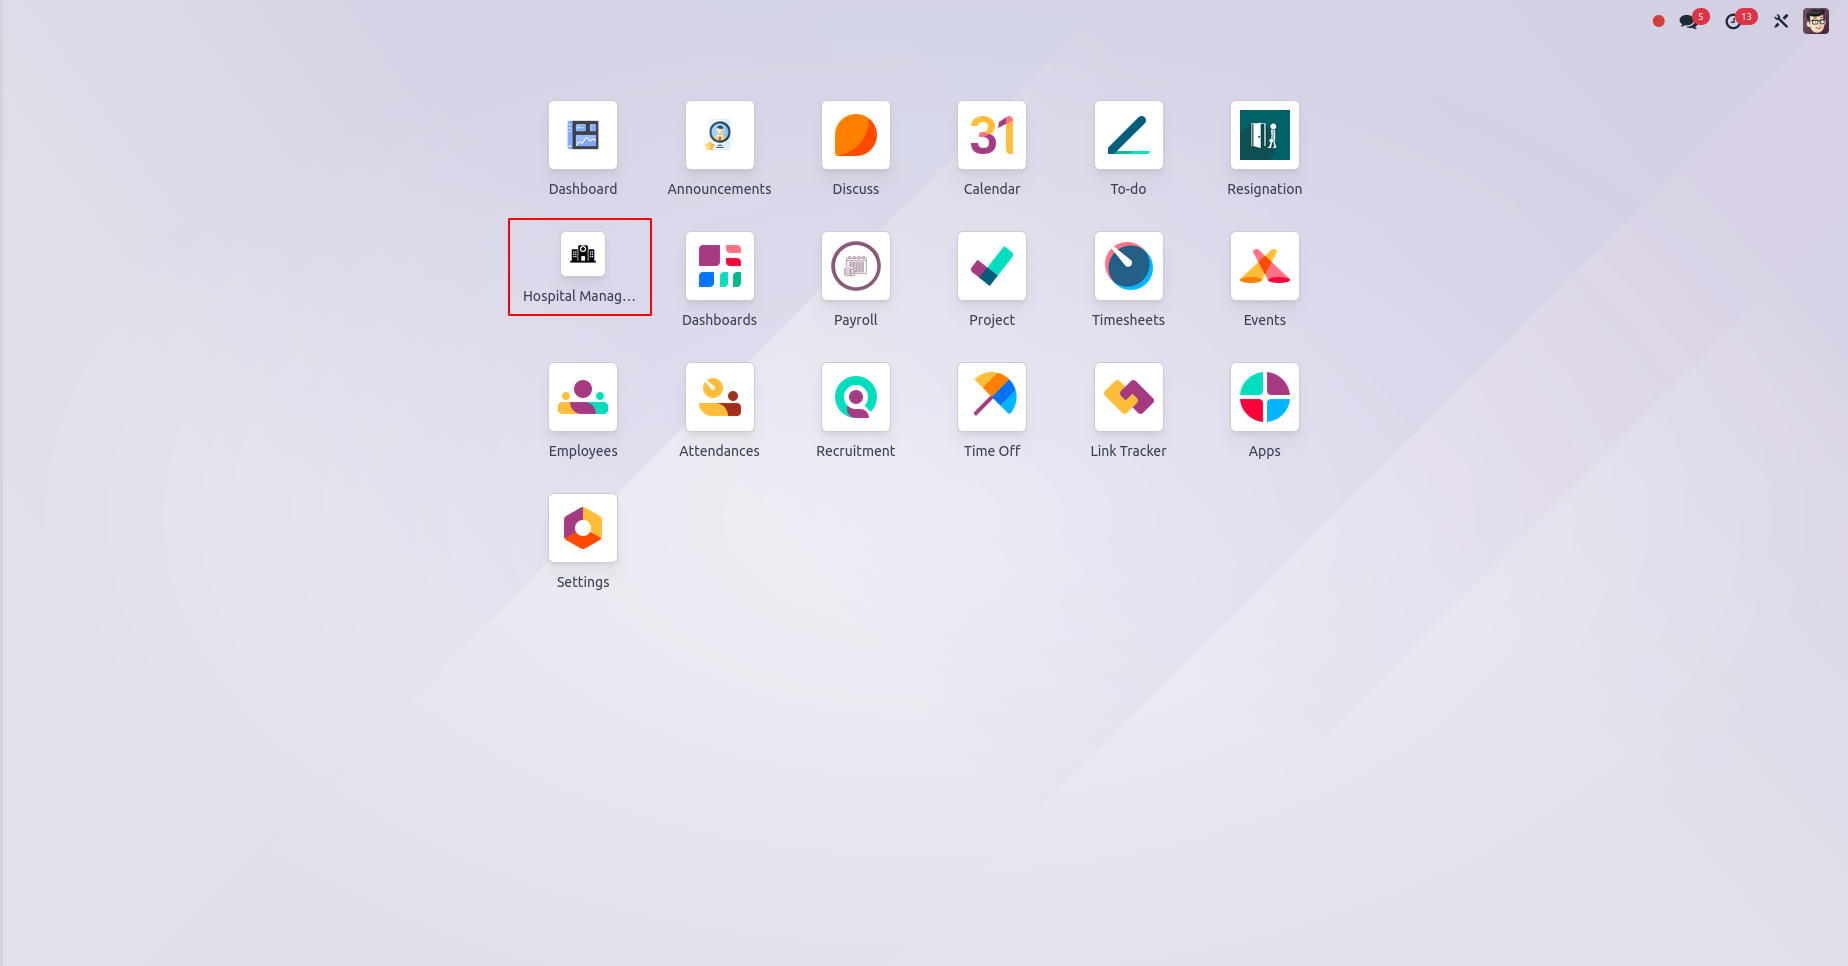
There are two approaches in Odoo to navigate between pages:
utilizing both the user interface and code to create menus. To
add menus and their corresponding actions, XML is employed
based on the code. Consequently, a new XML file should be
generated within the views folder.
Menu
The menu item tag is utilized to create new menus in Odoo. The
"name" attribute governs the presentation of the menu's name,
and the optional "sequence" attribute determines its display
order. Additionally, an icon can be added to the menu using
the "web_icon" attribute. The menu becomes visible on the
screen only if the menu item or any of its submenus is linked
to an action.For example:
<menuitem id="hospital_menu_root" name="Hospital Management" sequence="25"
web_icon="hospital_management,static/description/icon.png"/>
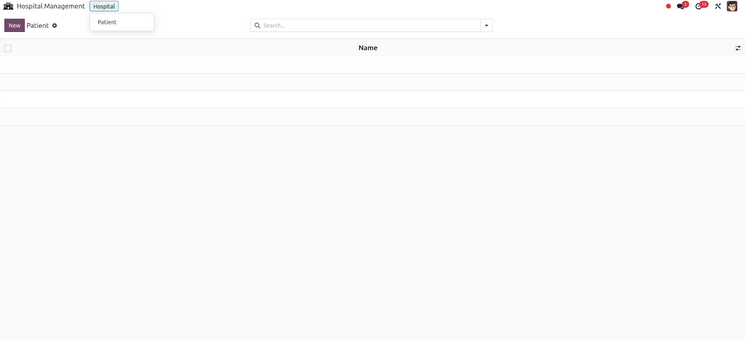
Sub Menu
To create a submenu in Odoo, it is essential to have a parent
menu. Submenus are associated with main menus, and this
hierarchical structure helps organize navigation.
For example:
<menuitem id="hospital_menu_hospital" name="Hospital" parent="hospital_menu_root"/>
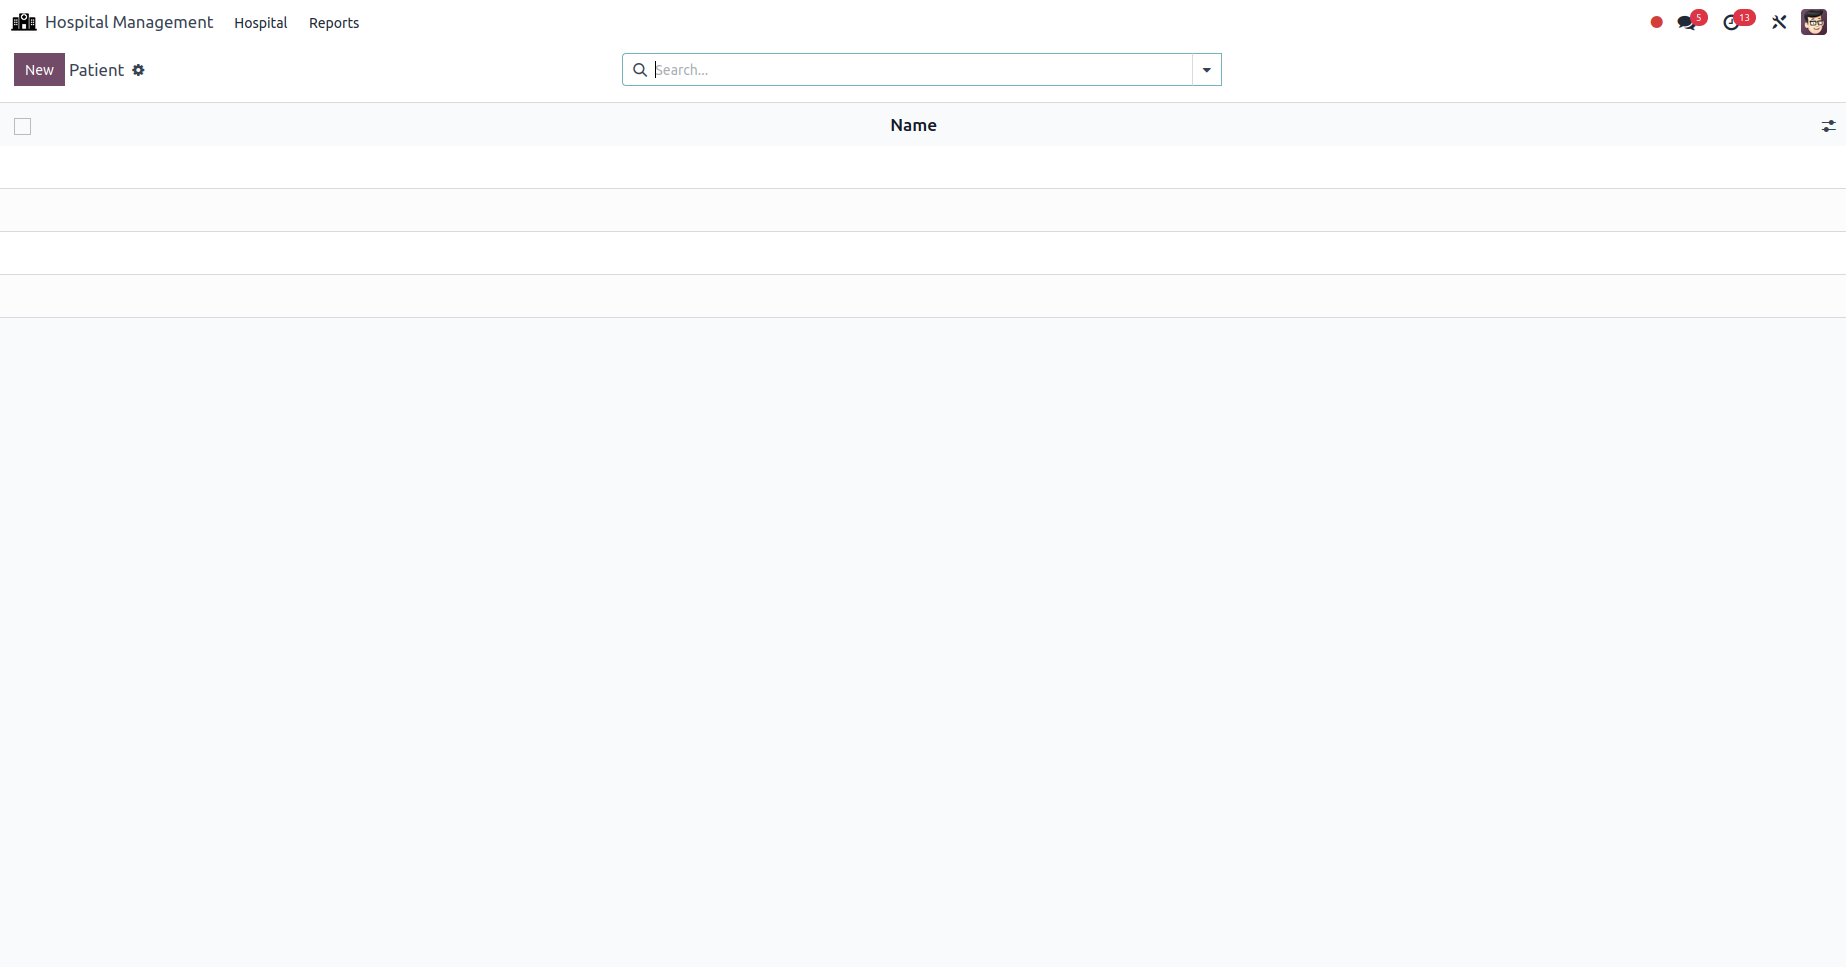
<menuitem id="hospital_patient_menu" name="Patient"
parent="hospital_menu_hospital" action="hospital_patient_action"
sequence="2"/>
There are two submenus available. The main menu features a
submenu dedicated to hospitals. Within the Hospital menu,
you'll find options for Patients. The Patient menu is equipped
with action, so selecting a menu item triggers the display of
the associated action.
The subsequent step involves defining the action. Either the
menu or its submenu must be associated with an action to
enable the viewing of the menu content.
For example:
<record id="hospital_patient_action" model="ir.actions.act_window">
    <field name="name">Patients</field>
    <field name="res_model">hospital.patient</field>
    <field name="view_mode">tree,form</field>
    <field name="help" type="html">
        <p class="o_view_nocontent_smiling_face">No patients found. Let's create one!</p>
    </field>
</record>
Here,
-
name:The name of action associated with the menu.
- res_model: Model associated with the menu.
-
view_mode: Defines the viewing modes for the action.
In this case, it includes both "tree" (list view) and "form"
(form view).
-
help: The "help" field contains an HTML snippet
providing guidance or information. In this example, it
includes messages to be displayed when no patients are
found.
Menus from UI
To create and edit menus and submenus through the user
interface, navigate to Settings > Technical > User Interface >
Menu Items. Ensure that developer mode is enabled for this
functionality.
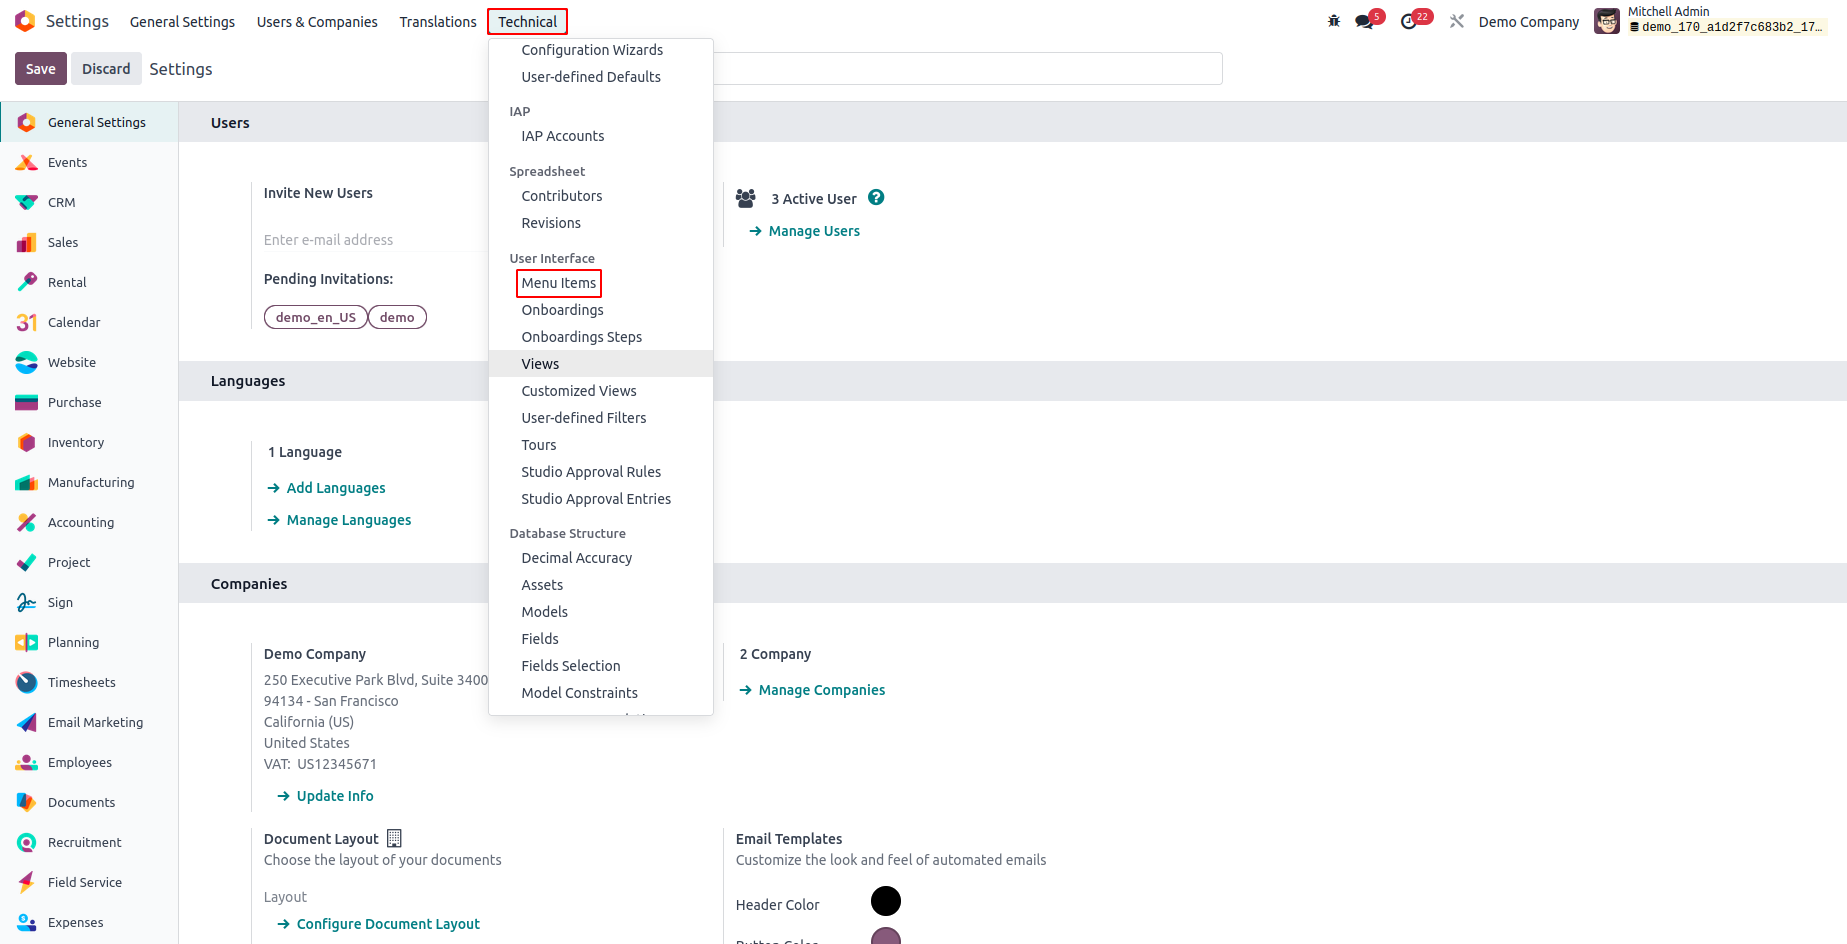
Click the New button for creating a new Menu.
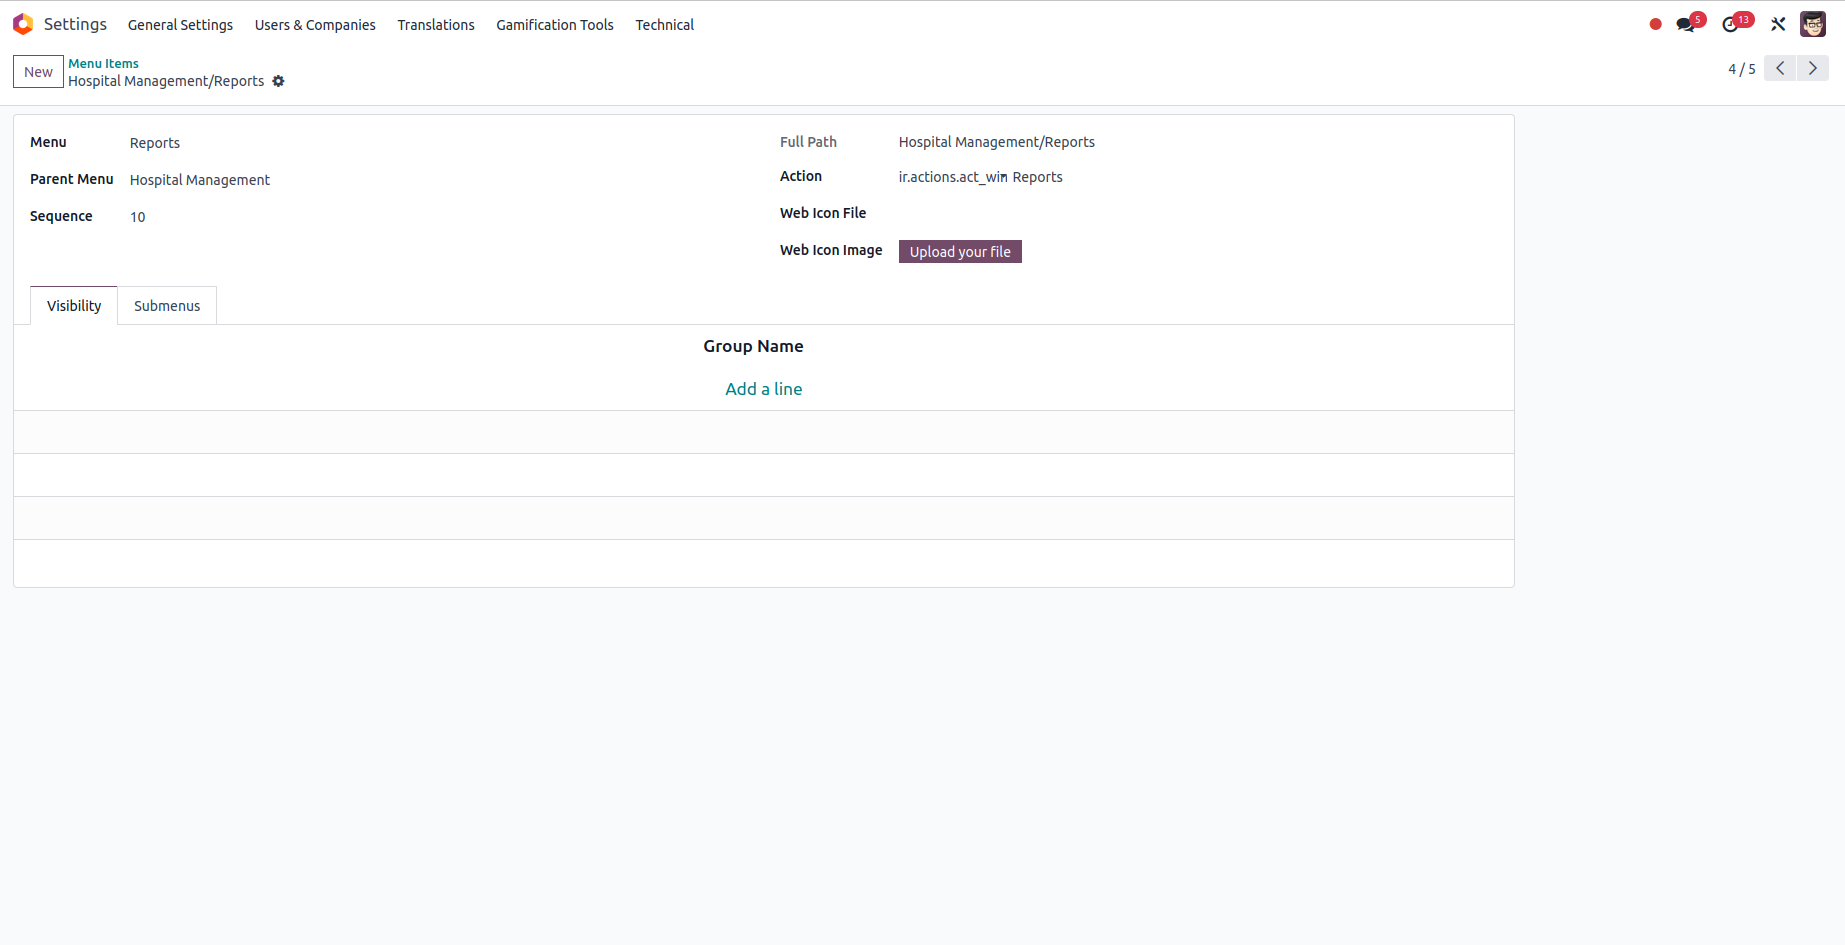
- Menu - Name of the menu
- Parent Menu - The parent menu
- Sequence - Sequence of the menu item.
- Action - Specify the action.
-
Access Rights - Granting access privileges enables
restriction of access to specific user groups.
-
Submenus - Optionally add submenus here to extend the
menu. Once the form is saved, the menus become visible when
navigating to the corresponding module.
In this menu, "Reports" has recently been added. This
demonstrates that the user interface can be utilized to create
new menus and submenus.