With the Language Configuration feature available in Odoo, users can create a default language, set up their language preferences, install additional languages, and configure language-specific settings. You can find the Language configuration menu straight from the Translation tab existing in the Odoo Settings module.
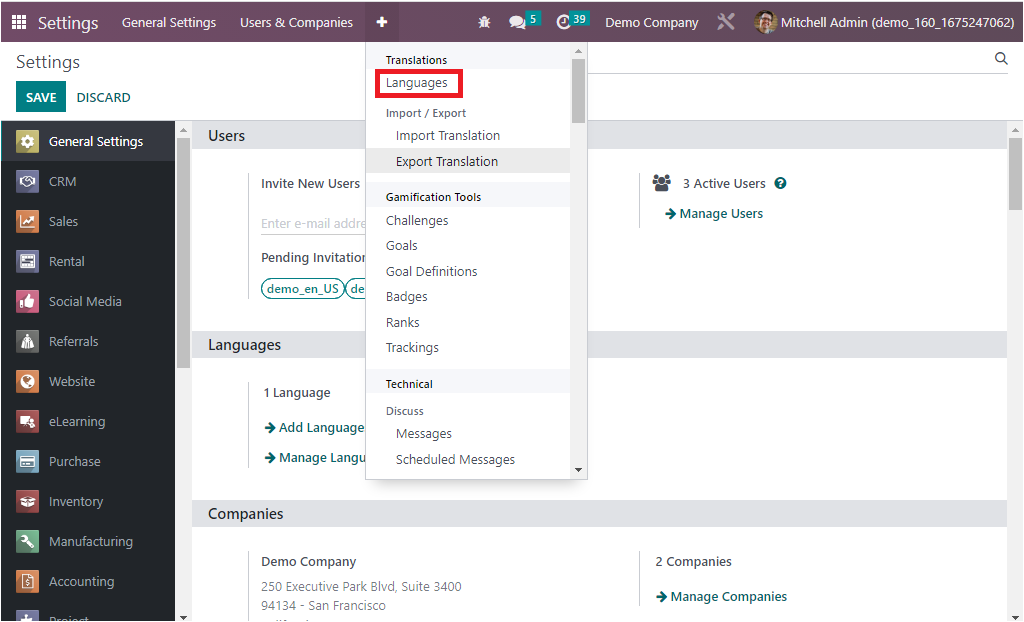
Or else, you can access it from the Settings page under the Languages section.
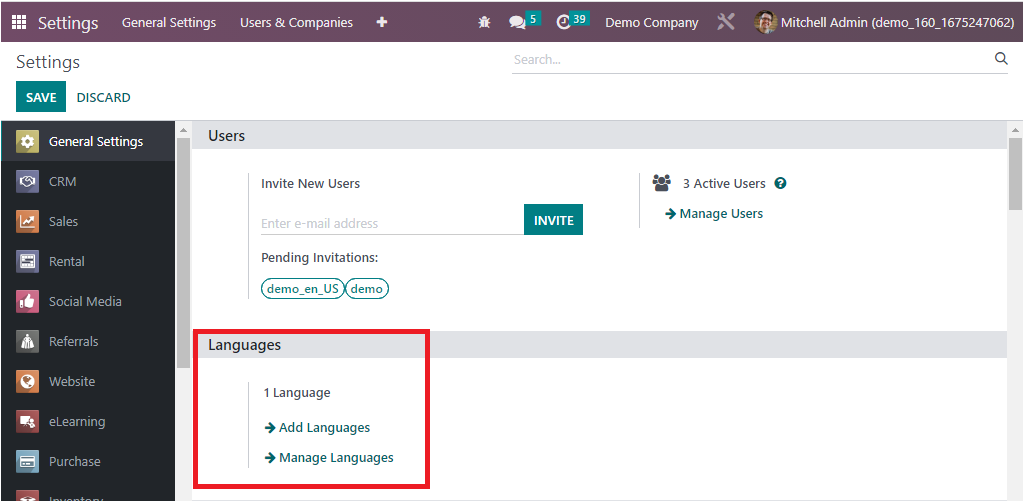
Here you can view the Add Languages option, and the Manage Languages option, and which will help you to perform the respective actions. The Languages window will look like in the screenshot below.
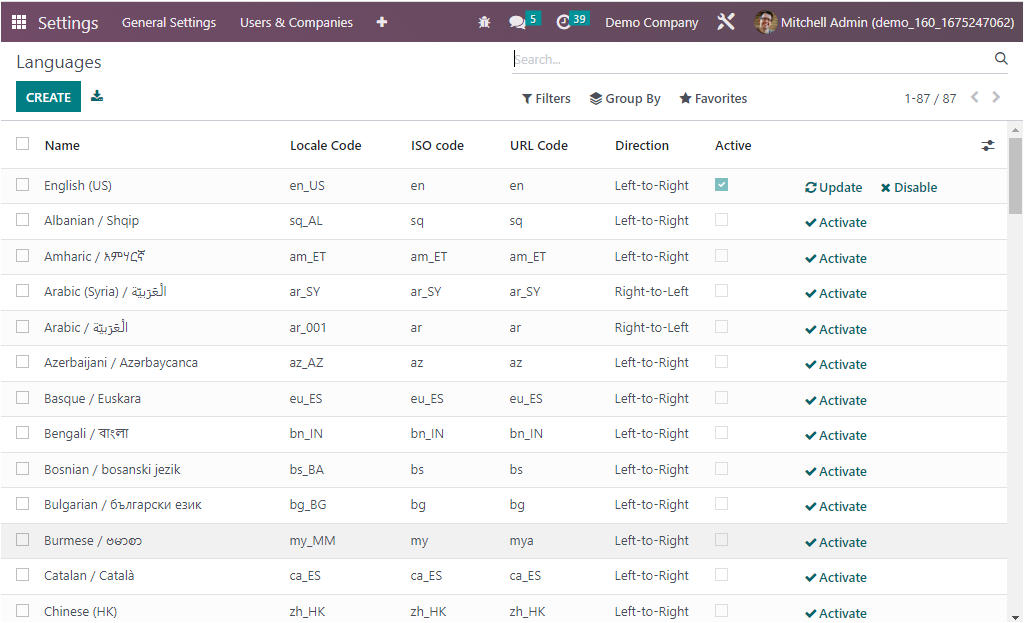
The Language window will showcase all the previously described language details in a list format. By viewing this window itself, you will get a clear idea of each language, their Locale Code, ISO Code, URL Code, Direction, and a boolean field to make the language active. And also, you can view the options such as Update, Disable, and Activate based on the activation and deactivation of the languages. You can check the boolean field to make that particular language activated. Similarly, the common feature of the Odoo platform, which is available in almost all windows of the Odoo platform, Filters, Group By, Search, and Favourites tab is also available here in the window. You can customize various filters and grouping options to sort out and categorize the languages from the list defined based on your business functions and requirements. The Favourites tab offers you various operational menus such as Save current search, Import records, Link menu in spreadsheet, and Insert list in spreadsheet, which can be used for performing corresponding actions.
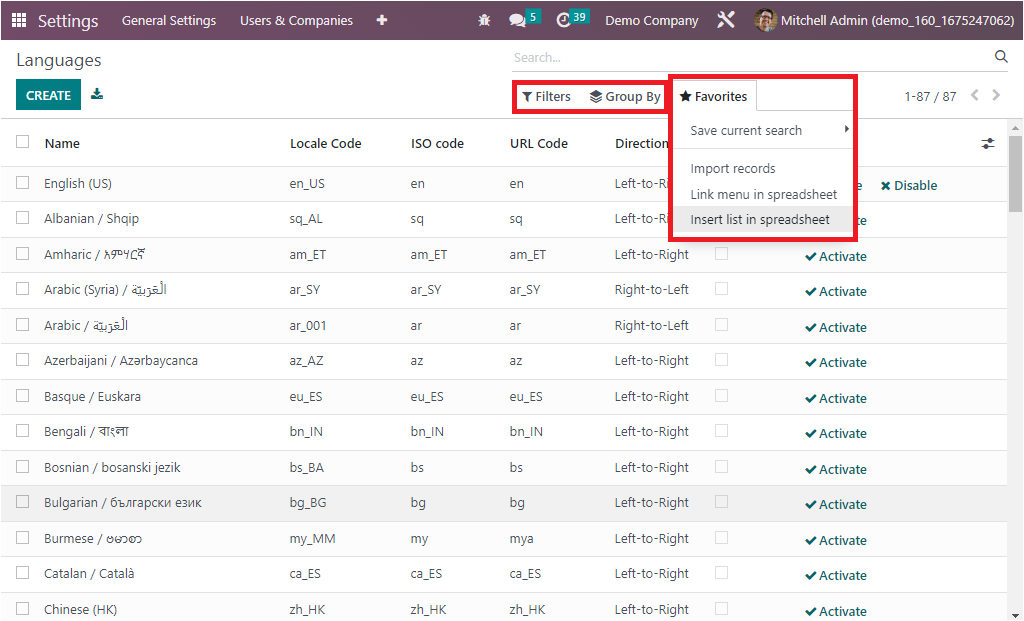
The customized one can be saved and added to the favorites, which will be helpful for future reference.
Additionally, each of the language records defined in the menu can be selected and viewed in detail and have the provision to modify the details if necessary. If you are required to create a new language for your business, you can have it using the CREATE button available in the top left corner of the window. Now the system will display a creation form, as you can see in the following screenshot
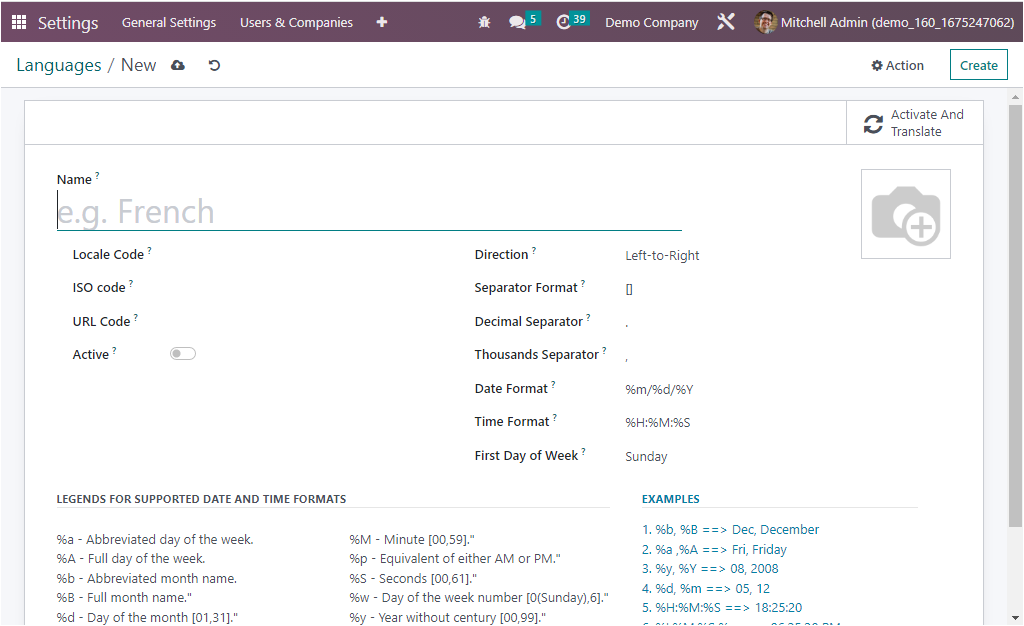
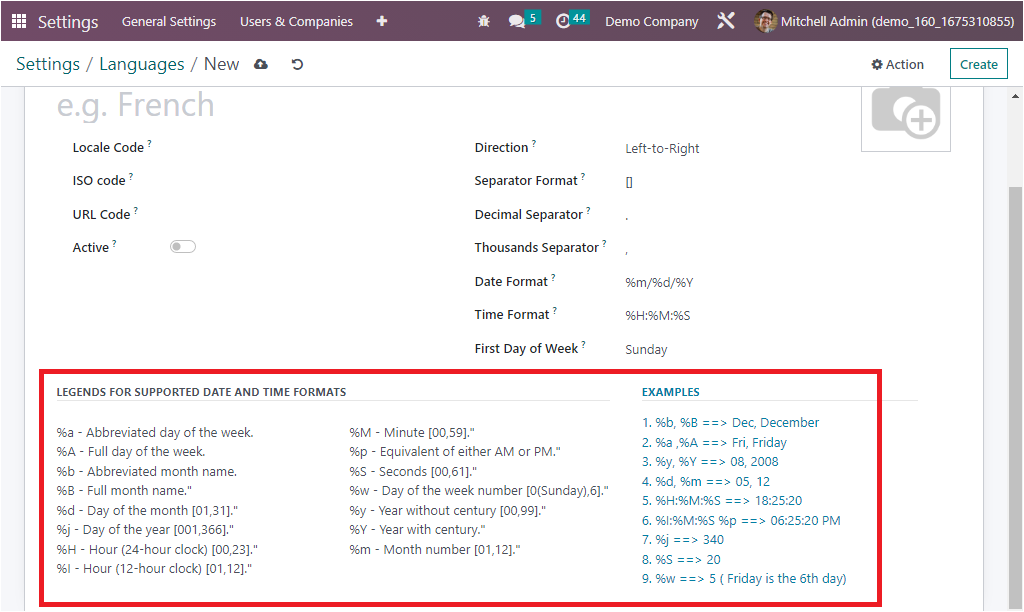
In the Language configuration window, the first thing that you have to configure is the Name field, where you can provide the name of the language. Then you have to mention the Locale Code of the language in the provided space. Then you have to mention the ISO Code where you can allocate the name of po files to use for translations. Next, you can describe the URL Code, and this will be the displayed language code in the URL. Following this field, you can view the Active field, which is a boolean field that can be activated to make the language active. Further, you can view the field called Direction, where you have two options to choose: Left- to -Right and Right- to -Left, where you can choose the suitable one. Then you can mention the Separator Format. Additionally, you can fill in the Decimal Separator and Thousands Separator fields with a suitable option. Then you can mention the Date Format in the provided space. Similarly, you can allocate the Time Format and the First Day of the Week in the offered field. The upper right corner of the window offers you a space for providing photographs where you can provide an image related to the language with the help of the Edit option. Apart from all these options, the window gives you a separate section where you can view the Legends for supported date and time formats is described, and also you can view the examples related to the operations and it will be helpful for understanding the operations of the language, these two aspects are highlighted in the following image.
In addition to all these options, you are also able to view a smart button called ‘Activate And Translate,’ which is located in the top right corner, as highlighted in the screenshot below.
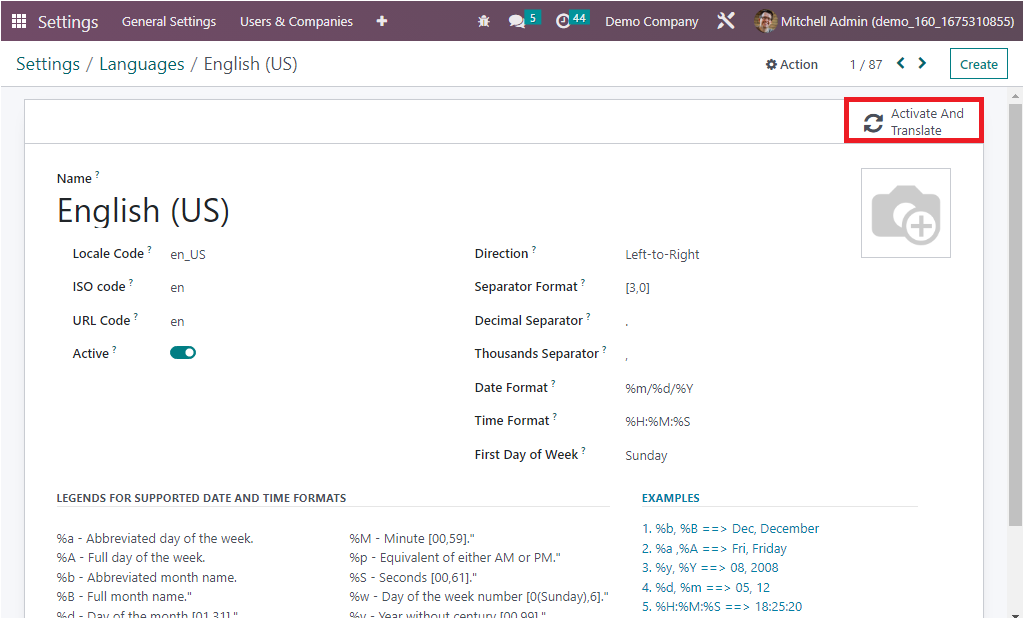
This smart button is useful for quickly activating and translating a language. This will help you to activate language and start translating the content. It can be used to quickly switch between languages. The moment you select the button, the system will represent a new pop-up window with a few fields, as shown below.
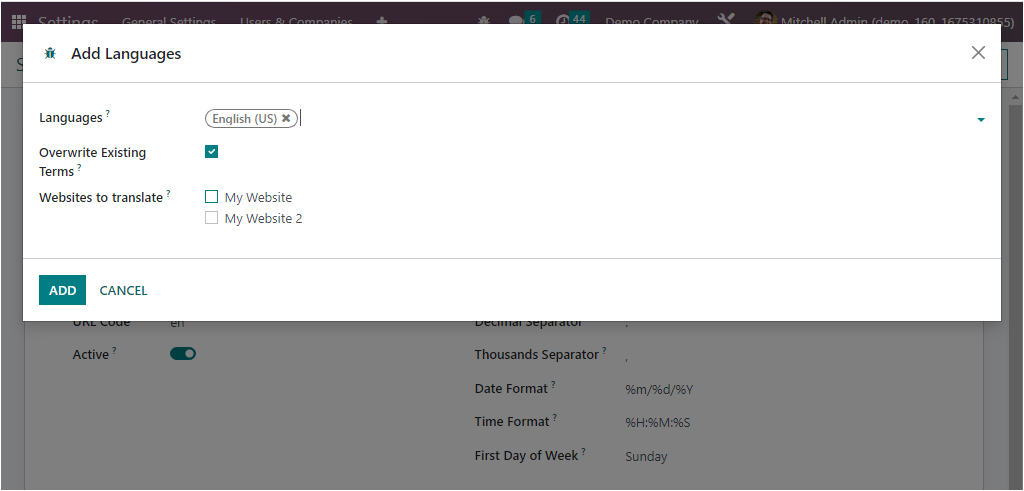
By adding a language using this window, you will be able to quickly activate and translate into this language and its related documents in the system. So you can choose the languages that you want to add using the dropdown menu. Then you have the Overwrite Existing Terms field. This field can be checked or unchecked depending on the user's preferences. Activating this field will allow you to override existing terms in the languages they are translating. This option is useful if a user wants to update existing translations or if they want to add new ones. This means your customized translations will be overwritten and replaced by the official ones. Then you can choose the websites that you want to translate by activating the respective Websites in the ‘Websites to translate’ field.
Now the Odoo system will automatically download and install the selected language, including its translations for all the documents in the system. Users can choose their favorite language in their preferences. This makes it easier and faster to switch between languages in a multilingual environment.
So far, we have been discussing the aspects of Language configuration in the Odoo platform, and now we can consider the Sequence Number Modification operations of the platform in the Accounting operations in the next section.