30. Account Tags
In Odoo 18 Accounting you can create labels that help track specific
balances, rates, or items by using account tags.
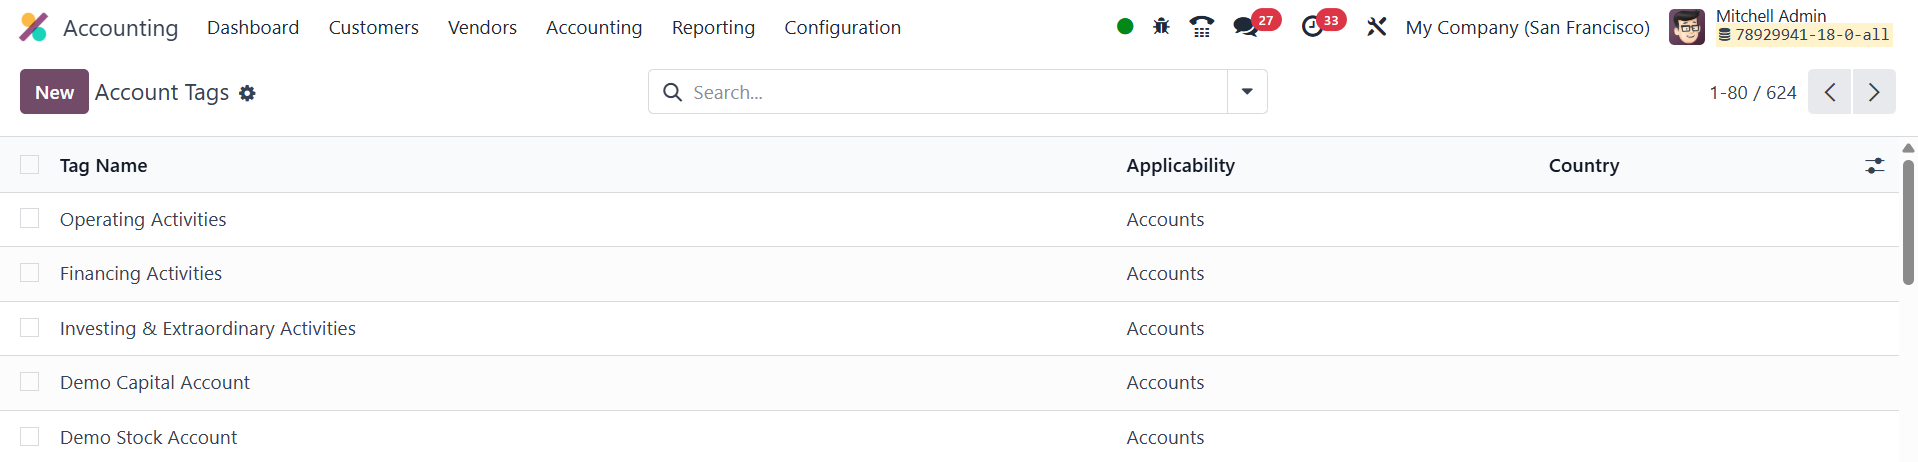
Open Accounting ▸ Configuration ▸ Account Tags and you will see a
list of existing tags along with a column that shows where each tag
can be applied.
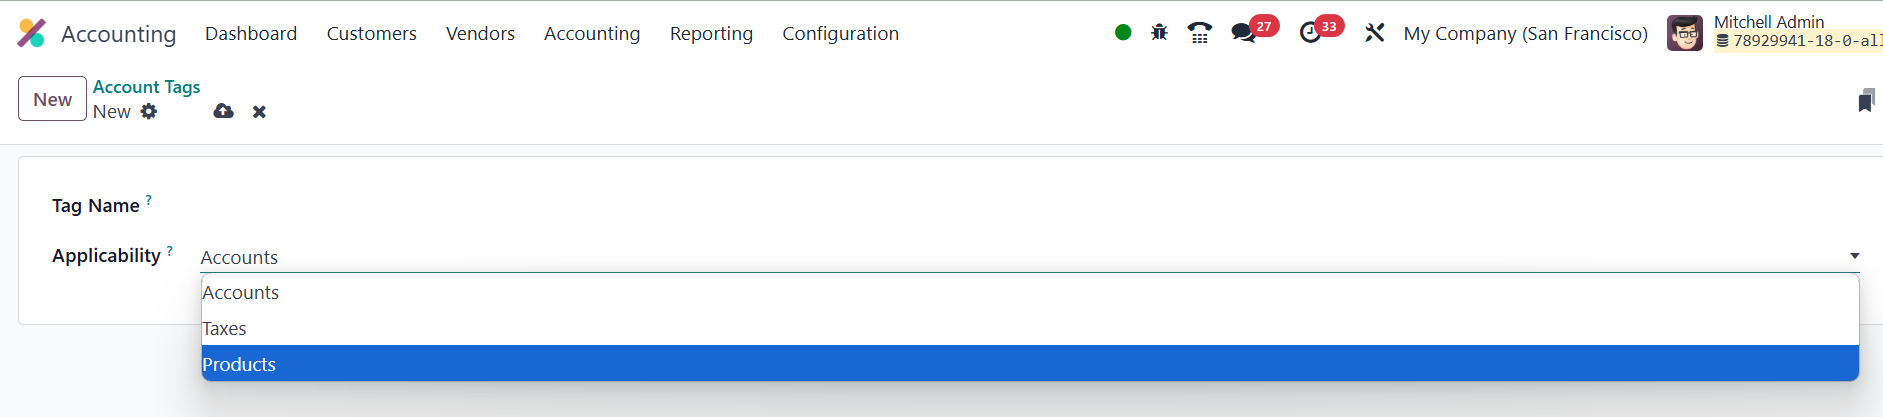
Click New to add one of your own, then give it a clear Tag Name and
specify its Applicability; that is, whether the tag should be
available on Accounts, Taxes, or Products. Once saved, the tag
becomes selectable in the corresponding forms and can later be used
for filtering, reporting, or automated mappings.
30.1 Account Groups
In Odoo 18 you can cluster several ledger accounts under a single
parent by using account groups. Grouping keeps the chart of accounts
tidy and lets reports such as the Trial Balance or Balance Sheet
roll subtotals up automatically. By default Odoo assigns a new
account to a group according to its number: for instance, if you
create account 131200 it is routed to the group that begins
with 131000. You can override that logic on any account form in the
Group (or View) field and place the account wherever you want in the
hierarchy.

If you need a group that does not yet exist you can create it
manually. First switch on developer mode, then open
Accounting ▸ Configuration ▸ Account Groups and click New.

Give the group a clear Name, specify the Code Prefix that defines the
range of child accounts (enter the same prefix in both From and To),
and select the Company if the group should be company‑specific. Once
saved the new group becomes available in the account forms and
immediately begins aggregating balances for financial reports.