37. Analytic Accounts
Odoo 18’s Analytic Accounting feature lets you track income and
expenses for projects, departments, or any custom dimension without
cluttering the statutory chart of accounts.
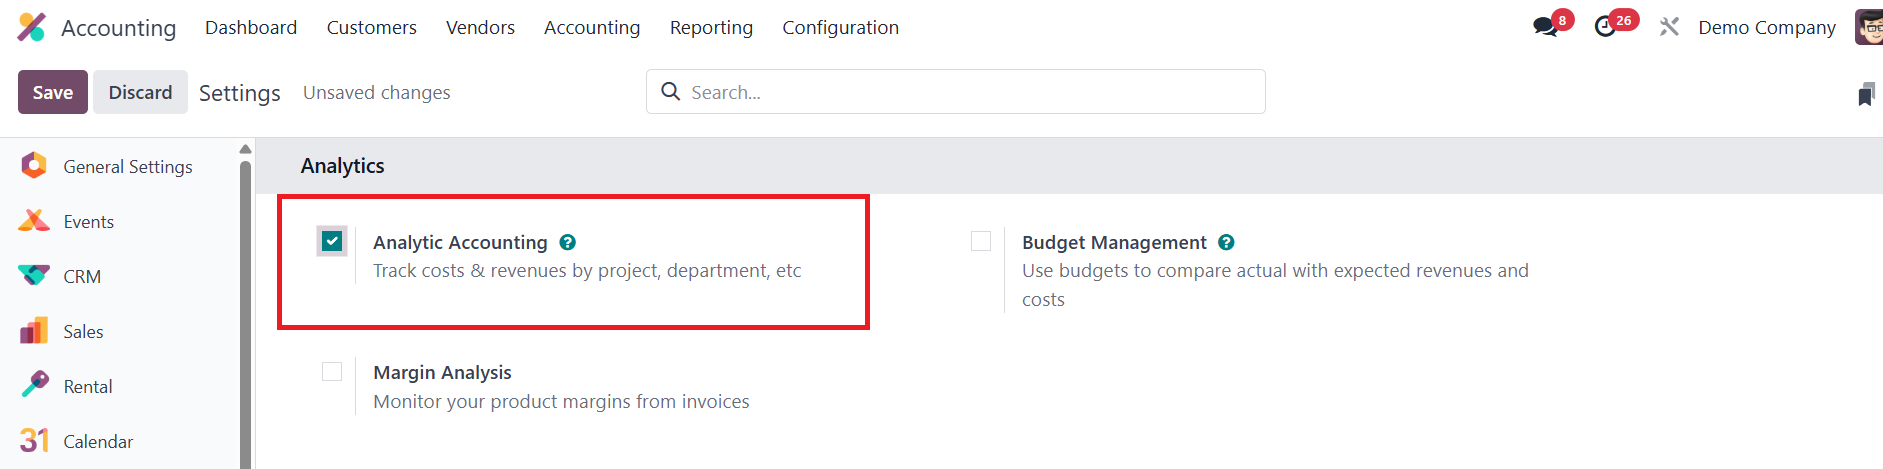
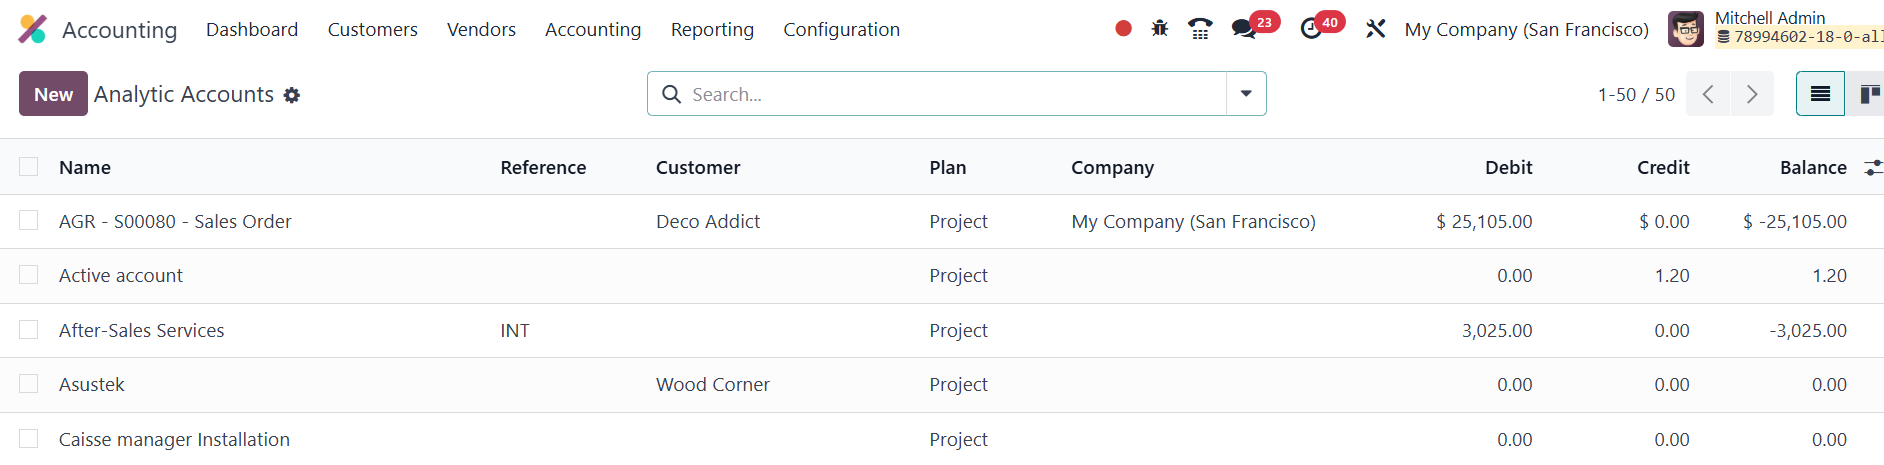
First, enable Analytic Accounting in Accounting › Settings. This adds
Configuration › Analytic Accounts to the menu, where a list view
shows each account’s name, reference, customer, plan, company,
debit, credit, and balance.
Creating a new analytic account is straightforward: click New and
fill in the form.
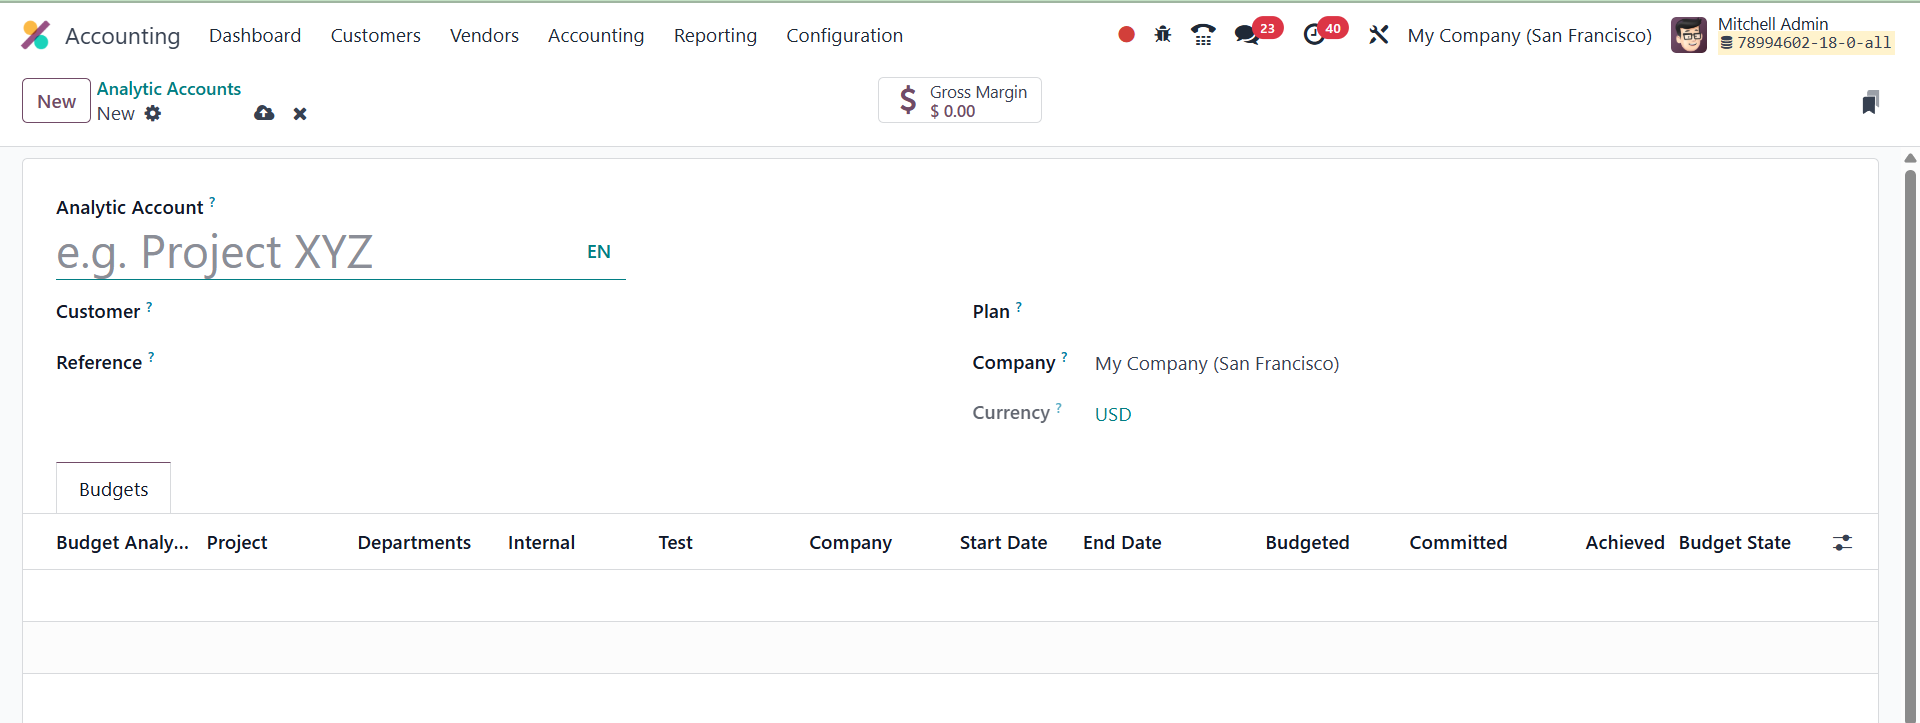
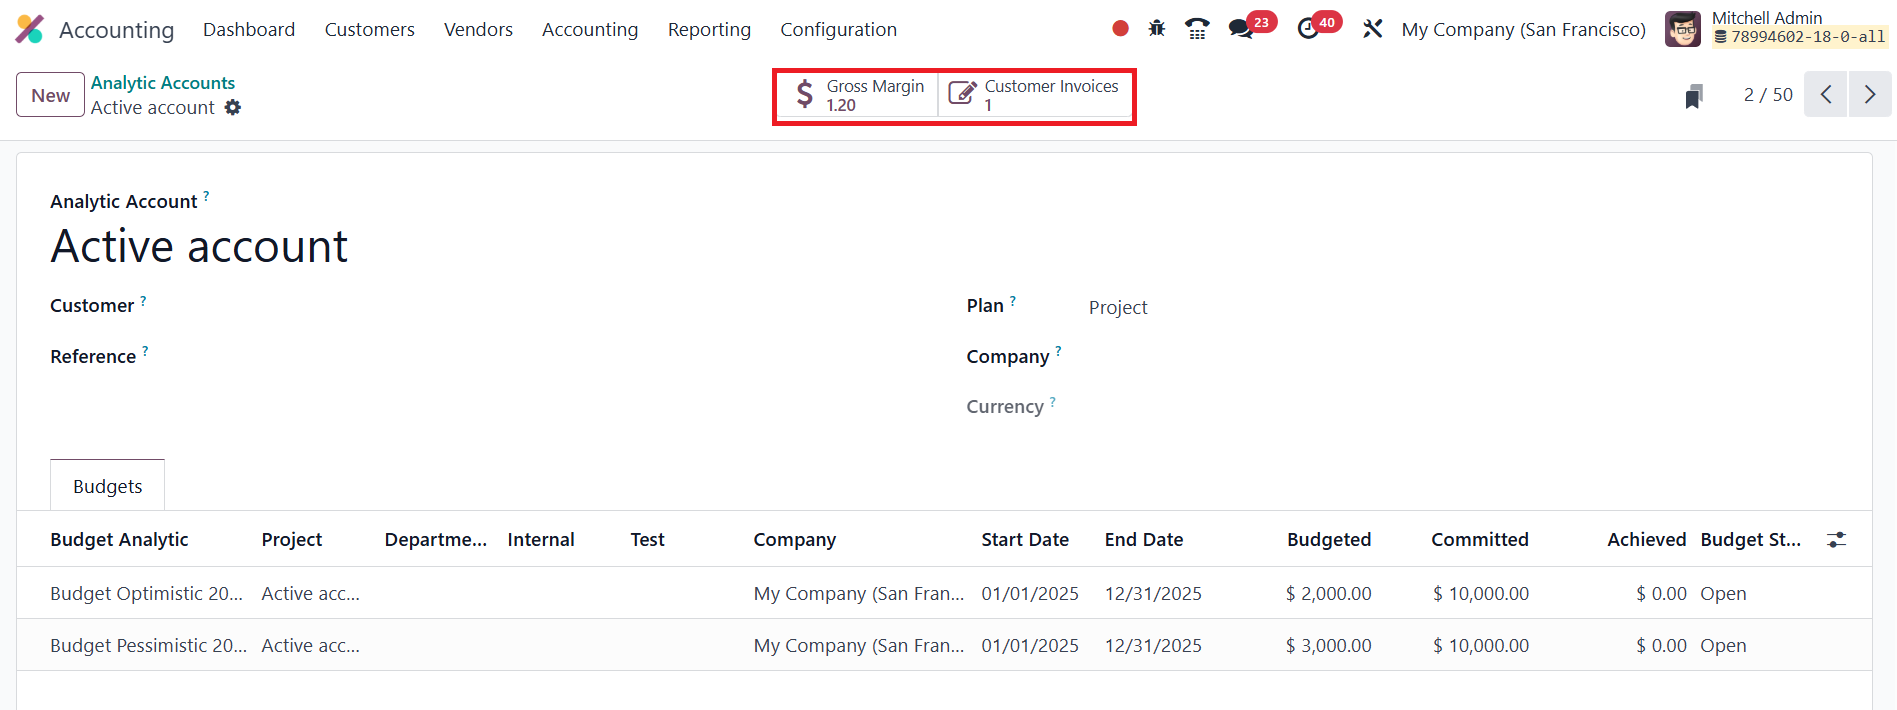
Enter a clear Analytic Account name, link it to a Customer if
relevant, add an internal Reference, choose the Company and
Currency, and assign it to an Analytic Plan.
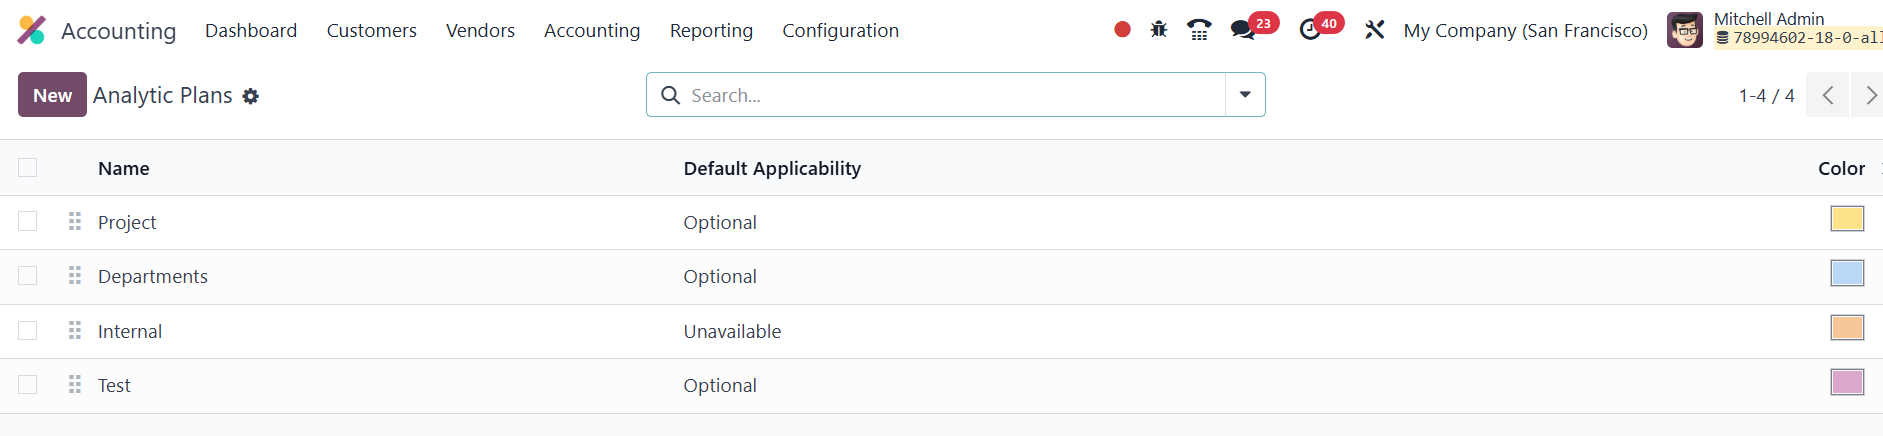
Analytic plans act like reporting buckets; you can set them up under
Configuration › Analytic Plans, defining a parent plan, color tag,
and applicability (e.g., invoices, vendor bills) via “Add a Line.”
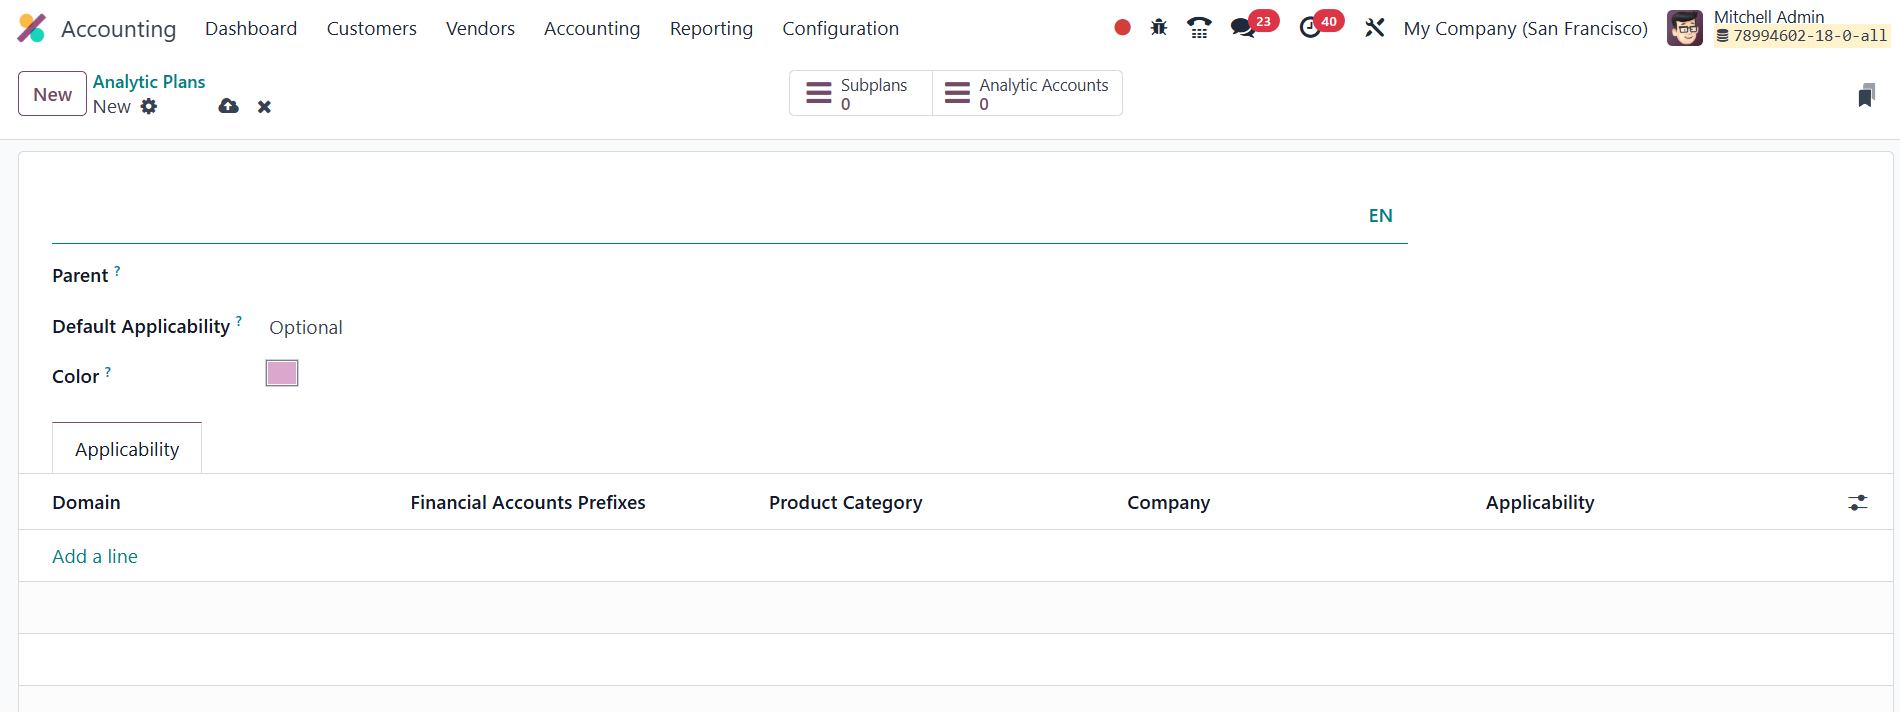
For each applicability line you can restrict usage by Financial
Account Prefix, Product Categories, and mark it Required, Optional,
or Unavailable. Sub‑plans nest neatly beneath parent plans for
granular tracking.
Back in the analytic‑account form, you may attach Budget Items so the
account can monitor planned versus actual figures, gross margin and
budget totals appear in real time via smart buttons once entries
start flowing in.
Using the feature is seamless: whenever you raise a vendor bill,
customer invoice, expense, or other document, simply select the
relevant analytic account (or plan). On validation the analytic
entry posts automatically, and you can review it from the account’s
smart buttons.
37.1 Analytic Distribution Model
When you activate Analytic Accounting in Odoo 18, every journal item
can automatically split its amount across several analytic accounts
through an Analytic Distribution Model.

You manage these models under
Accounting › Configuration › Analytic Distribution Models, where the
list view summarizes each model’s Accounts Prefix, Partner, Product,
Company, and the linked analytic structure.
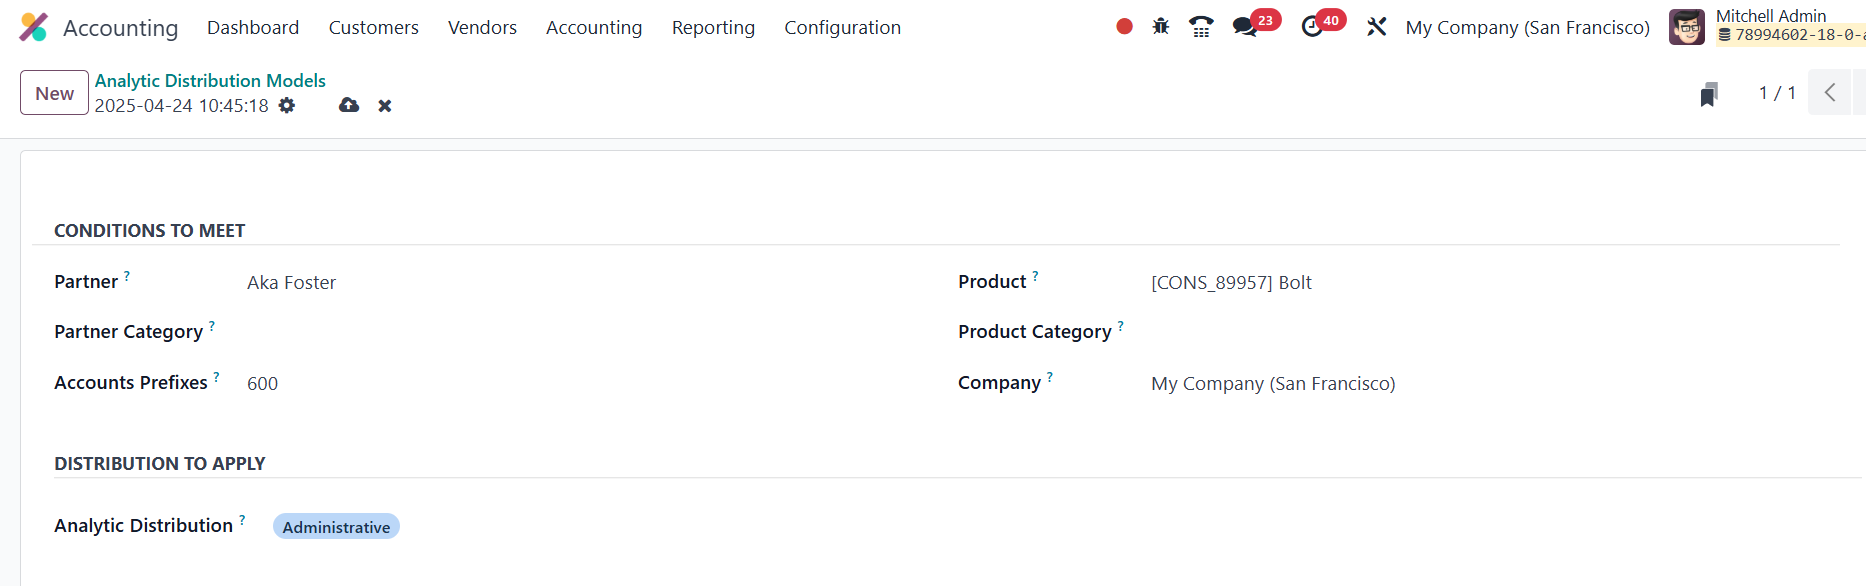
Click New to set up a model. In the form you define the conditions
that trigger the split: pick a Partner or Partner Category, a
Product or Product Category, and (if needed) restrict it to a
specific Company. The Accounts Prefix tells Odoo which financial
accounts the rule covers.
Next, in Analytic Distribution to Apply, specify one or more analytic
accounts and the percentage (or fixed share) each should receive.

When you later create an invoice, or any journal entry, that matches
the model’s conditions, Odoo auto‑populates the journal lines with
those analytic splits.
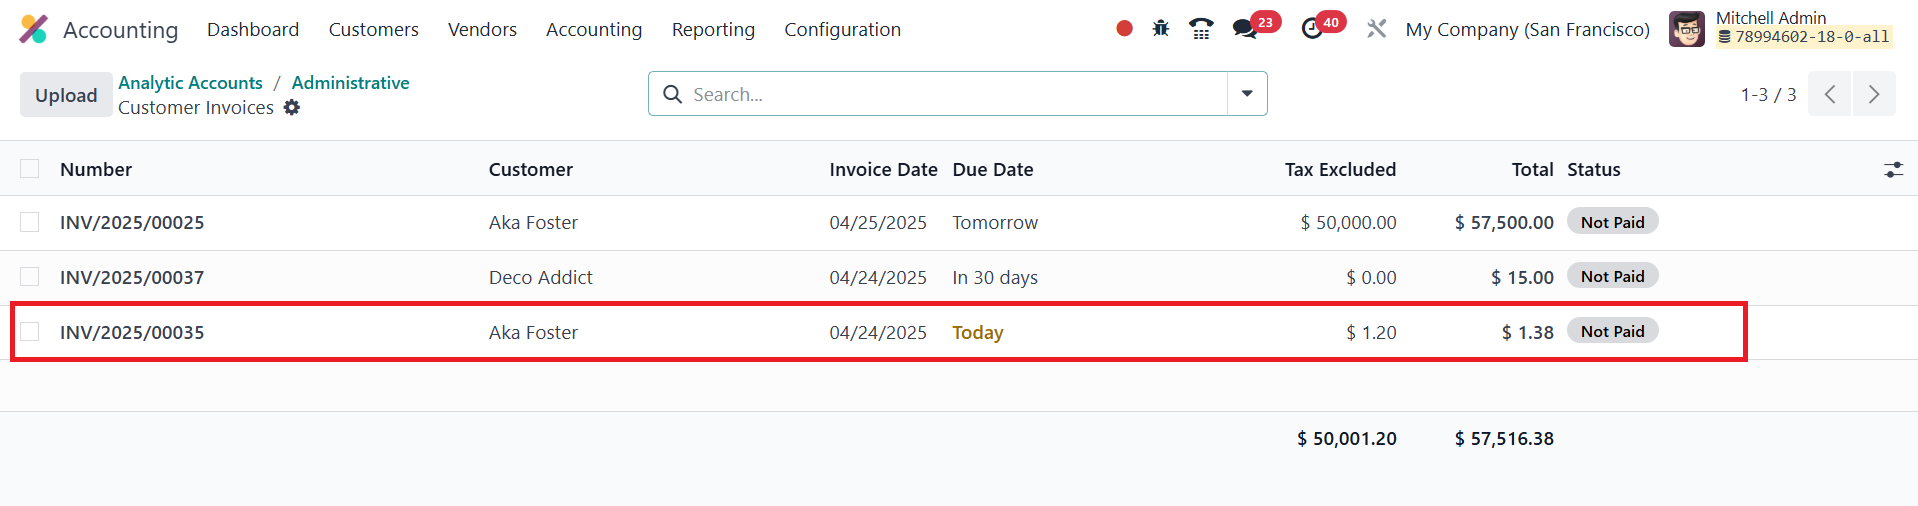
As soon as you post the invoice the amounts flow to the designated
analytic accounts, giving you precise, rule‑based cost allocation
without any manual effort.