3. Receipts
In Odoo 18 Accounting, receipt management is streamlined through
distinct and organized platforms for Sales Receipts and Purchase
Receipts, available under the Customers and Vendors menus
respectively. These receipts play an essential role in validating
and recording the delivery of goods or services and ensuring proper
documentation of financial transactions within your business
workflow.
A sales receipt serves as an acknowledgment that the customer has
received the products or services specified in a sales order. In
Odoo 18, these receipts operation are automatically generated once a
Sales Order is confirmed, but for financial records users also
manually create from the Receipts option available for the under the
Customers menu in the Accounting module.
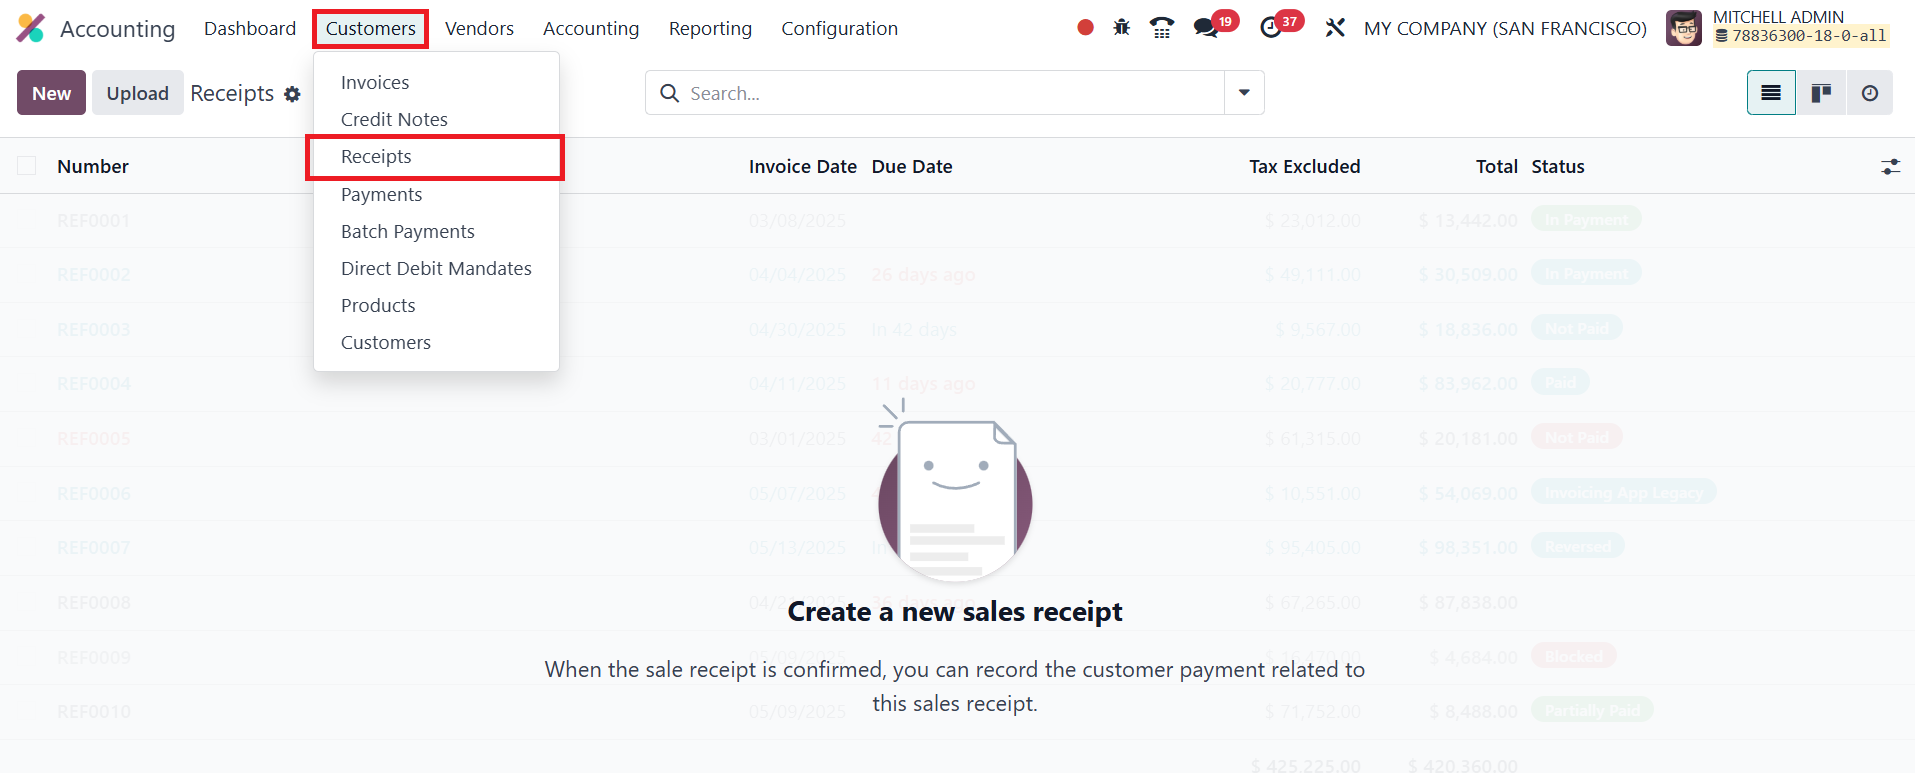
The Receipts dashboard presents a clear list view displaying key
details such as Receipt Number, Customer Name, Invoice Date, Due
Date, Tax-Excluded Total, Grand Total, and Status. To enhance
usability, Odoo 18 allows customization of this view through
configurable columns and filtering options. Users can also upload
external receipts using the Upload button to keep all records
centralized in the system.
To manually create a new sales receipt, click the New button.
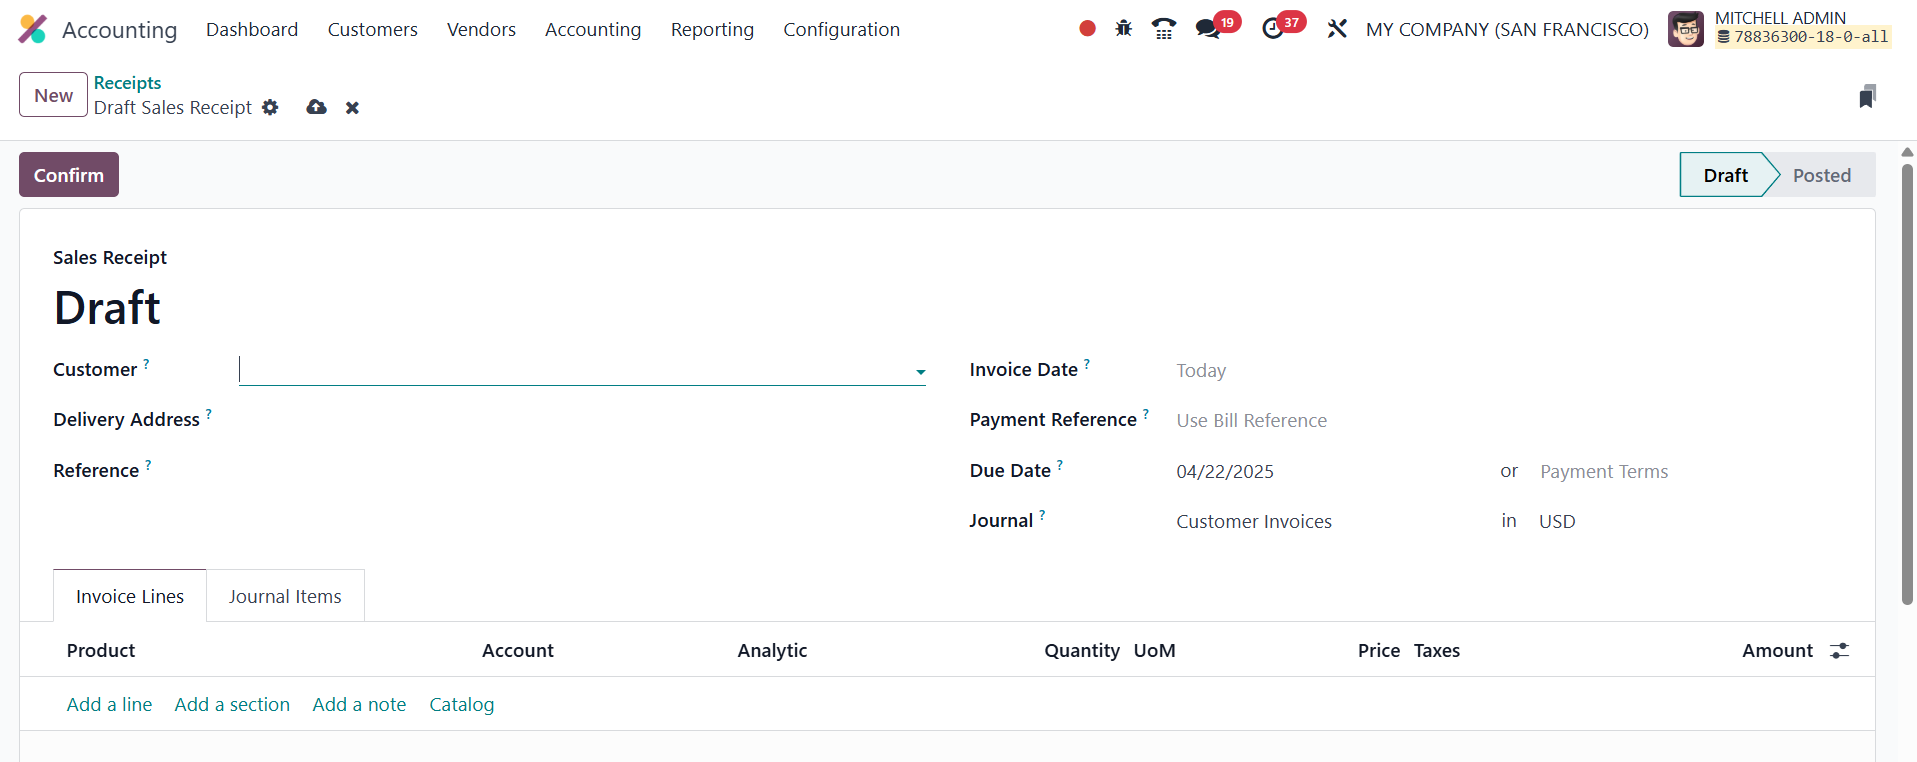
The creation form mirrors the layout of an invoice entry screen. You
can enter fields like Customer, Delivery Address, Reference, Invoice
Date, Payment Reference, Payment Terms, and the Accounting Journal.
Under the Invoice Lines tab, products or services being acknowledged
can be added using the Add a Line button. This section captures
details such as Product Name, Account, Analytic Account, Quantity,
Unit of Measure (UoM), Unit Price, Applicable Taxes, and Subtotal
for each line item.
The Journal Items tab automatically reflects the accounting entries
associated with the receipt, including debit and credit movements,
relevant accounts, and analytic dimensions.
Once all necessary information is filled in, clicking the Confirm
button posts the receipt, officially recognizing the transaction in
your accounting system.
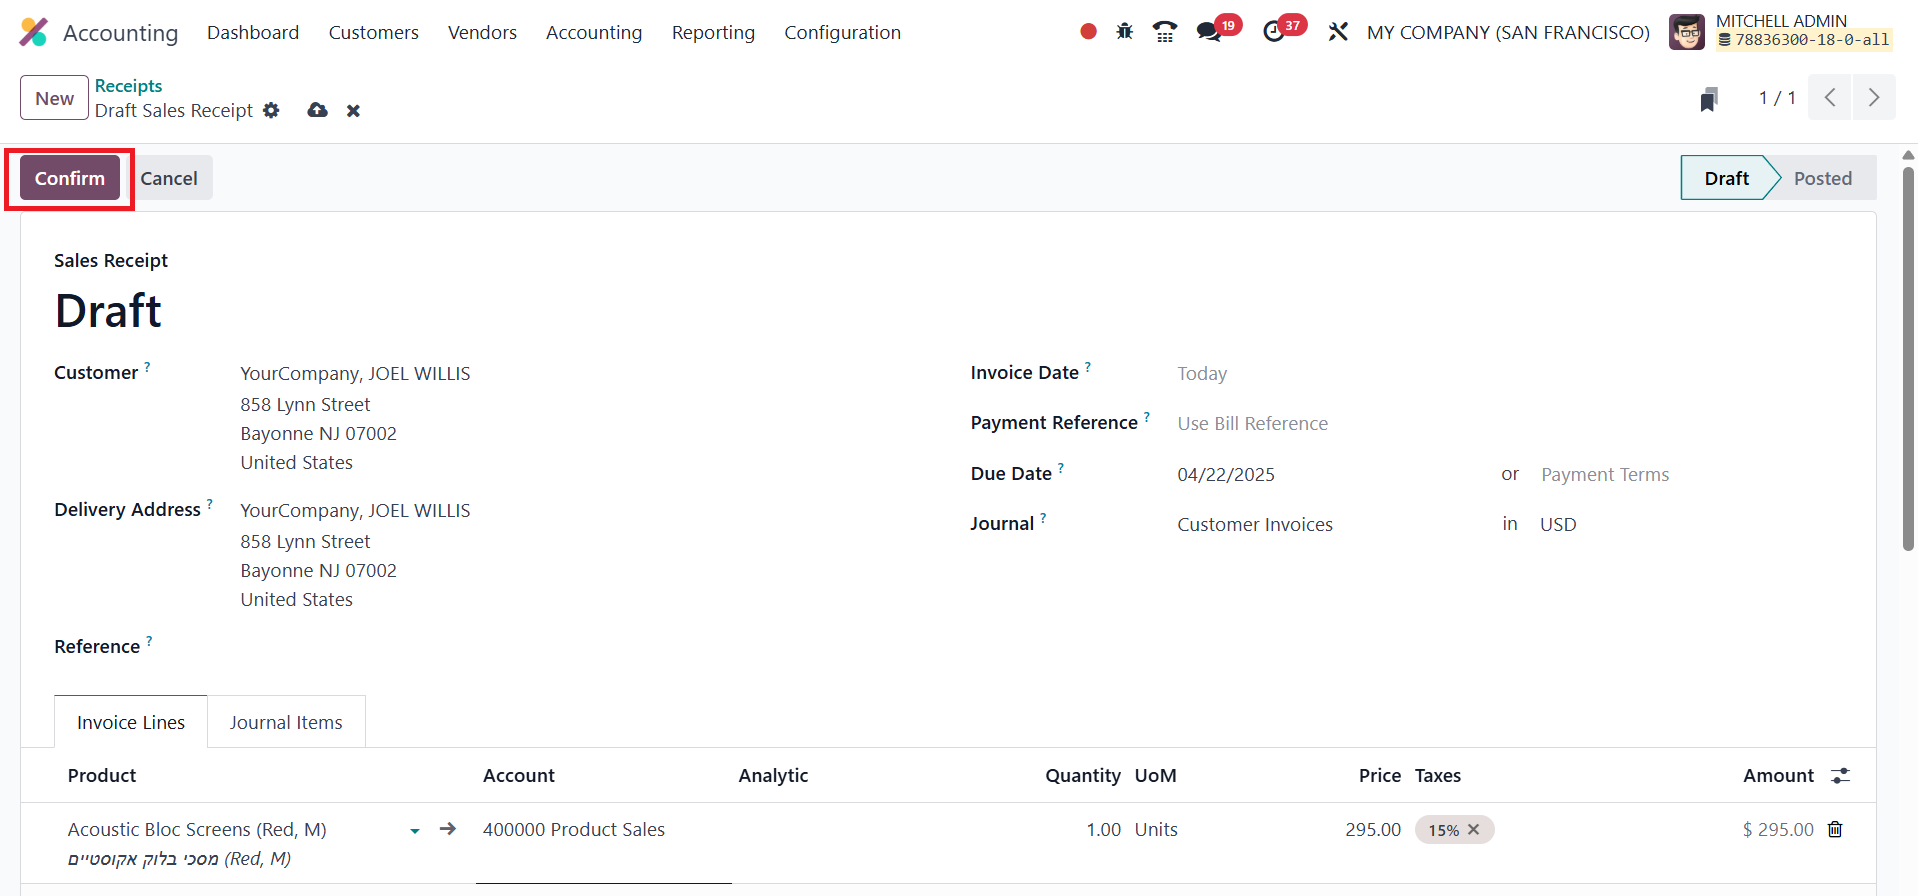
Following confirmation, you can use the Pay button to record the
customer's payment, either partially or in full, based on the amount
received. Odoo’s payment registration window allows specification of
journal, payment method, date, and amount, ensuring a seamless
reconciliation process.
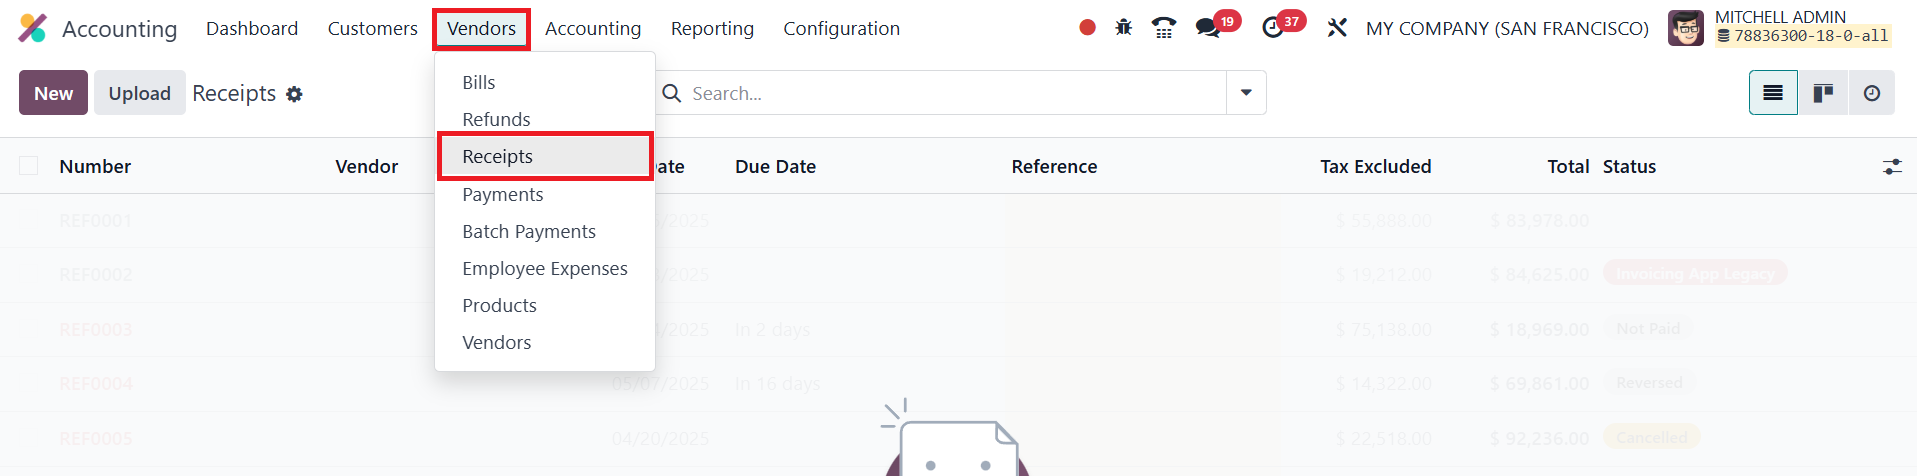
Odoo 18 also provides functionality to manage purchase receipts,
which act as confirmation that your business has received products
or services from a vendor. These are typically generated
automatically once a Purchase Order is confirmed and goods are
received. However, you can also manually create a purchase receipt
by selecting the Receipts option from the Vendor menu within the
Accounting module.
The Receipts platform shares a similar structure with the sales
receipts view, ensuring consistency in user experience. The receipt
creation interface prompts users to input fields such as Vendor,
Bill Reference, Bill Date, Accounting Date, and Recipient Bank
Account. In Odoo 18, the Vendor field identifies the supplier
issuing the bill, the Bill Reference helps track the vendor’s
original invoice number, the Bill Date indicates when the vendor
issued the bill, the Accounting Date determines when the transaction
is recorded in the books, and the Recipient Bank Account specifies
the vendor's bank account to which the payment will be made.
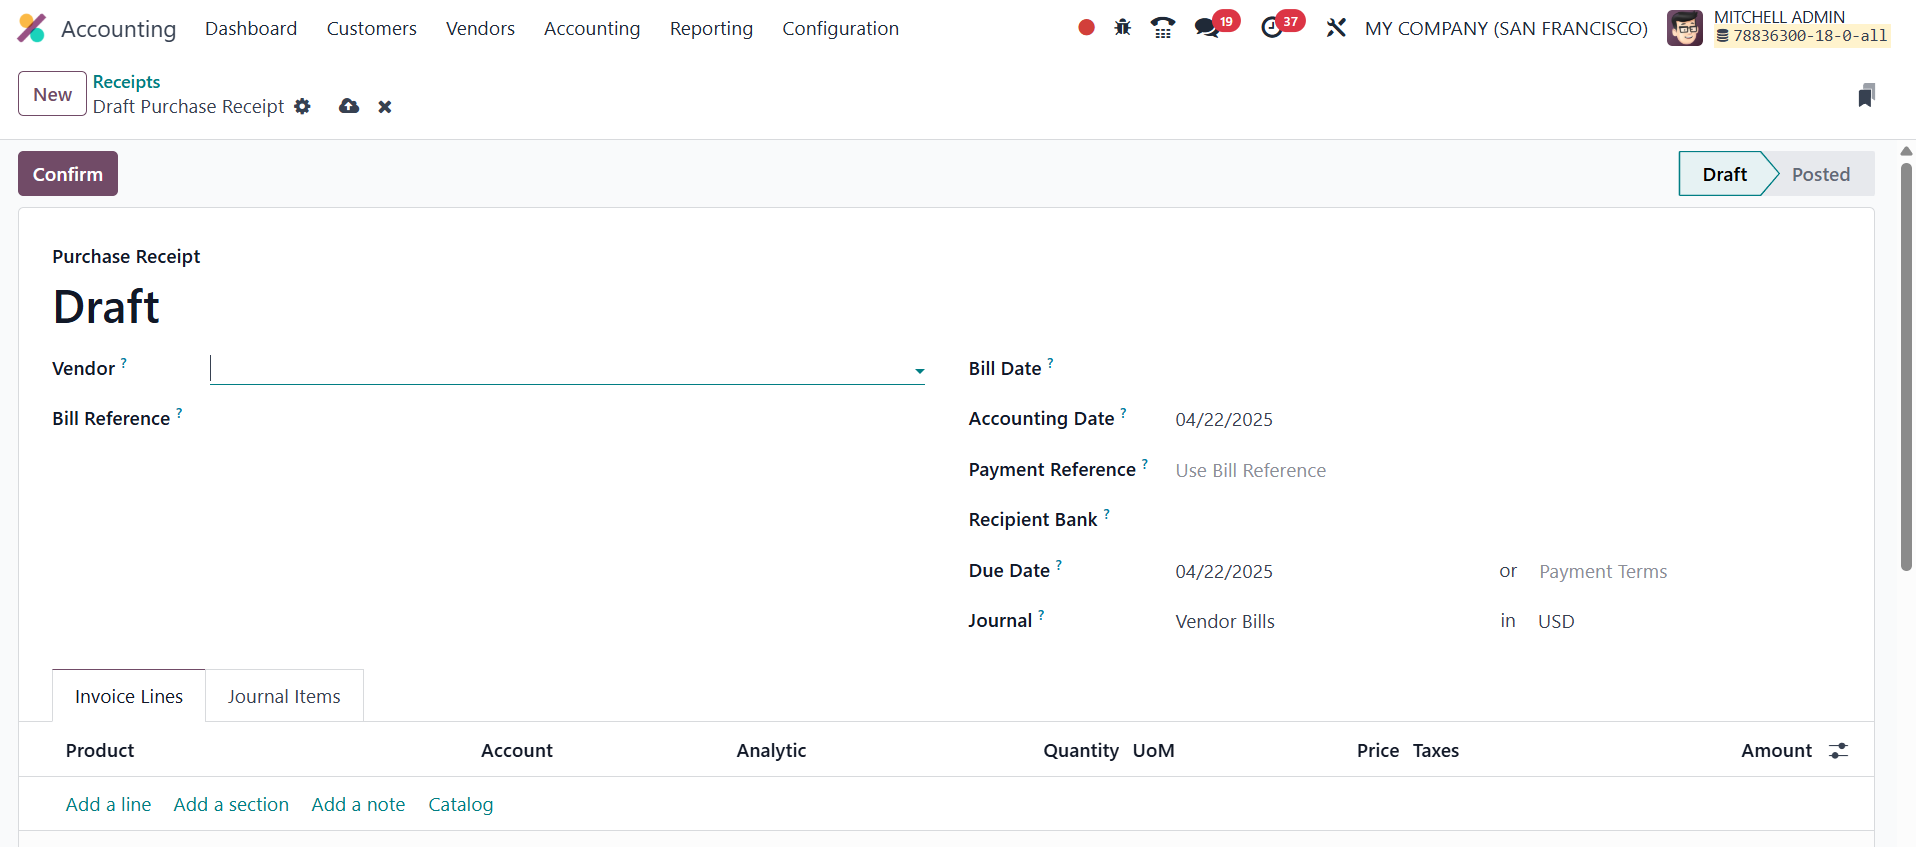
Once all relevant data is entered, the purchase receipt can be
validated by clicking the Confirm button. This confirmation process
not only registers the vendor receipt but also triggers the
accounting entries for the purchase transaction.
By clearly segmenting and structuring sales and purchase receipts,
Odoo 18 Accounting helps businesses maintain transparency in
transaction documentation, improve payment tracking, and enhance
financial accuracy.