3. Schedule
The menu schedule will show the online appointment scheduling that is
based on staff and resource booking.
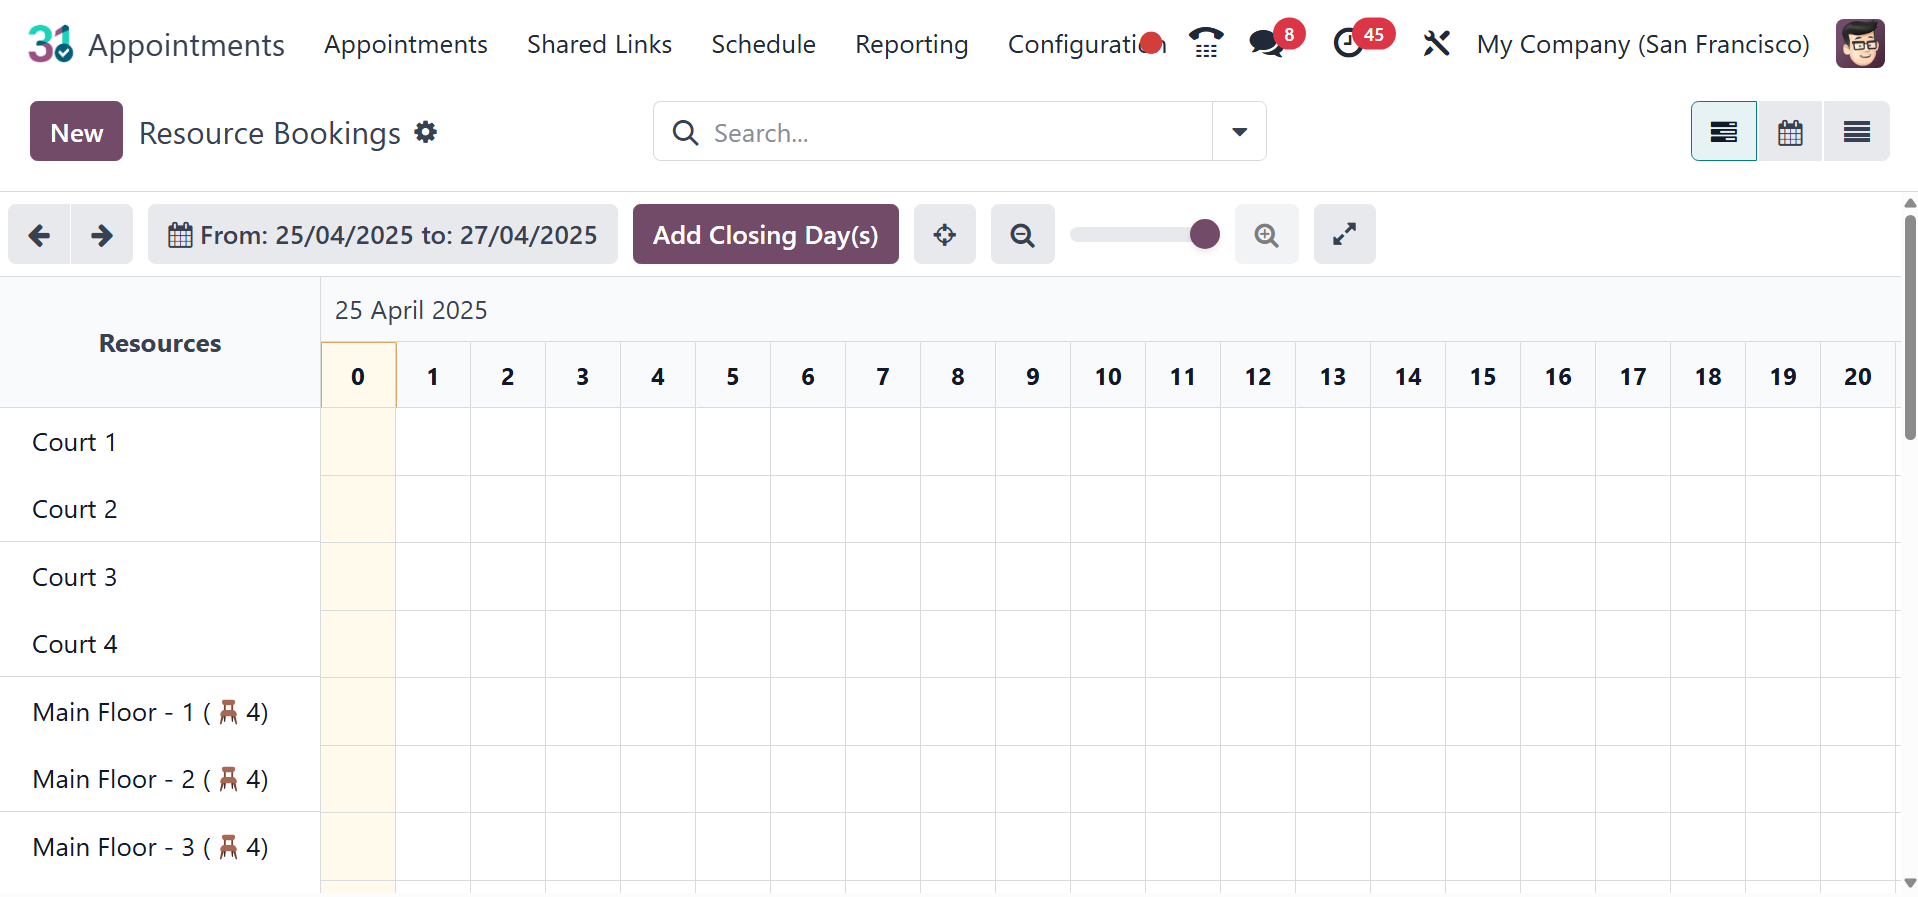
3.1 Resource booking
All of the booking information for the resources is available on this
resource booking page, which is organized by day, month, and year.
Each and every resource. Choose the New option to add a new Resource
Booking.
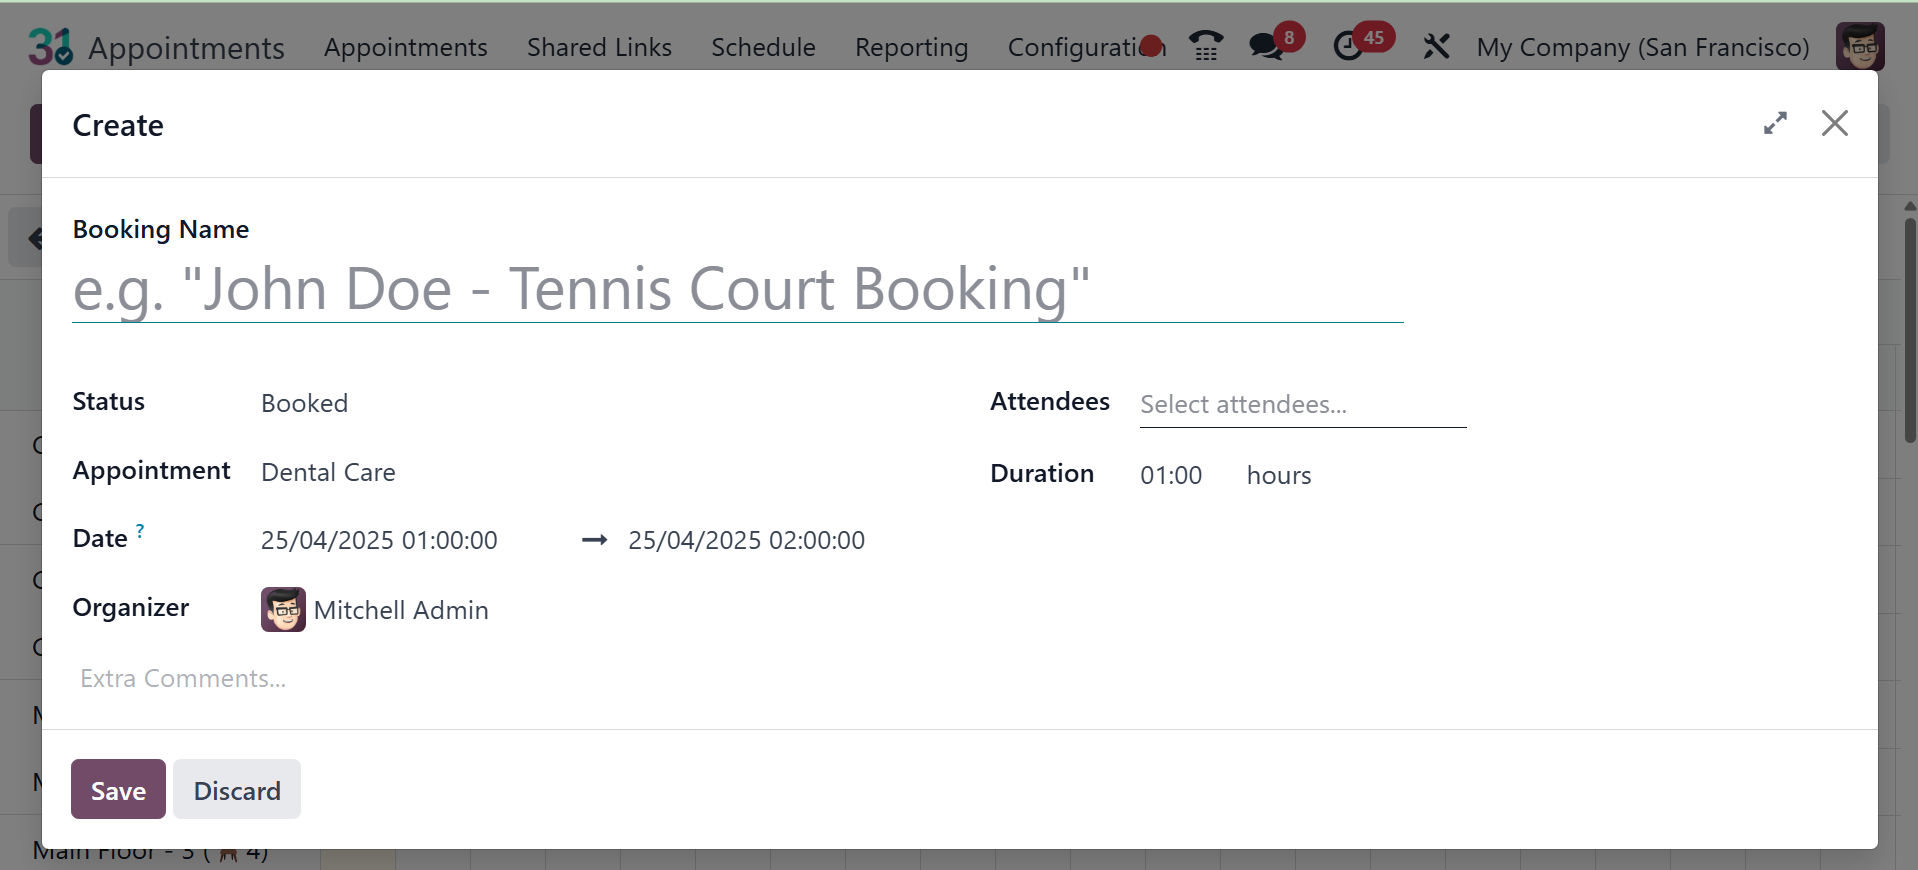
After adding the meeting's topic, select the attendees, time, date,
and host. You can also choose the appointment type in the box. Then,
save the appointment.
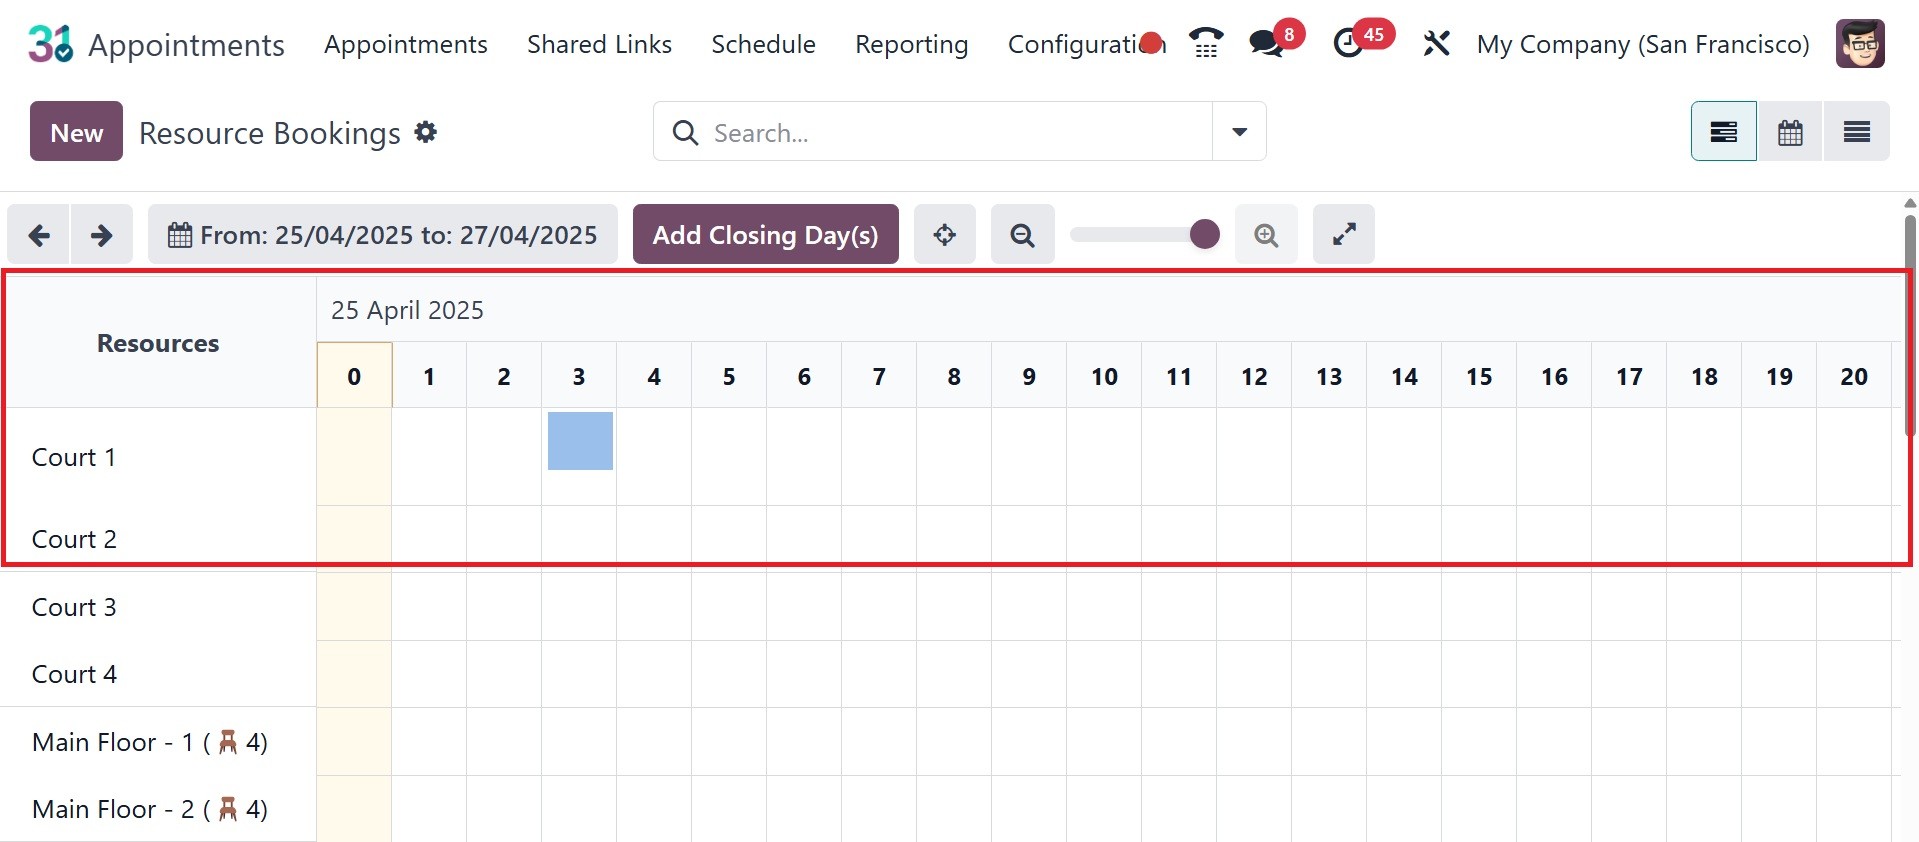
The reservation will then appear as indicated below in the Resource
Booking calendar.
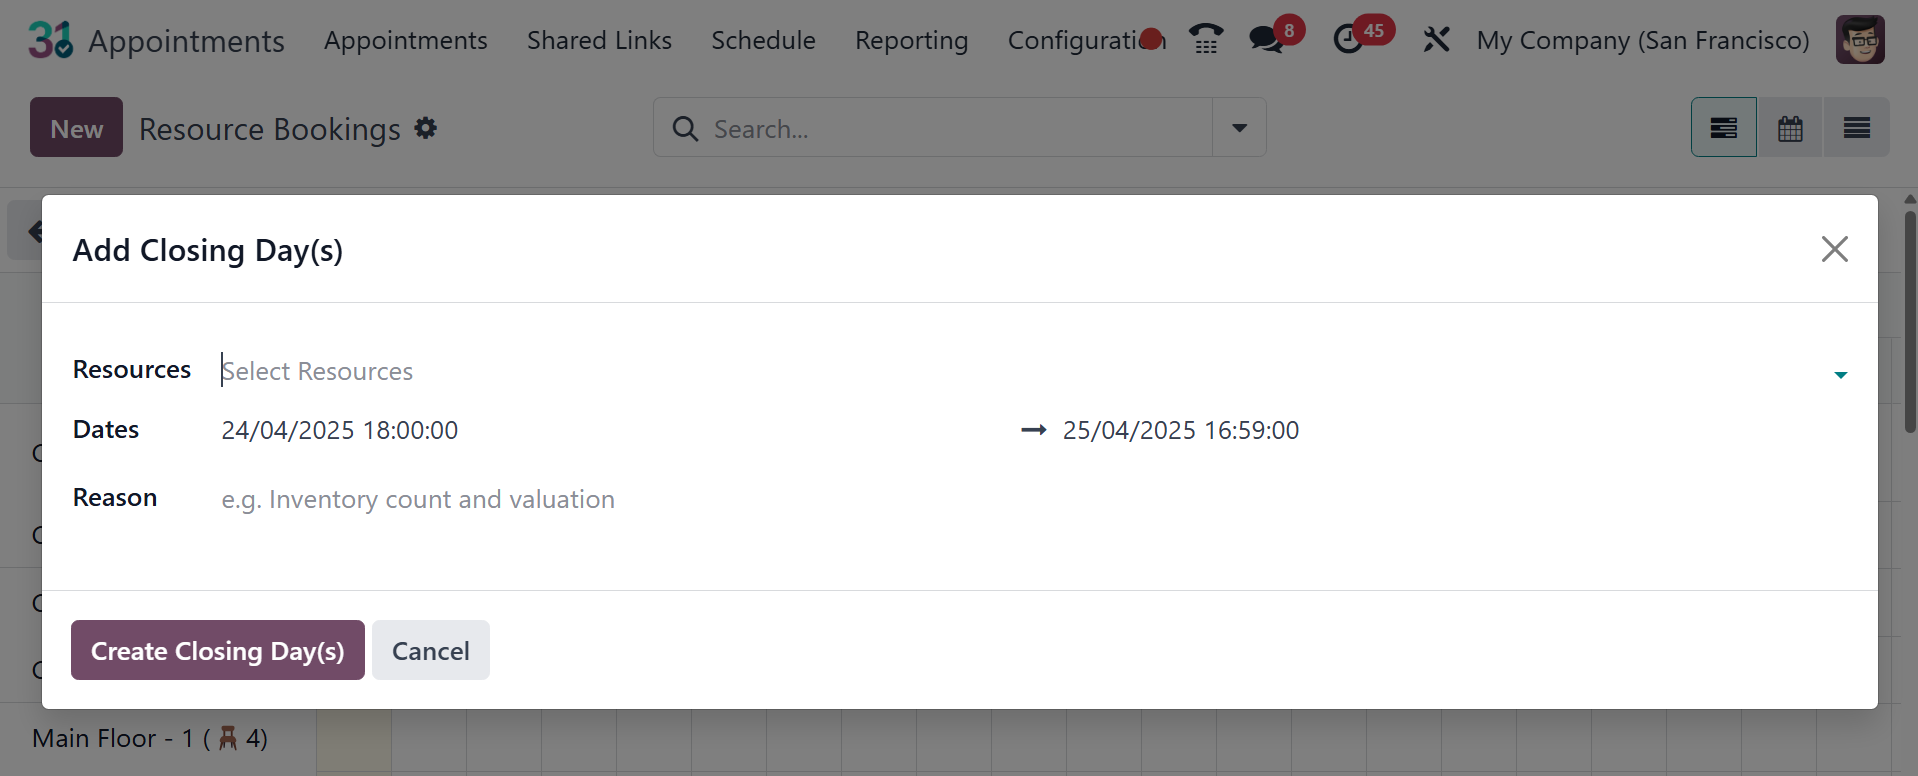
To add a leave, click the "Add closing days" button. The Resource
Calendar can then be chosen. The reason for the closing will be
shown in the dates that follow. Next, keep the leaf intact.
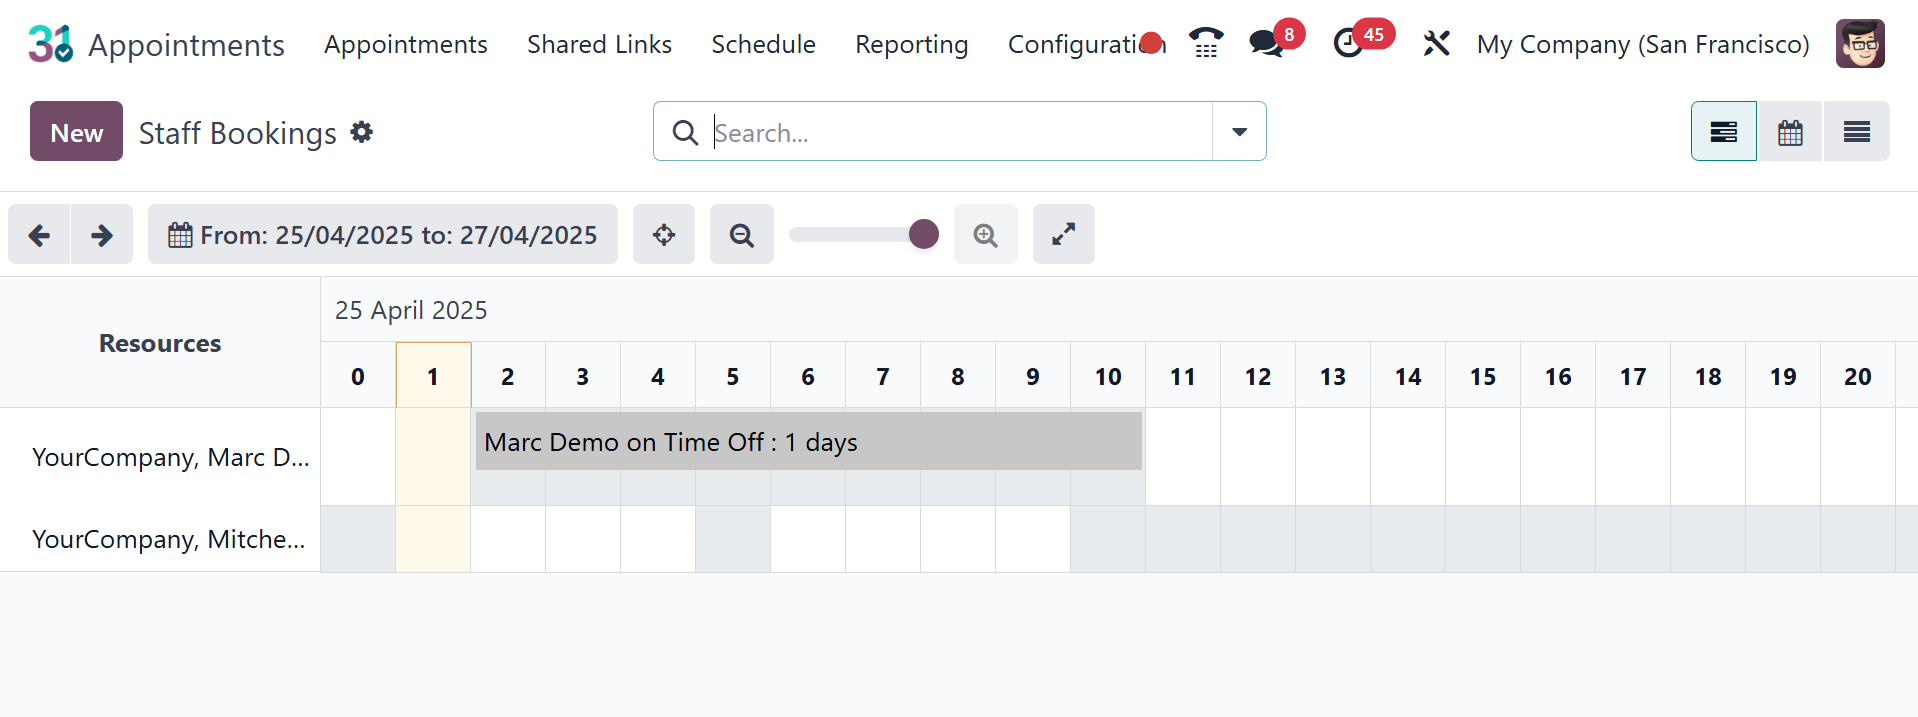
3.2 Staff booking
Staff booking is similar to resource booking. Here, staff—rather than
resources—is the basis for booking. Staff booking refers to the
ability to allow customers (or internal users) to book appointments
with specific employees (staff members) based on their availability
and assigned services. Here, you can view the page in list,
calendar, and Gantt views. The given page is a Gantt view.
You can have the list view, as in the image below.
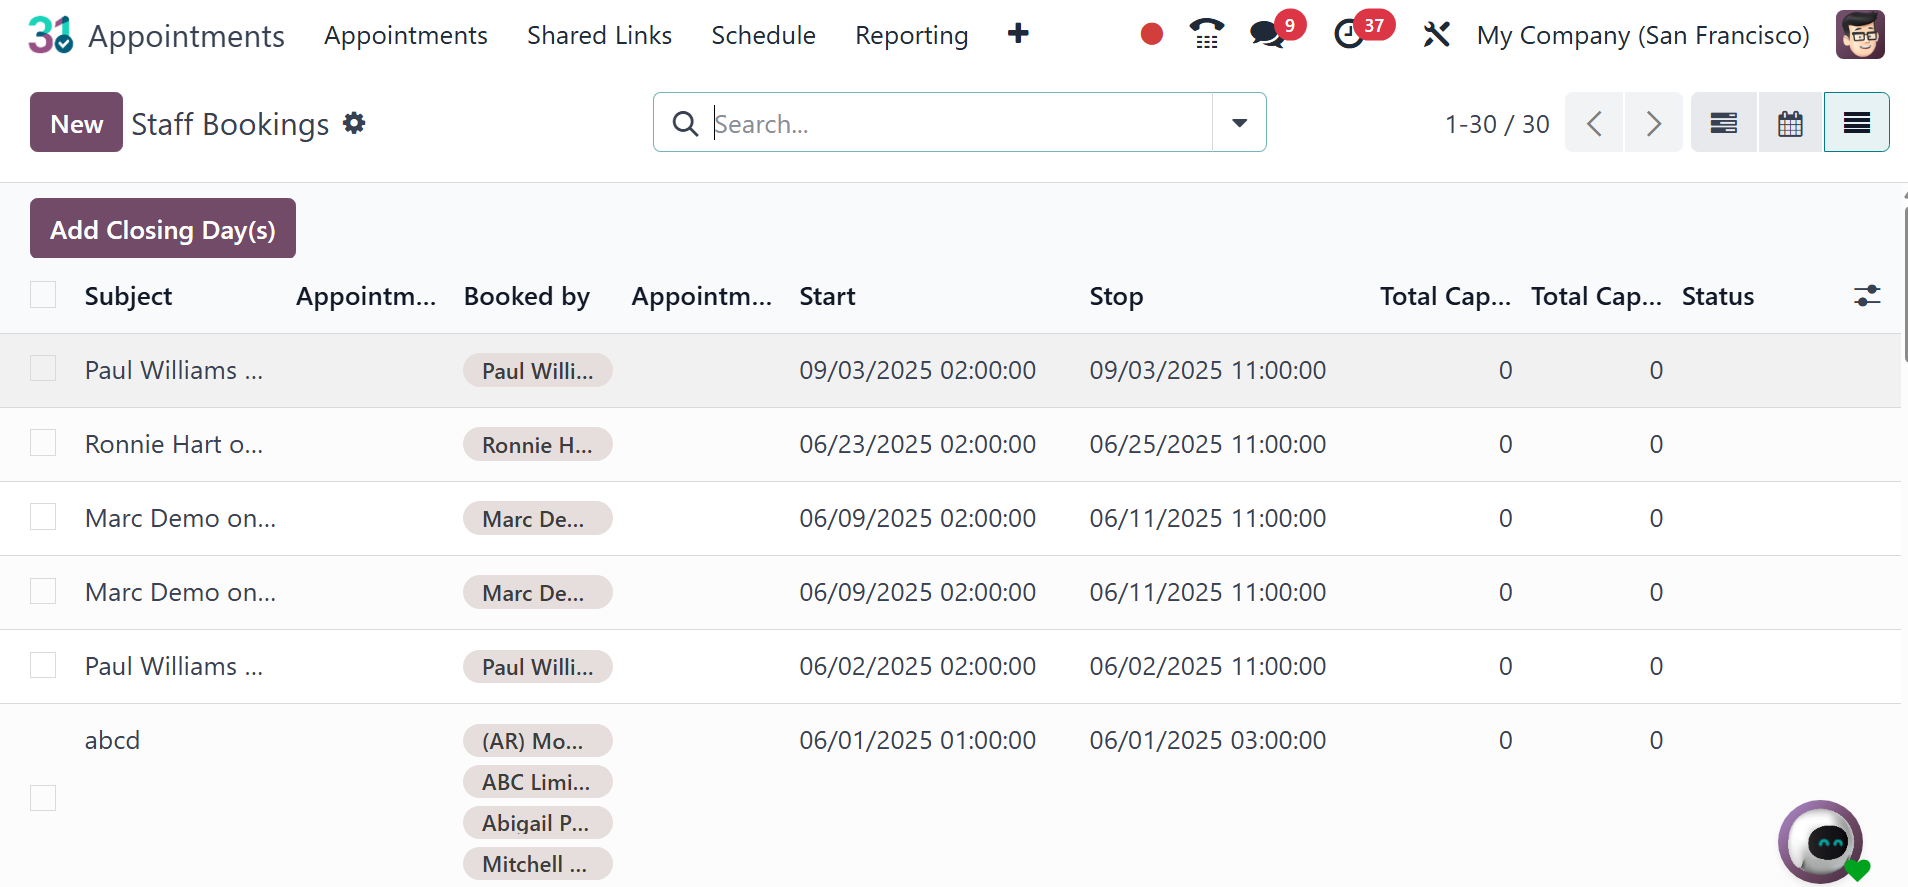
The details provided include subject, appointment, booked by
participant, start, stop, total capacity reserved, total capacity
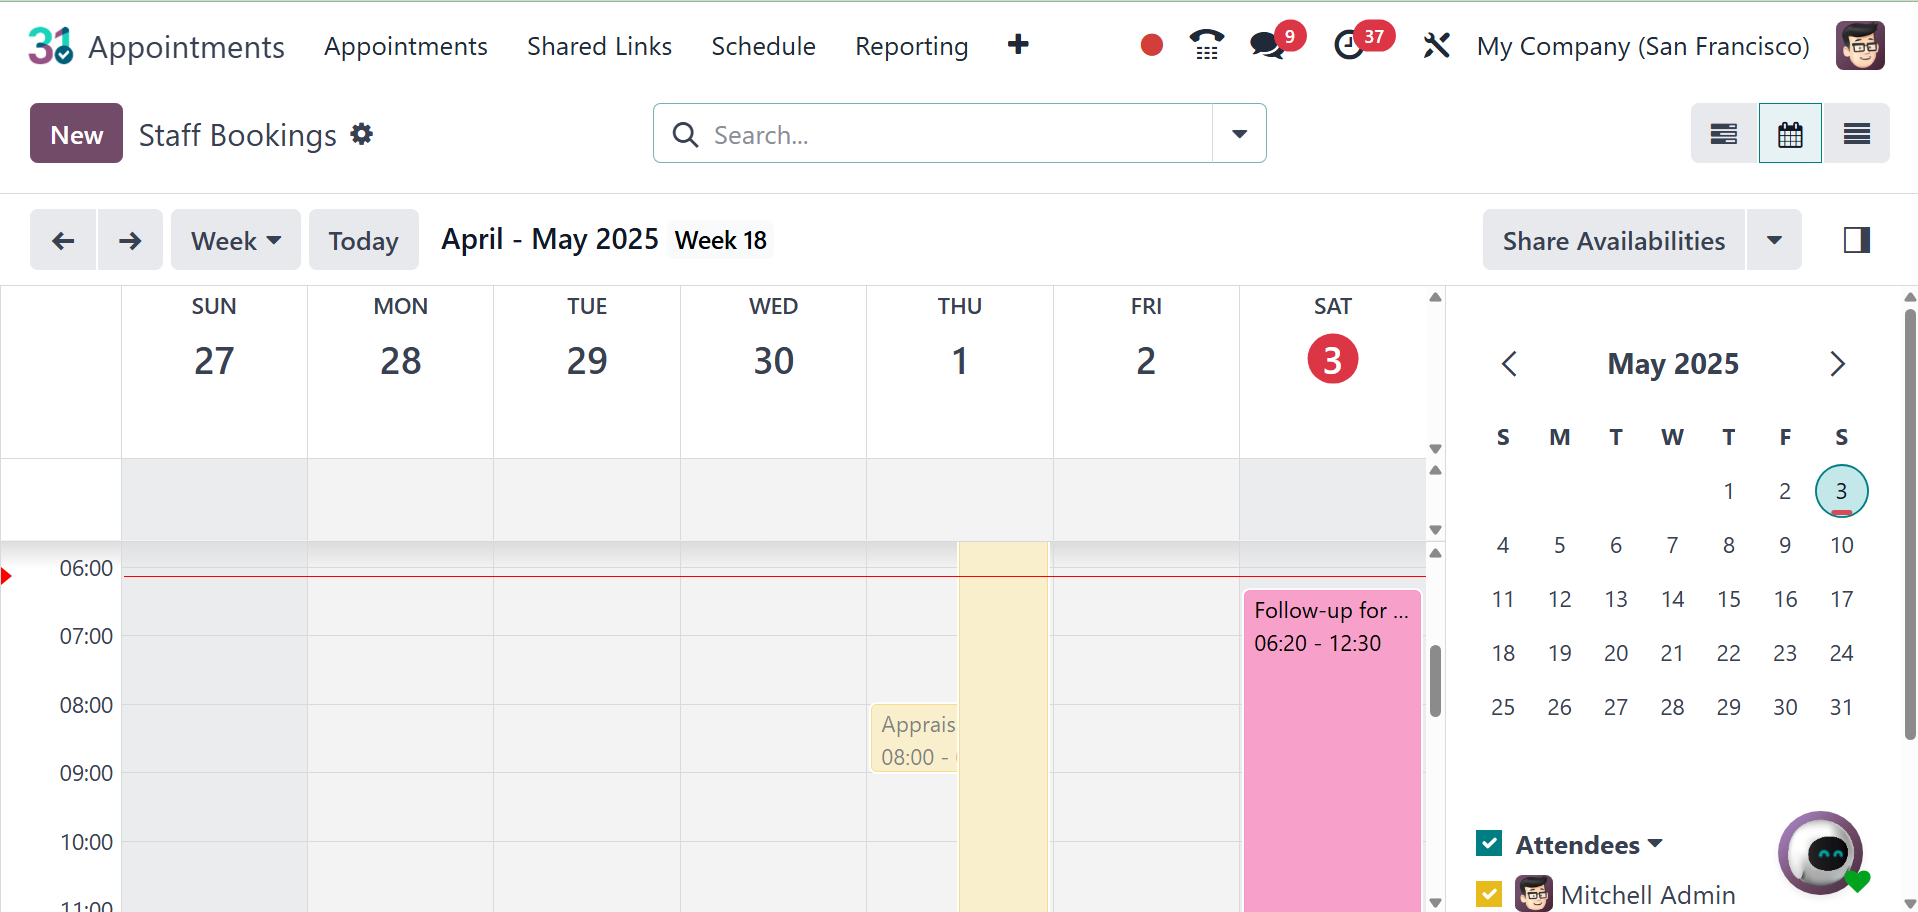
used, and appointment used. The calendar view of the page will be,
as in the screenshot below.
You can create a new reservation here by clicking the "New" button.
The new page will be, as in the image below.
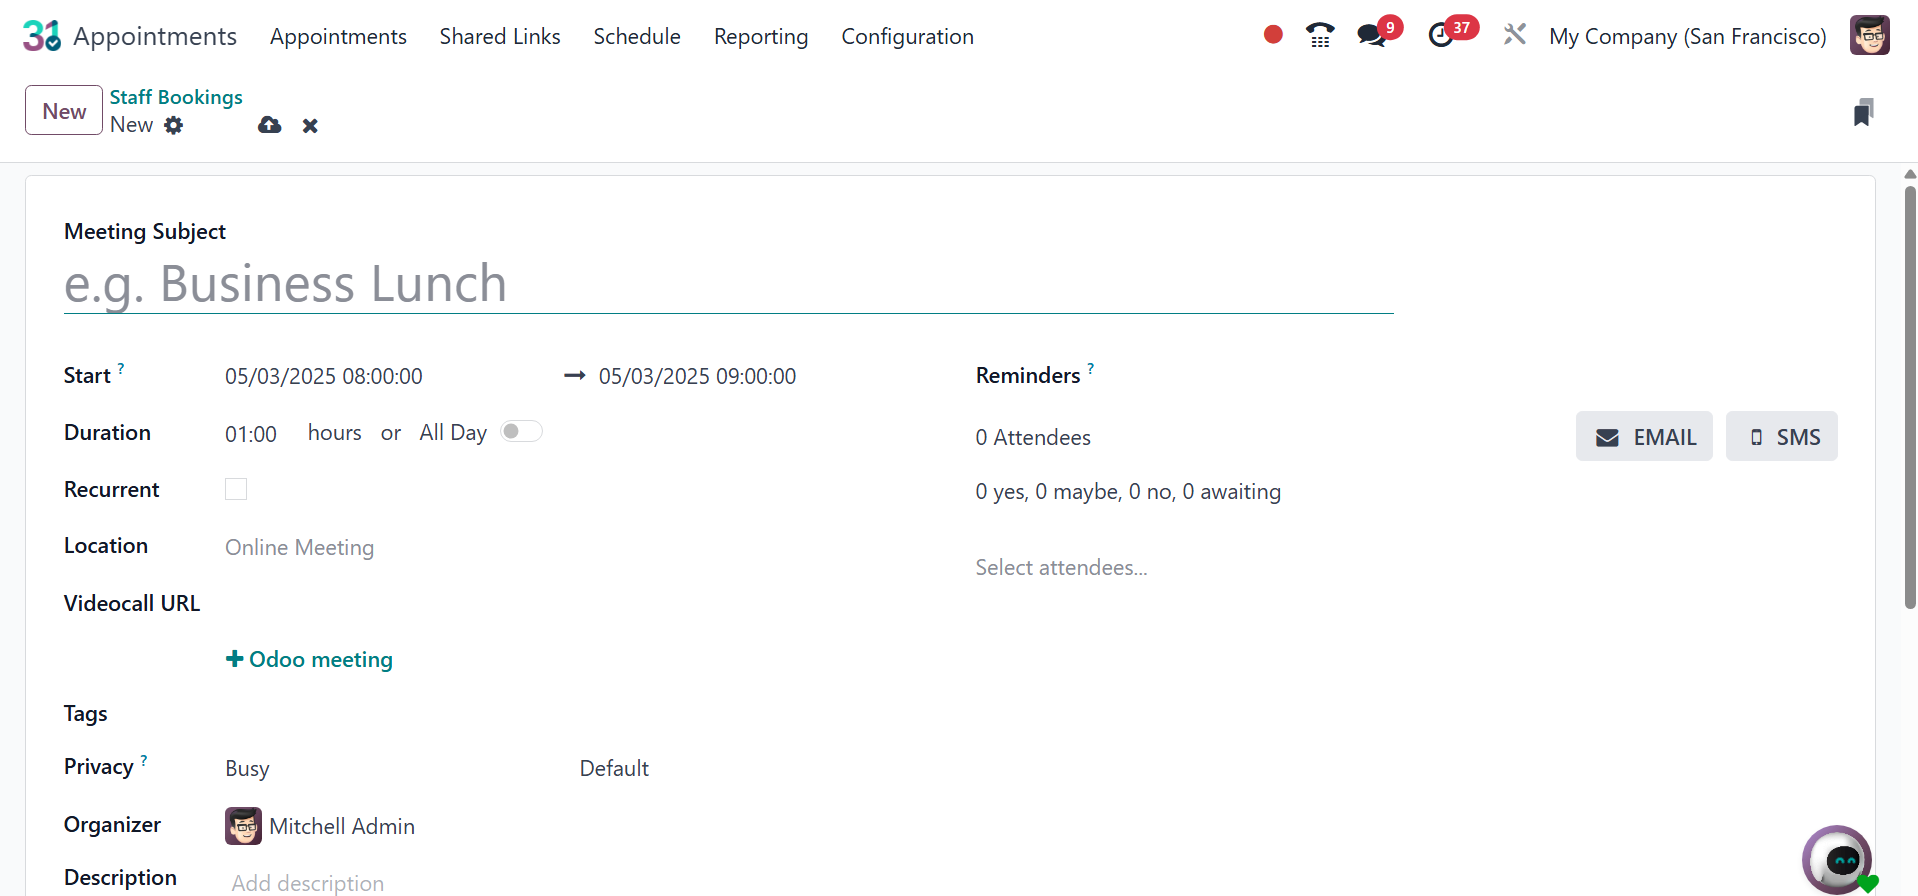
Here, you can provide the meeting subject, start date and time,
duration, recurrent icon to activate, location of the meeting,
videocall URL, reminders, tags, privacy, organizer, and description
of the meeting, respectively. After providing all the details, you
can save the data.