6. Batch Transfers
The Odoo Barcode app allows users to efficiently process Batch, Wave, and Cluster transfers that are created in the Inventory app. This streamlined process is ideal for managing high-volume warehouse operations and organizing pickings based on specific strategies.
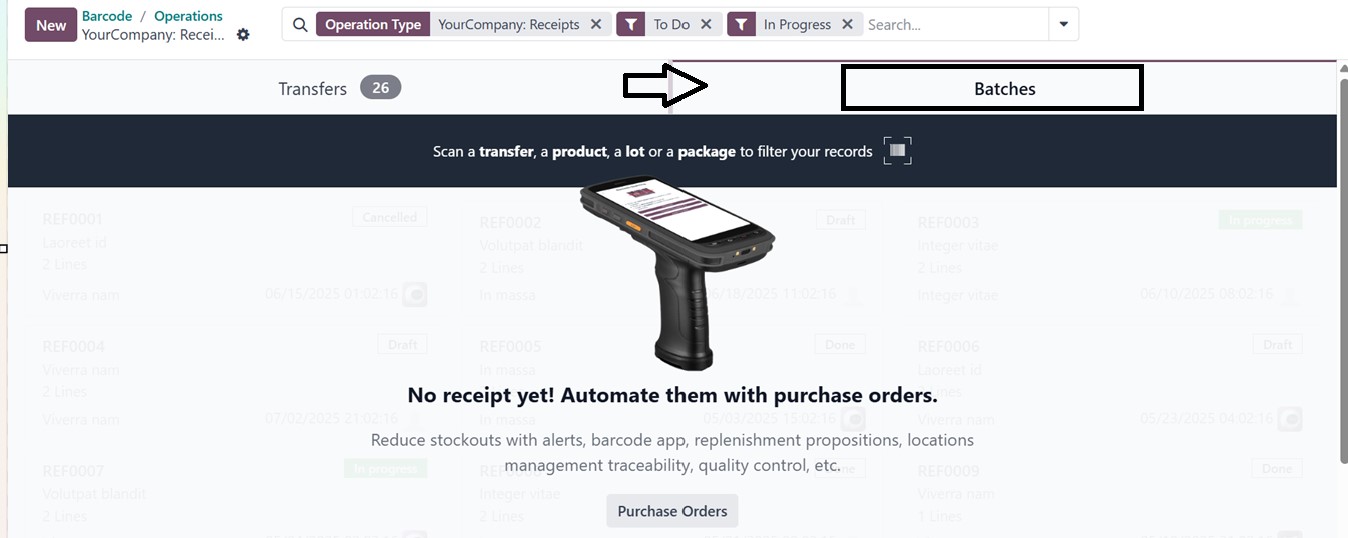
To begin, go to the Barcode app and navigate to the ‘Operations’ section and select the desired operation type (e.g., Delivery Orders, Receipts, Internal Transfers, etc) that has been grouped into a batch. From the open window, you can see two sections for each ‘Transfers’ and ‘Batches.’
To view details of Batch Transfers in your inventory, navigate to the ‘Batches’ section. This area displays a dashboard listing all existing batch transfer records. If no batch transfers have been created yet, the dashboard will appear empty, as shown in the screenshot below.
To create a new batch transfer, click on the ‘New’ button. This will open the list of all the available batches, so that you can choose the required transfers for a new batch transfer and confirm the transfer using the ‘CONFIRM’ button, as shown below.

Then, you can manually add a product to the batch or scan a product using the ‘Scan a product’ button and validate the transfer.
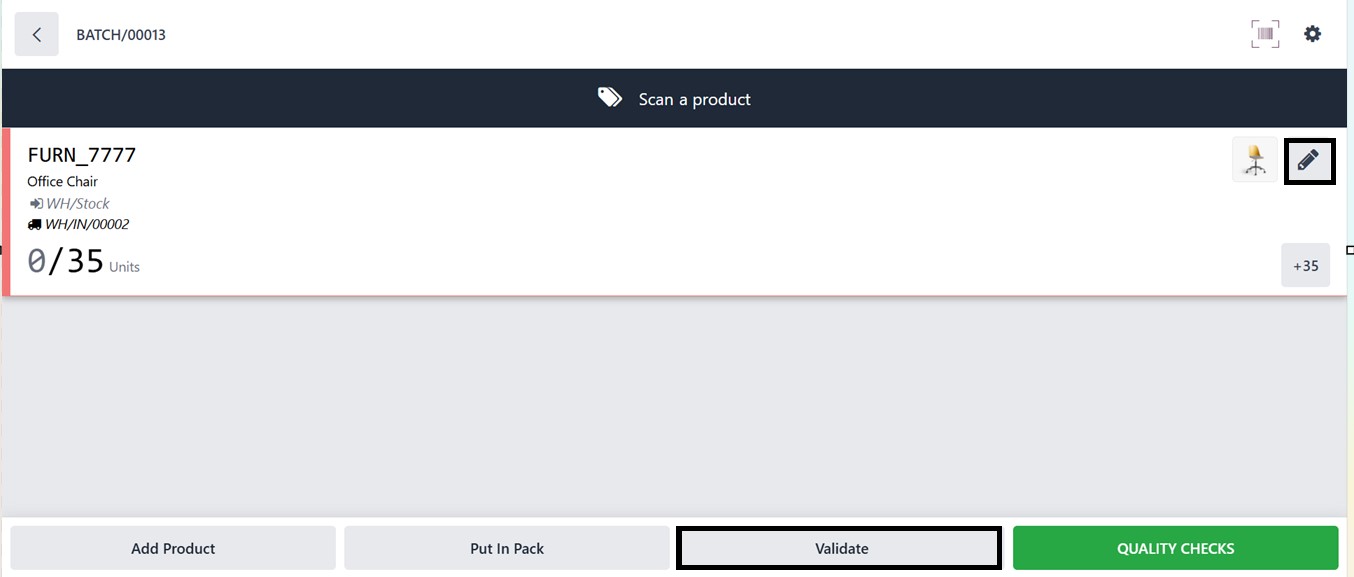
To manually add the product, click on the ‘Add Product’ button at the bottom of the window and add the product quantities using the ‘+1’ and ‘-1’ buttons, as depicted below.
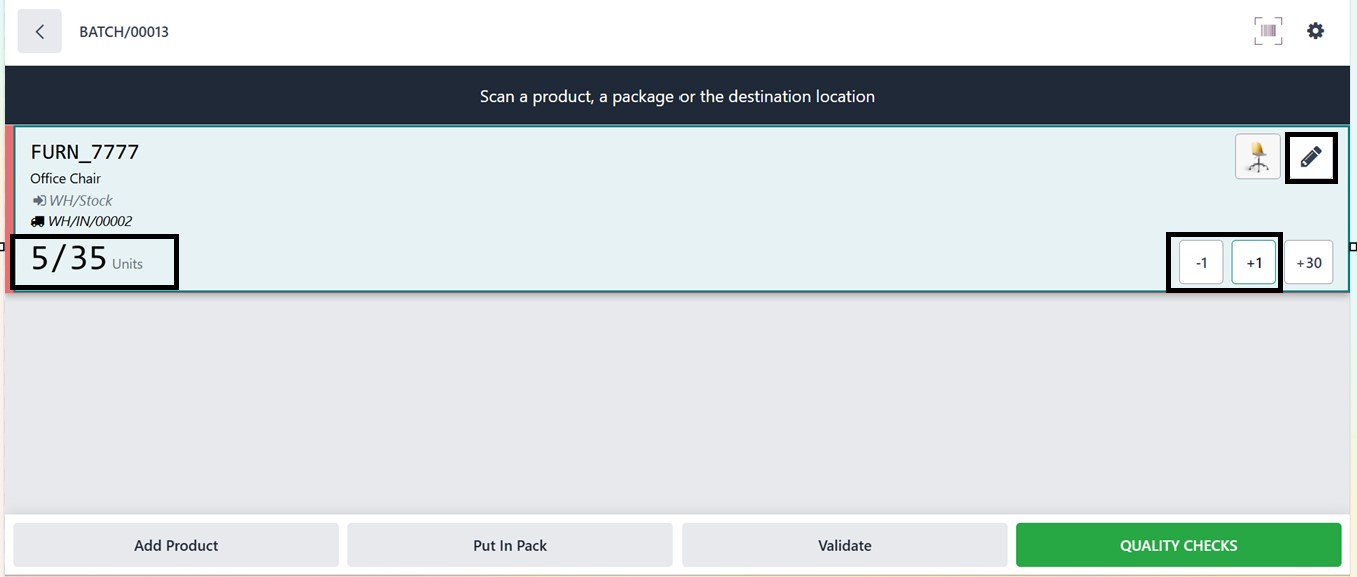
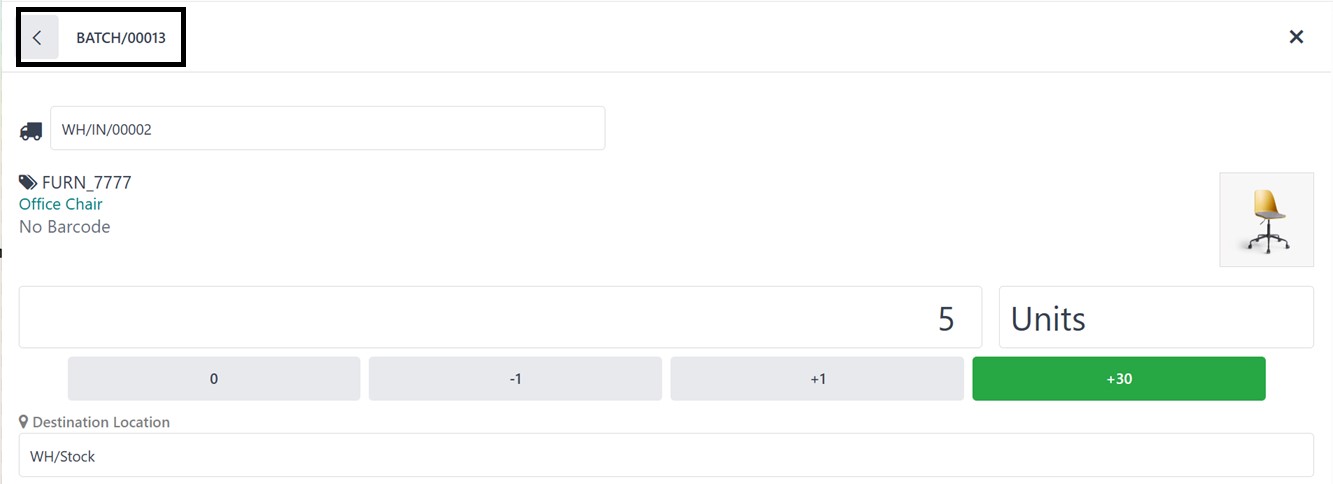
If you need to record a specific quantity, click on the ‘Edit (pencil)’ icon and enter the appropriate product quantities, Measurement(Units, Dozens, Kg, etc), Destination Location, Source Package, and Destination Package in the relevant fields if necessary. Then, confirm the edited data using the ‘Confirm’ button, as depicted in the screenshot below.

After confirming the edits, you will be redirected again to the batch transfer window. So, you can proceed with the product quality check using the ‘QUALITY CHECKS’ button. This will open a pop-up window to attach a spreadsheet to complete the quality check.
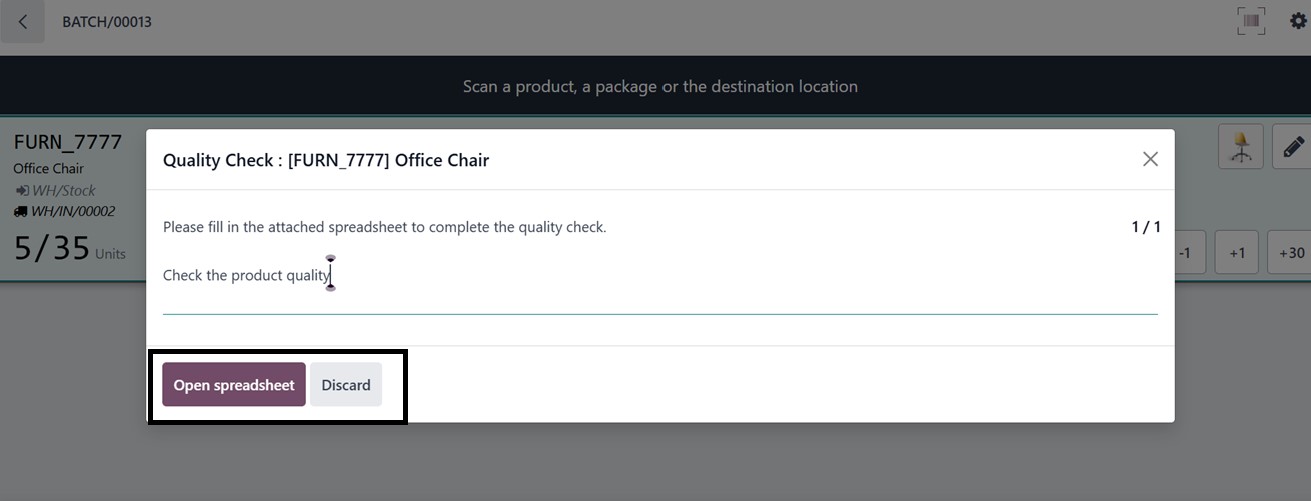
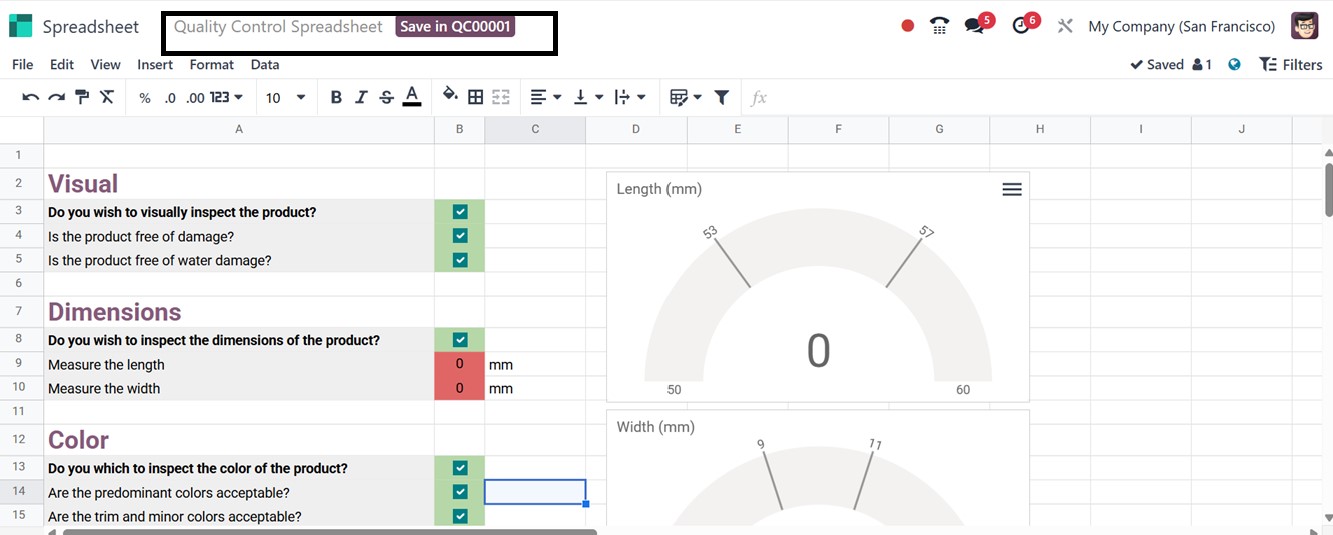
The ‘Open spreadsheet’ button will open a Quality Control Spreadsheet with the quality check specifics so that you can fill in the results or ratings, as shown below.
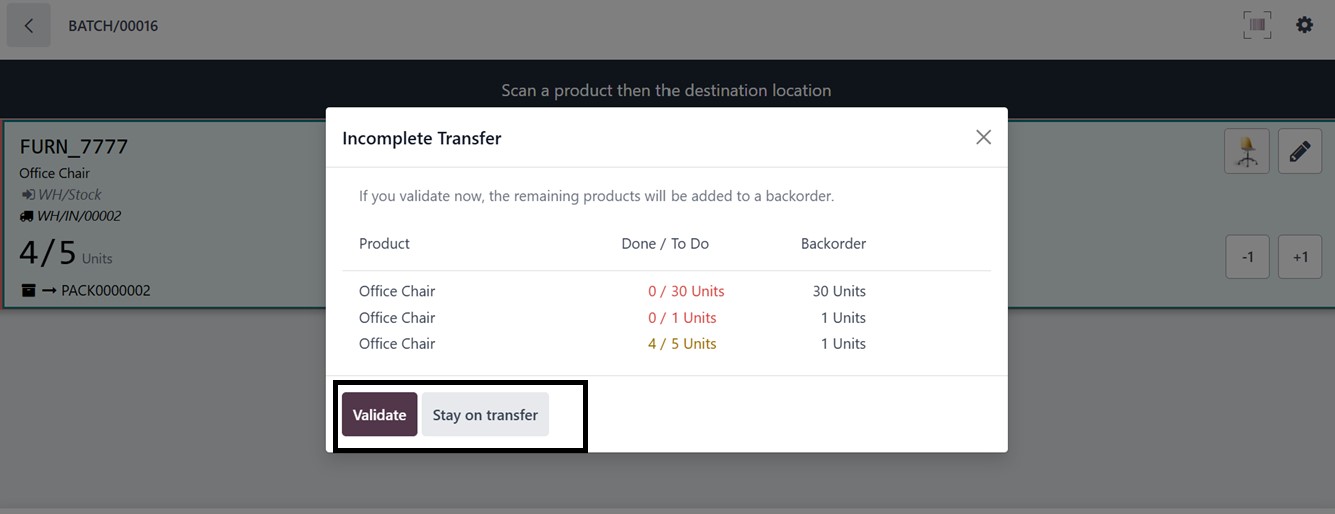
After checking the quality specifications, you can add the product quantity in a single pack using the ‘Put in pack’ button. Repeat these steps for each product listed in the batch. Once all items have been scanned and verified, click the Validate button to finalize and mark the transfer as complete.
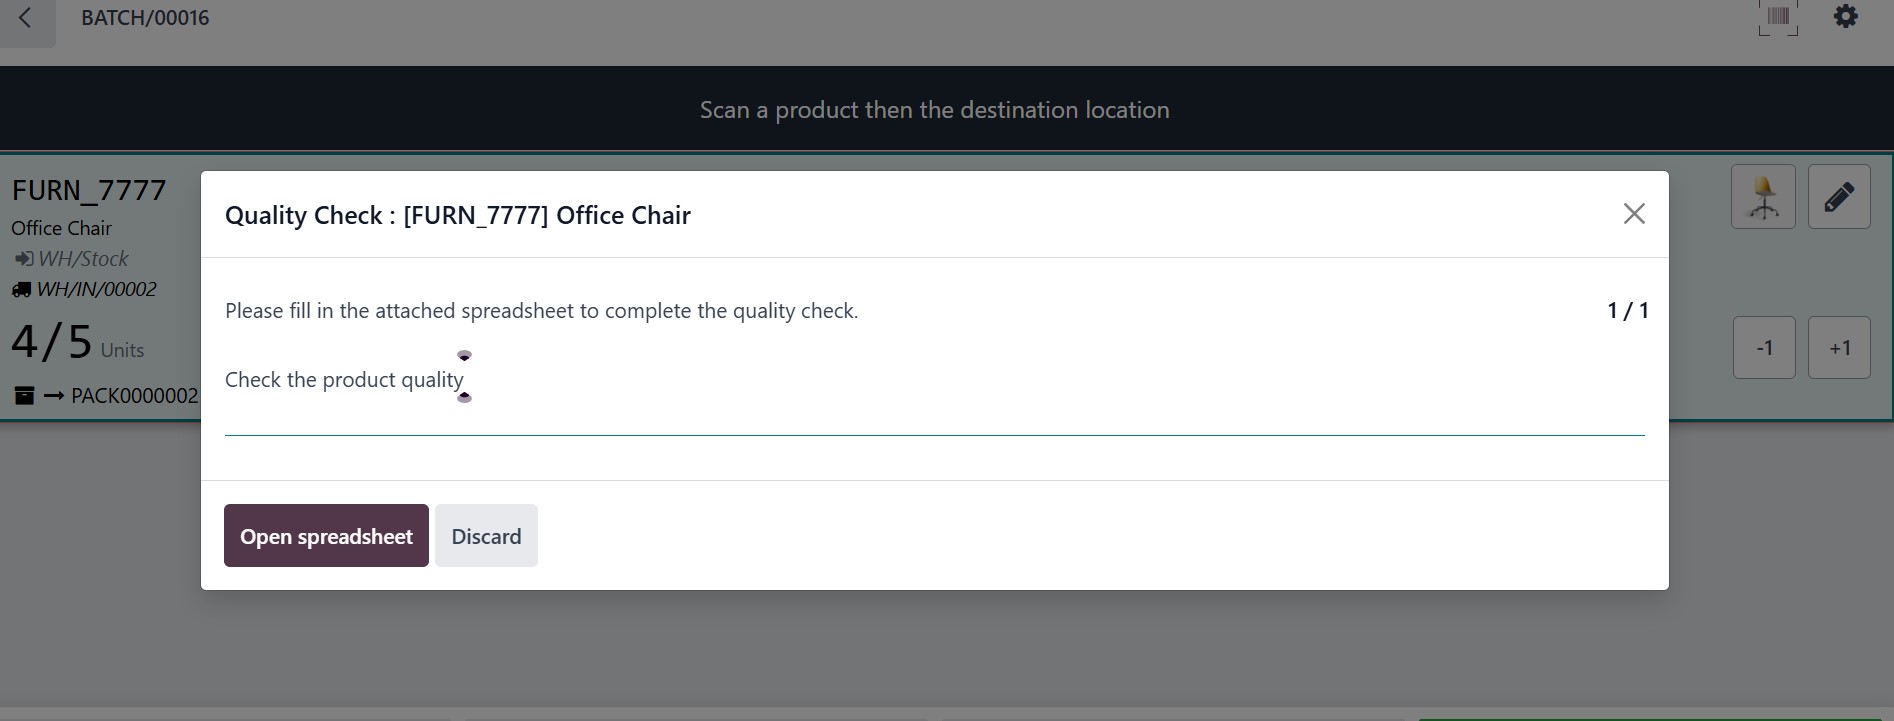
After validating the transfer, you have to choose the quality check spreadsheet to proceed.
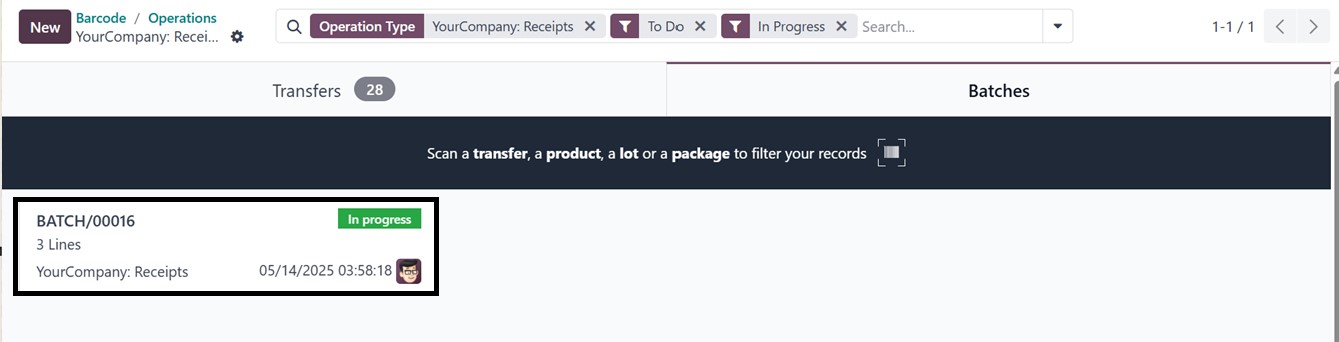
After checking the spreadsheet data, you can see that the transfer is in ‘In Progress’ state from the ‘Batches’ section, as shown below.
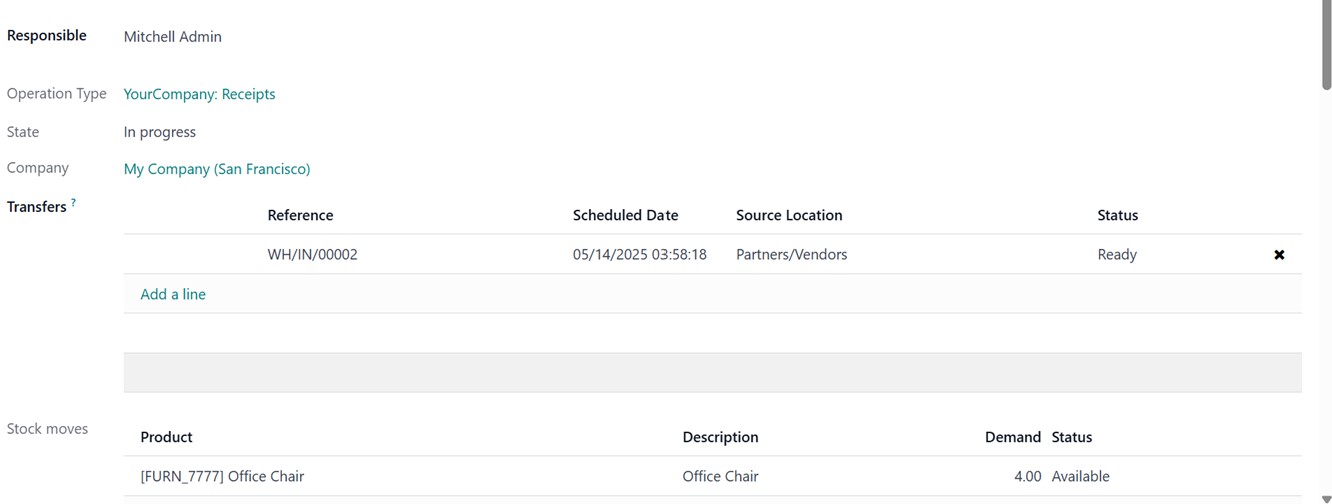
Then, you can check the transfer details by opening the batch transfer window and clicking on the ‘BATCH’ from the batch title and ID area. This will show the details of the Responsible person, Operation Type, Company, Transfer Details, and Stock moves details, as shown in the screenshot below.

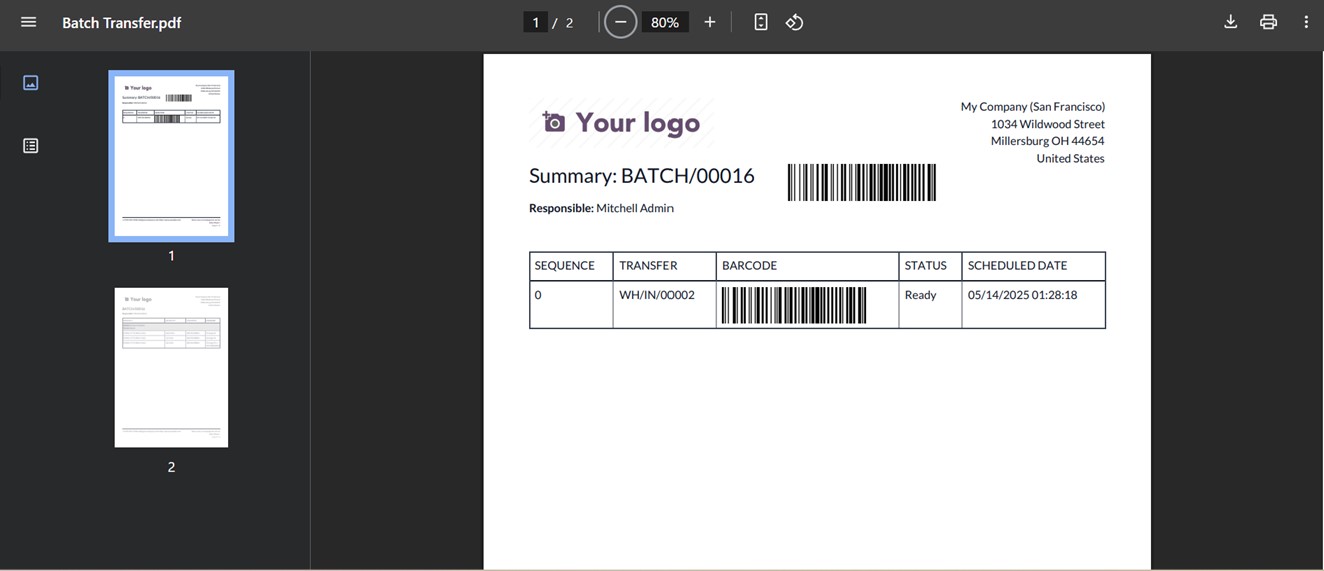
Once you confirm the transfer by clicking the ‘Confirm’ button, you can print the batch transfer details by selecting ‘Print Batch Transfer’ from the settings icon in the batch transfer window. This action generates a printable version of the batch transfer, which can be saved or printed for future reference.
This is the process for performing a batch transfer using the Barcode Module in Odoo 18.
In conclusion, the Odoo 18 Barcode module enhances inventory management by enabling real-time data capture and reducing manual entry errors. It simplifies processes like receiving, picking, packing, and transferring goods, allowing warehouse employees to execute tasks quickly. The integration properties of this module with other Odoo modules ensure a unified workflow, visibility, control, and improved decision-making to boost productivity.