3. Setting Location Barcodes
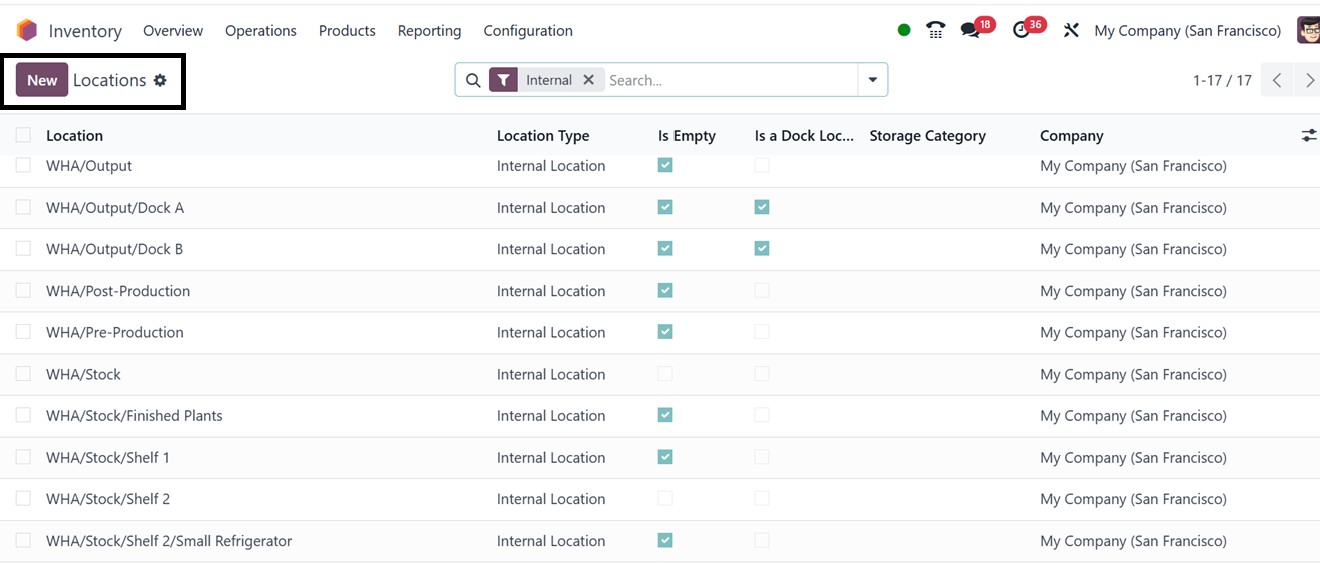
For better inventory organization, users can assign barcodes to different warehouse locations. To do so, navigate to the Inventory Module and go to the Configuration menu and choose the ‘ Locations’ option from the Warehouse Management section, where existing locations can be viewed or new ones created.
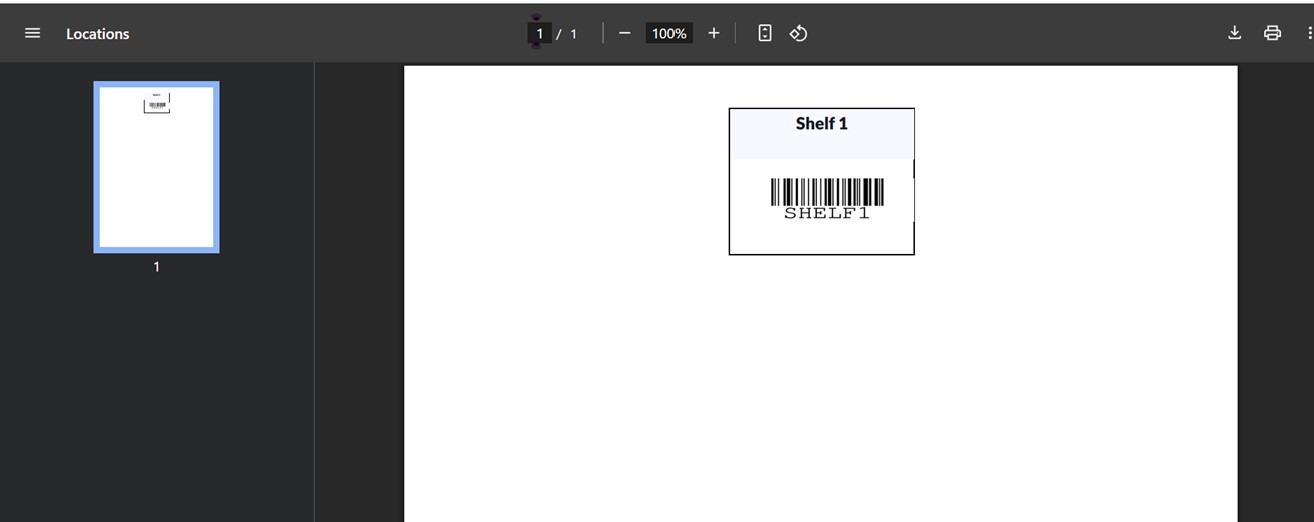
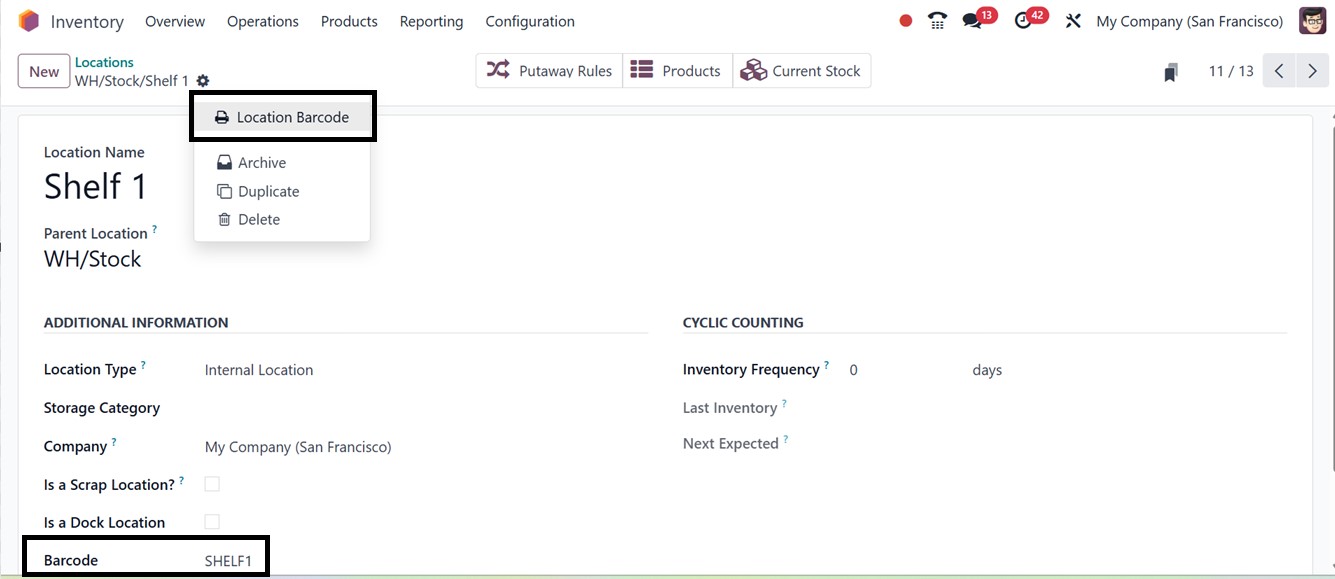
Assigning a unique barcode to each location ensures easy identification. Users also have the option to print the barcode and location name using the ‘Location Barcode’ Print button. The generated barcode label can then be attached to product boxes or storage shelves.
After clicking on the ‘Location Barcode’ button, the barcode will be downloaded into your system, as depicted in the screenshot below, and it can be printed using an external device.