With Odoo 18, blogs are a fantastic method for businesses to enhance
their web presence, develop thought leadership, and share industry
insights. By posting timely and pertinent blog articles that
communicate their expertise in an interesting and approachable
manner, businesses may interact with their audience, boost website
traffic, and foster a feeling of community.
The Blogs module is available in the Odoo 18 app store. If the
Website module is chosen, the Blogs module will be deployed together
with the website. You can create distinct categories for your blogs
using the Blogs menu found in the Configuration tab of the Odoo18
Website module. Sorting blogs by topic will be quite beneficial and
make them easier to locate. A Blog window, like the one shown in the
picture below, will open after choosing this option.
1. Blog
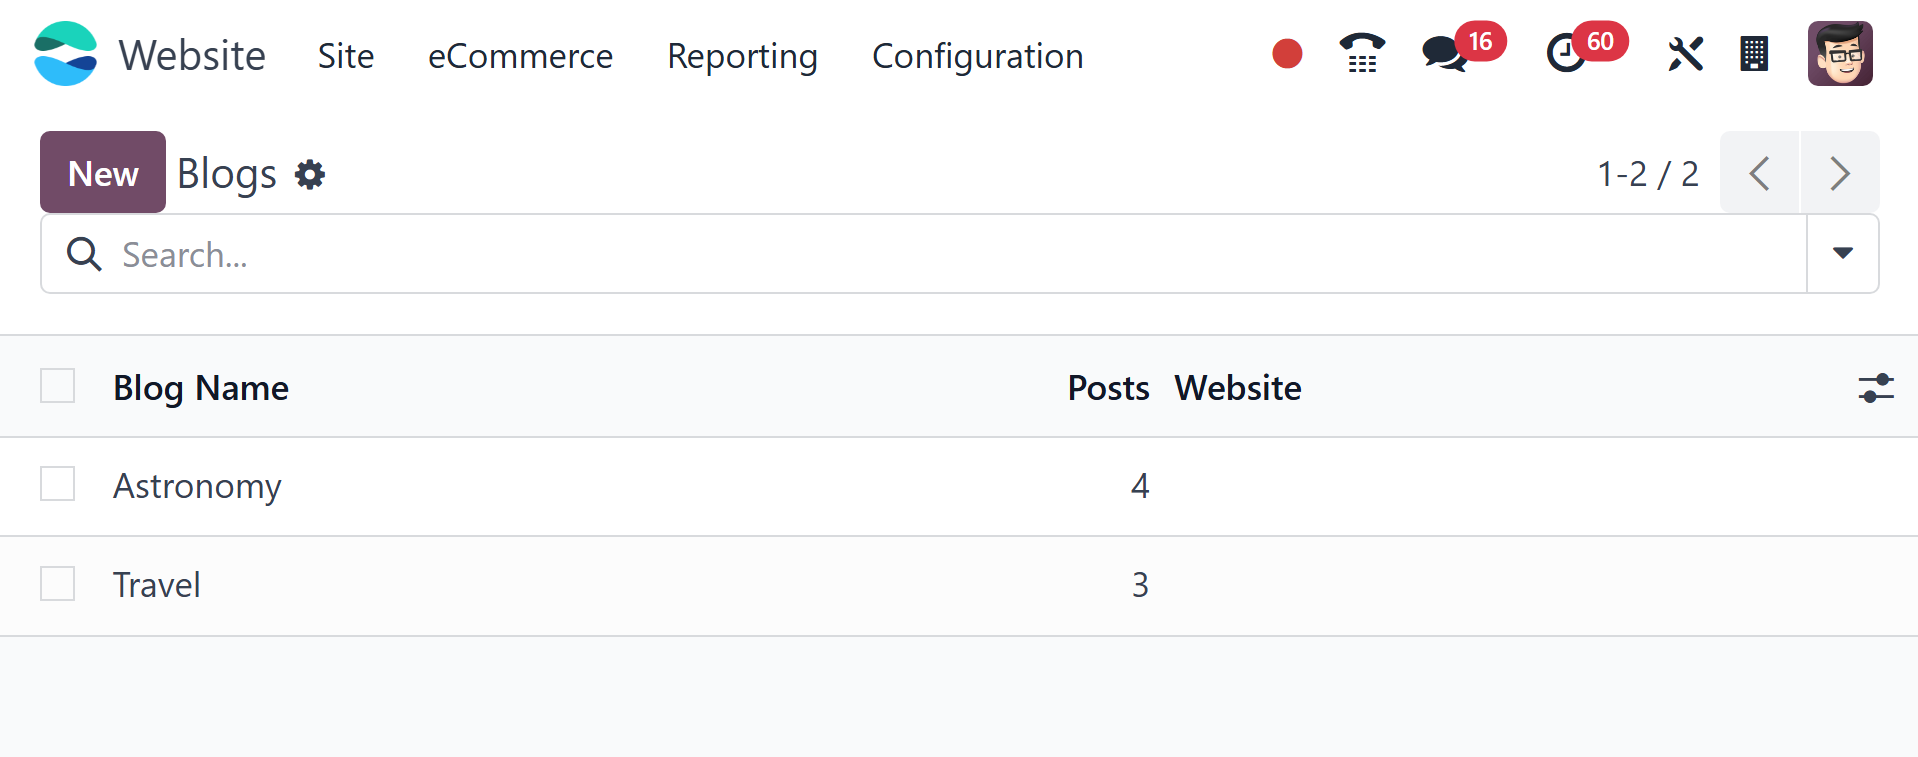
This preview of the Blogs window shows all of the configured blogs,
their names, the number of posts for each type of blog, and the
information about the associated website. To set up a new blog,
click the New button.
If the system has multiple website options, you can include the blog
name, blog subtitle, and website name in the creation form. After
entering these details, you can click the store button to store the
information. If you mark it as a technical blog, we can check to see
if it shows up in the Blog postings pane.
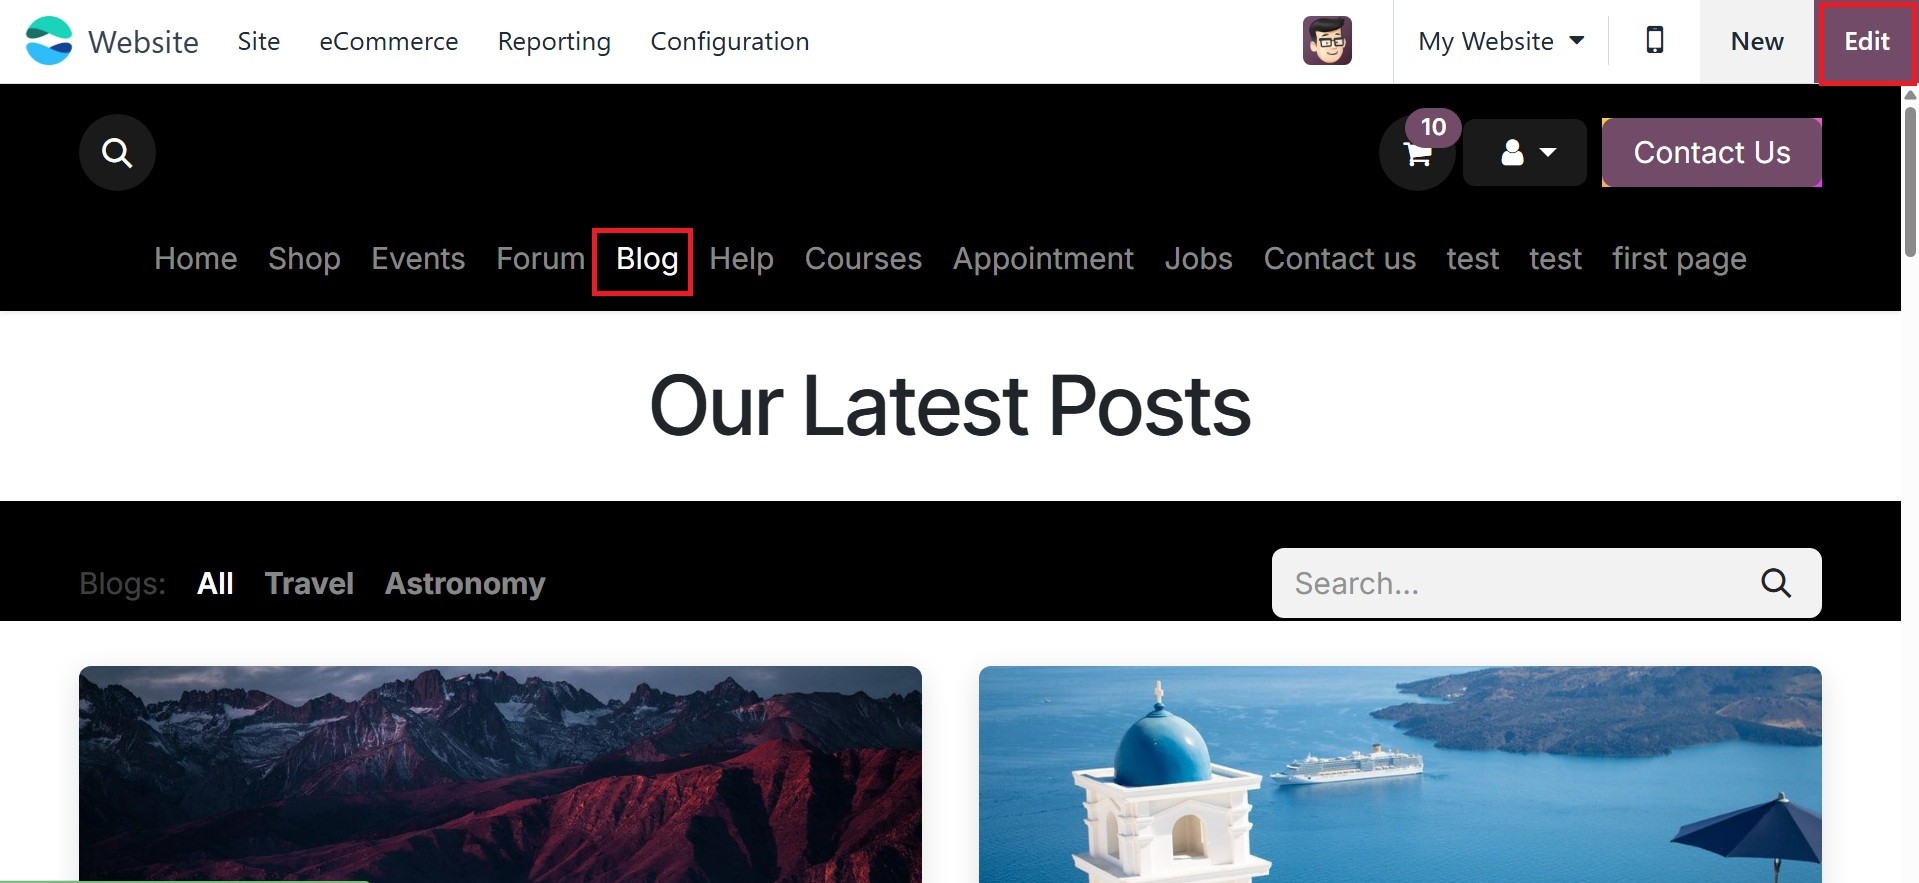
All of the blogs that have been produced and are included on the
website. From within the website, choose the Blogs menu to see all
of the blogs. Users can now add customizations and make changes to
the blog page by choosing the Edit option. In the top right corner
of the screen is the edit button.
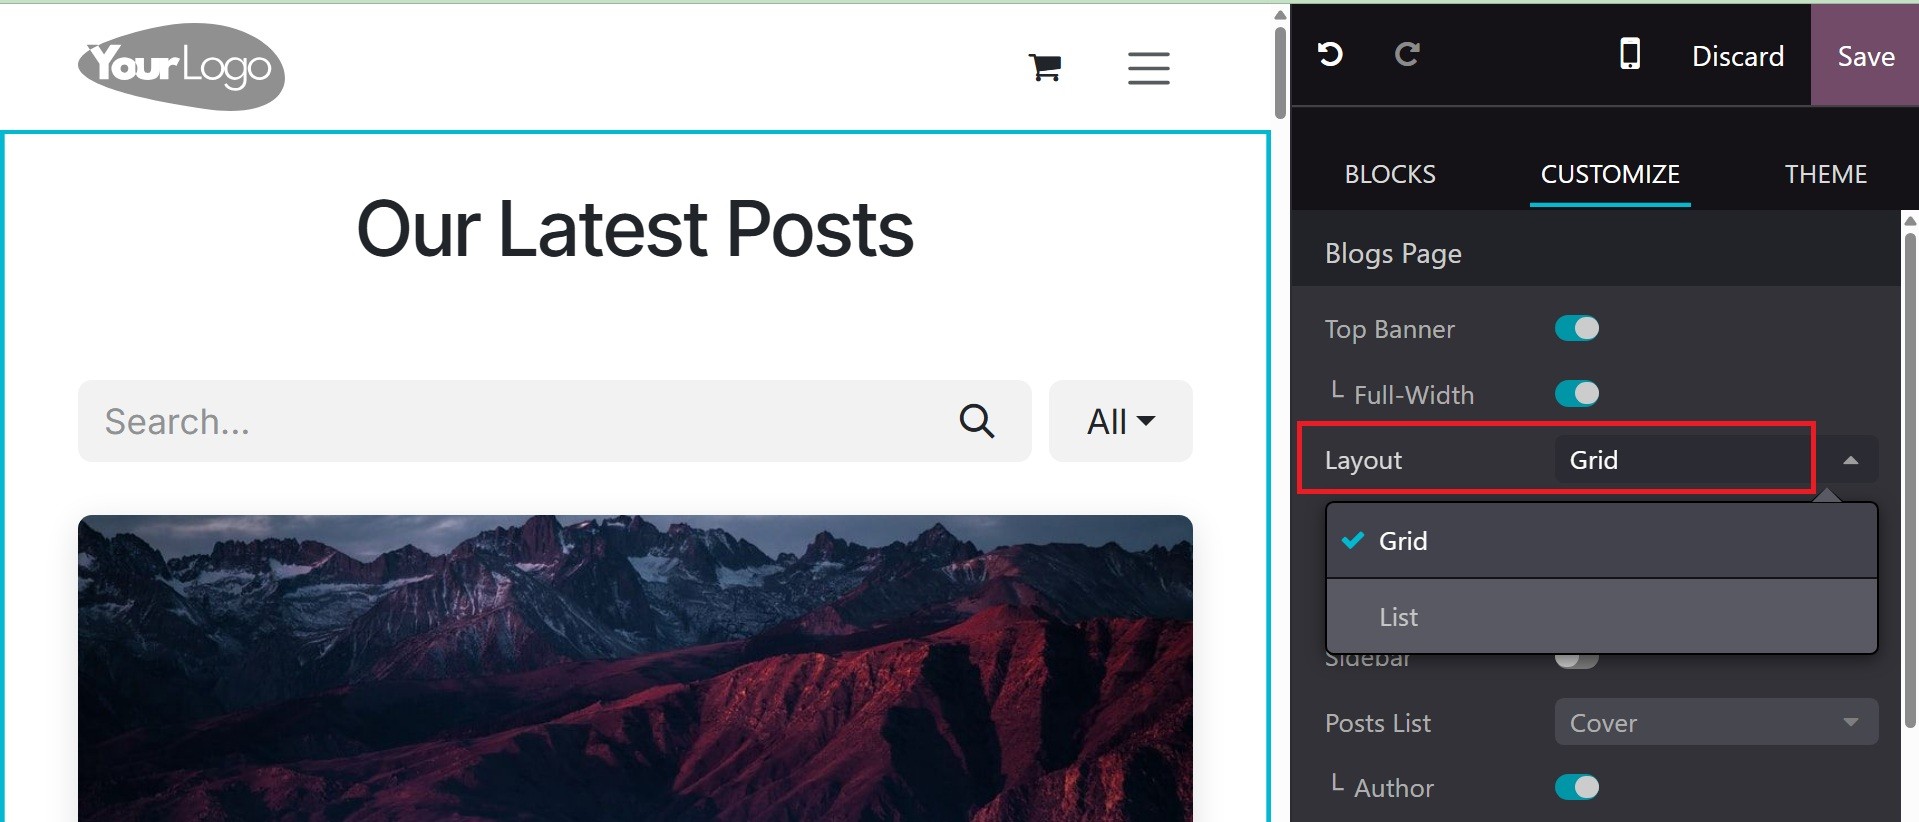
The blog page can be customized to include, among other things,
layout, full width, cards, a slide bar, a list of entries, an
author, views, comments, a teaser, and tags.
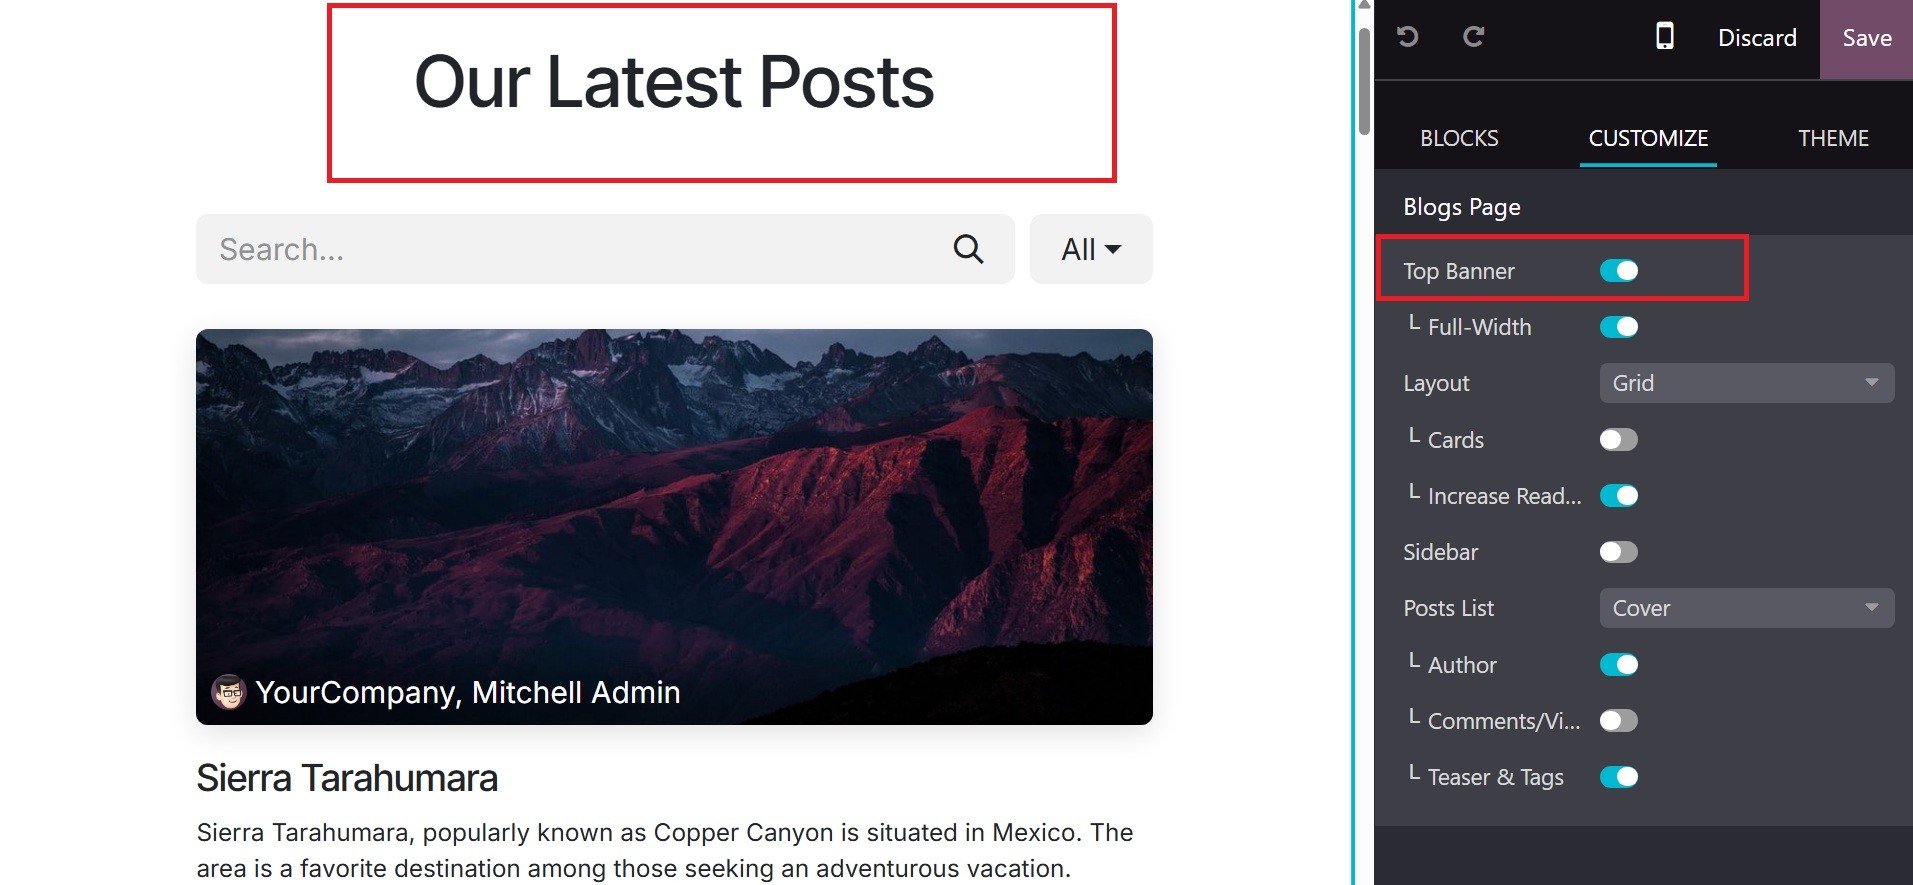
The Top Banner option can be activated to view the latest blogs. And
the Layout can be chosen as Grid view or List view from the
customization tab.
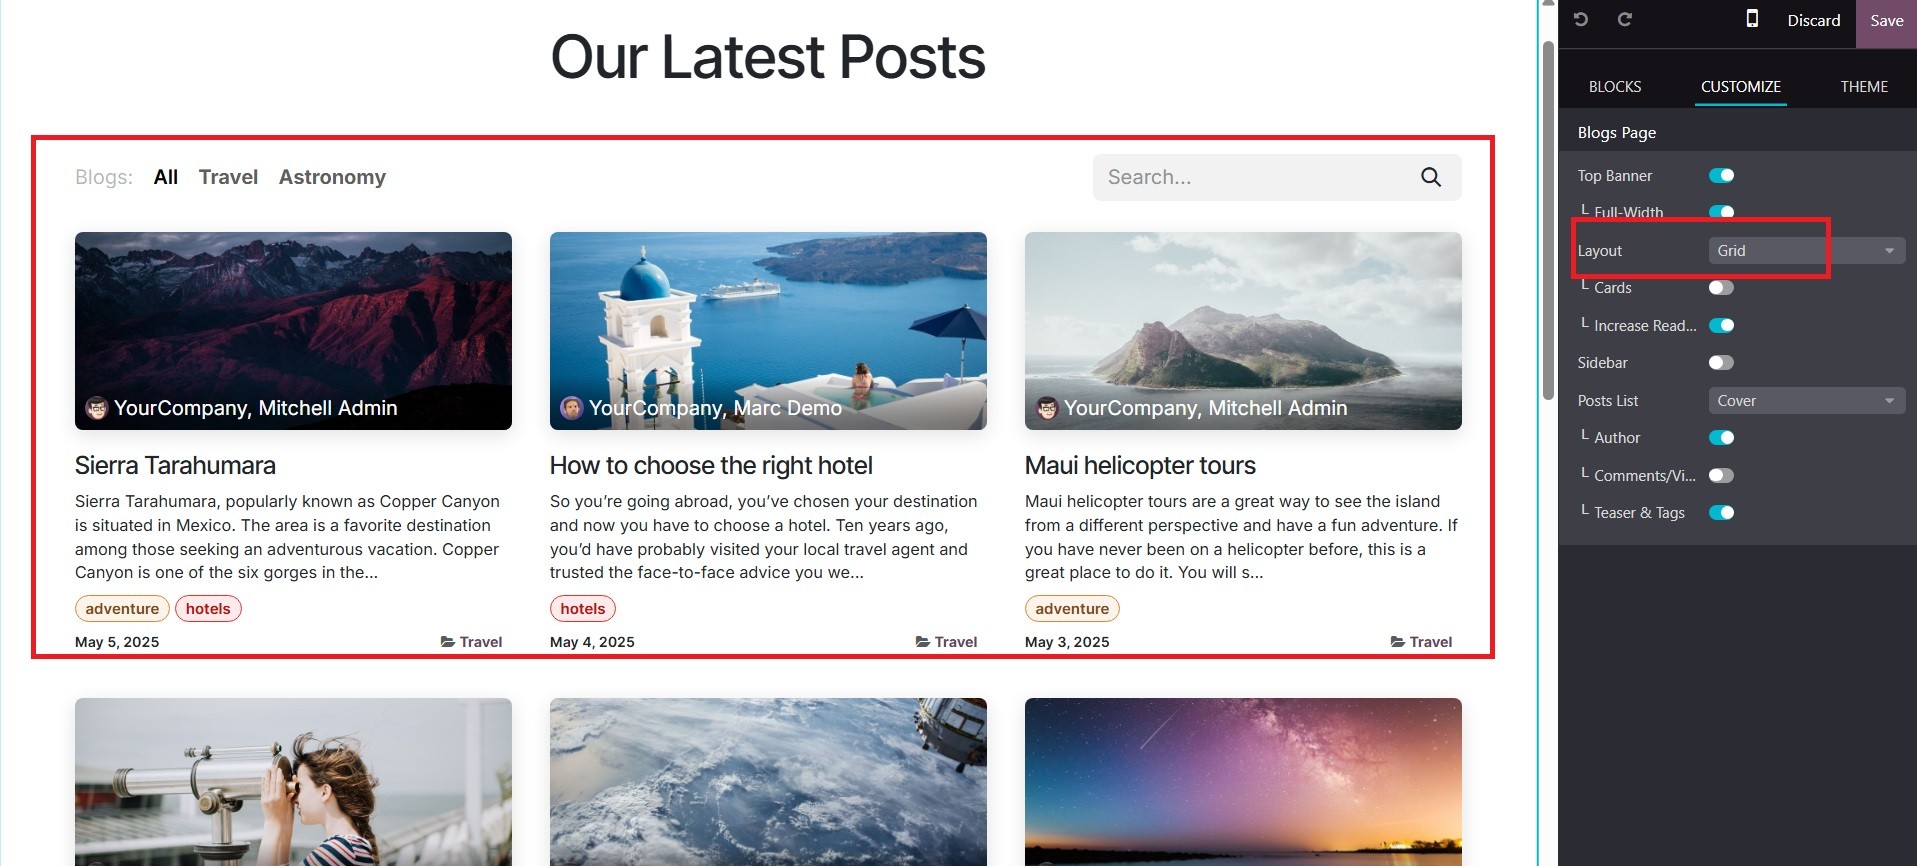
On selecting the grid view, the blog page will be as in the image
below.
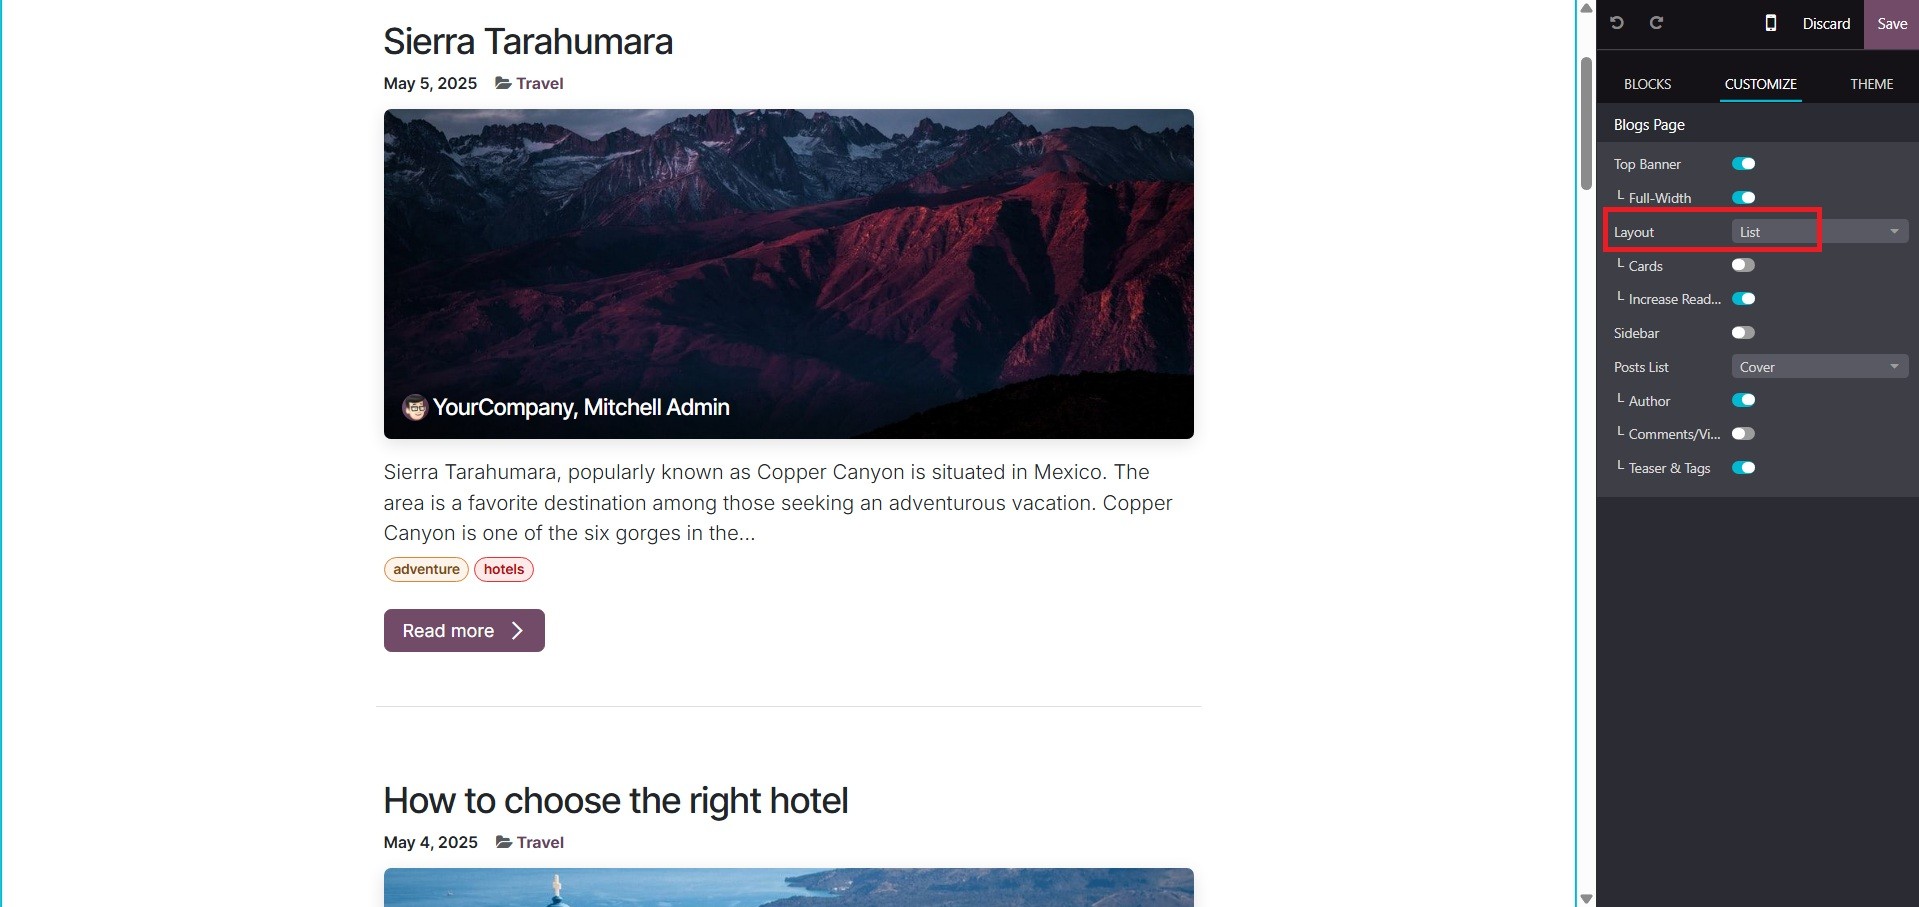
And the list layout will be listed downward, as in the image below.
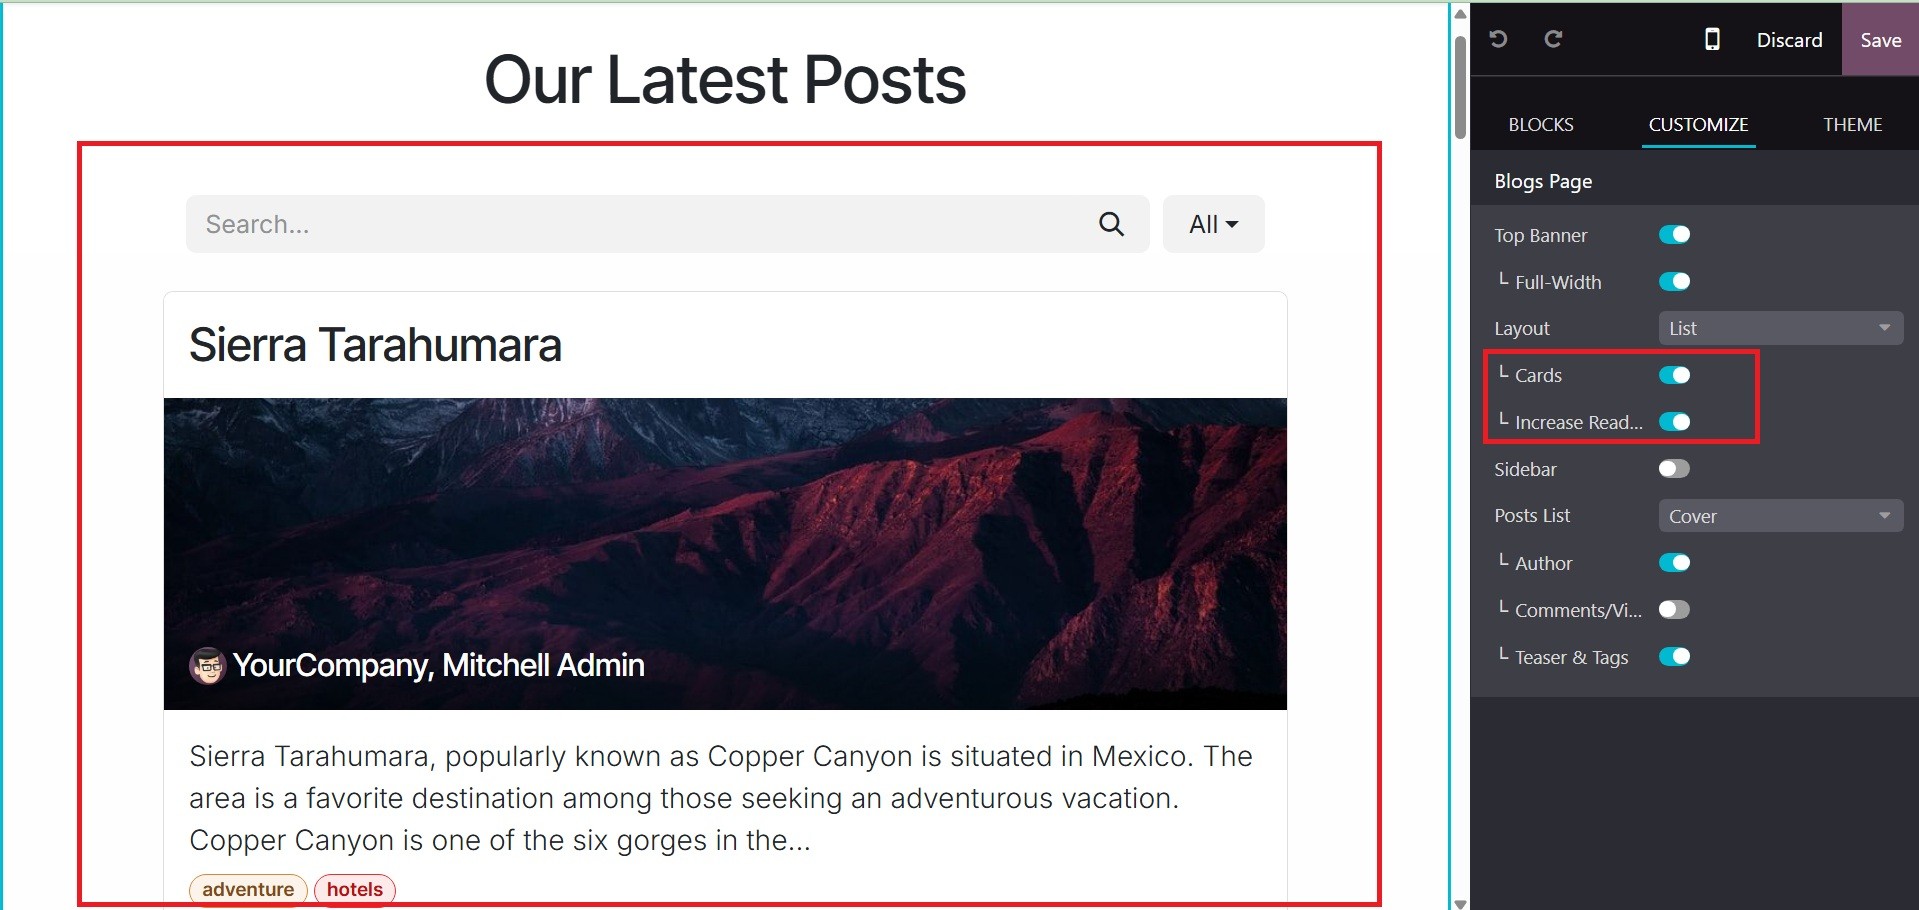
The Layout Cards and Layout Increase Readability will alter the
appearance of the blog page. These improvements will improve the
appearance of the blog page. On the page, you can have the cards
like image and the readinbility option helps you to improve reading
with Header tags (H2, H3) for structure, bullet points or numbered
lists, Short paragraphs, Call-to-Action, and many more.
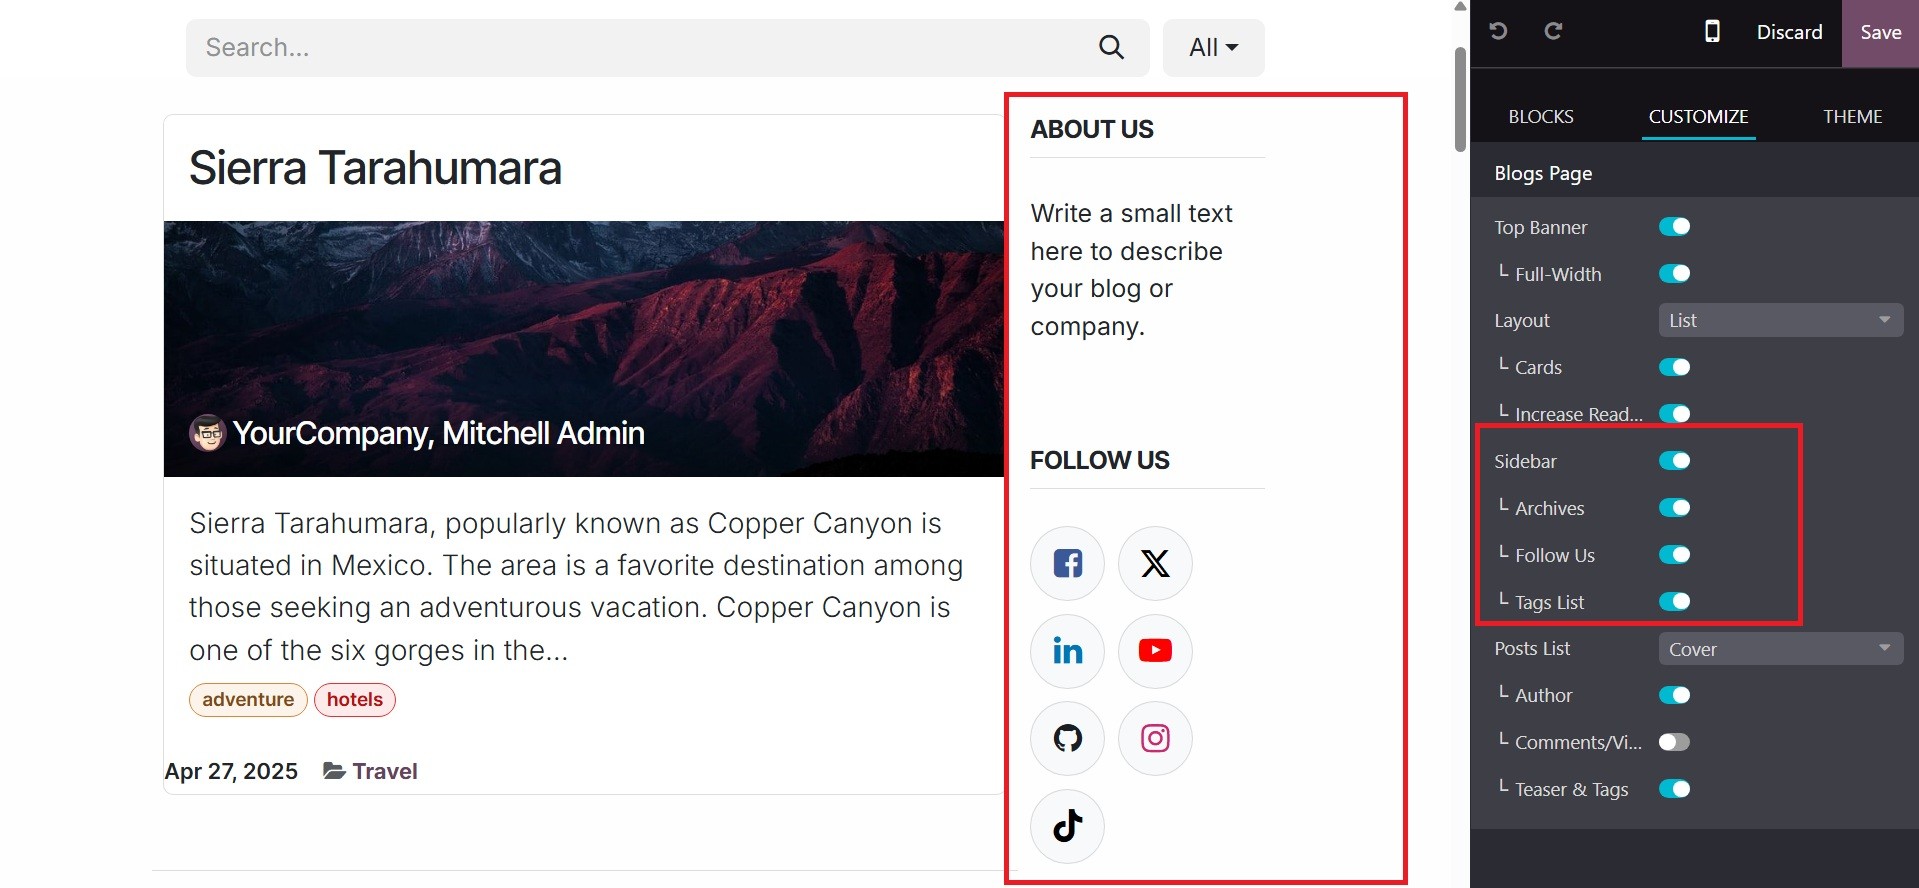
If the sidebar is activated, an additional sidebar will appear on the
right side of the screen. Archives, Follow Us, and Tag List are the
sidebar options that are enabled.
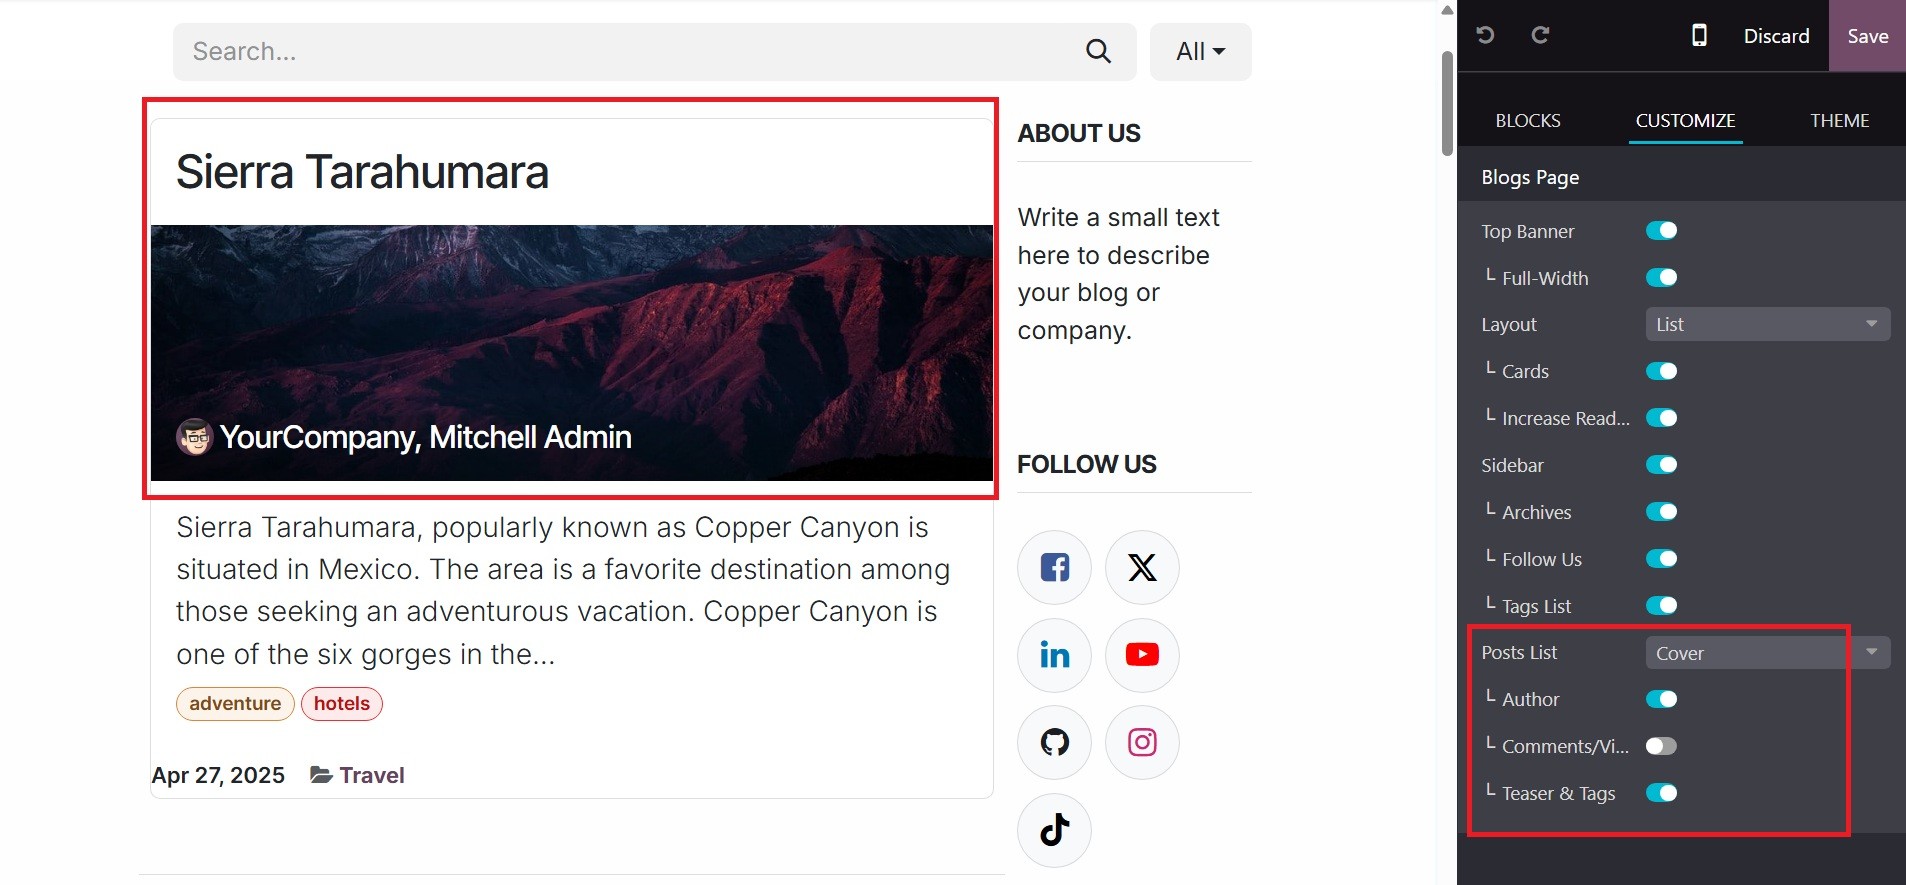
The Post List can be chosen as Cover or No Cover. The blog's cover
image will only appear when the Cover option is chosen. As seen in
the screenshot below, the author's name won't show up on the blog
cover image unless the Author option is enabled.
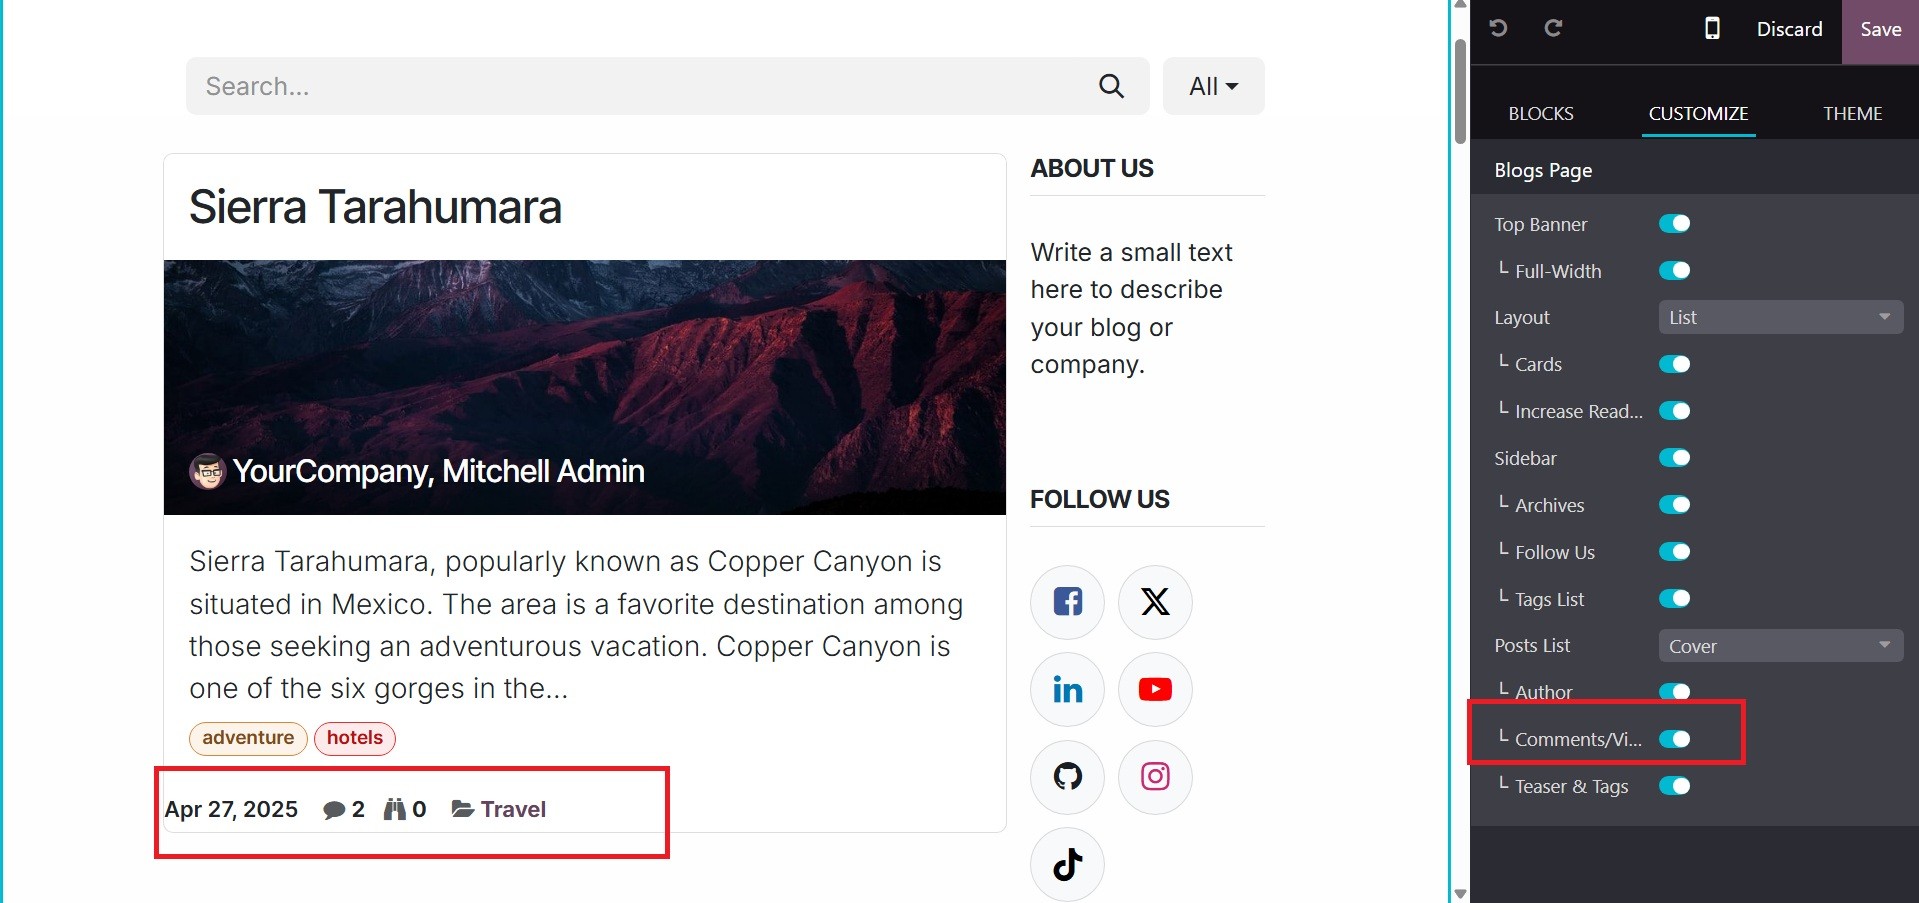
If the Comments/View state is enabled, every blog shows the view and
comment details as a bar at the bottom, as shown in the figure
below.
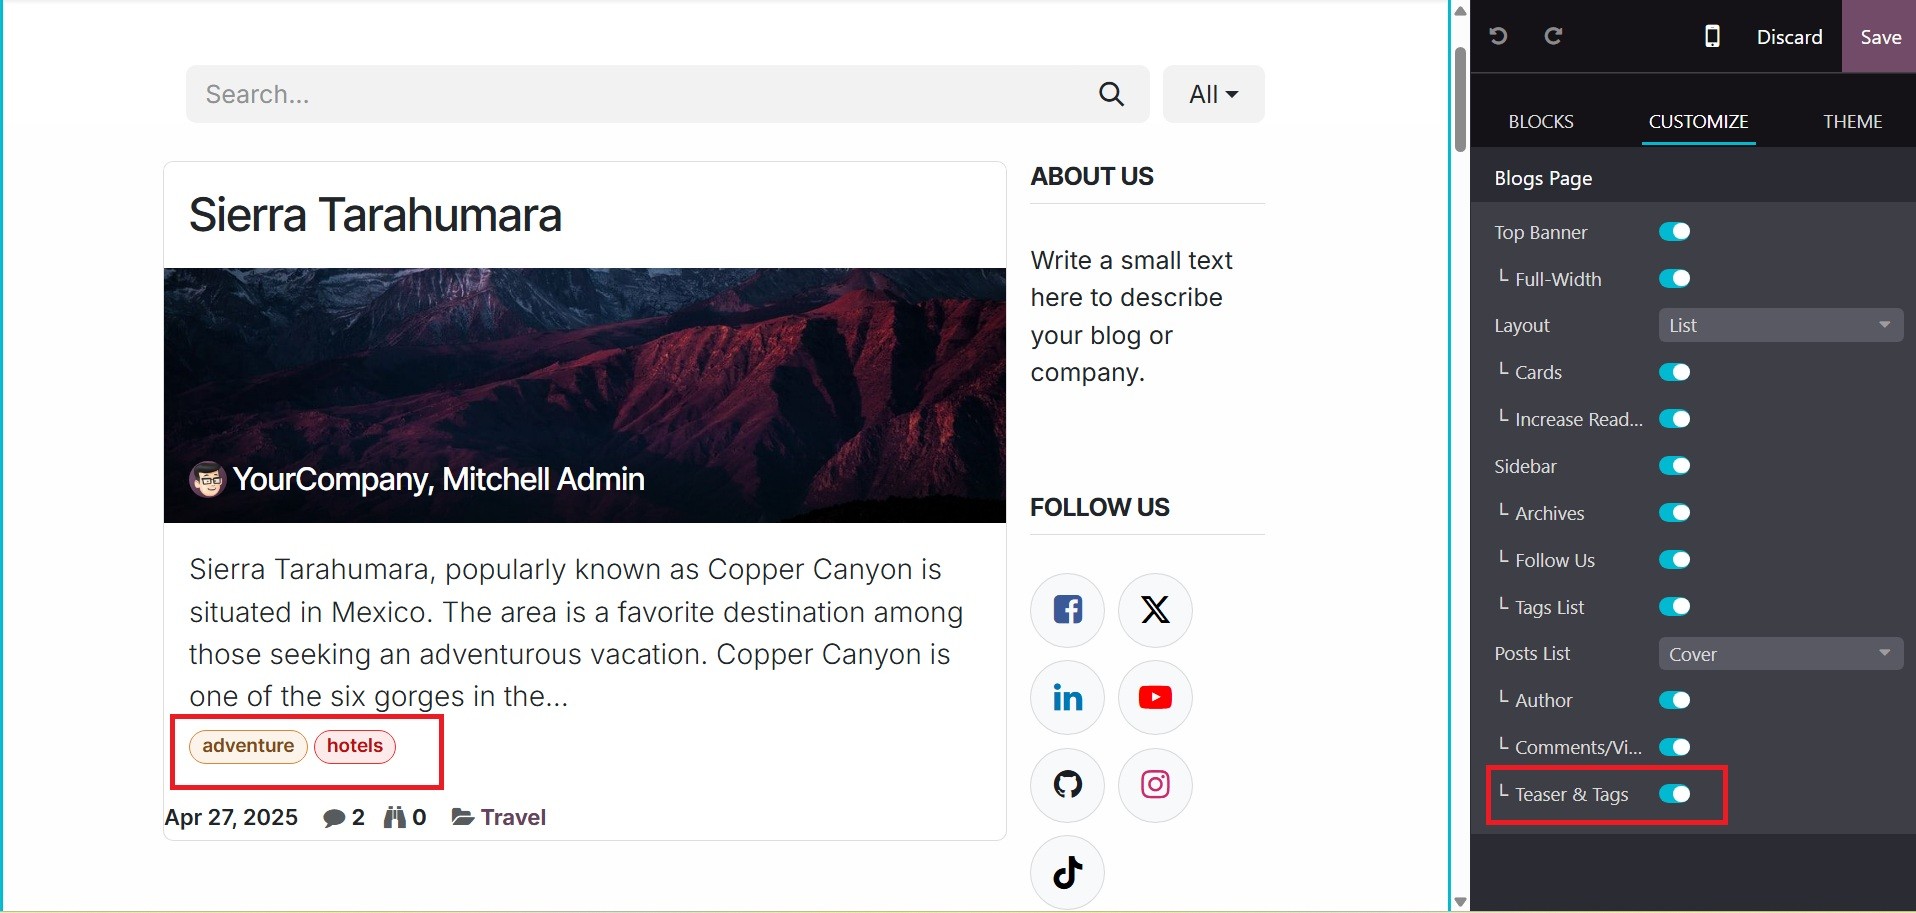
If the Teaser & Tags function is enabled, the additional tags will
then show up on the blog, as shown in the image below.