2. Configuration
There are several settings in the Configuration menu of the Contact module that
can be utilized to enhance the operation of the module. We'll go over each of
these options and how the Contact module uses them here.
2.1 Contacts Tag
Adding tags to contacts is easy with the Configuration menu. You may view the
tags that have already been set up for contacts by selecting the Contact Tags
option from the Configuration menu. It will show the Display Name and Color.
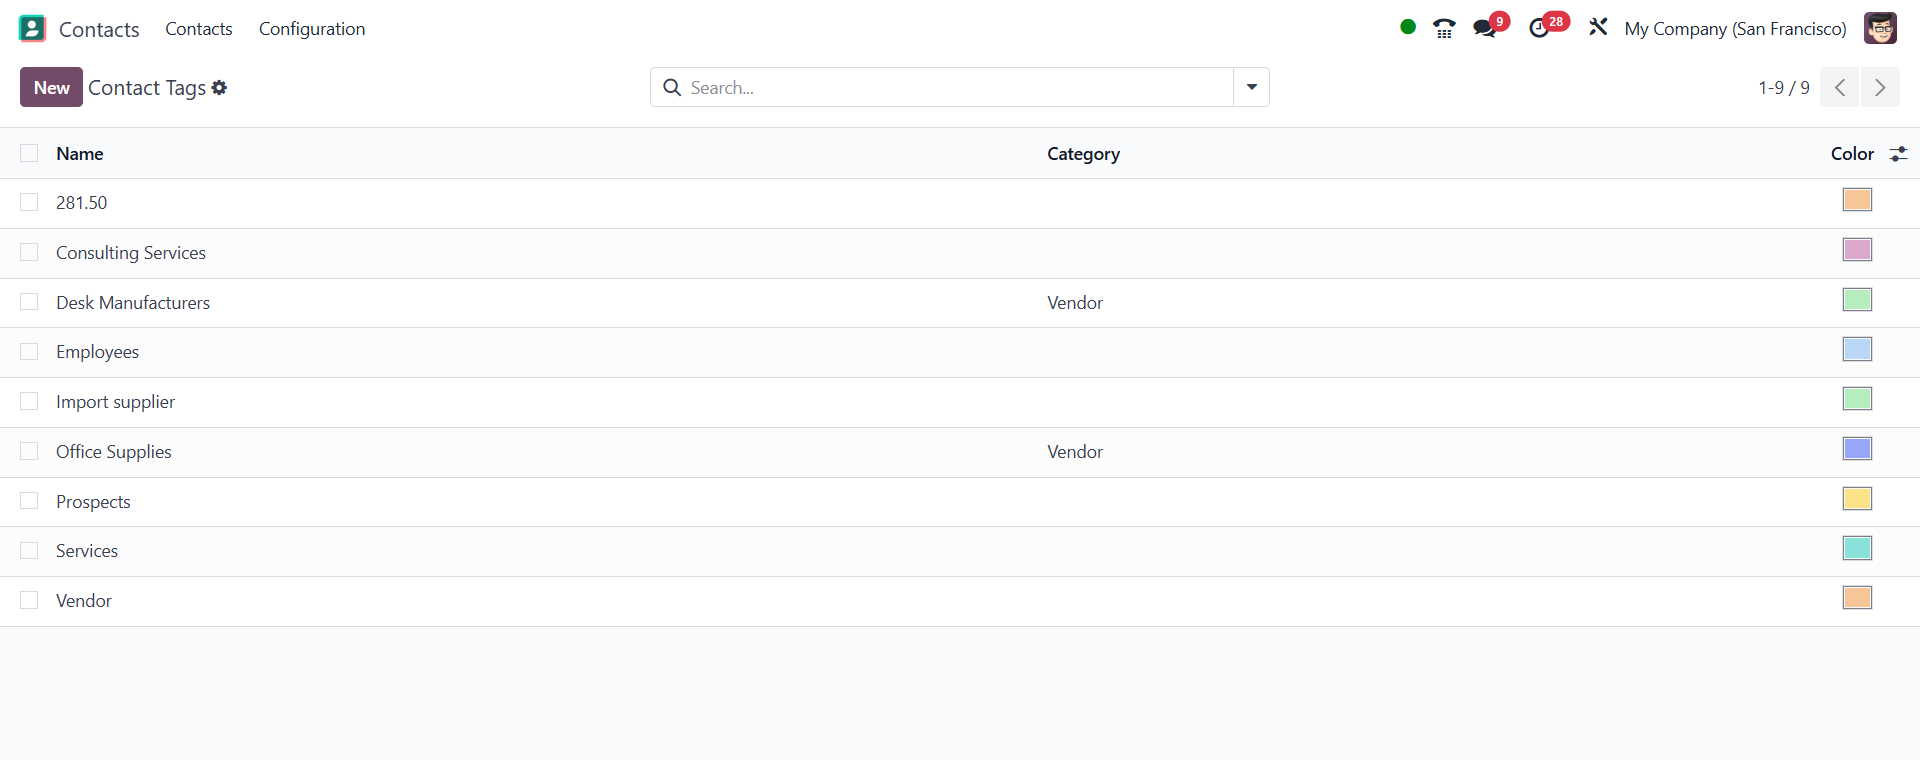
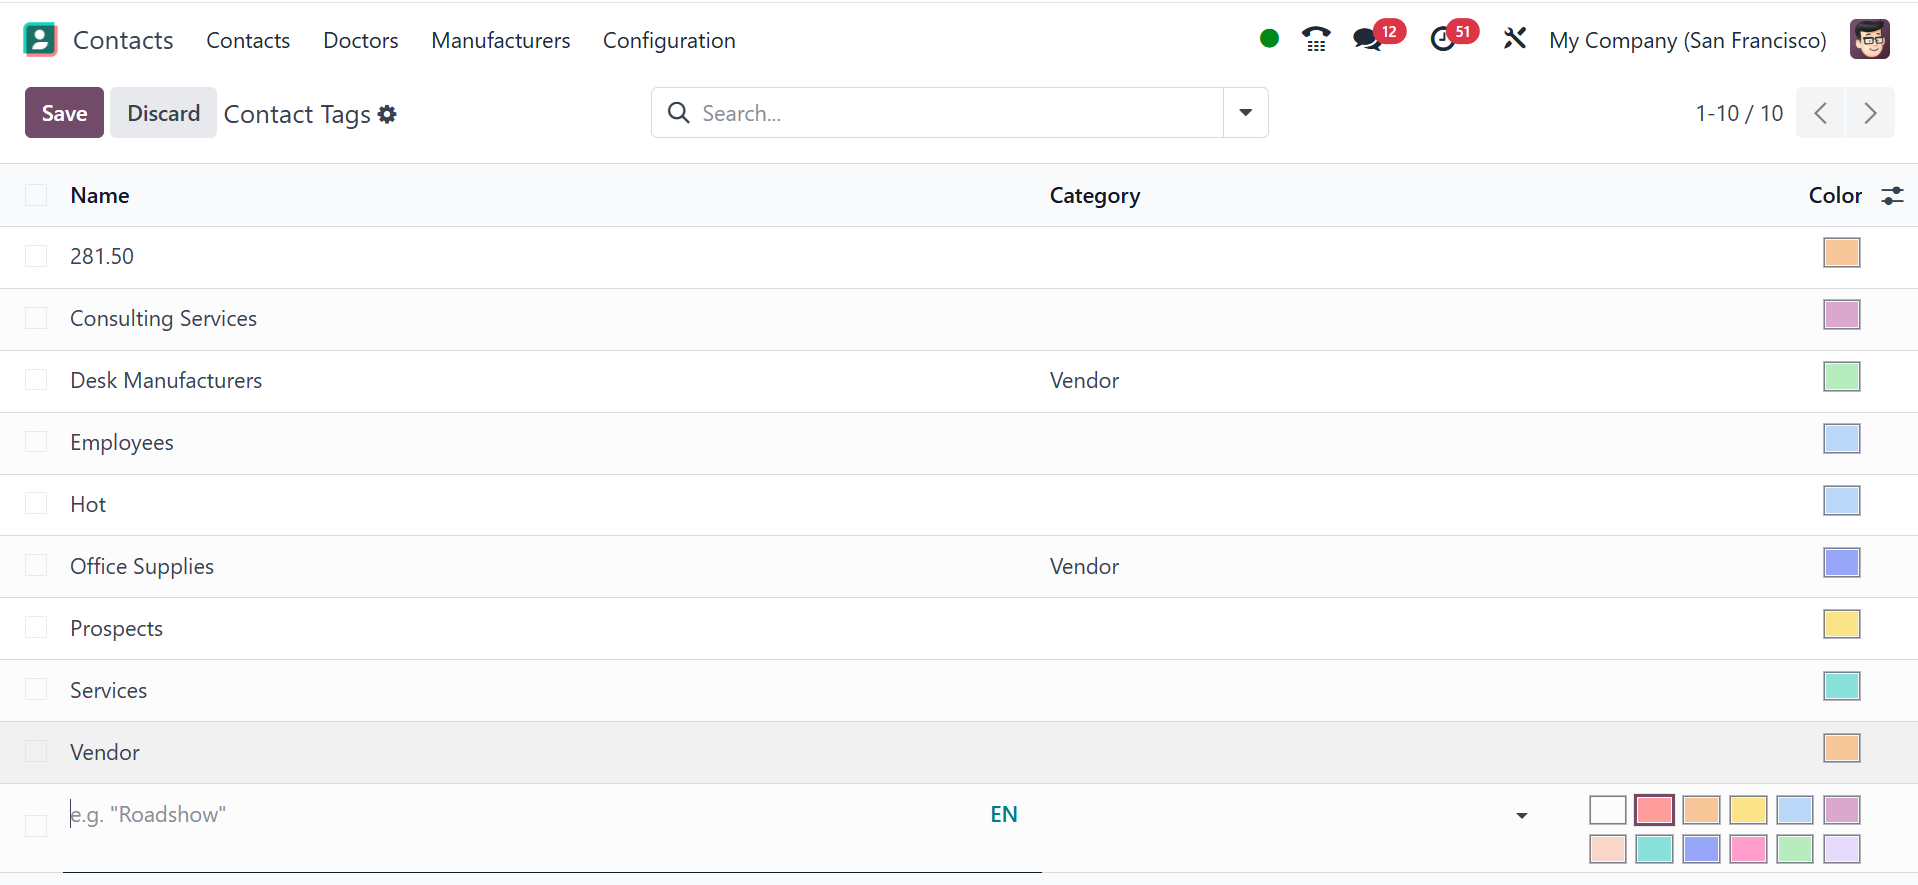
Click the New button to create a new tag. There you can easily add a new tag, as
seen in the image below, and you may enter the new tag's name in the
corresponding field.
2.2 Website Tag
As we did with Contact Tags, you can set up Website Tags to classify contacts for
tracking and analysis. This will be an option on the Configuration menu. Any
previously established website tags will be shown in the website Tags window. If
not, you can create new tags by using the New button.

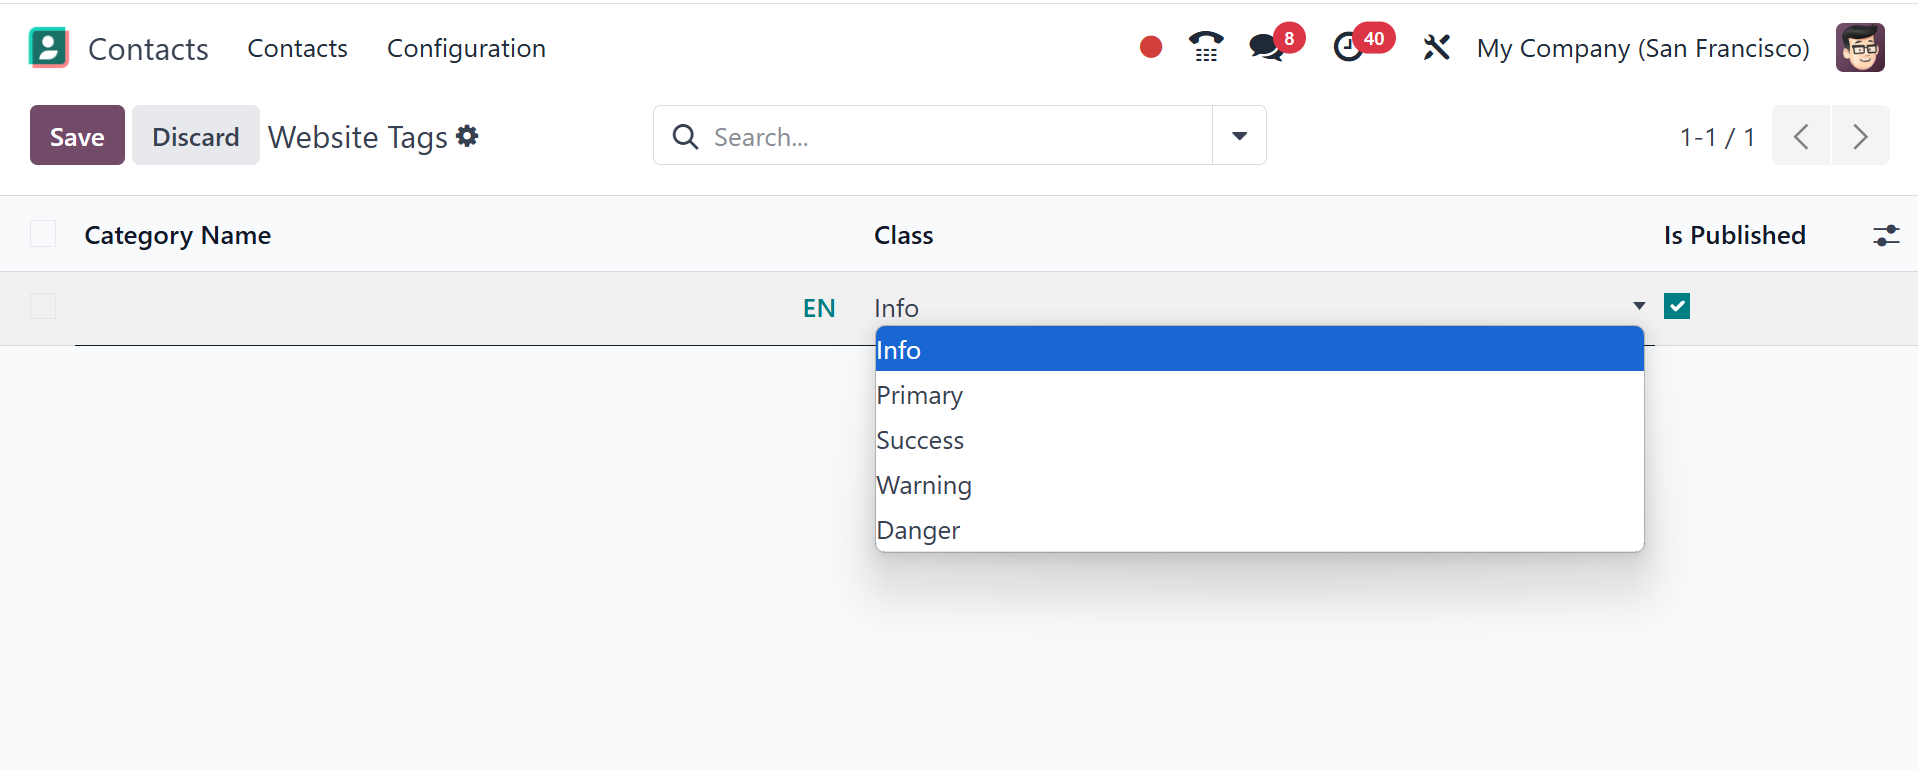
You can enter the Category Name on the new line that the window will add. You can
select the Class from the drop-down menu, which has the options Default, Primary,
Success, Warning, and Danger. After selecting the appropriate class, click the
Save button.
2.3 Contact Title
To set pre-configured contact titles, select the Contact Title option from the
Configuration menu.
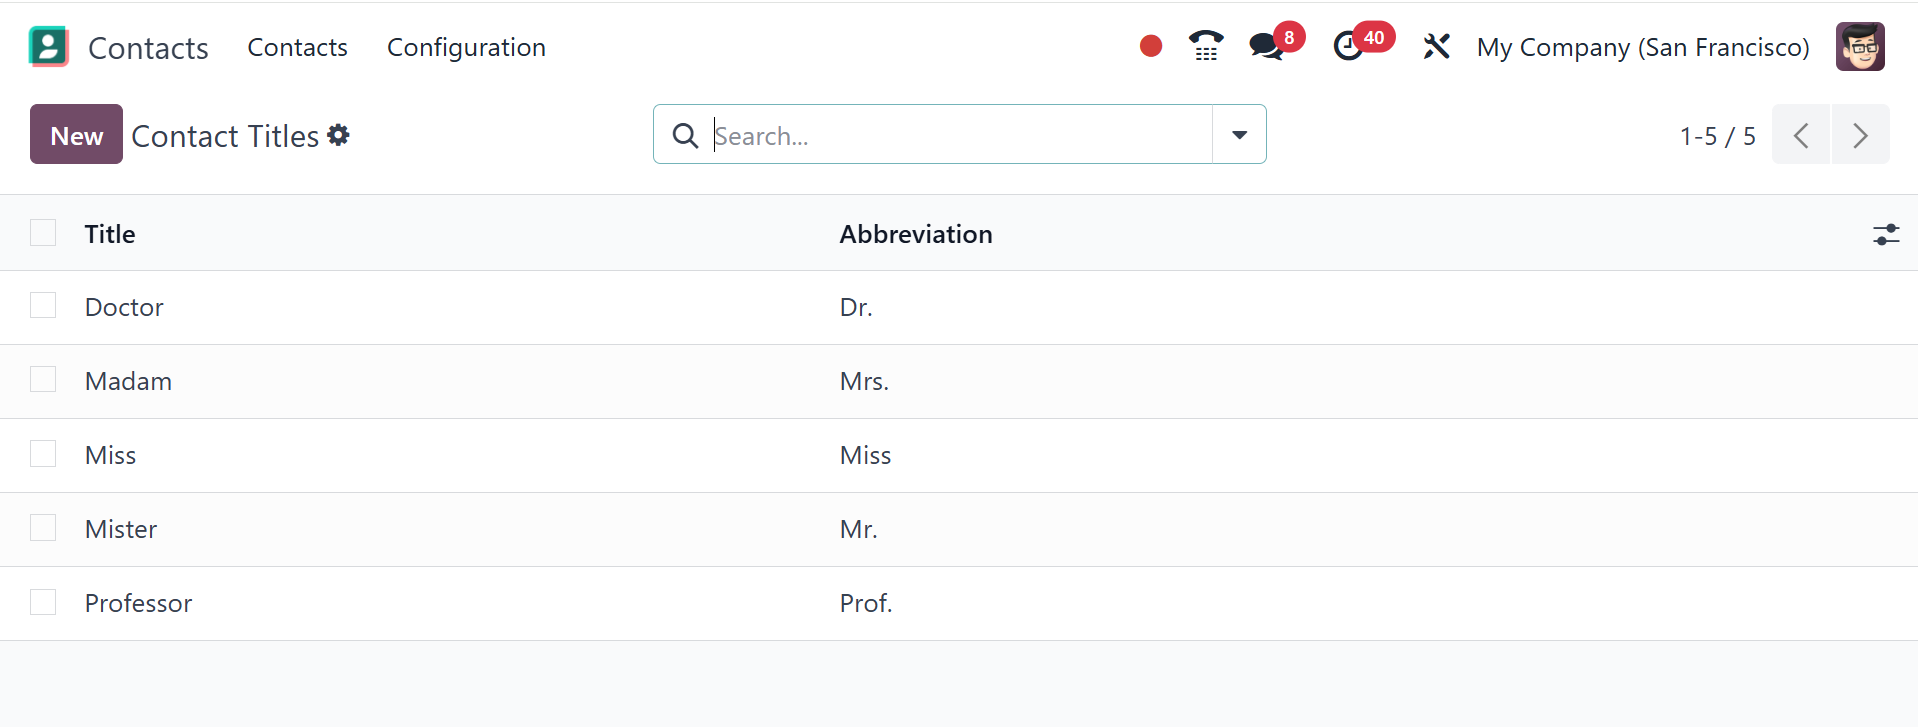
By choosing the New option, you may create a new Contact Title. Press the Save
button after entering the title's abbreviation in the corresponding field.
2.4 Industries
You might occasionally be prompted to specify industries when creating a new
contact in the Contact module. When adding new contacts in these circumstances,
selecting Industries from the Configuration menu will be straightforward. The
window will provide a list of pre-configured industries.

Click the New button to add new industries. A new line will appear beneath the
current list where you can provide the industry's name and full name.
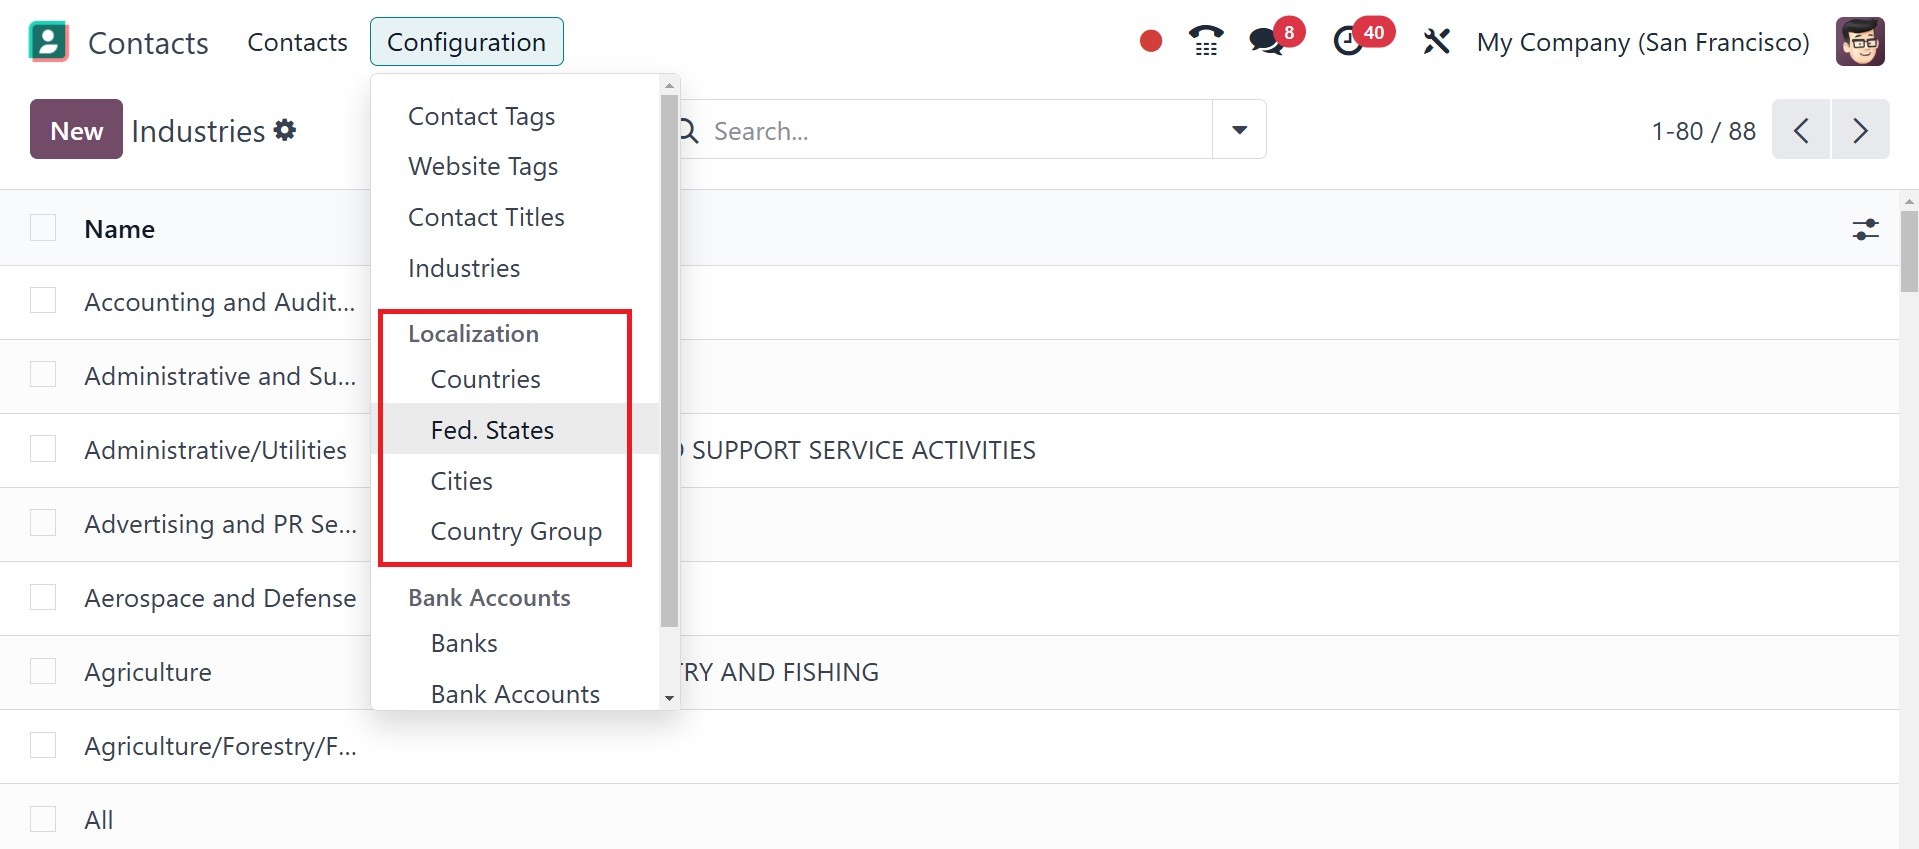
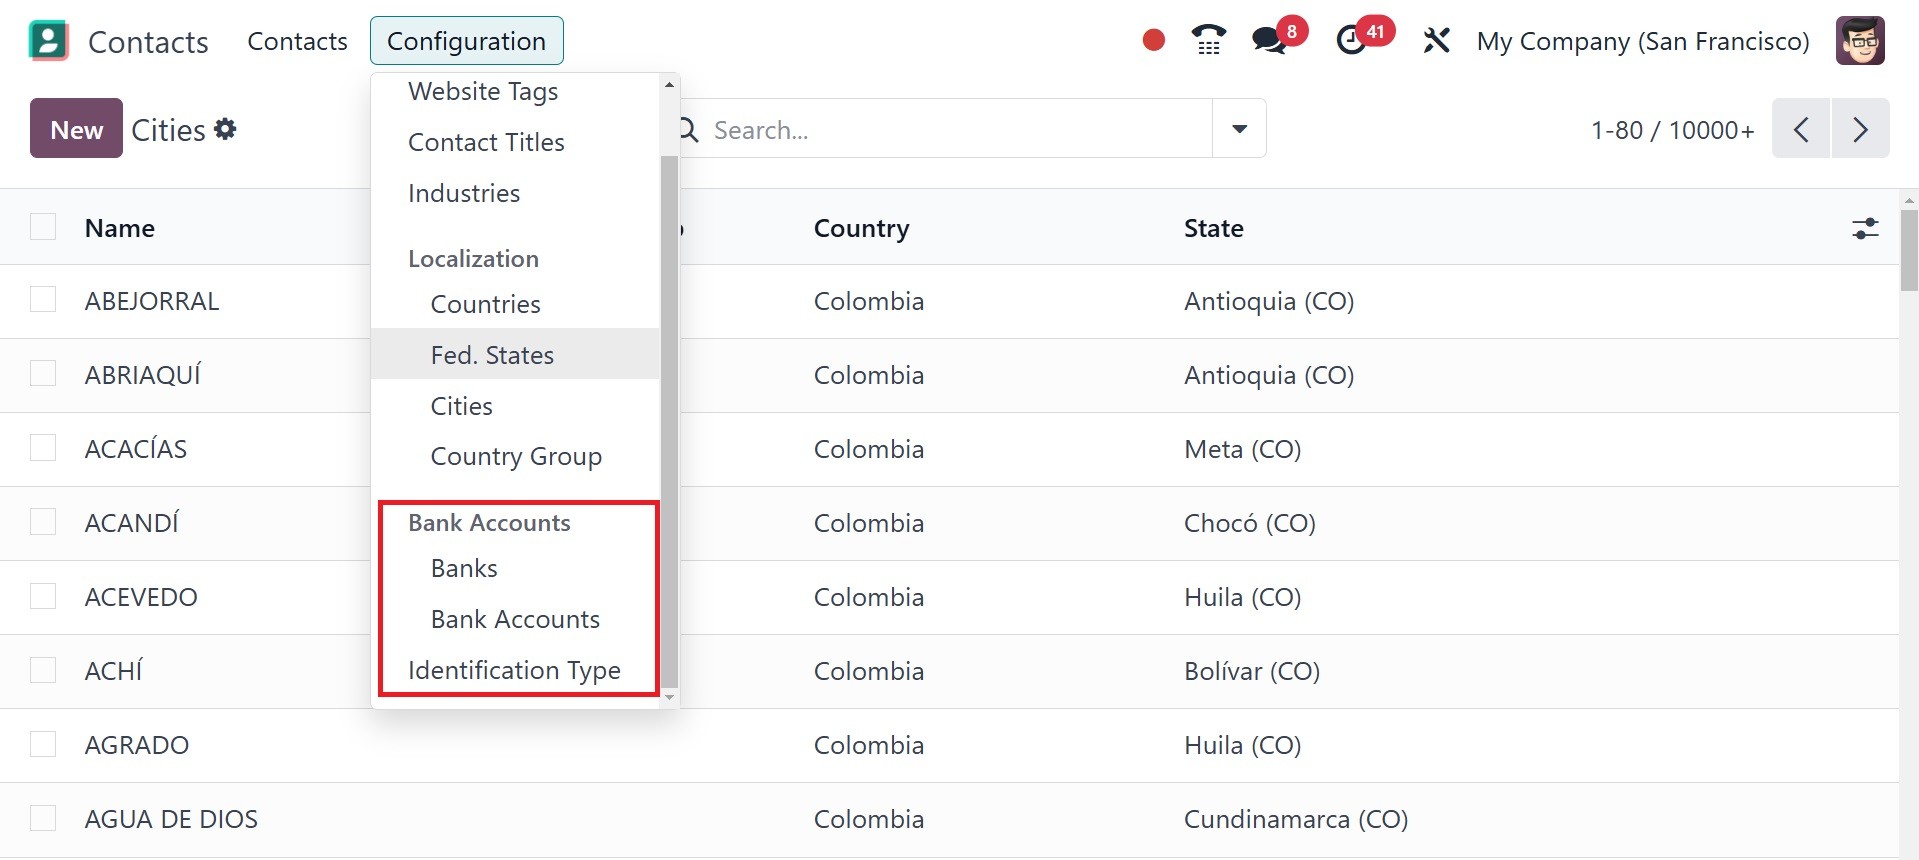
2.5 Localization
Under the Localization tab of the Configuration menu, you will discover options
to view the configured Countries, Fed. states, cities, and Country Groups.
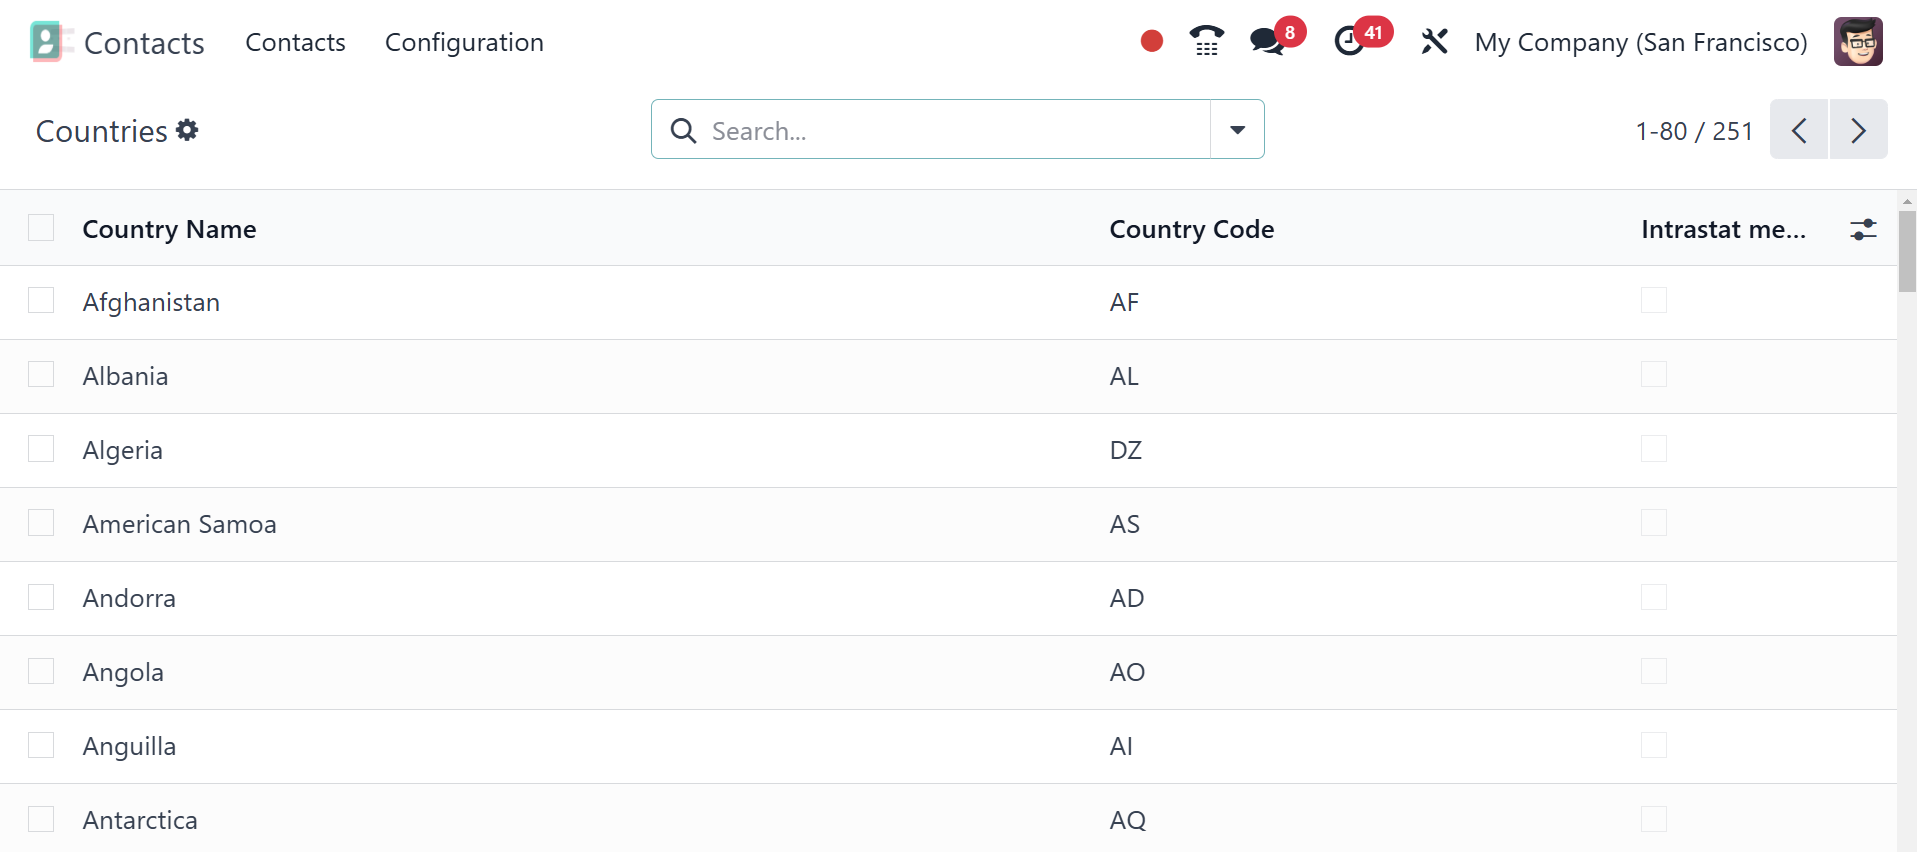
2.6 Countries
Intrastat Member, Use on eBay, Country Name, Country Code, Customs Name, Customs
Code, and Customs Abbreviations are all included in the list of countries.
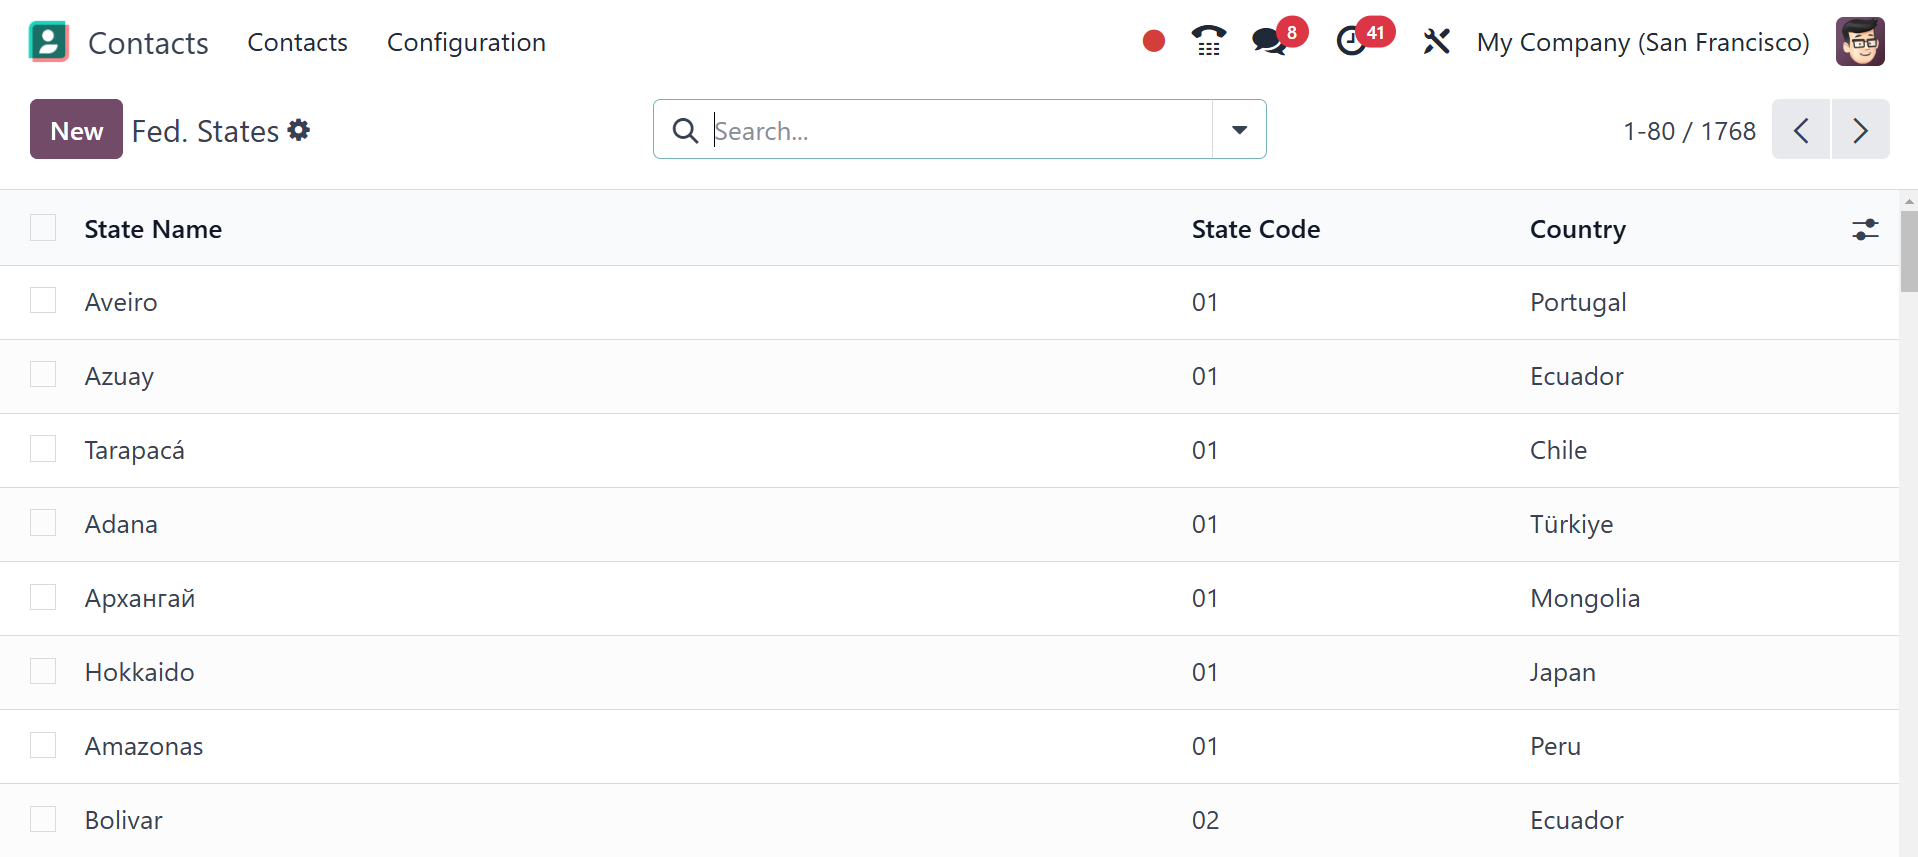
2.7 Fed State
The State Name, State Code, and Country are displayed in the Fed. States list.
You can expand this list by adding a new state using the New button.
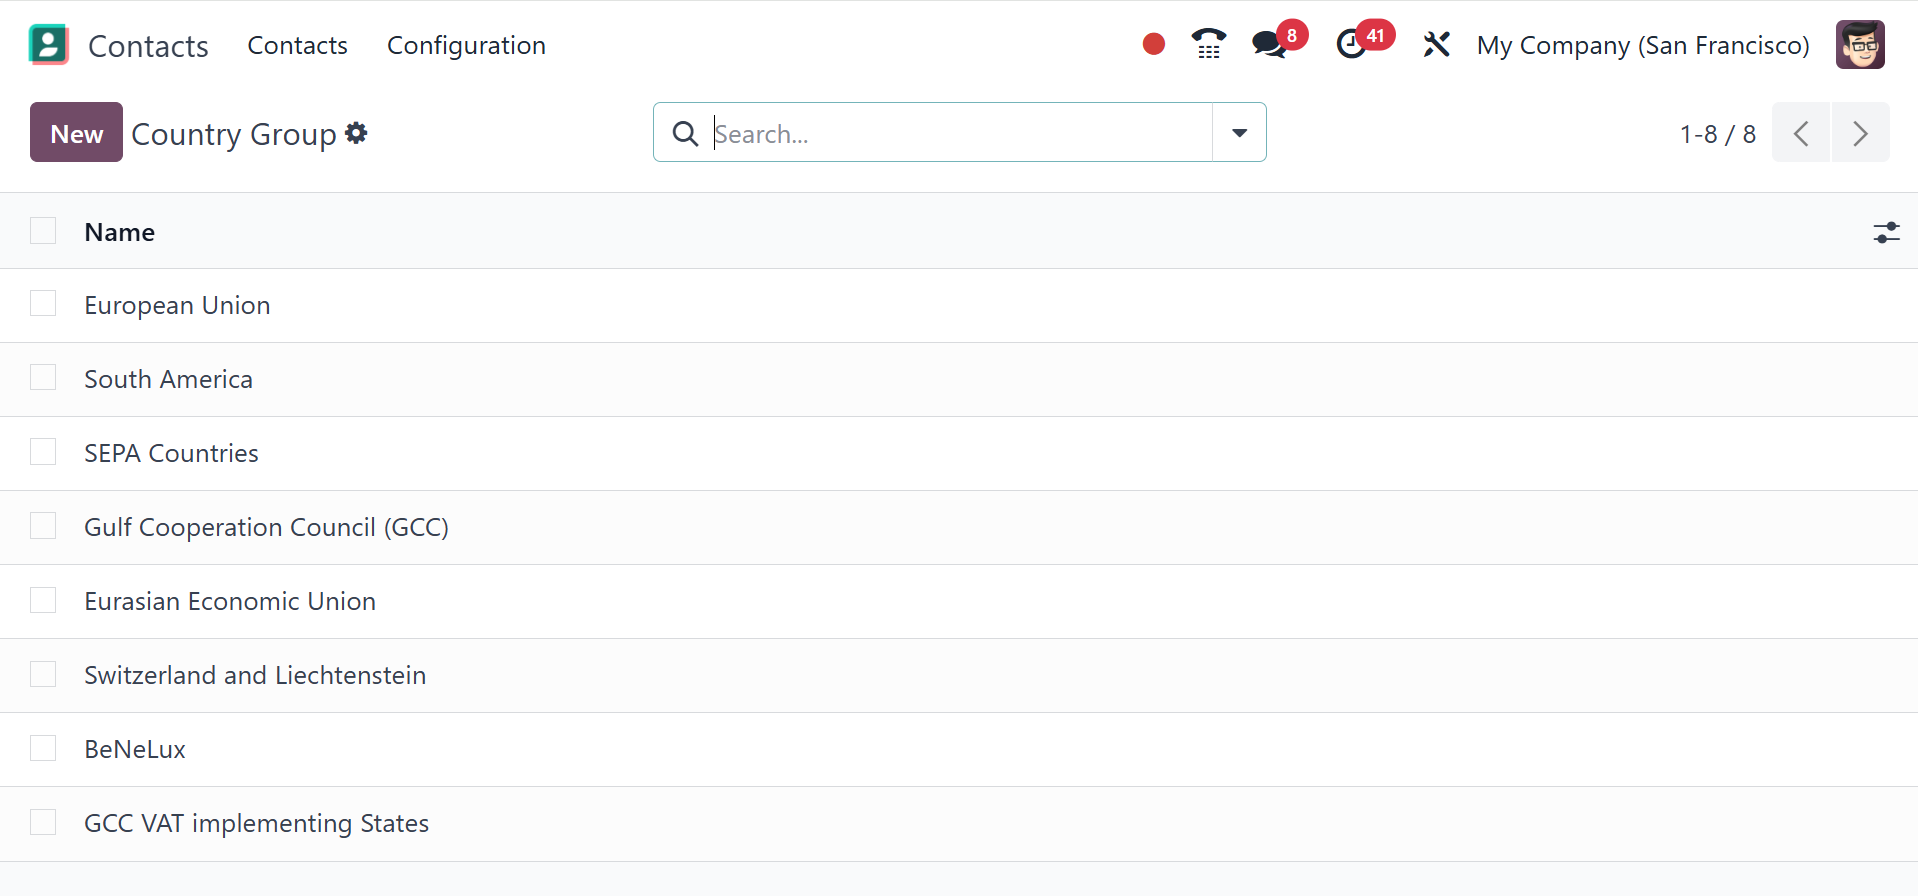
2.8 Country Group
The Contact module's corresponding menu will provide the names of the Country
Groups. Click the New button to add another country group to this list.
Here, on selecting the New option, you will get the creation page, as in the
screenshot below.
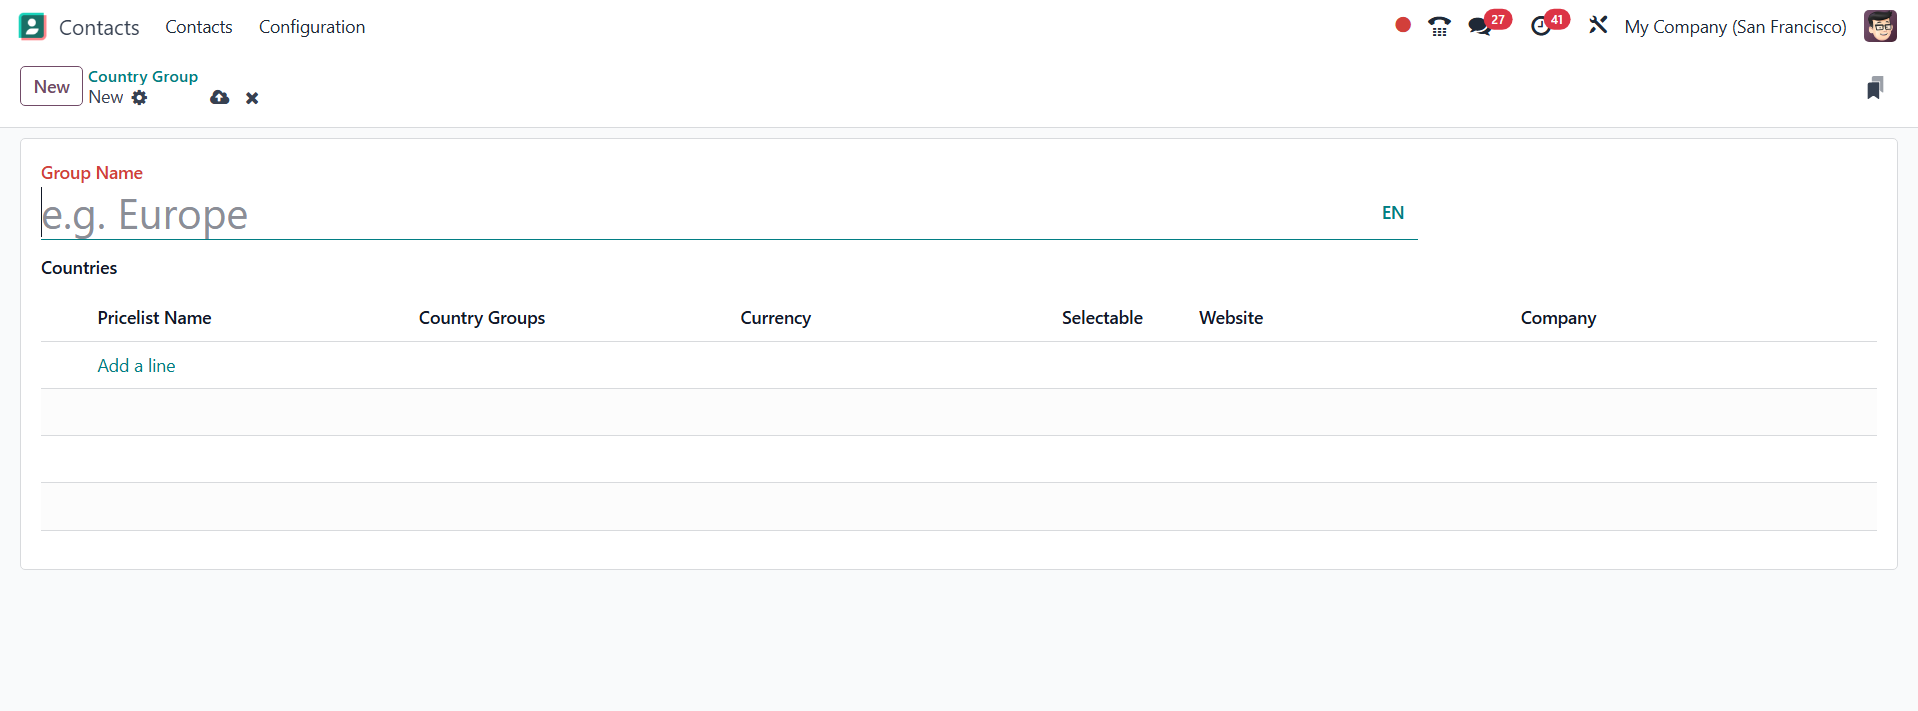
Here, you can provide the group name, and below that, you have the countries
option to select. You have the Add a Line option, where you have the pricelist
name, country groups, currency, selectable, website, and company options to add.
When selecting the Add a Line option, you will see the pop-up, as in the image
below.
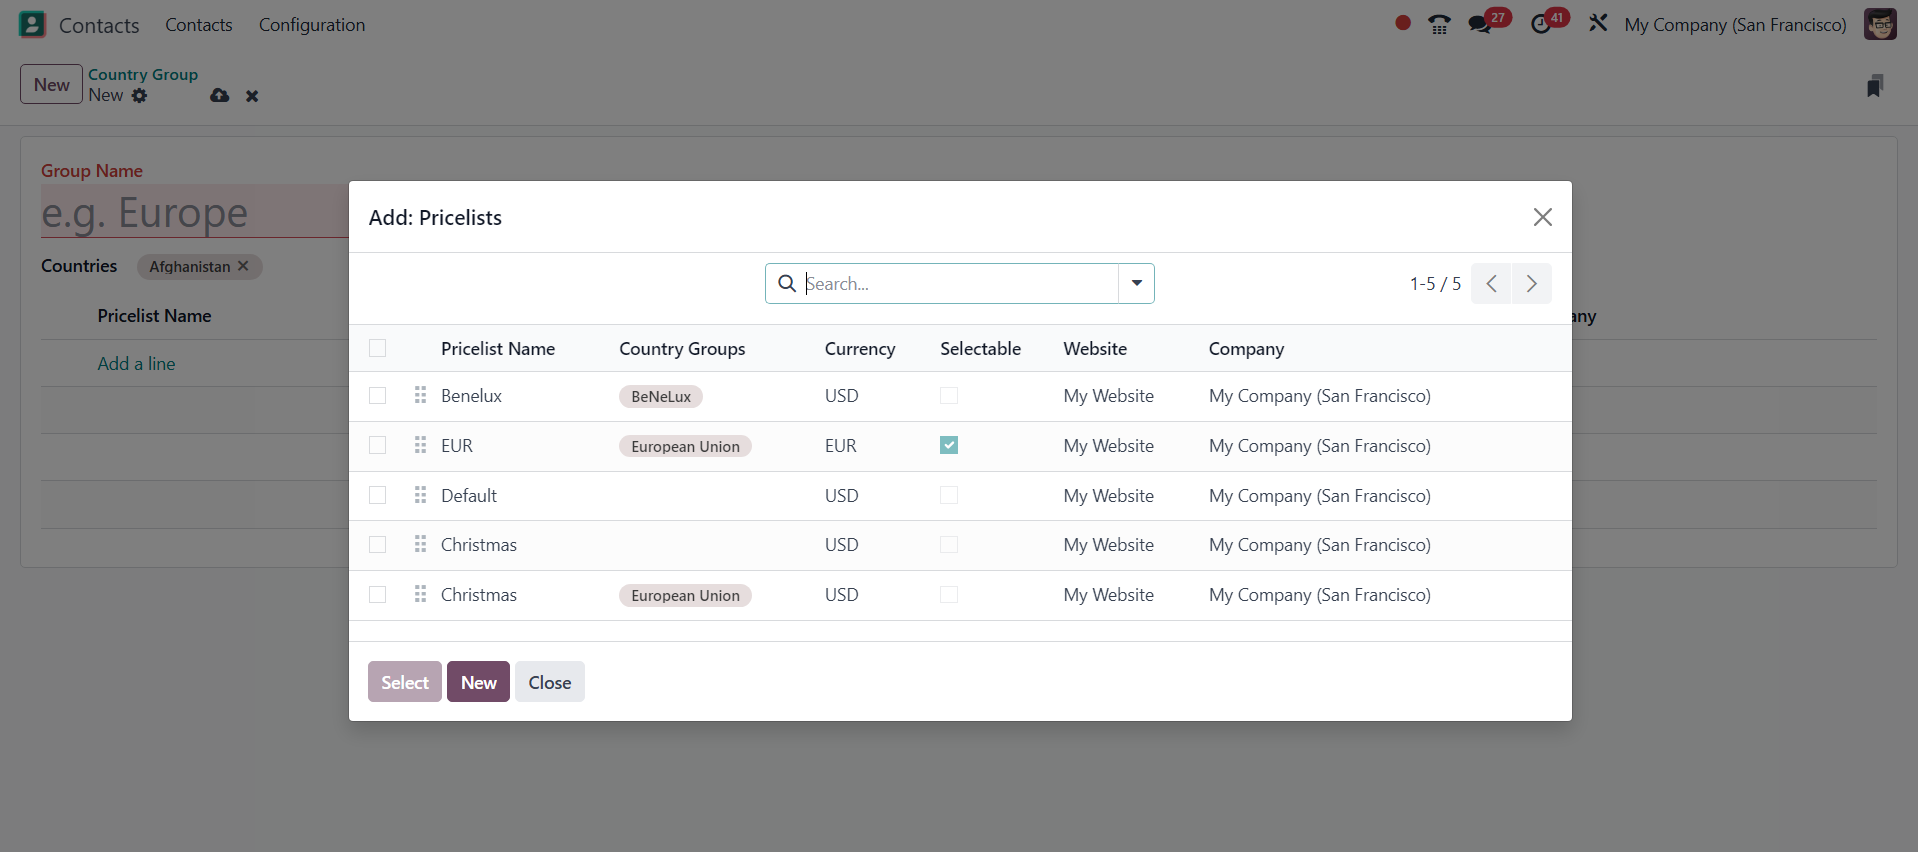
Here, choose or use the new option, you can provide the pricelist details and
save the details.
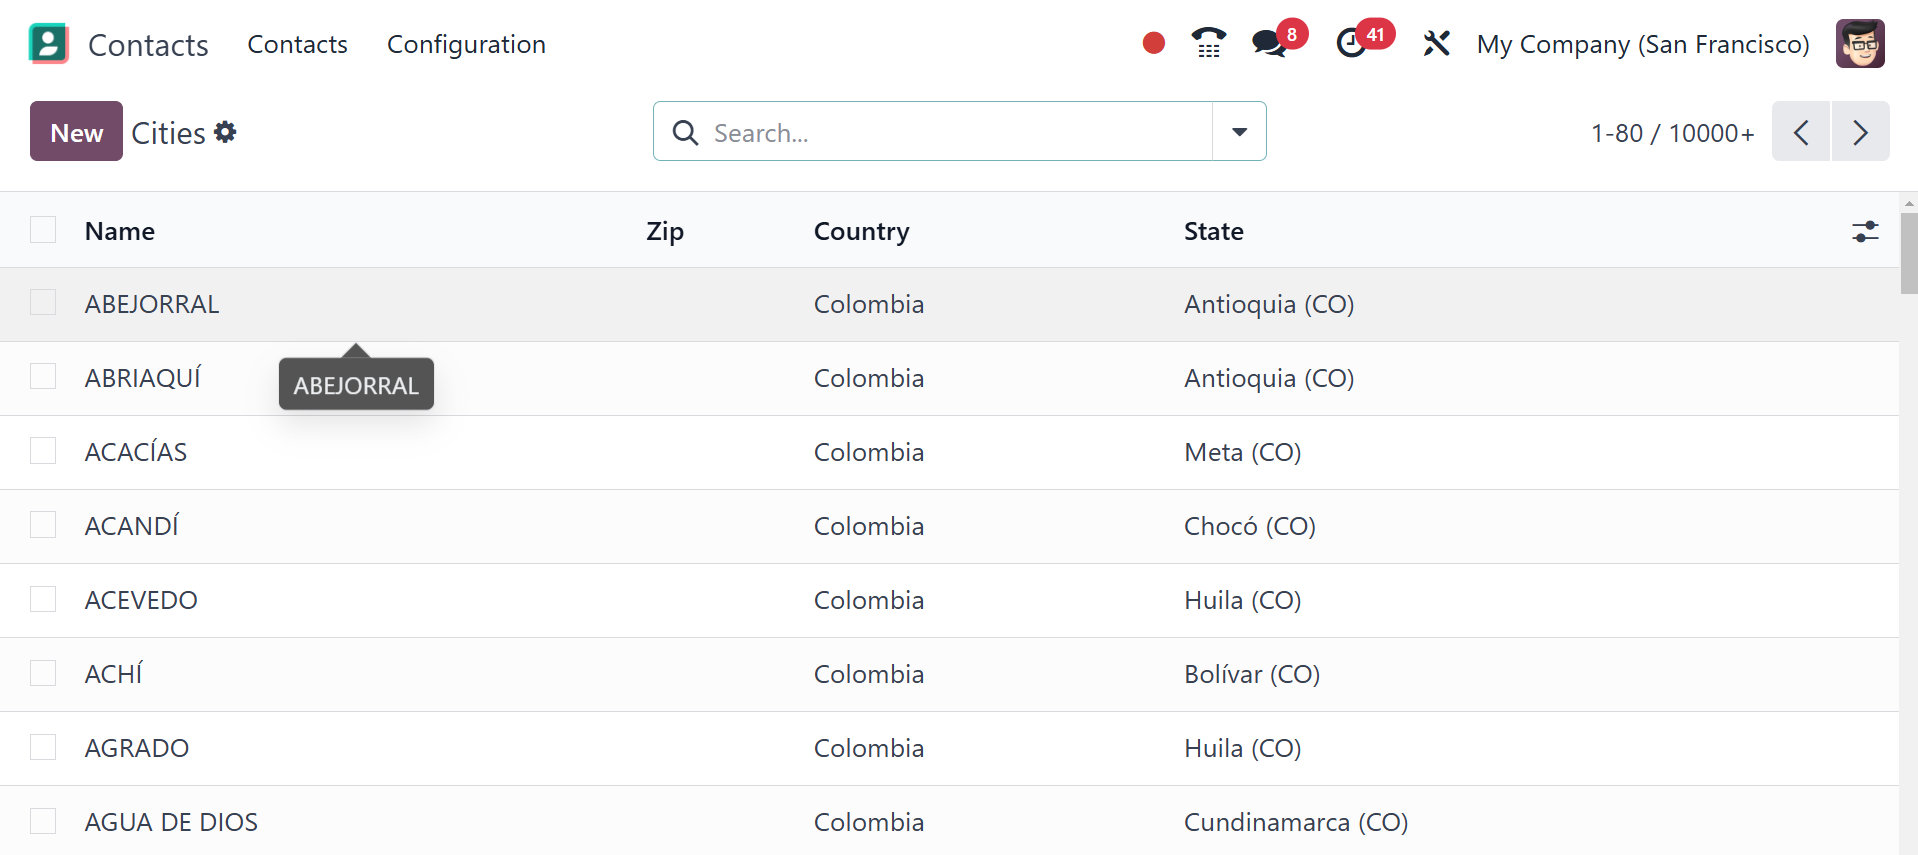
2.9 Cities
Here, you will get the different names of the cities, and to add a new one, go to
the New icon.
2.10 Bank Accounts
This platform can be used to store contacts' accounts and financial details. When
you select the Bank option from the Configuration menu, all of the banks
specified in the module will be shown.
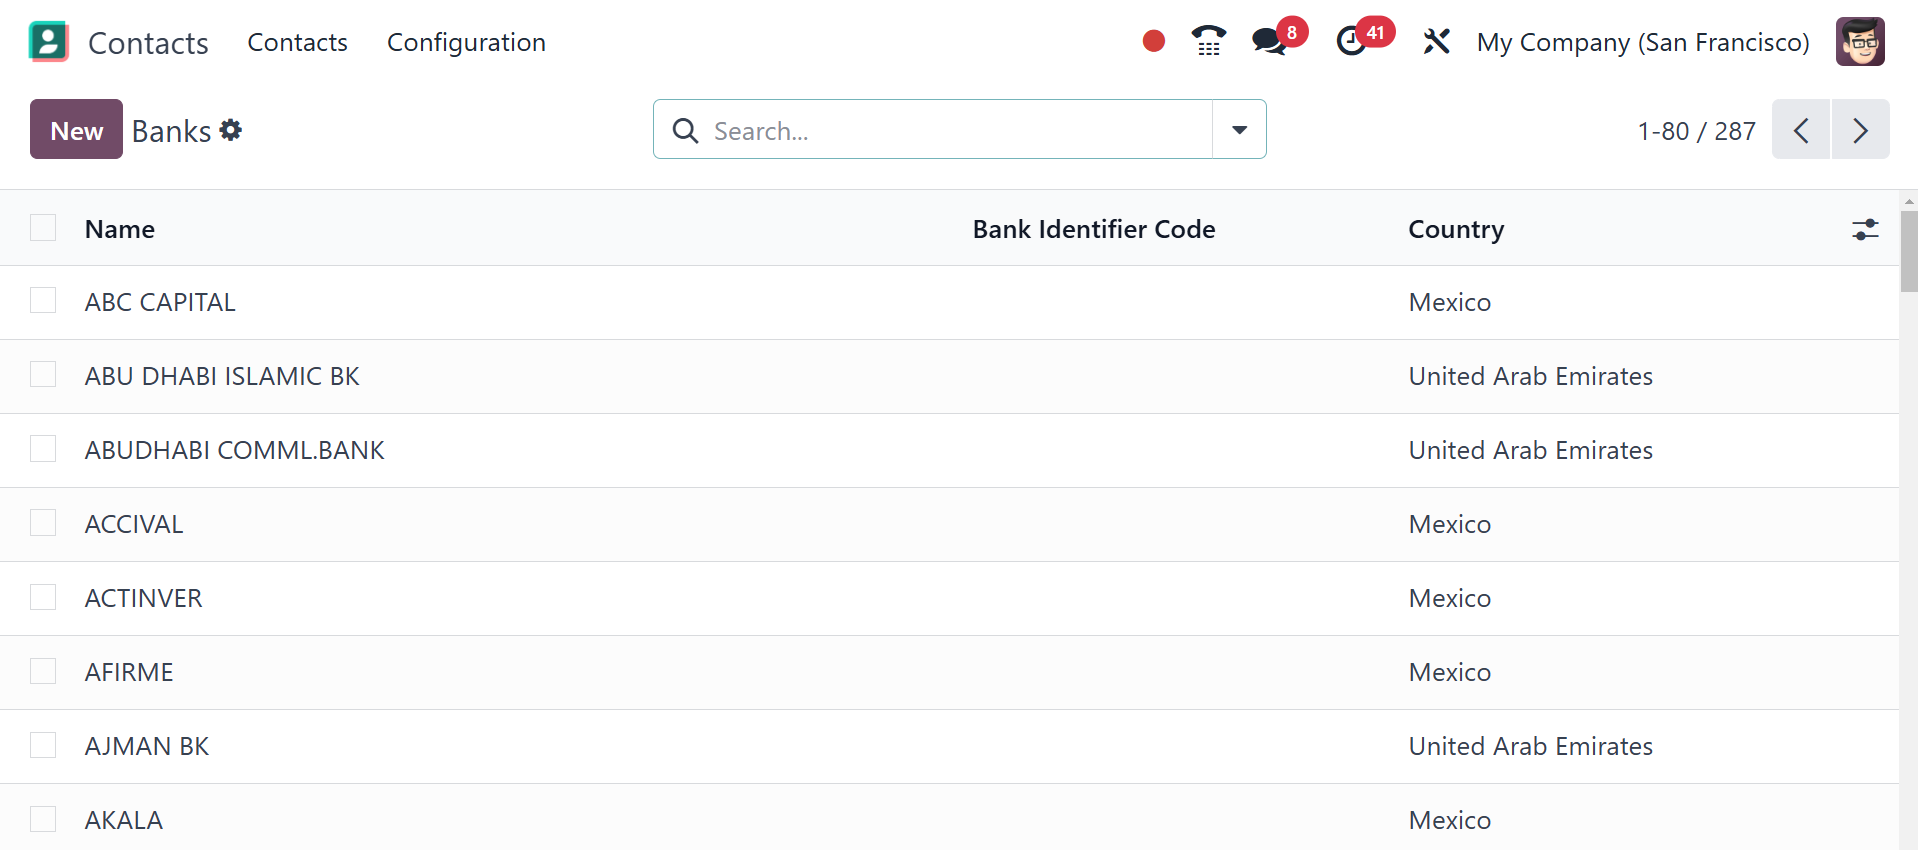
2.11 Bank
The list view includes the Country, Bank Identifier Code, Name, and Cod. SBIF.
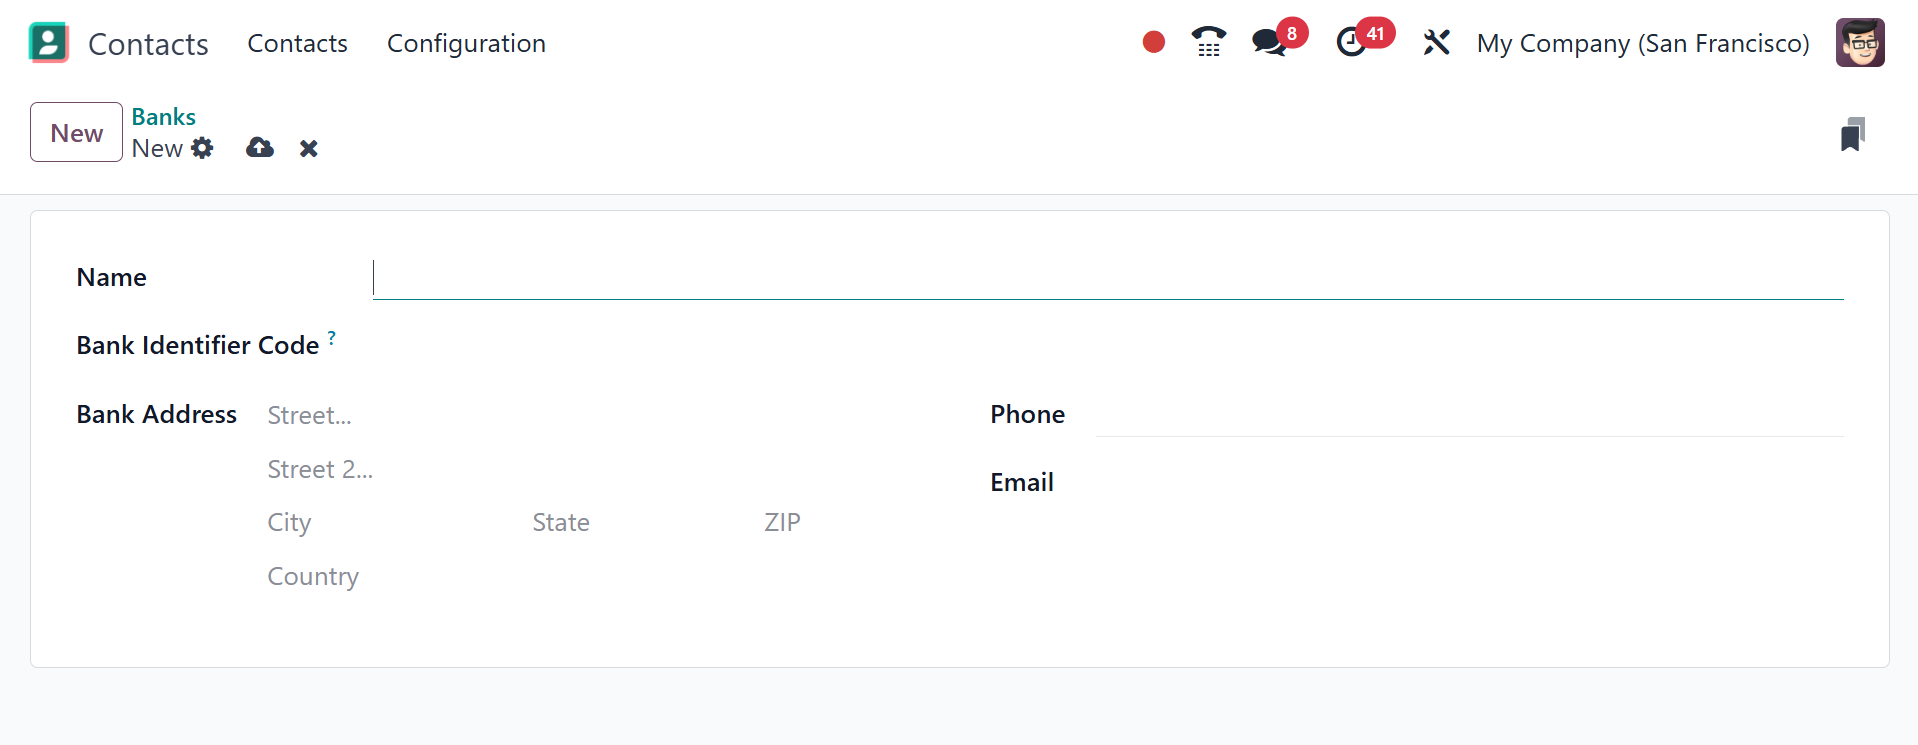
You can create a new bank by clicking the New button.
Entering your name, bank identity code, bank address, phone number, and email
will open a new form window.
2.12 Bank Accounts
The Bank Accounts pane shows the bank accounts for the contacts you have stored
in your system.
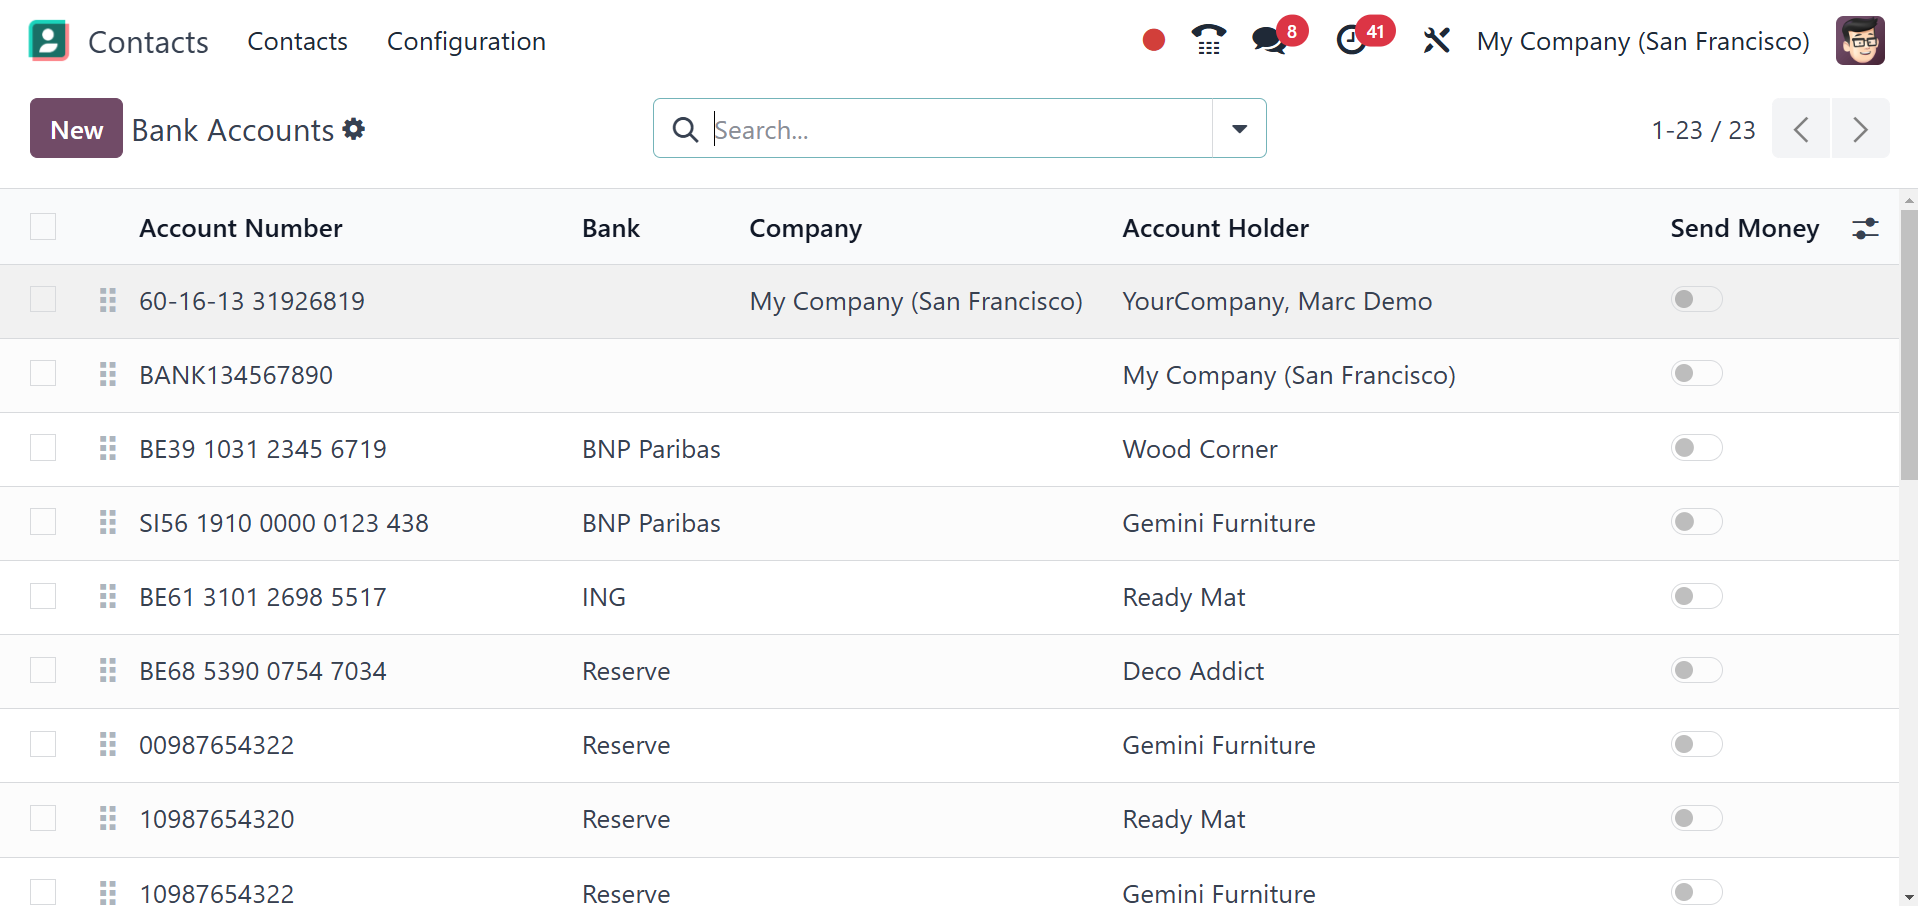
This is how the bank accounts appear in the list view. This box allows you to
view the Account Number, Name, Company, and Account Holder in addition to the
Send Money status. You can add an additional bank account for contacts when you
click the New button, which will open a new form view.
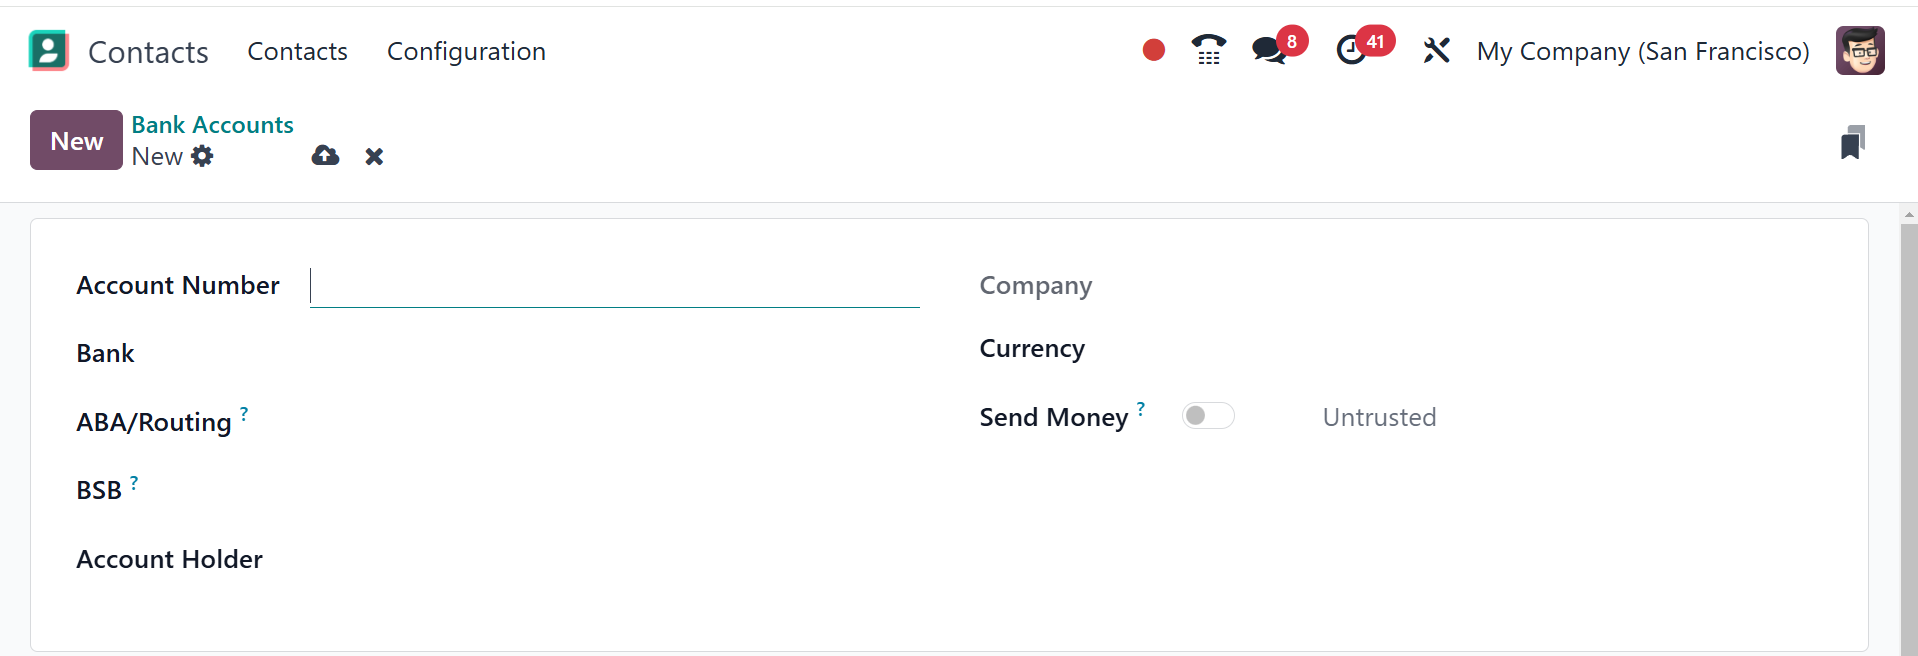
You can enter the Account Number, Account Holder, Account Holder Name, Bank,
ABA/Routing, and Currency in the appropriate boxes. If you are able to send money
using this account, you can activate the Send Money feature.
The Odoo 18 Contact module will simplify the management of contacts. For your
company's real-time contact management requirements, this module is the best
choice.