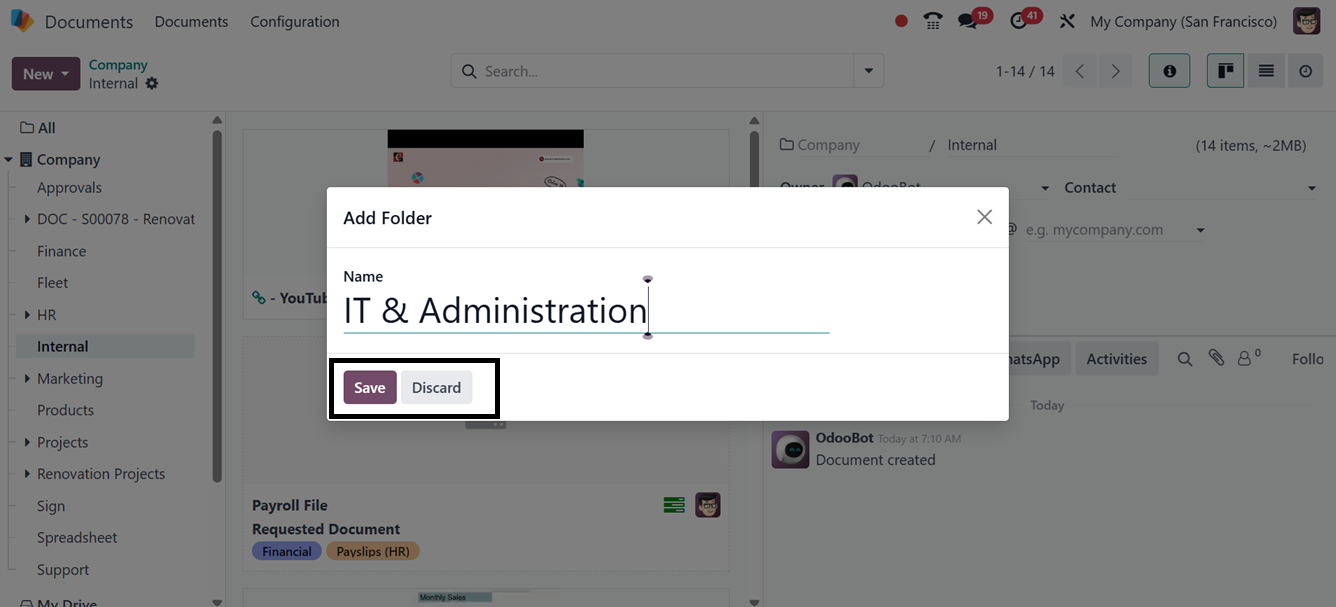
7. Creating a New Folder
To create new document folders, utilize the ‘Folder’ button provided
in the ‘New’ button menu. This will open a pop-up window that can be
used to edit the folder name, as illustrated in the screenshot
below.
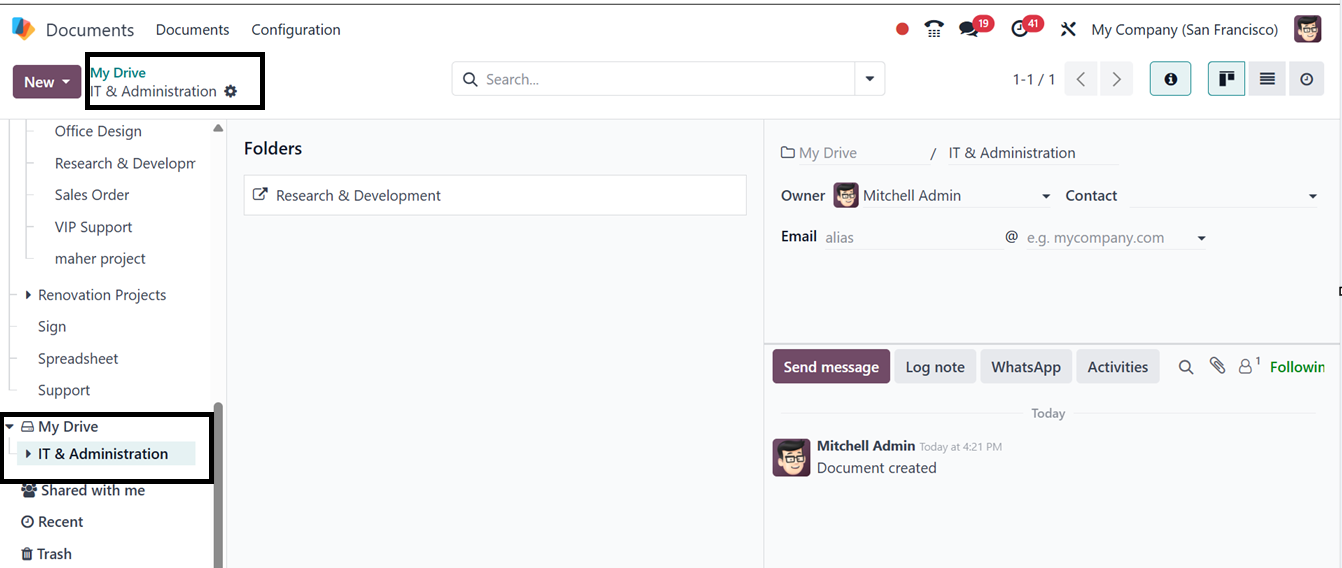
The newly created folder will be added to the folder list and you can
add the corresponding documents to it.
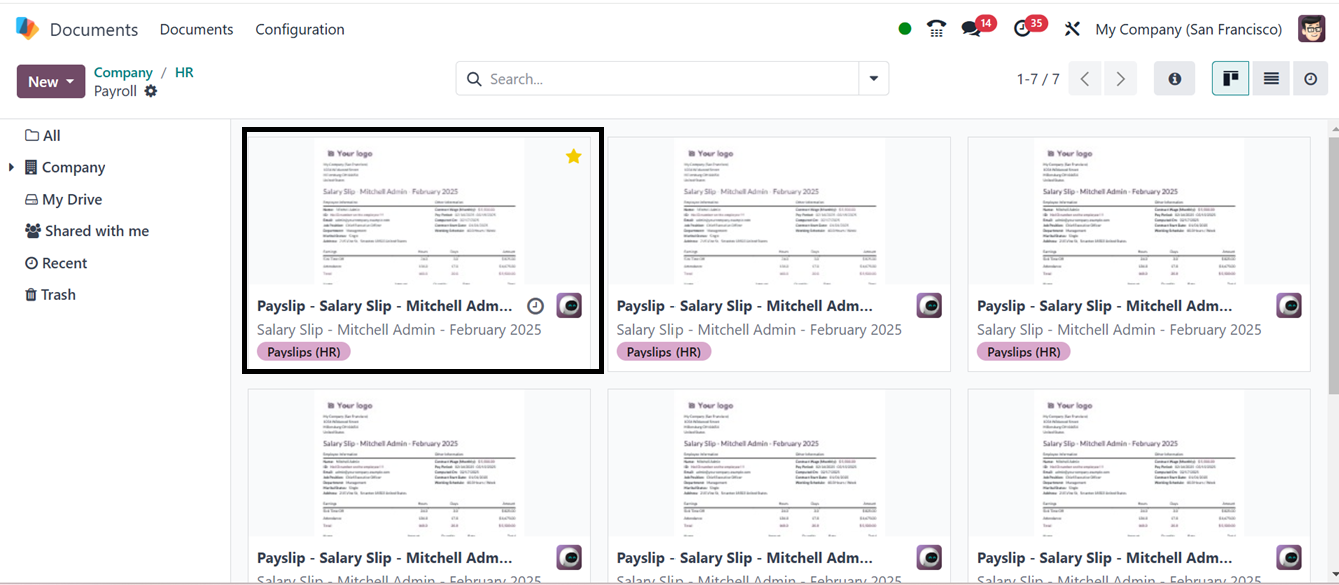
Selecting the "All" folders from the document folder categories will
display all documents without any classification. To make it easier
for you to identify your documents, tags may also be utilized inside
each workspace. Here, we can choose the payroll category to check
and manage the available documents. You will see the available
documents included in this particular category as illustrated in the
screenshot below
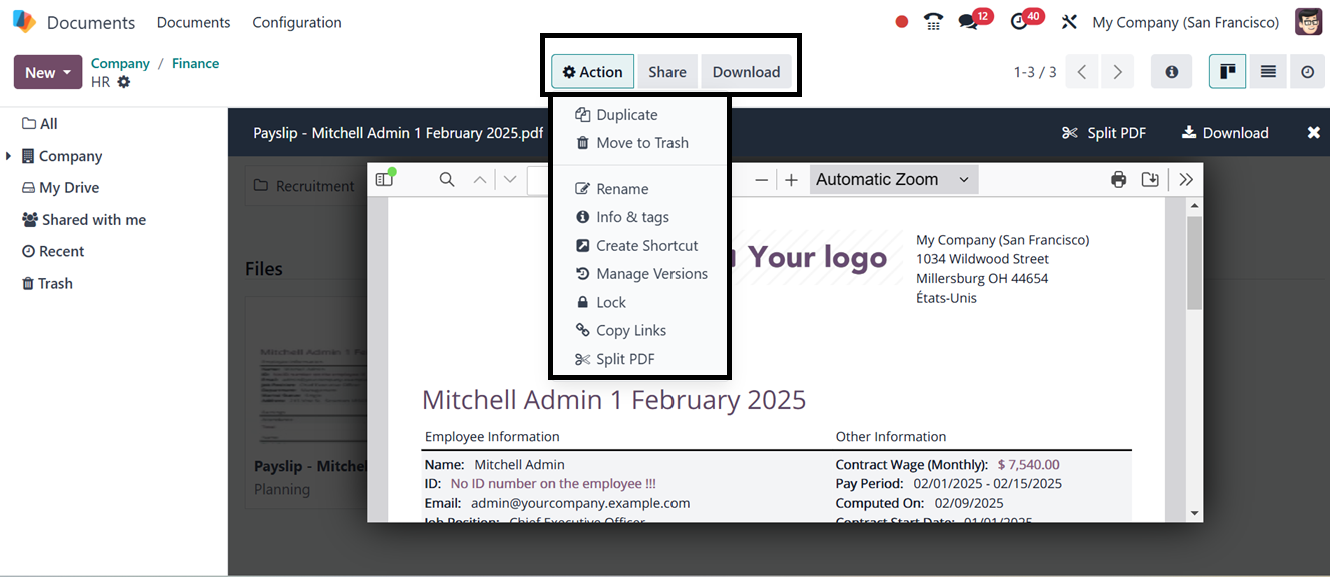
Then, click on the relevant document as demonstrated below, the
system will display the document in detail.
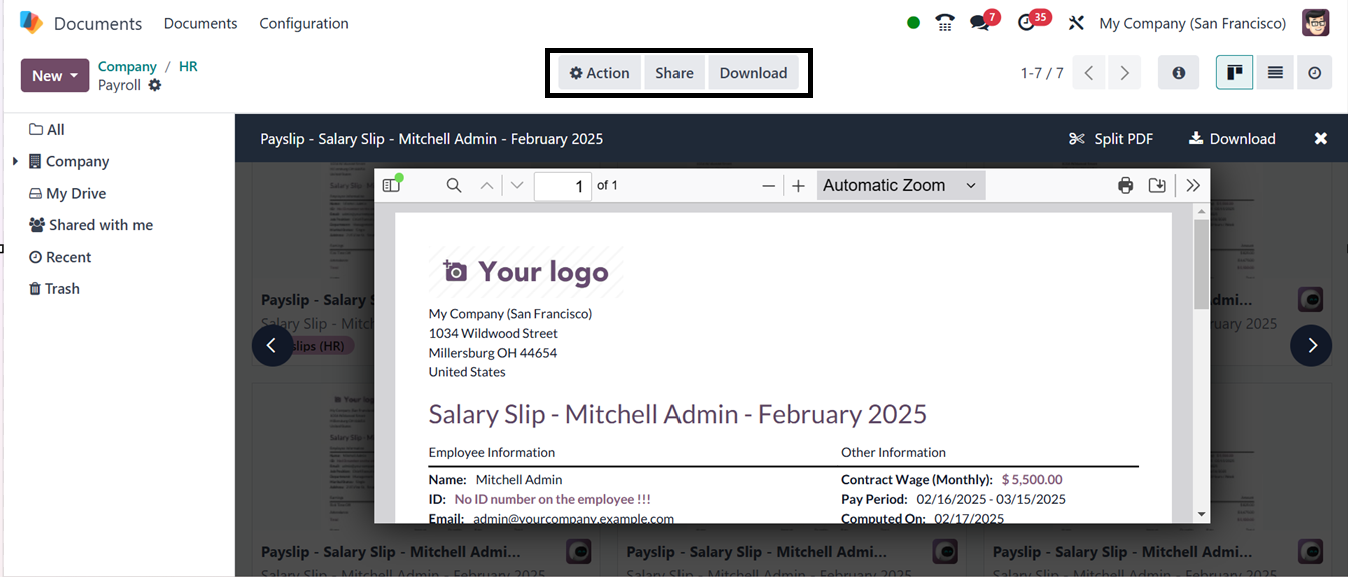
You can zoom in and out of the document view using the Automatic Zoom
feature and download or print the document using the relevant icons.
The ‘Split PDF’ button will help you to split the document. This
'Split PDF' function allows users to split multi-page PDF files into
separate documents, especially useful for batch-scanned files. After
clicking the button, you will be directed to an interface where you
can add files to the document and split them accordingly.
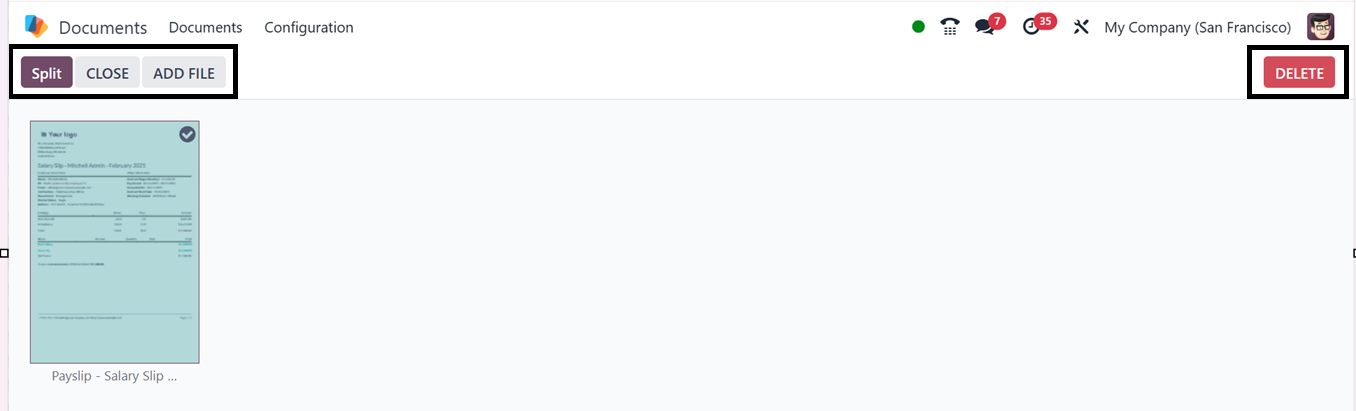
The ‘Split’ function will create another split document in the
documents dashboard.
After choosing a document, you can see different menu icons for
carrying out various tasks in each document record in its ‘Actions’
menu. These are the buttons highlighted in the image below: Select
Document, Activity Scheduling, and Toggle Favorite.
In the image below, the option for scheduling an activity is
highlighted. After opening a certain document category, you can
immediately plan an activity by using the ‘Activity ’ icon.
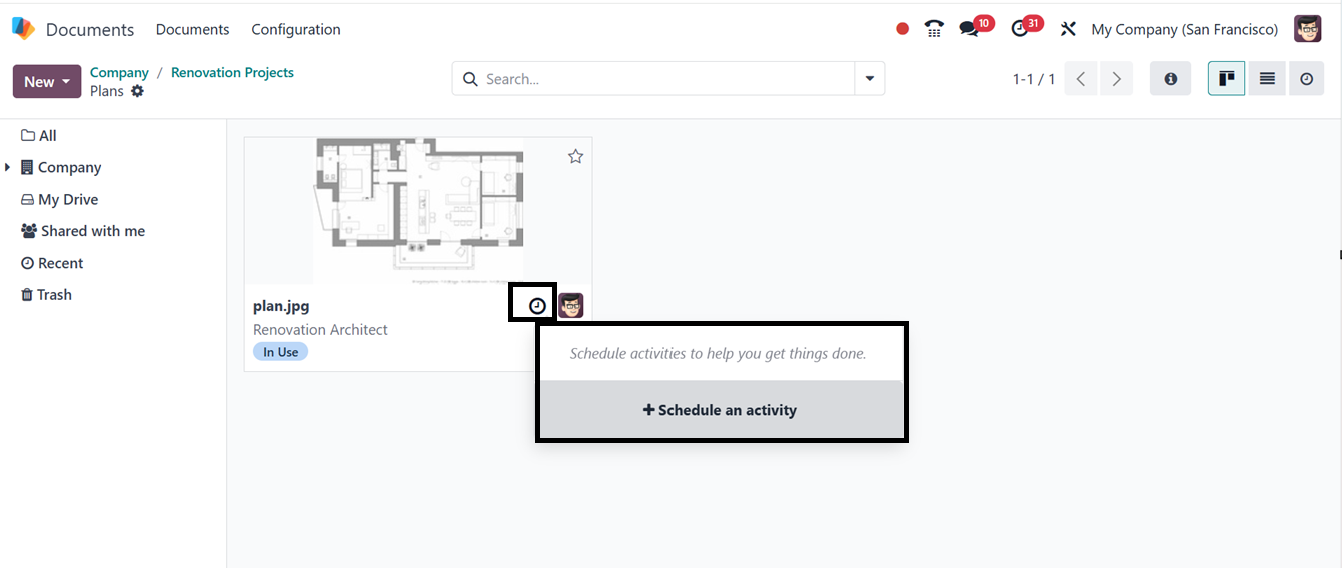
The pop-up window for scheduling a new activity can be accessed by
clicking the ‘Schedule an activity’ button. Here, you can provide
the ‘Activity Type,’ ‘Due Date,’ ‘Assigned to,’ and ‘Summary’ of the
planned activity, as illustrated in the screenshot below.

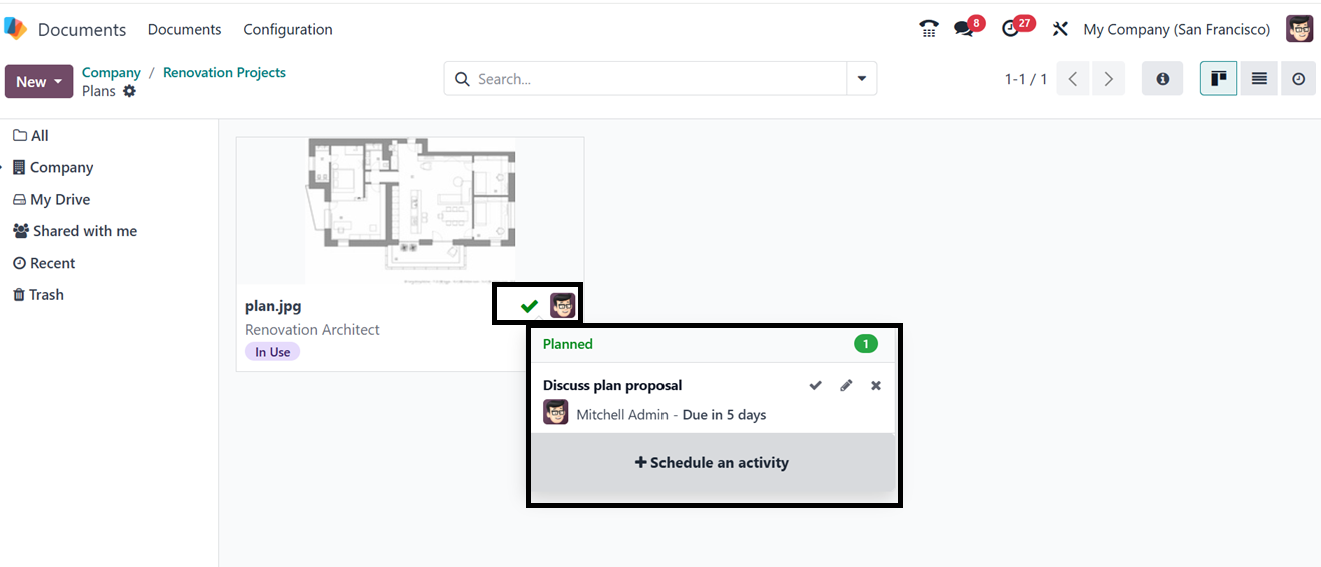
After editing all the activity-related details, you can schedule the
task using the ‘Schedule’ button. Then, you can see the planned
activities from this particular document's kanban view, as depicted
in the screenshot below.
Additionally, the system shows the Favorite (a star icon) option,
which enables you to designate your crucial documents for simple
data access. Additionally, the system provides you with an ‘Send
message’ icon to initiate a direct chat with the accountable party.

This icon is highlighted in the above image; if you click it, a
pop-up chat window will appear that can be used to start a new
conversation with the respective person.