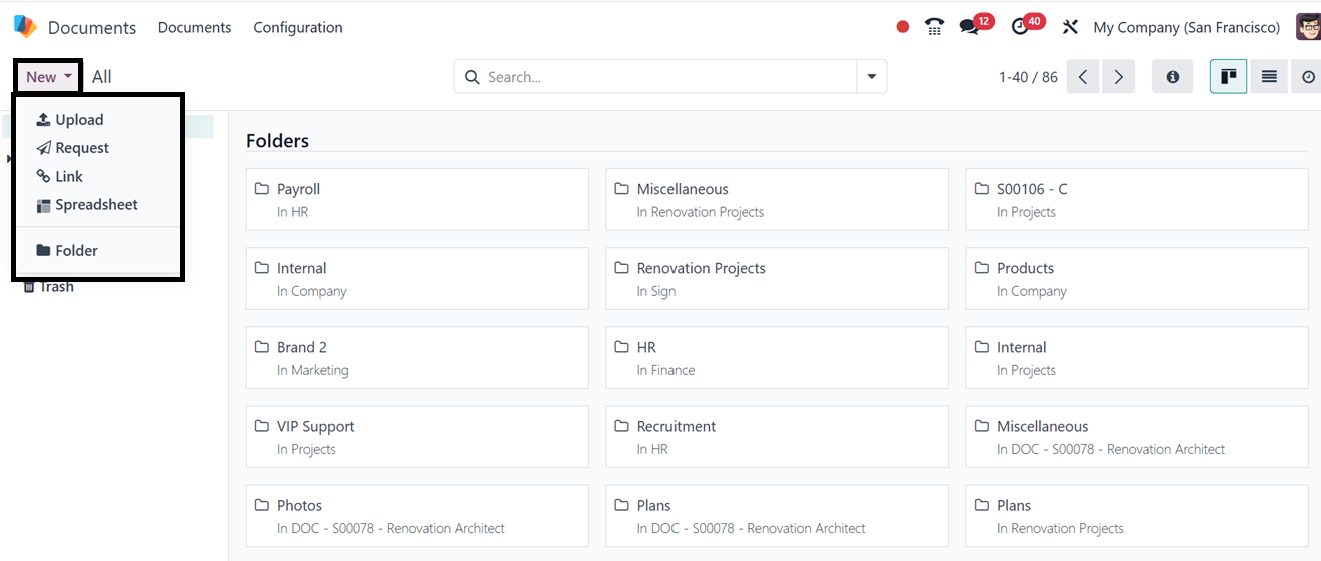
2. Uploading a Document
You may utilize the ’Upload’ button in the top left corner of the
window to add new files to the system.
By clicking on the file after uploading the document, you have the
option to share it. The Share button must then be clicked.
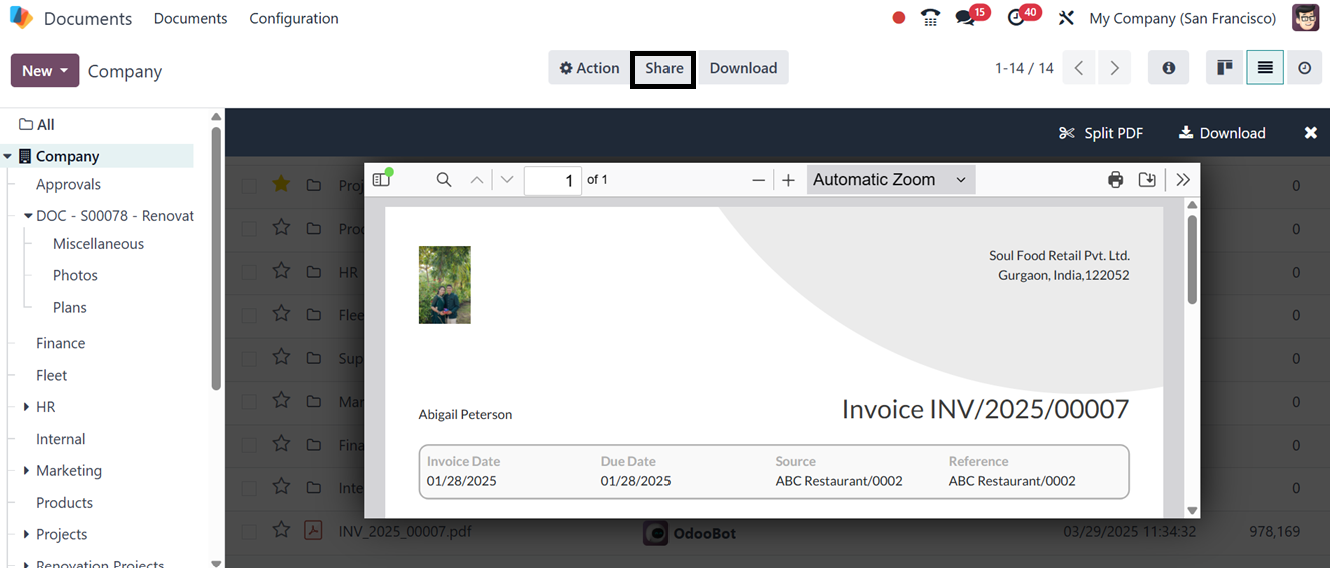
You can choose the file to share and then click the ‘Share’ button at
the top of the window. The system will now show you a pop-up window
where you must enter the information for sharing the chosen record.
The pop-up window's screenshot is shown below.
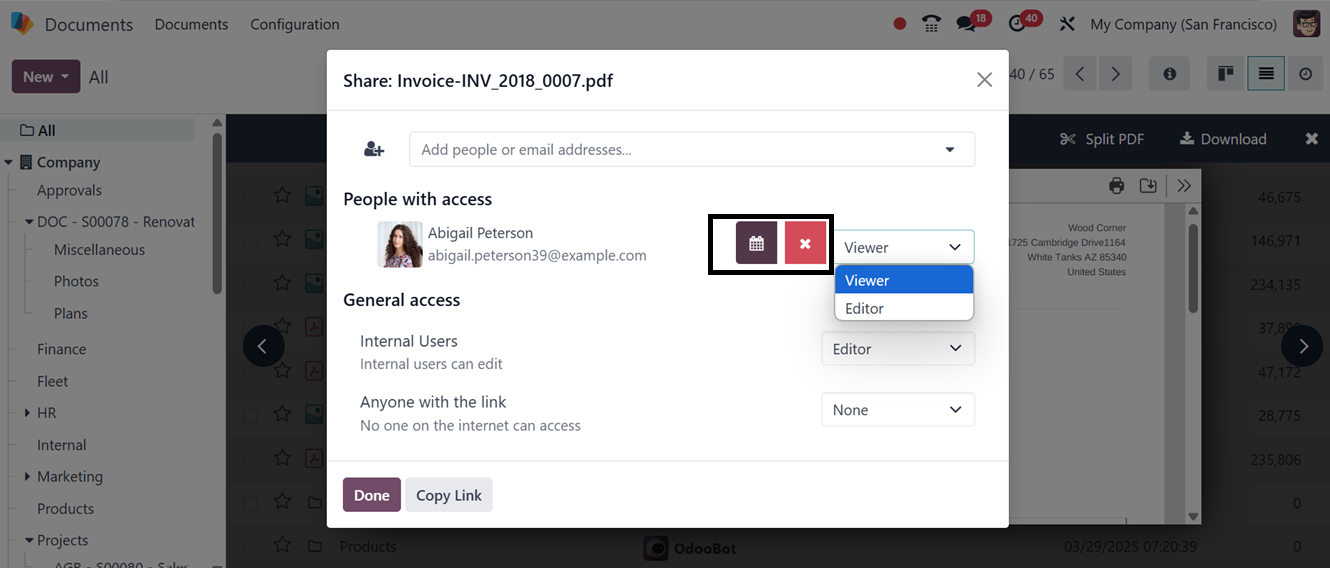
To create a URL, use the ‘Copy Link’ button. Then, you may include
the name or email addresses of the people in the relevant field and
designate the access whether it is a Viewer or Editor. Also, you can
set an expiry date for the access using the calendar menu and press
the ‘Done’ button after providing all the necessary information.
The options to download, share, replace, Lock, Export, Move to Trash,
Rename, Copy Links, Split PDF, and more options are conveniently
located within the document information, as shown in the figure
below. Documents can be shared with someone outside of your
organization or workspace with the use of the share option.
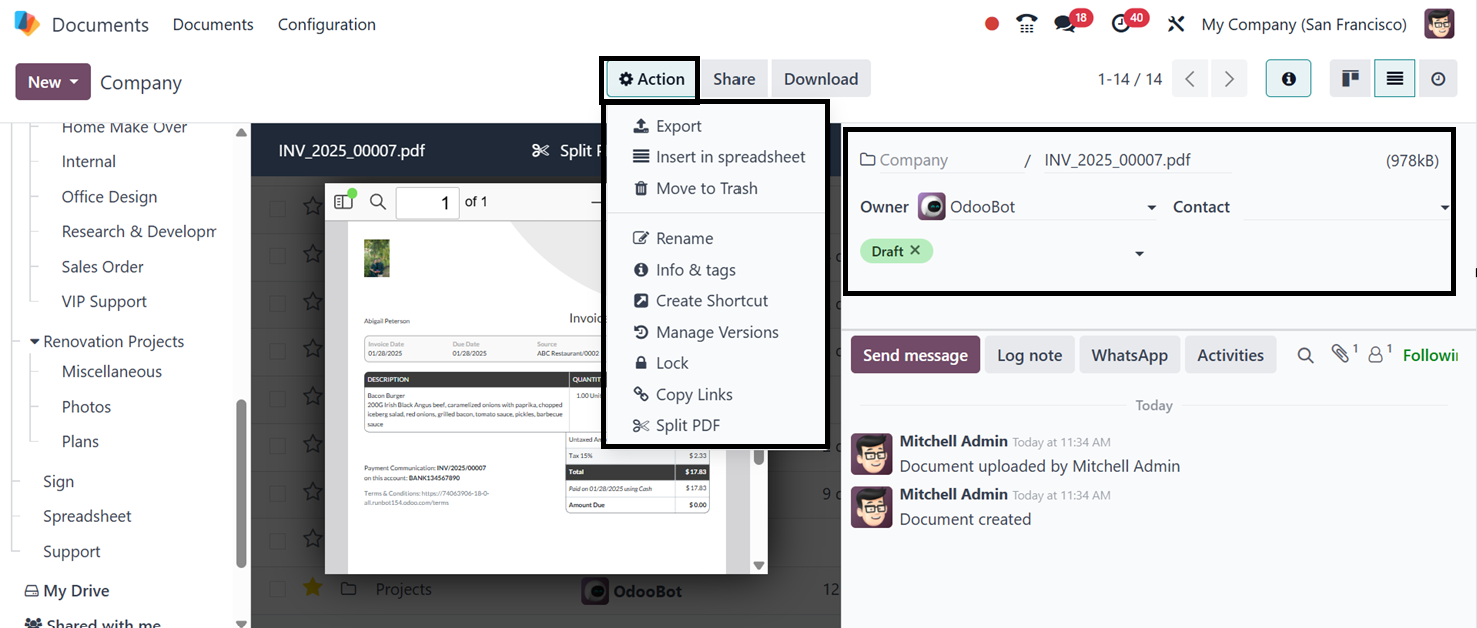
The options for describing additional document information, such as
Name, Contact, Owner, Workspace, Tasks, and Tags, are also available
for your review. You can change it if you want to. New tags can be
easily added to the file. Simply click once in the Add a Tag space
to add a tag. The dropdown menu will then be displayed. The tags can
be chosen from this menu, as depicted in the above screenshot.
The Open Chatter box, which is located on the right side of the
window after opening a document, can be used to plan tasks based on
this file as well as send messages to the document's followers and
submit Log notes. Using the WhatsApp integration feature of Odoo,
you can also send whatsapp messages according to your requirement.
Below is a representation of the chat menu icon.
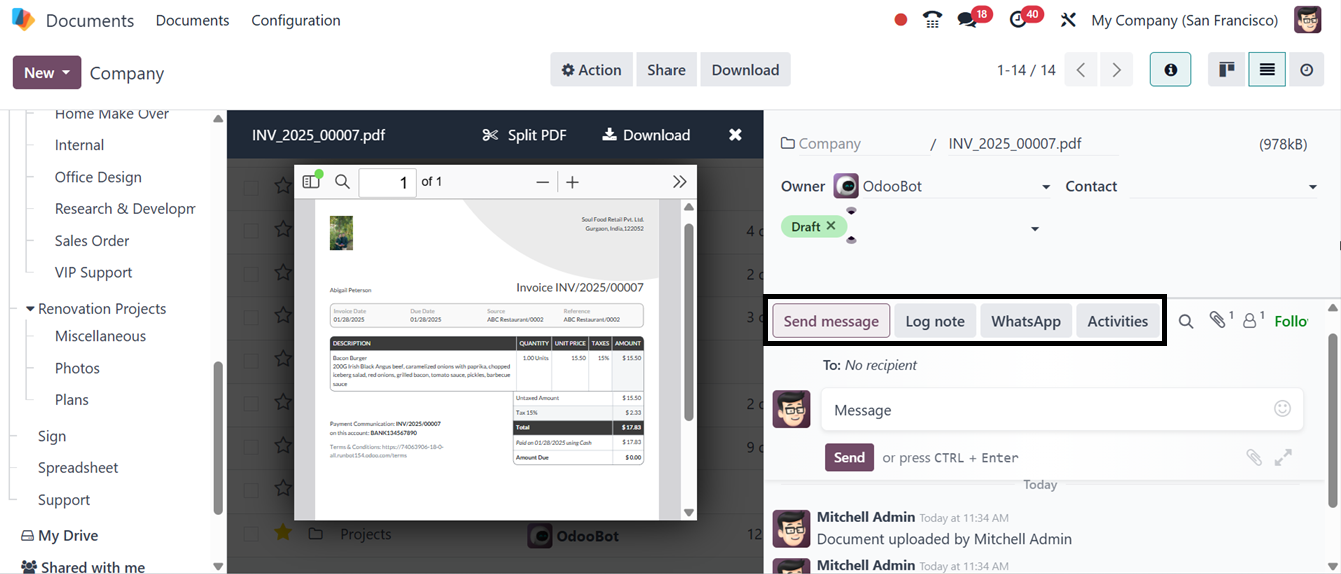
You can attach documents and emojis to the messages from the
Chatterbox area. You can also have various automated actions for
documents in each workspace. As seen in the above illustration,
several activities can be managed and scheduled using the
‘Activities’ button provided on the right side of the window.
Based on the particular type of document, users may carry out a
variety of tasks directly within the platform using the Odoo18
Document module. Creating tasks, designating papers as drafts,
deprecating them, and signing them where appropriate are among the
available actions. For instance, the Employment Contract document
has the extra option to sign, while the Partner Spreadsheet Test
document only permits actions like setting a task, marking it as a
draft, or deleting it.