2. Orders
In Odoo 18, the Orders section, located under the eCommerce menu tab
of the Website module, provides a streamlined view for managing all
sales activities originating from your online store. This section
includes sub-menus such as Orders, Unpaid Orders, Abandoned Carts,
and Customers. Designed to enhance the e-commerce order management
experience, it provides comprehensive access to customer purchase
data, incomplete transactions, and potential leads, helping
businesses track performance and optimize sales strategies directly
within the Odoo platform.
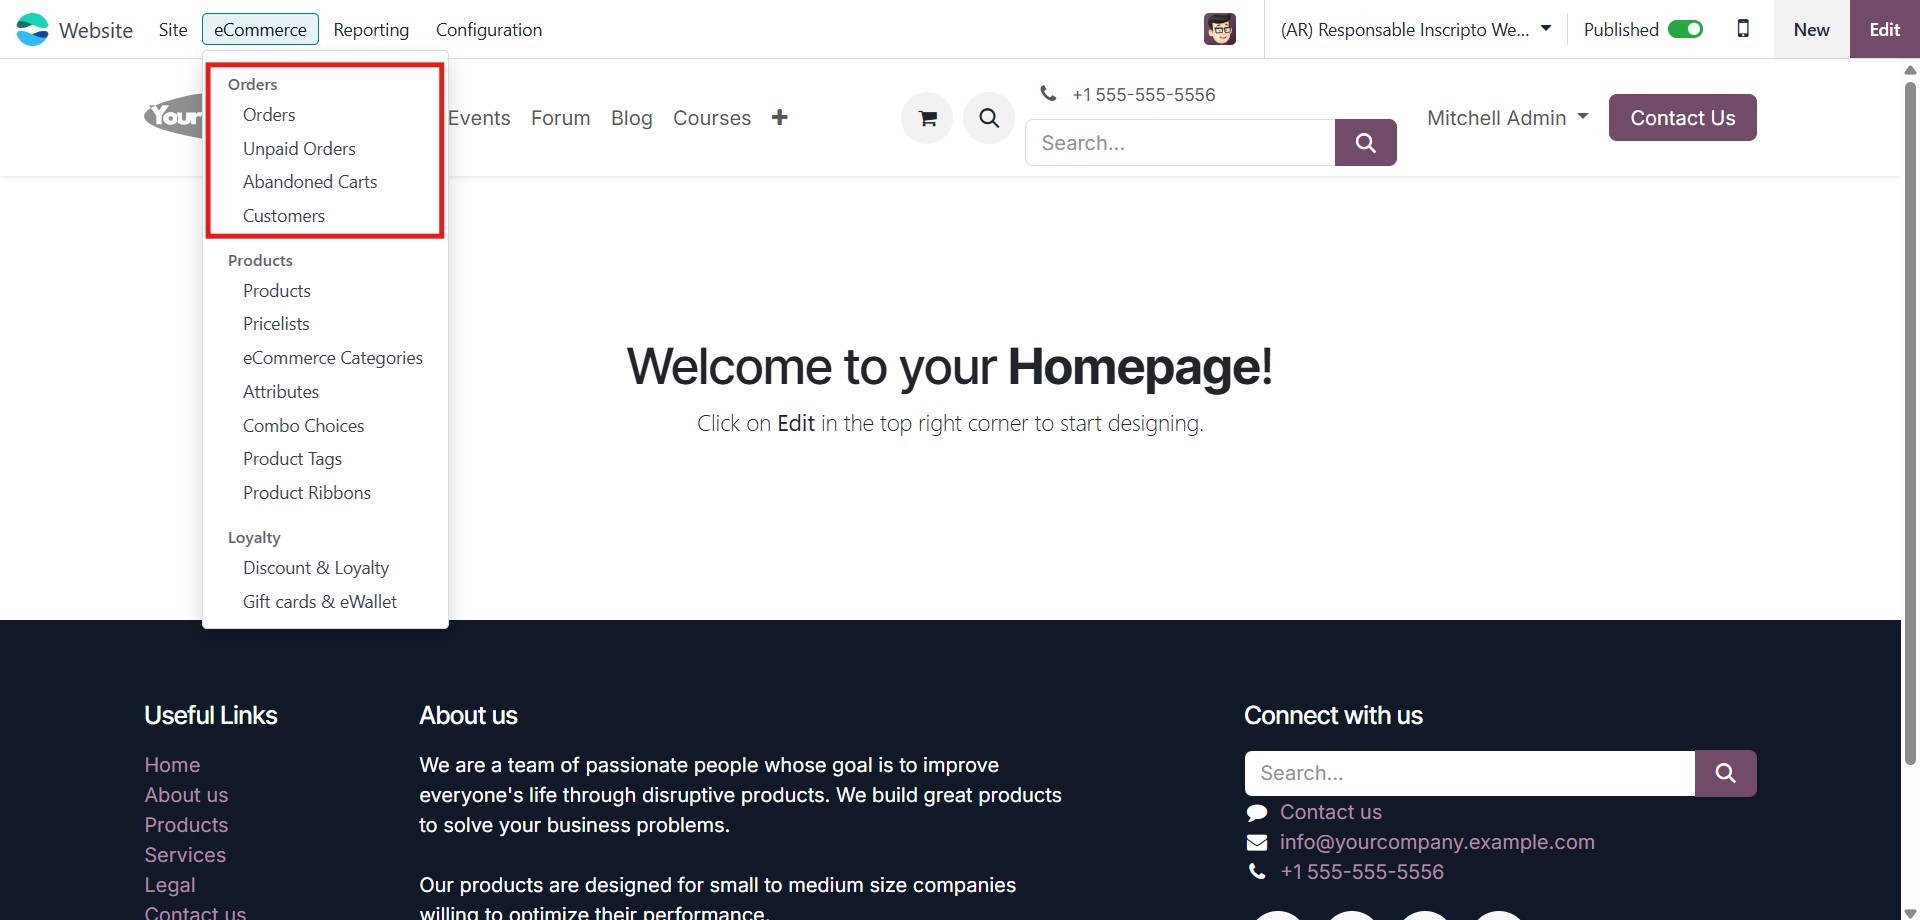
Let’s take a closer look at each of the options available in this
section, starting with the Orders menu, which appears first on the
list.
2.1 Orders
To view all customer orders, navigate to the Orders menu under the
eCommerce tab within the Website module. This view provides detailed
tracking information for each order, allowing users to monitor the
status of orders efficiently. To access this information, click on
Orders from the menu.
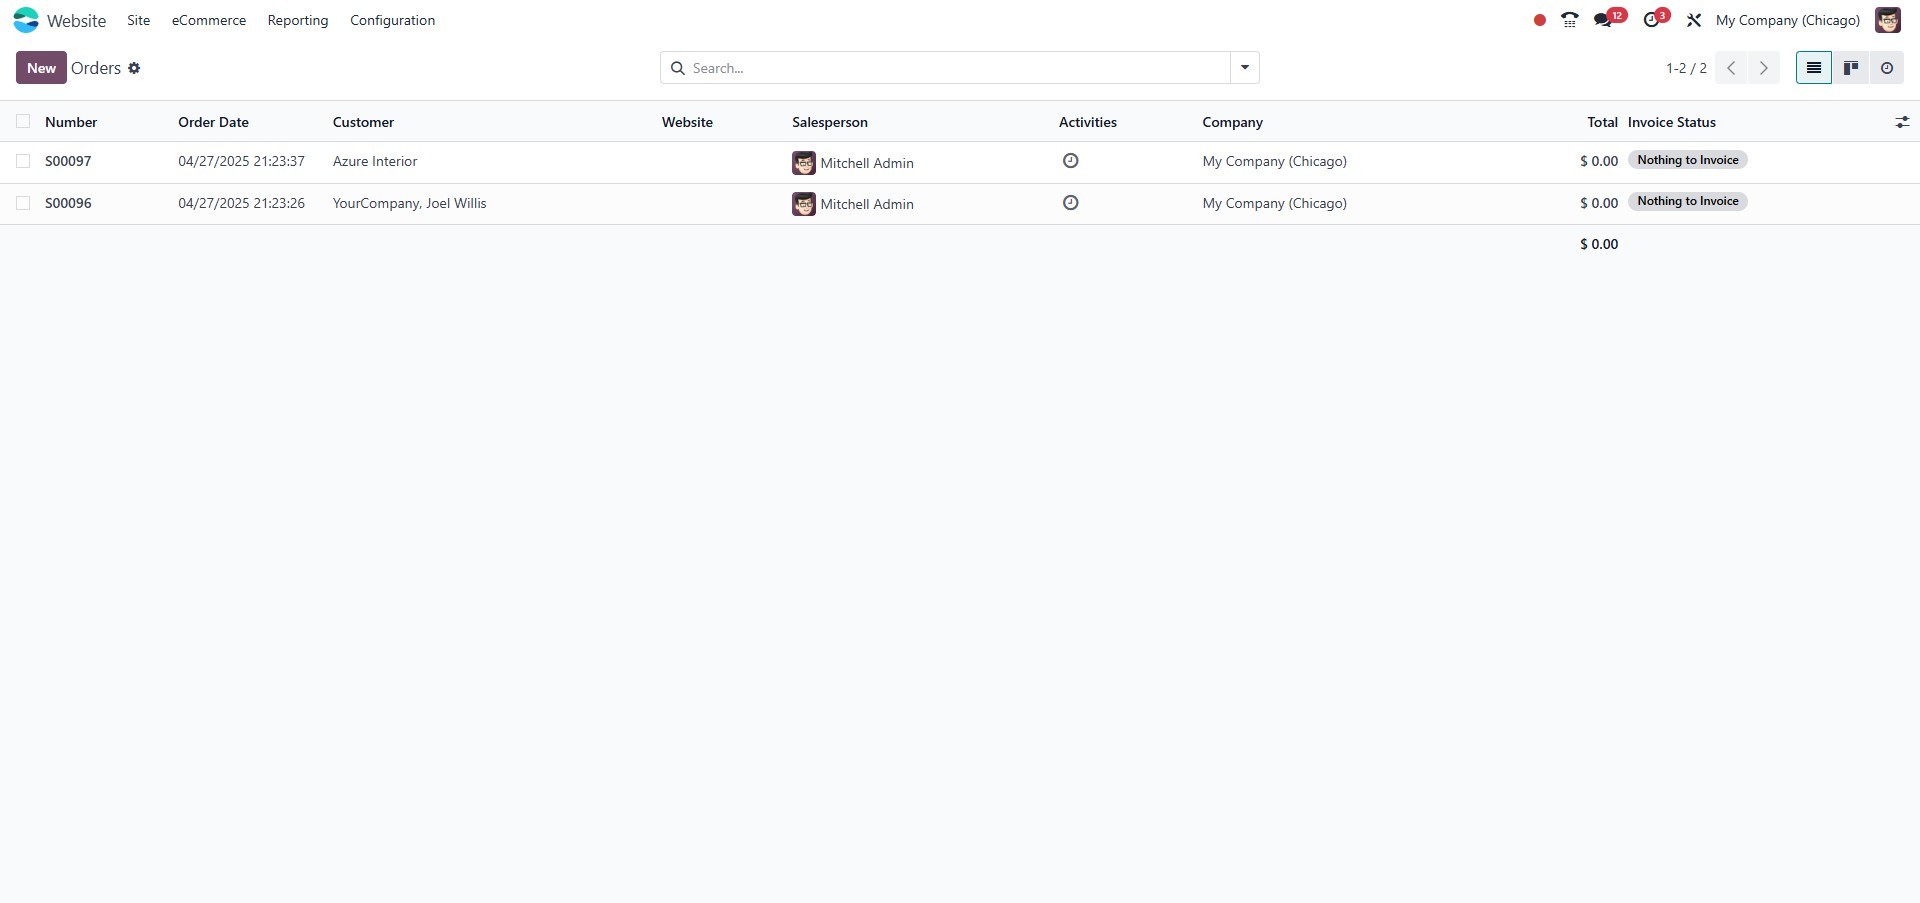
The Orders window, as shown in the image above, displays a list of
all orders recorded in the system. Each entry includes key details
such as the order number, order date, website, customer,
salesperson, responsible company, next activity, total amount, and
invoice status. Users can select any order to view and examine its
details further.
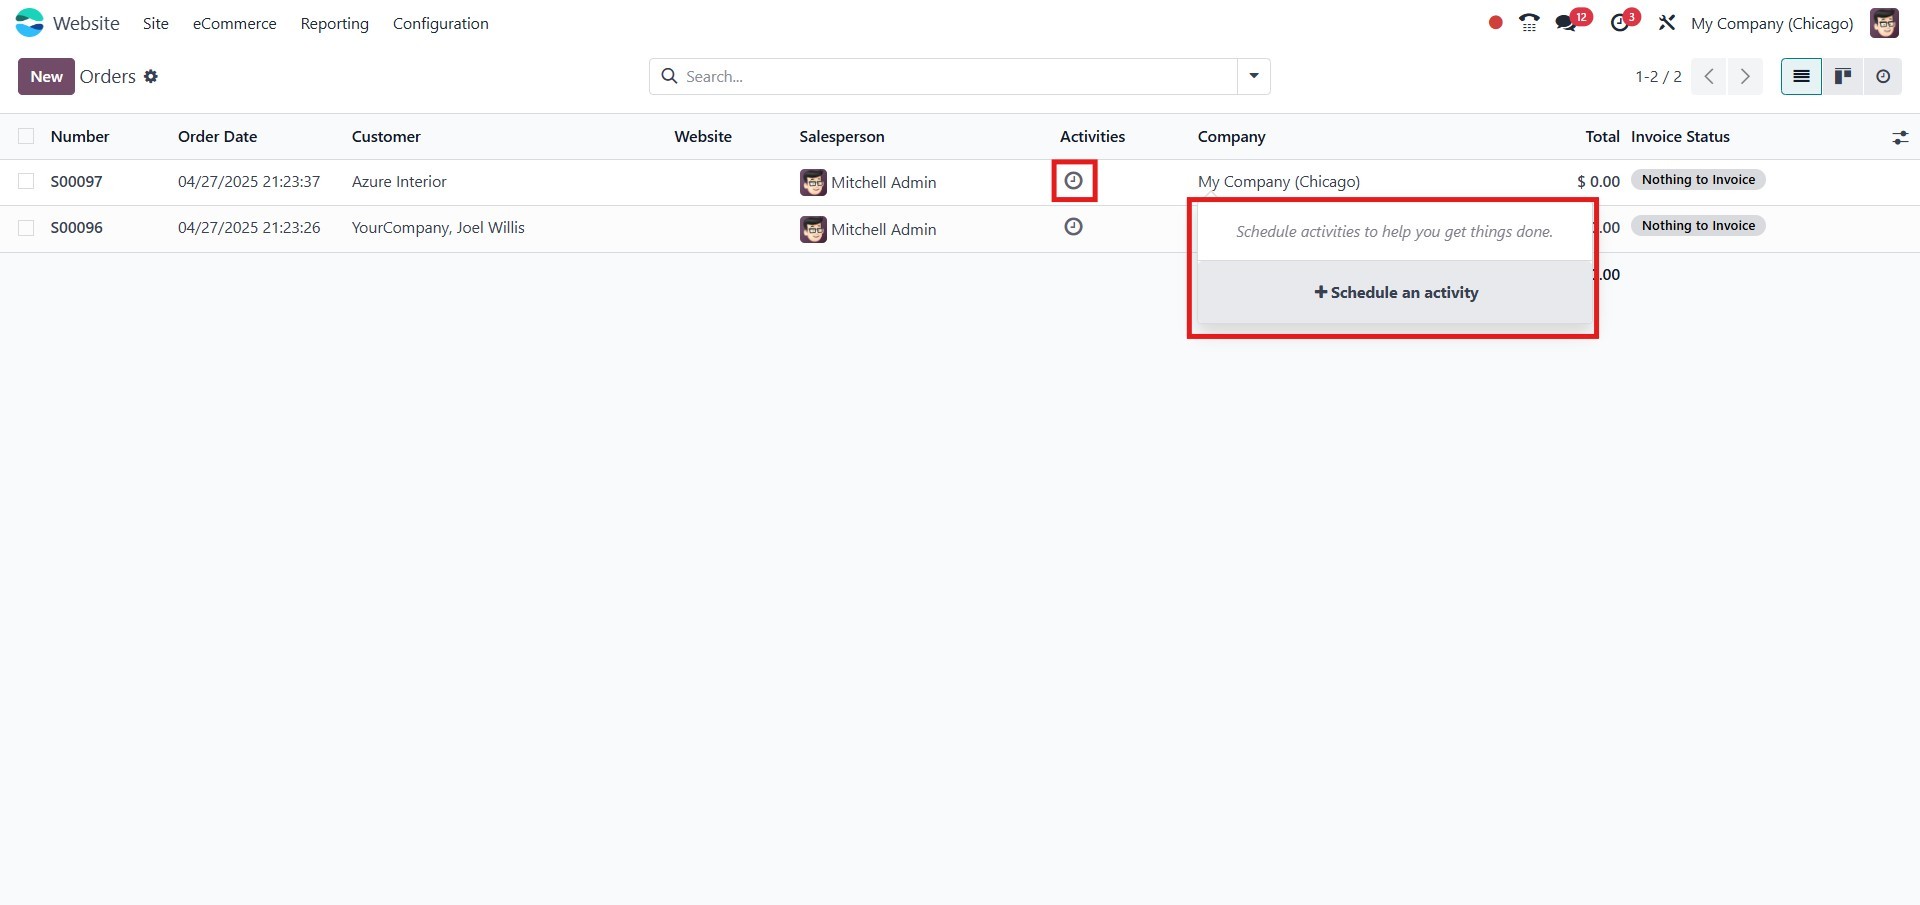
Activities can be scheduled directly from the Odoo window by clicking
on the Next Activity icon. This action opens a wizard where users
can select the Schedule an activity option to define and assign
activities.
Additionally, Odoo provides various pre-configured and customizable
sorting features to efficiently locate specific information. The
Filters, Group By, Favorites, and Search options are available
exclusively for this purpose.
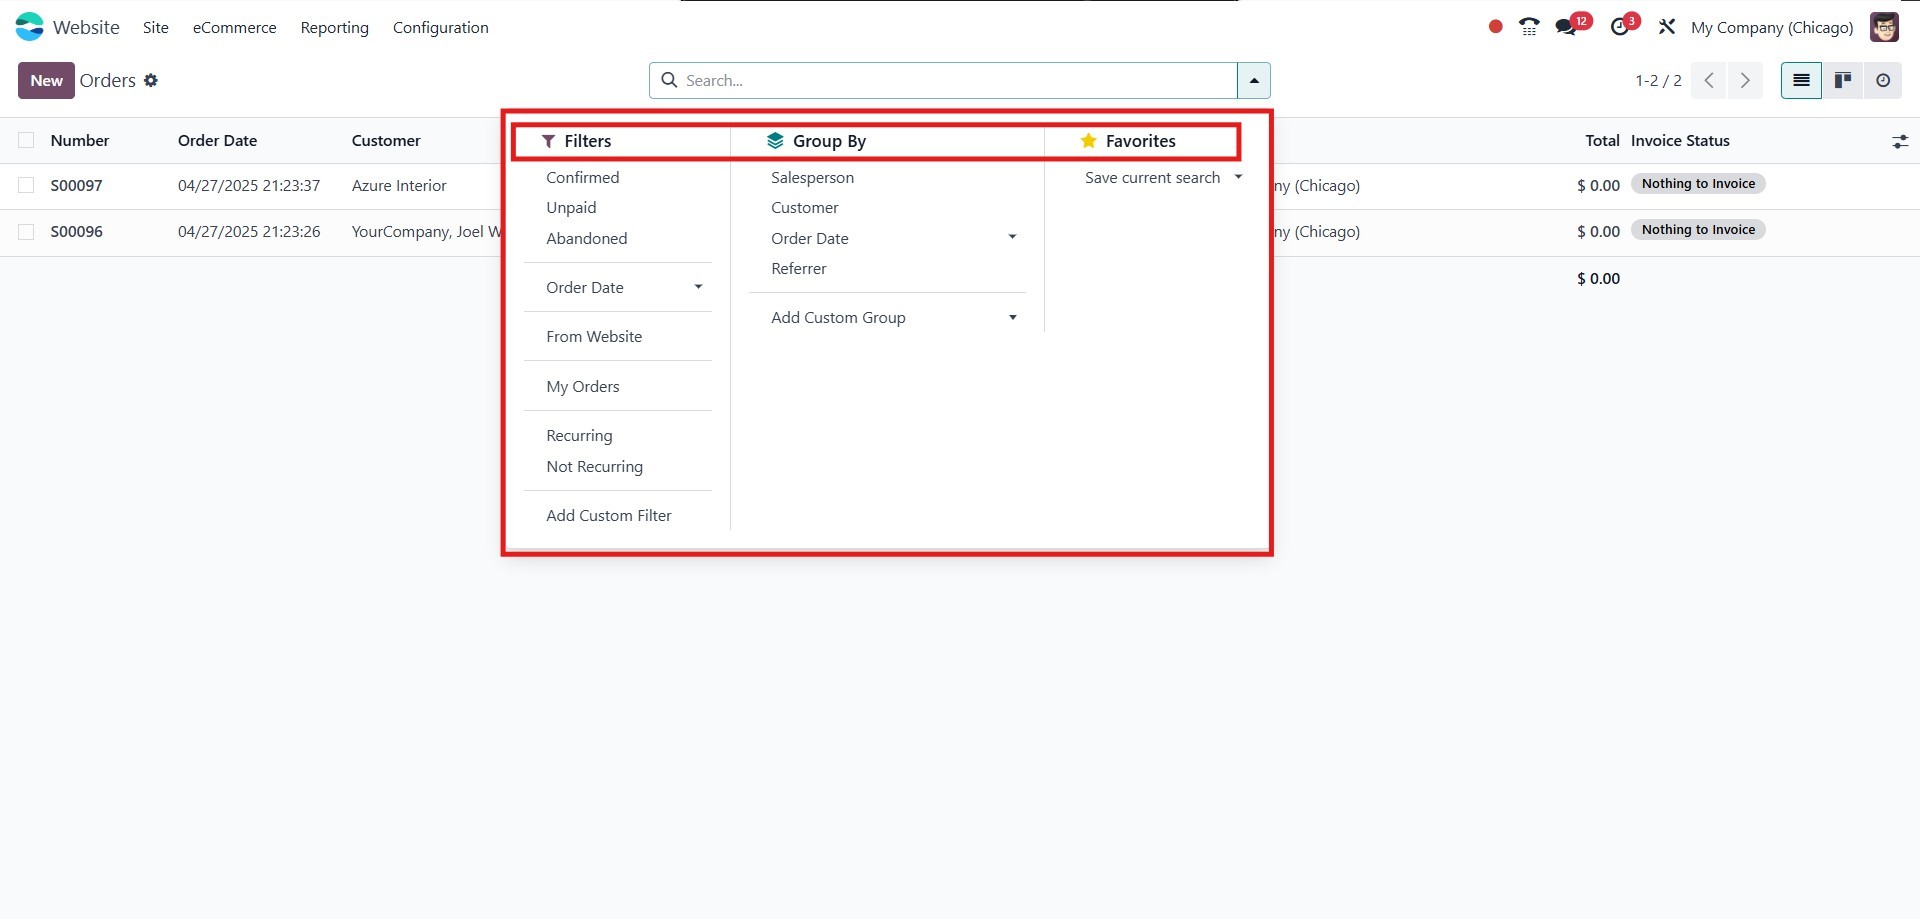
The window offers several default filters, including Confirmed,
Unpaid, Abandoned, Order Date (Month, Quarter, Year), From Website,
My Orders, and Add Custom Filter. Only confirmed orders will be
displayed when the confirmed filter is selected. These filters can
be applied to refine the displayed data as needed.
Under the Group By options, users can categorize orders based on
Salesperson, Customer, Order Date, and the Add Custom Group option.
Additionally, the system supports multiple view types, including
List, Kanban, and Activity, providing flexibility in how the order
information is presented.
Let’s now explore the Unpaid Orders filter while clearing the Orders
tab.
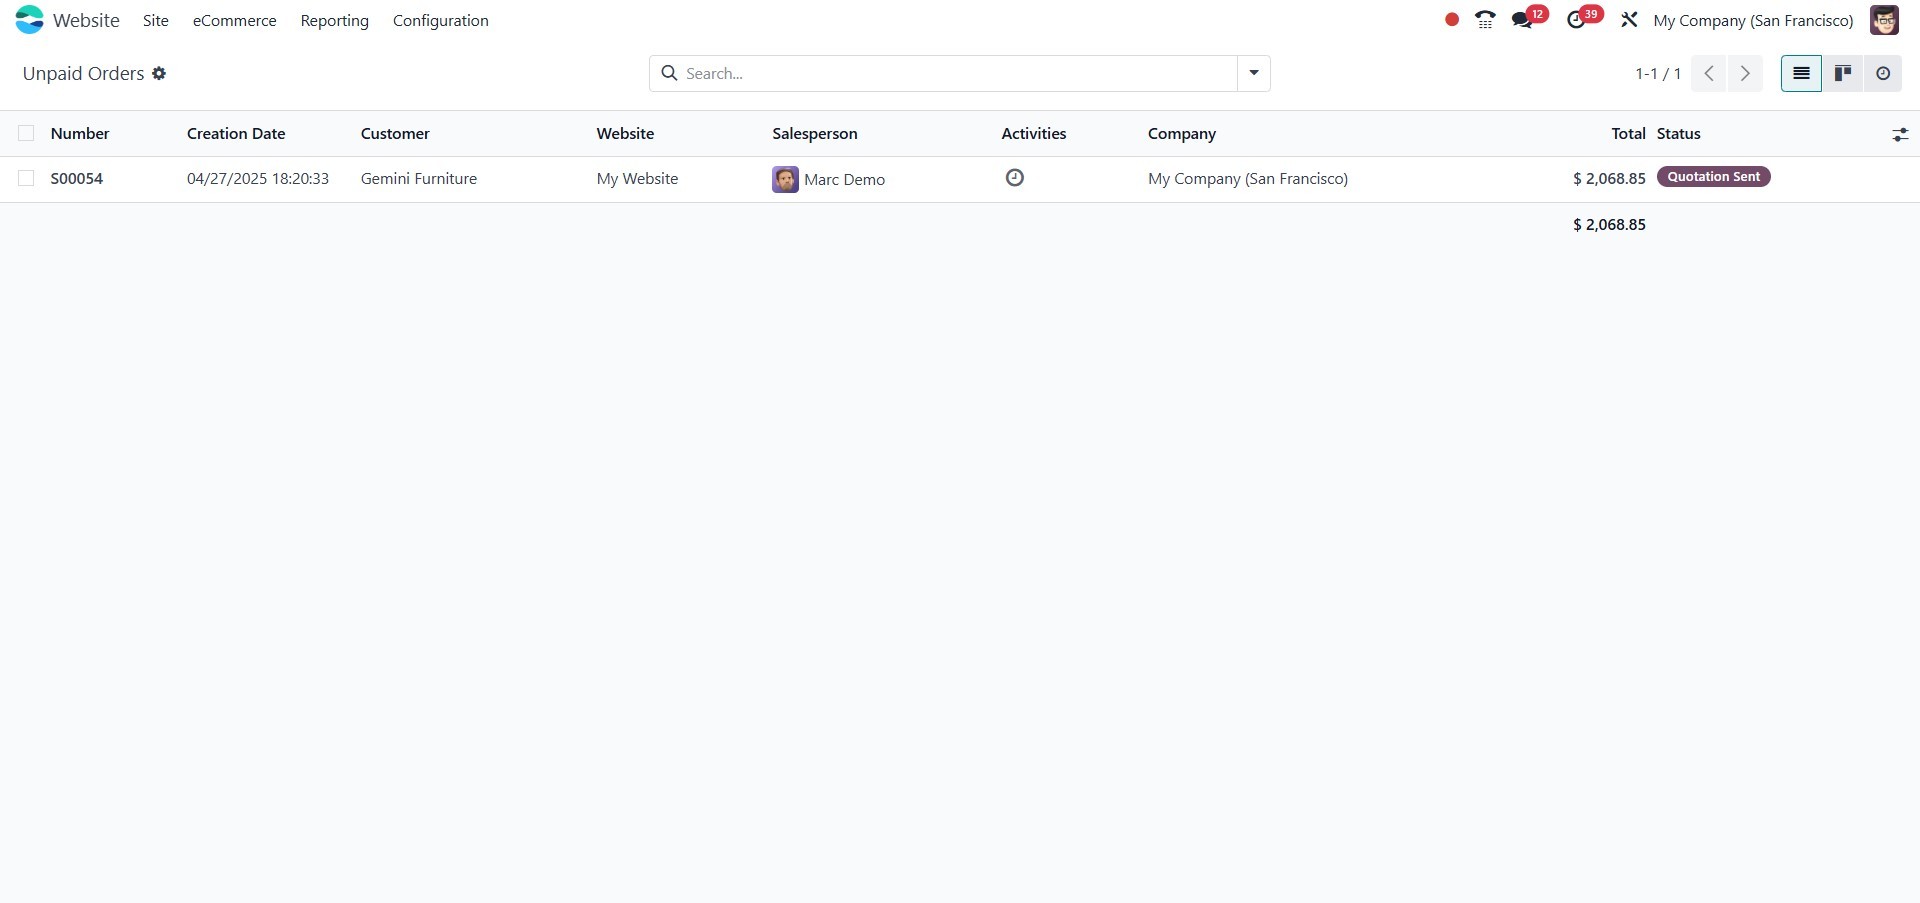
2.2 Unpaid Orders
To quickly identify unpaid orders and take appropriate action, all
unpaid order details obtained from the eCommerce website will be
stored and maintained under the Unpaid Orders window. You can click
on the Unpaid orders menu to open this window.
Let’s now explore the next menu item: Abandoned Carts.
2.3 Abandoned Carts
Similar to the Abandoned Carts feature in Odoo 17, Odoo 18 tracks and
displays abandoned cart information within the eCommerce tab of the
Website module. This window allows users to view and analyze orders
placed in the cart by guests, including products that have been
added but not confirmed or purchased.
The Abandoned Carts feature is a valuable tool for understanding
customer preferences, behaviors, and potential pain points, as well
as identifying strengths and weaknesses in your products and
services. To engage with these customers, you can send targeted
emails addressing their abandoned carts.
Odoo 18 allows you to automate this process by sending recovery
emails to customers. To do so, you need to configure an email
template within the Website Settings. Once configured, the system
will automatically use the pre-approved template when sending
recovery emails. This option can be enabled in the Settings window
of the Website module, under the Email & Marketing menu, as shown in
the screenshot below.
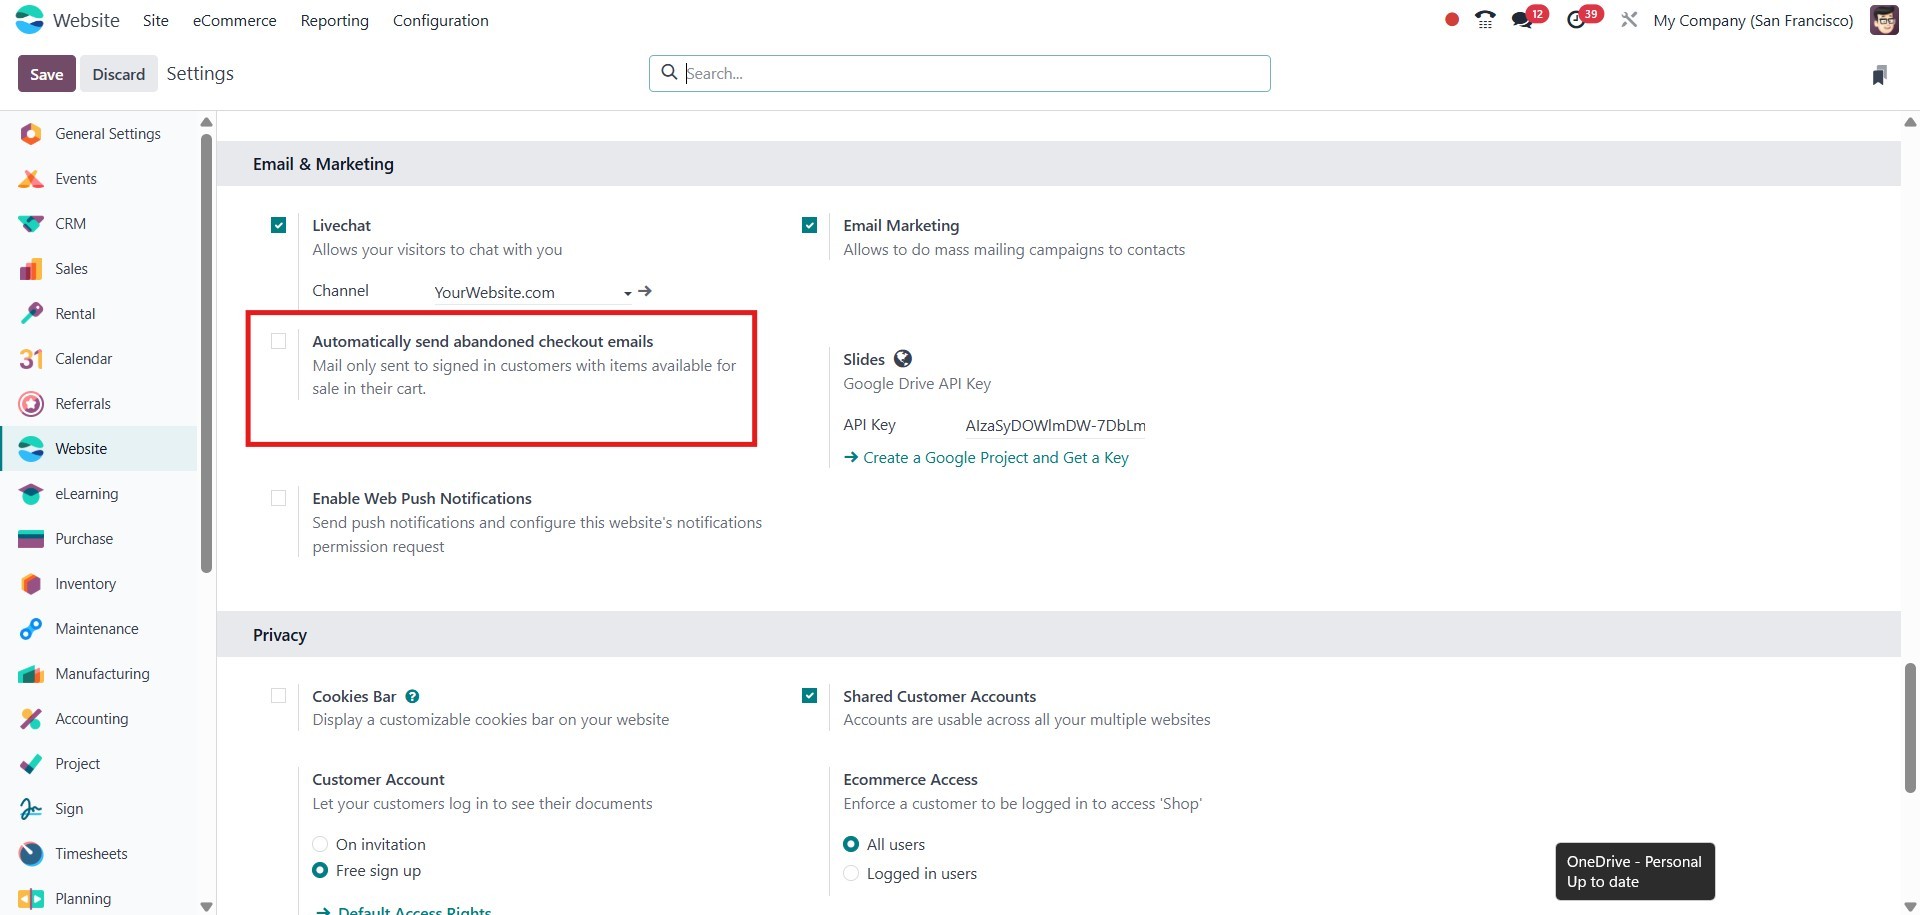
In addition to selecting the email template, you can also specify the
number of hours after which the recovery email will be sent.
To access the Abandoned Carts window, navigate to the eCommerce tab
and select the Abandoned Carts menu.
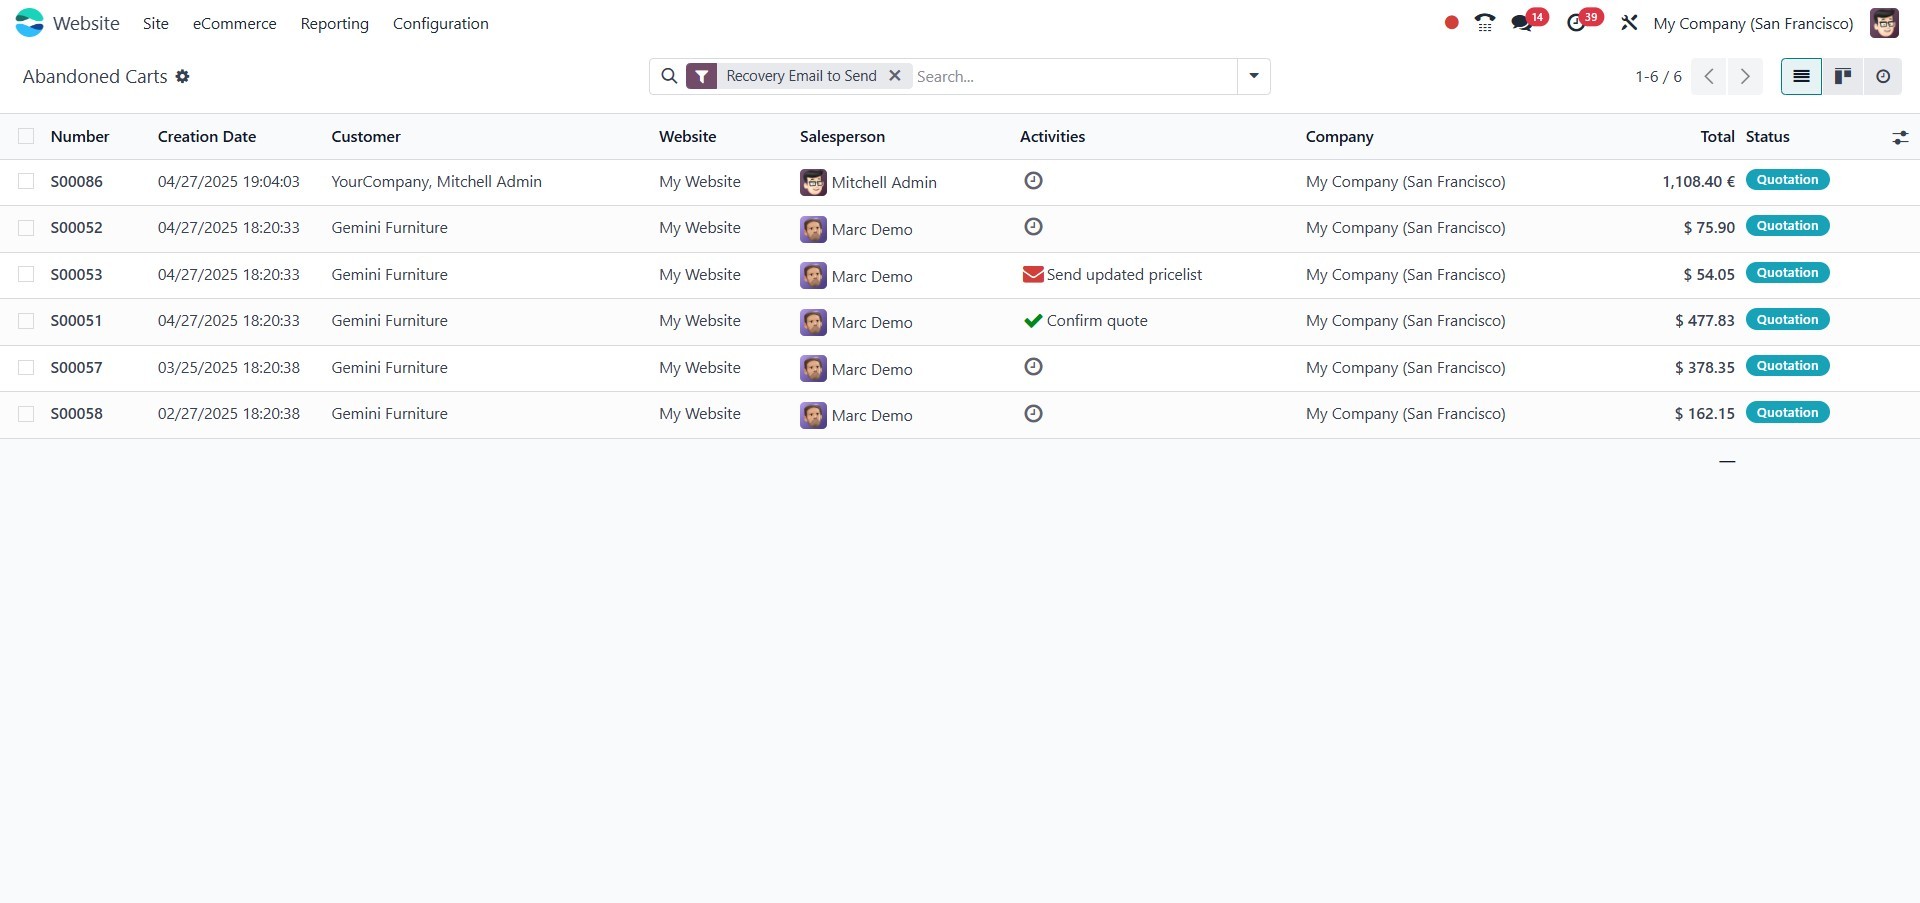
The Abandoned Carts window provides an overview of all abandoned cart
records. Each entry displays key information such as the Number,
Creation Date, Customer, Salesperson, Next Activity, Company, Total,
and Status.
The records can be viewed in Activity, List, and Kanban views. Users
can also initiate a direct conversation with the assigned
salesperson by clicking on the salesperson’s photo displayed in the
window. A chat pop-up wizard will appear, allowing users to
communicate with the salesperson directly.
Additionally, each record can be selected to view and analyze the
details of the abandoned cart more thoroughly.
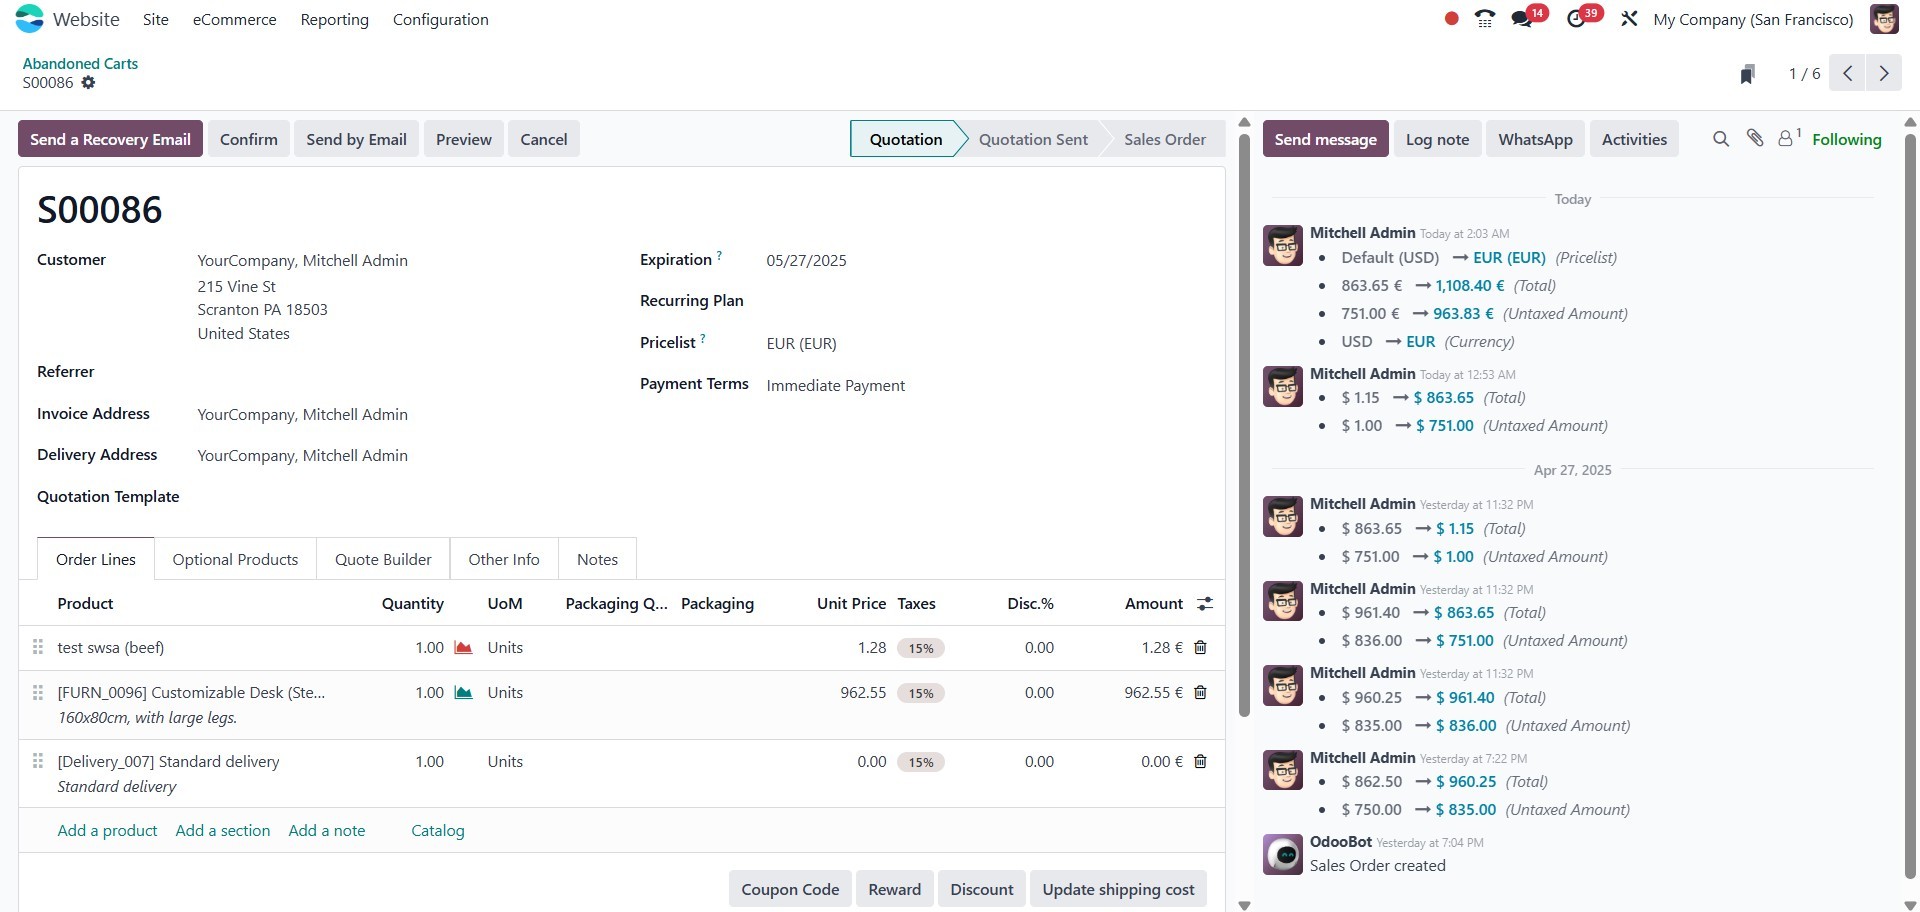
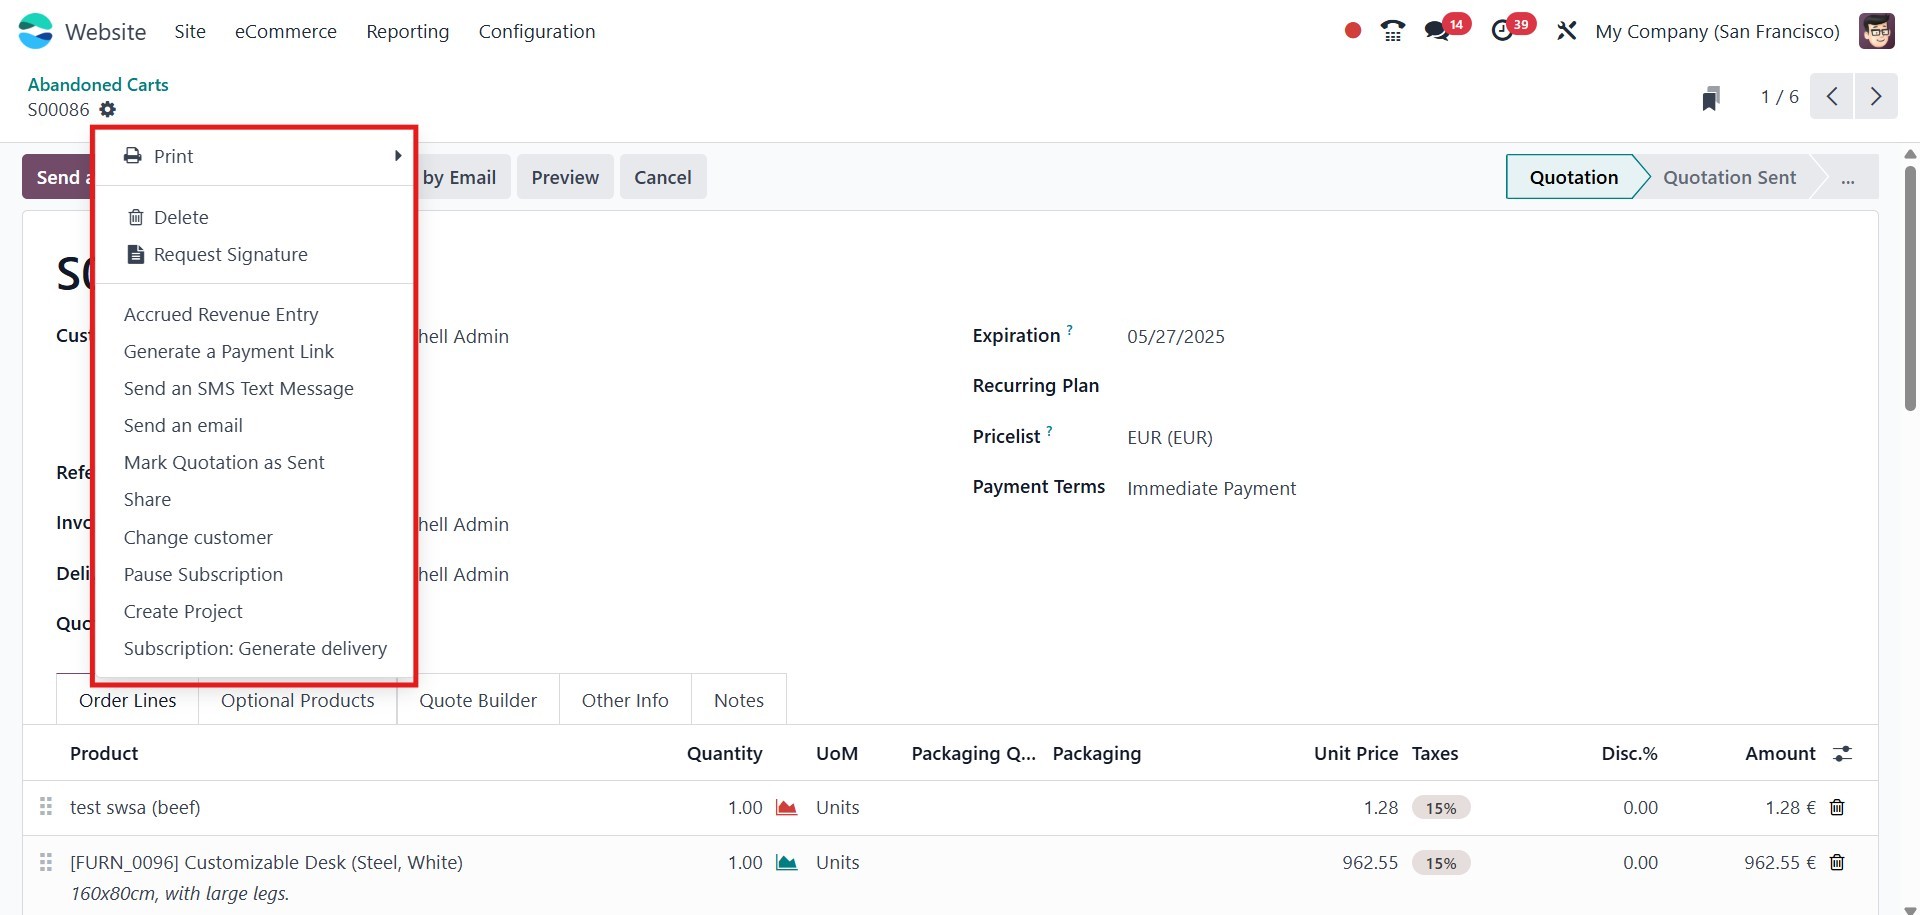
Within each abandoned cart record, all related details are displayed
for review. Additional action options, such as Send a Recovery
Email, Confirm, and Cancel, are available within the window.
At the top right corner, the Print and Action buttons provide further
functionalities. Under the Print button, users can access two
submenus: Pickup, Return Receipt, and Quotation/Order. The Action
button offers several options, including Delete, Accrued Revenue
Entry, Generate a Payment Link, Share, Mark Quotation as Sent, and
Send a Cart Recovery Email, among others.
Next, let us explore the Customers menu.
2.4 Customers
Finally, all customer information can be centrally managed under the
Customers menu, located within the eCommerce tab of the Website
module. Let’s explore this window in detail.
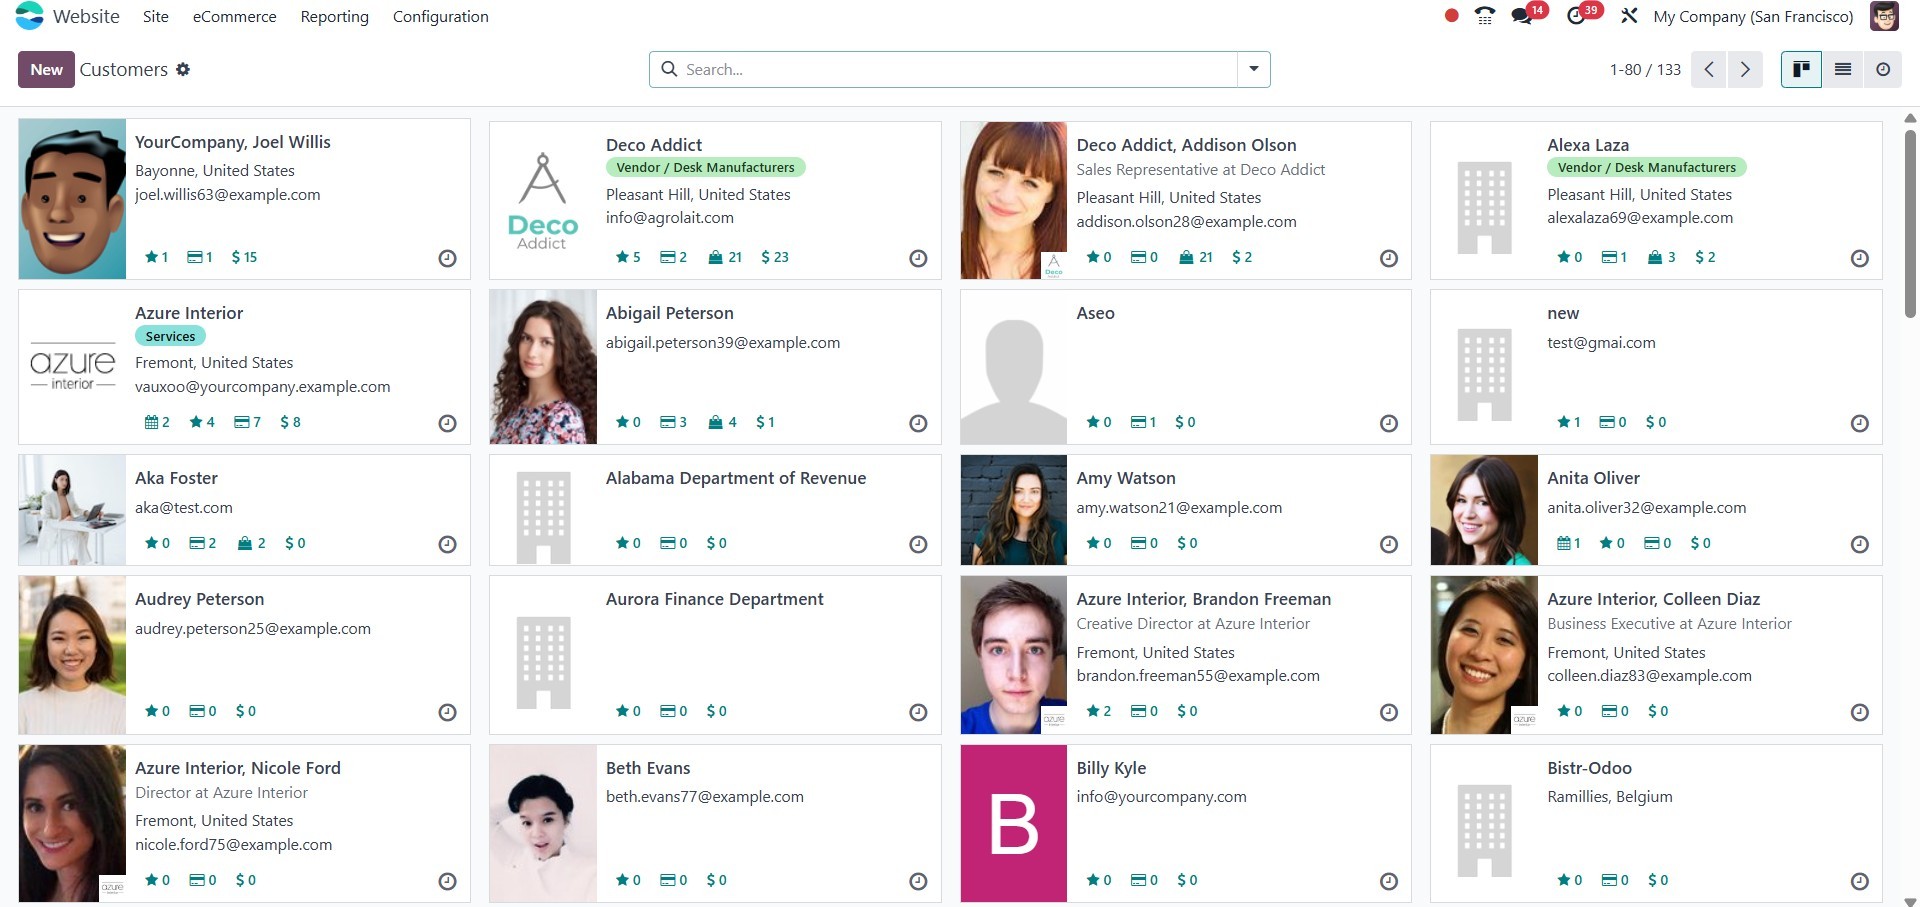
The Customers window can be viewed in List, Activity, and Kanban
views. In the Kanban view, each customer’s information is displayed
in a card format, showcasing key details along with the customer's
photo. To access more detailed information about a customer, simply
select the corresponding card.
The window also offers various pre-configured and customizable
sorting options, including Search, Favorites, Group By, and Filters,
allowing users to efficiently filter and categorize customer data.
The default filters available include Individuals, Companies,
Customer Invoices, Vendor Bills, Subcontractors, and Archived. Users
can further organize the view using default groupings such as
Salesperson, Company, and Country.
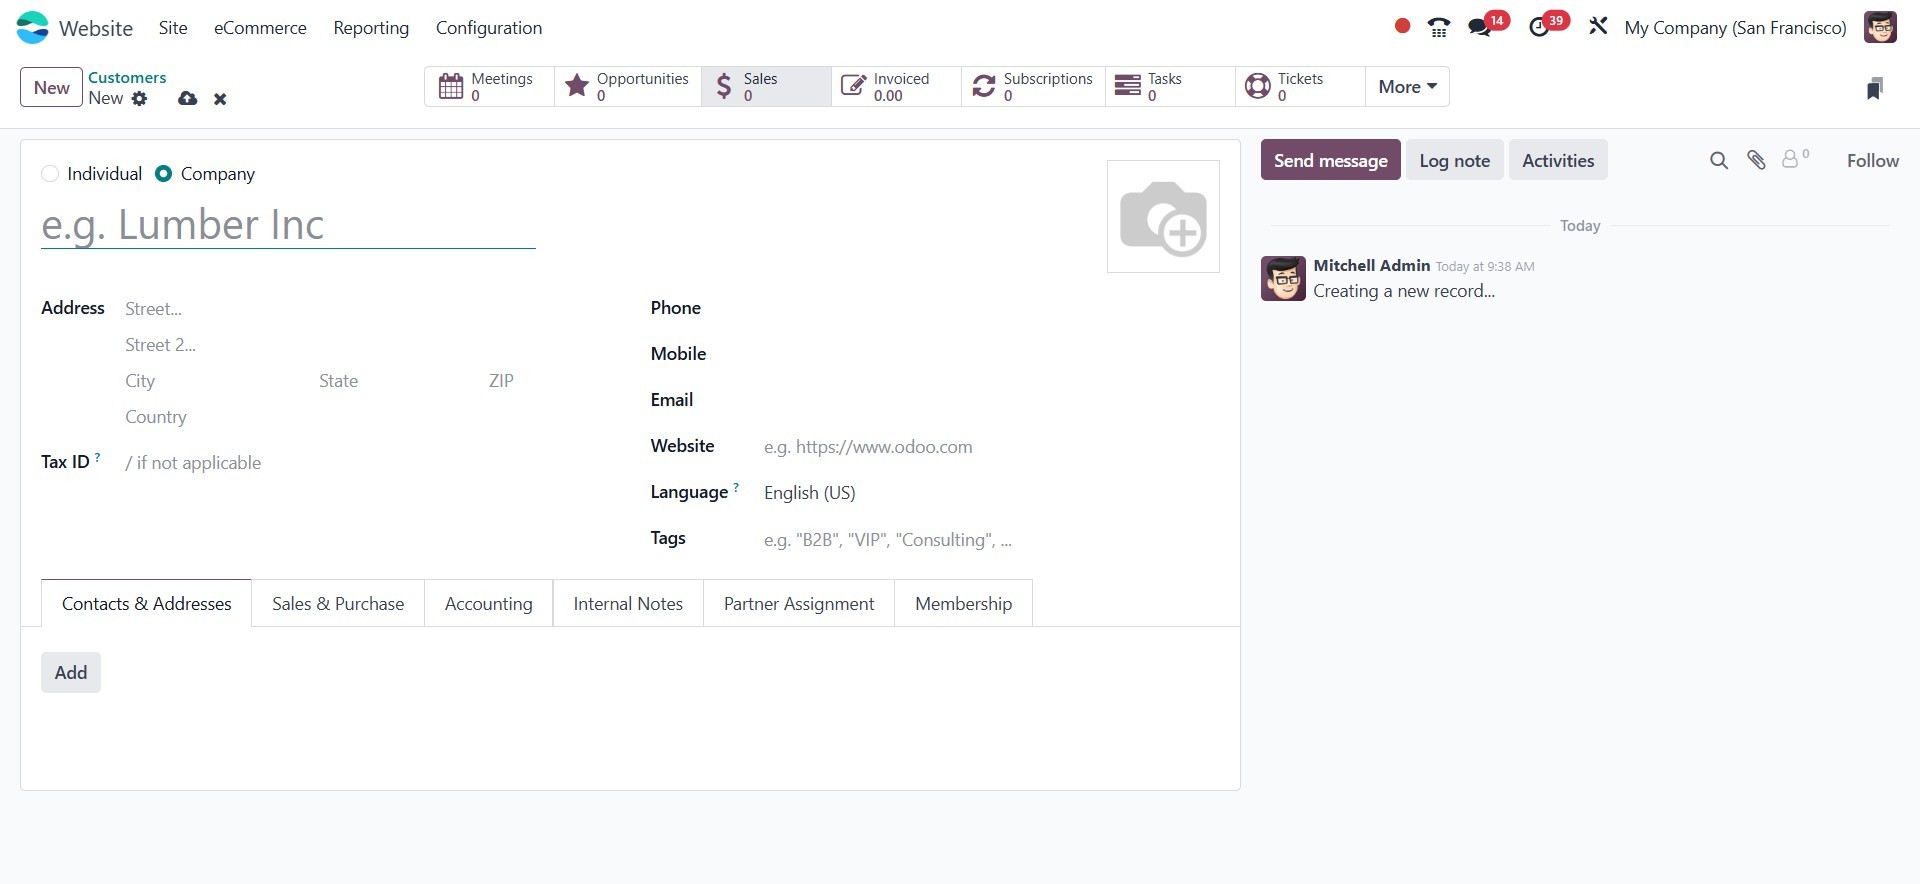
To create a new customer, click the New button. This will open a
customer creation form, as illustrated in the image below.
We have already discussed the functionalities available under the
Orders tab in the Website module. Now, let us proceed to examine how
the module supports and manages product administration tasks.