4. Configuration
The Configuration menu contains settings such as Favorite Filters,
Blacklisted Email Addresses, Link Tracker, opt out reason, and
Settings.
4.1 Settings
Some capabilities are added to the Settings option under these
settings, such as mailing campaigns, a dedicated server, and 24-hour
stat mailing reports, respectively.
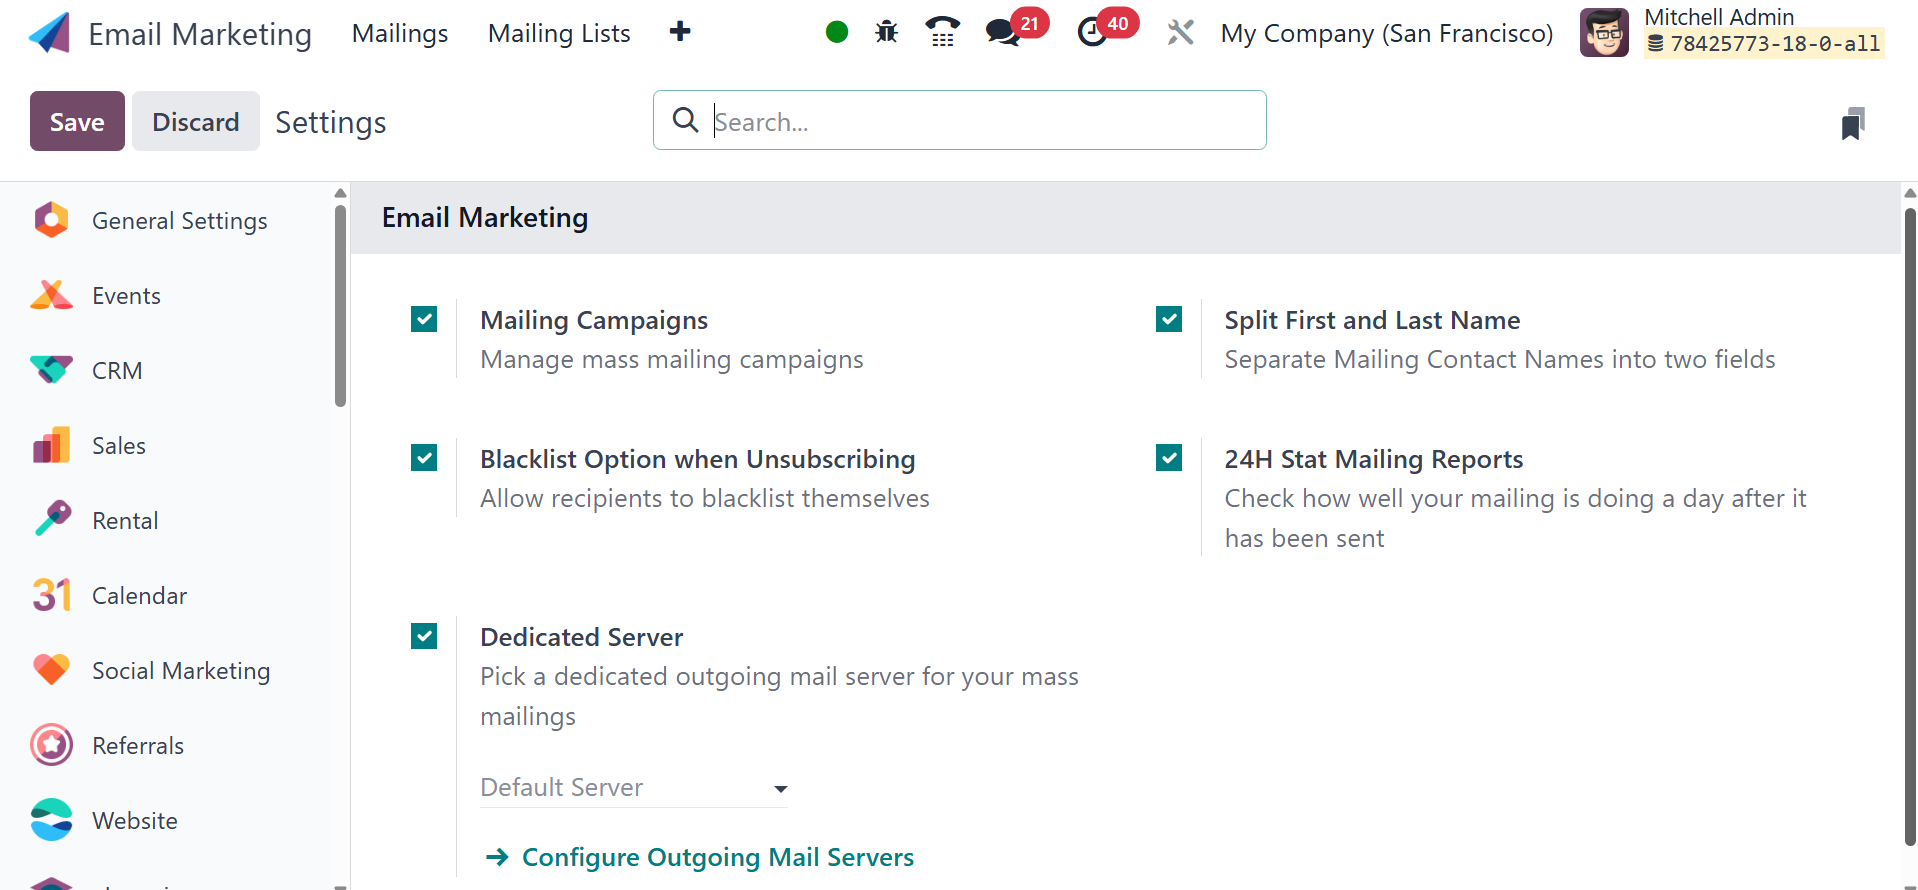
The Mailing Campaign option creates a useful mailing campaign tool
for the system by supporting marketing campaign software. To start
the system, you need to enable the Mailing Campaign option in the
Settings menu. You can choose the Save icon after turning on the
option in the Settings menu.

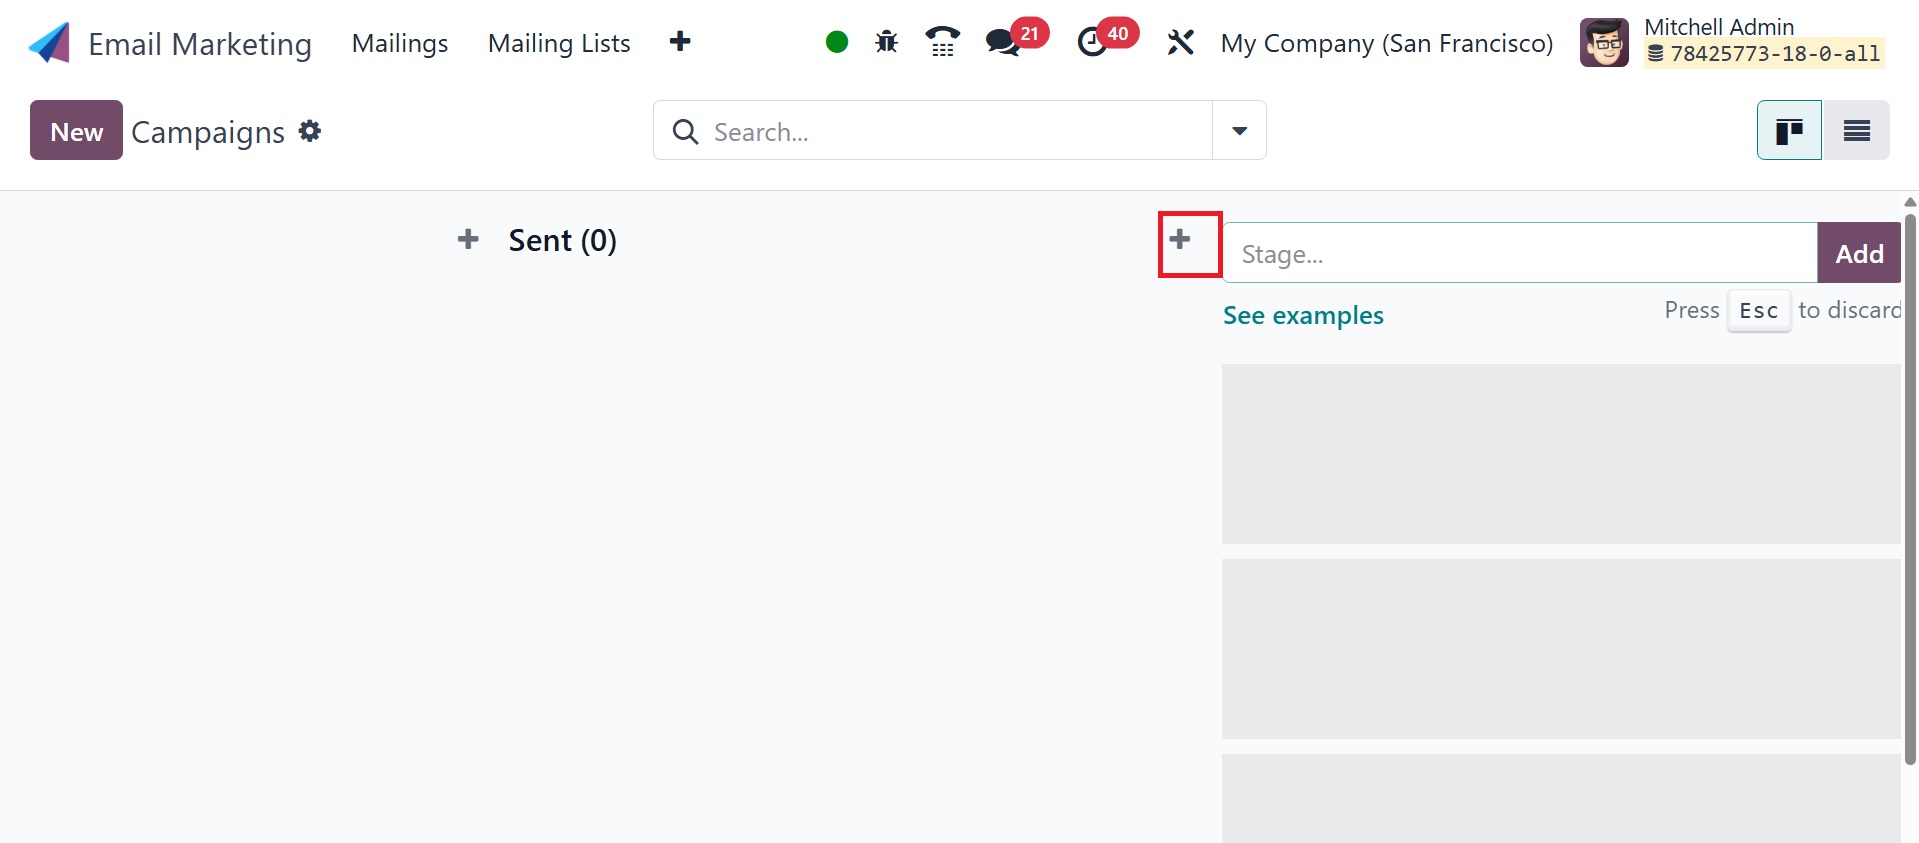
This mailing campaign tool allows you to manage the campaigns and AB
test the mails. Here, you can use the + icon on the module's home
page to access the recently active option. The image below is how
the campaign page will appear.
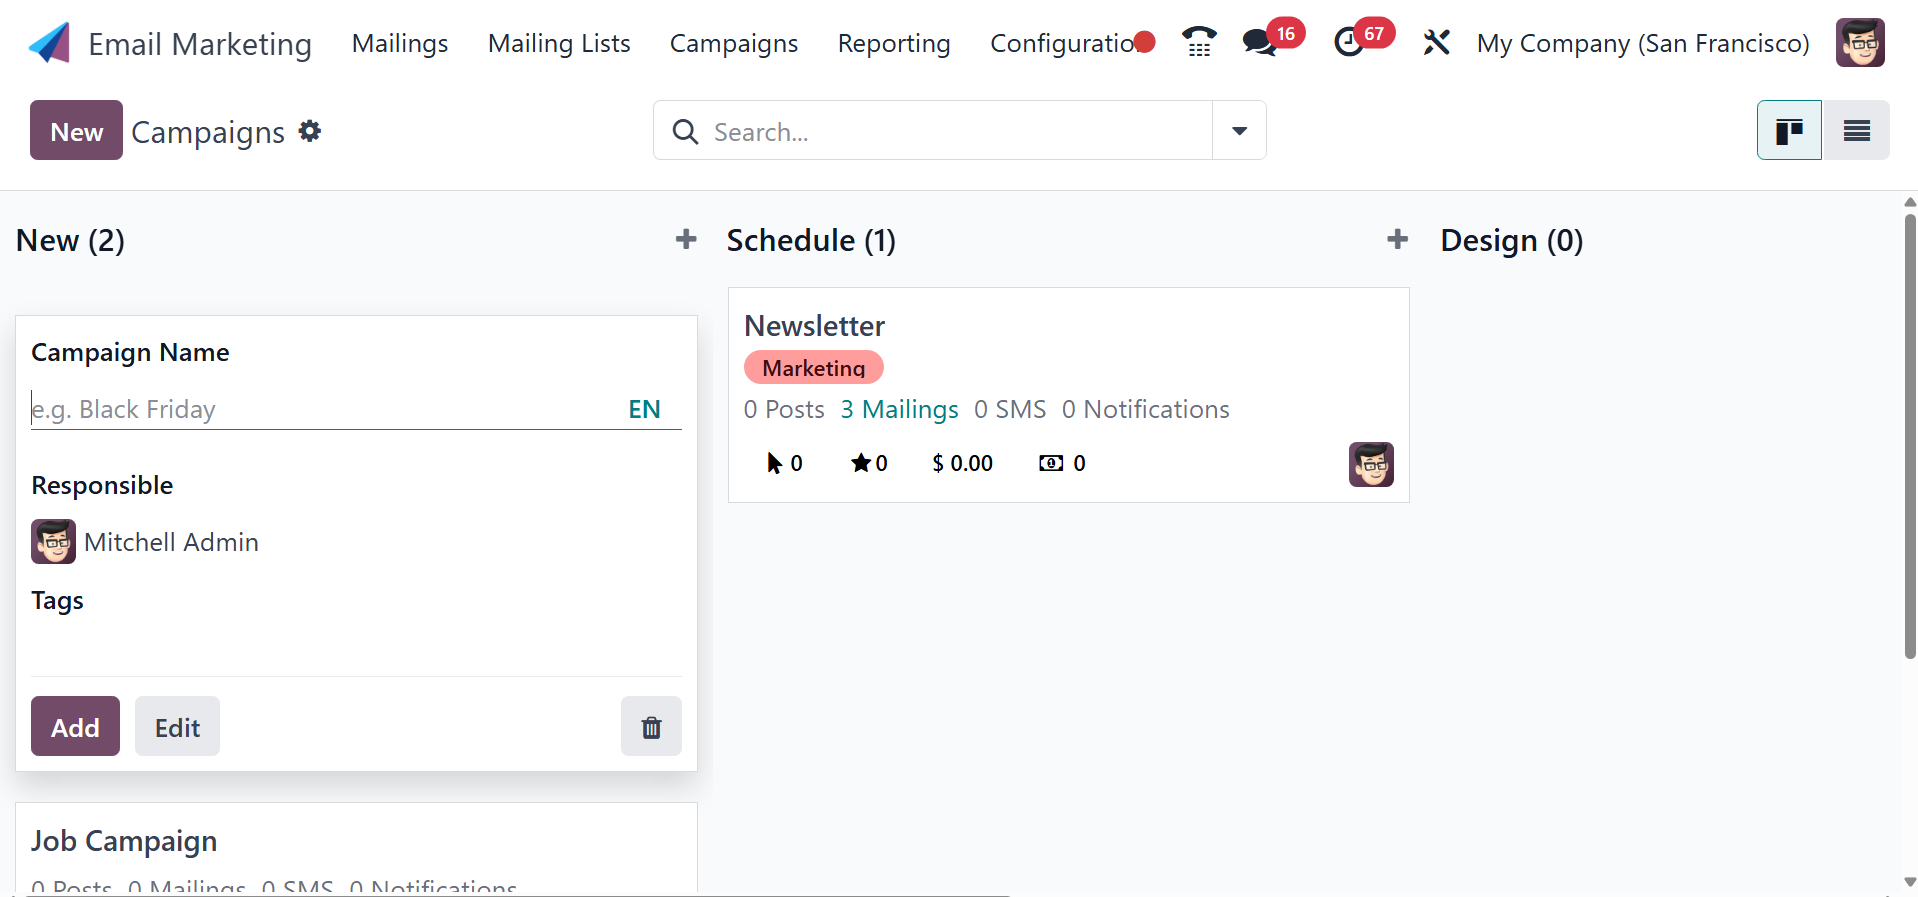
On the Campaign page, you might see a list of campaigns that have
already been made. The page can be viewed in both Knaban and List
perspectives. The website is in Kanban mode in the image at the top.
The campaigns on the website are categorized by stage. New,
Schedule, Design, and Sent are among the stages that can be viewed
in that order. You could even design new stages according to our
requirements.
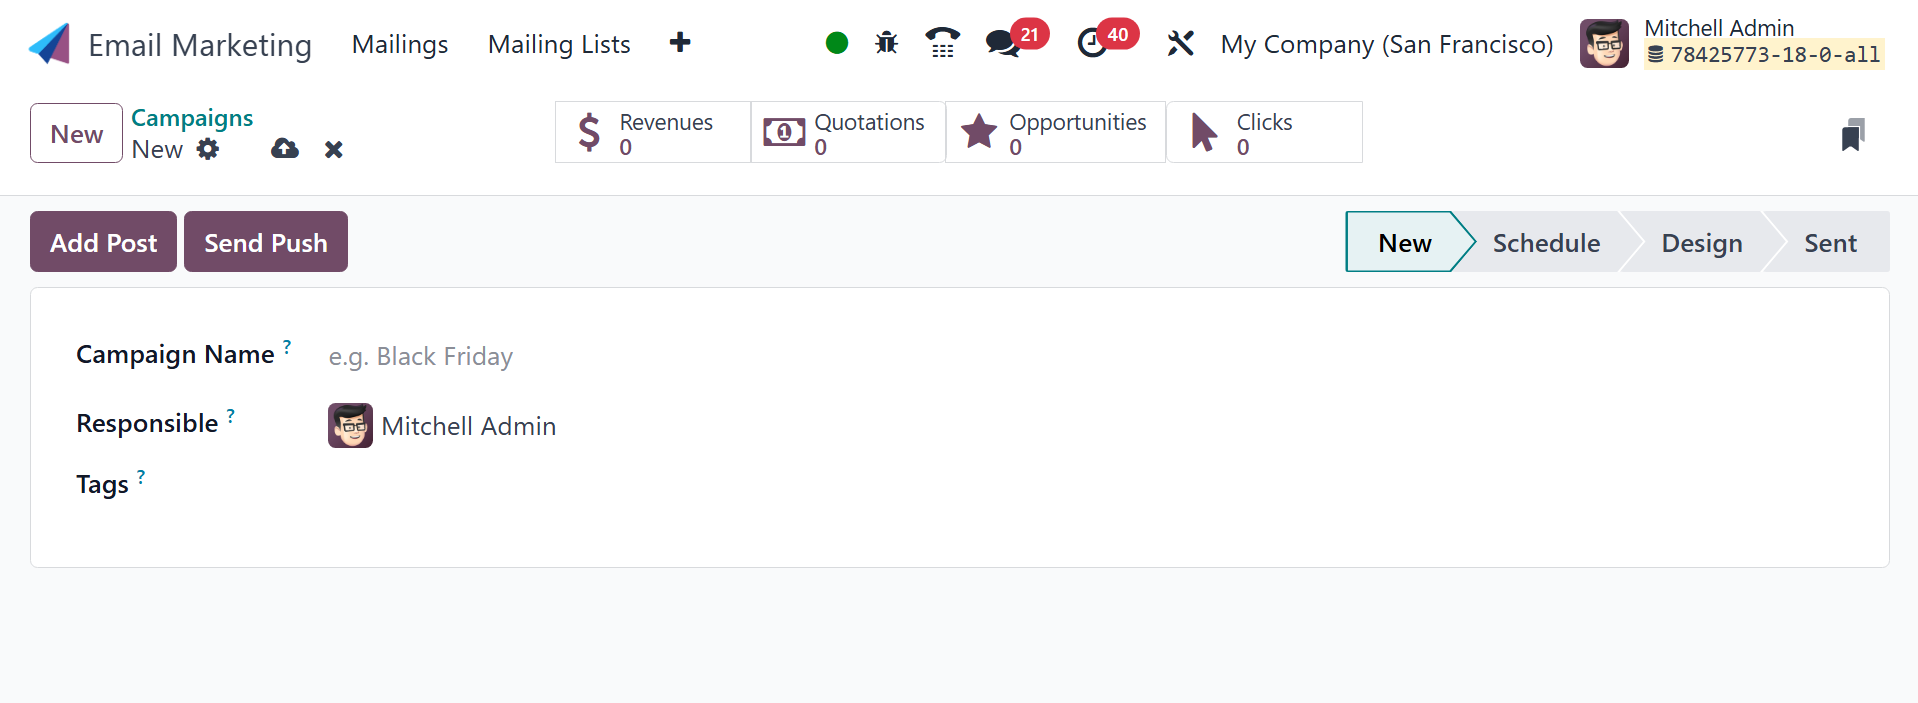
To create a new campaign, go for the New option, as in the image
below.
Here, you can add the name of the campaign, responsible user, and
related tags.
These phases are shown in Kanban format as cards. Each box contains
information on Posts, Mailings, SMS, Notifications, Clocks,
Opportunities, Revenues, and Quotations, among other things. The
fields for inputting the campaign name, the person responsible for
it, and any required related tags are visible here. The Edit option
allows you to make additional changes to the stage that has been
constructed. Once all the required information has been entered,
select the Add icon. The Settings menu contains sub-options such as
Fold, Edit, Automation, Delete, Archive All, and Unarchive All.
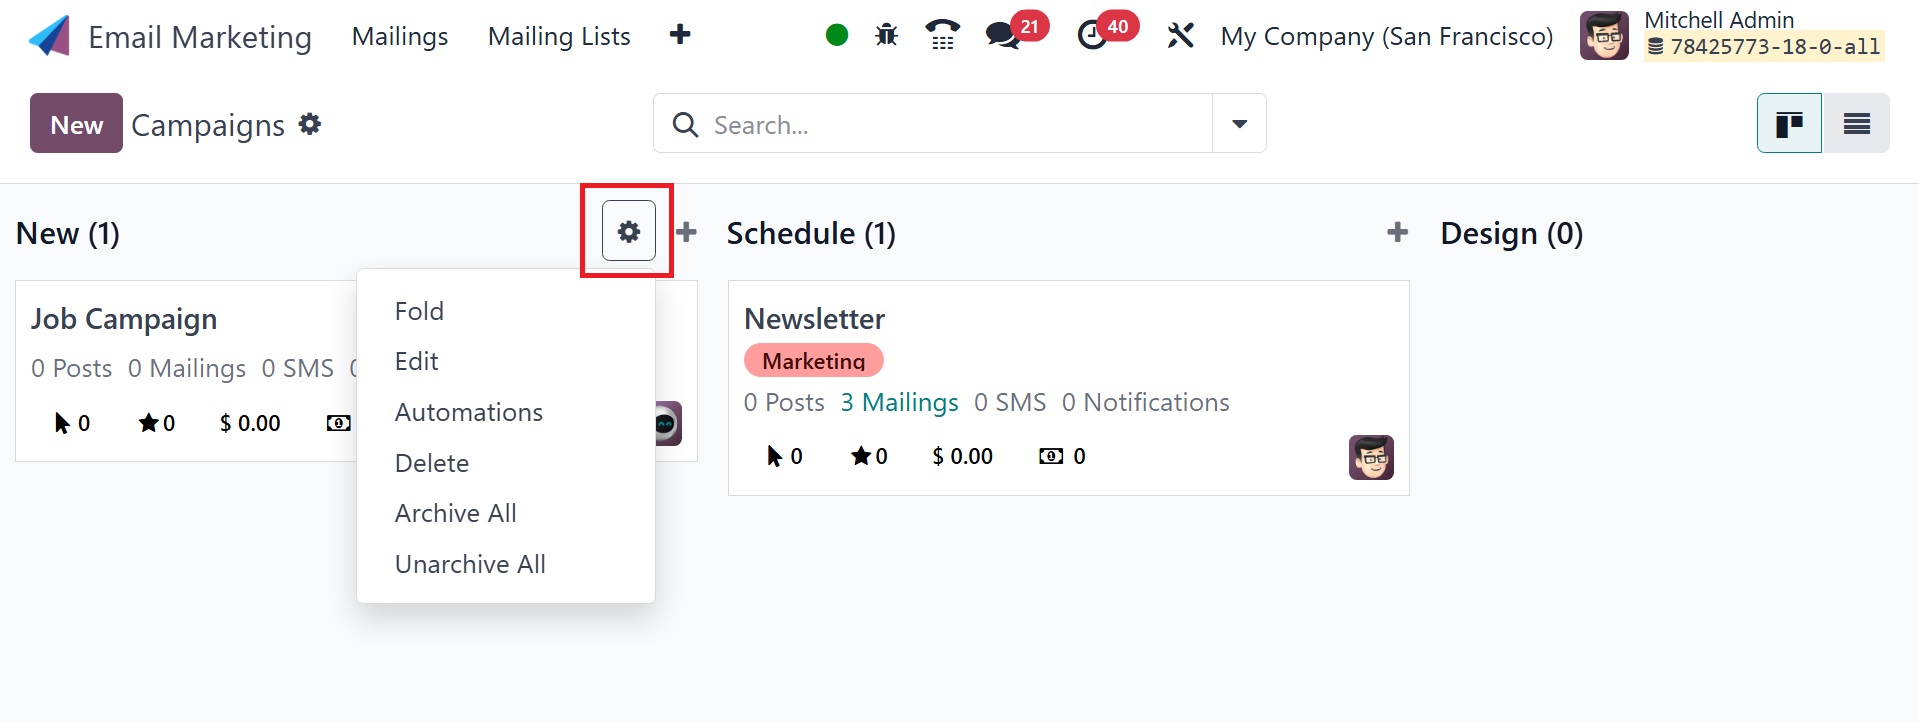
One of these options is the Fold option, which allows you to fold the
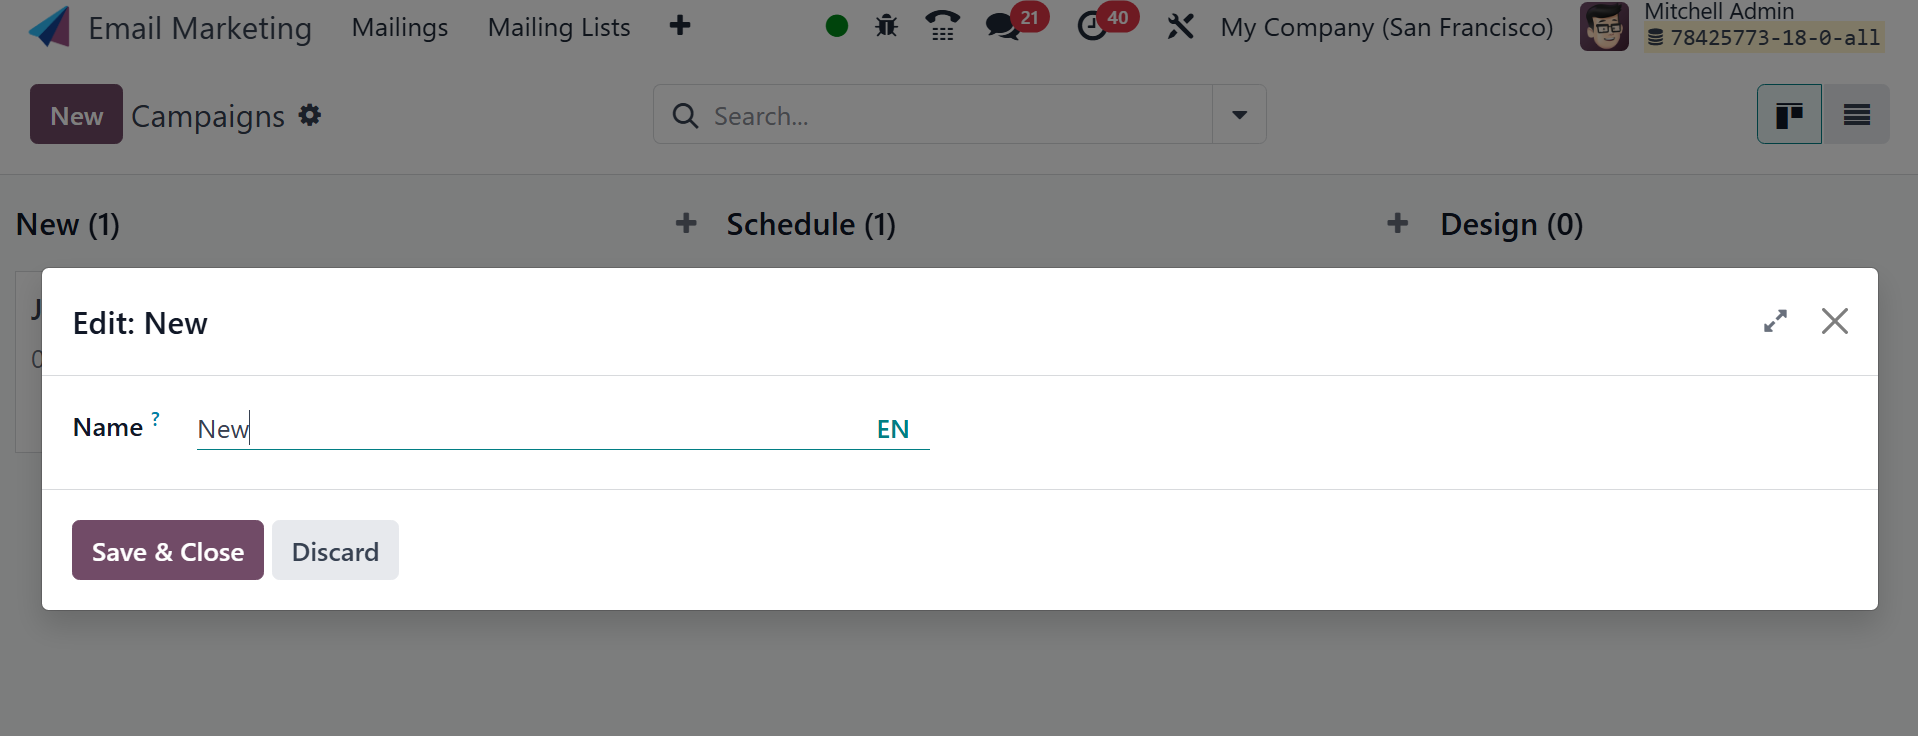
stage you need to fold. You can input the changes you wish to make
in a new window that appears when you select the Edit option.
The Automation option allows the user to add automation rules. The
new page of automation rules page will be, as in the image below.
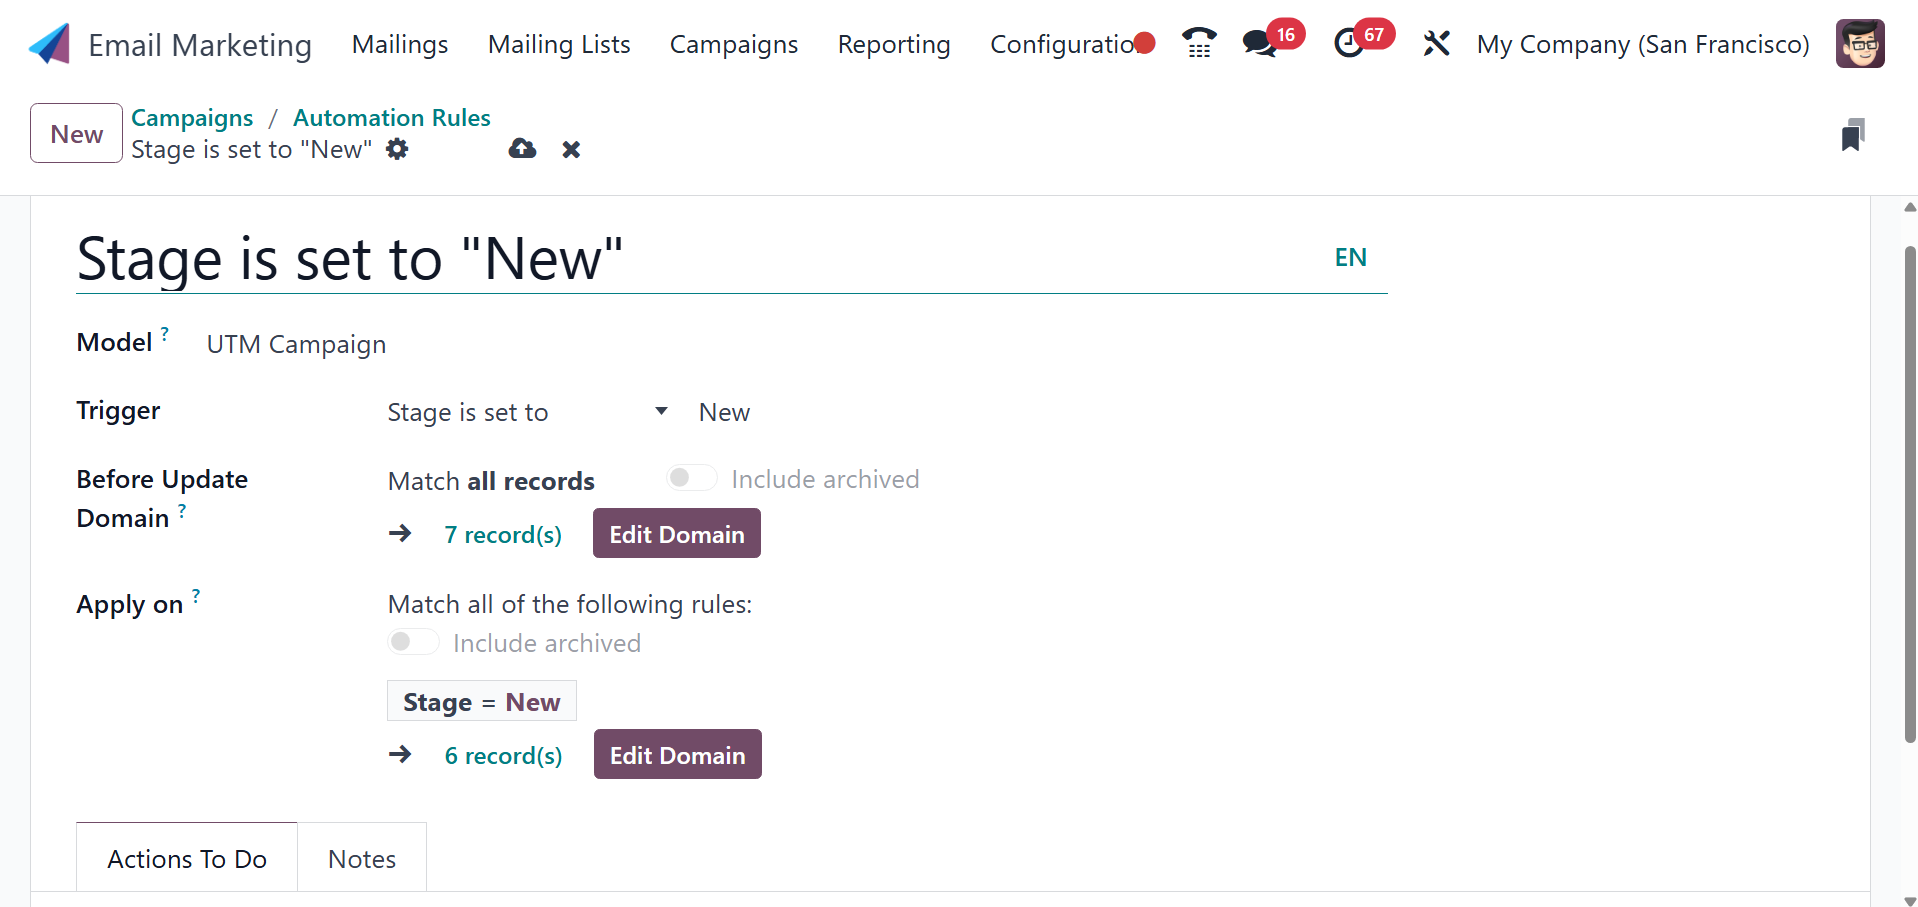
Here, you can provide the name, model, trigger, and, if required,
complete the fields that show up on the screen according to the
trigger that was selected. When the automation rule should be
applied is determined by the trigger. The next options are before
the update domain, and ‘apply on’. To set the conditions, you can
create the ‘Before Update Domain’ option. Below that, you have
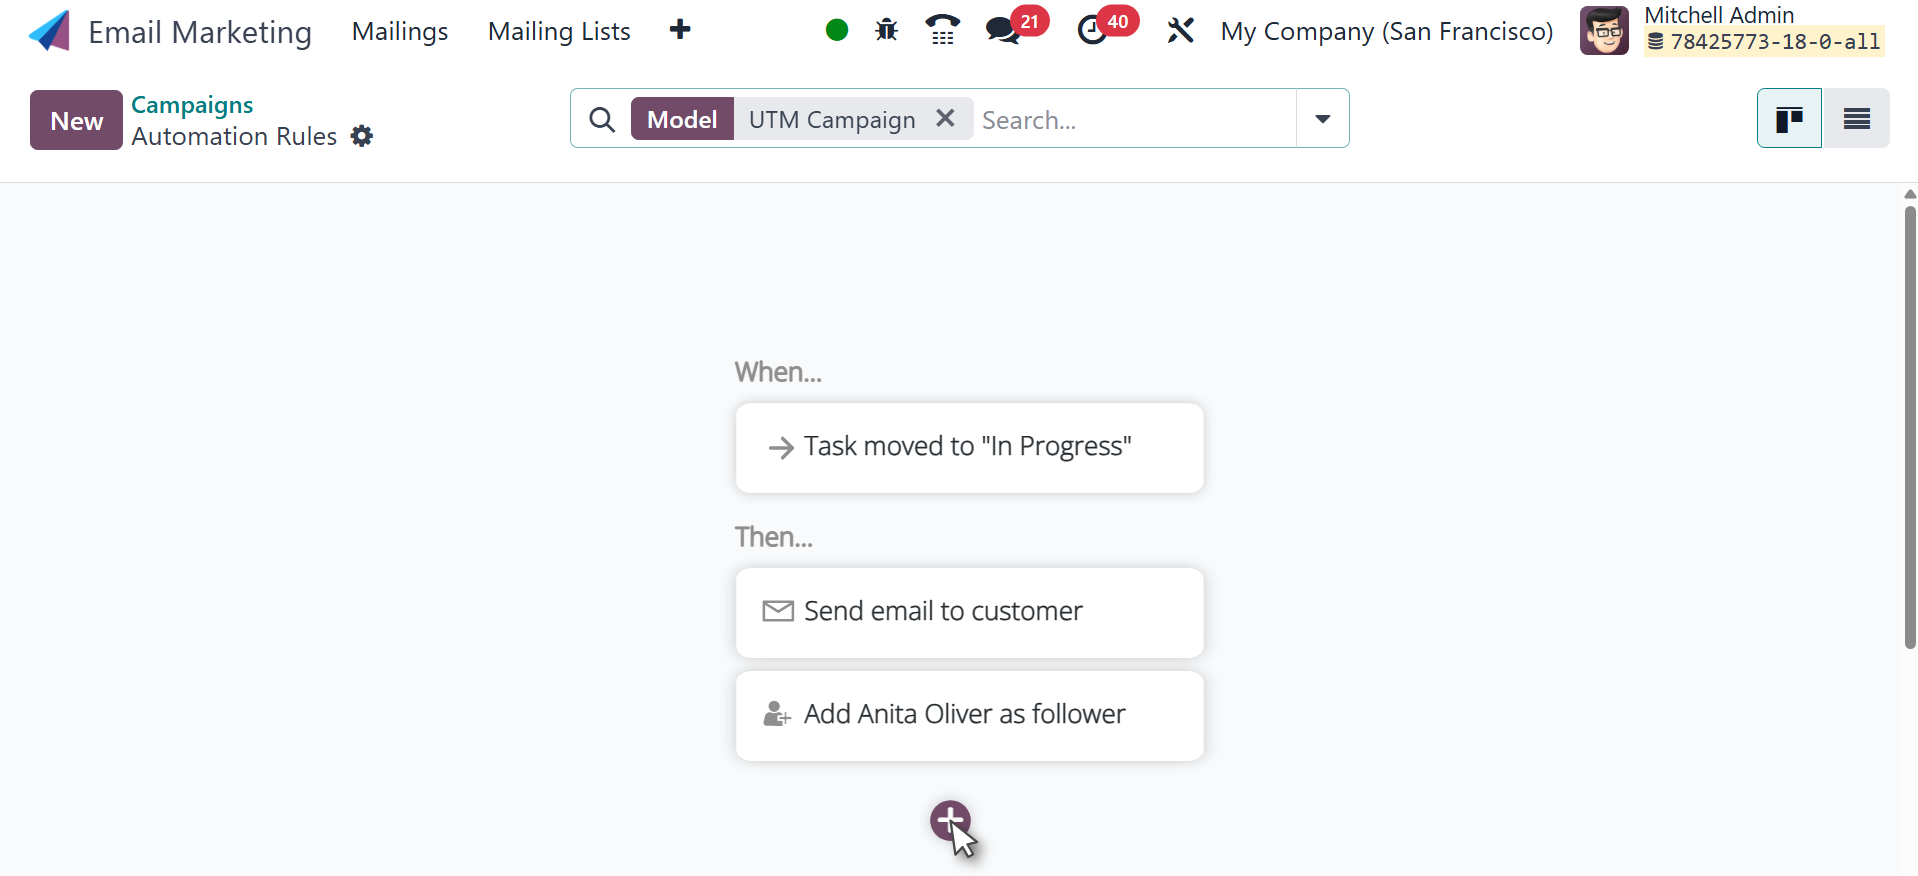
action to do and a notes tab as well. After clicking Add an action,
choose the action type and complete the fields that show up on the
screen according to the action you have chosen. And notes regarding
the automation rules in the notes tab next to it.
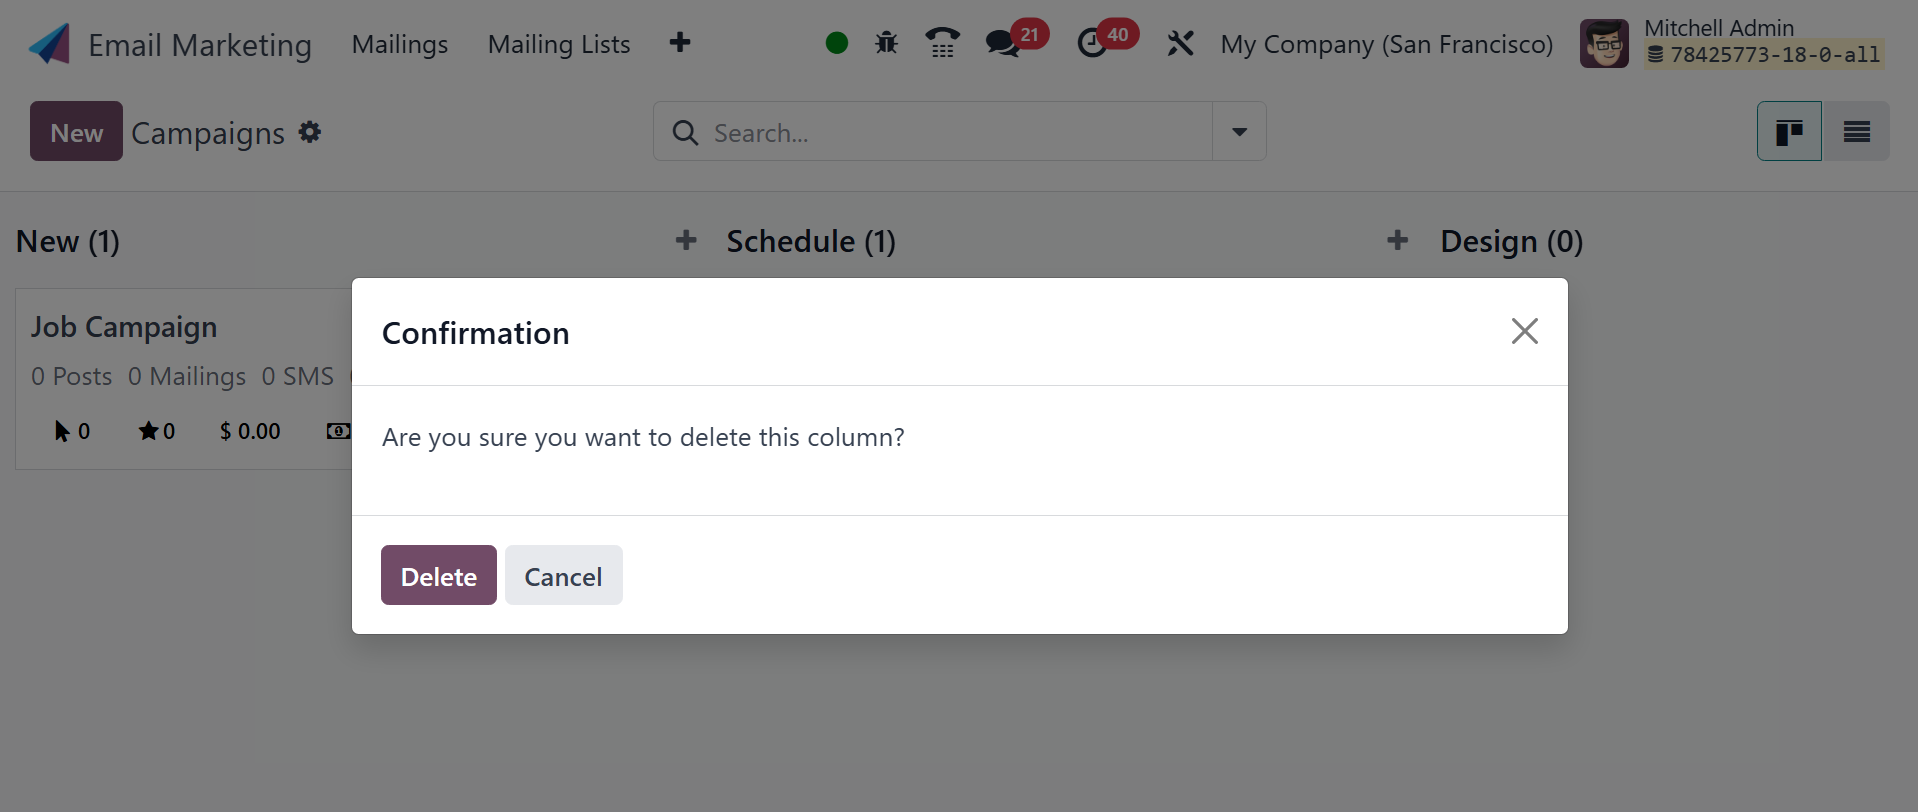
When you also select the Delete button. If you want the stage will be
deleted, you can click the DELETE symbol.
If the Archive button is selected, all of the records in the column
will be archived; if the Unarchive button is selected, the archived
data will not be altered.
The option to add a new stage to the existing list will also be
available to you. You are also provided with some samples; click on
the See examples button to obtain the samples.
The Use This For My Campaigns symbol can be used to implement these
examples.

There is also a list view option on the campaign page. On the list
view, you may look at more details such as the stage, the campaign
name, the responsible user, and any pertinent tags.
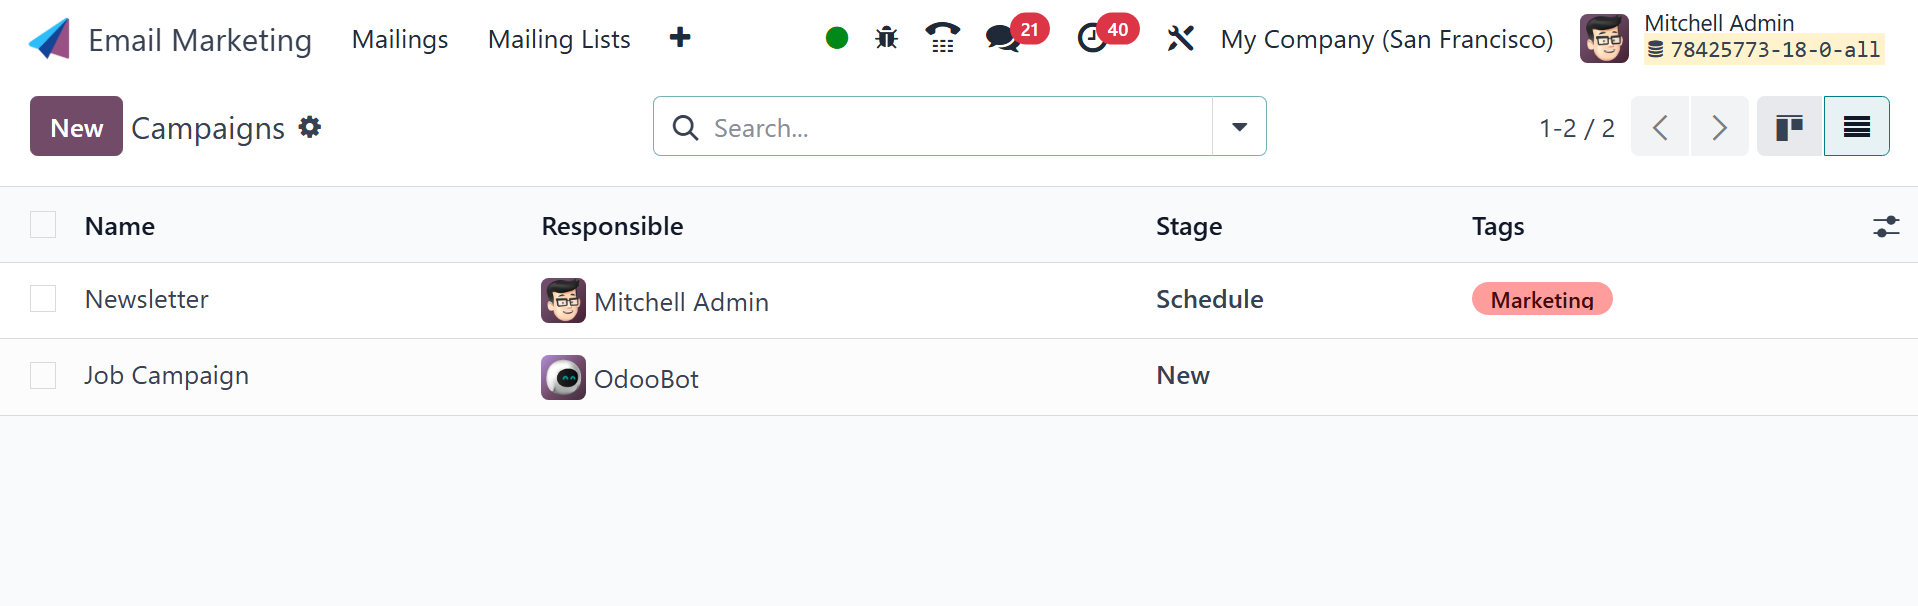
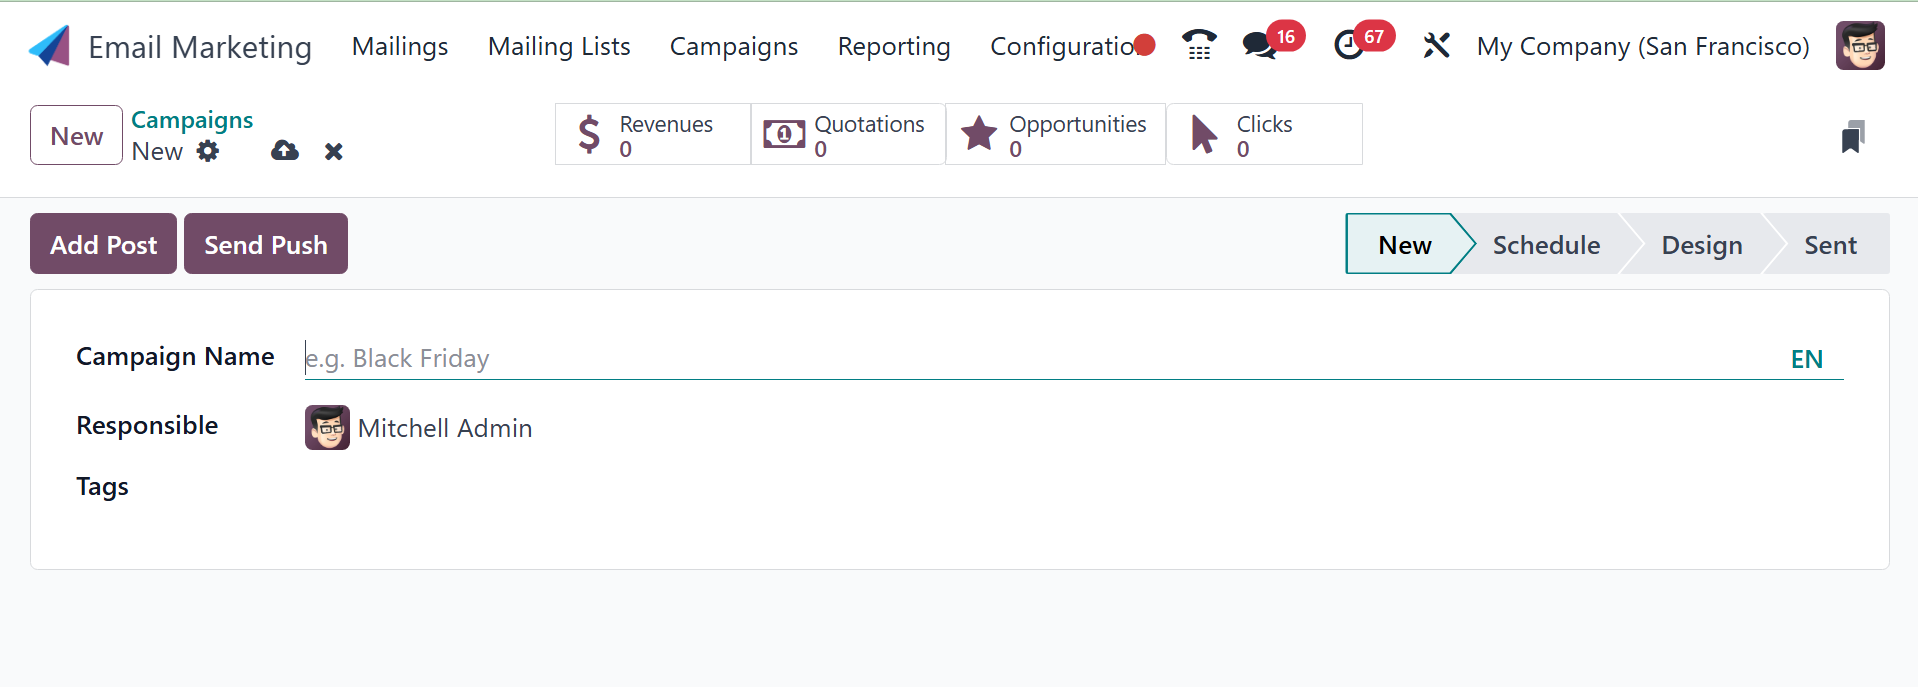
You can also find some filters on the page. These campaigns can be
categorized based on our needs using the Group By option. Go to the
NEW icon, as seen in the screenshot below, to create a campaign of a
similar style. You will be taken to a new page where you can create
a new campaign after choosing the New option.
On the creation page, you need to provide the name of the campaign,
the person who will oversee it, and any required tags. Once all the
required data has been added, you can choose the Save icon. You will
also have options like Send Push, Add Post, Send SMS, and Send
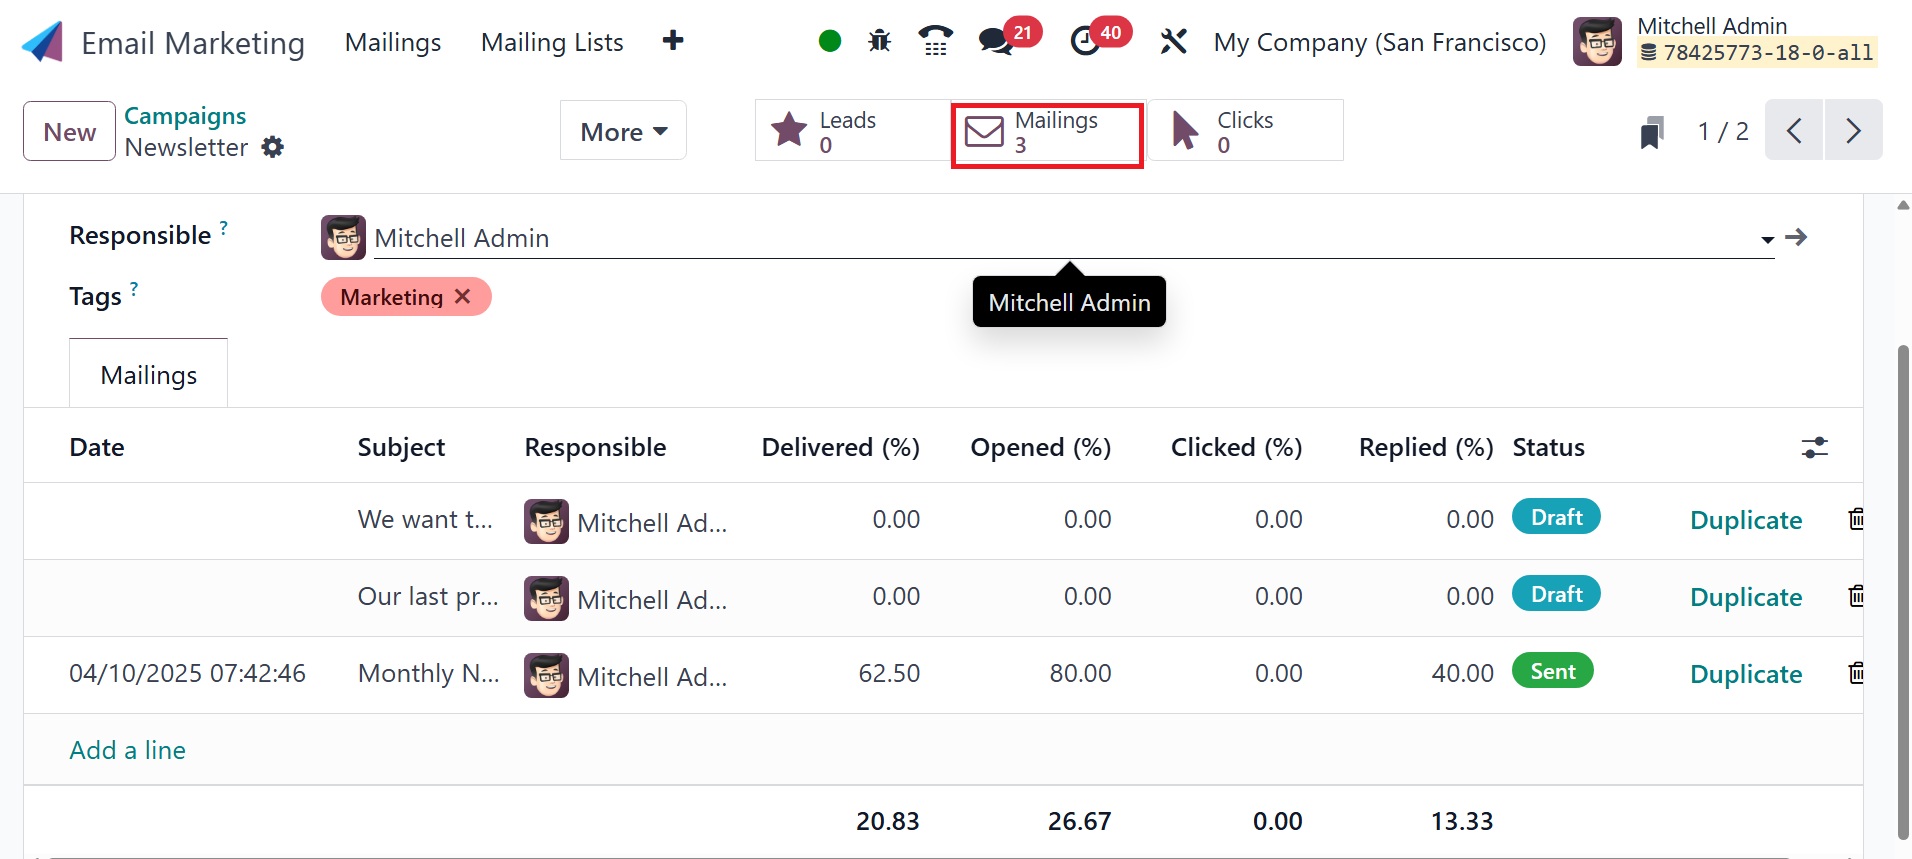
Mailing. On the right side of the page, you can view the status,
which includes New, Schedule, Design, and Sent. A number of
intelligent buttons with options for Engagement, Rewards,
Quotations, Opportunities, and Clicks are also visible. You can
instantly access the functions those buttons indicate.
You can use the Send Mailing option to send the email linked to this
campaign.
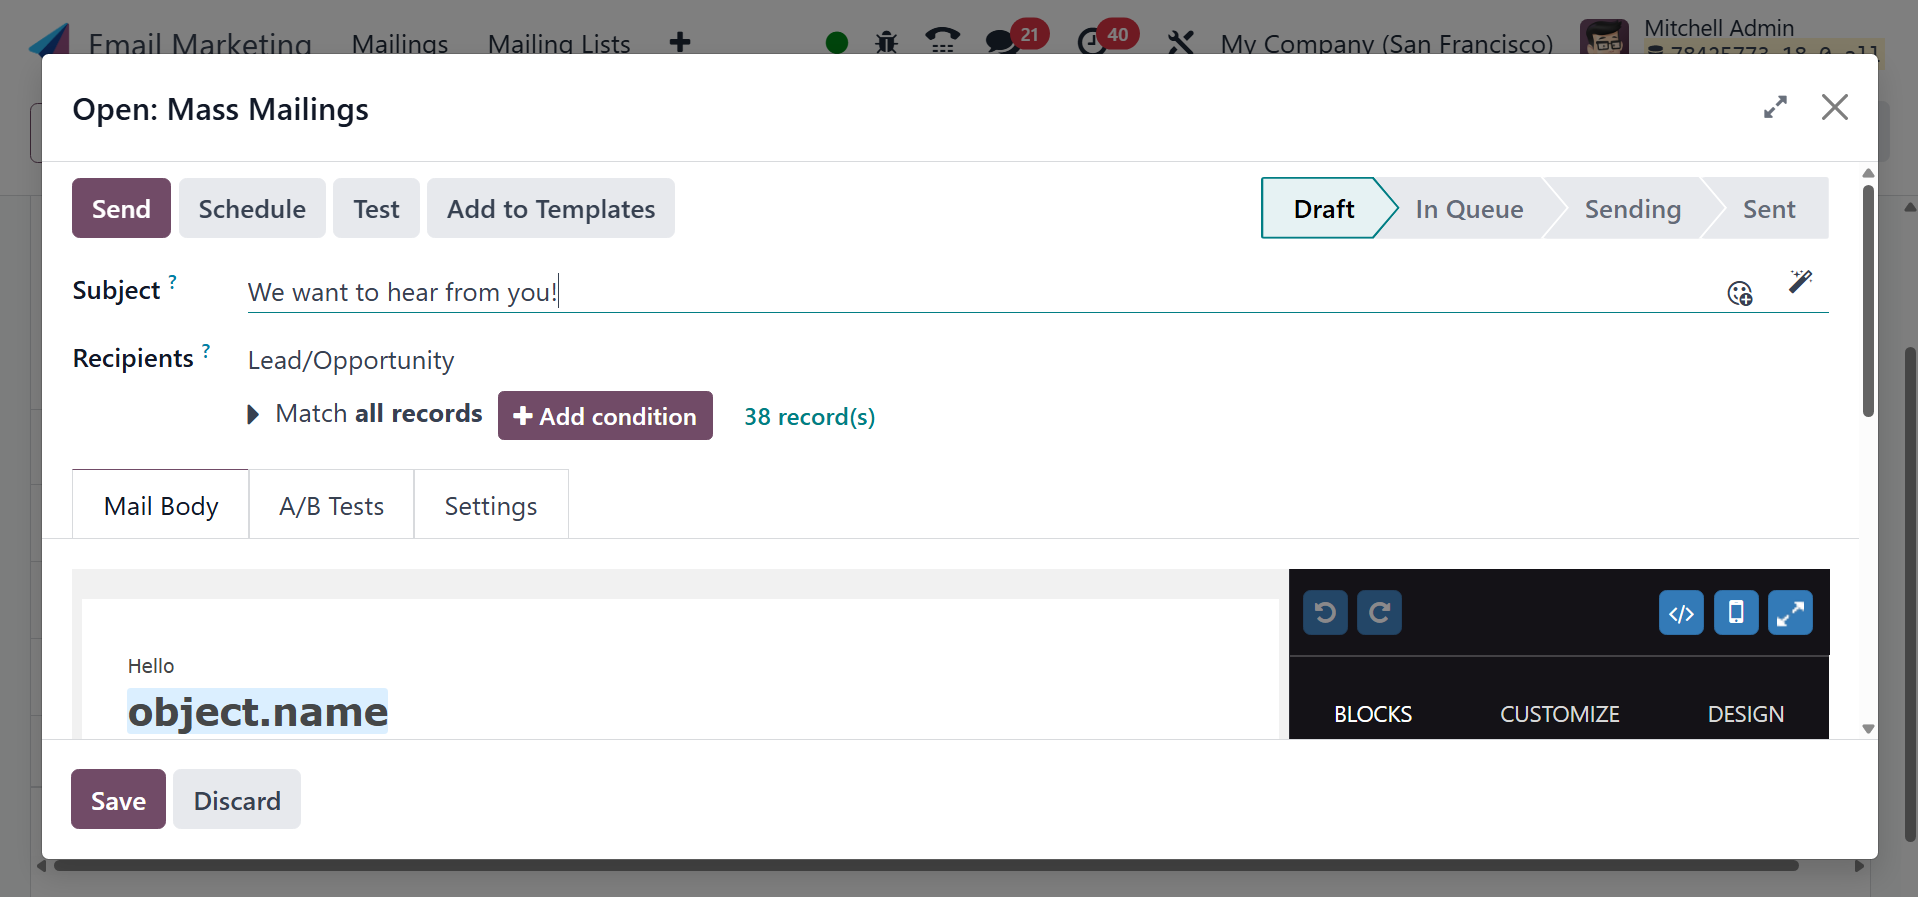
The Send button makes sending mail very simple. Those sent items can
be found on the Mailing tab of the module's home page.
Alternatives like Send Mailing, Send SMS, Add Post, and Send Push are
accessible here and can be used accordingly. Selecting the Add Post
option will open a new window, as seen in the illustration below.
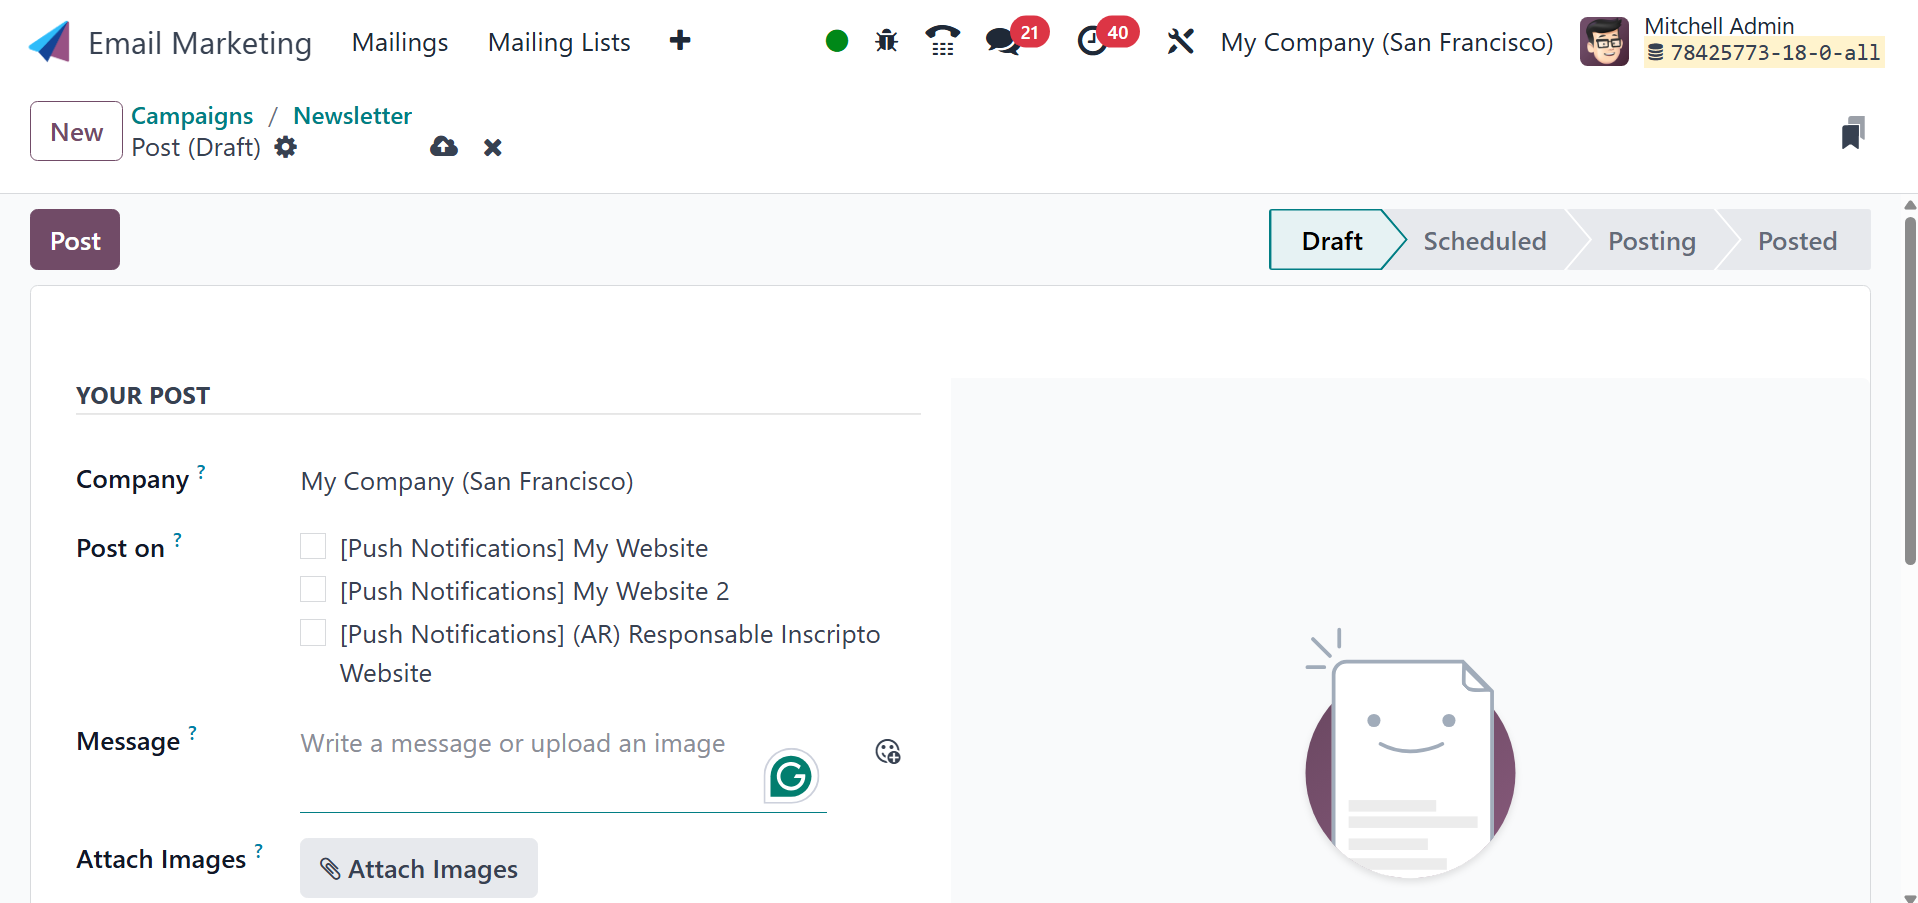
On the post option, you can view the automatically supplied details.
You can attach pictures if social networking is supported. The
campaign name is also completed automatically. To complete, select
the POST icon.
By turning on the Marketing Campaign option under the Email Marketing
Settings option, you can now decide to grant the Campaign Stages and
>Campaign Tags. Configuration will be the menu item's location.
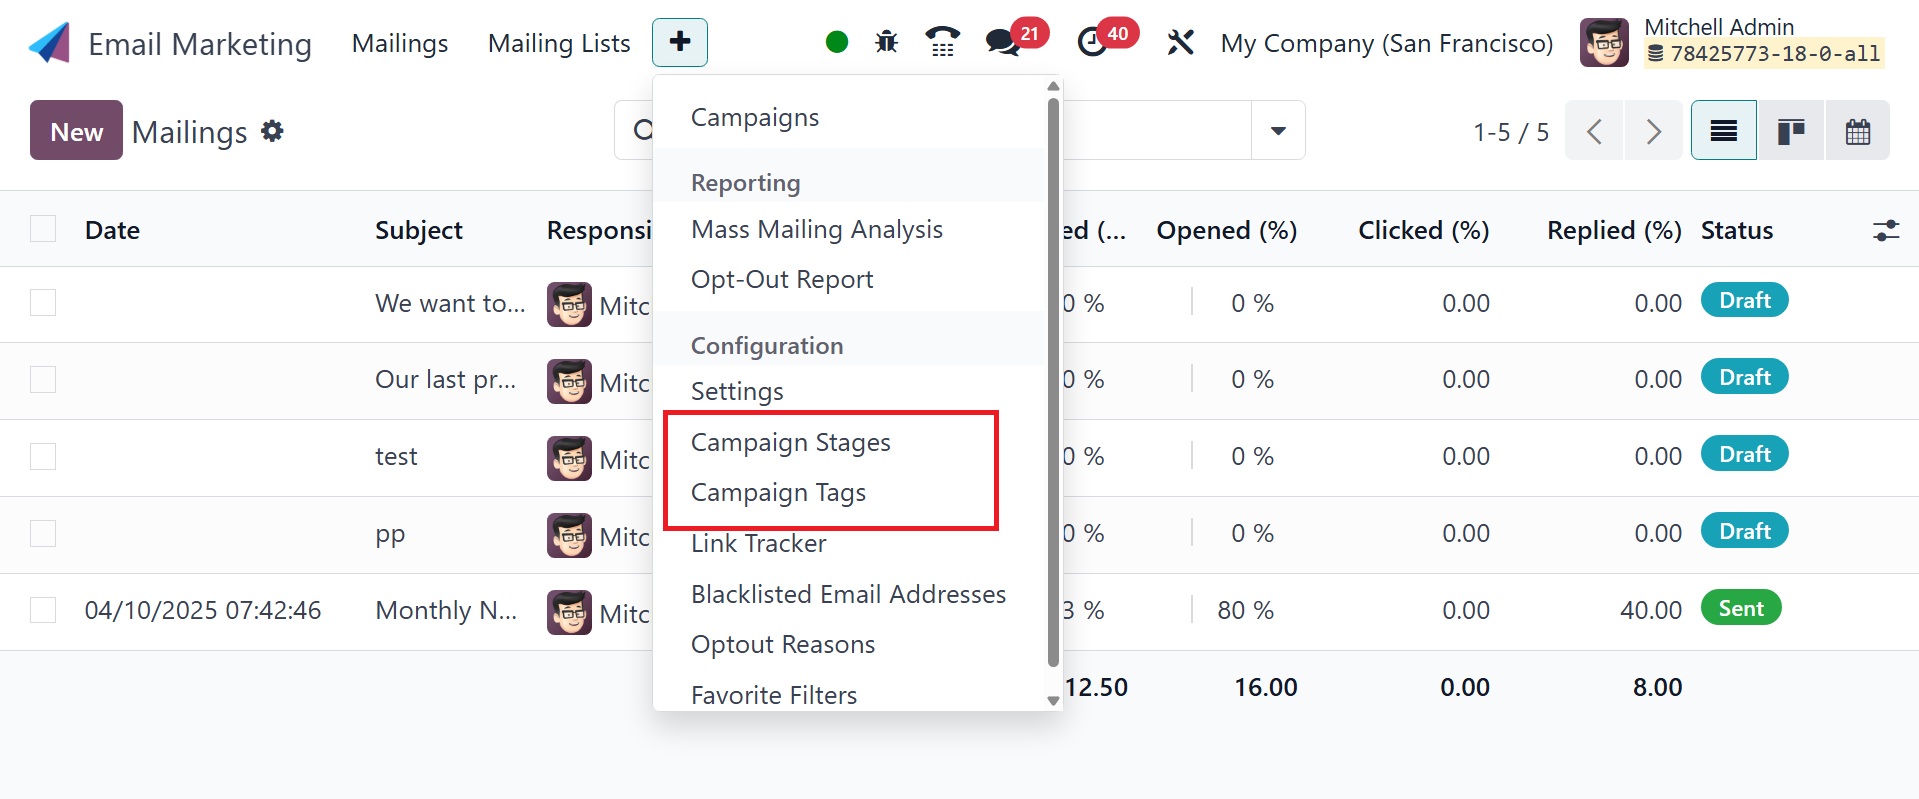
To see the UTM phases, select the Campaign Stage option from the
setup menu, as seen in the screenshot above.
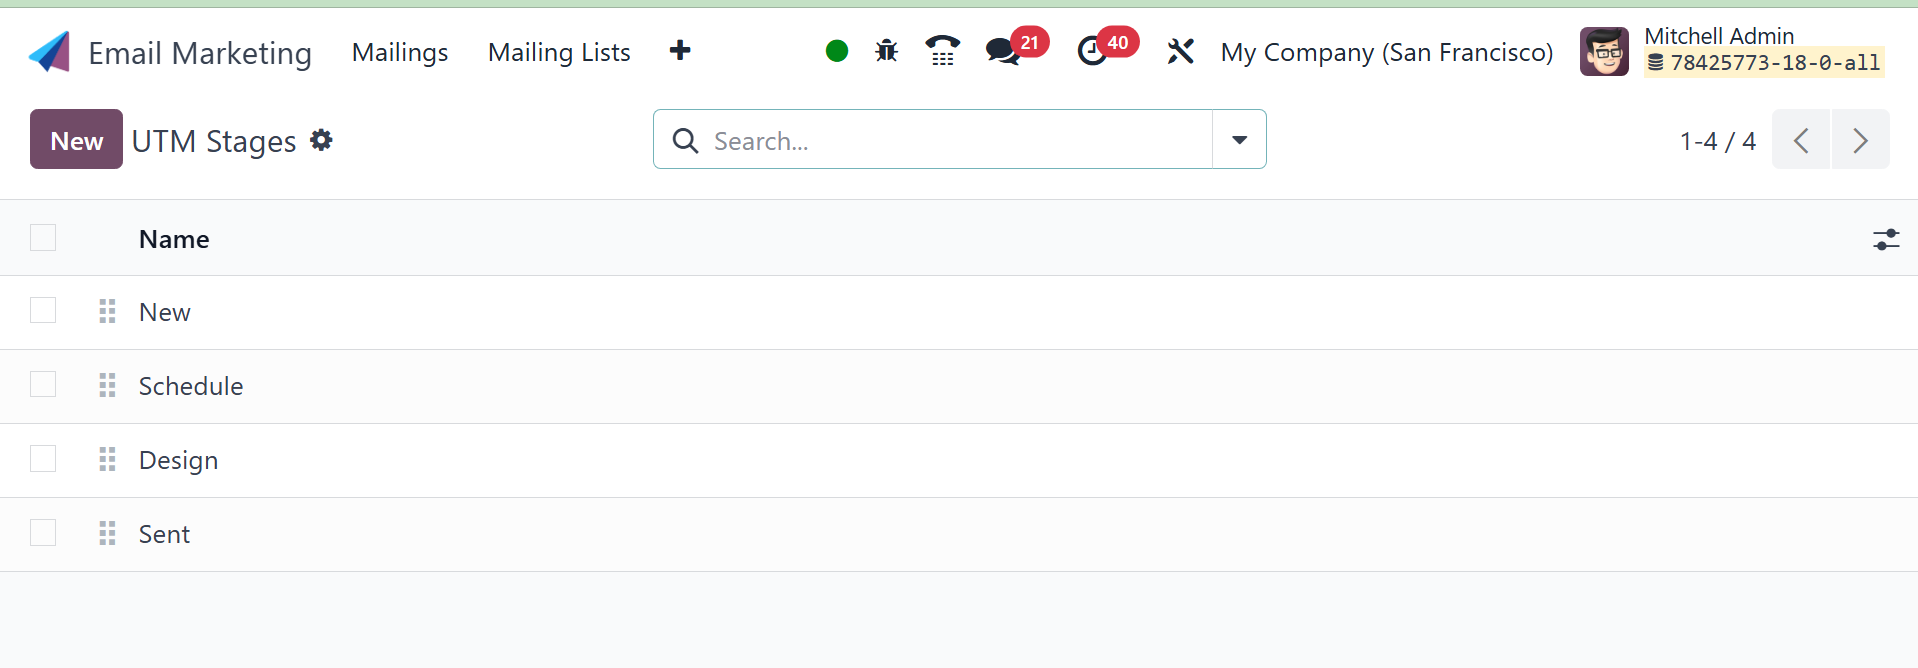
This box allows you to view each stage of the campaign that has
already been set up. To construct a stage with a similar design,
just select the New icon on the left side of the window. A new line
where you can easily create a new stage will emerge when you select
the option.
As seen here, the Campaign Tags option is located beneath the
campaign stage selection.
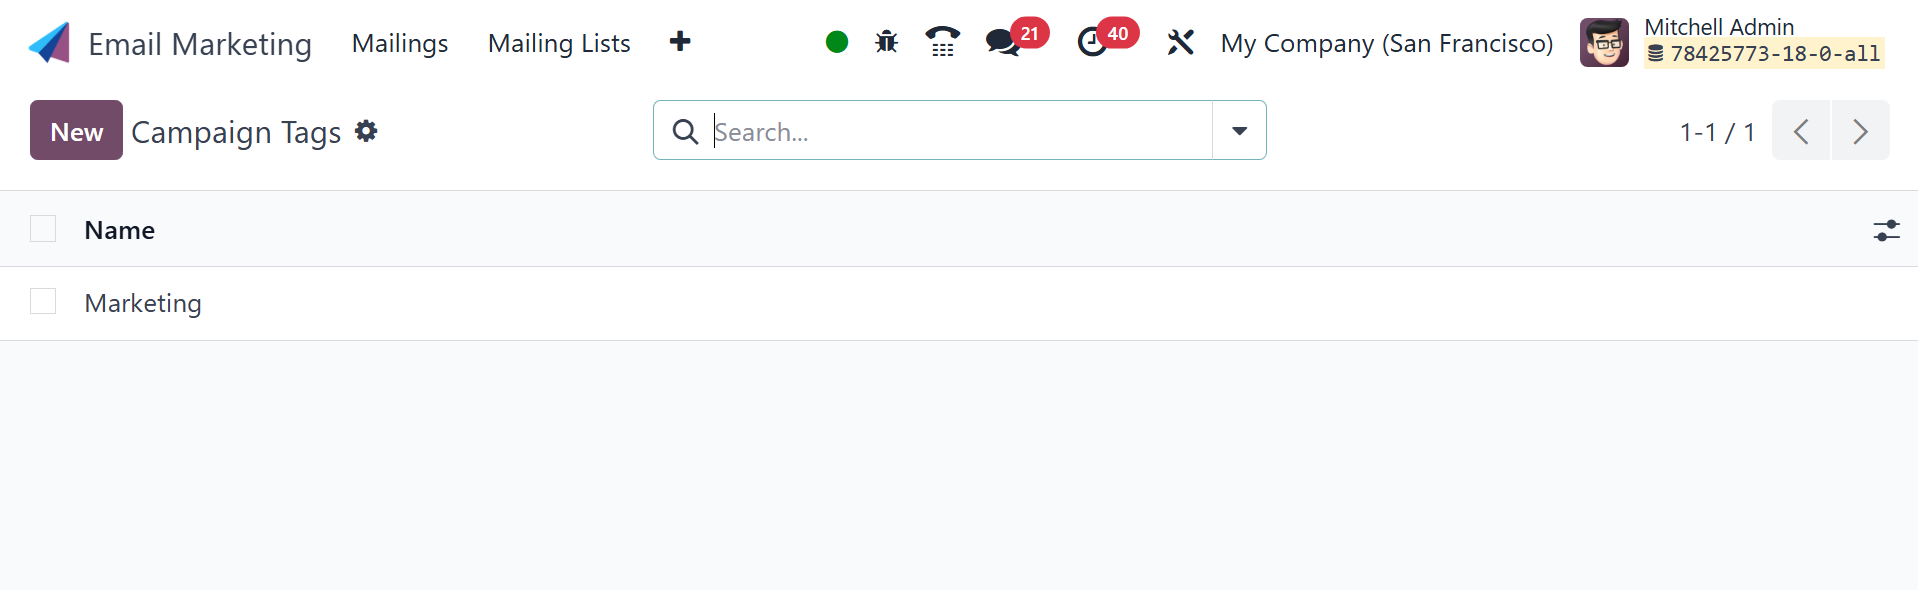
The page contains the pre-made tags for the campaign. You may also
add more tags to the campaign by using the New icon. Similar to the
campaign stage, a new line will appear where you can rapidly add a
new tag. To complete, select the Save icon.
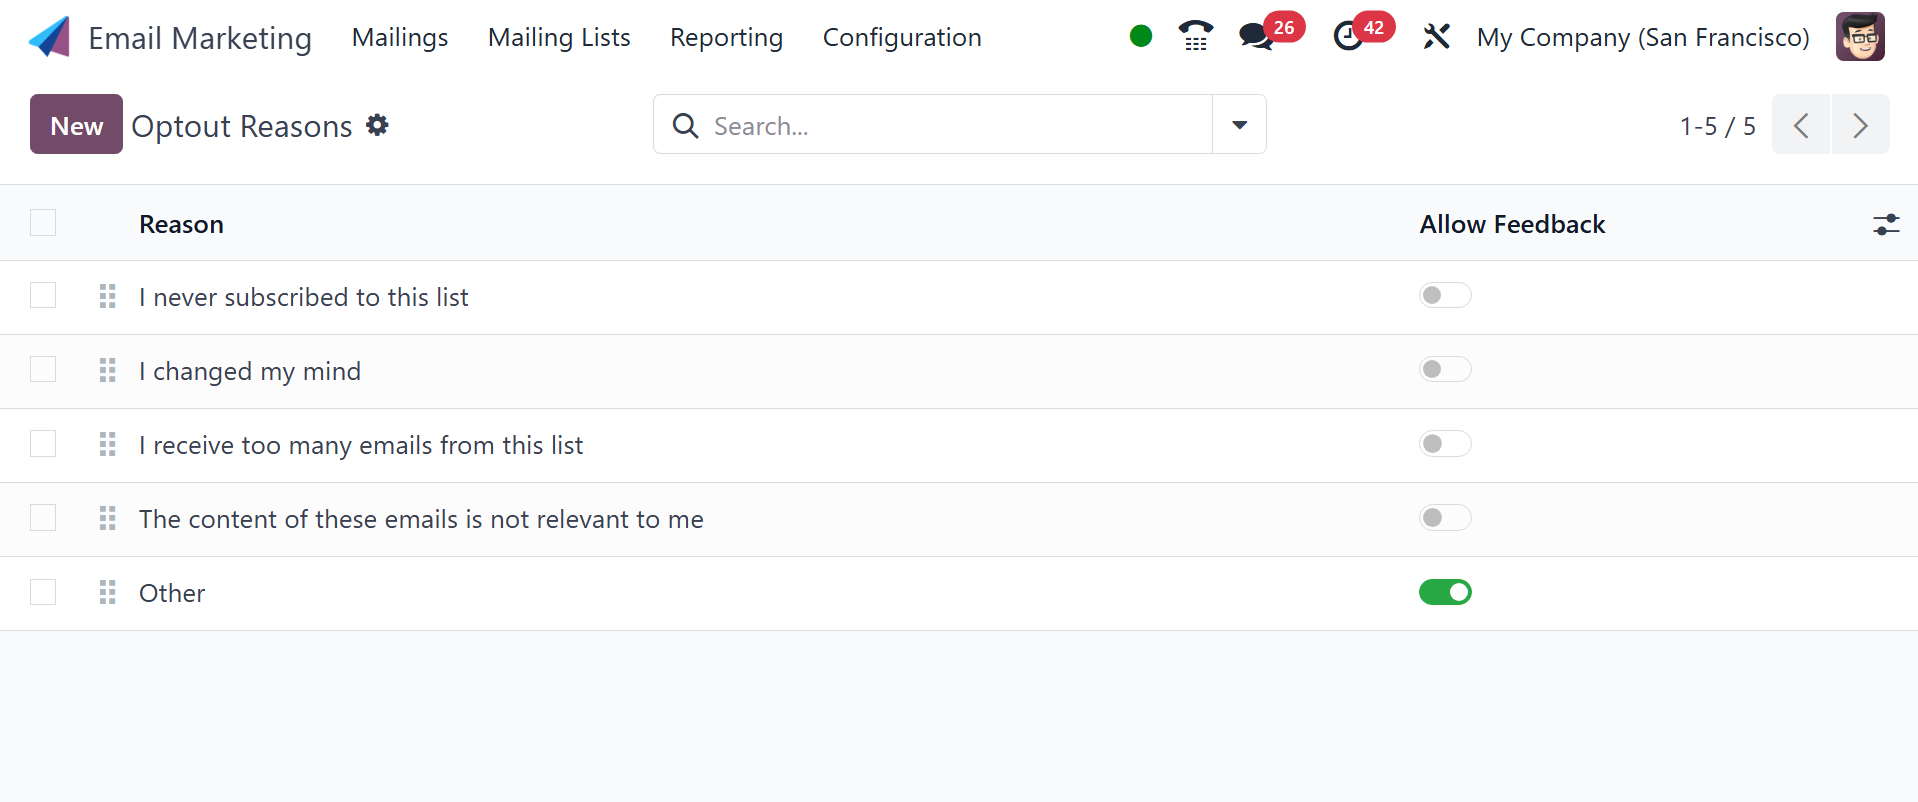
4.2 Opt-out Reasons
Subscription cancellations can occur for a variety of reasons. There
are several reasons why this module needs to be modified. The
opt-out reasons are in the Configuration menu. To add a new
justification, click the New button. A new line that appears beneath
the list now allows the user to define the additional explanation.
4.3 Link Tracker
The next option in the Configuration menu is Link Tracker. Because
email marketing necessitates frequent follow-up and analysis, there
is a link tracker option under the Email Marketing module. As
previously indicated, the option can be found in the module's
Configuration menu. The website will resemble the picture below.
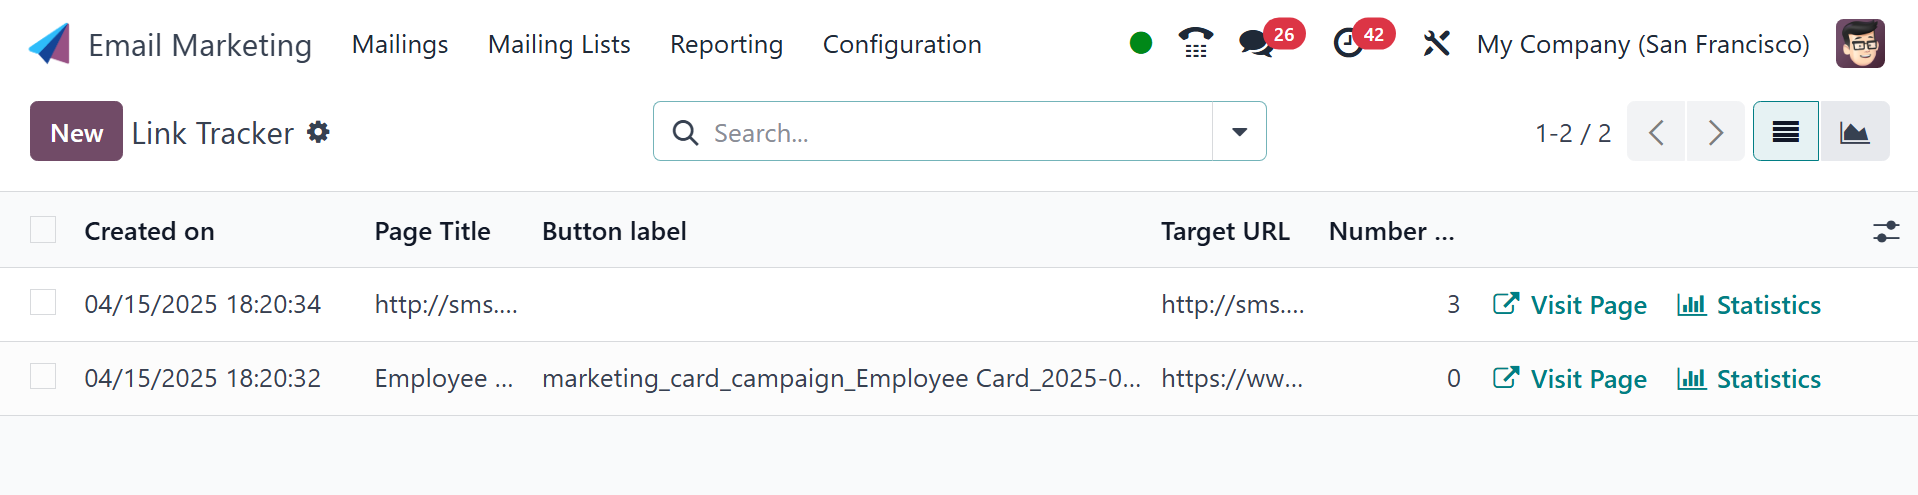
The page contains a few pre-made link trackers. The page contains a
variety of crucial details, such as the creation date and time, the
page title, the button names, the target URL, and the total number
of clicks. The website page provides access to the Visit page and
data, which are considered direct links.
As illustrated in the screenshot below, you will also obtain the
page's statistics.
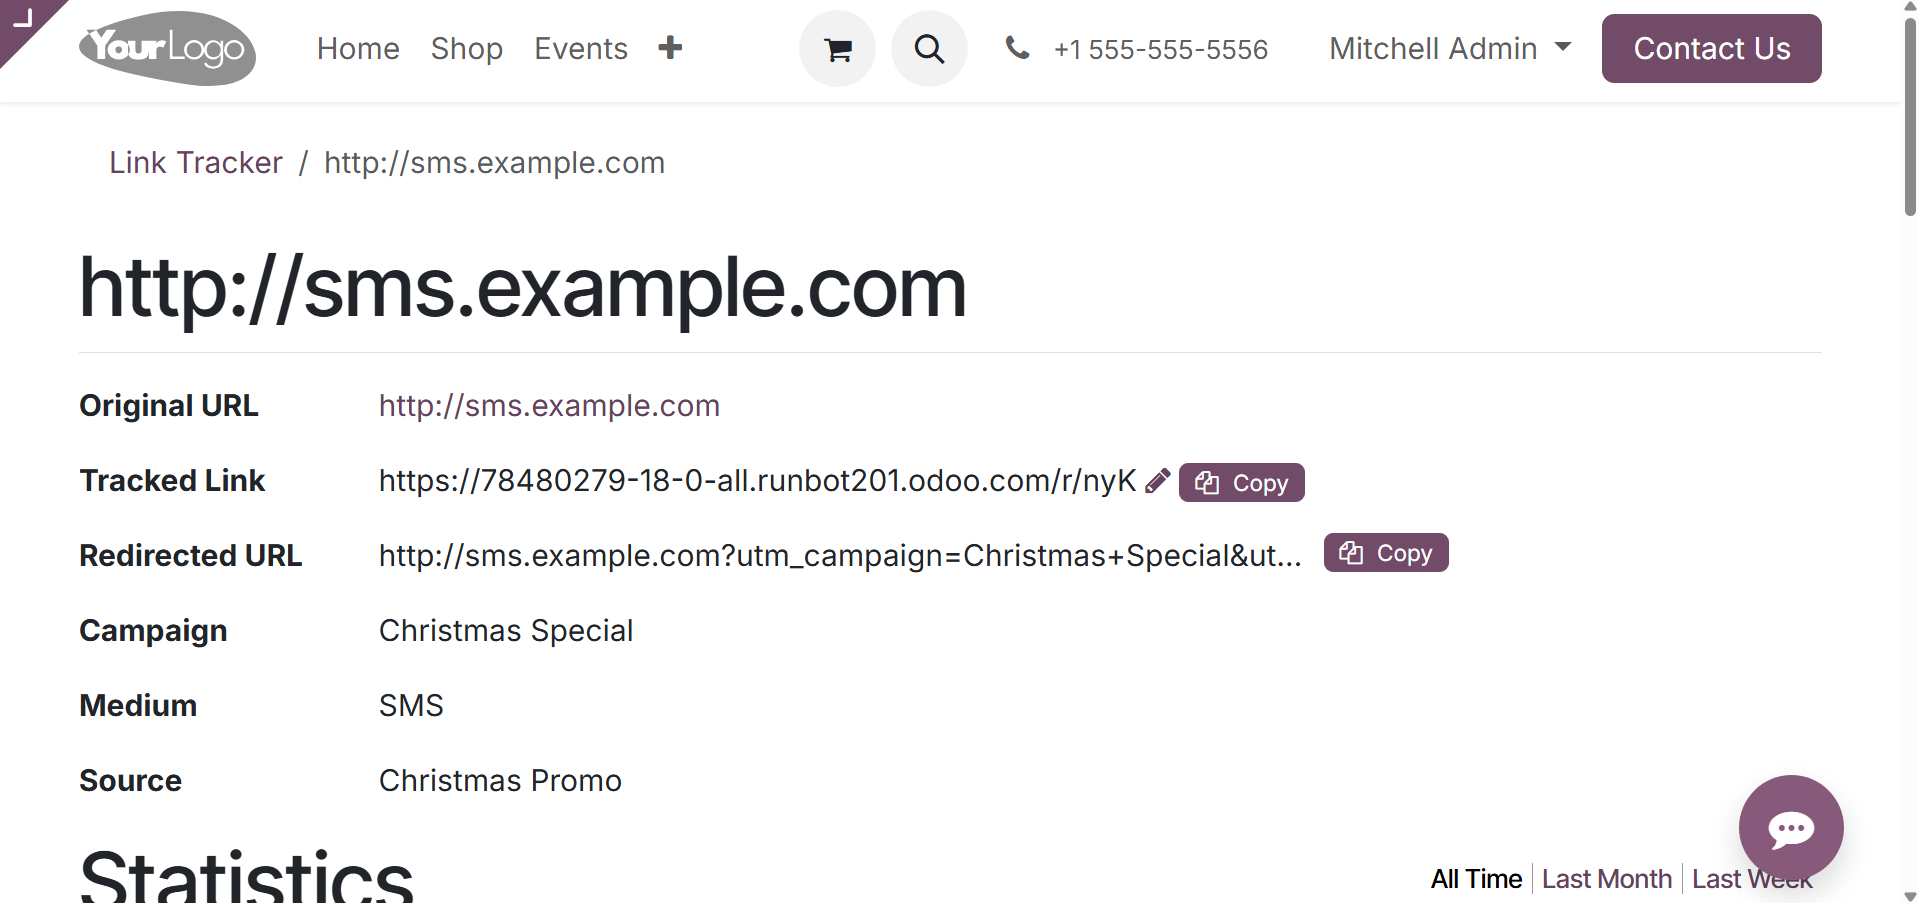
You can also view this graph by selecting the page's graphical view.
You may make some flyers by using the Add Custom Filter option,
which is found under the Filters option. The Group By option allows
you to categorize the data by campaign, Medium, Source, and Mass
Mailing. By choosing the New icon, you can easily construct a
similar link tracker.
4.4 Blacklisted Email Address
The "banned email addresses" option in the Configuration menu of the
Email Marketing module can help users in some specific situations.
If there are certain situations where some emails are blocked or
reported from the mail list, the module's special feature of the
blacklisted email addresses option is useful. Unless you are added
to the mailing list, you will not receive any letters. The option
can be found under the link tracker selection in the settings menu.
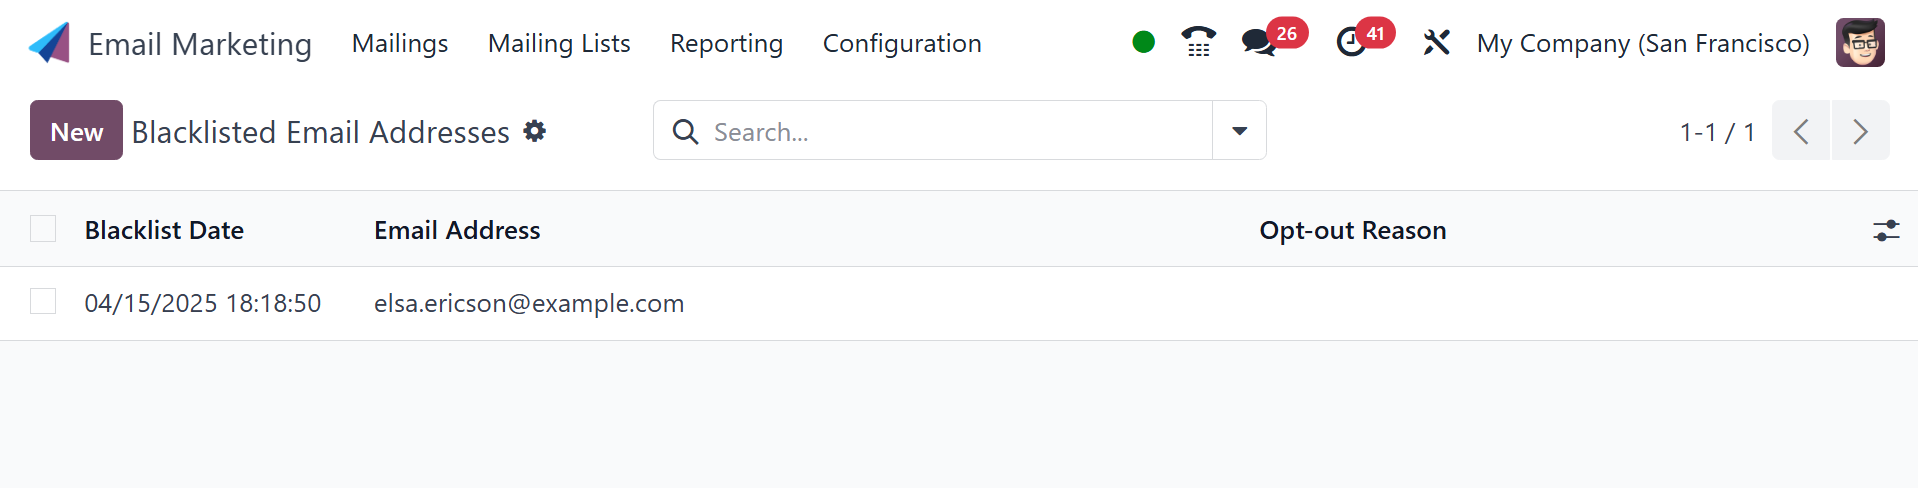
On the page for the banned email address, you can see the previously
made blacklisted mailings. The page provides information such as the
email address and date of the blacklist. To add a new email address
to the blacklist, simply click the New icon on the page. There is an
option on the page's left side. Selecting the New option will take
you to a new page where you can enter the details required to add
the email address to the Blacklist.
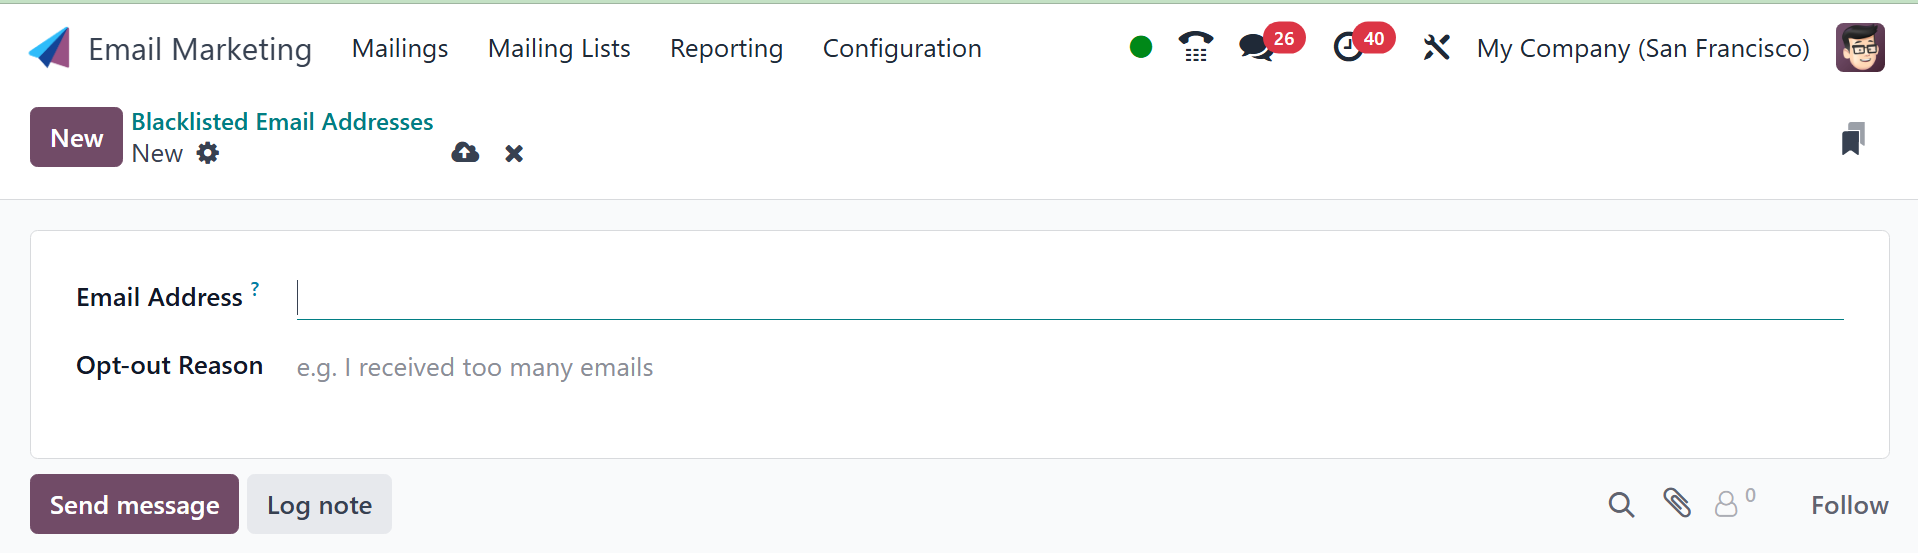
Both an option labeled Active that is already activated and a field
for entering the email address that needs to be blacklisted are
present on the screen. The image above displays the dialog for
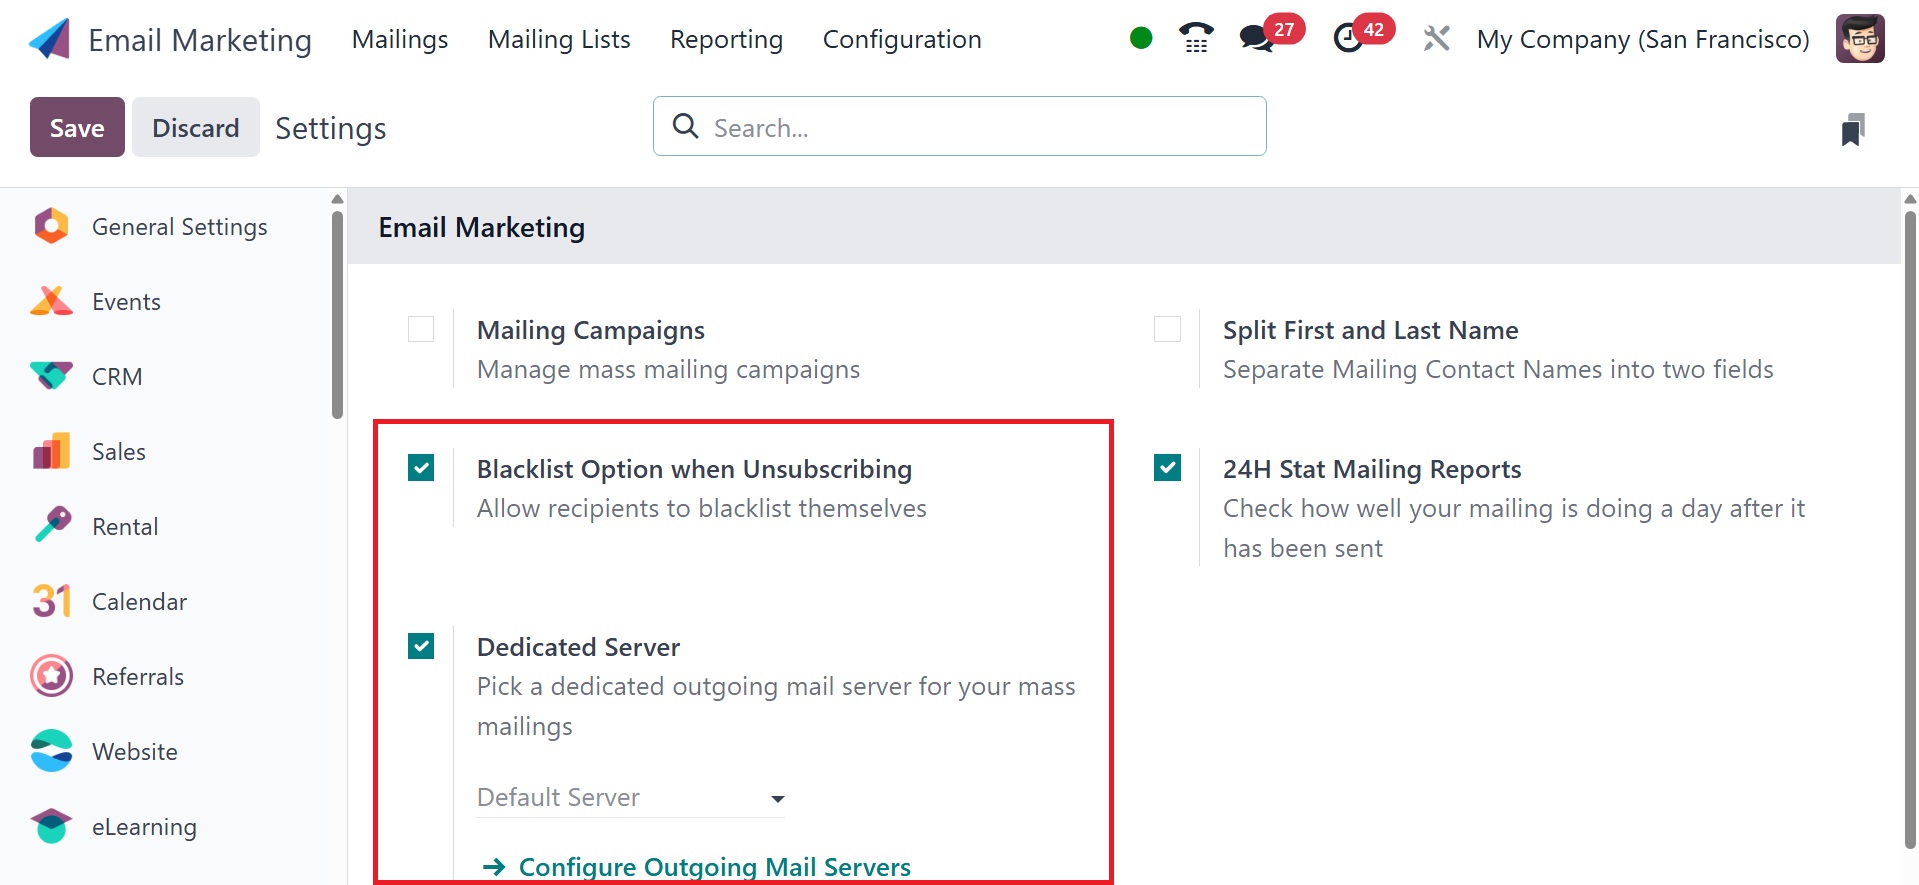
creating a blacklisted email account. When unsubscribing, you can
also select the Blacklisted Option in the Email Marketing module's
settings. The feature allows the user to manage their blacklist
status with the help of the unsubscription website as well. You must
thus activate the option from the settings, as shown below, for it
to be activated.
On selecting the blacklisted option from the configuration, you will
get the page of a particular blacklisted one, as in the below
screenshot.
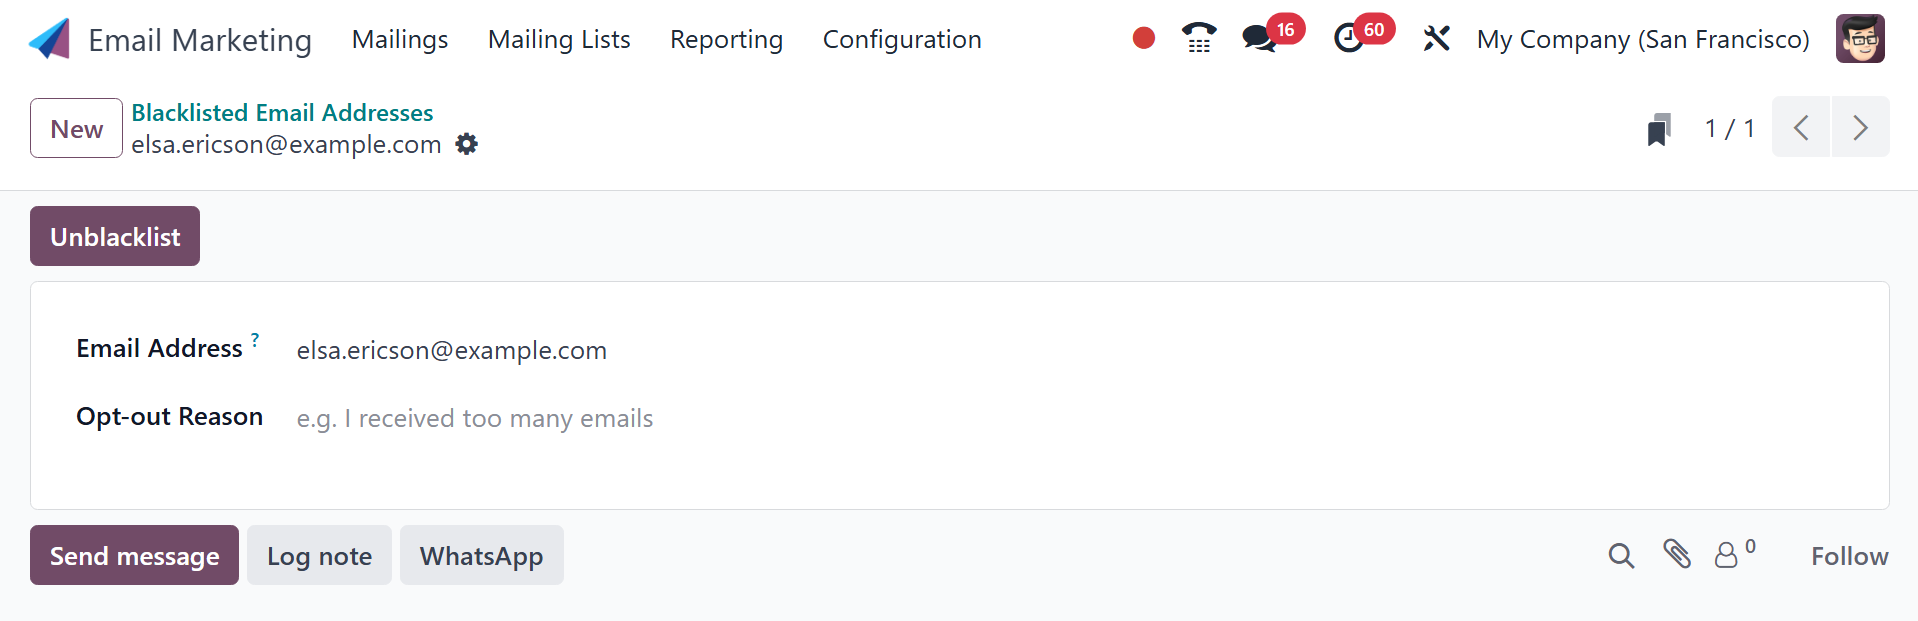
There, you are provided with the unblacklist option, which helps you
to unblacklist the email address very easily. On selecting the
option, you will be asked for a confirmation, as in the image below.
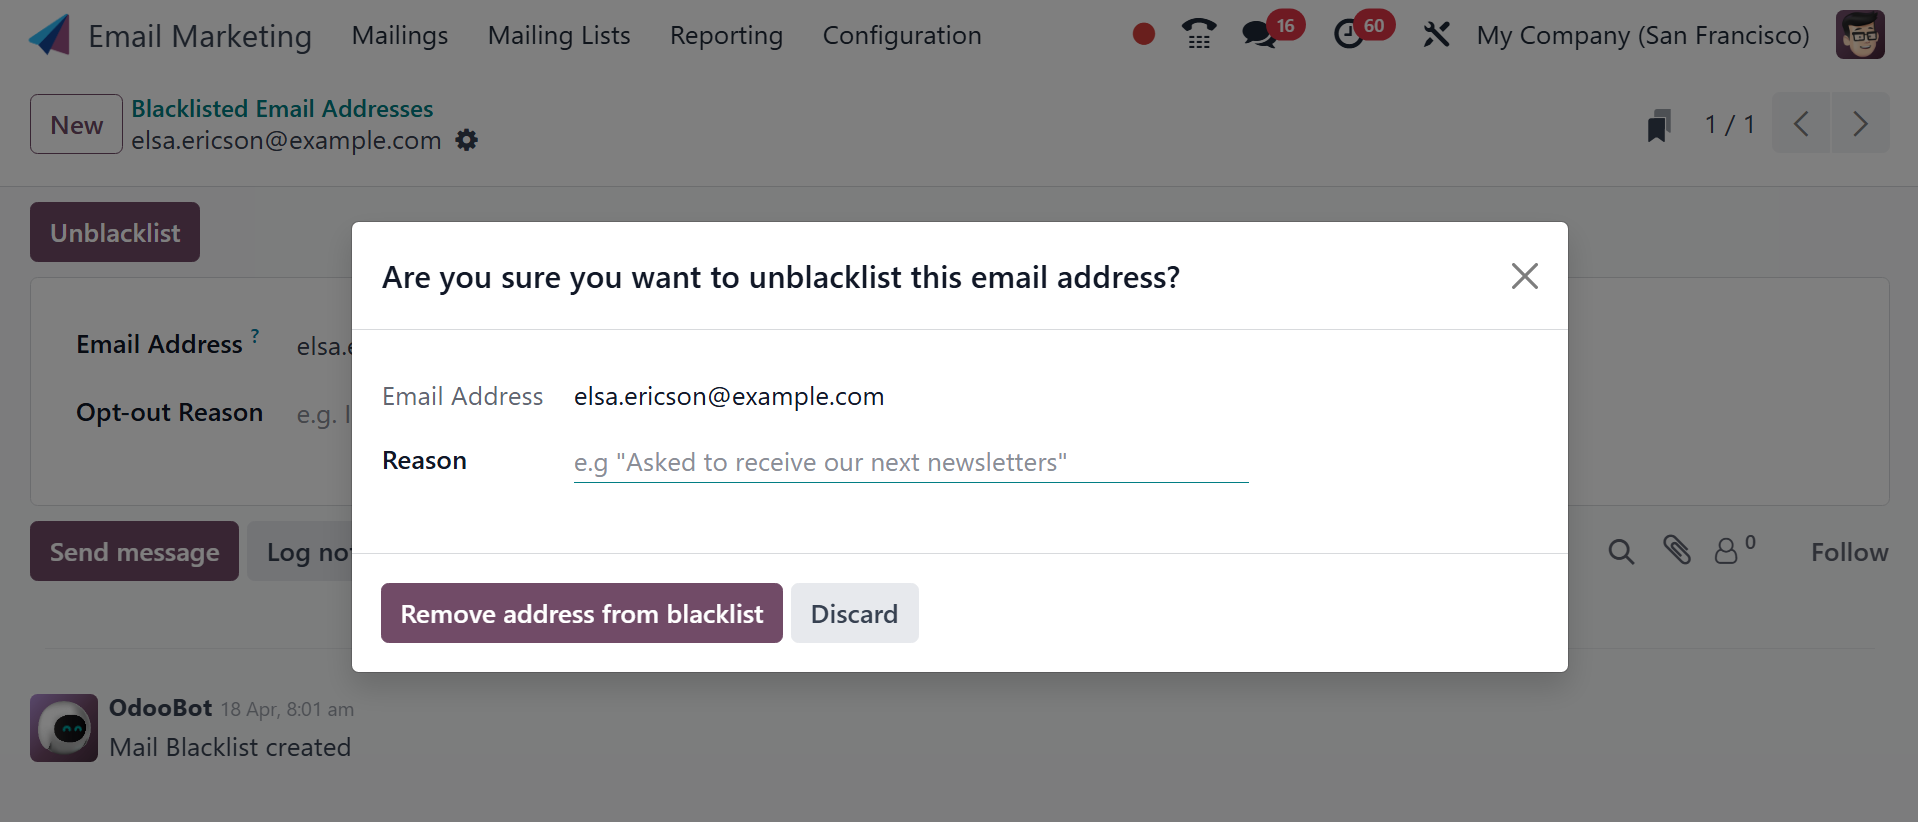
There, you can go for the remove address from blacklist option by
providing a reason.
You can see another Dedicated Server option next to that blacklisted
email address option. You have provided a dedicated mail server in
the options. To access this feature, you must first enable the
dedicated server option in the settings. After that, you can access
the settings of this specific outgoing email server. After choosing
the choice, you will be directed to a new page as seen below.
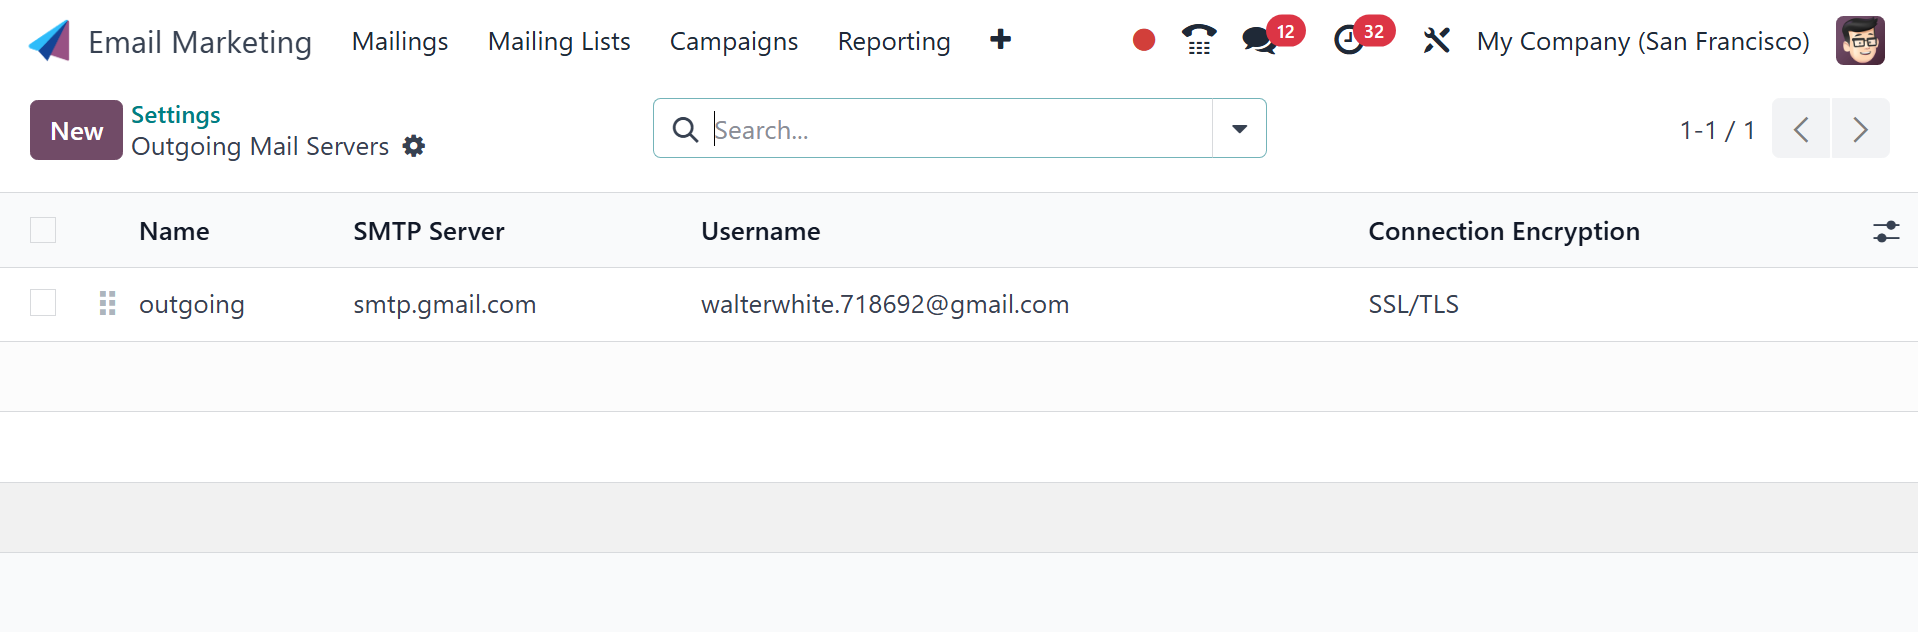
The screen allows you to add details like the login, SMTP name,
priority name, and connection encryption settings, among other
things. To create a dedicated server of a similar nature, you can
also click the New icon.
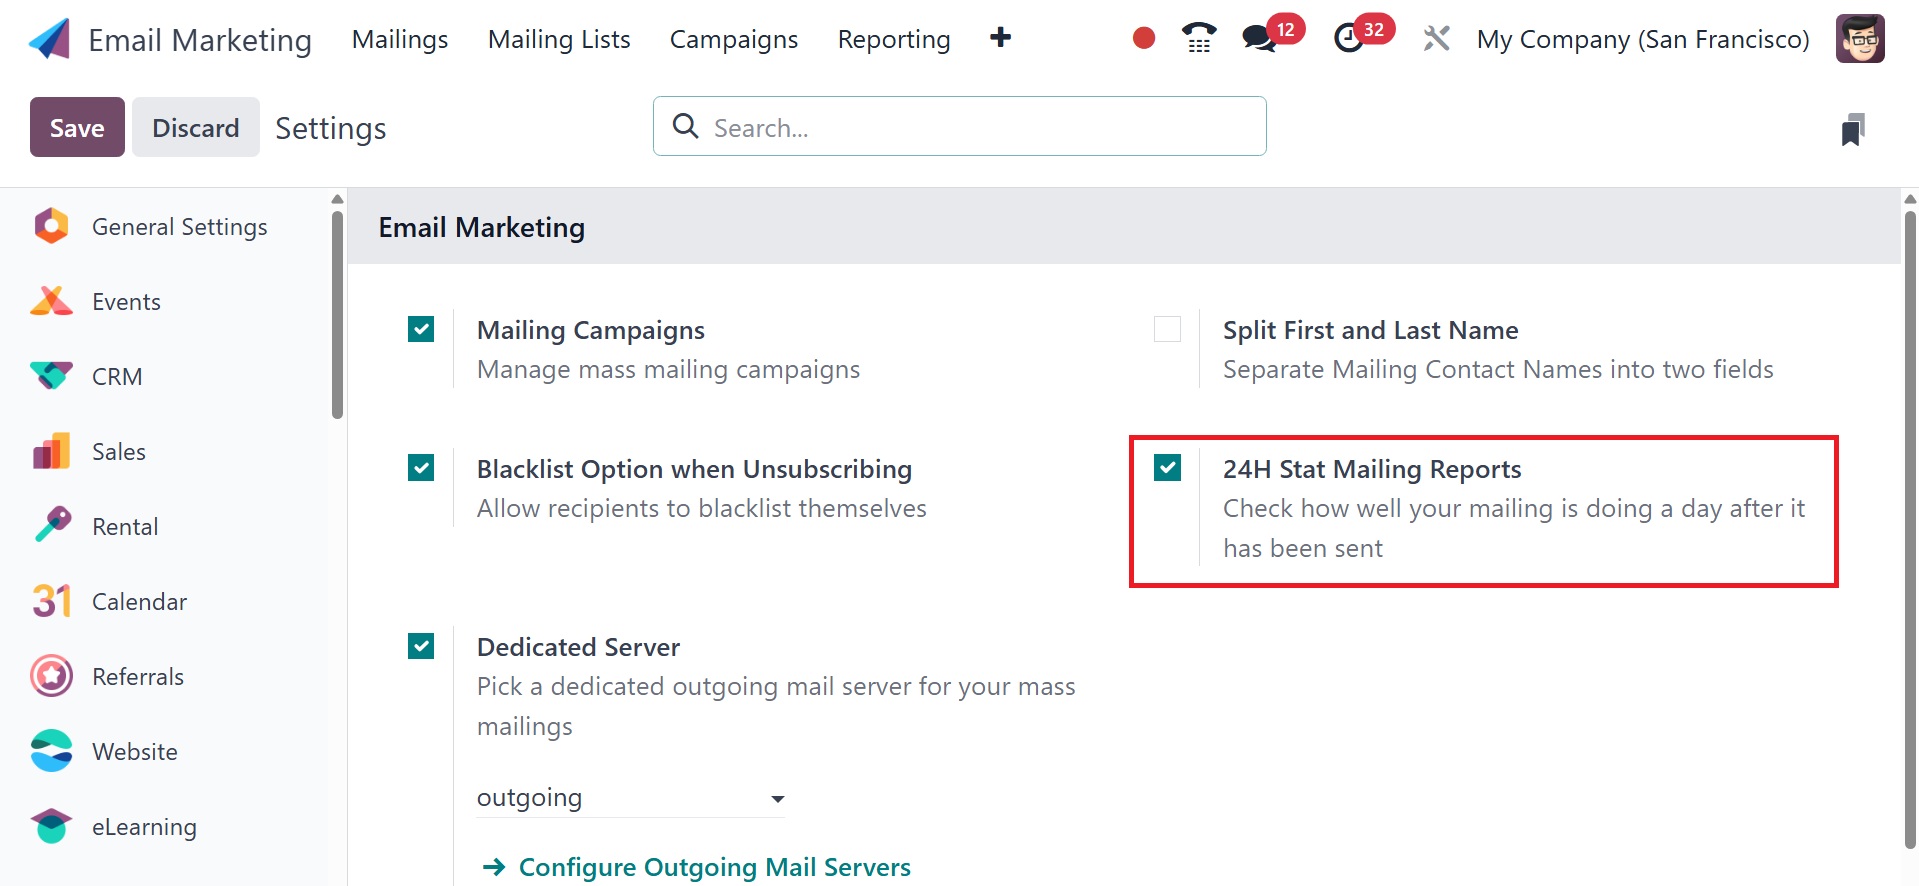
You can now choose the 24H Stat Mailing Reports option in the
module's settings. One day after you have completed sending your
mail, you can use the option to see how effectively it was handled.
To obtain the option, you need to activate it from the Email
Marketing module's settings. After making the necessary changes to
the settings, remember to click the Save icon to save the
modifications.
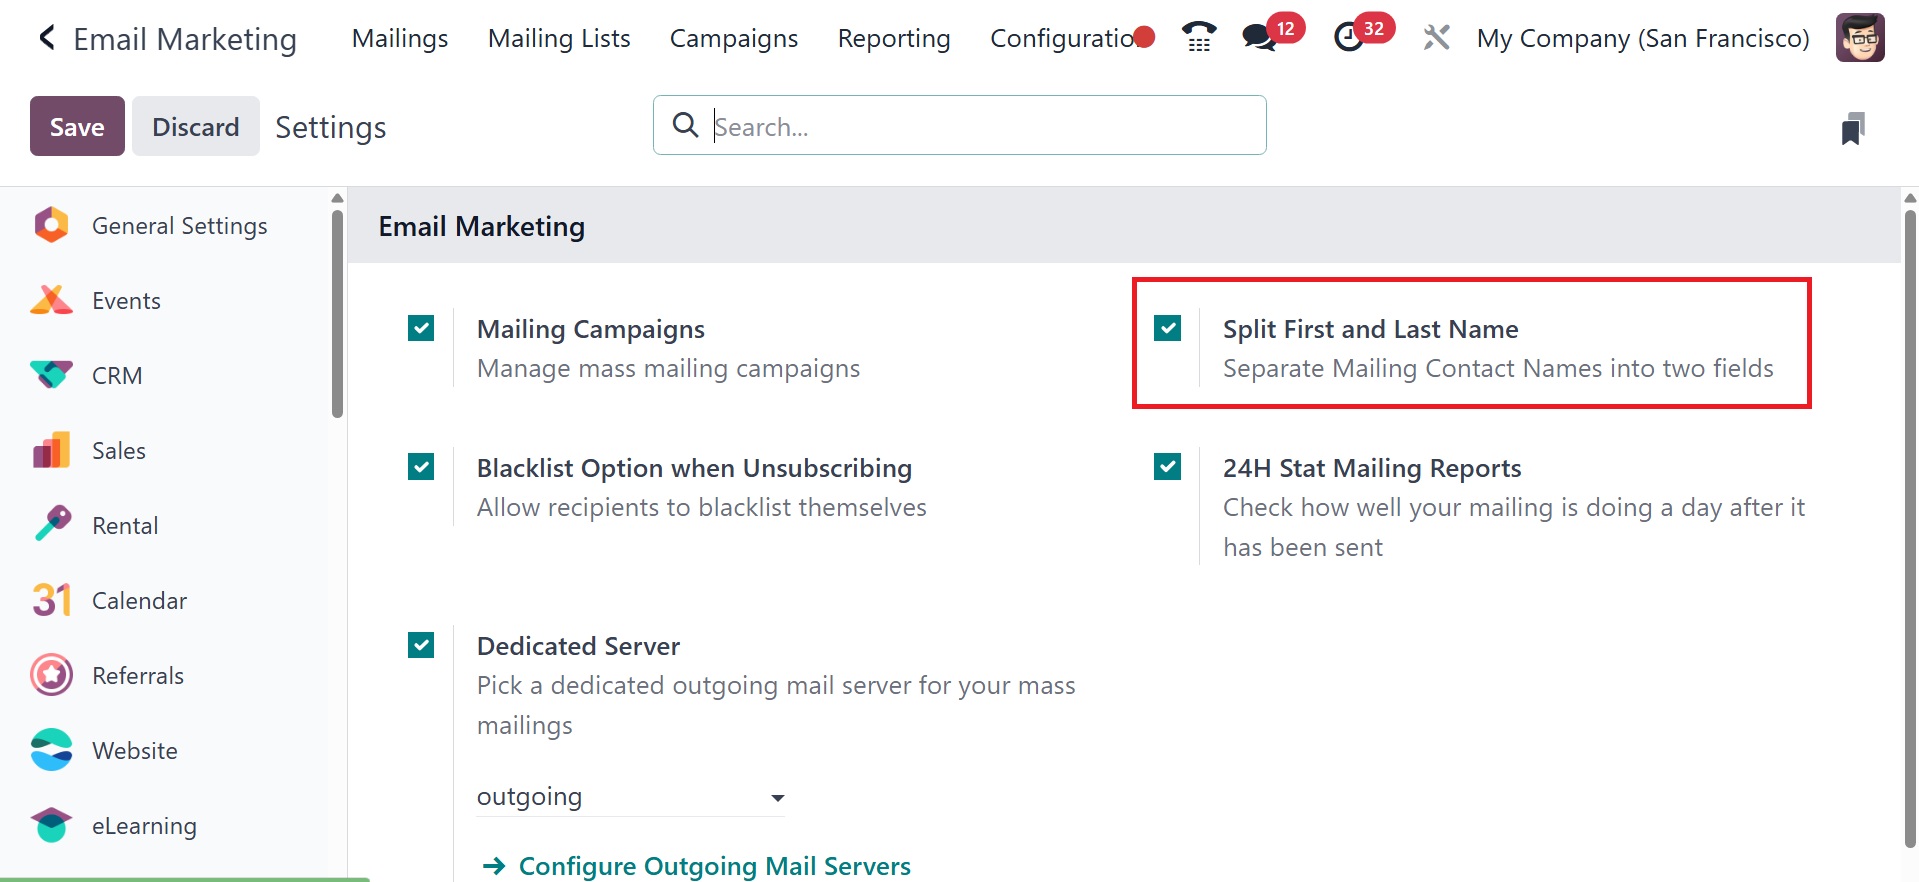
The next option is split first and last name, as in the screenshot
below, which separates mailing contact names into two fields.
4.5 Favorite Filters
You can select Favorite Filters from the setup menu of the Email
Marketing module, which is located directly beneath the banned email
address. The example below is how the feature page will appear.
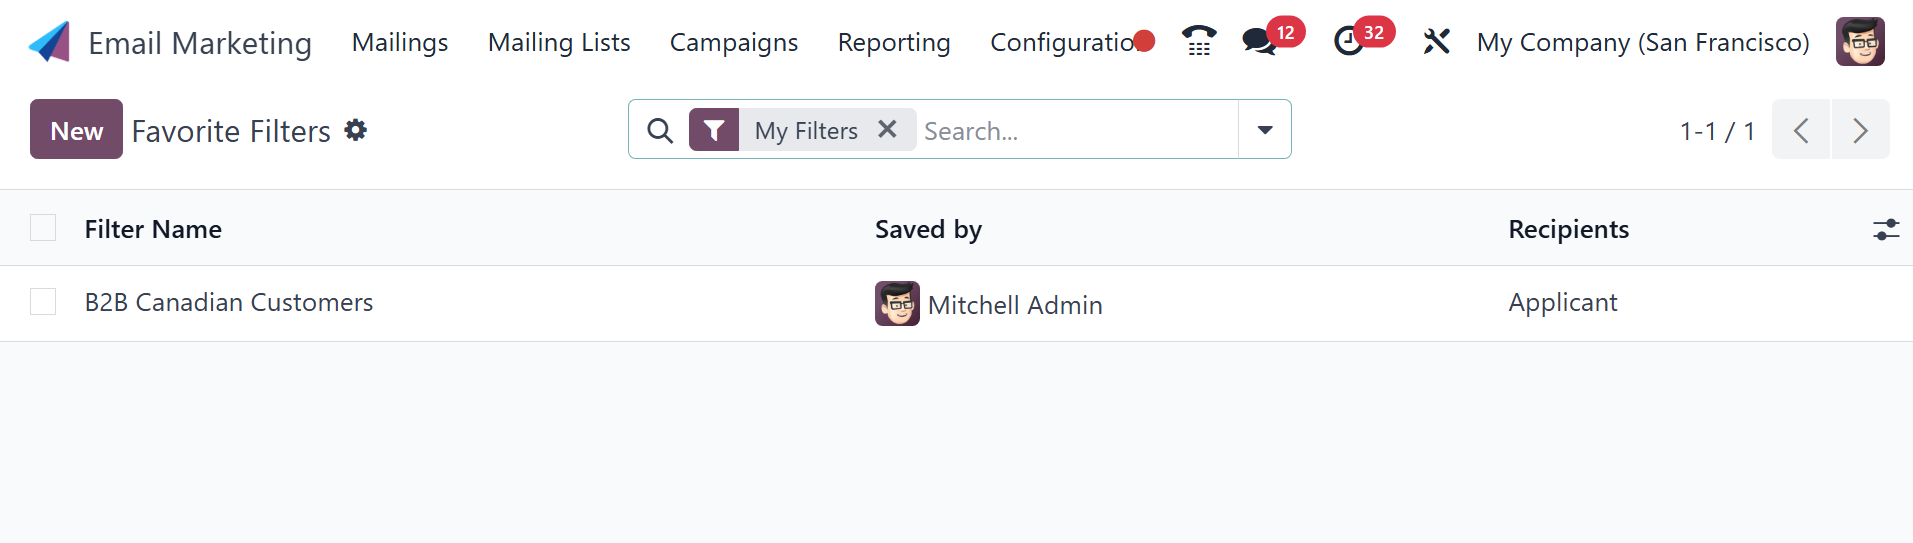
Using the favorite filters option, you may choose the proper rules to
filter the recipients while creating the mailing. You may store the
basis by simply adding it to your favorites by clicking the star
icon, which is just next to the recipient selection. The page
contains information about the receivers, who saved the filter, and
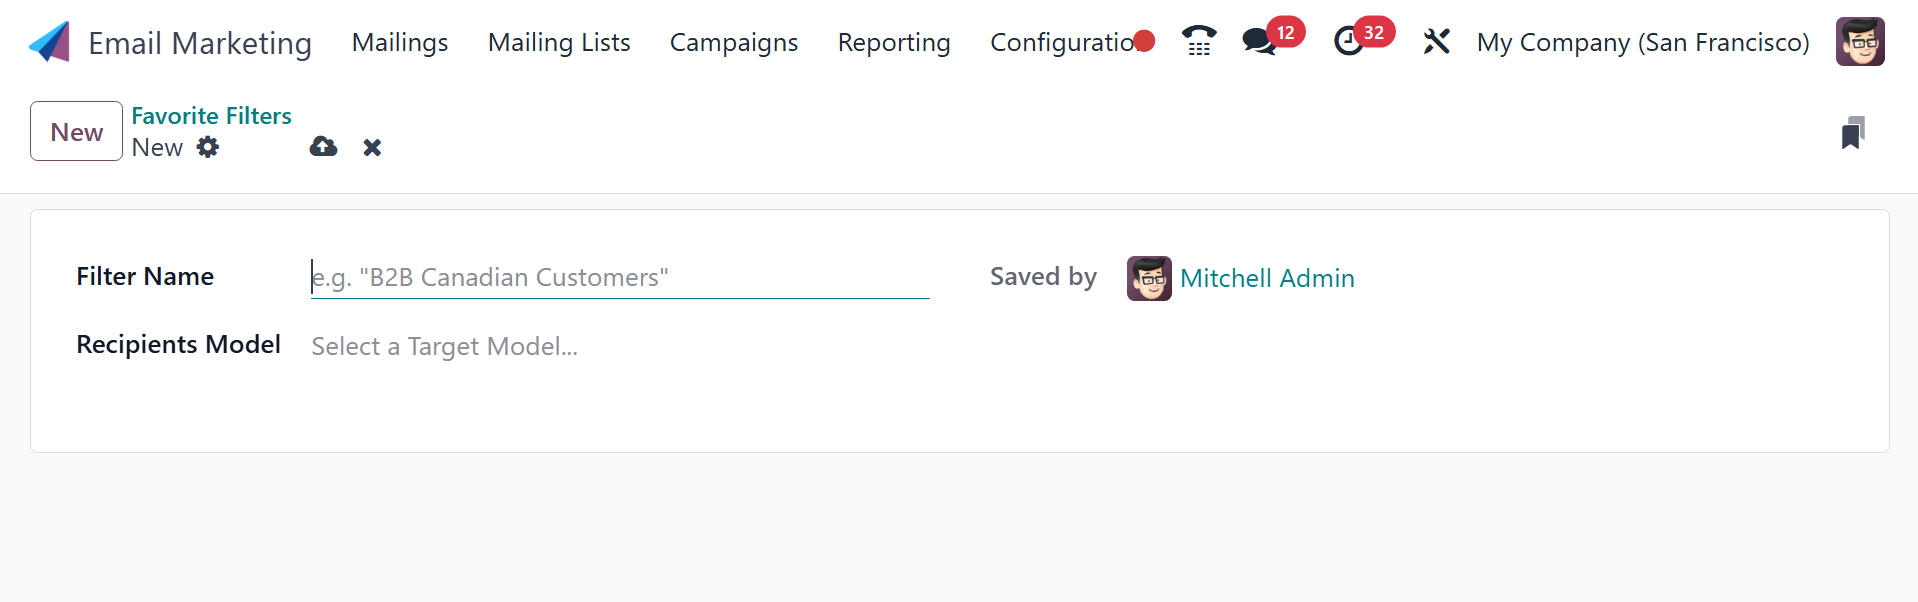
its name. To build a favorite filter of a similar type, just click
the New icon on the left side of the screen.
All things considered, the feature is very beneficial for email
senders and helps with promotion.
Email marketing in Odoo 18 maximizes marketing efforts, enhances
customer connection, and simplifies communication with a
comprehensive and connected platform.