2. Mailing lists
Under Email Marketing, you have the option of sending the email in
bulk or one at a time. Sending out emails in bulk can save a lot of
time, which is really beneficial. The mail can reach a large number
of people in a few simple steps. The Mailing List feature
facilitates the development of email addresses by leveraging the
features under Email Marketing. There are several reasons to
construct a mailing list, such as events, company promotions, and
marketing.
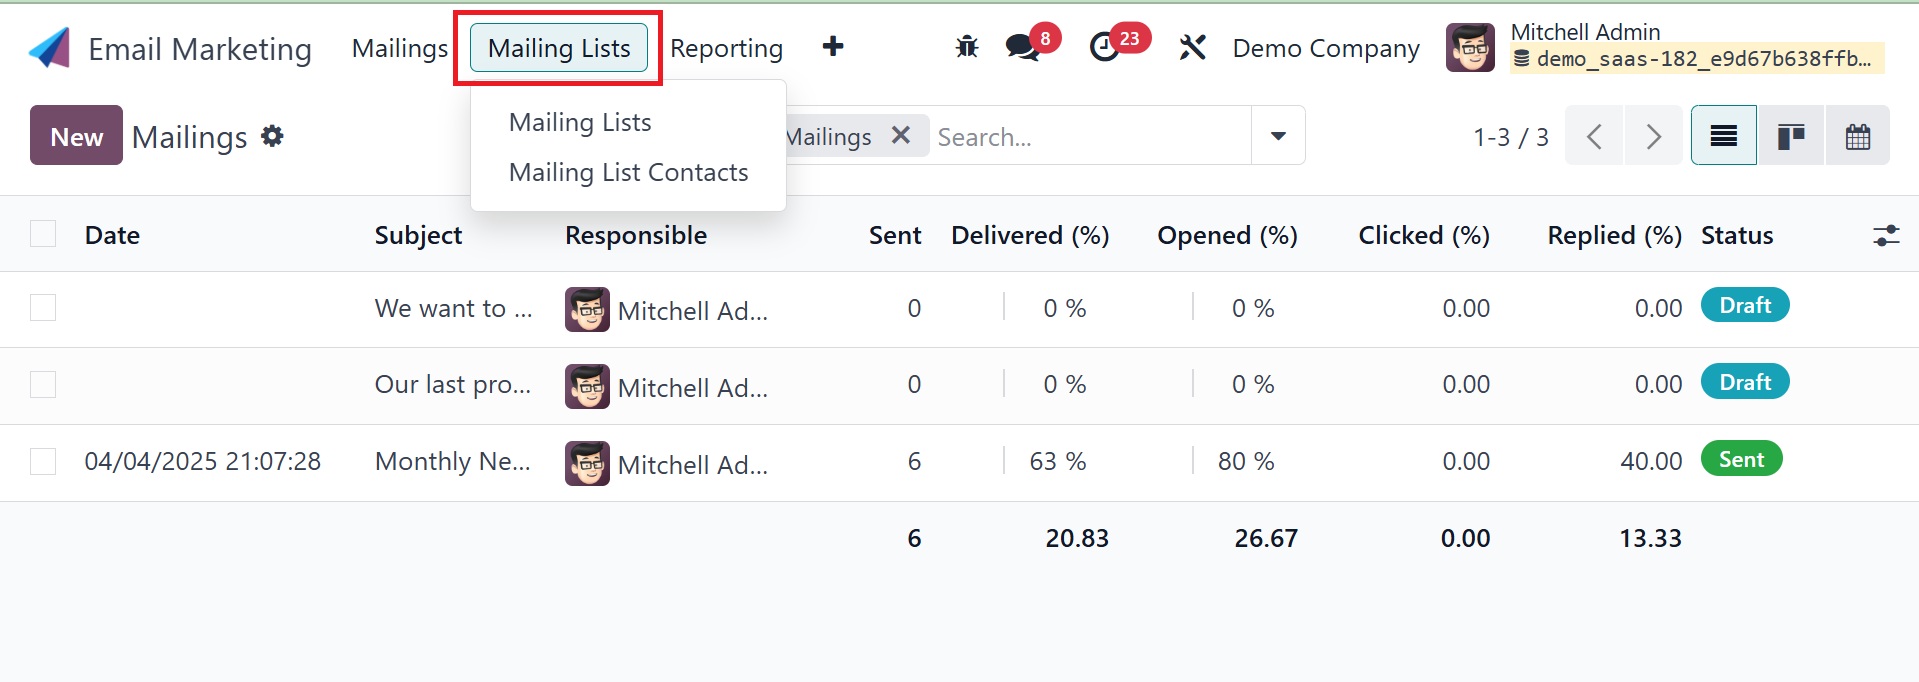
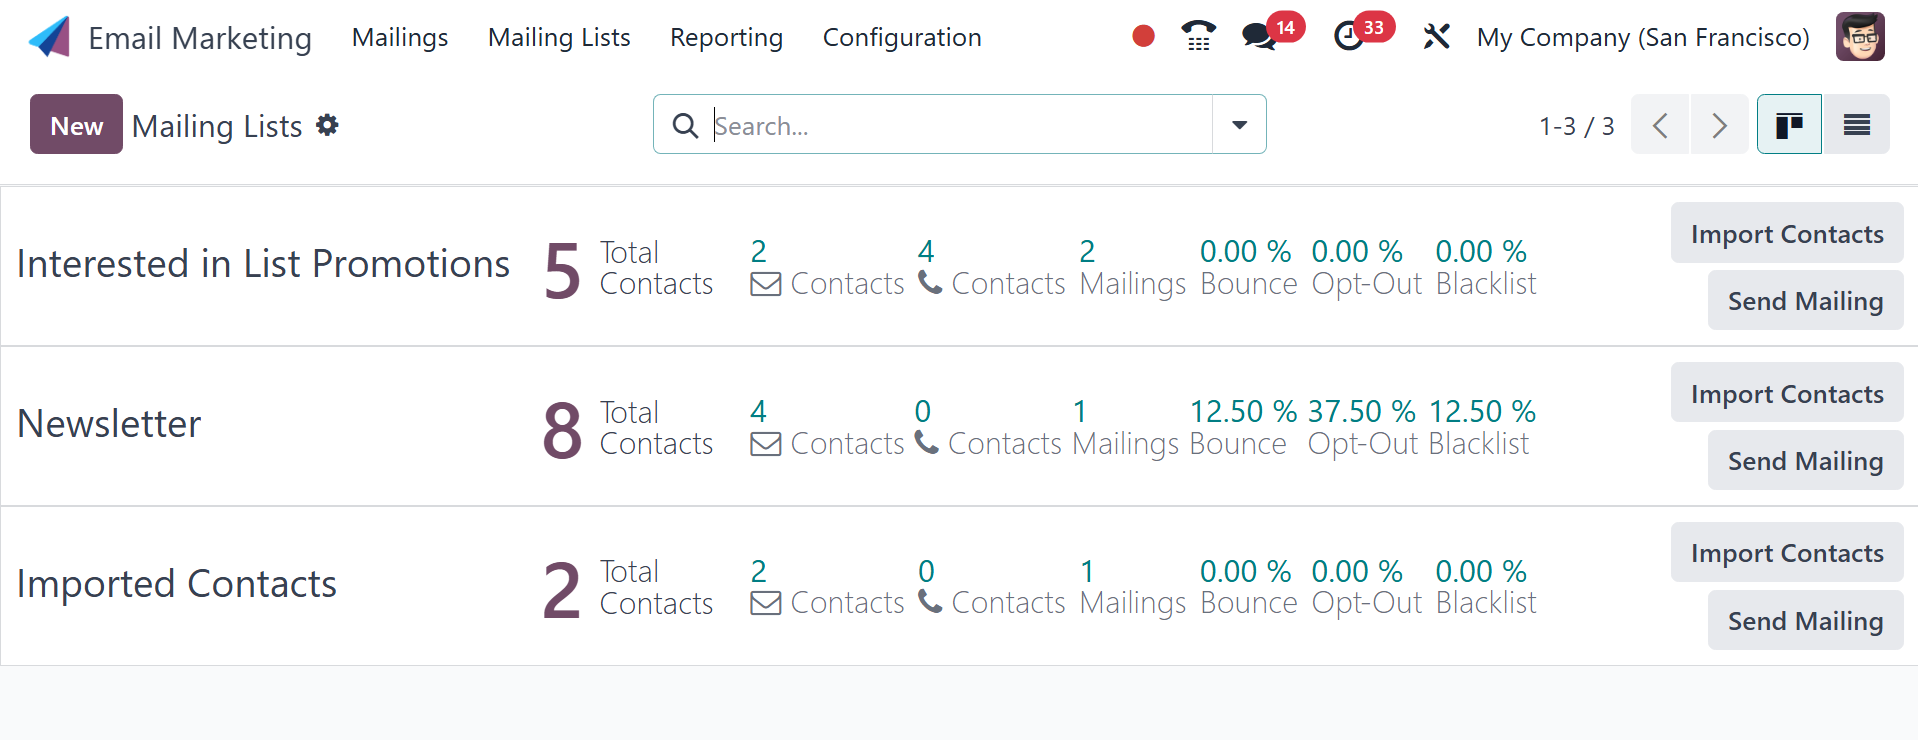
2.1 Mailing List
There is a Mailing List menu on the dashboard. The option provides a
new view type under the Kanban view. The page has a mailing list
that has already been created, as seen in the picture. The List view
displays the page as well. Each mailing list contains the names of
the mailing lists, the total number of contacts, the valid
recipients, the valid SMS recipients, and other information. For
more details, you can visit a particular one of them. To easily
import a list of recipients for your email campaigns, utilize the
Odoo Email Marketing module's "Import Contacts" option. Building
your mailing list from other sources, such as spreadsheets or other
systems, is made easier with its help.
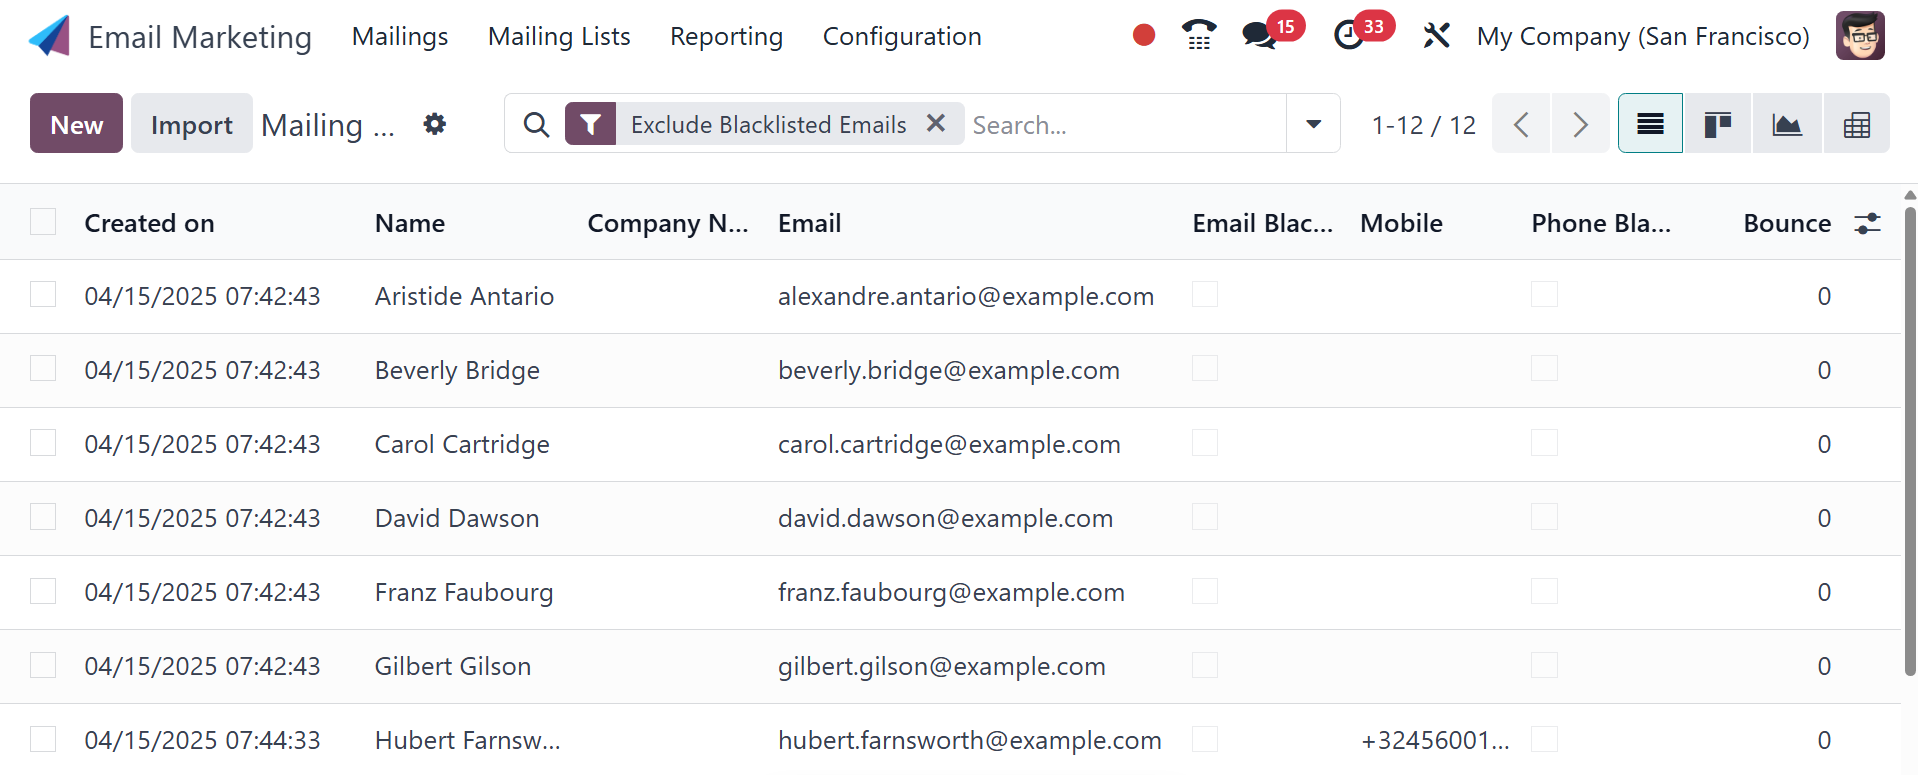
You will arrive at this page after selecting a particular one. To
display the mailing on the main list, you can select a preference
option. After selecting the number of contacts available on each
list, you will be presented with the contact details, as seen below.
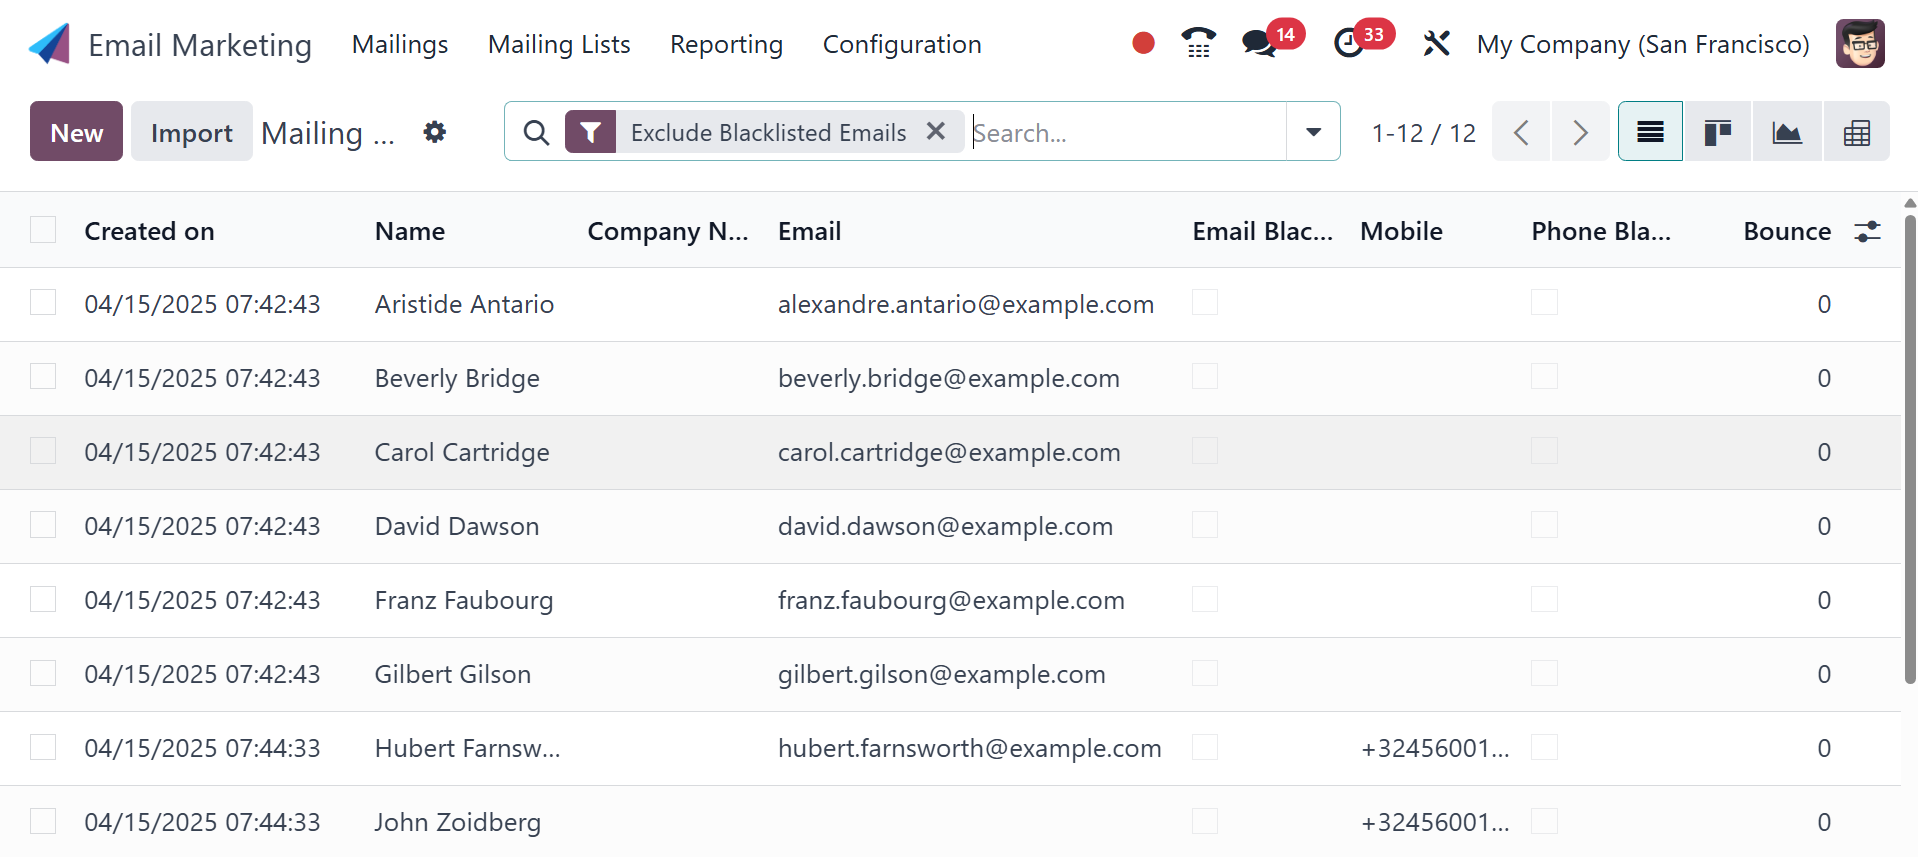
This page includes details such as the date of establishment, the
contact's name, the firm name, the contact's email address, whether
or not the contact is blacklisted, their phone number, and whether
or not they have opted out of receiving bounces.
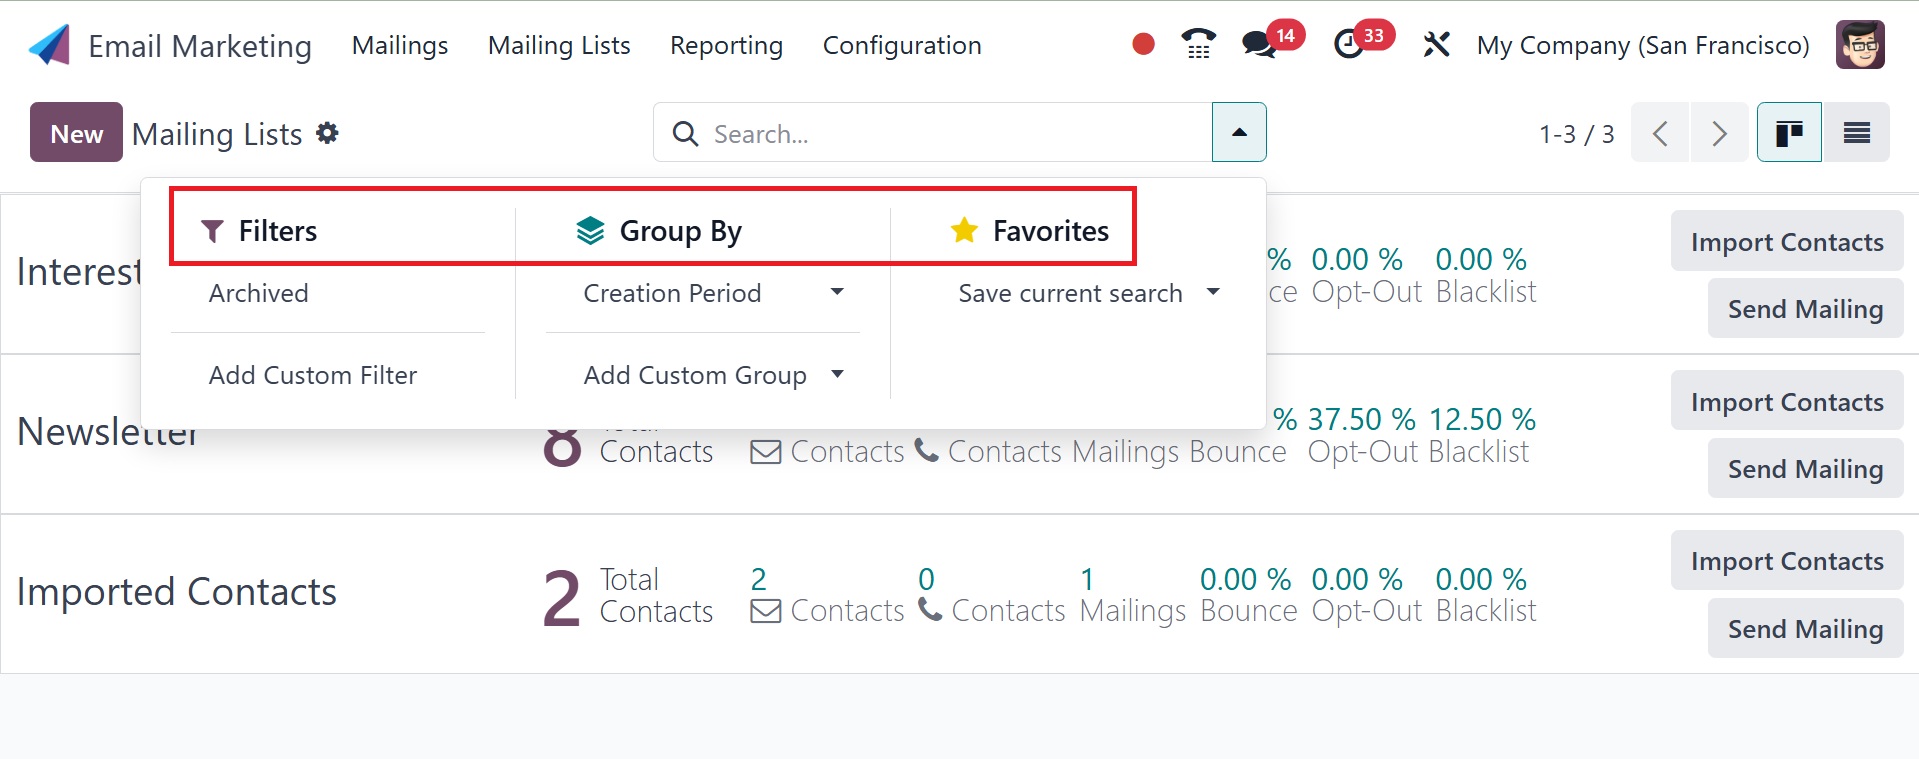
Now that you're back on the mailing list page, you can use the
Filters, Group By, and Favorite options to sort and arrange the data
as you see fit. The List view will appear when you select the list
option on the right side of the page.
To create such a mailing list, just click the New icon on the left
side of the screen.
In the space provided on the creation page, you can enter the name of
the mailing list. The show in preference option makes the mailing
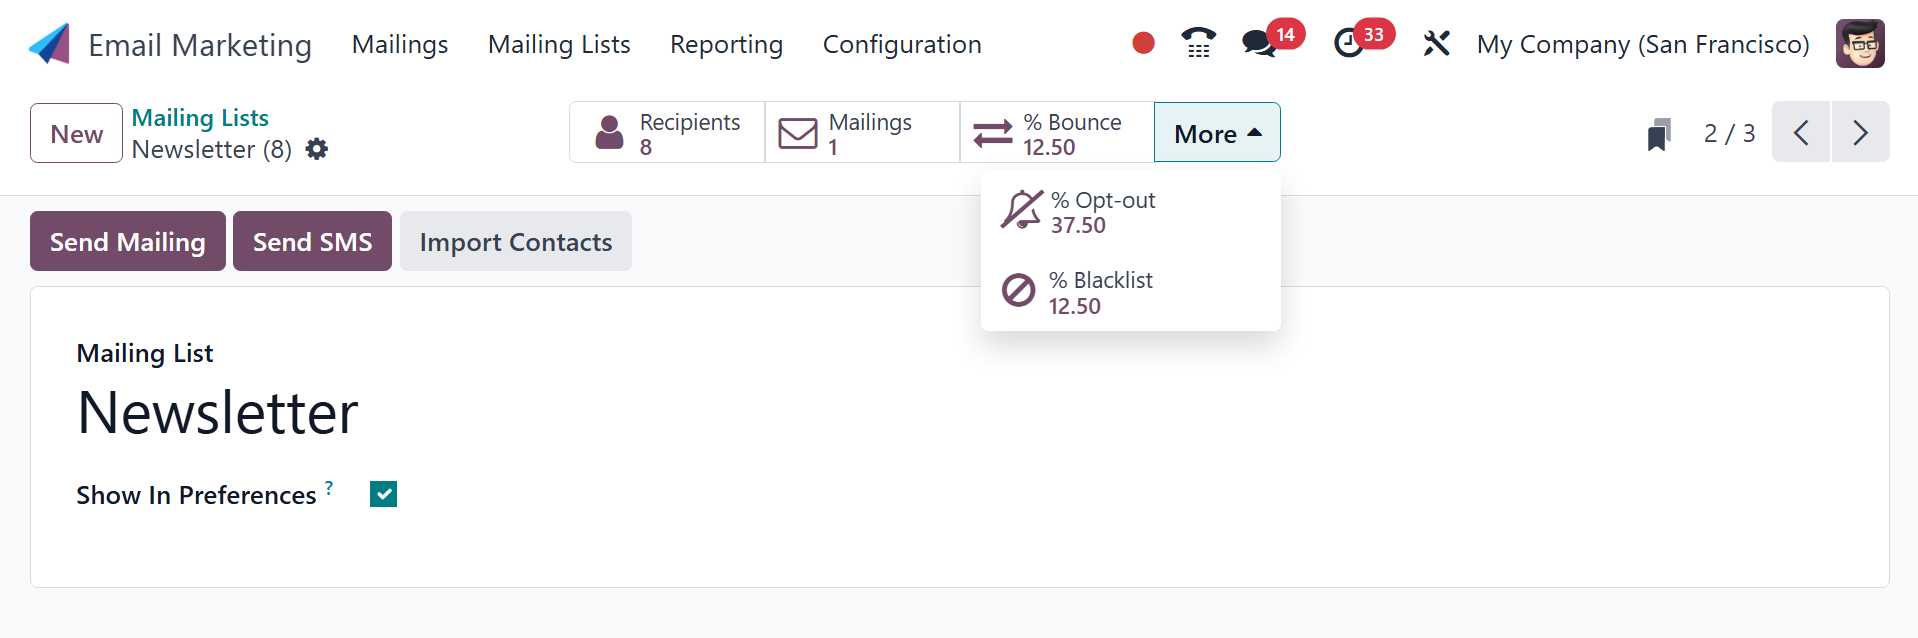
list visible to the recipients in their subscription preferences. A
number of clever buttons with settings for Recipients, Mailings,
Bounce, Opt-out, and Blacklist are also visible. Instant access to
the specified window is made possible by these buttons. To enter all
the required data, select the Save icon. The freshly generated
mailing list will then show up on the main page.
2.2 Mailing List Contact
Mailing list contacts can help you identify new people to add to your
mailing list. As seen in the image below, the "mailing list contact"
page will be shown.
The mailing list contact list includes their name, the name of the
company they work for, their email address, the option to activate
the email blacklist, their mobile phone number, the option to
activate the phone blacklist, bounce information, and the date the
list was created. The page contains a mailing list contact list that
has already been created.
The Filters and Group By choices allow you to arrange items based on
our requirements. The Filters option includes Bounced, Excluded
Blacklisted Emails, Exclude Blacklisted Phone, and Add Custom
Filters. To create a similar mailing list contact, click the New
icon on the website.
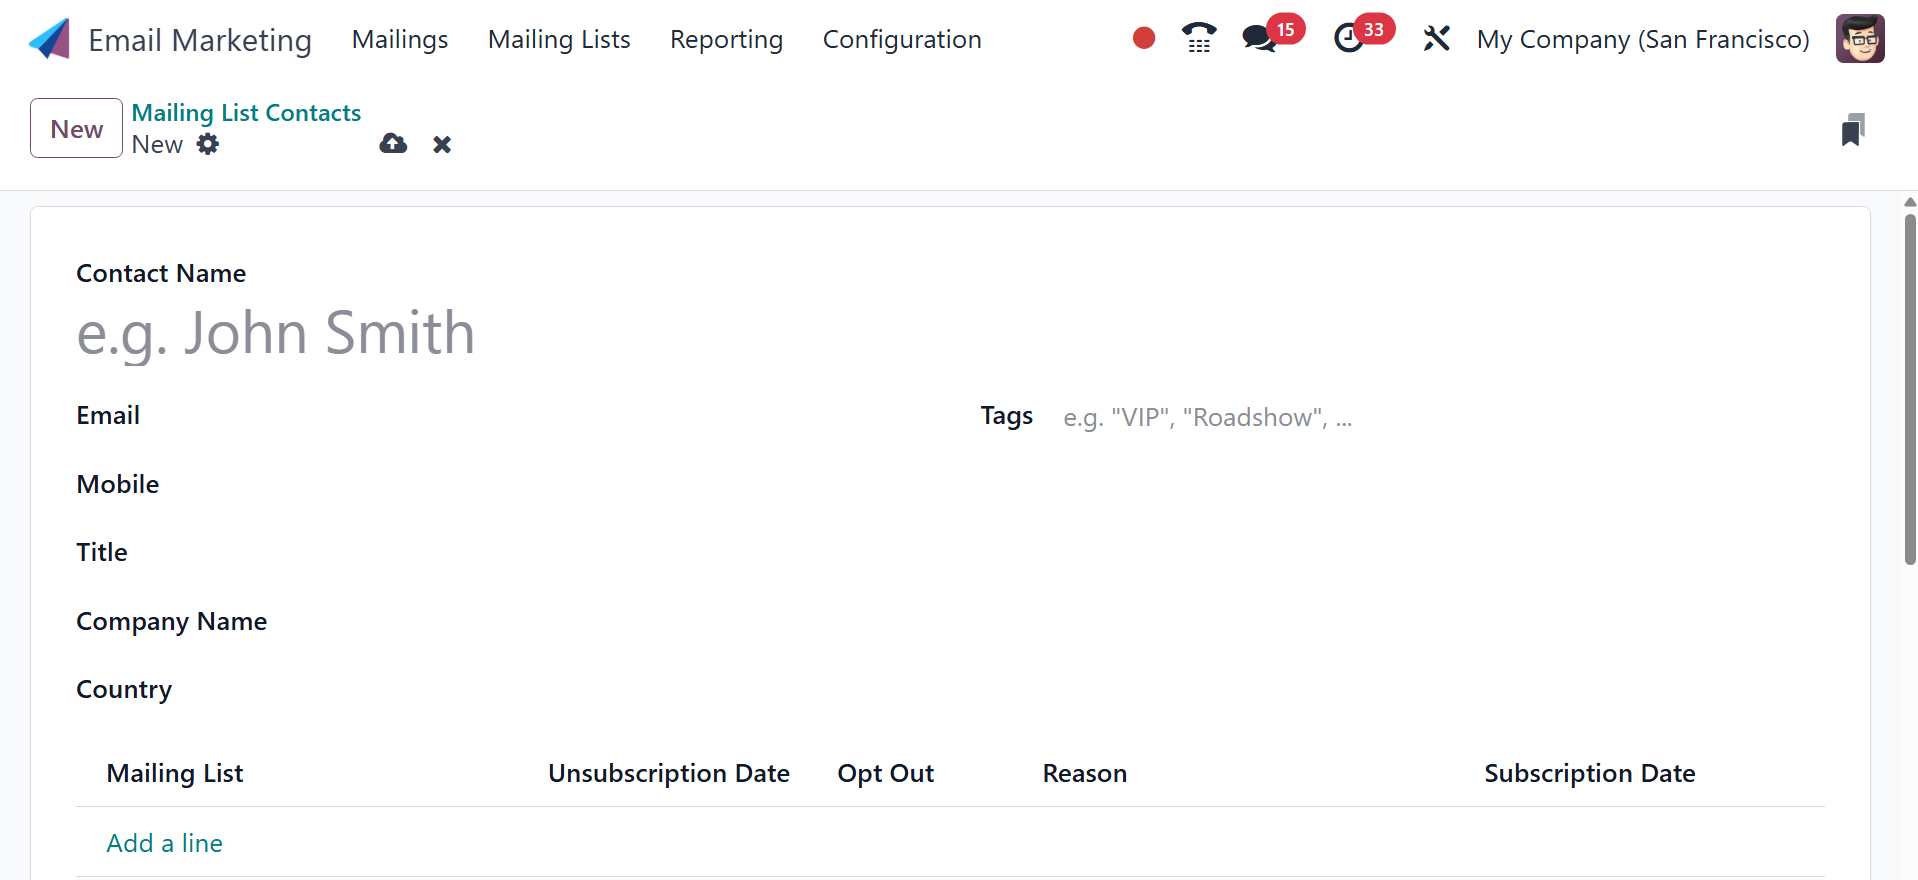
The contact name, tags, email, mobile number, title, company name,
and country are among the details you must submit on the creation
page. The new mailing list can be added using the Add a Line option.
You can choose the unsubscription date option if needed. Lastly, to
include this newly created contact in the existing list, click the
Save icon.