1. Events Management
After launching the Events module, which shows all of the platform's
specified events,
you will reach the main dashboard. You will have access to Kanban,
Pivot, List,
Gantt, Calendar, Map, and Graphical views for the events platform.
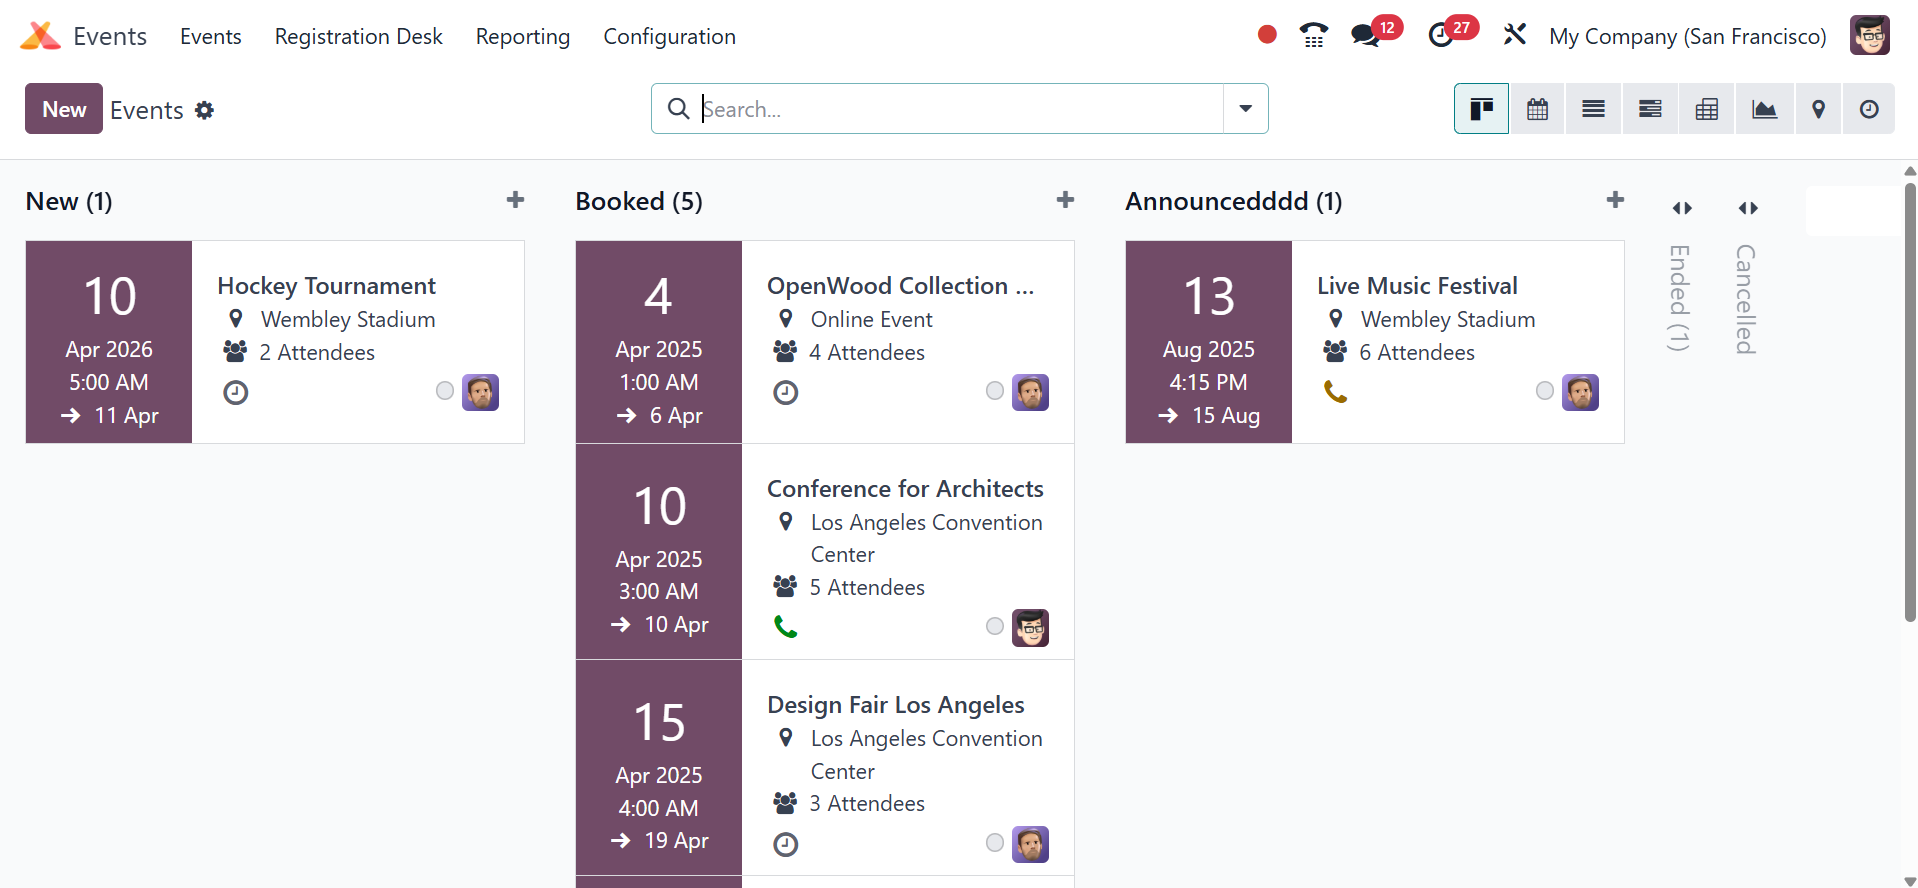
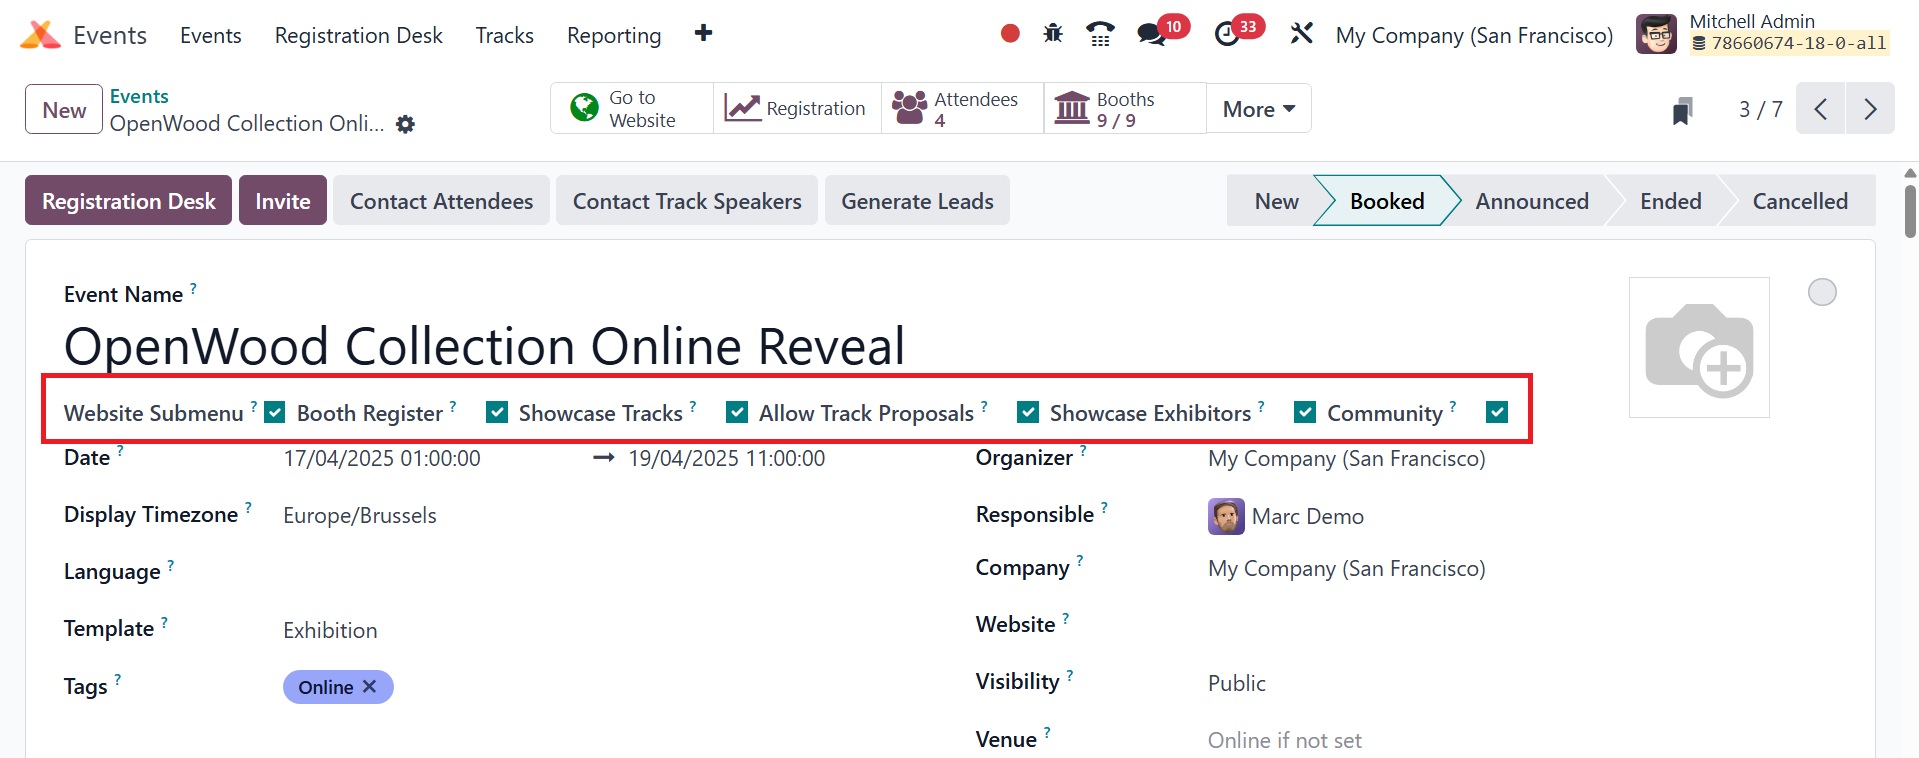
As can be seen in the screenshot above, the events are arranged in
the Kanban view
under several stages. You will have a clear picture of how the event
progresses
if you group them into the right stages. You may rapidly assign a
new stage for
events by clicking the + Stage next to the Add a Column option. The
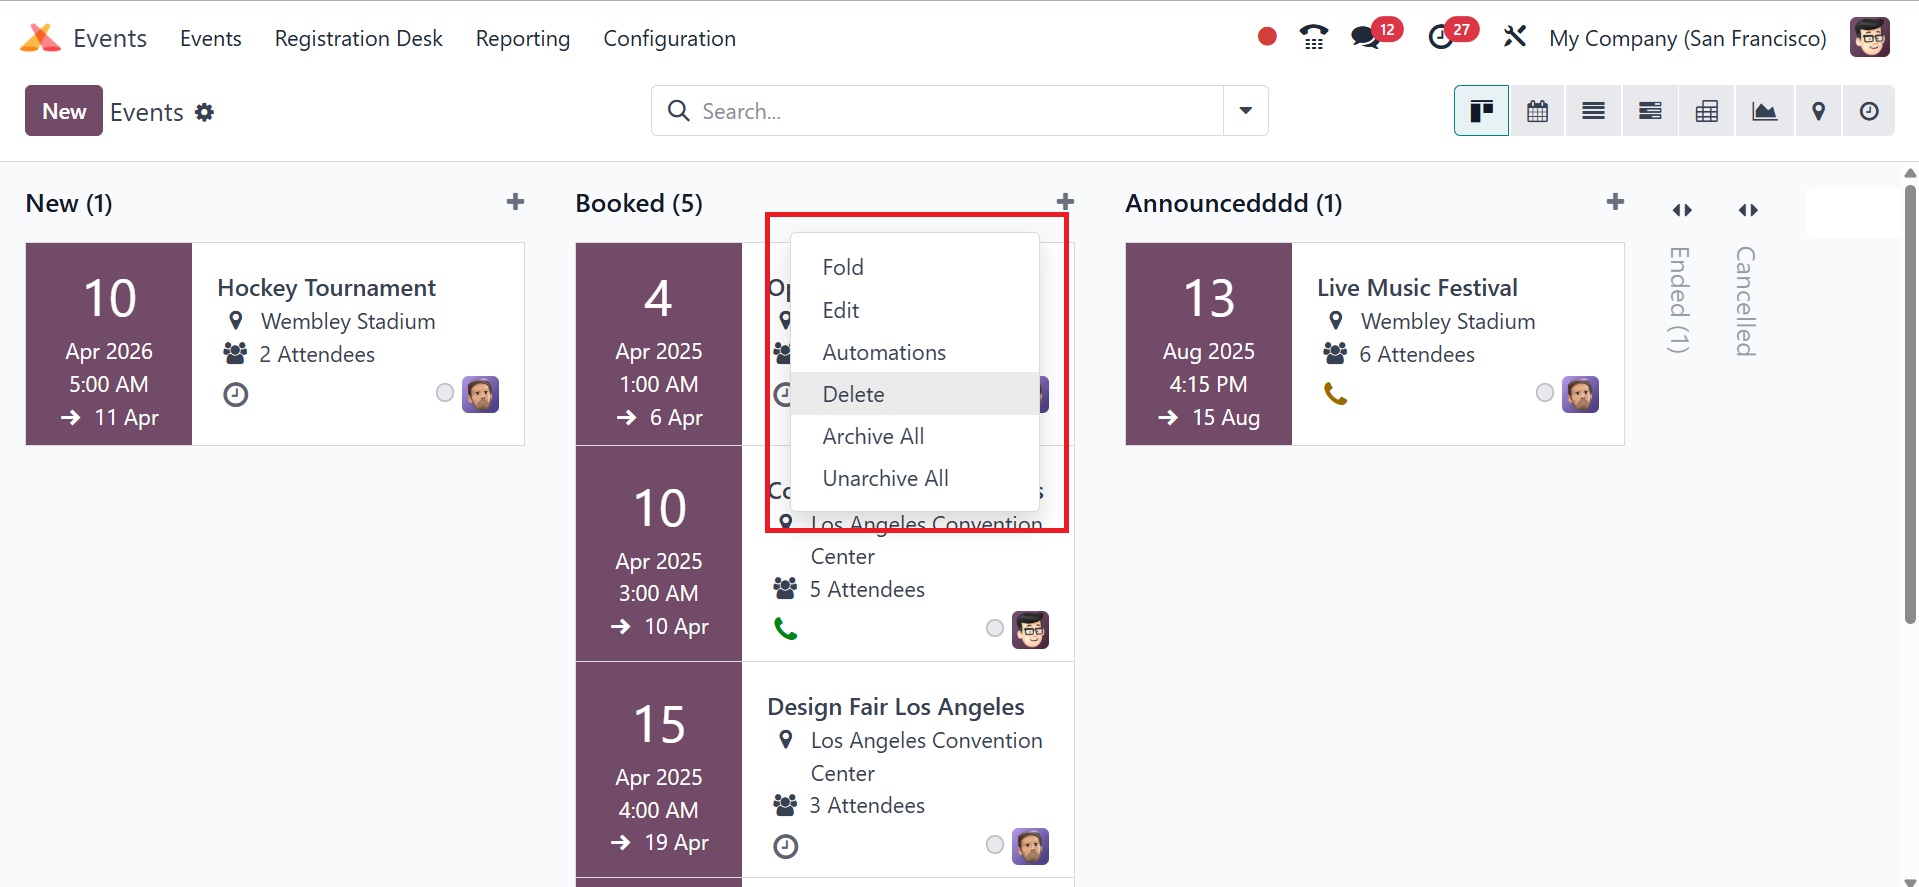
options icon
next to the stage title allows you to edit, remove, archive, and
unarchive the stage,
as well as fold it in Kanban view.
The event preview will include the event's name, venue, date, time,
and expected
attendees. The screenshot shows the image of the employee who
started that incident.
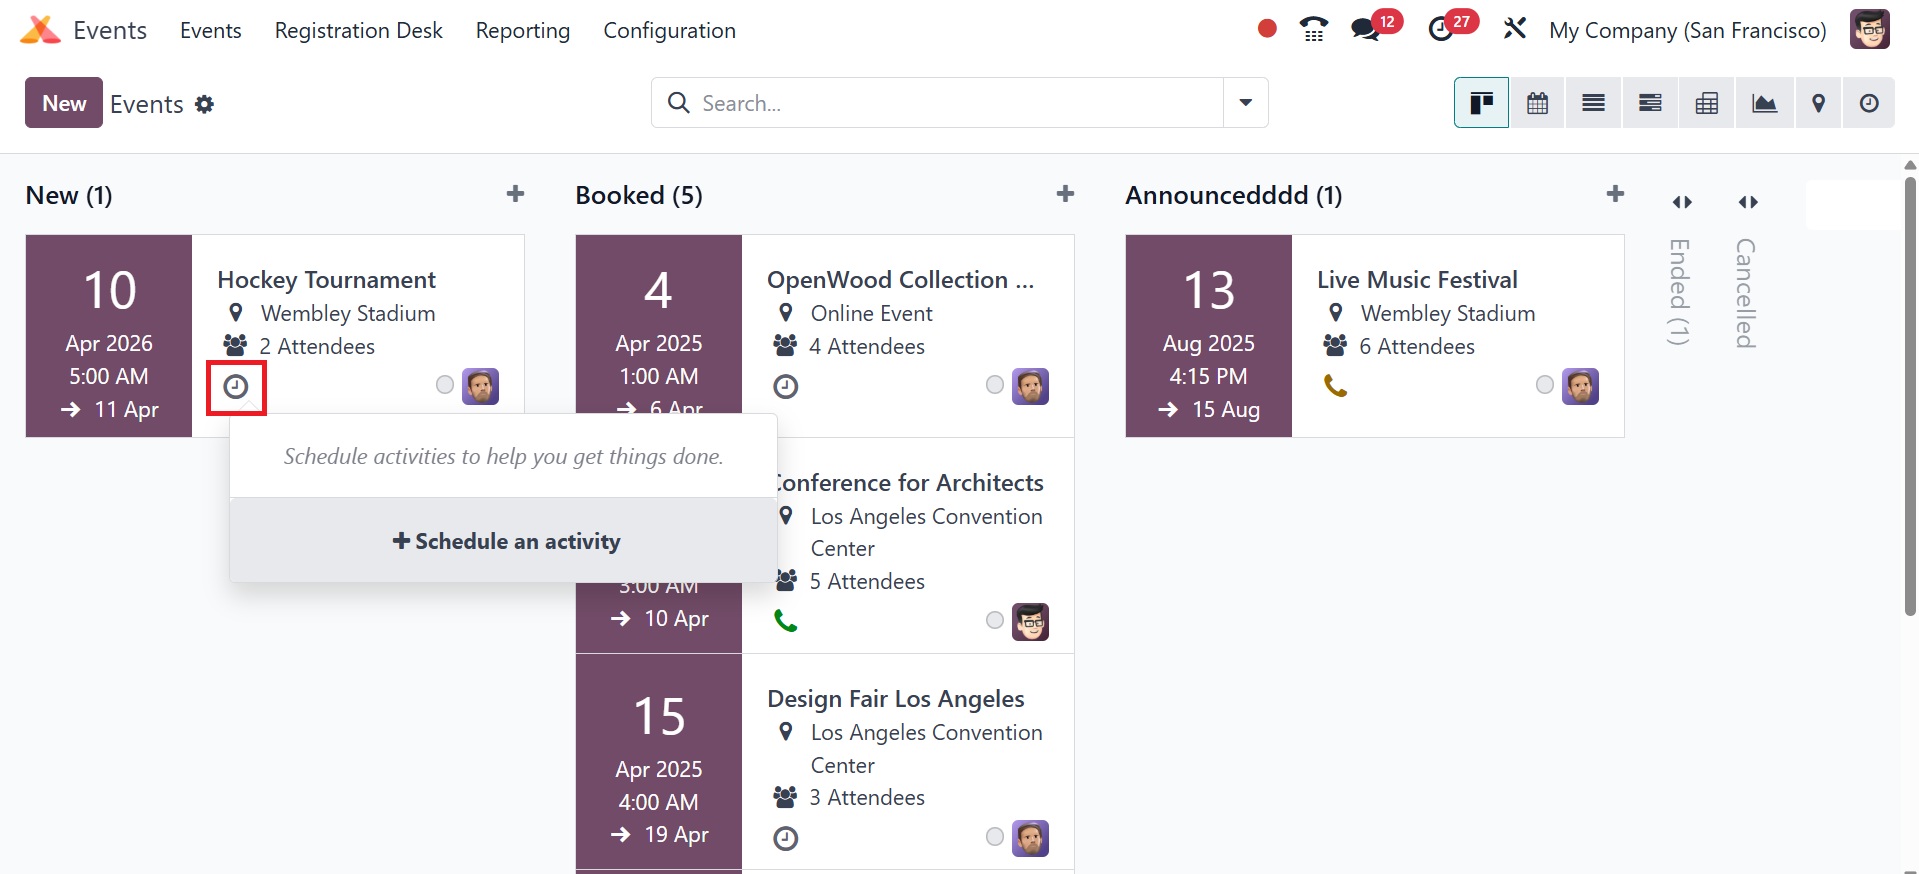
Each event's clock indicator will help you organize your schedule
for that particular
event. You can use the default and resizable Filters and Group By
options to sort
and locate the relevant data from the events displayed.
If you want to add a new event under a specific stage right away,
click the + icon
next to the stage title, as seen in the screenshot below. You can
input the name
of the event as well as its start and end dates in the designated
spaces.
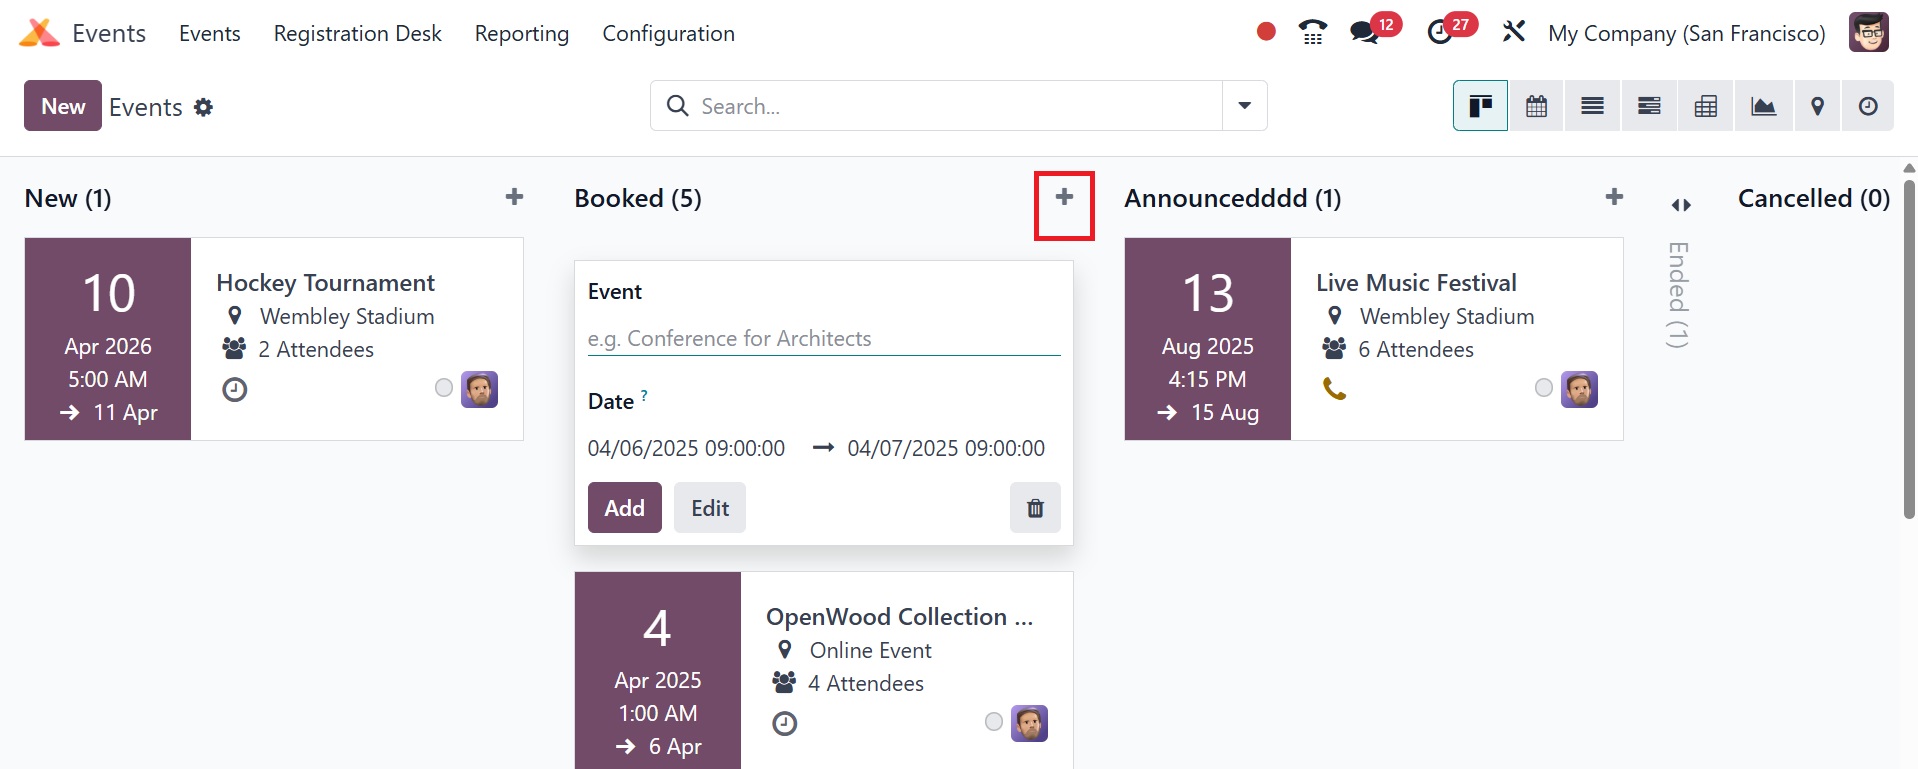
Clicking the Add or Edit buttons, accordingly, will add the event to
the relevant
stage. You may also create new events by clicking the New button.

You can enter the name of the event in the Event Name area. By
enabling the Website
Submenu option, event-specific menus can be shown and controlled on
the website.
The submenu includes the booth register, Showcase Tracks, allow
track proposal,
Showcase Exhibitors, and Community tabs.
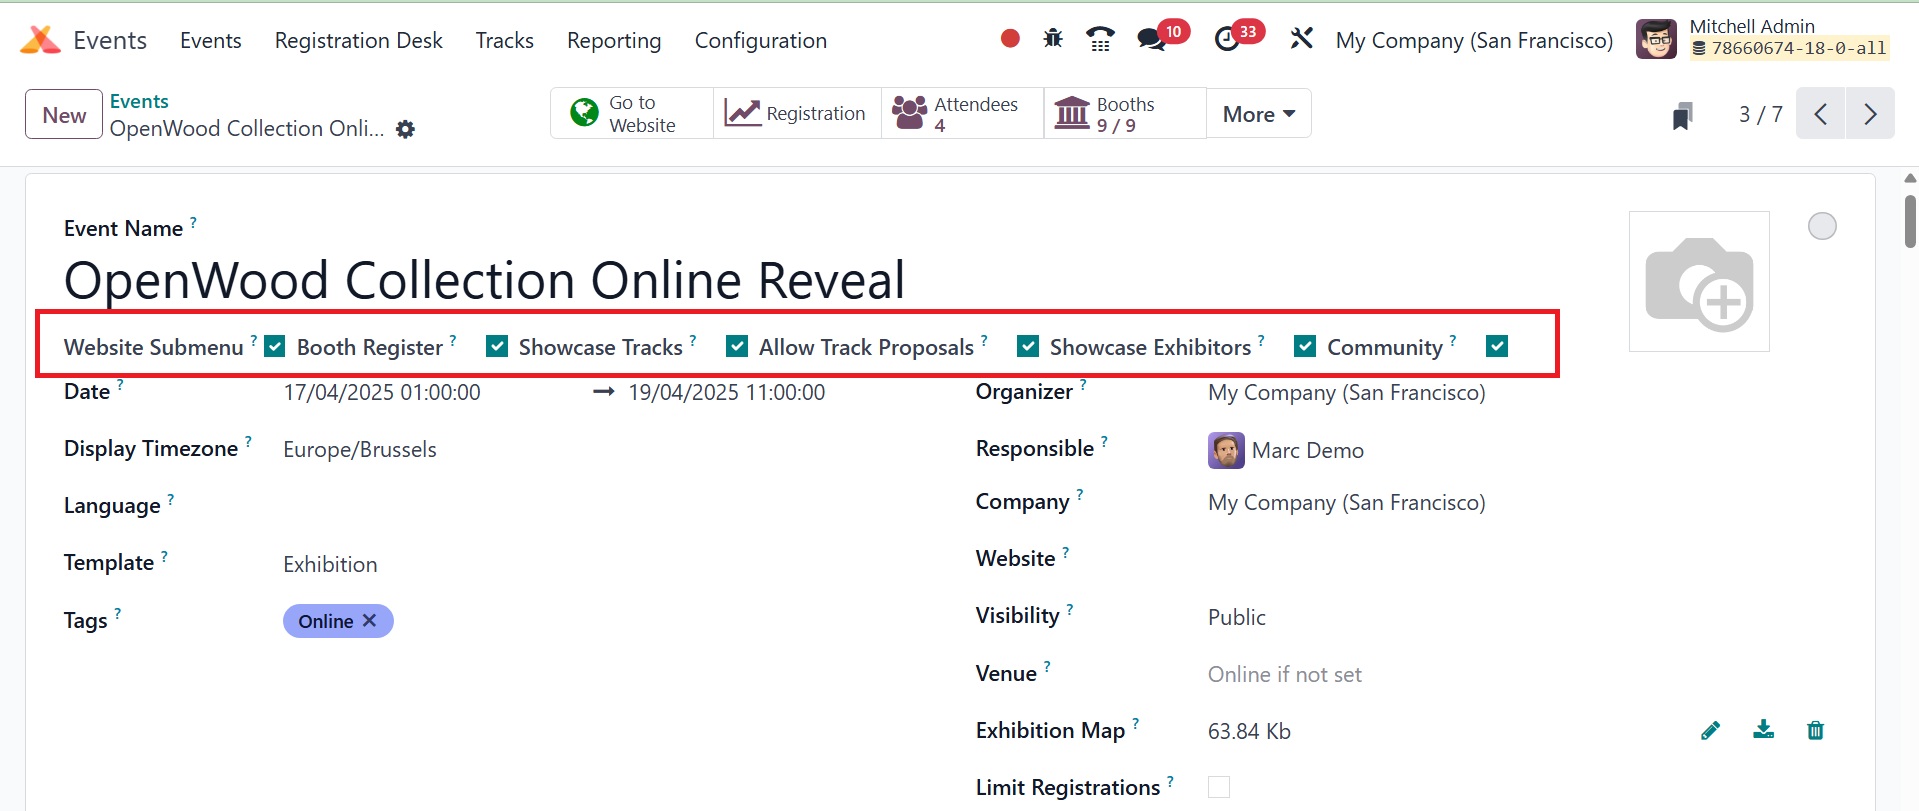
The Website Submenu can be used to organize and show menus that are
exclusive to
a website. The Booth Registration menu. The Booth Register can be
used to register
for events. Allow Track Proposal invites presenters from the public
to submit a
talk proposal. Later, this will be approved or rejected by the
organizers based
on the relevance of the talk proposals. Once it is accepted, it will
be published
under 'Talks' on the website. The Community option will then display
the website's
community tab. To access these Booleans, you need to be in debug
mode.
Below that, you will find the template, tags, visibility, and venue
options. The
template option allows you to reuse configurations for similar
events. Tags are
used to categorize and filter events. Visibility controls who can
see/register for
the event, and the venue option is for the location of the event.
Enter the event's start and end dates, time zone, Twitter wall,
relevant event template,
tags, event organizer, employee in charge of the event, company,
website to limit
event posting to the selected website, and venue in the
corresponding fields. You
can submit a map of the exhibition by selecting the "Upload Your
File" option.
You can enter the maximum number of guests in a new field that
appears when you
click the Limit Registration button. Additionally, you have the
ability to add a
Badge backdrop and mention the Badge Dimension in the relevant
section.
In the module's Settings menu, you can turn on the Tickets and
Online Ticketing
features. These options can be used for online ticket sales and
sales orders, respectively.

You may now create tickets for the events under the Tickets option
in the event
creation box.
By selecting the Add a Line button, you may select the event tickets
you like. You
can first set up the event ticket as a service product in Odoo 18.
When setting
up the ticket, choose Create on order as event registration to
create the ticket.
You can add these tickets under the Tickets tab. Enter the price,
the sale's start
and end dates, and the maximum quantity of tickets that will be
available in the
appropriate fields. You will see the number of confirmed and
unconfirmed tickets
in this tab when clients buy tickets on your website.
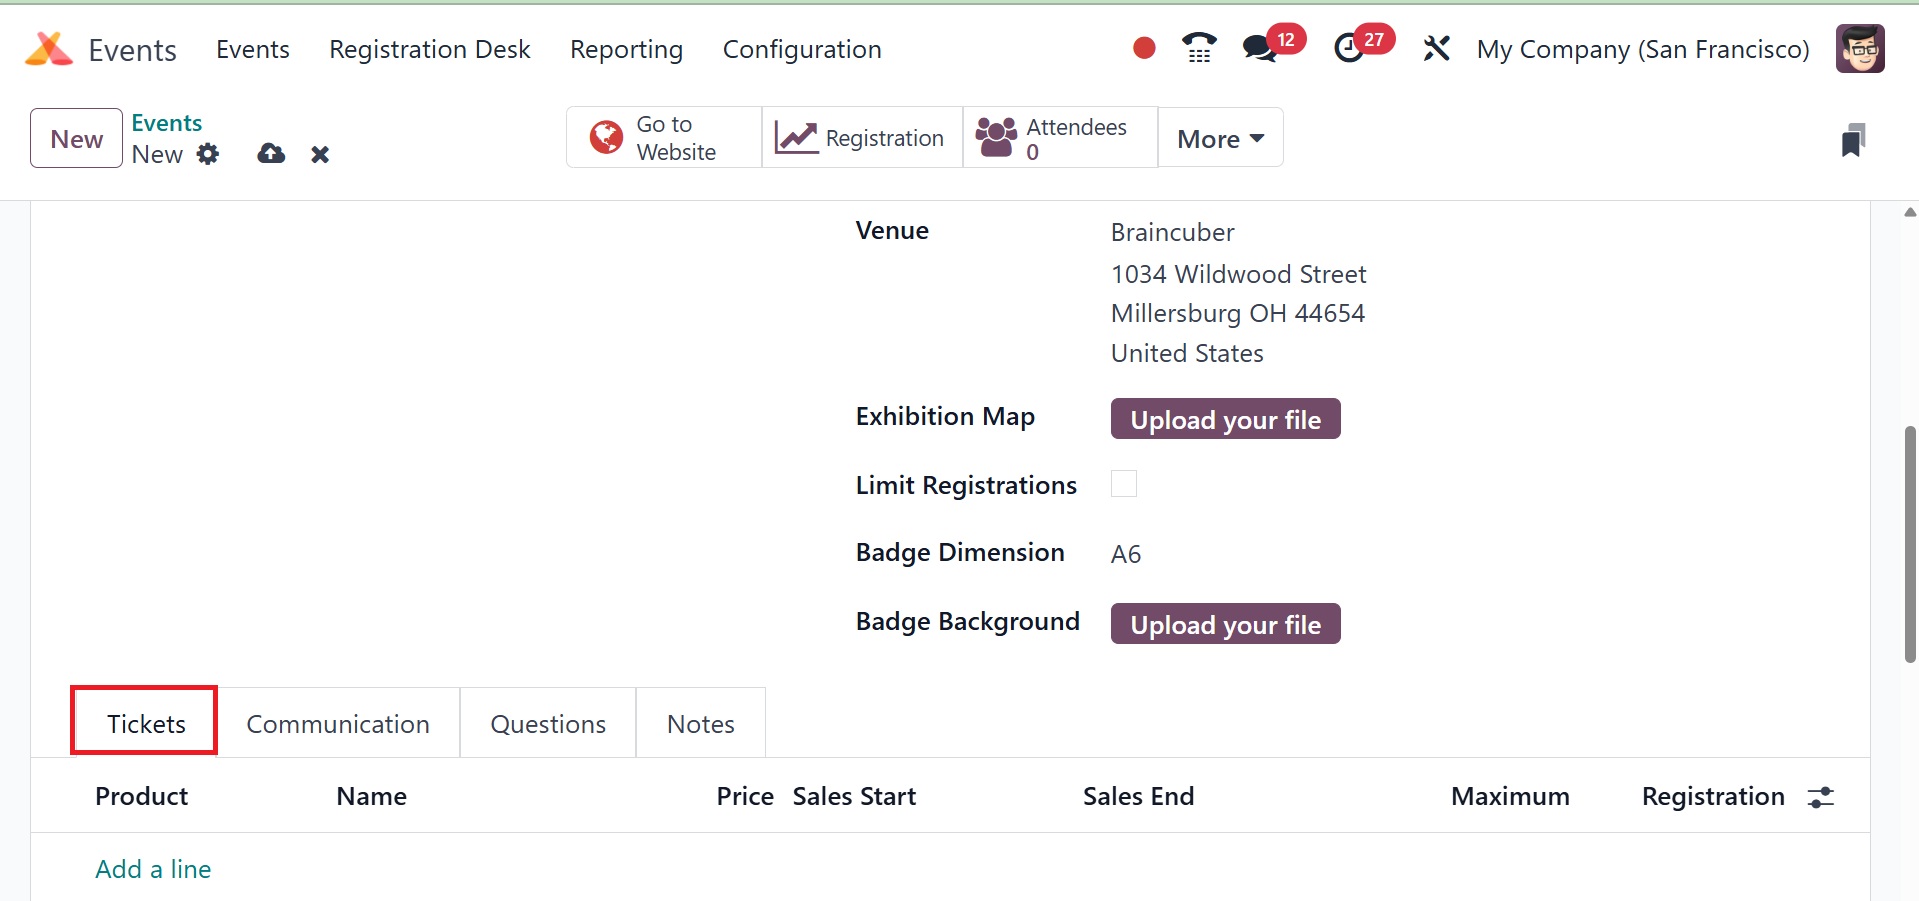
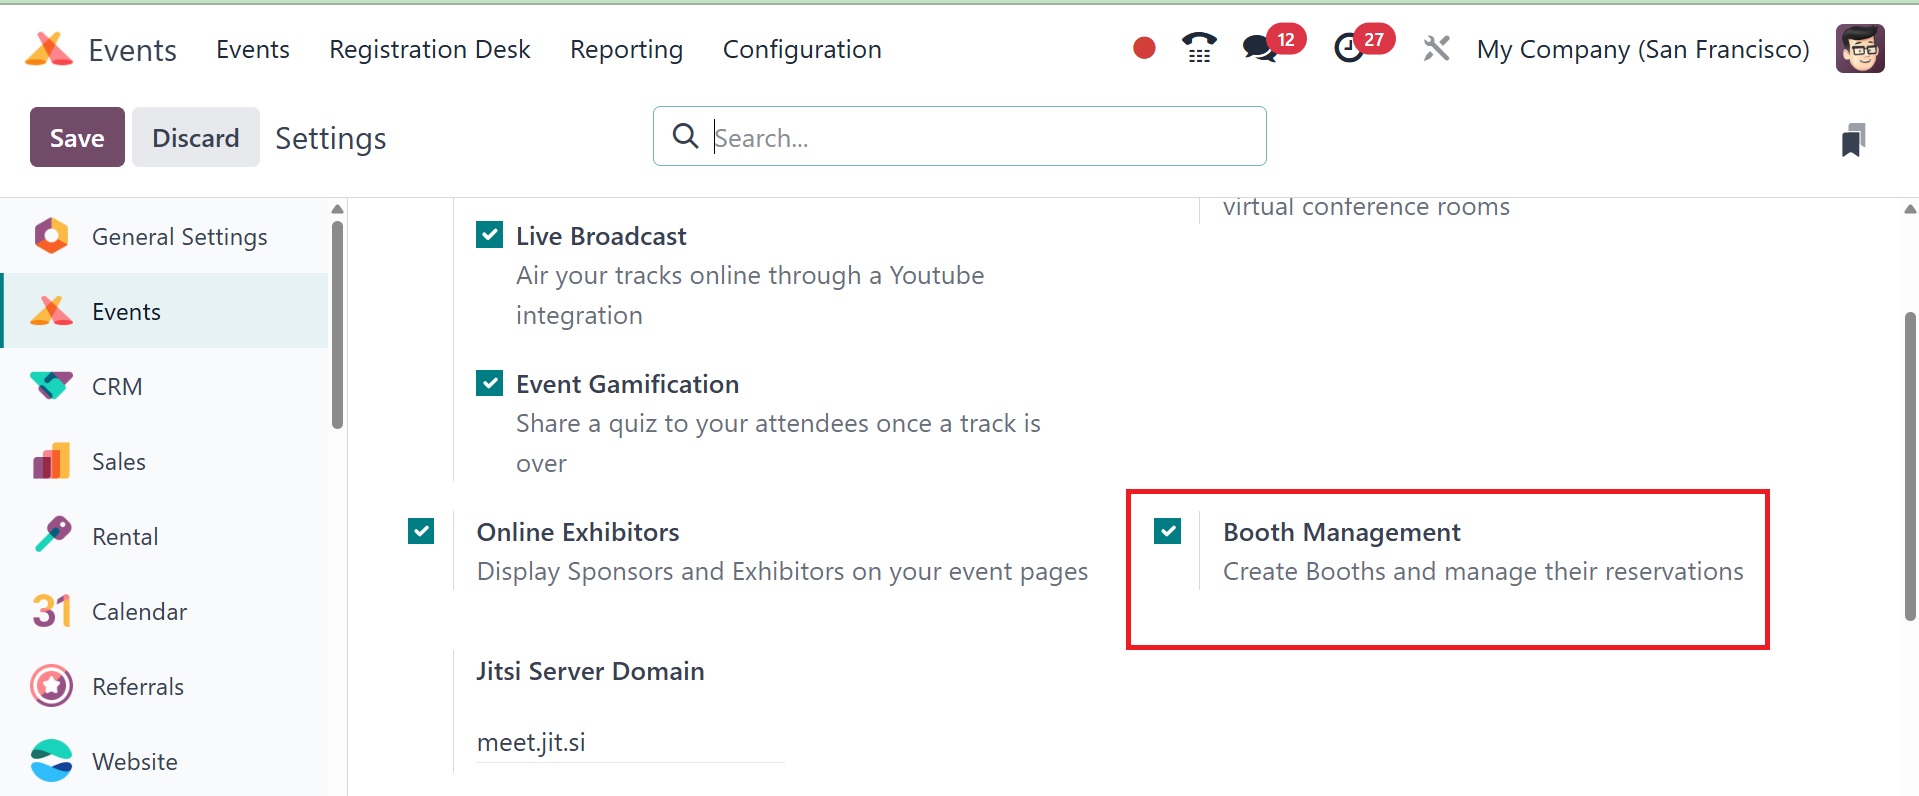
You can allow other businesses to promote their products and
services at events
by using your booths. To set up booths for an event, you must first
activate the
Booth Management option from the Settings module.
When this option is selected, the Booths tab will show up in the
Events creation
window, as seen below.
By choosing Add a Line from the menu, you can add booths to this
event. A pop-up
window with information about the booth will show up.
You can enter the Name, Booth Category, and Renter Information in
the appropriate
boxes. Among the details supplied are the renter's name, phone
number, email address,
and cell phone number. Information about the guests who have signed
up for this
booth will be available on the Registration tab when you publish
this event on your
company website.
Under the Communication tab, you can mention the email or SMS that
visitors will
receive informing them of the event.
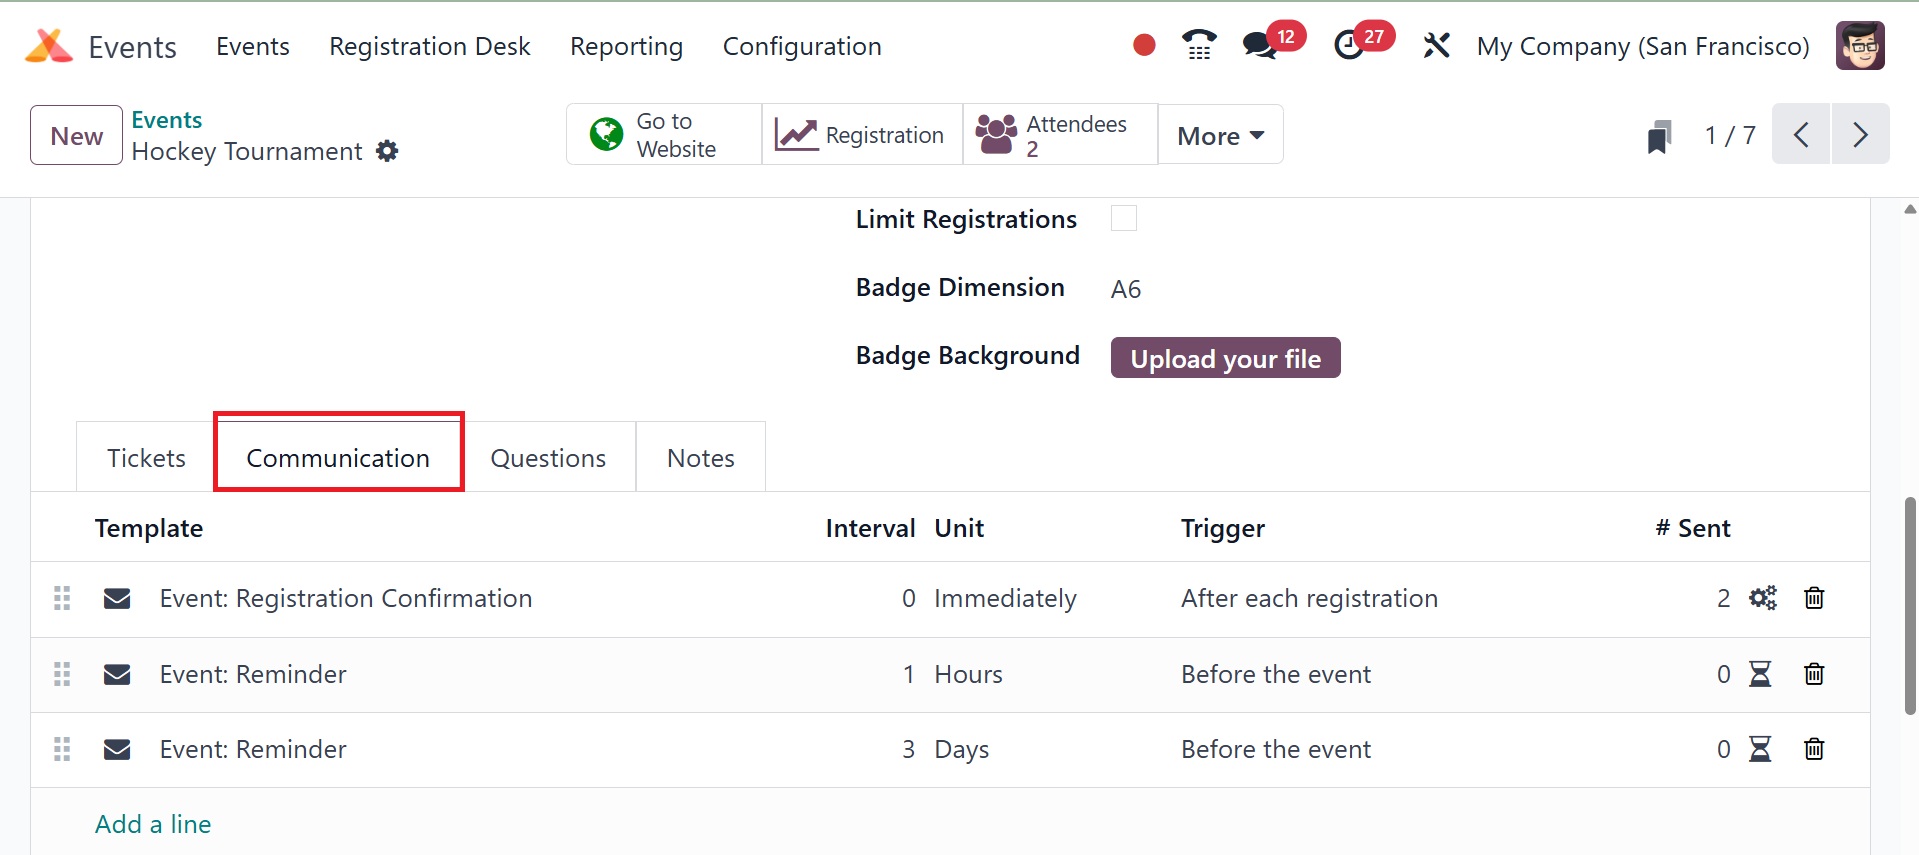
Using the Add a Line option, you may decide whether to interact via
mail or SMS.
Select a suitable template for the email or SMS from the Template
section. A mailer
or SMS can be sent to the participants immediately or a set number
of hours, days,
weeks, or months before or after the event. Such emails enhance the
experience of
attendees with timely information, decrease manual labor by
automating routine interactions,
boost engagement and attendance rates with reminders, and assist in
gathering feedback
or advertising upcoming events. It is to reassure attendees that
their registration
went through.
The scheduled date and the total number of emails or SMS messages
delivered can
also be displayed on this page.
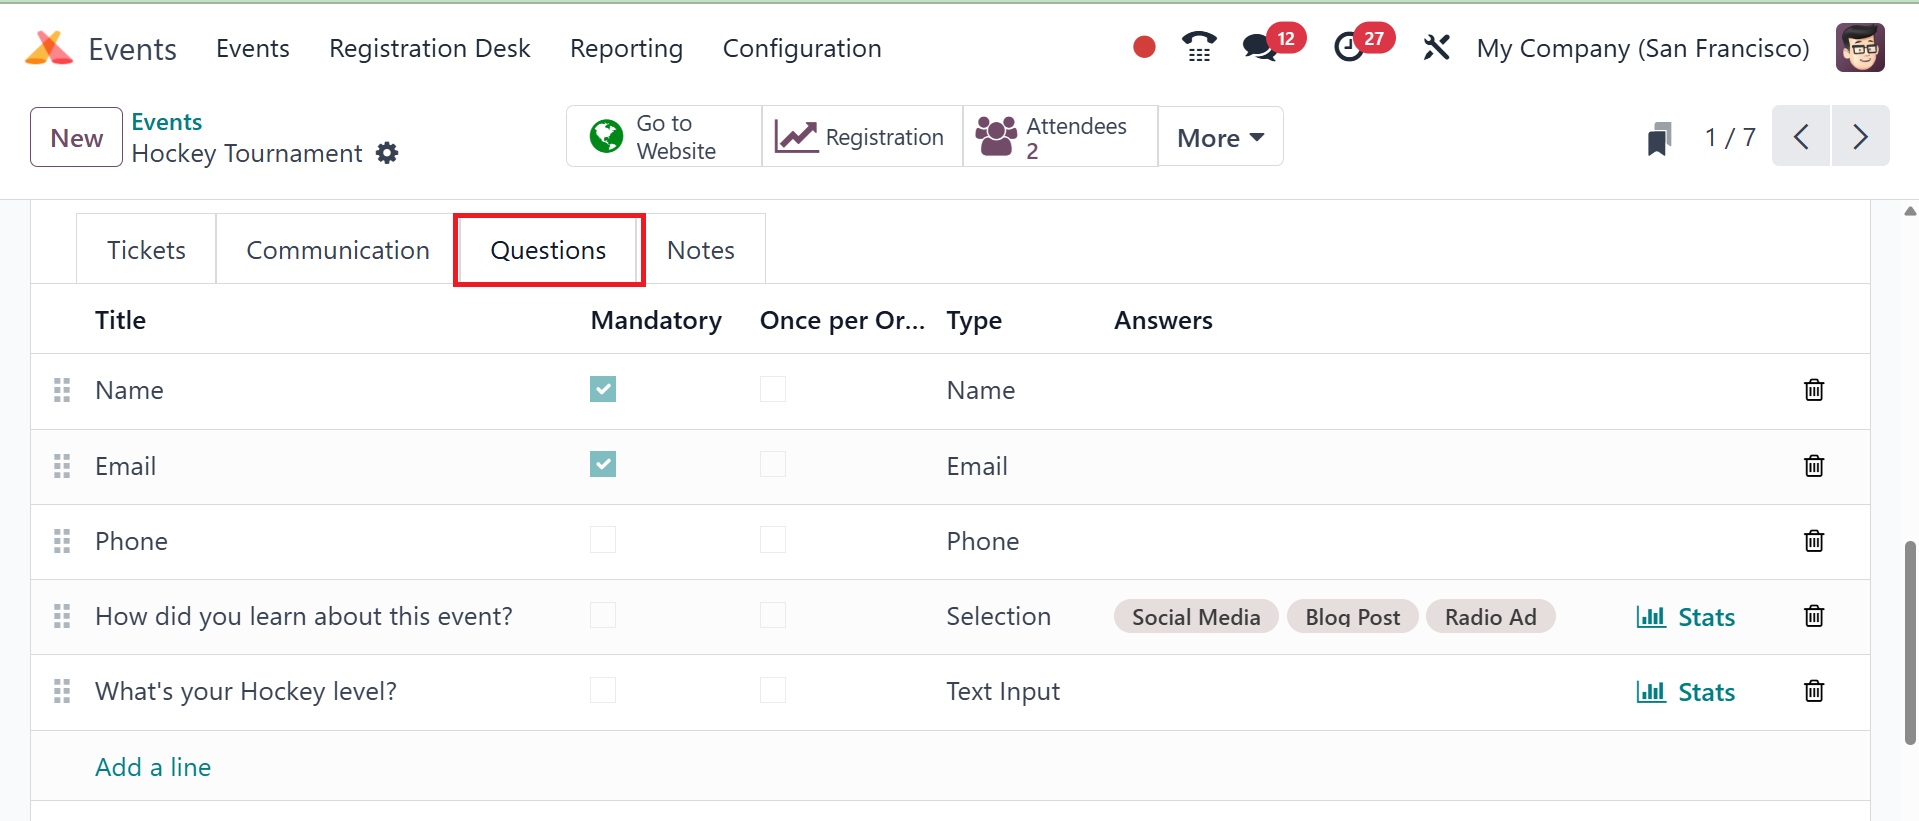
When people register for the event online, you can conduct
interviews with them.
For example, you may ask participants about their dietary
requirements through the
online registration process if your company chooses to serve food to
guests. The
Question tab of the event creation window is where you can mention
these queries.
The Question tab will show up in the event creation window when this
option is chosen,
as shown in the figure below. Questions from attendees are utilized
to collect crucial
data that enables event planners to successfully manage logistics
and customize
the event experience. This guarantees improved preparation, focused
communication,
and increased participant satisfaction.
Choose the Add a Line option to include questions. A pop-up window
will show up.
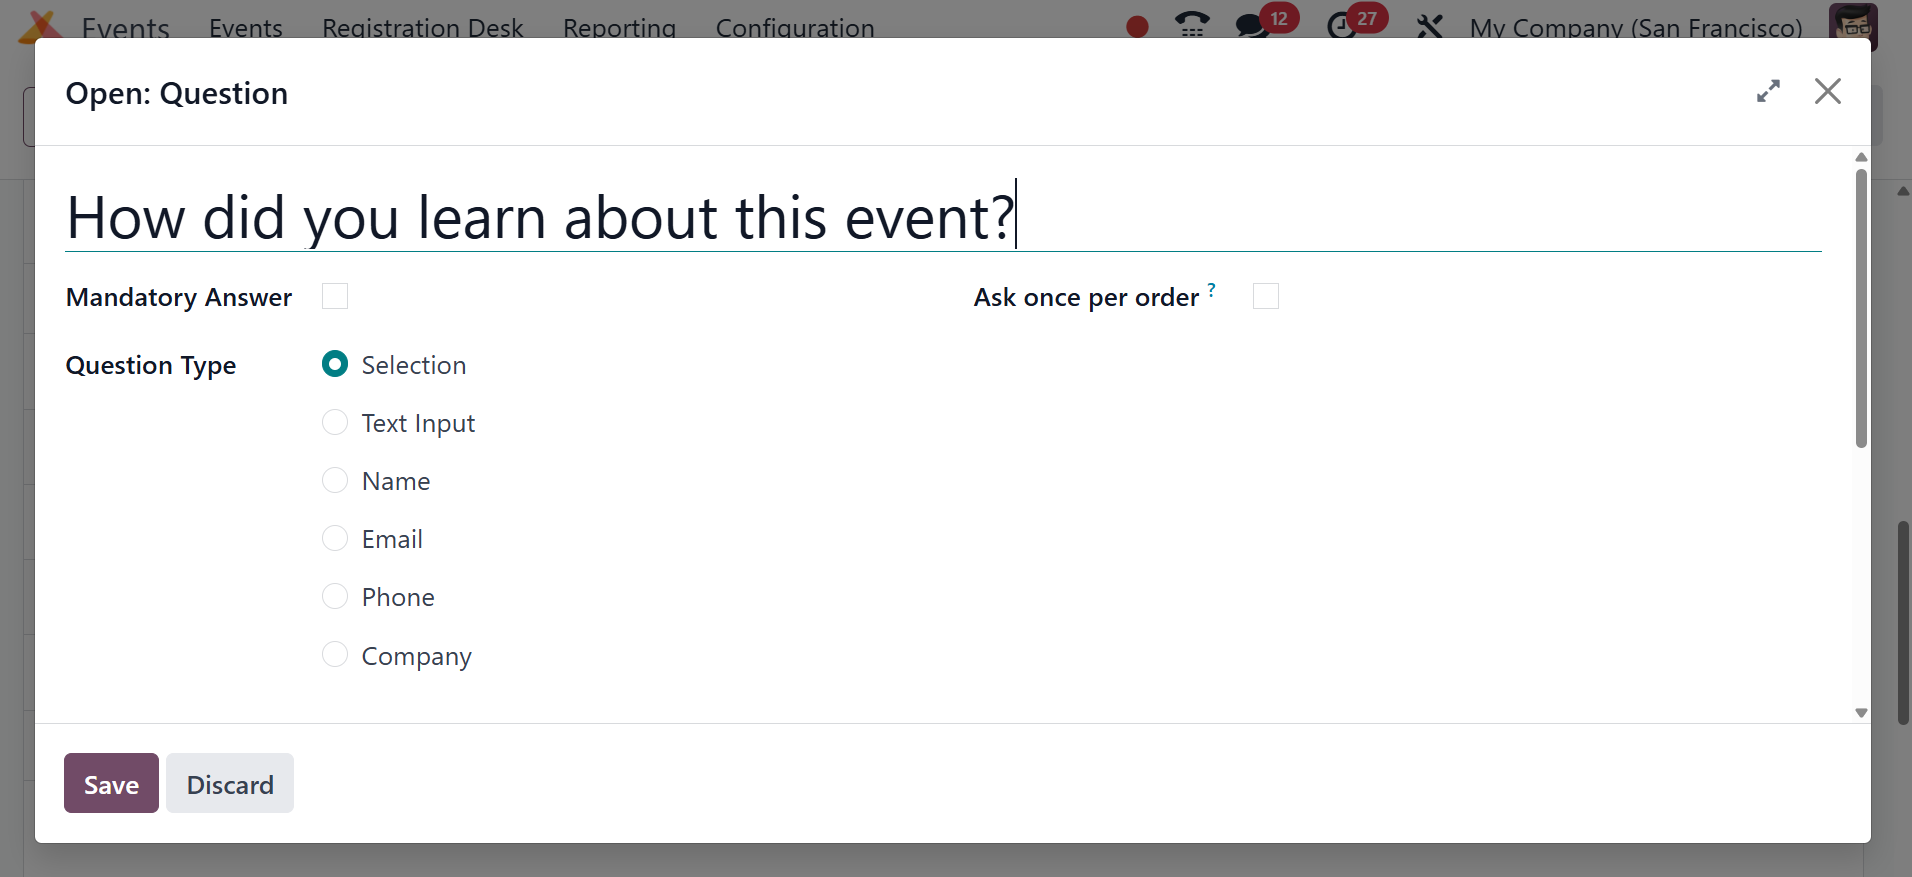
In the designated space, type the question. If the "Ask only once
per order" option
is selected, each attendee will be informed of the question's value.
There are two
choices for the Question Type setting: Selection and Text Input. By
consulting the
responses page, you can choose the responses you wish to select in
the Selection
type. Click the Save button to save the question.
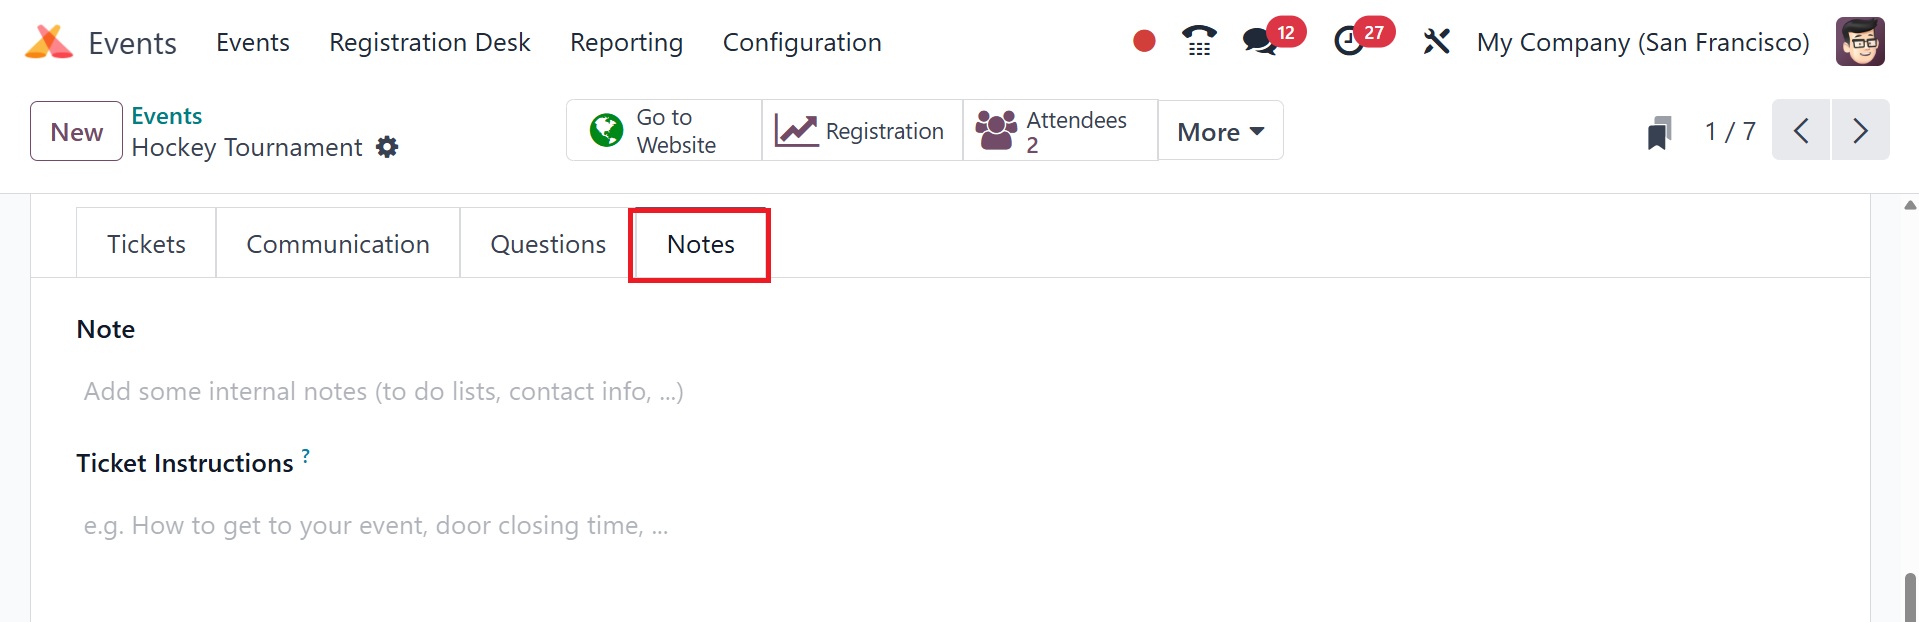
The Notes page may include more information about the event and
ticket instructions.
You can include particular notes or instructions pertaining to each
type of ticket
by selecting the Ticket Instructions option under the Tickets tab in
the Odoo Events
module. These instructions, which help guests understand what the
ticket covers,
requirements (like the dress code or ID check), or special
directions (like the
arrival time or parking information), are displayed to them during
registration
and/or on their confirmation email. Once all the required
information has been entered,
you may click the Save button to save the new event.
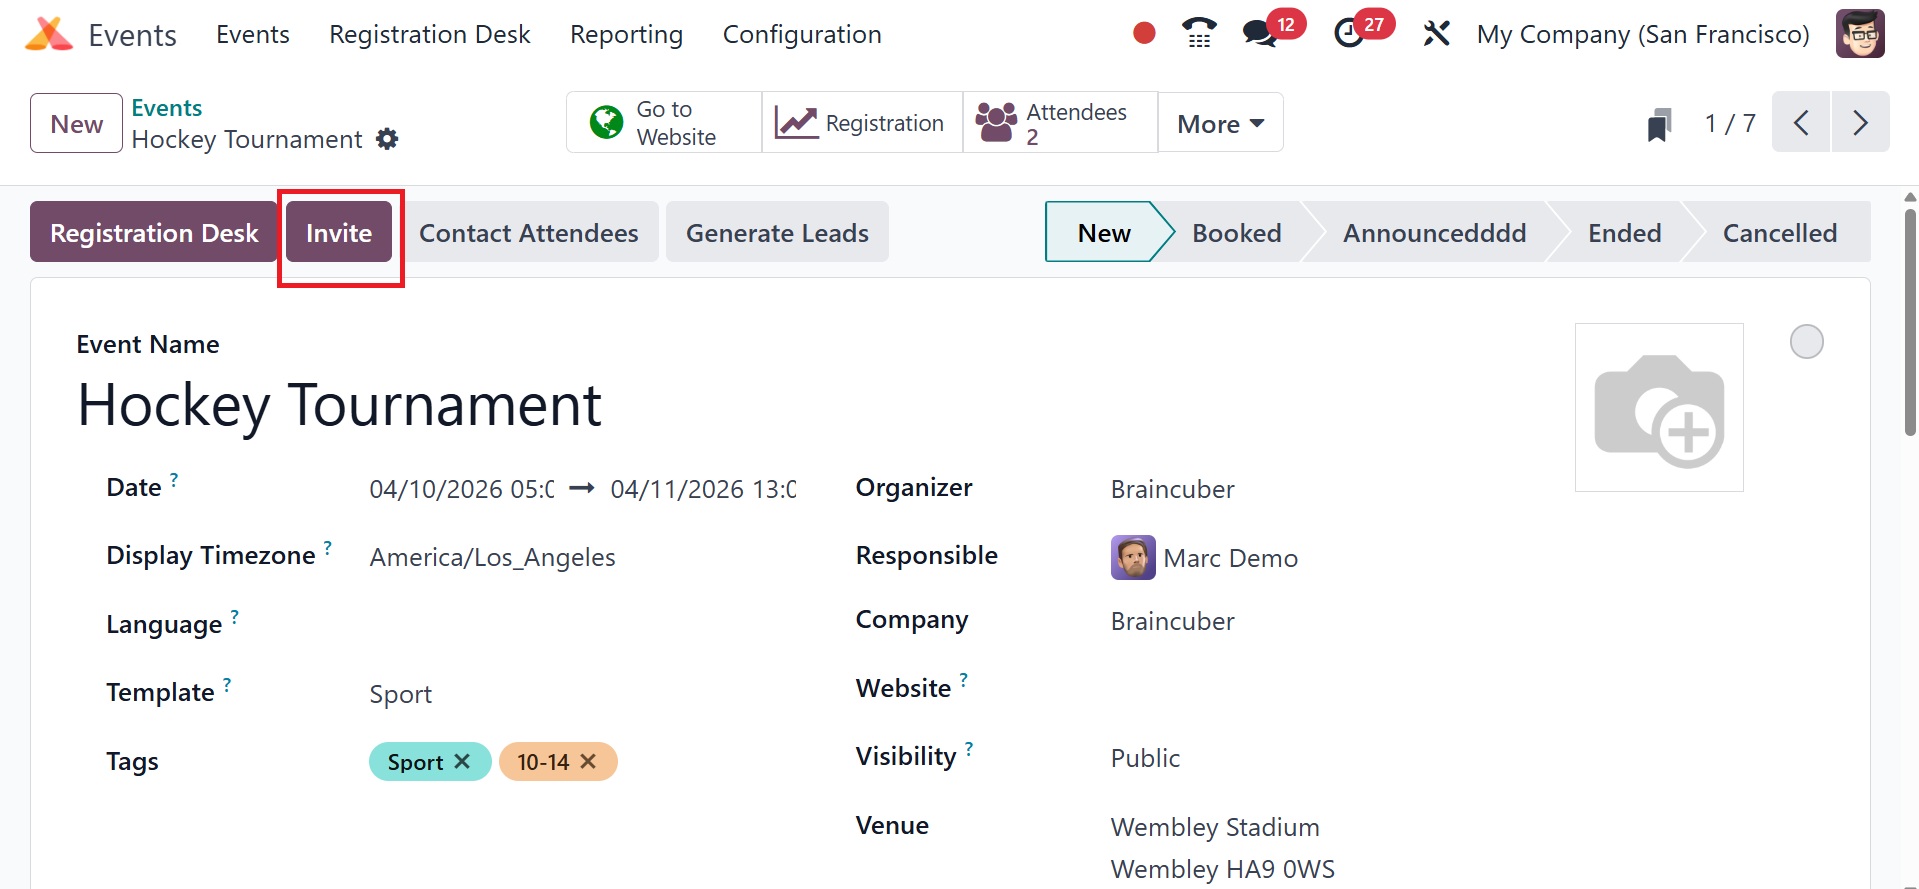
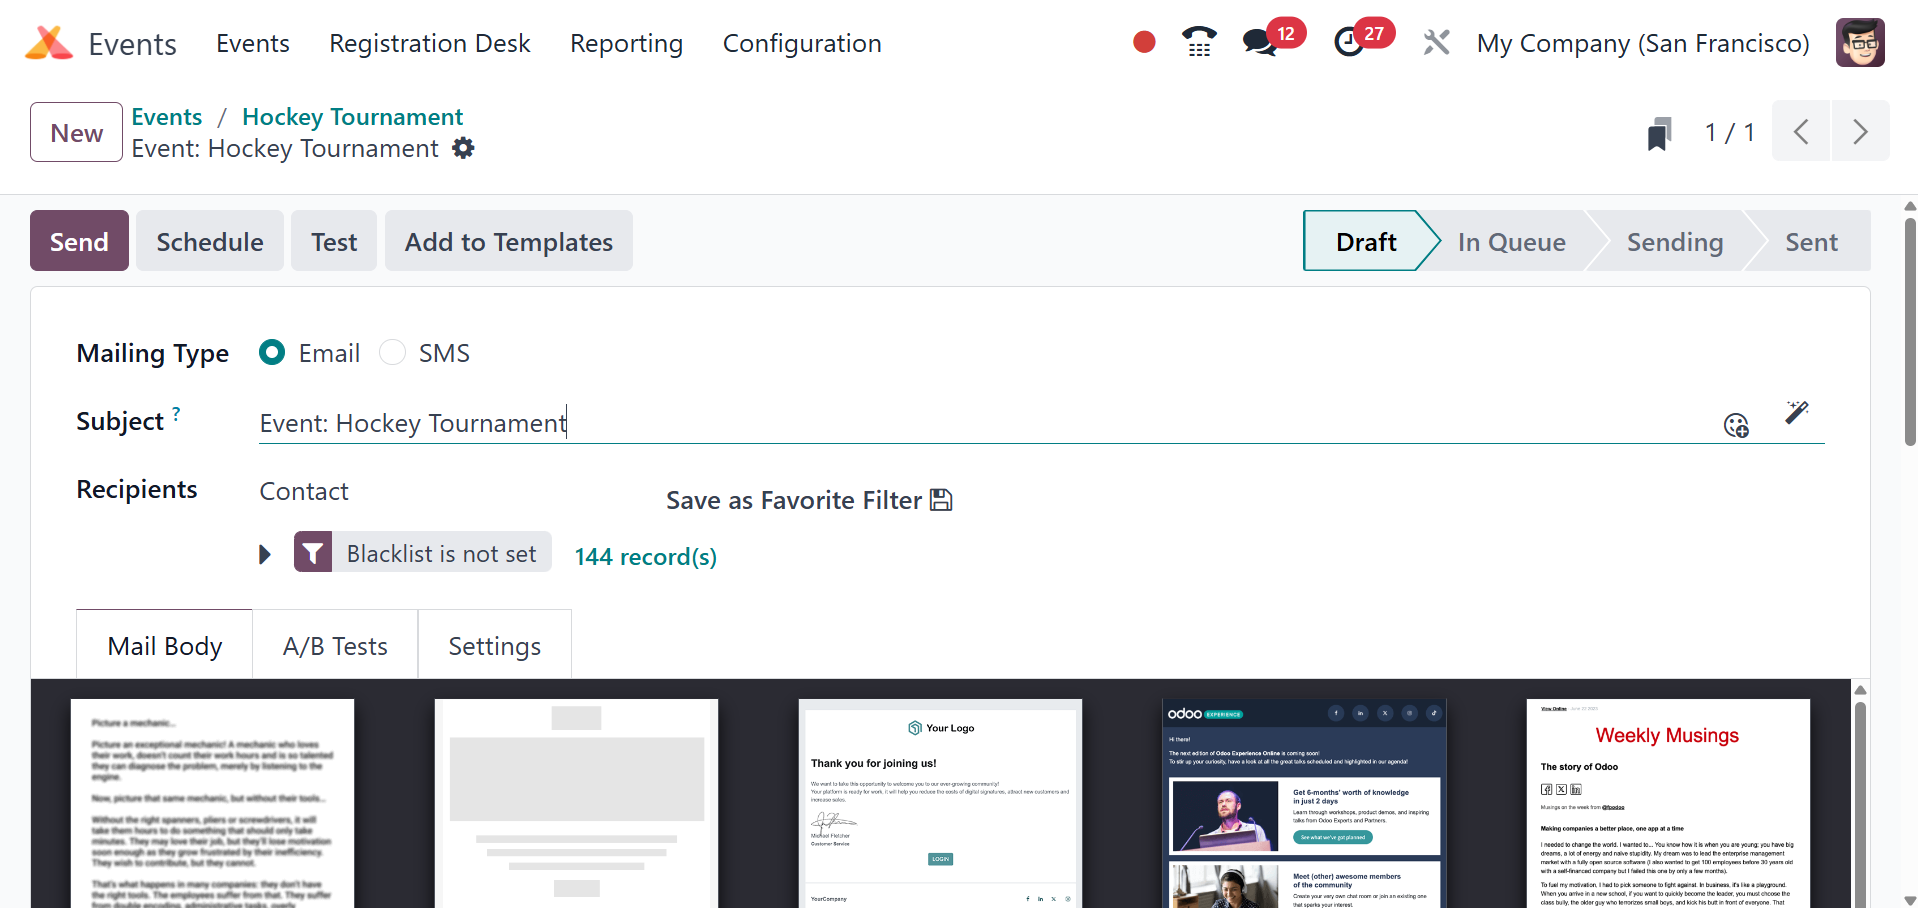
You can invite people to the event by using the Invite button that
will appear in
the window. The window you see below opens when you click the Invite
button.
Similar to what we discussed in the Email and SMS Marketing modules,
you can create
invitation emails or SMS on this platform. Check out these modules
in the Odoo 18
Enterprise Book for further details on how to create marketing
emails or SMS.
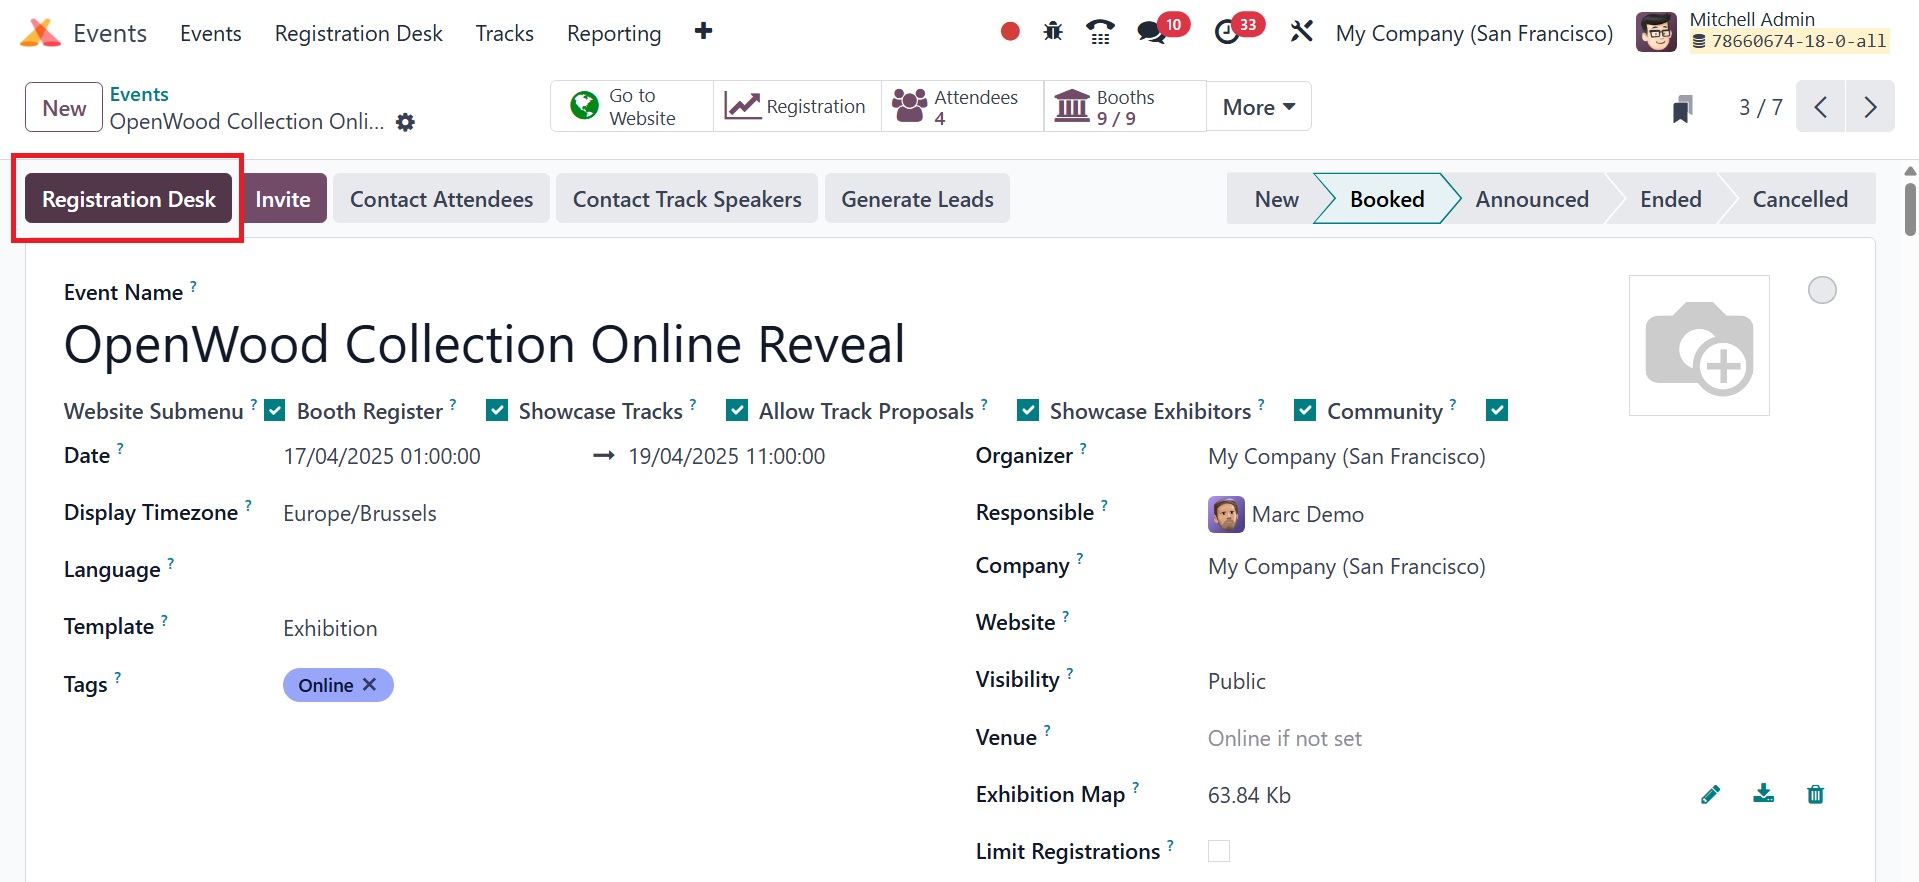
The registration desk button helps to manage on-site registrations
and check-ins,
as in the screenshot below.
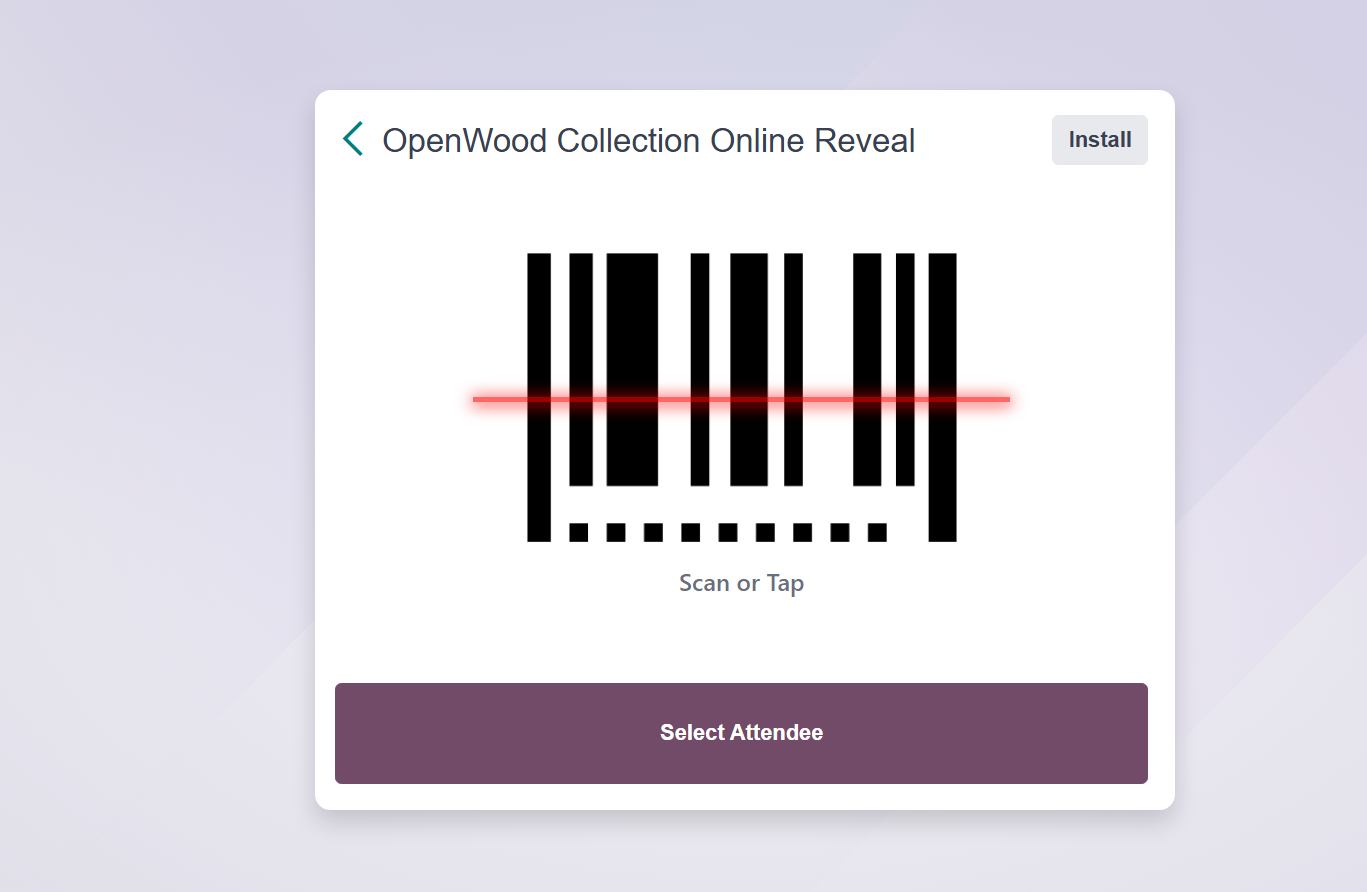
On selecting the option, you will provided with the barcode for
registration.
The next option is to contact attendees, as shown in the image
below.
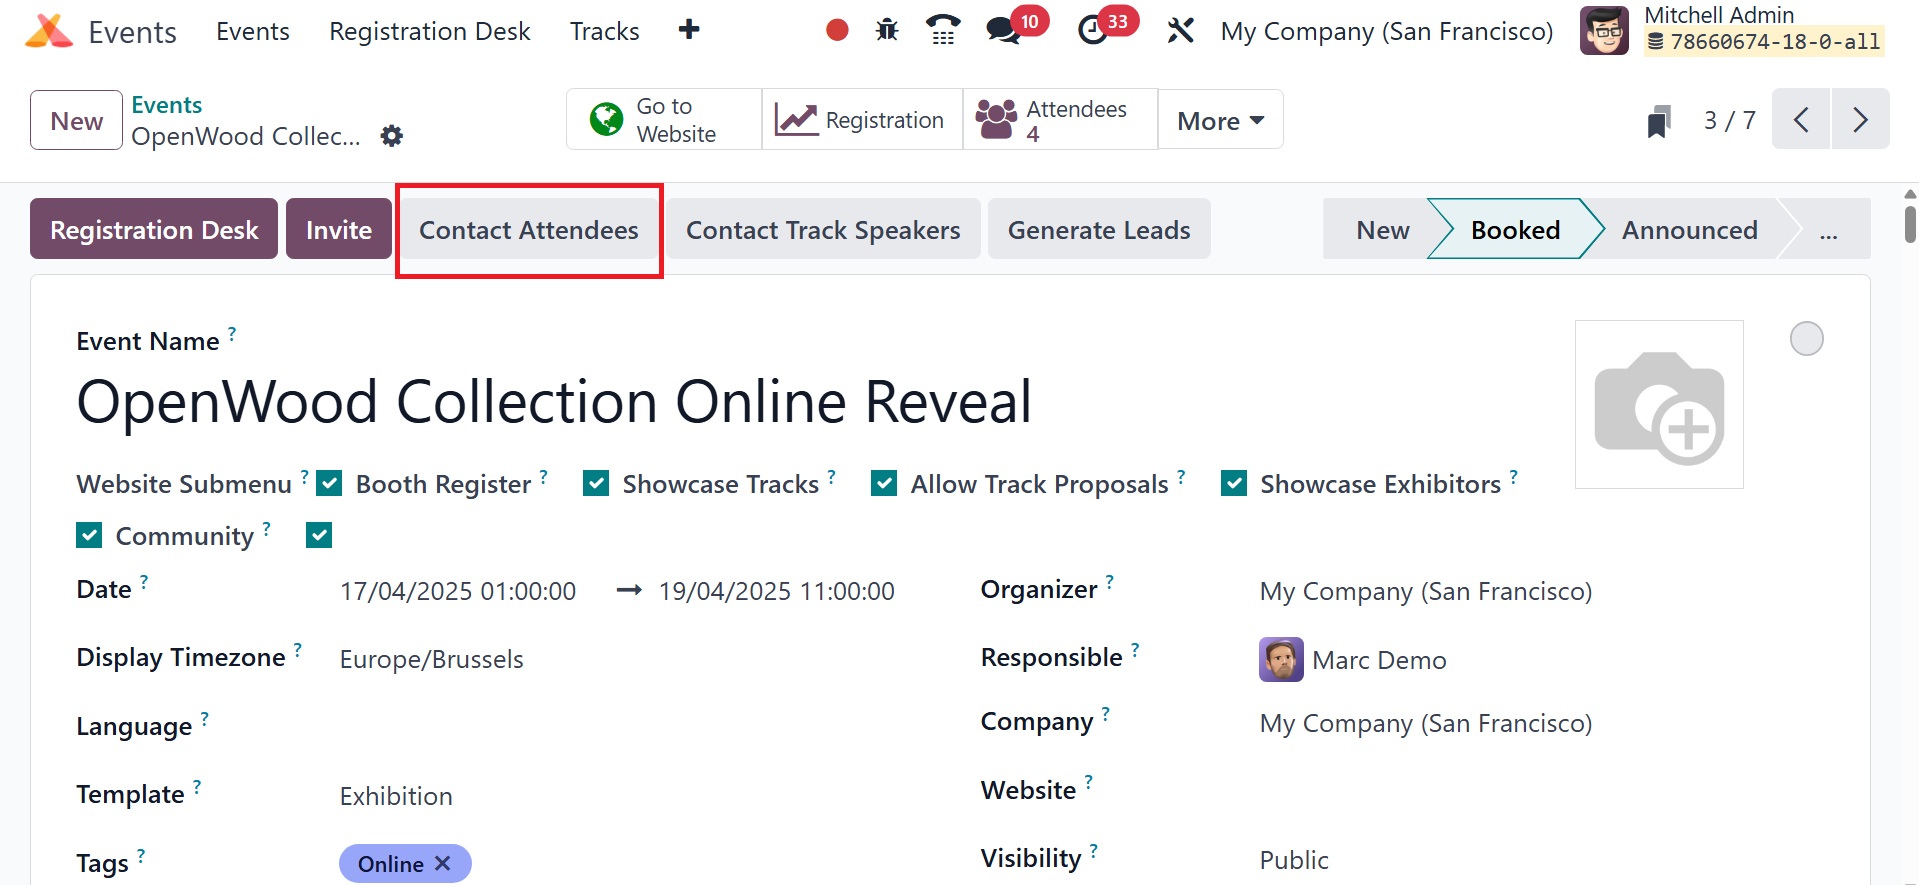
On selecting the option, you will get the page to send email or SMS
messages to
selected or all attendees.
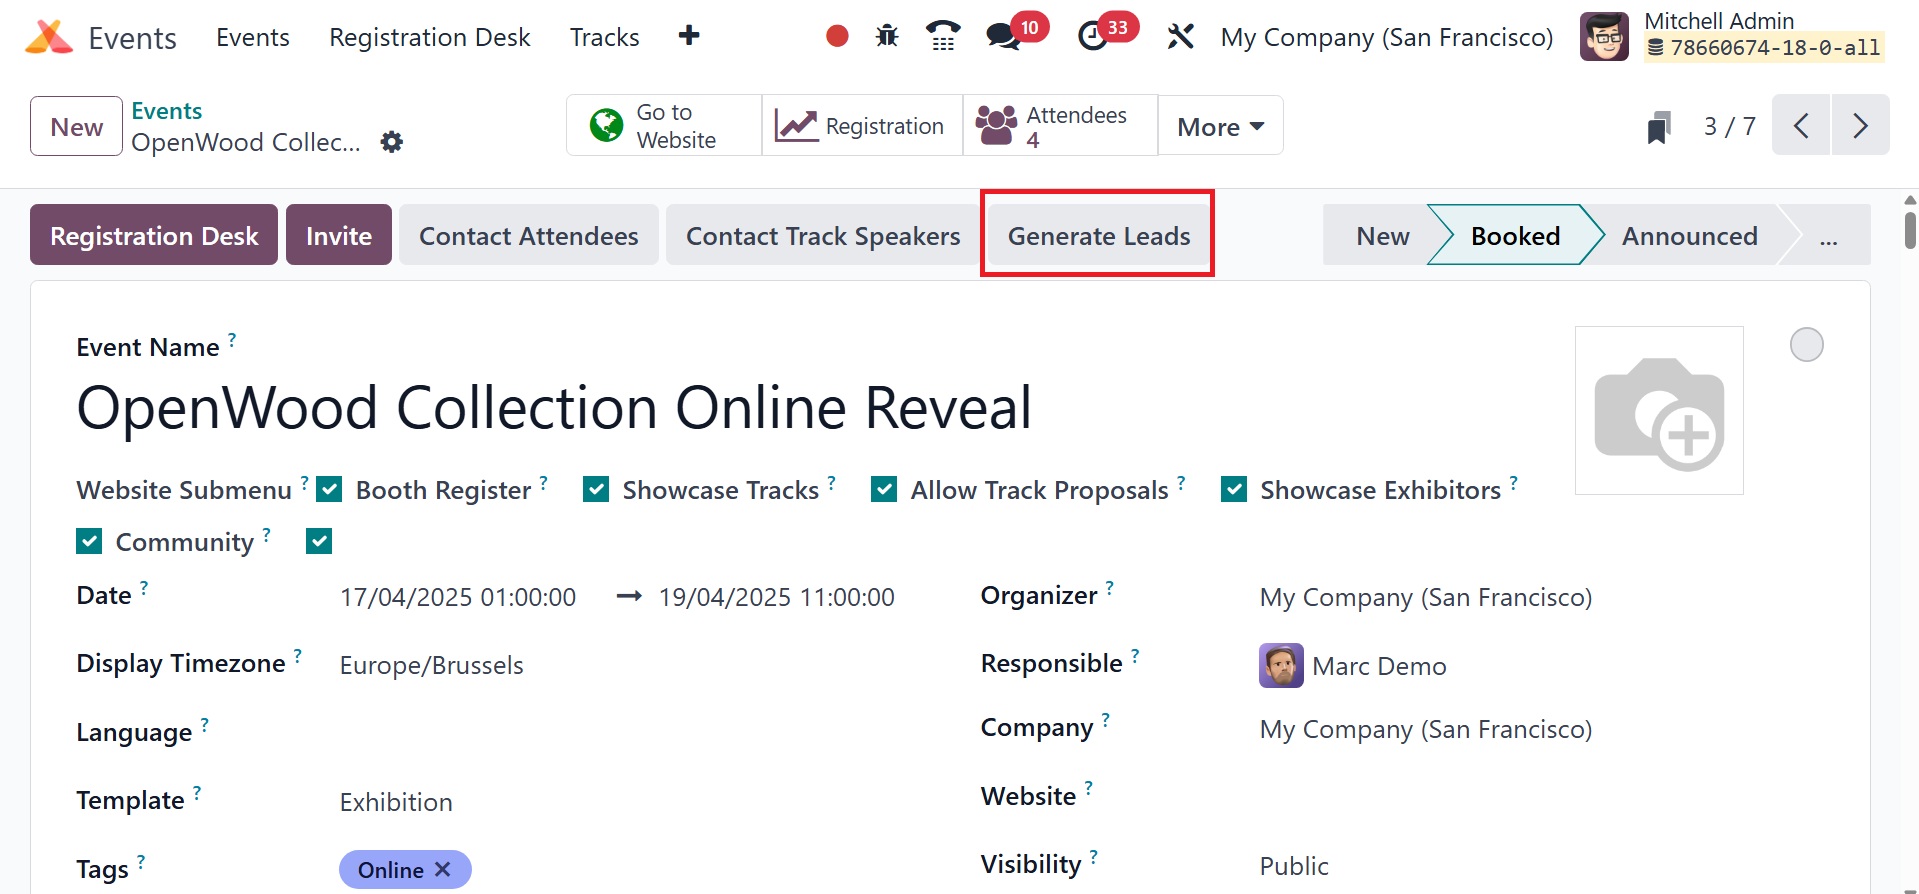
Then, the generate leads option helps you to automatically create
CRM leads based
on event attendees.
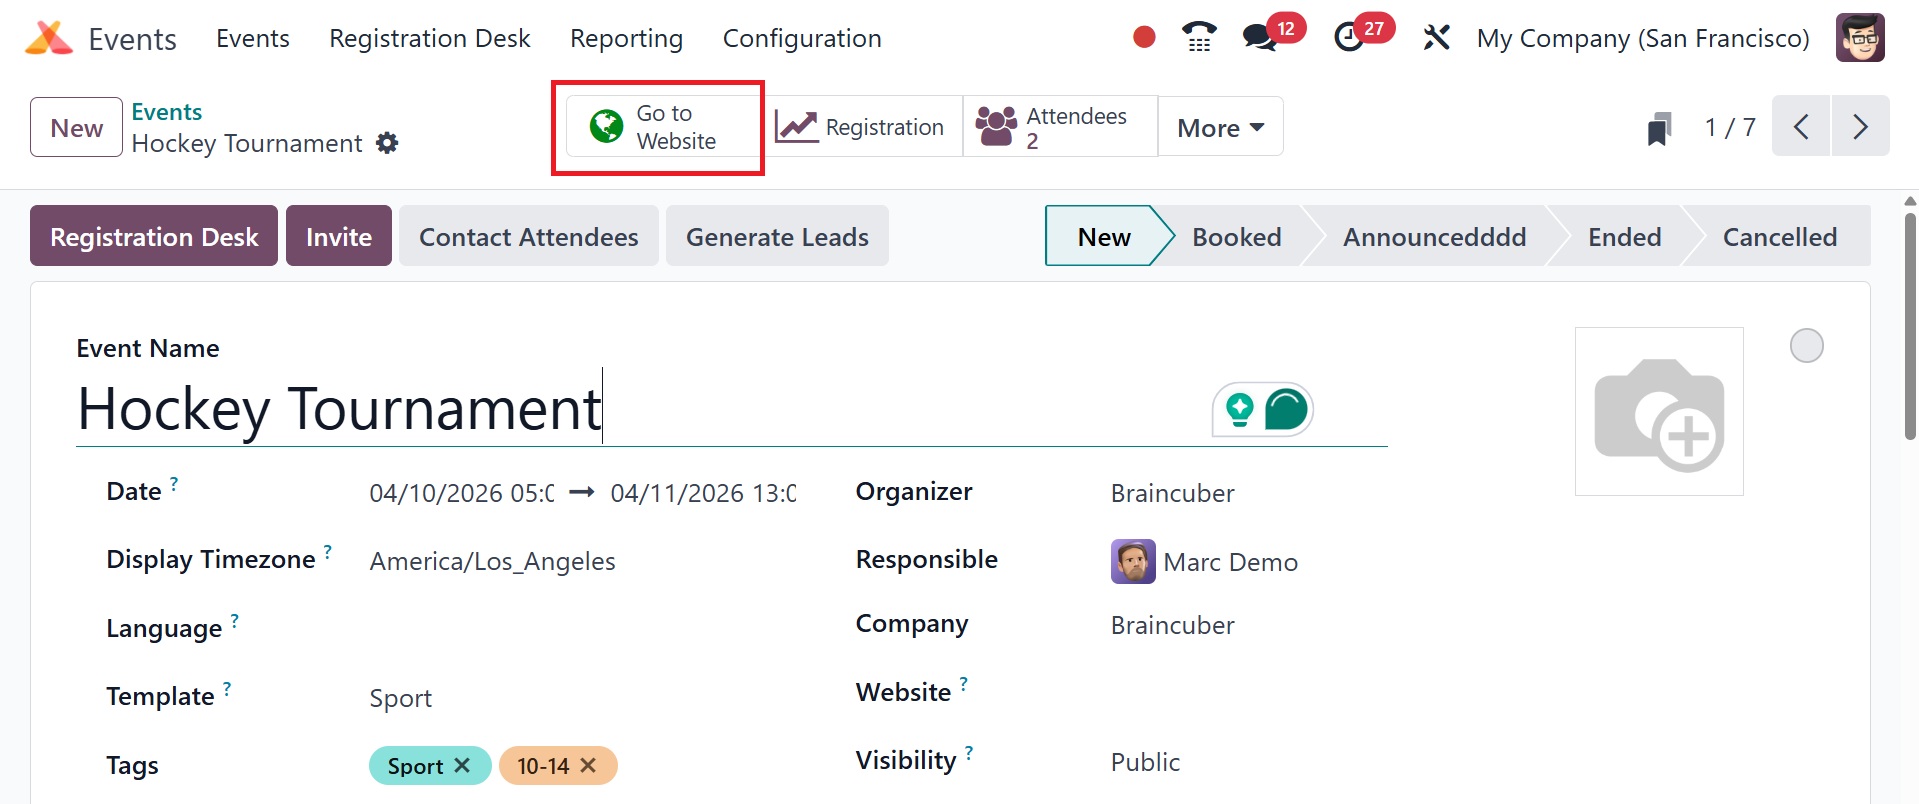
Click the 'Go to Website' button now to post the event to your
website.
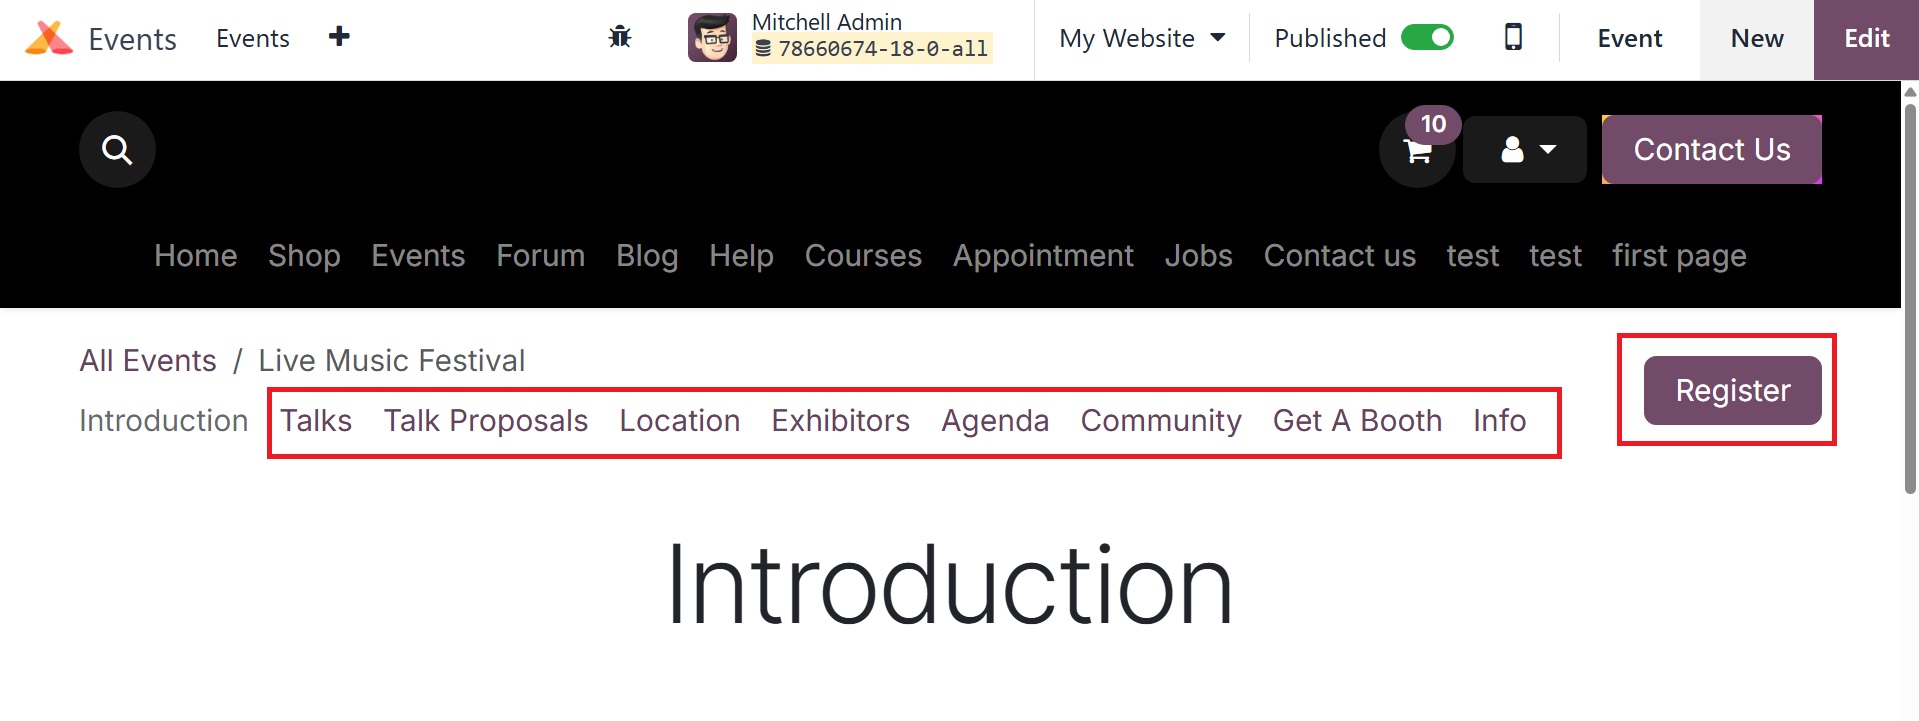
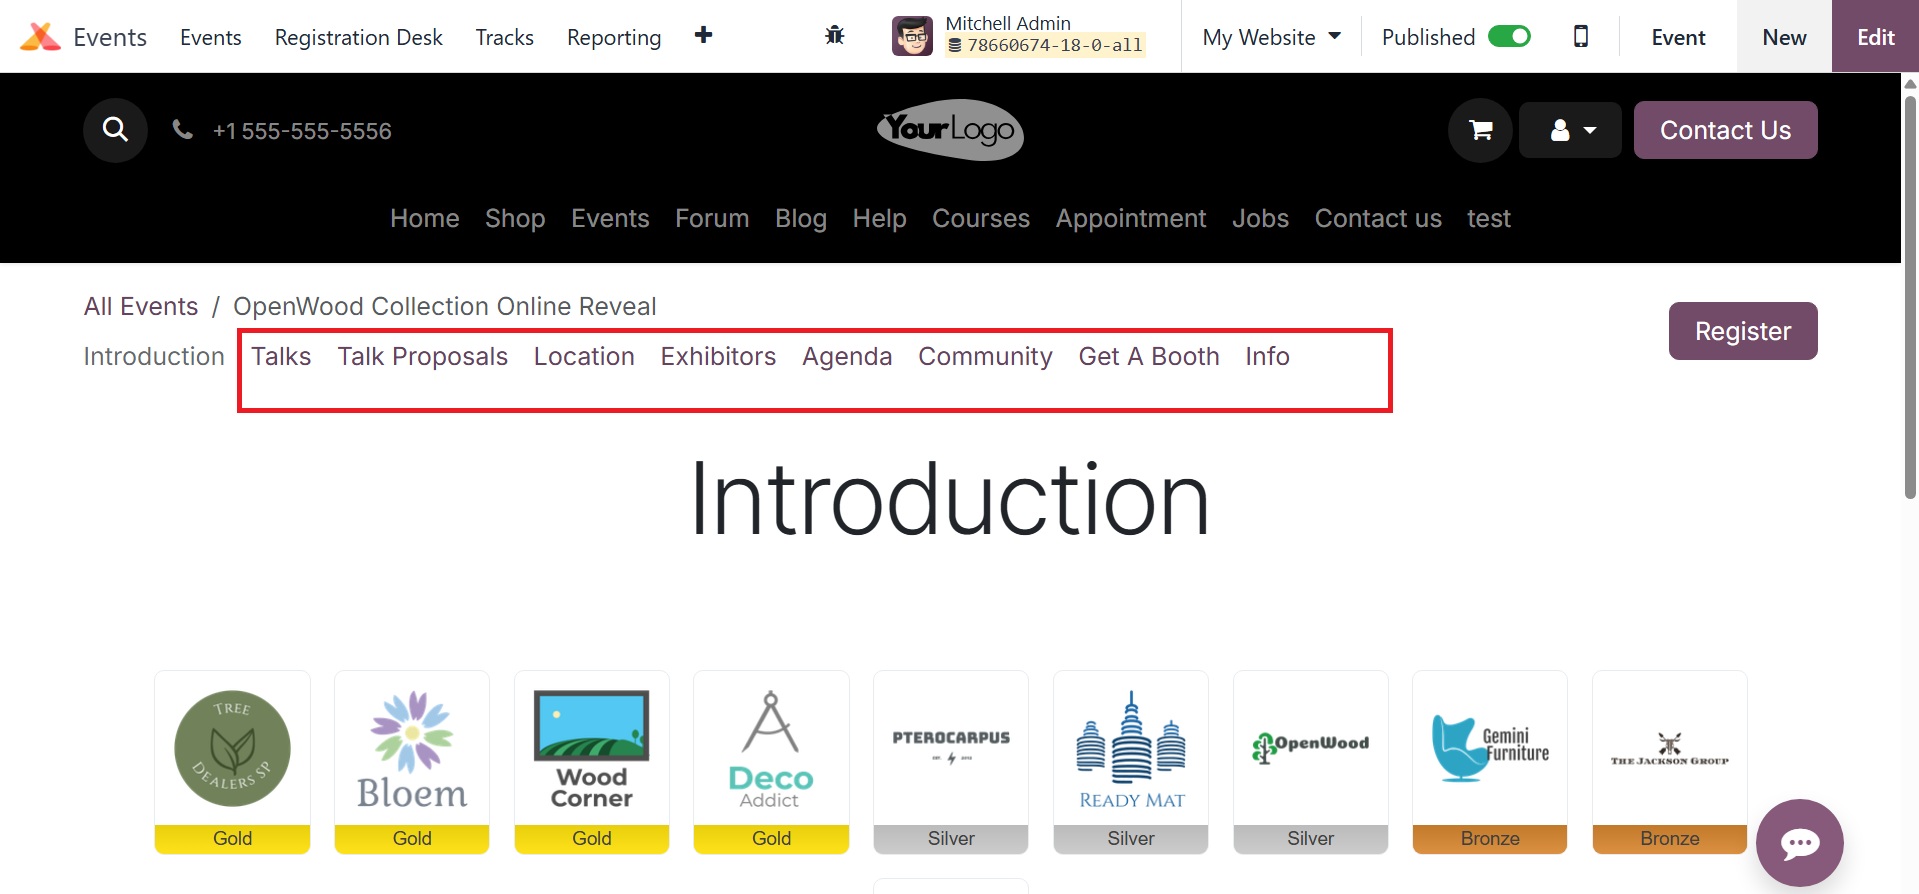
The webpage looks like this in the screenshot below. The menus and
the Register
button are now on the website, as shown below.
As previously stated, the created community rooms will be displayed
under the Community
submenu, as in the image below.
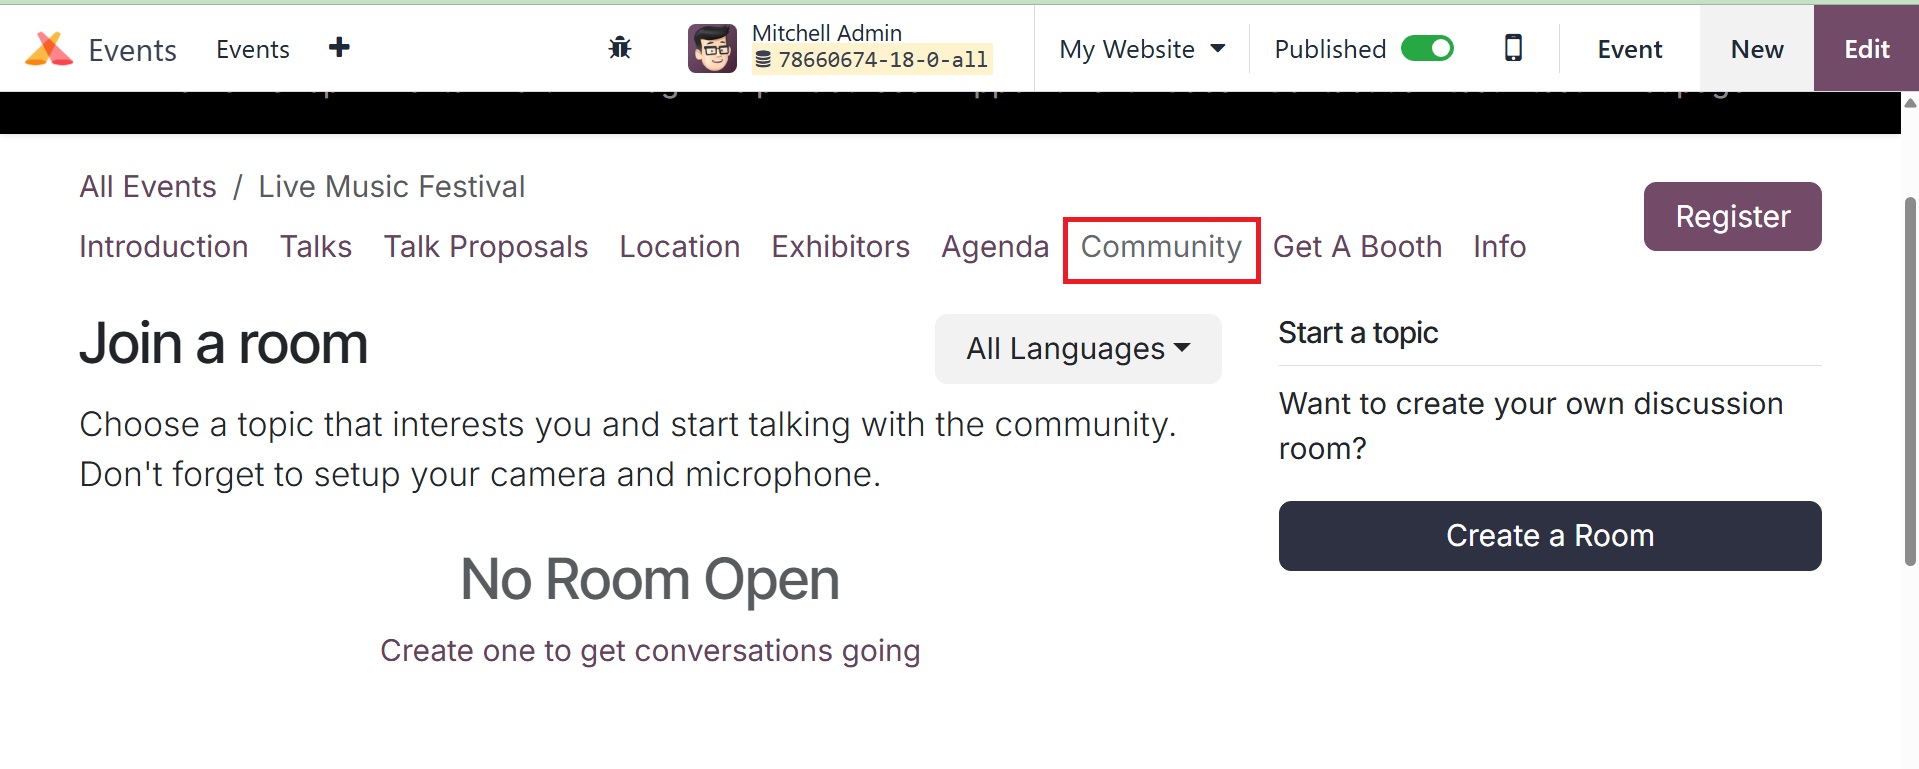
The website will display all of the events' enabled features,
including the talks,
talk proposals, location, exhibitors, agenda, get a booth, info, and
community.
From "Unpublished" to "Published," click the button that corresponds
to the event's
new status.
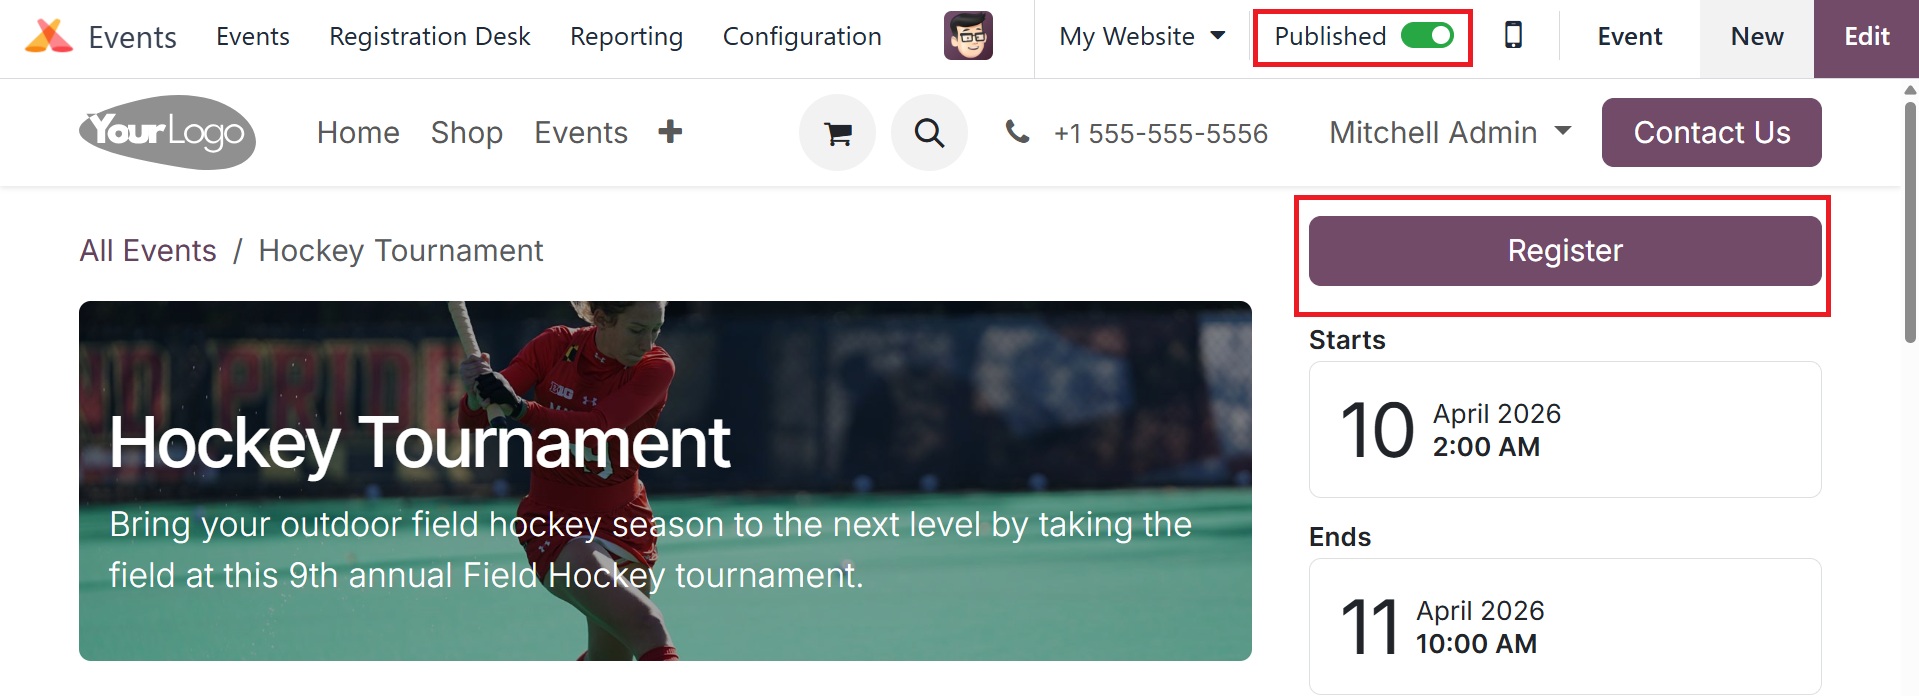
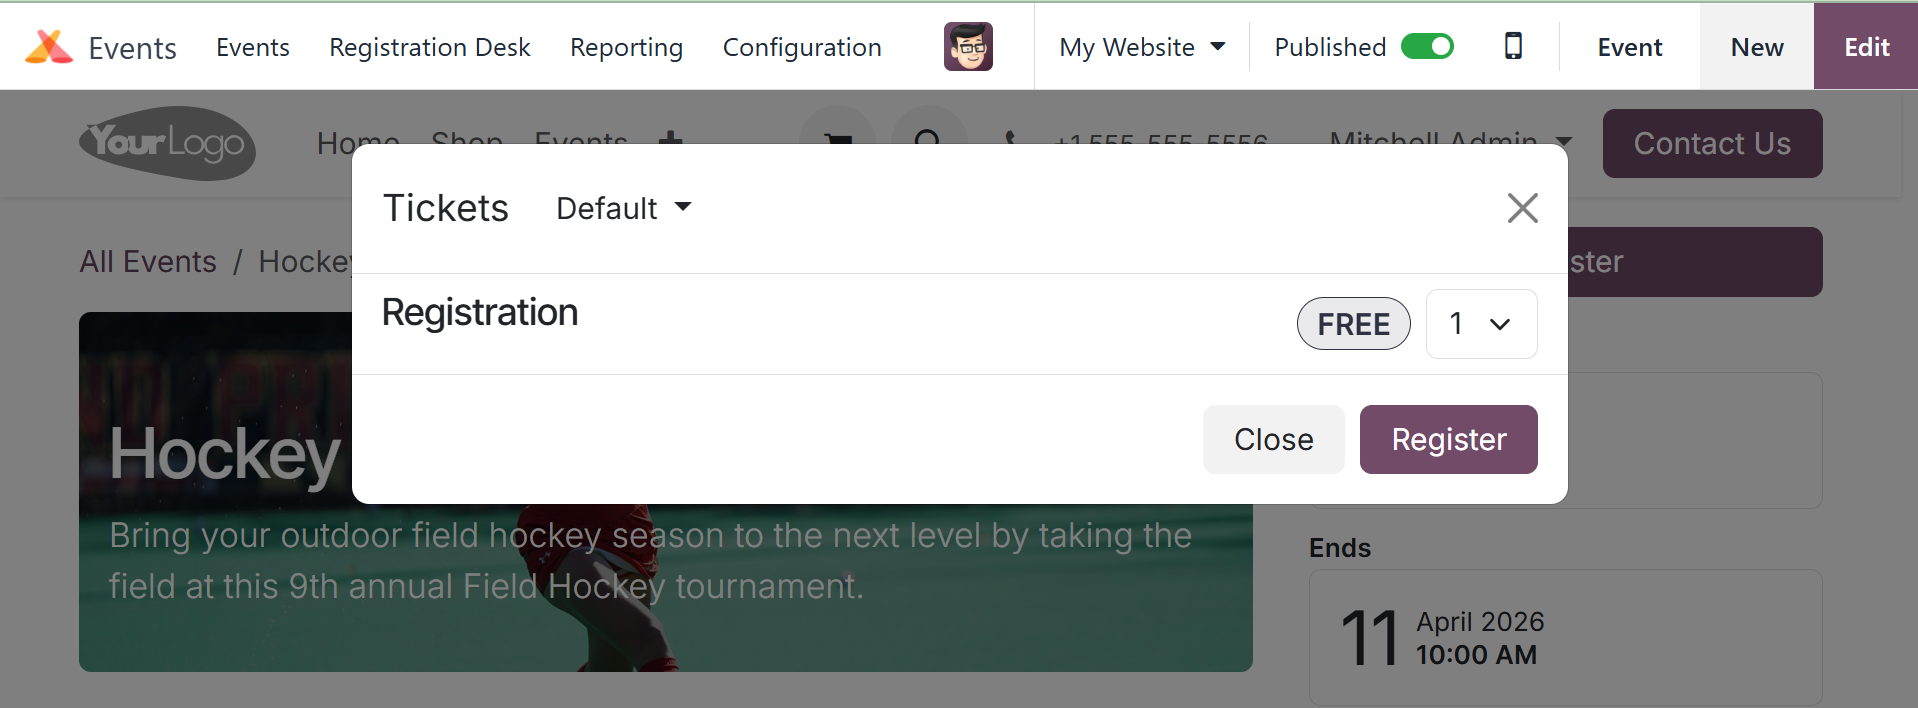
Once the event has been publicized, participants can sign up by
clicking the 'Register'
button.
As seen in the figure below, a number of smart buttons will appear
in the event
description box of a published event.
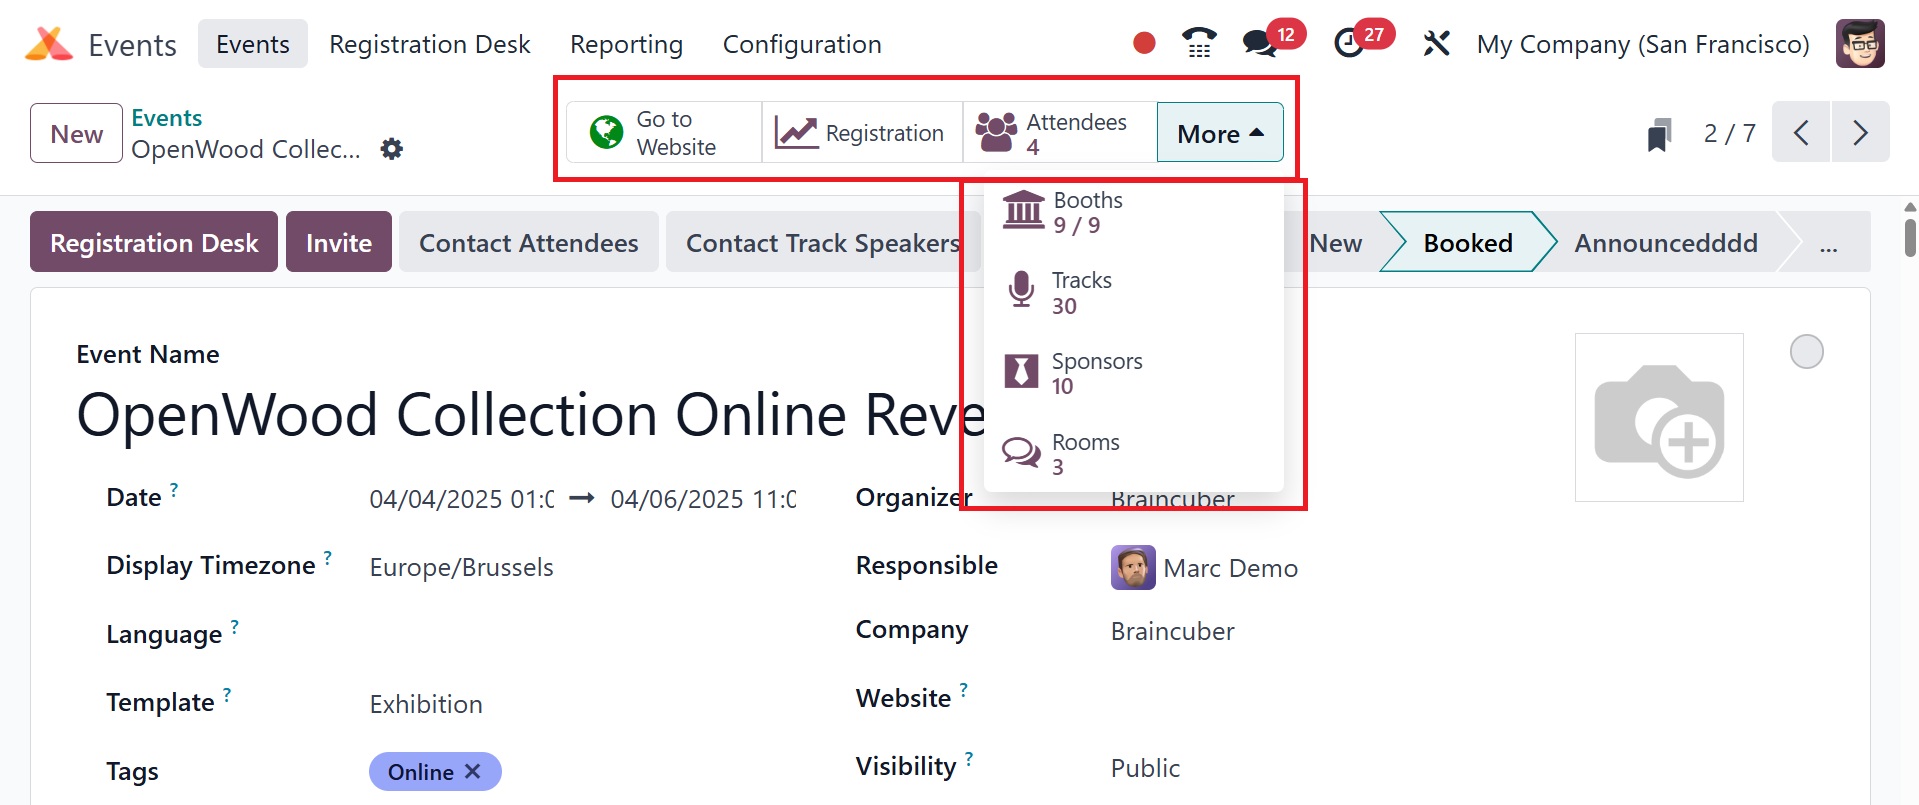
The full list of attendees for this event can be viewed by clicking
the Attendees
tab. A list of every attendee who has registered for the event is
available on this
site.
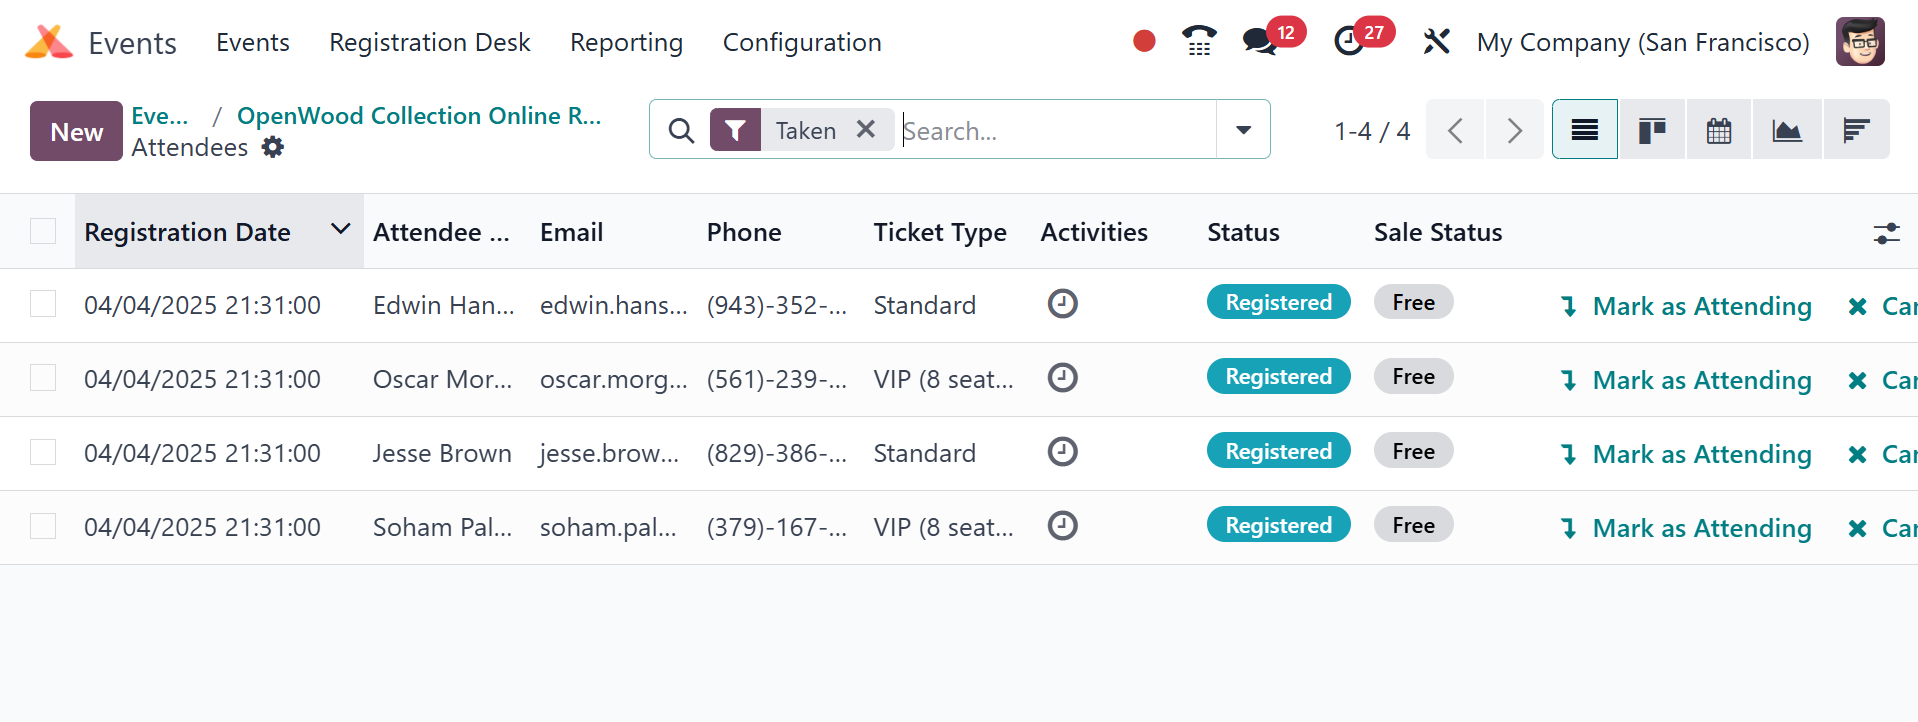
The registration date, names, email addresses, phone numbers, event
tickets, and
status of the attendees are all visible in this box. As seen in the
illustration,
you will also notice the Cancel, Mark as Attending, and Confirm
buttons.
When you click the registration desk button, a new window will open
where attendees
can manually choose themselves or scan their badges to verify their
registration
for the event. To access this feature, you must first enable the
Barcode option
under the Attendance tab in the Settings menu.
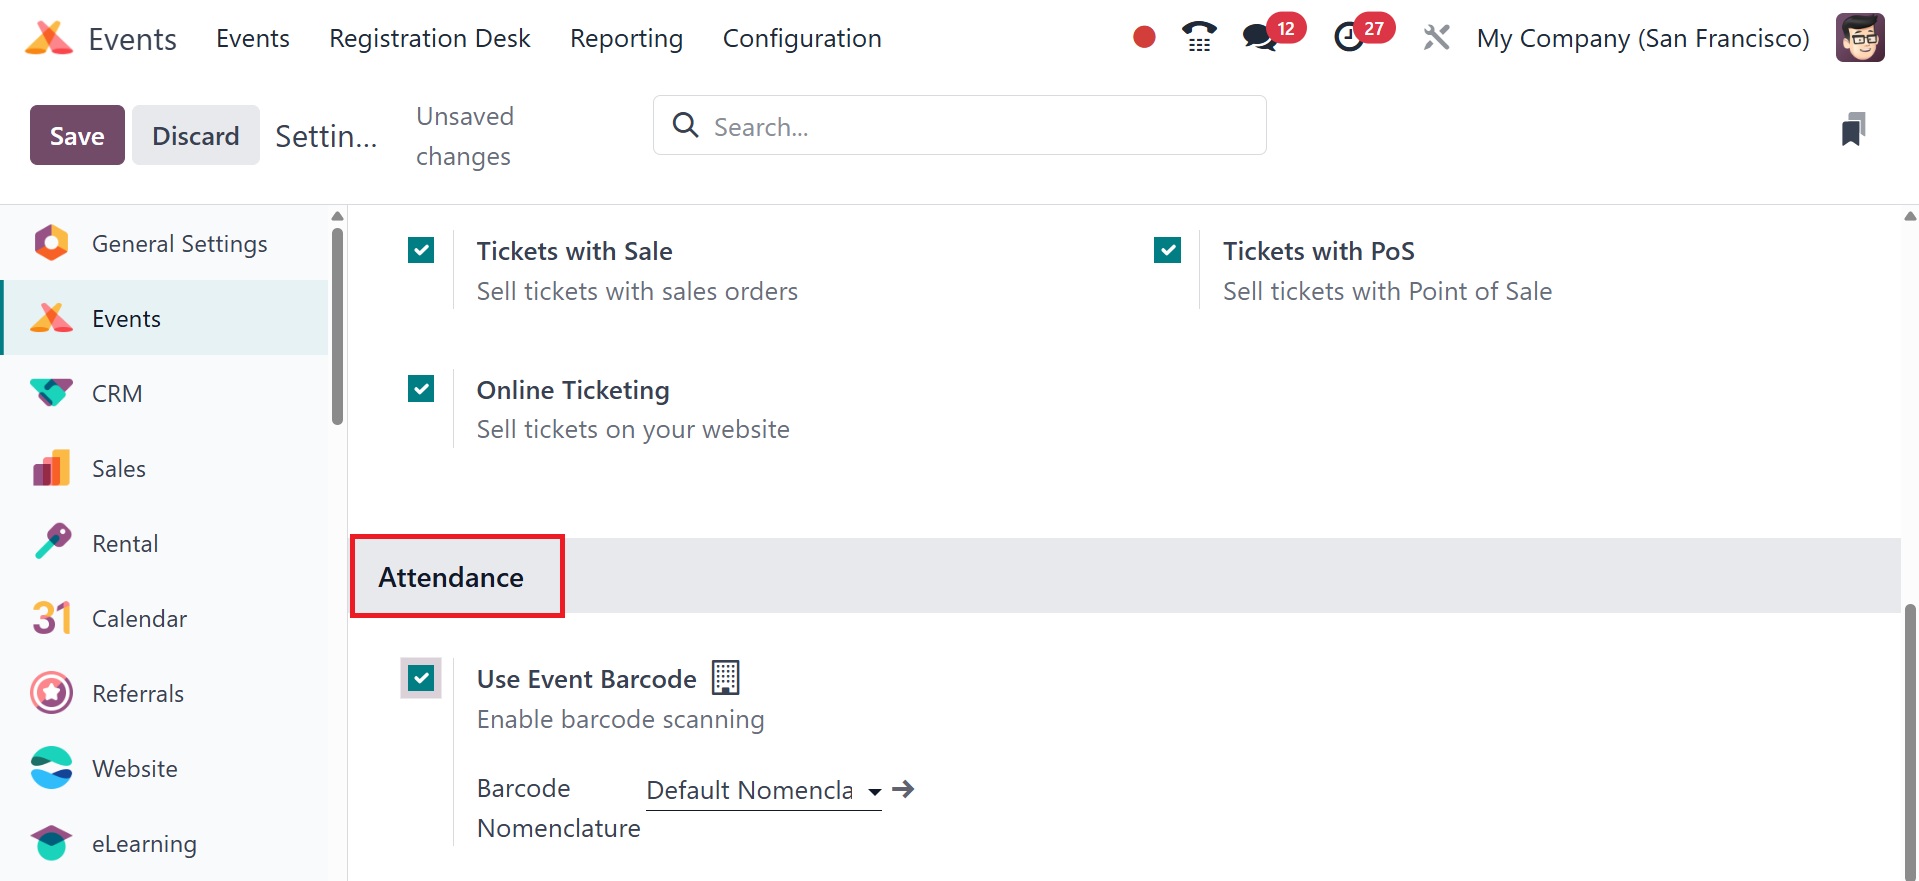
This functionality allows you to confirm attendance by scanning
badges.

Under the settings option, you can also view options like ‘tickets
with sale’ and
‘tickets with POS’, as in the image below.
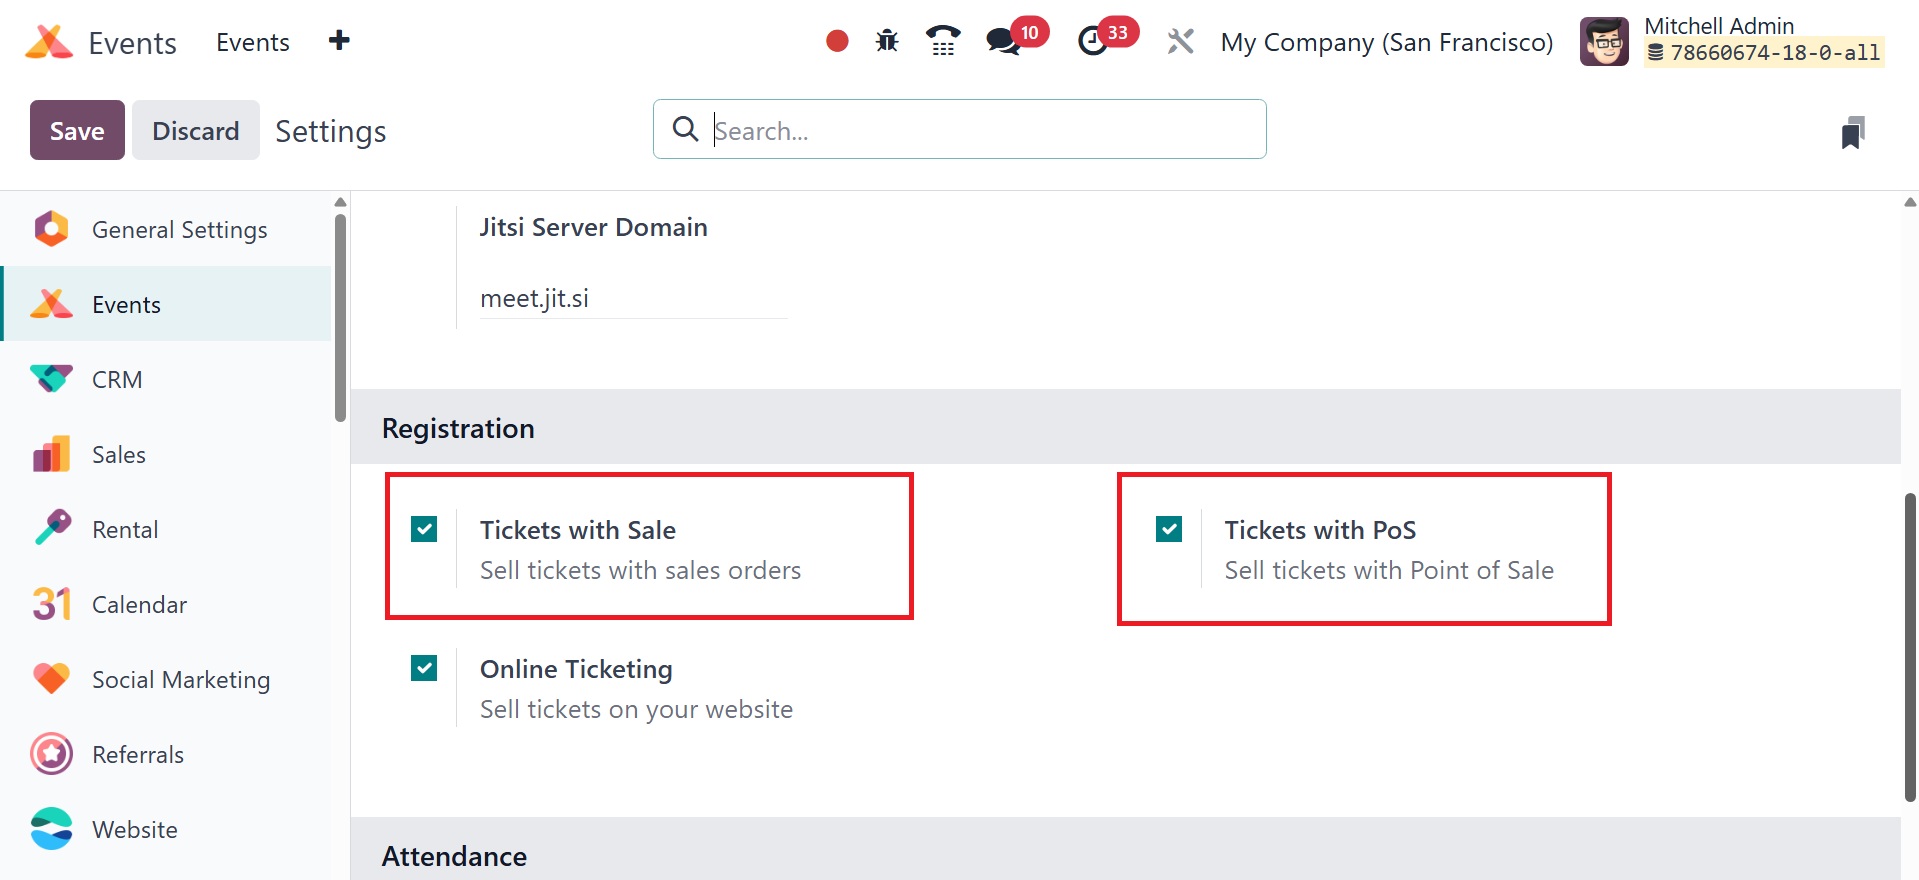
The ticket with sale option sells tickets with sales orders, and the
ticket with
PoS sells tickets through the point of sale.