5. Configuration Menu
Odoo 18's Field Service module
offers various configuration
options to improve task
management, invoicing, and
documentation. The ‘Settings’
window provides some basic
field service configuration
options, as you can see from
the screenshot below.
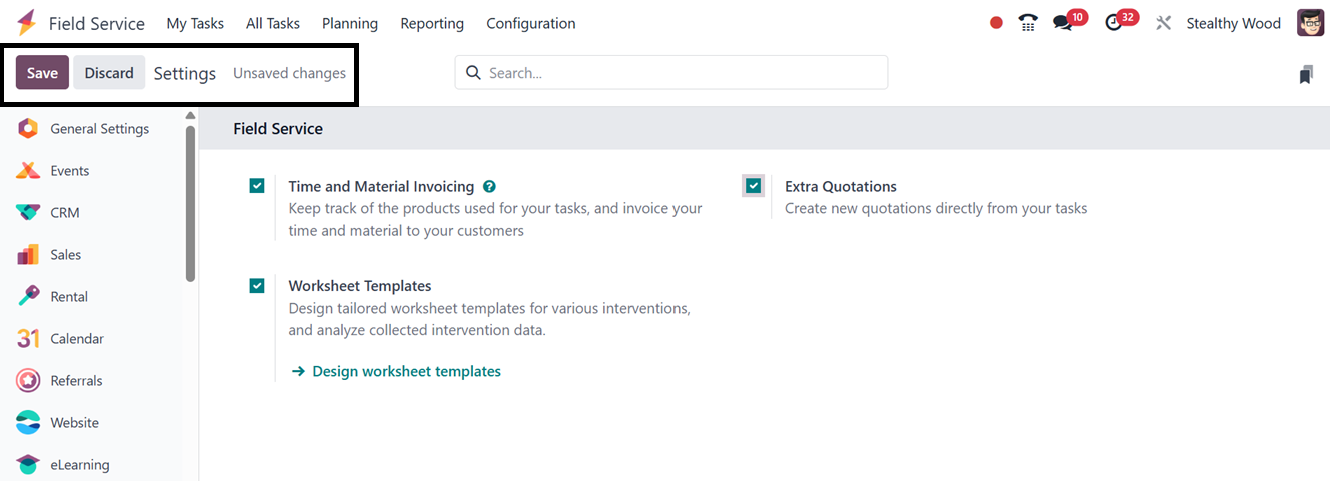
One of the key features in the
settings window is the ‘Time
and Material Invoicing,’
which allows for accurate
tracking of materials and
supplies used during service
tasks and automatic billing
based on actual time spent
and resources consumed. This
is particularly useful for
service-based businesses
charging per hour or per item
used. The ‘Custom Worksheets’
option allows for the
creation and management of
custom worksheet templates
for different types of field
service tasks, ensuring
consistency and quality. The
‘Extra Quotations’ feature
allows for the generation of
new quotations directly from
within a task, streamlining
the sales process and
improving customer service.
These settings provide
greater flexibility, control,
and professionalism in
managing field service
operations.
5.1 Project
Each field service can be
associated with a distinct
project. Projects can be
created and managed under the
"Configuration" menu.
Previously created projects
are displayed with details
such as name, worksheet
template, company, start and
end dates, allocated hours,
project manager, and stage.

The "New" button allows the
creation of new projects by
defining the Name of the
Tasks, Customer, Company,
Tags, Planned Dates,
Allocated Time, and the
Project Manager, as depicted
in the screenshot below.
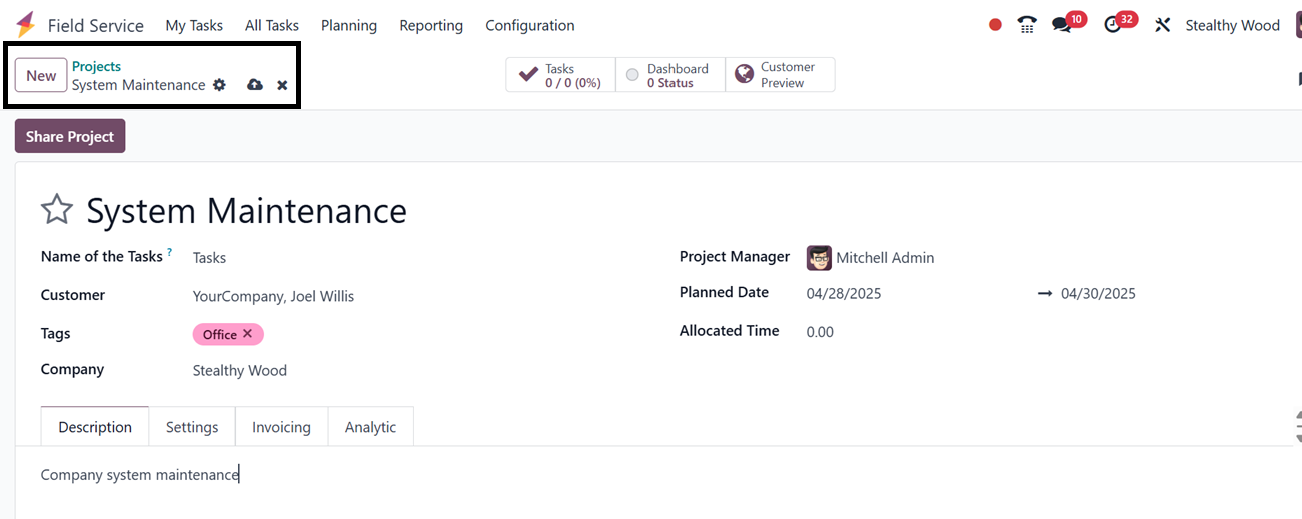
The ‘Description’ tab can be used
to provide any overview or
the aim of the project. The
"Settings" tab enables
configuration of analytic
accounts, task visibility,
milestone tracking,
timesheets, planning,
invoicing, and document
sharing, as depicted in the
screenshot below.
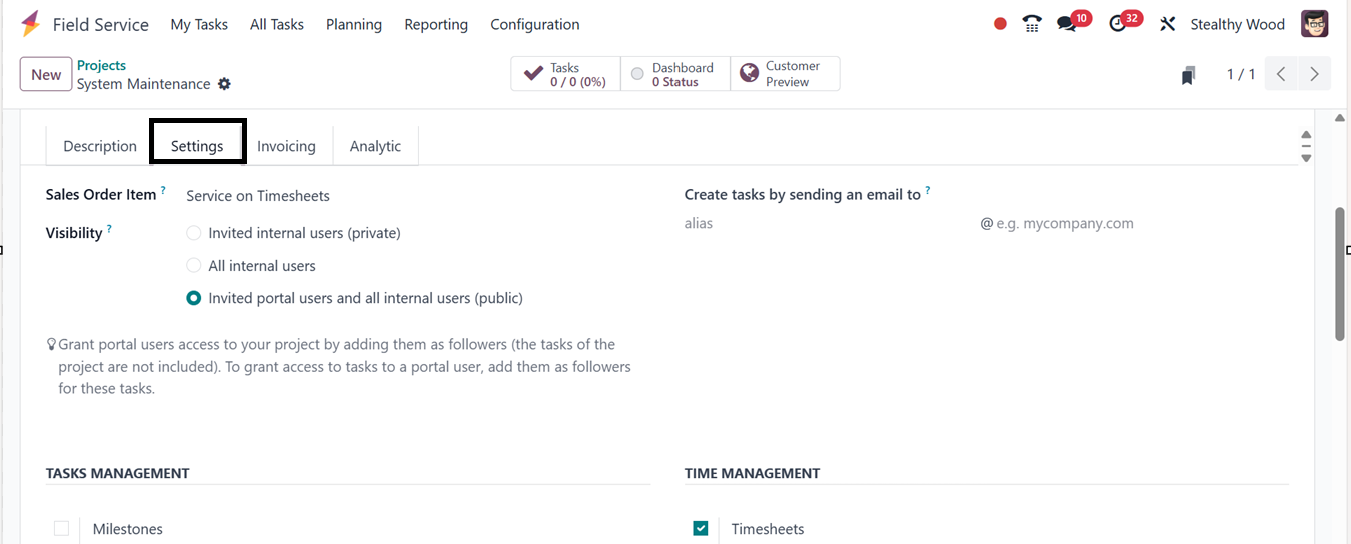
To track expenses and earnings in
a project,mention the ‘Sales
Order Item’ in the ‘Settings’
tab. Then, set the
‘Visibility’ option to view
the project to invited
internal users, all internal
users, or both portal users
and all internal users. The
project's tasks and
timesheets can be divided
into manageable ‘Milestones’
from the ‘TASKS MANAGEMENT’
section. The ‘Milestone’
option tracks significant
advancements, while the
‘Timesheets’ option logs time
spent on tasks. The
‘Planning’ option organizes
resources. Invoice the
appropriate customer for time
and materials by turning on
the ‘Billable’ option. The
‘Products on Tasks’ option
allows tracking of materials
used in activities. The
‘Documents’ option
categorizes and shares
documents with the relevant
customer.
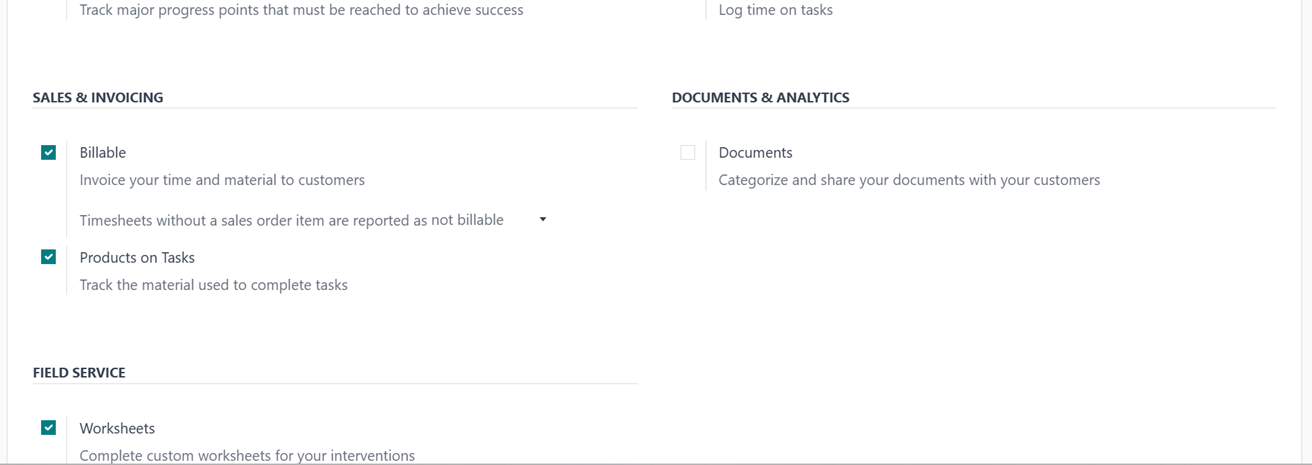
The Worksheet option generates
worksheet reports for tasks
requiring approval.
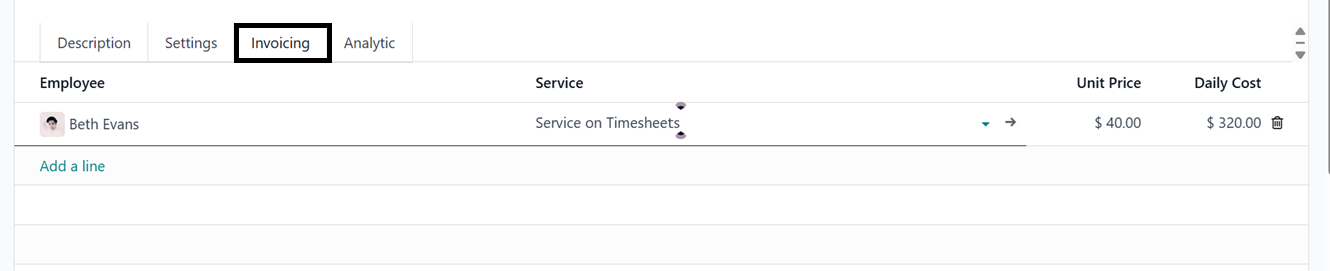
The ‘Invoicing’ tab allows you to
configure the Default Service
for the invoicing process,
which is used by default when
billing time spent on a task.
This service can be adjusted
for each task by selecting a
specific sales order item and
adding Employee, Service,
Unit Price, and Hourly Cost,
as depicted in the screenshot
below.
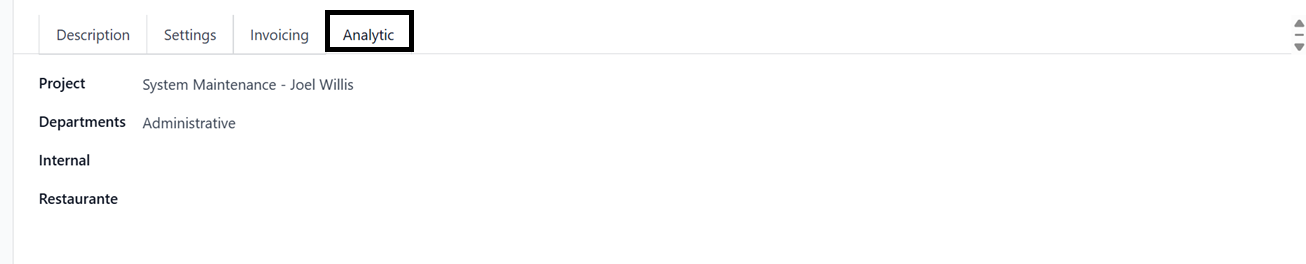
The 'Analytic' tab is crucial for
managing financial aspects of
field service tasks, enabling
detailed cost tracking,
profitability analysis, and
budget management at the
project or task level. So,
you can choose the Project,
Departments and Internal
details, as depicted in the
screenshot below.
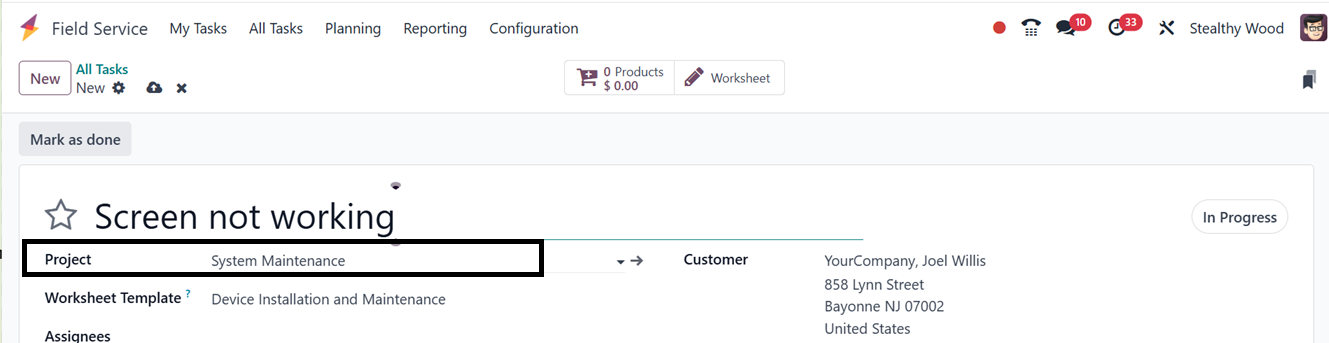
After saving the data, you can
utilize this particular
project for your next field
service task, as depicted
below.
Once the project is completed,
you can share the project
with other collaborators or
employees using the ‘Share
Project’ button. The ‘Tasks’
smart button will show the
task associated with this
project. You can check the
project dashboard using the
‘Dashboard’ button and you
can check the customer
preview interface using the
‘Customer Preview’ smart
button.
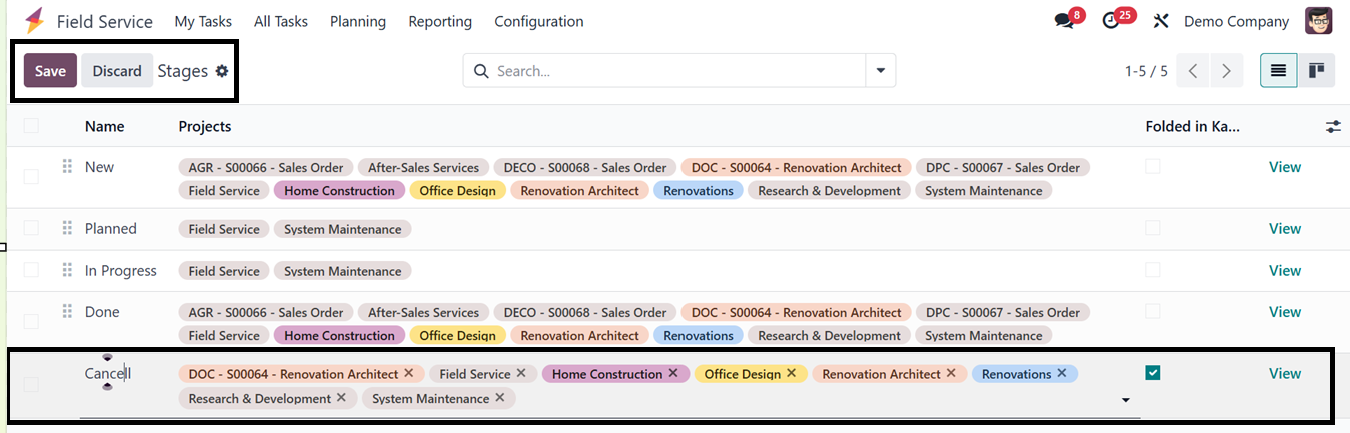
5.2 Stages
Under the ‘Configuration’ menu,
the users can manage various
‘Stages’ defined to
systematically manage field
service tasks. Stages can be
linked to specific projects,
and notification templates
for customers can be
configured. Using the ‘New’
button, you can easily create
new task stages and edit the
stage name and projects
containing this particular
stage, as illustrated in the
screenshot below.
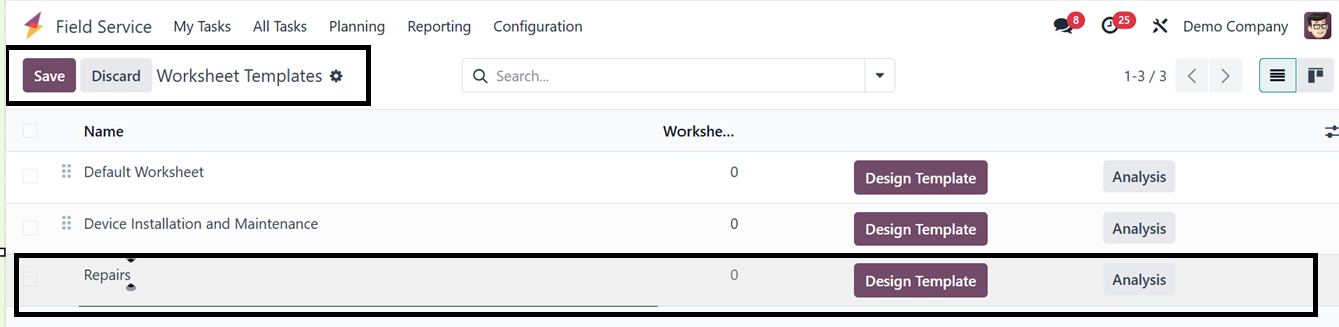
5.3 Worksheet Templates
The ‘Worksheet templates’
facilitate structuring field
service operations.
Pre-configured templates
display information on name,
company, worksheets, and
color. New templates can be
created using the "New"
button and customized via the
"Design Template" option.
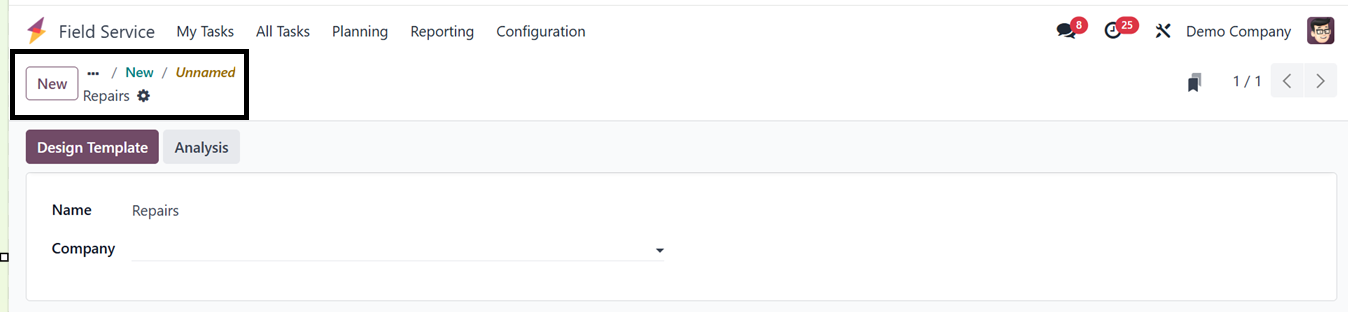
You can alter the worksheet
template's appearance and
content by clicking the
‘Design Template’ button
after entering the necessary
data. Designing is allowed
with the Odoo 18 Studio
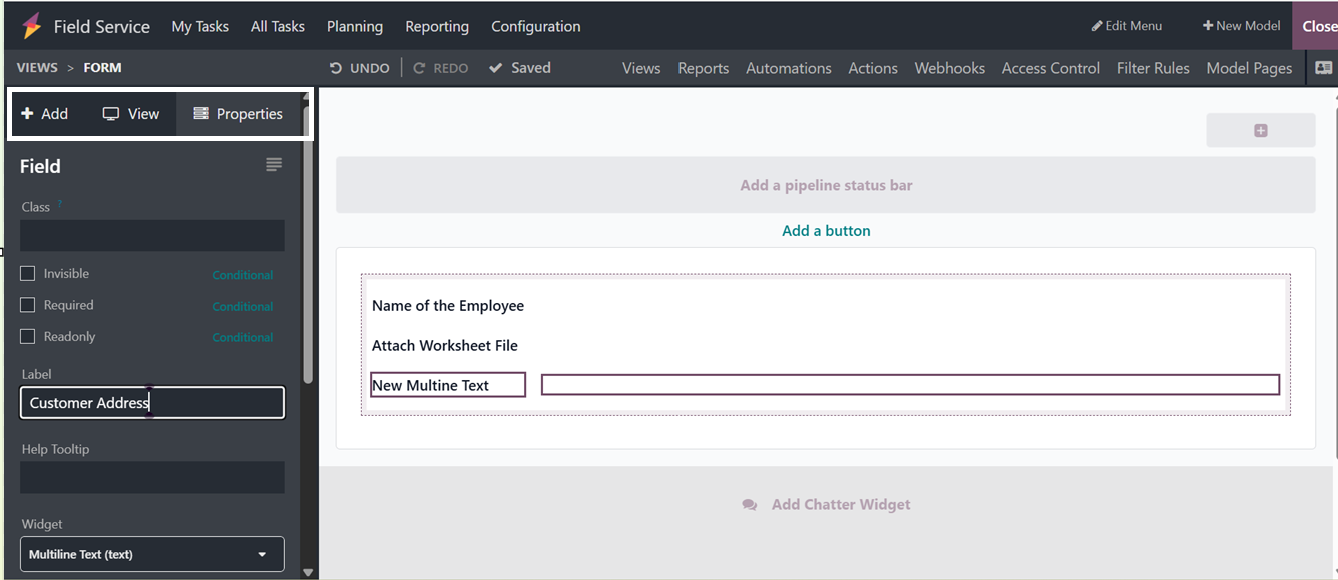
application.
You will get a new window
containing advanced editing
tools with the template to
meet your unique service
needs.
When creating new field service
jobs, the template may be
utilized again, guaranteeing
speed and consistency. By
selecting the ‘Analysis’
option, tasks finished using
this template may also be
examined, yielding insightful
data about utilization and
performance.
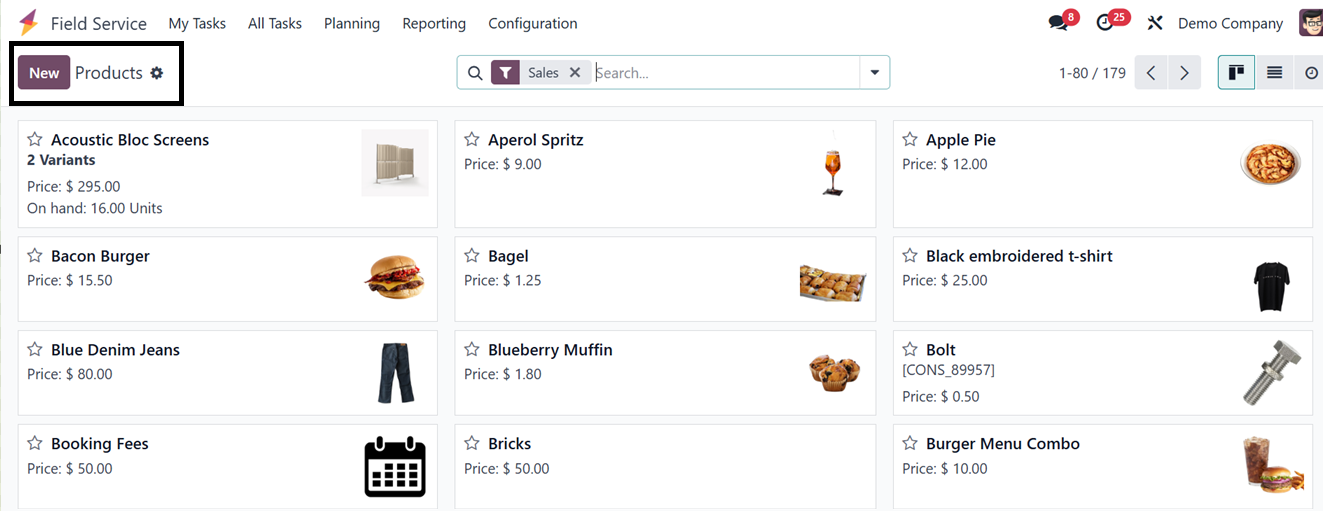
5.4 Products
In order to ensure precise
tracking and invoicing, you
may set and manage all items
used during field service
operations, including tools,
parts, and consumables, using
the "Products" window in the
Field Service module, as
depicted in the screenshot
below.
Creating a new product is similar
to the process of creating a
new product in all the other
Odoo modules.
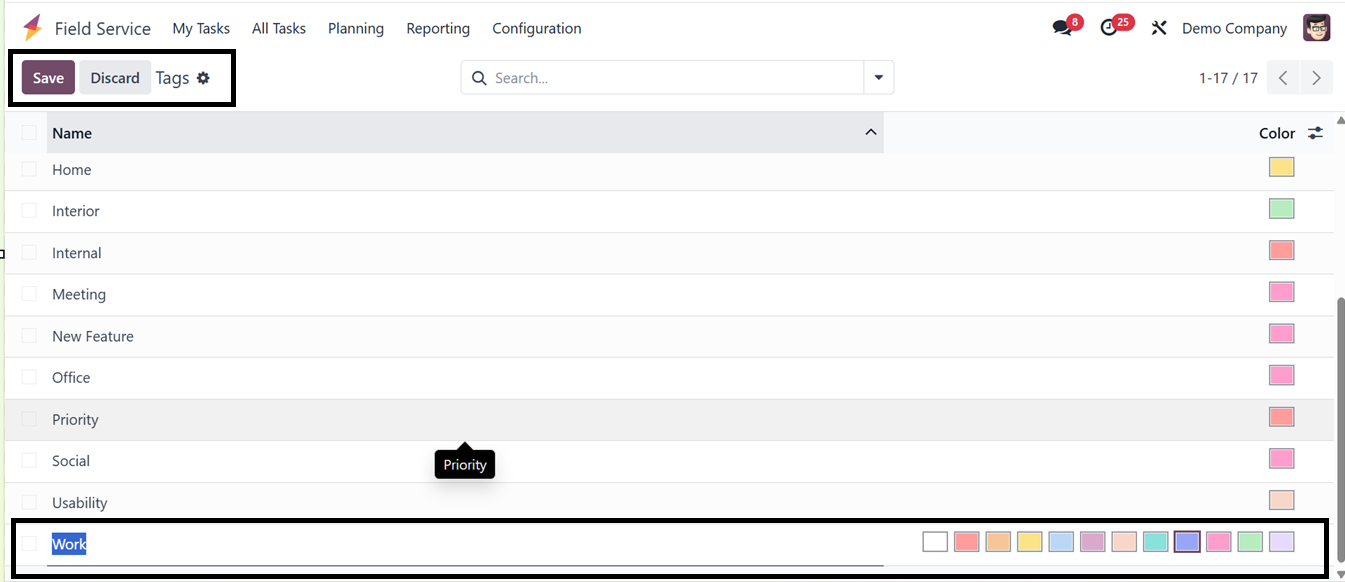
5.5 Tags
Odoo 18's Field Service module
uses tags to organize,
filter, and categorize tasks,
improving overall task
management. Users can label
tasks based on criteria like
type, priority, location, or
equipment. You can configure
the tags from the “Tags”
window of the “
Configuration” menu.
To create a new tag, click on the
‘New’ button and enter a tag
name and color, as depicted
in the screenshot below.
Tags can be generic or highly
specific. They can be applied
directly to tasks and enable
filtering and grouping in
views like kanban, list, and
calendar, helping technicians
and managers locate and
prioritize tasks based on
their assigned labels.
5.6 Activity Types
In the Field Service module, the
‘Activity Types’ are used to
specify and control different
follow-up activities or
reminders that might be
planned in relation to field
service jobs. The activities
might include things like
calling, emailing, setting up
a meeting, or organizing a
site visit.
You can see the dashboard of all
the Activity Plans with their
Name, Default Summary,
Planned Date and Type, as
depicted in the screenshot
below.
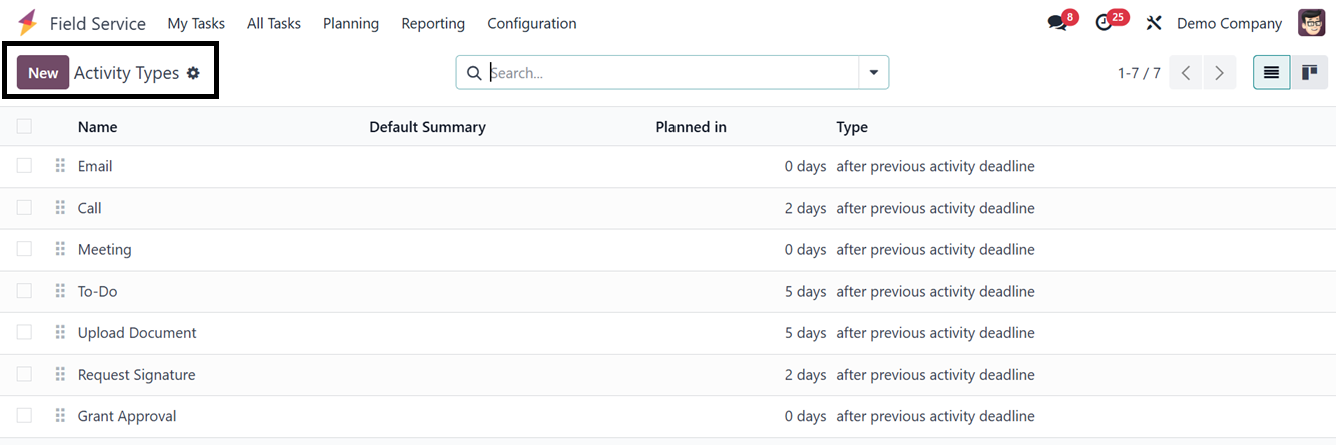
Click on the ‘New’ button and
start creating a new activity
type by filling in the form
fields.
The first step in creating a new
Activity Type in Odoo CRM is
to put the activity's name in
the designated ‘Name’ field.
Once the activity has been
named, you may select the
right Action from the list.
Specific actions can be
triggered by each action,
such as sending reminders,
automatically marking an
activity as completed upon
uploading a document, or
activating a calendar view.
You have the option to Upload
a document, Call, Meet,
Remind, Request a Signature,
Submit a tax report, or do
nothing.
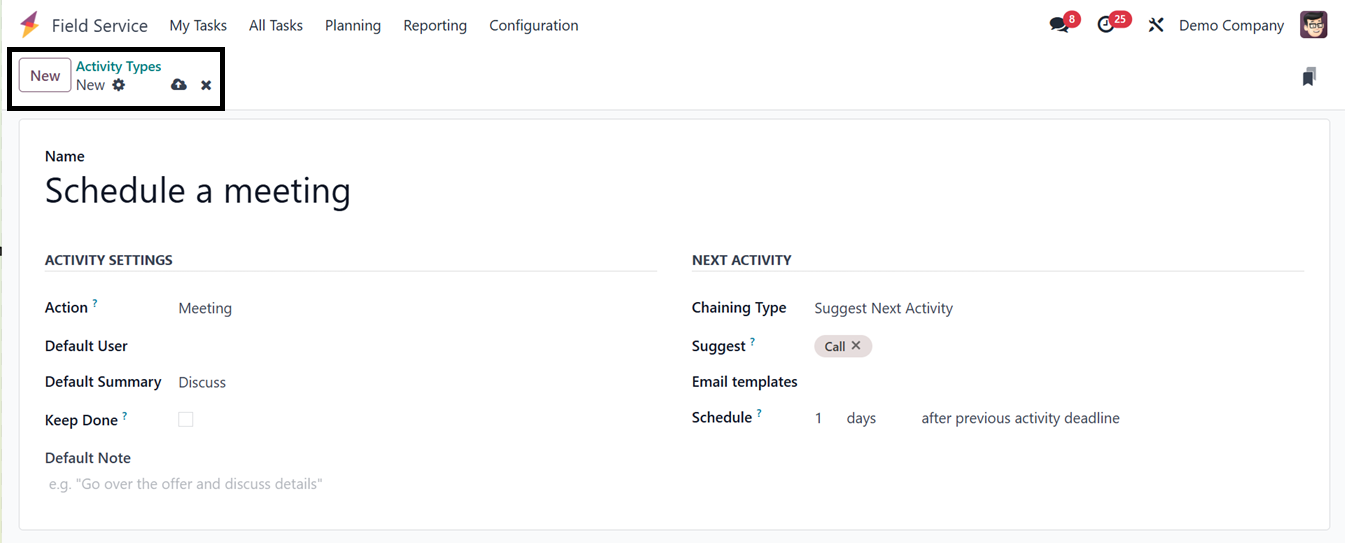
Next, you can designate an Action
that limits the activity type
to that specific model and
designate a Default User who
will be in charge of this
activity type. You can add a
brief description in the
Default Summary section, and
it will be automatically
filled in for actions of this
type. To visually identify
the activity type in the
completed state, enable the
Keep Done option and provide
a useful context about the
activity type in the Default
Note area.
In the ‘NEXT ACTIVITY’ tab, you
can specify the behavior of
the subsequent action in the
sequence. You may select
either Trigger Next Activity
or Suggest Next Activity
under the ‘Chaining Type’
field. You can designate a
subsequent task that Odoo
will suggest once the current
one is finished if you select
Suggest. If you select the
‘Trigger’ option, the
subsequent task will be
generated automatically when
the current one is finished.
Finally, you can provide an
‘Email Template’ related to
this particular activity type
and assign the schedule
timing of the triggered
activity that comes after the
previous activity deadline
inside the ‘Schedule’ field.
After completing the activity
type configuration procedure,
you can utilize them for
future projects or tasks.
5.7 Activity Plans
The 'Activity Plans' feature
helps automate and streamline
task follow-ups by creating
predefined sequences of
activities. These plans act
as structured workflows,
guiding teams through
consistent, step-by-step
procedures for each task
type. The dashboard will show
all the available activity
plans with their Name and
Steps Count, as depicted in
the screenshot below.

You can click on the ‘New’ button
to create a new activity plan
and edit the details
including the Plan Name,
Model and Company.
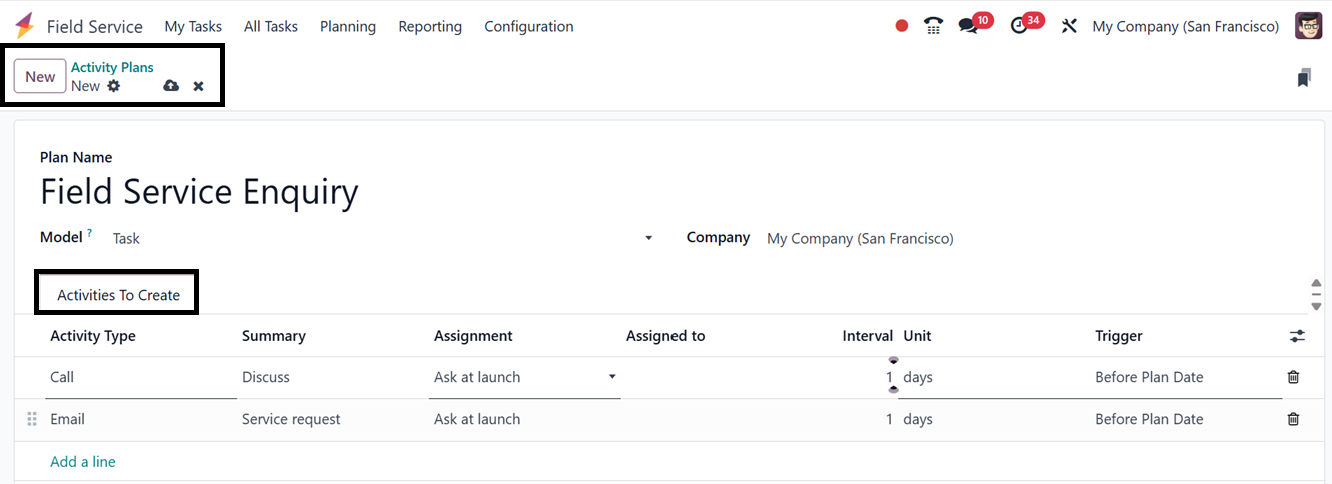
Next, you have to choose the
Activity Type, Summary about
the activity, Assignment,
Assigned to, Interval Unit
and Trigger options to
execute the activity plan
steps in the ‘Activities To
Create’ tab.
After saving the data, you can
utilize these activity plans
while creating a field
service task for better
planning and task execution.
Overall, the Odoo 18 Field
Service module simplifies
on-site operations
management, offering tools
like task planning, time
tracking, invoicing, and
activity automation,
enhancing workflows, customer
satisfaction, and team
productivity.