2. Configuration
The Odoo ERP program is made to work with practically any kind of business requirement
that is recognized throughout the world. You should configure your module to fit
your company environment in order to make it a useful application. Odoo created
the Configuration tab in each module to let you configure data, fields, and processes
that are appropriate for your business. Odoo has a number of choices under the configuration
tab that you can set up in accordance with your business's rules. You can adjust
it to fit your operations with the help of this tab. You can see the Configuration
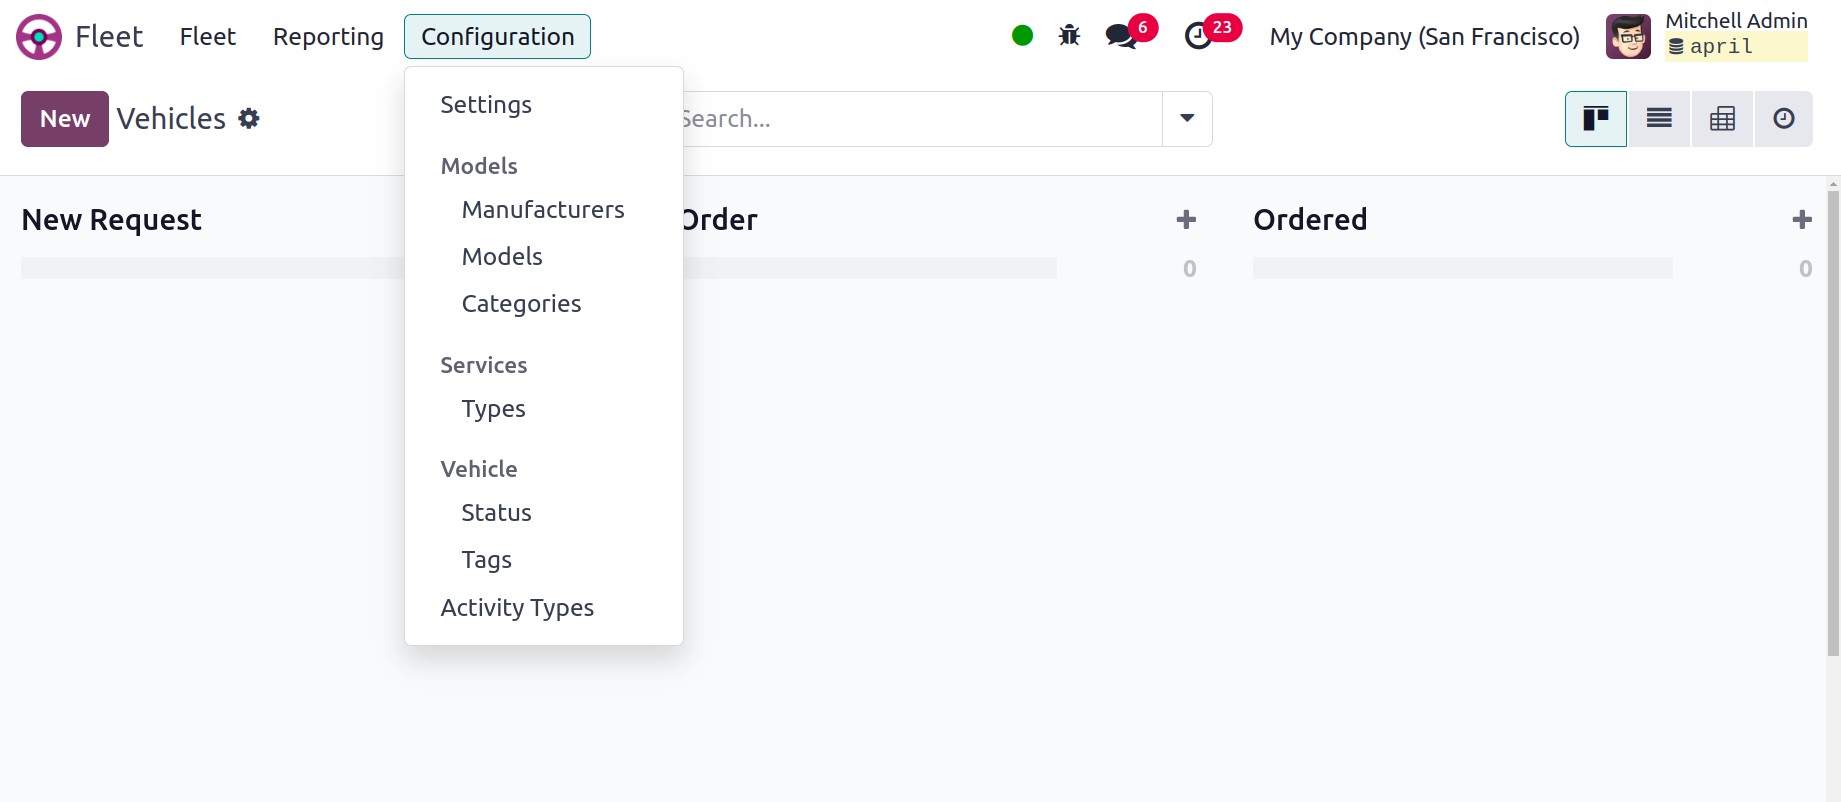
tab even in the Fleet Management module. Let's talk over each of the settings listed
in the Fleet management module's Configuration tab.
2.1 Settings
You can establish rules for new vehicle requests and specify the end date contract
alert in the Odoo Fleet management module's Settings window. Below is a screenshot
of the Settings window.
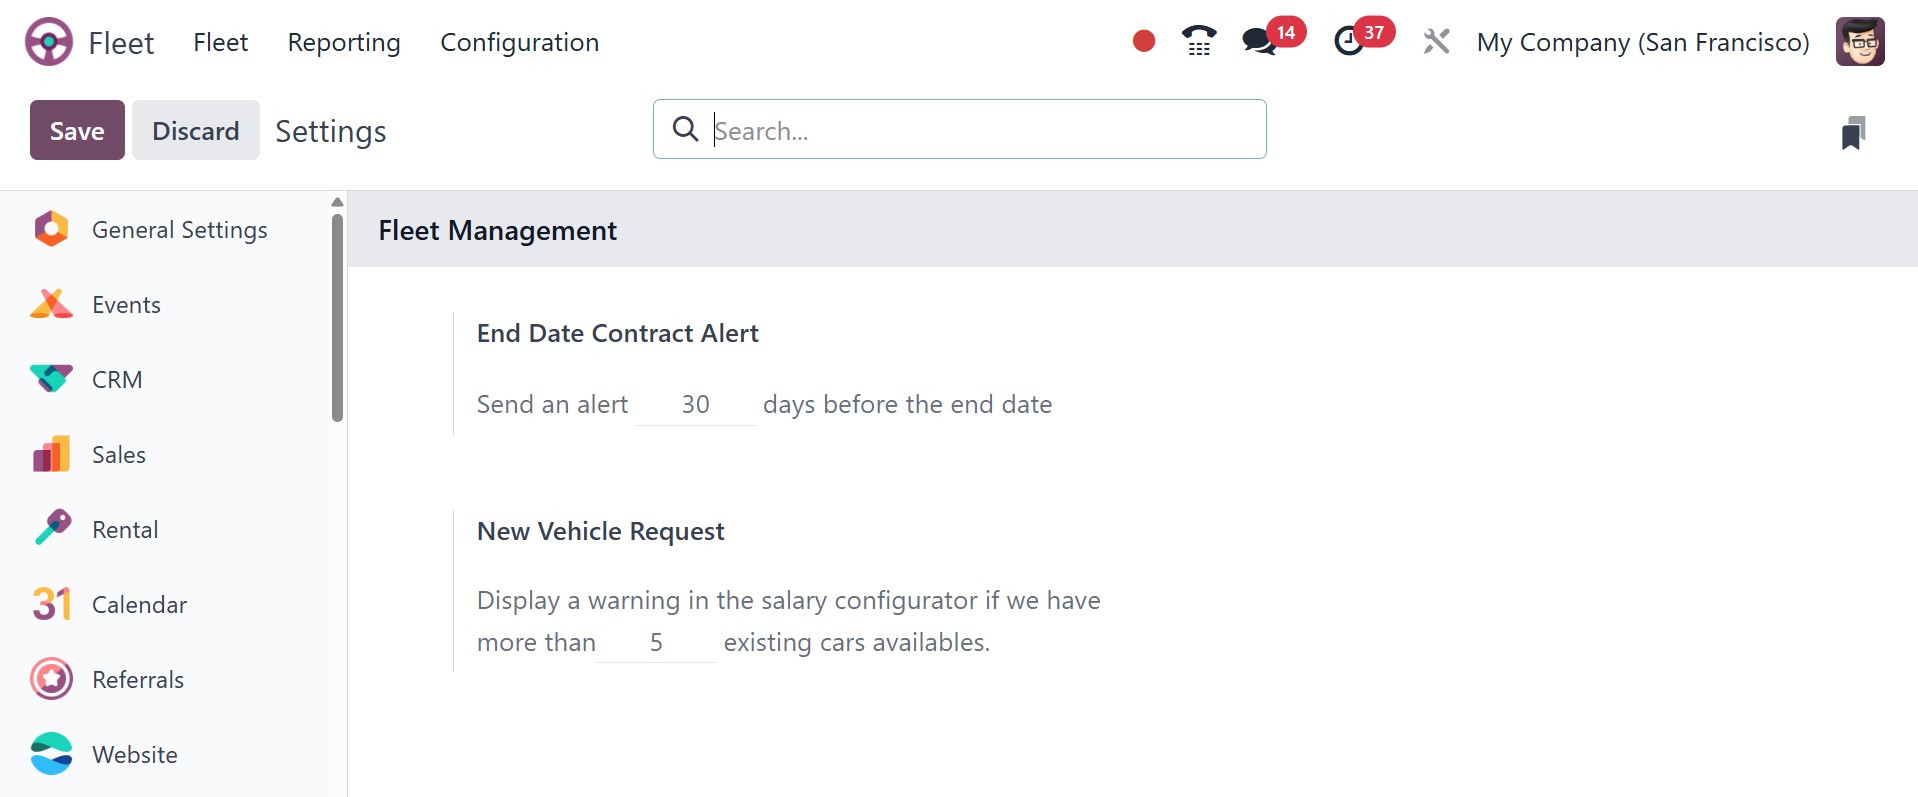
In order to send an alert message prior to this end date, you may put up a date
under the End Date Contract Alert option. Likewise, you can specify the quantity
of vehicles under the New Vehicle Request option. In order to prevent the employee
from requesting a new vehicle if there are additional cars available. Your company's
policies will determine what these two values can offer.
2.2 Manufacturers
Odoo, the greatest platform for localization assistance, understands the importance
of localization in fleet management. Users can set up different car brands according
to their localization points using the system. This module's localization feature
allows you to establish and manage different automobile brands according to your
region and country. Odoo automatically included practically every foreign automaker
to its Manufacturer's window.
You can navigate to Fleet -> Configuration -> Manufacturers to open this window.
Below is a screenshot of the window.
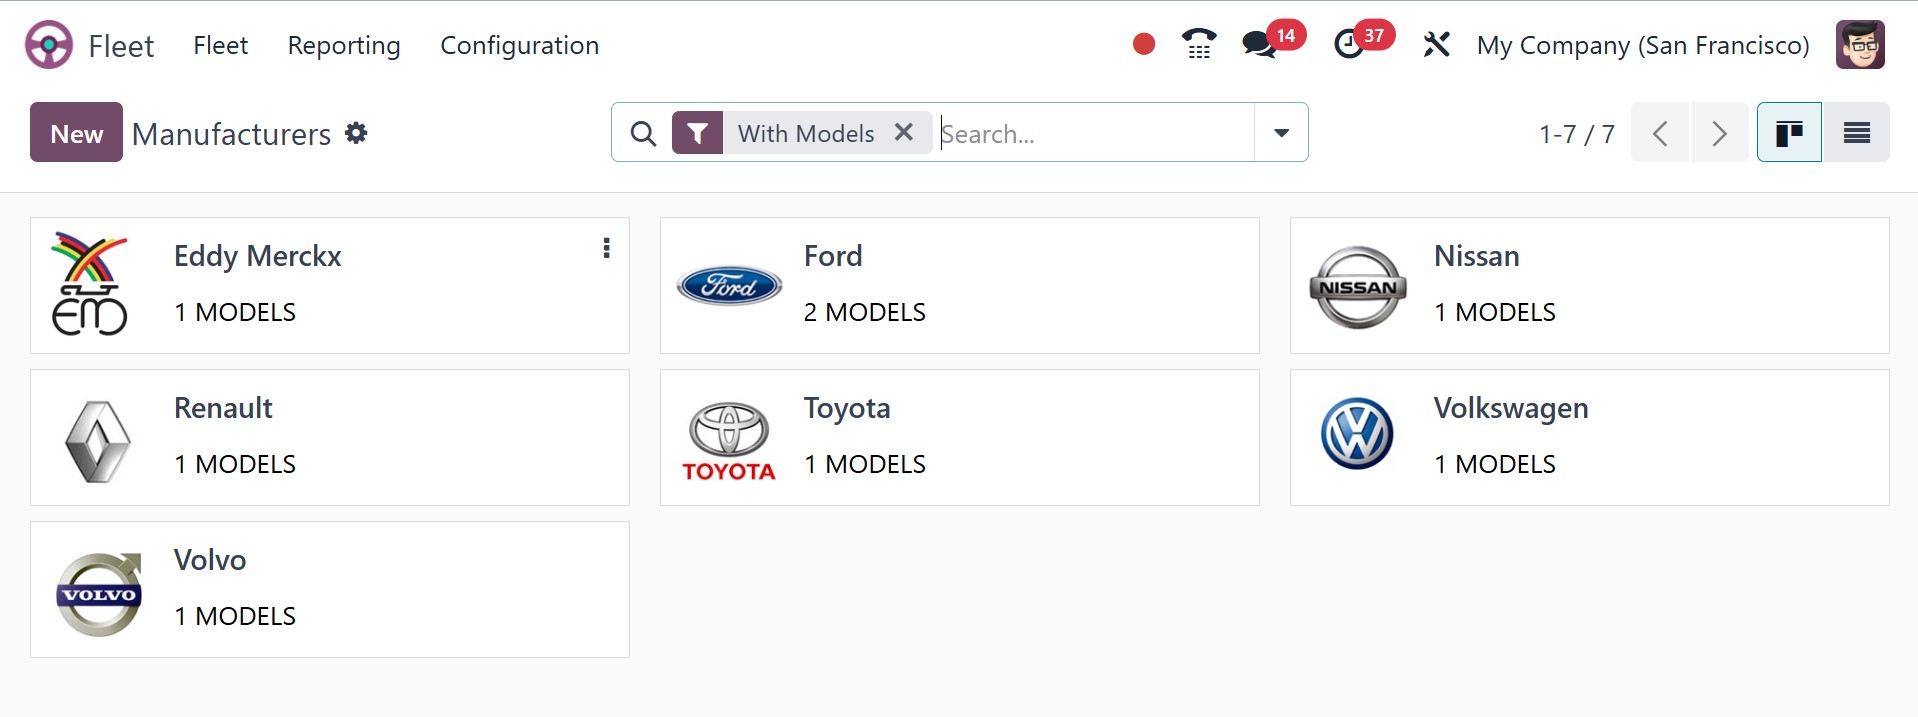
You can access this window in both Kanban and List format in Odoo. You can filter
this window using the default filter called "With Models," which lets you view the
vehicle brands according to their models. You can also customize different filters
and sorting options, and you can create new brands by clicking the New button. The
screenshot of the creation form is shown below.
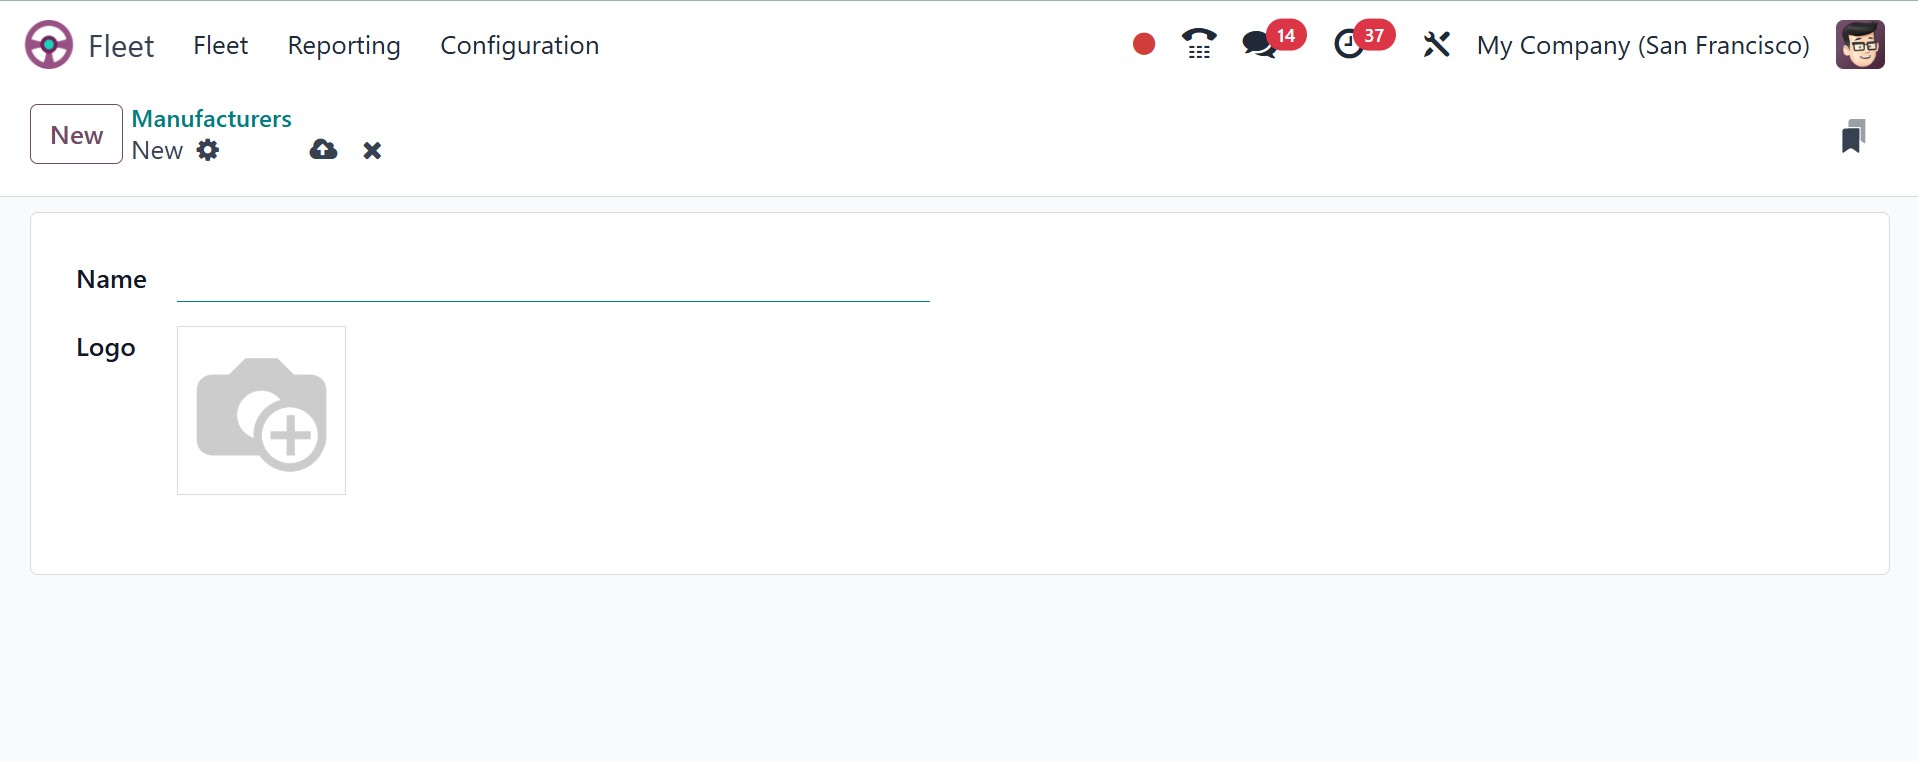
In this creation window, you can enter the brand's name and image. You can then
save the information. The Manufacturers window now has the new brand.
2.3 Models
The Odoo Fleet management system's Vehicle Models window is intended to show you
the models of the vehicles in your fleet. You can rapidly comprehend your organization's
car models and quantity of vehicles with this window.
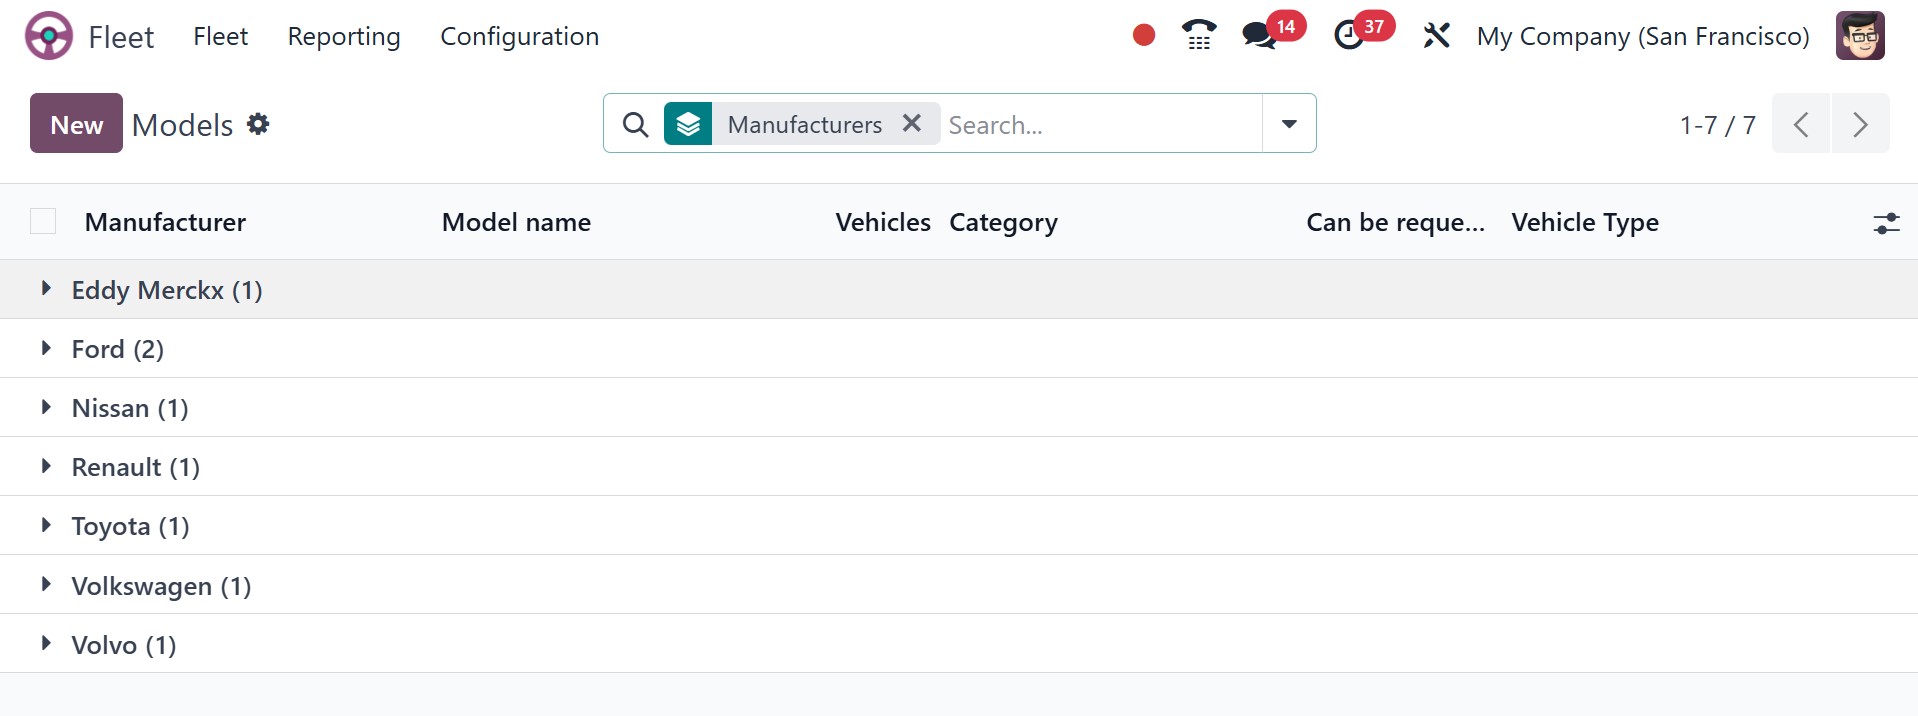
You can see every car model that your company offers when you look at the window,
and it will also show you how many of each model there are. You can choose the appropriate
module if you like to see each vehicle's details. You may now see it up close.
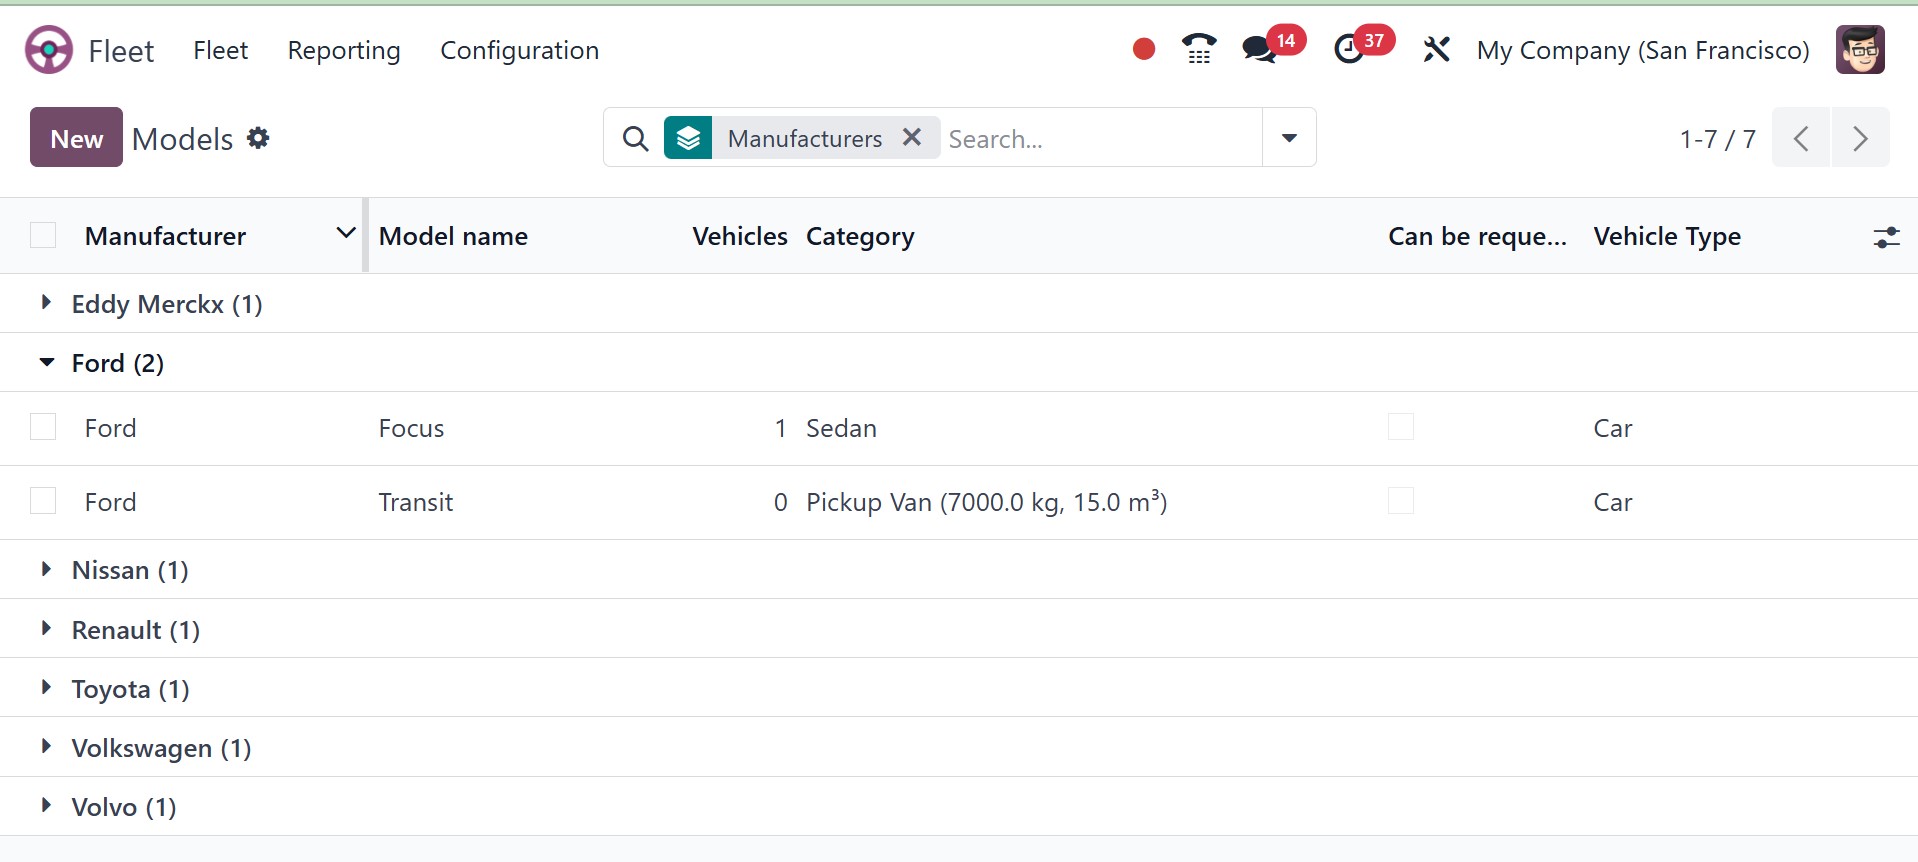
The Model Name, Vehicle Category, Can be requested, and Vehicle Type will be provided
for each vehicle under the vehicle model. Click the NEW button to start creating
new vehicle models.
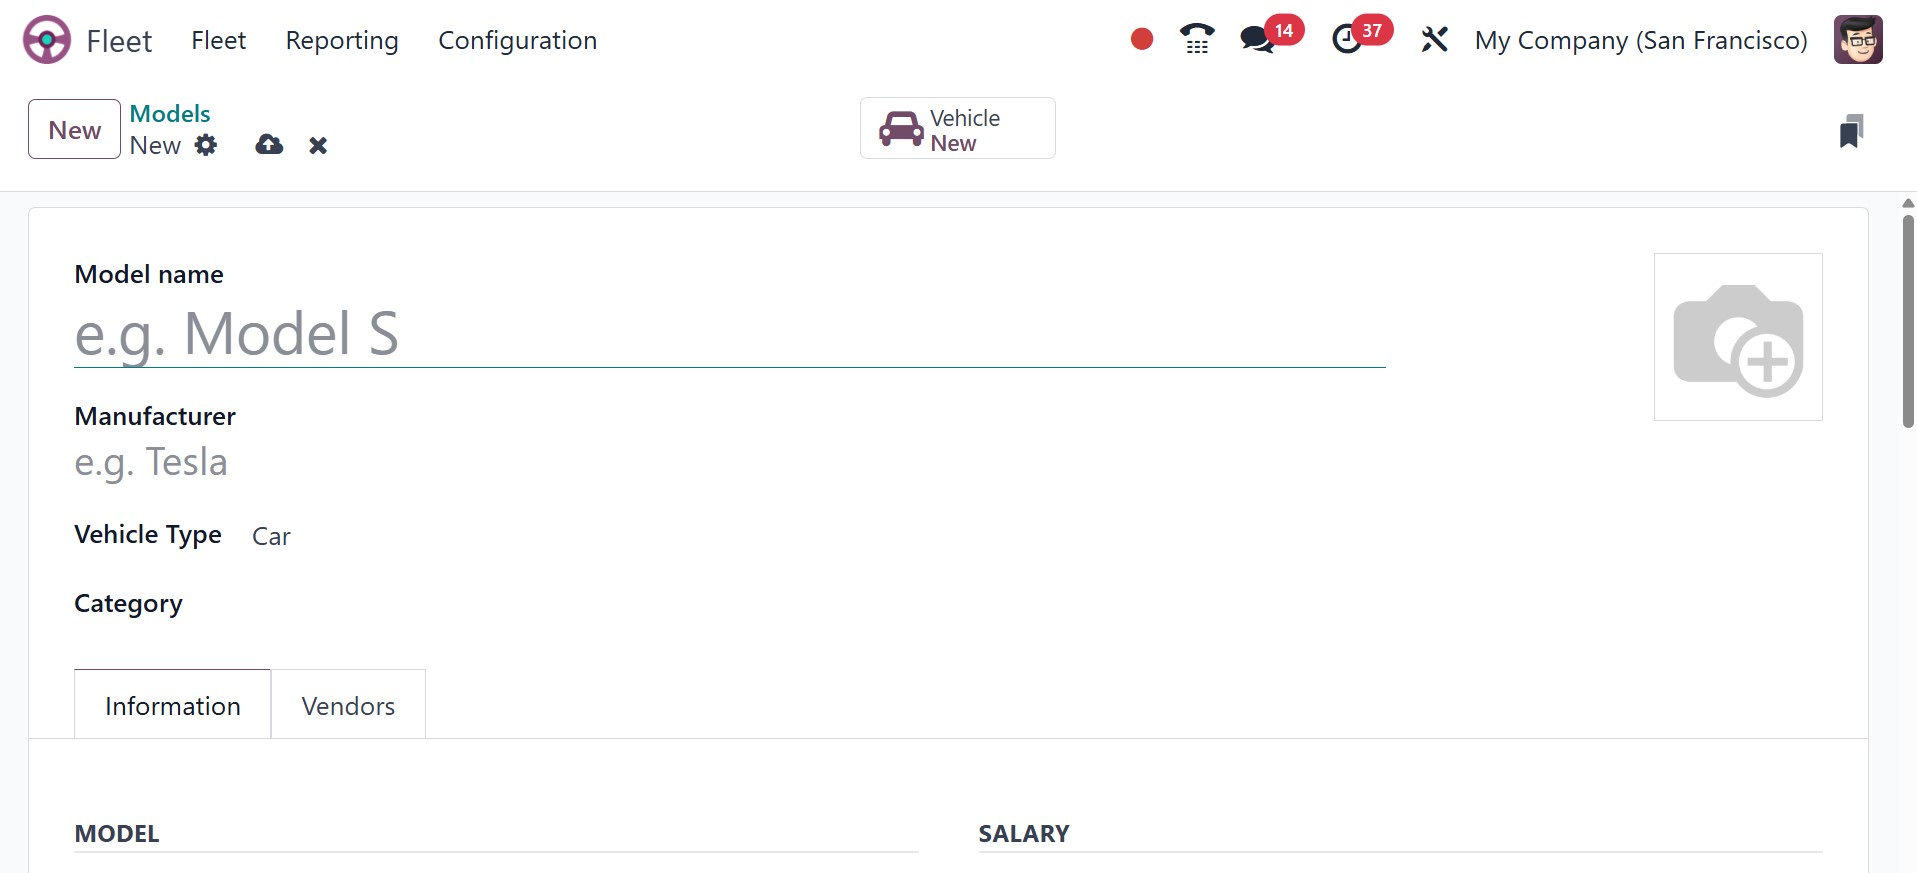
You can assign the Model Name in addition to the image in the Vehicle Models creation
box. Next, you can use the drop-down menu to specify the vehicle's manufacturer.
Likewise, the Vehicle Type and its category can be defined jointly.
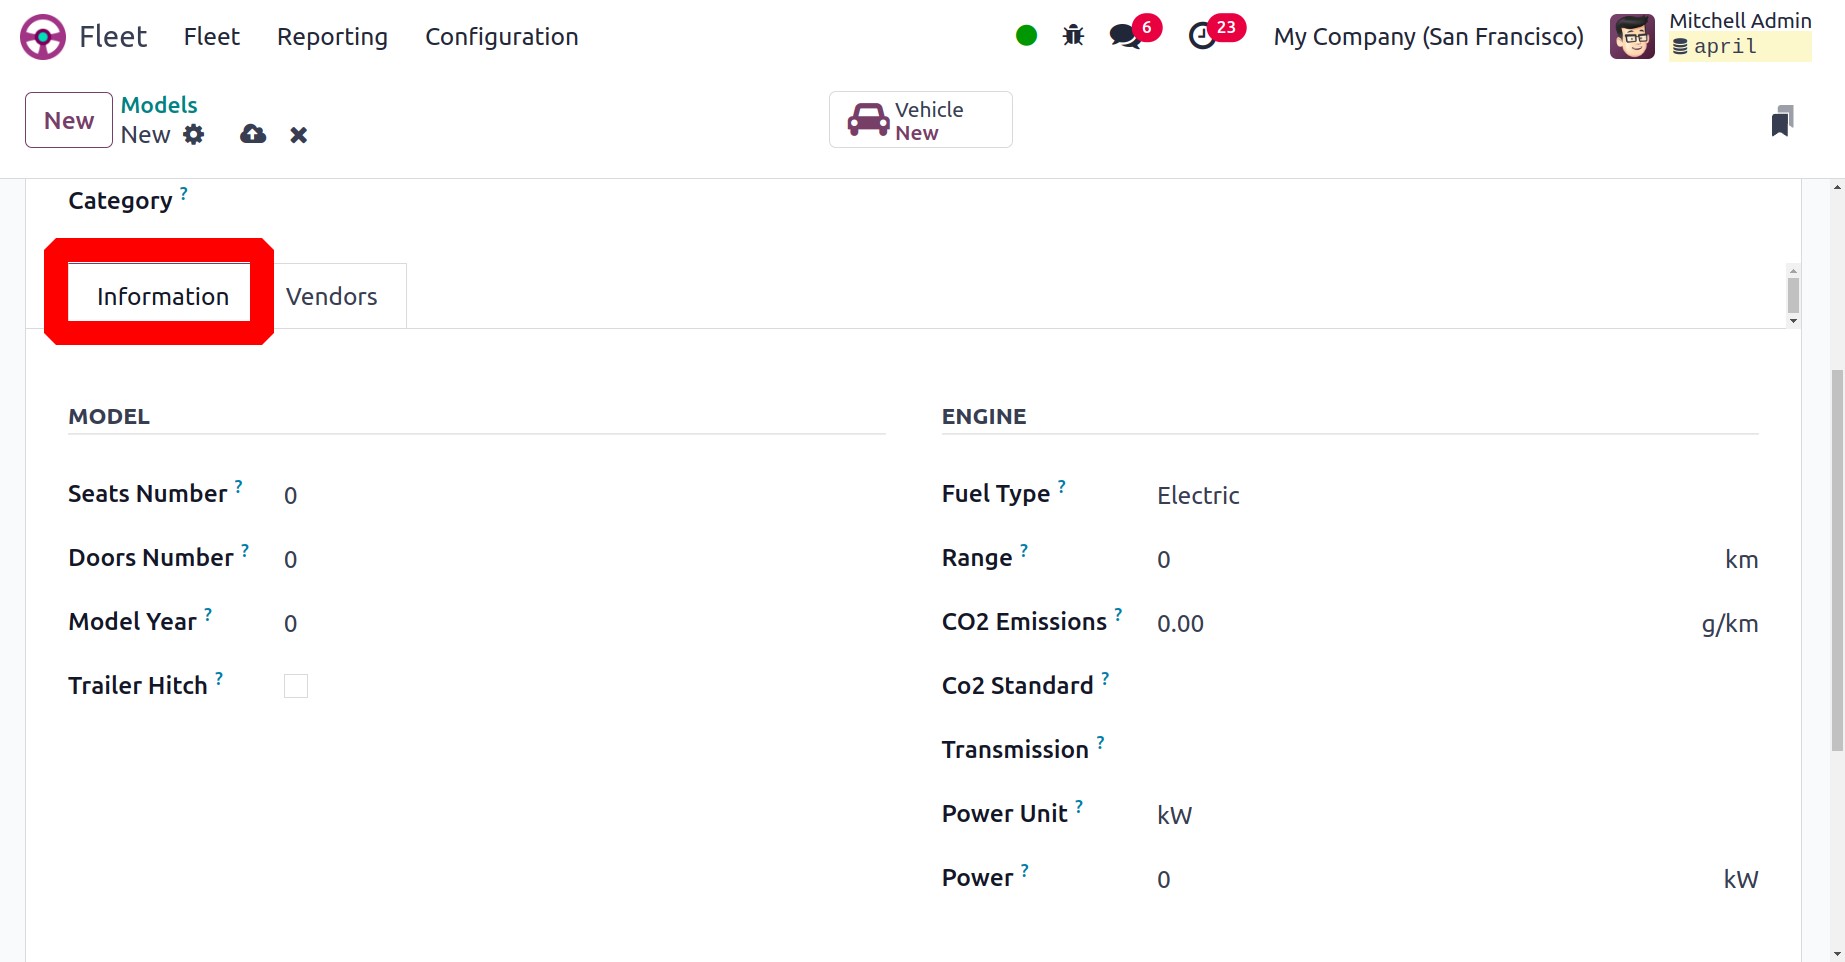
Details about the car model can be described in the Information page. It contains
the Trailor Hitch, Color, Model Year, Seat Number, and Door Number. The fuel type,
carbon dioxide emissions, carbon dioxide standard, and transmission can also be
included. By turning on the Can be requested option, you can be asked to sign a
contract as a new car under the Salary section. It is also possible to explain the
Catalog Value, CO2 charge, Depreciated Cost, and Total Cost (Depreciated).
Lastly, it would be beneficial to include the following: Horsepower, Tax Deduction,
Horsepower Taxation, and Power in Kilowatts.
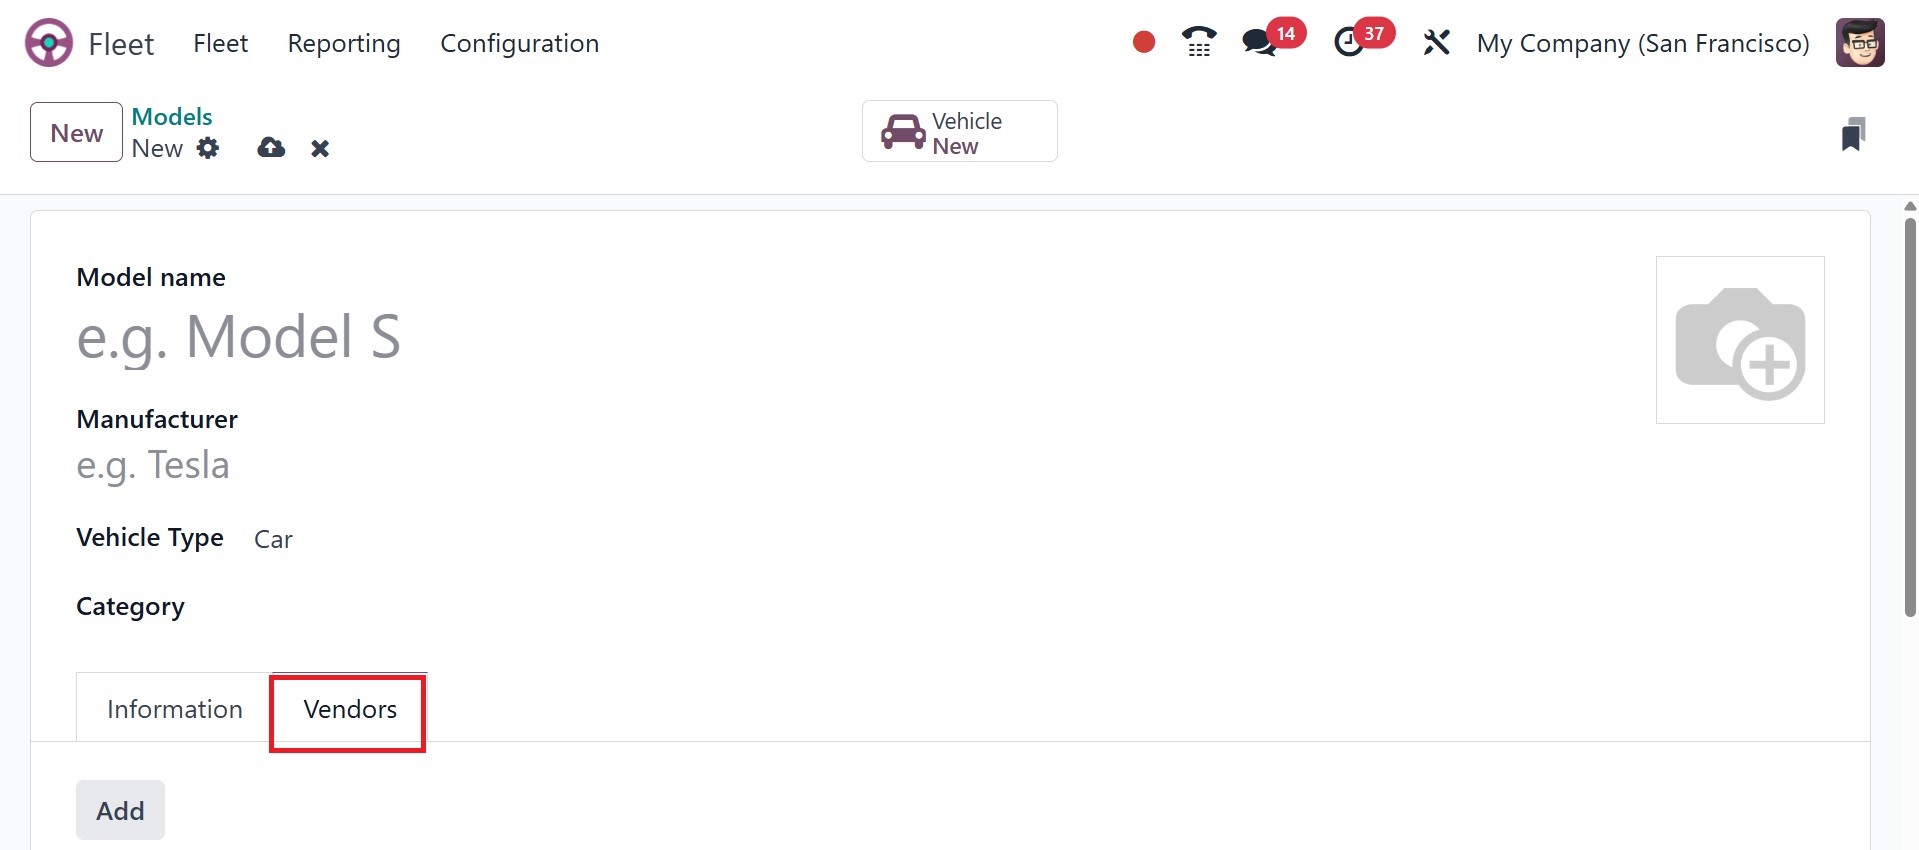
You can add the vendor details under the Vendors page. The Vendors list we previously
built on the platform will appear when you click the ADD button. You can choose
this vendor if they have already been formed. If you installed the Inventory module
in your system, you can create the new vendor from scratch if it's a new one.
Let's proceed to the Model Category choice now that we have a better understanding
of the Vehicle Models setting stages.
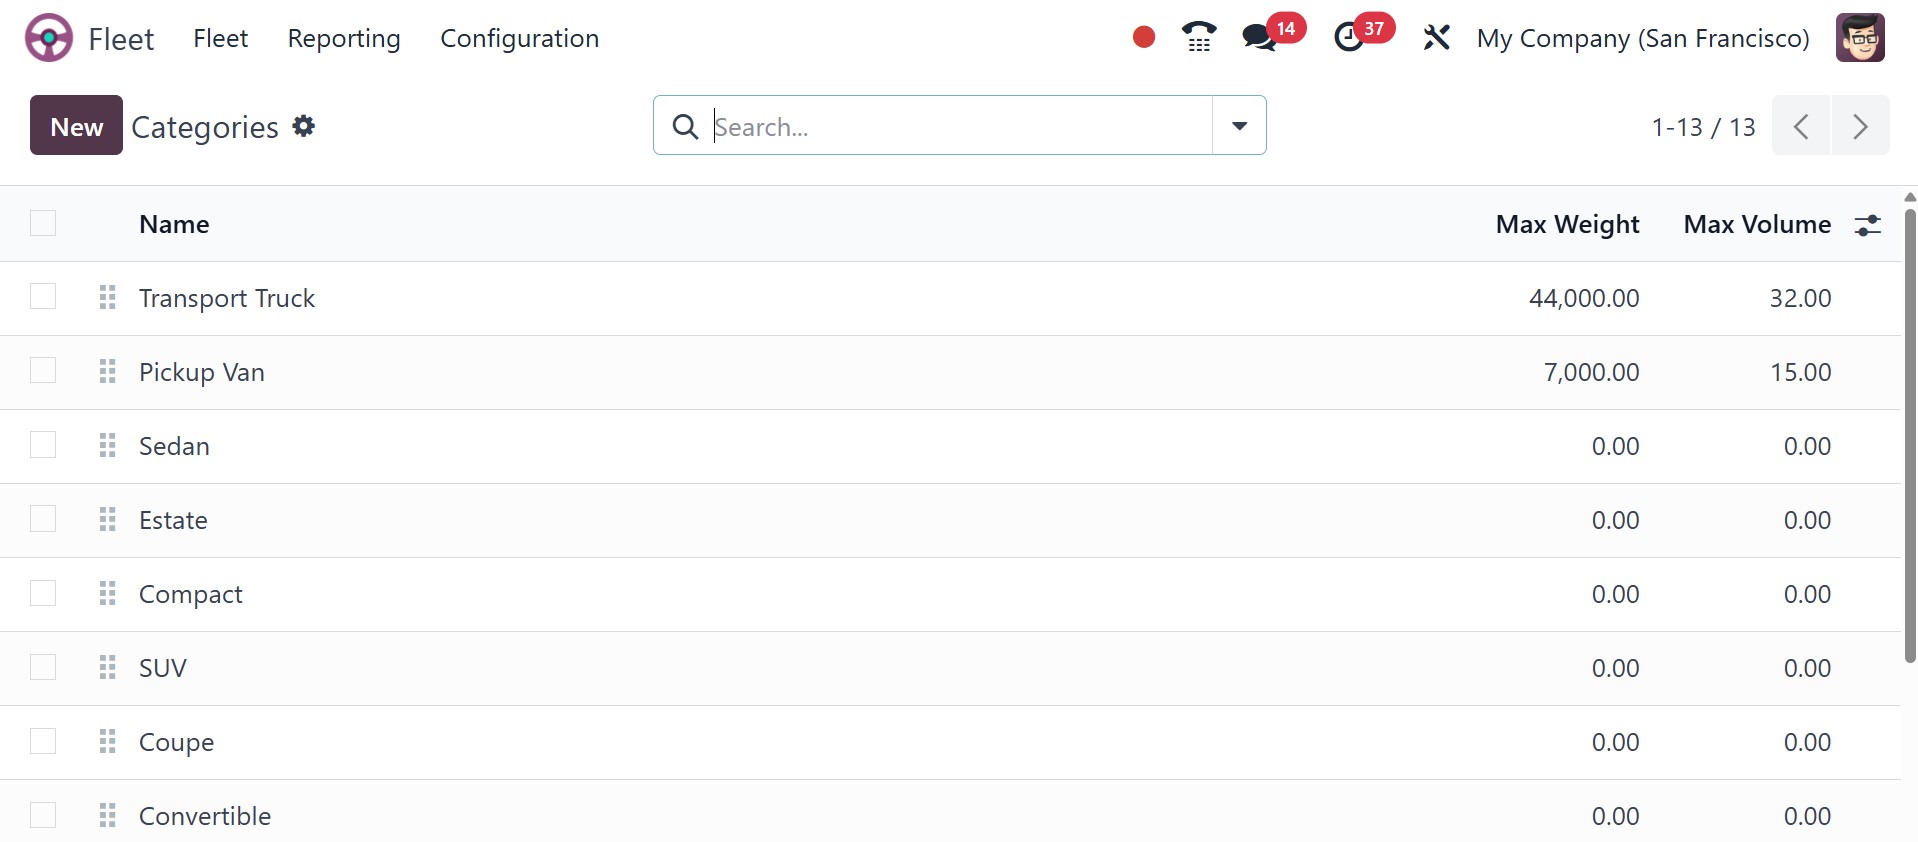
2.4 Categories
You can configure different Vehicles model categories using the Model Category option.
You can navigate to this window by selecting Fleet -> Configuration -> Model Category.
The window's image can be found below. You can make a new Model Category in the
same window.
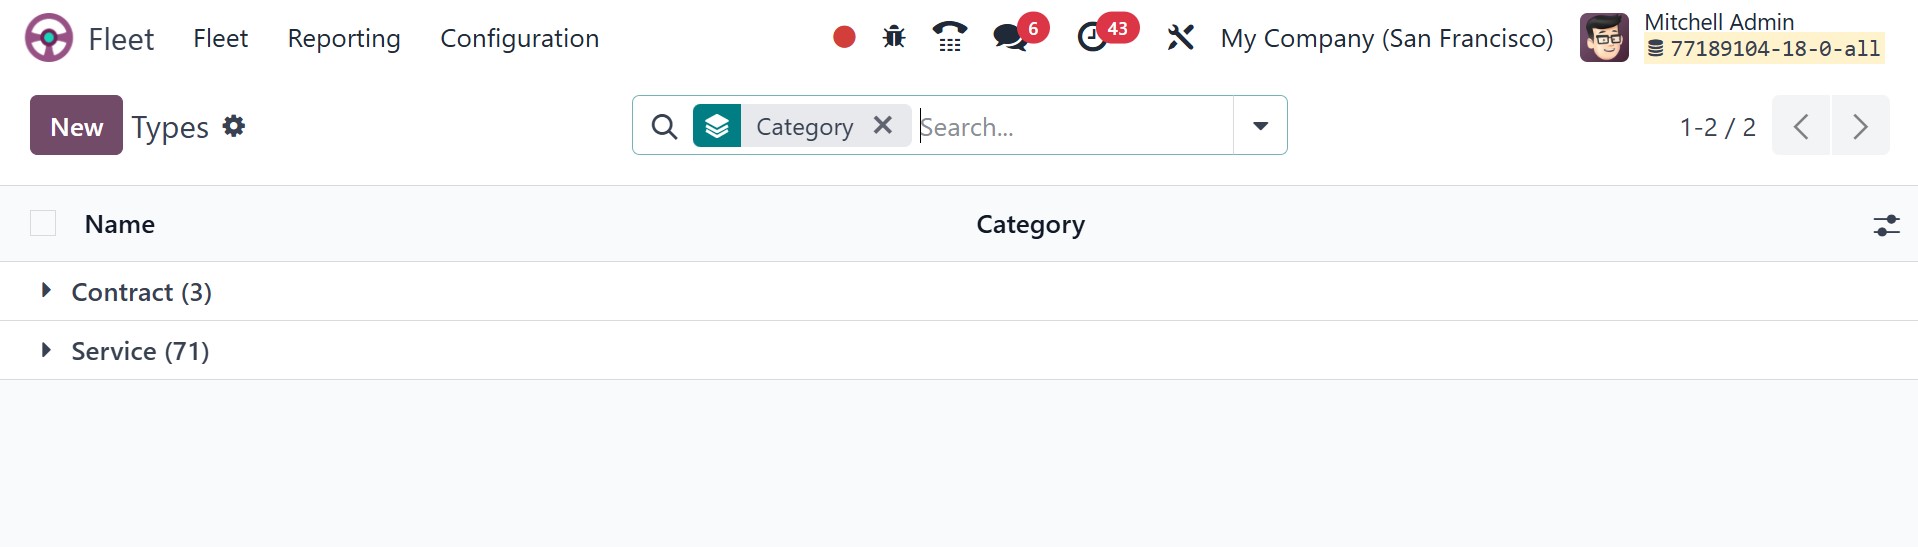
2.5 Service Types
Service Types: These service types help track vehicle-related expenses and schedule
necessary services to keep the fleet in good condition. They define the various
categories of services that can be performed on vehicles, such as maintenance, fuel
refilling, repairs, and inspections. The page of types will be, as in the screenshot
below.
2.6 Vehicle Status
In order to improve fleet utilization, timely repair, and cost control, vehicle
status assists in tracking the availability and current state of every vehicle in
the fleet.

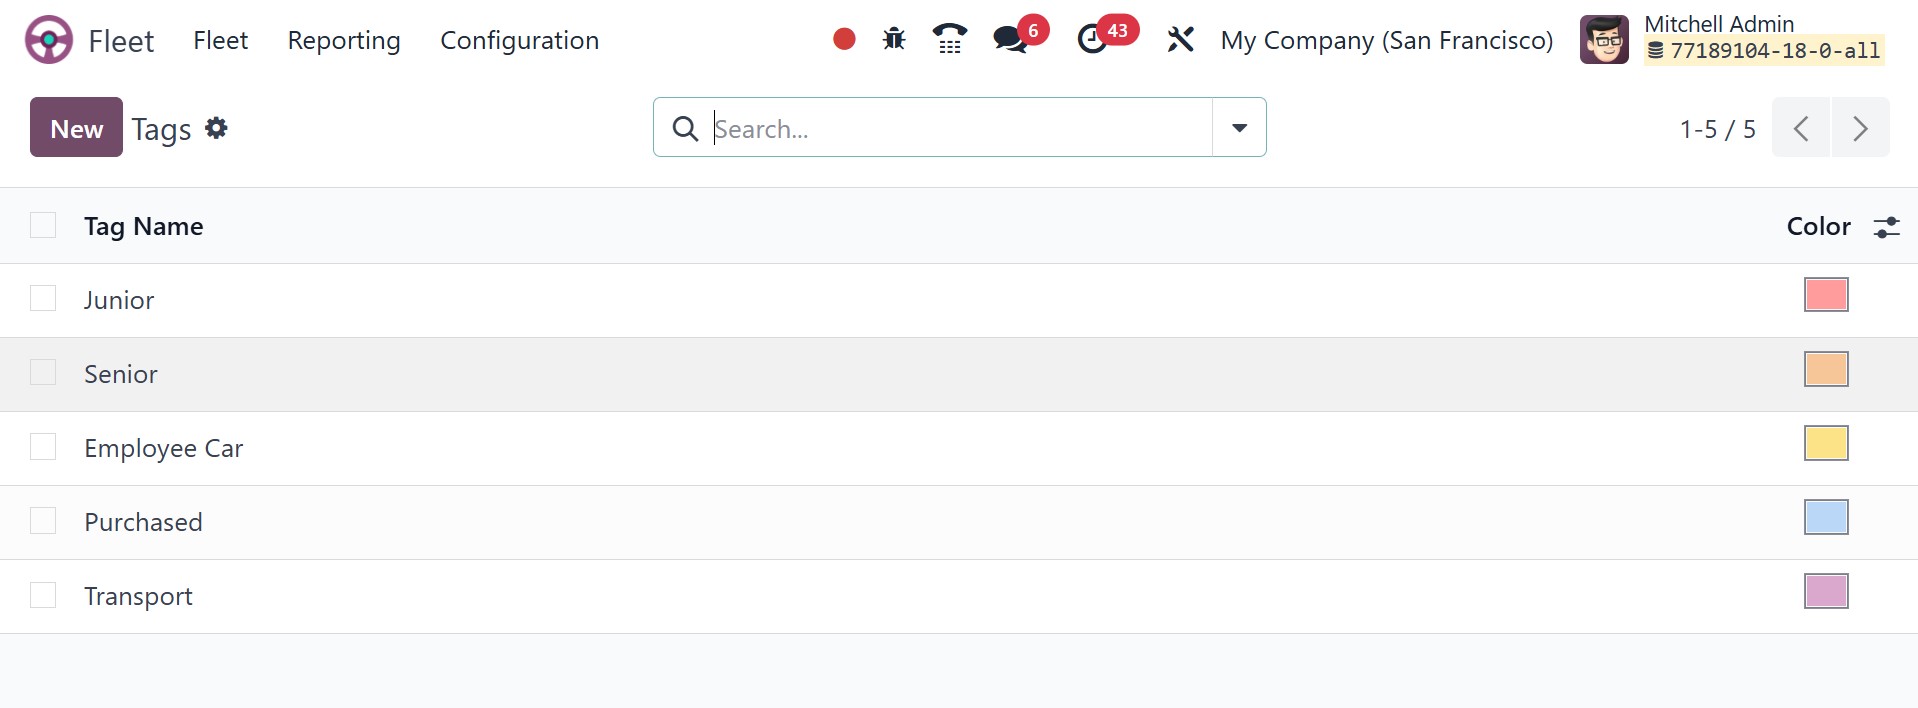
2.7 Tags
Vehicles can be categorized and filtered using vehicle tags according to particular
characteristics. Beyond the conventional fields of brand, model, or status, tags
offer a versatile method of vehicle organization.
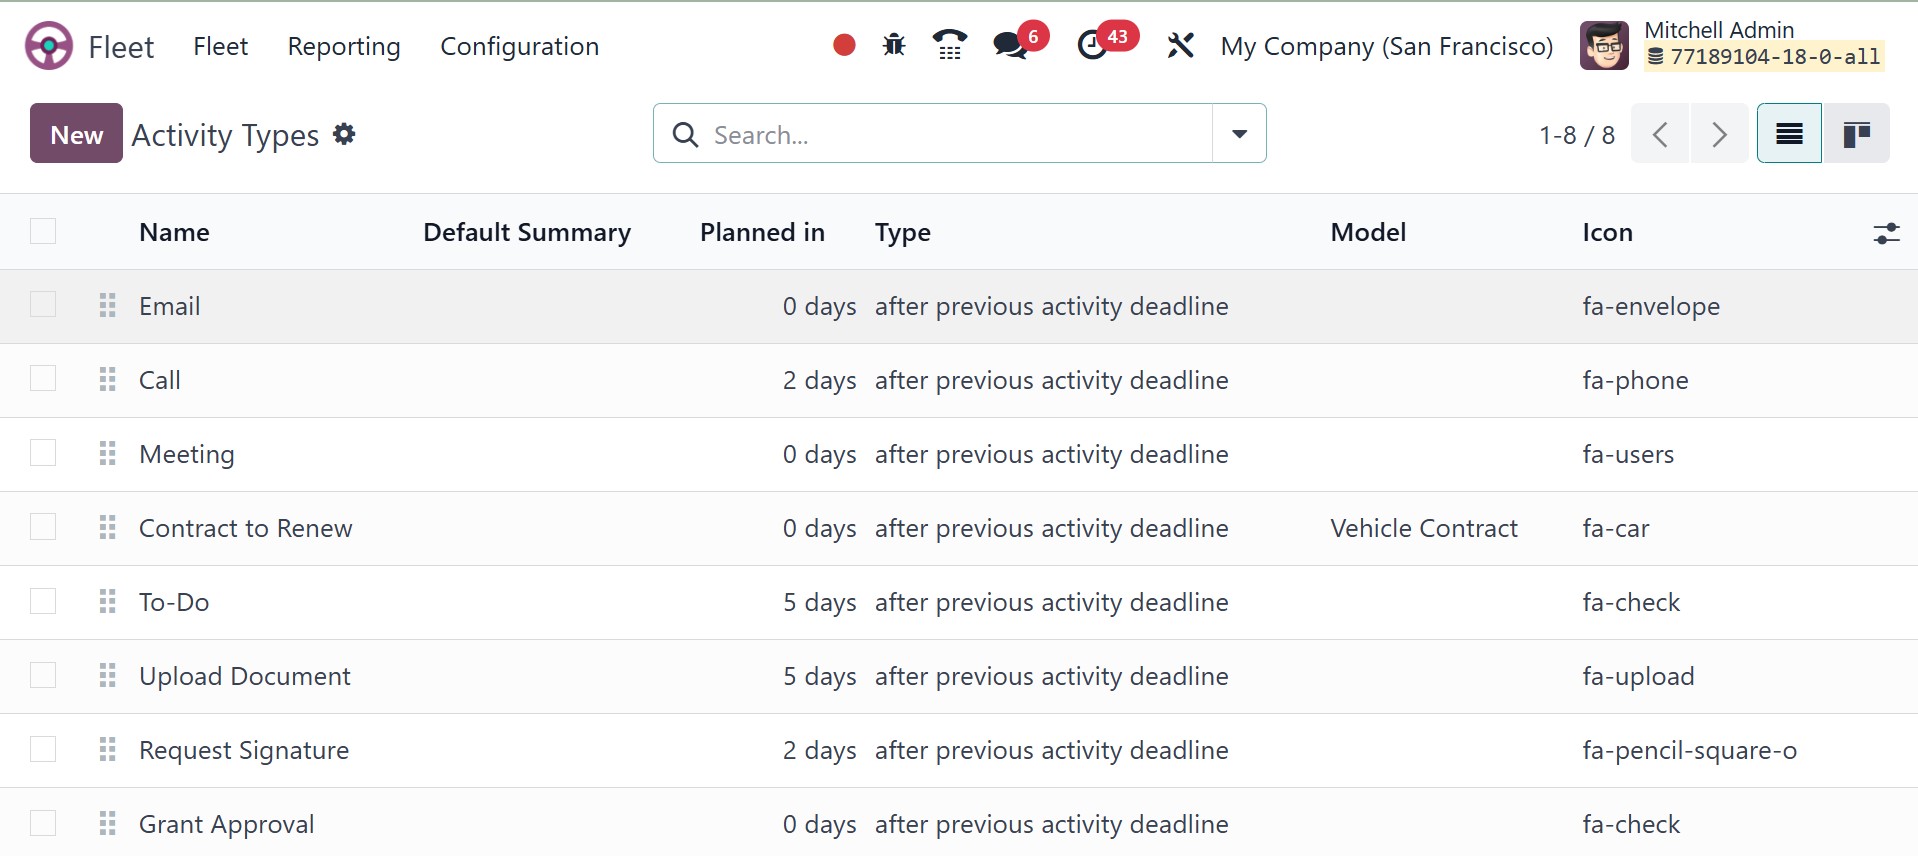
2.8 Activity Types
Vehicle Activity Types specify many kinds of vehicle-related interactions or activities.
In order to maintain an effective fleet, these tasks assist in tracking maintenance,
inspections, fuel refills, and other crucial procedures.