1. Fleet
The fleet management module will function as the all-inclusive fleet tracking system
for your business.

This is the dashboard of the fleet management module. A preview of every configured
car in your database will appear on the Fleet module's dashboard when you access
it.
Above is the Kanban view of the dashboard. As seen in the picture, the cars are
positioned in the Kanban view based on their current status. The preview of a car
contains details about its owner, location, contacts, name, logo, and tags. You
are able to plan an activity for a particular vehicle by using the Activity icon.
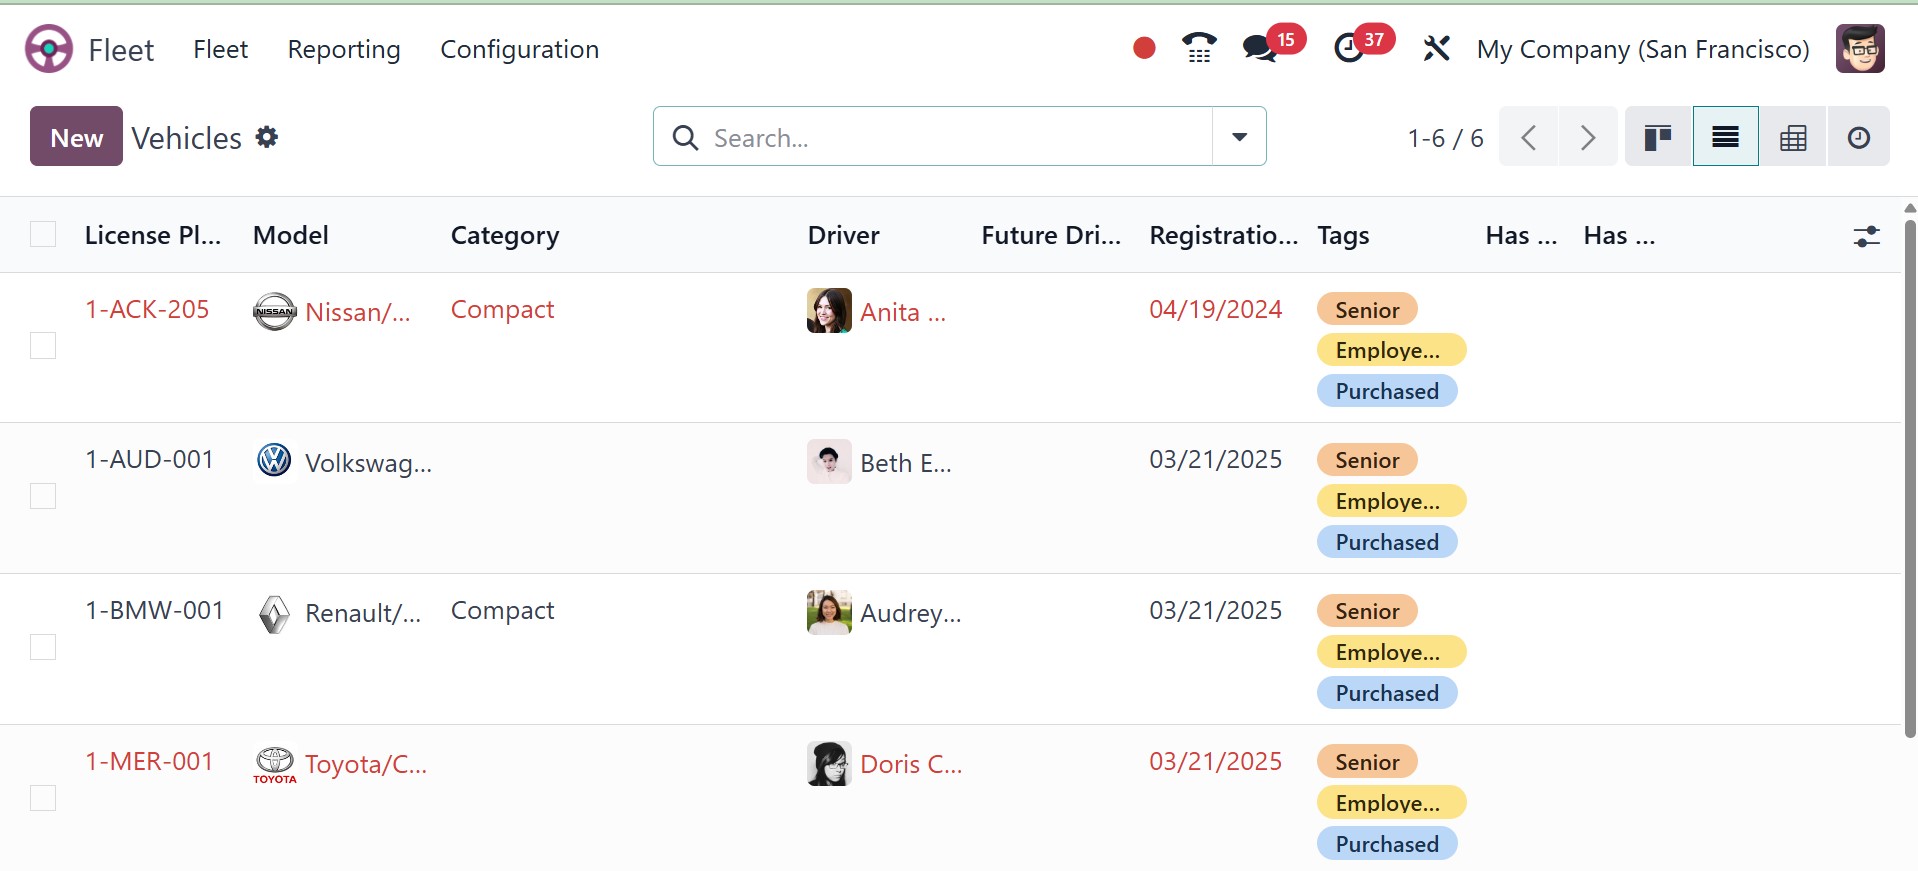
The list view of the page will be, as shown in the screenshot below.
We are now going to talk about the vehicle window's Kanban view. Additionally, the
window is accessible from a variety of viewpoints, including List, Kanban, Pivot,
and Activity view.
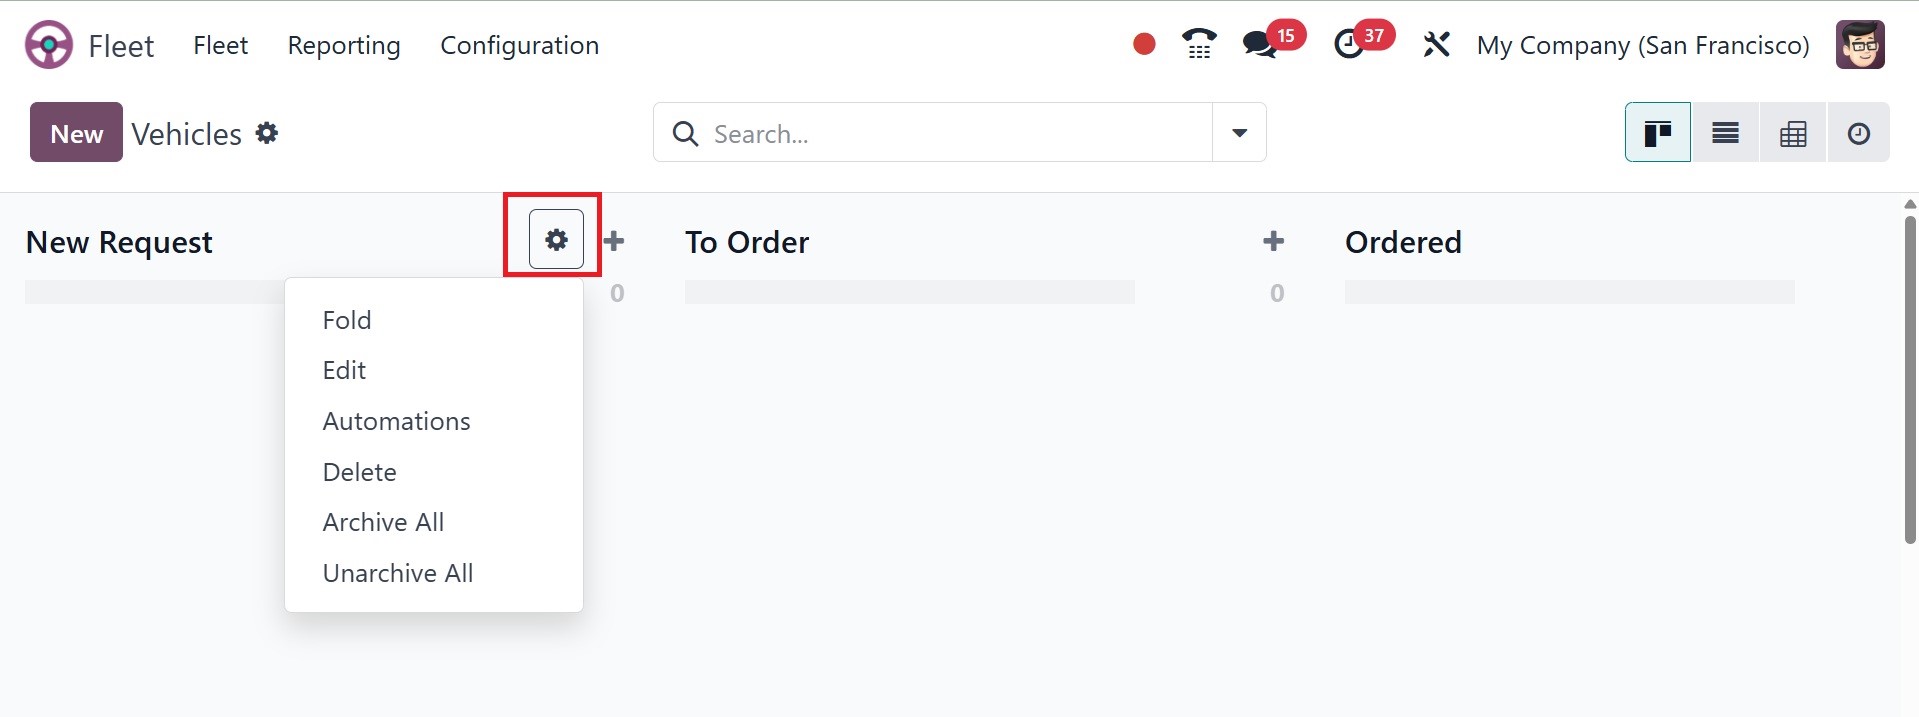
There are several choices under the Settings menu. A dropdown menu with the choices
Fold, Edit Stage, Delete, Archive All, and Unarchive All will appear when you click
on this menu.
To add a new car to an existing stage, click the small + symbol next to the settings
icon, as shown in the screenshot below.
Once you click the plus sign, you can mention the title in a new place. Use the
Add button to add the car to that particular stage. Click the alter button to make
changes to that particular car in its editing window.
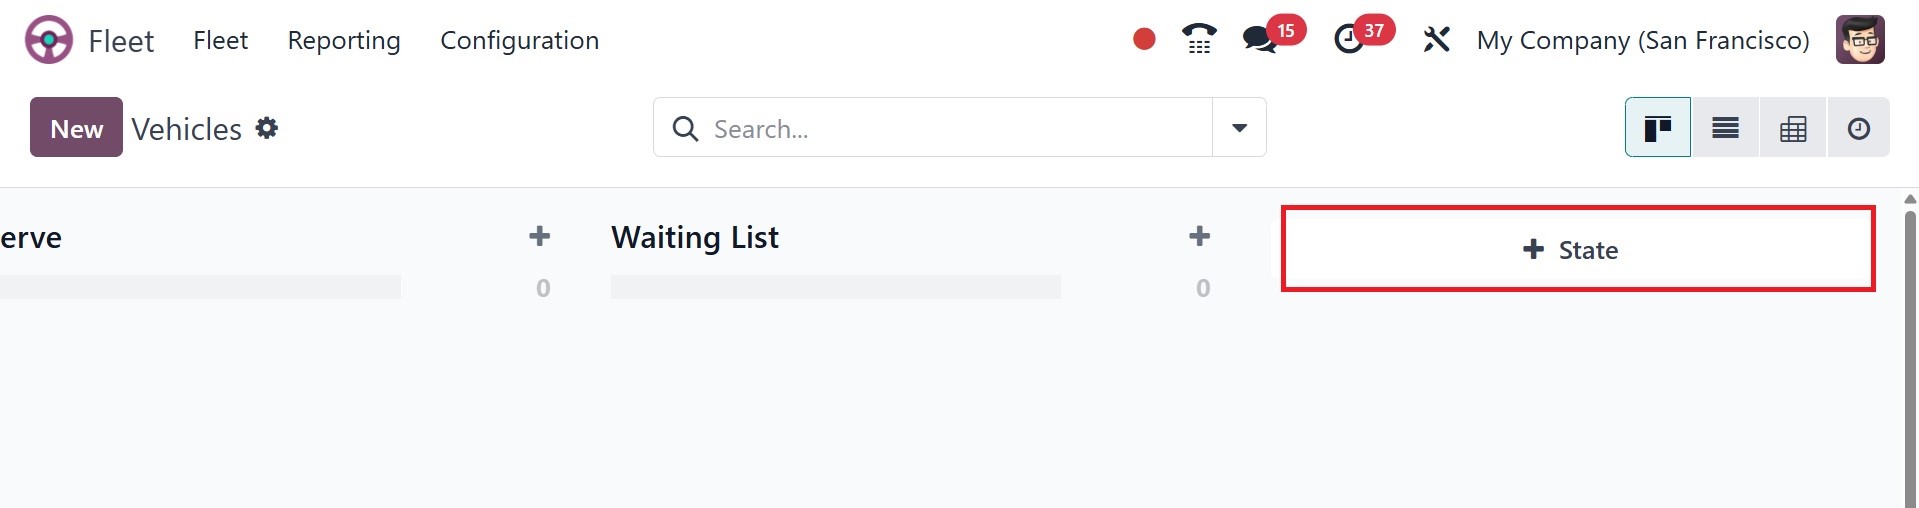
To add a new stage to the fleet's Kanban display, press the +State button. To limit
the fleet's available data, you can apply the following filters: accessible, Bikes,
Cars, Trailer Hook, Planned for Change, Need Action, and archived. Use the Add Custom
Filter option to add your own filters. The Group By function includes Status, Model,
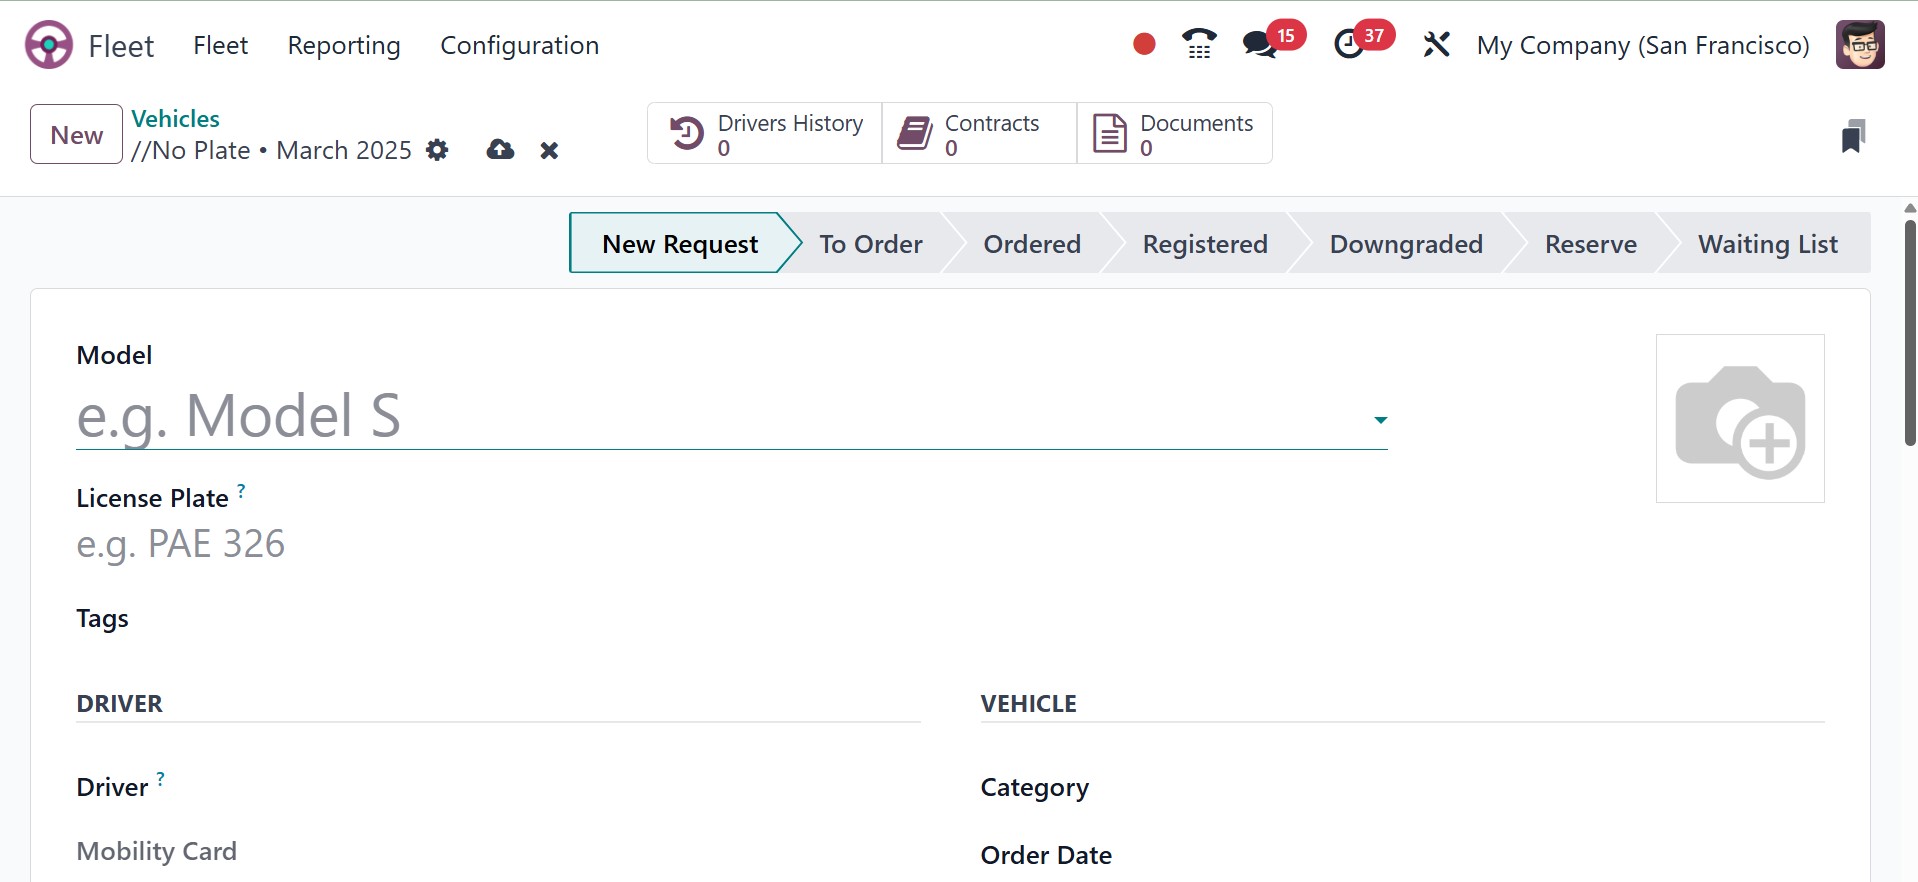
Brand, and Fuel Type. The vehicle creation form, which asks for all the information
about your new car, is seen in the image above. Prior to allocating the car's license
plate number and photograph, you can first specify the model of the vehicle. You
can also offer different tags so that the car can be easily identified. You can
enter the driver's name and mobility card in the Driver section. You can enter the
next driver address in the Future Driver area.
You can also explain the assignment date. The date you enter here will be regarded
as the car's availability date.
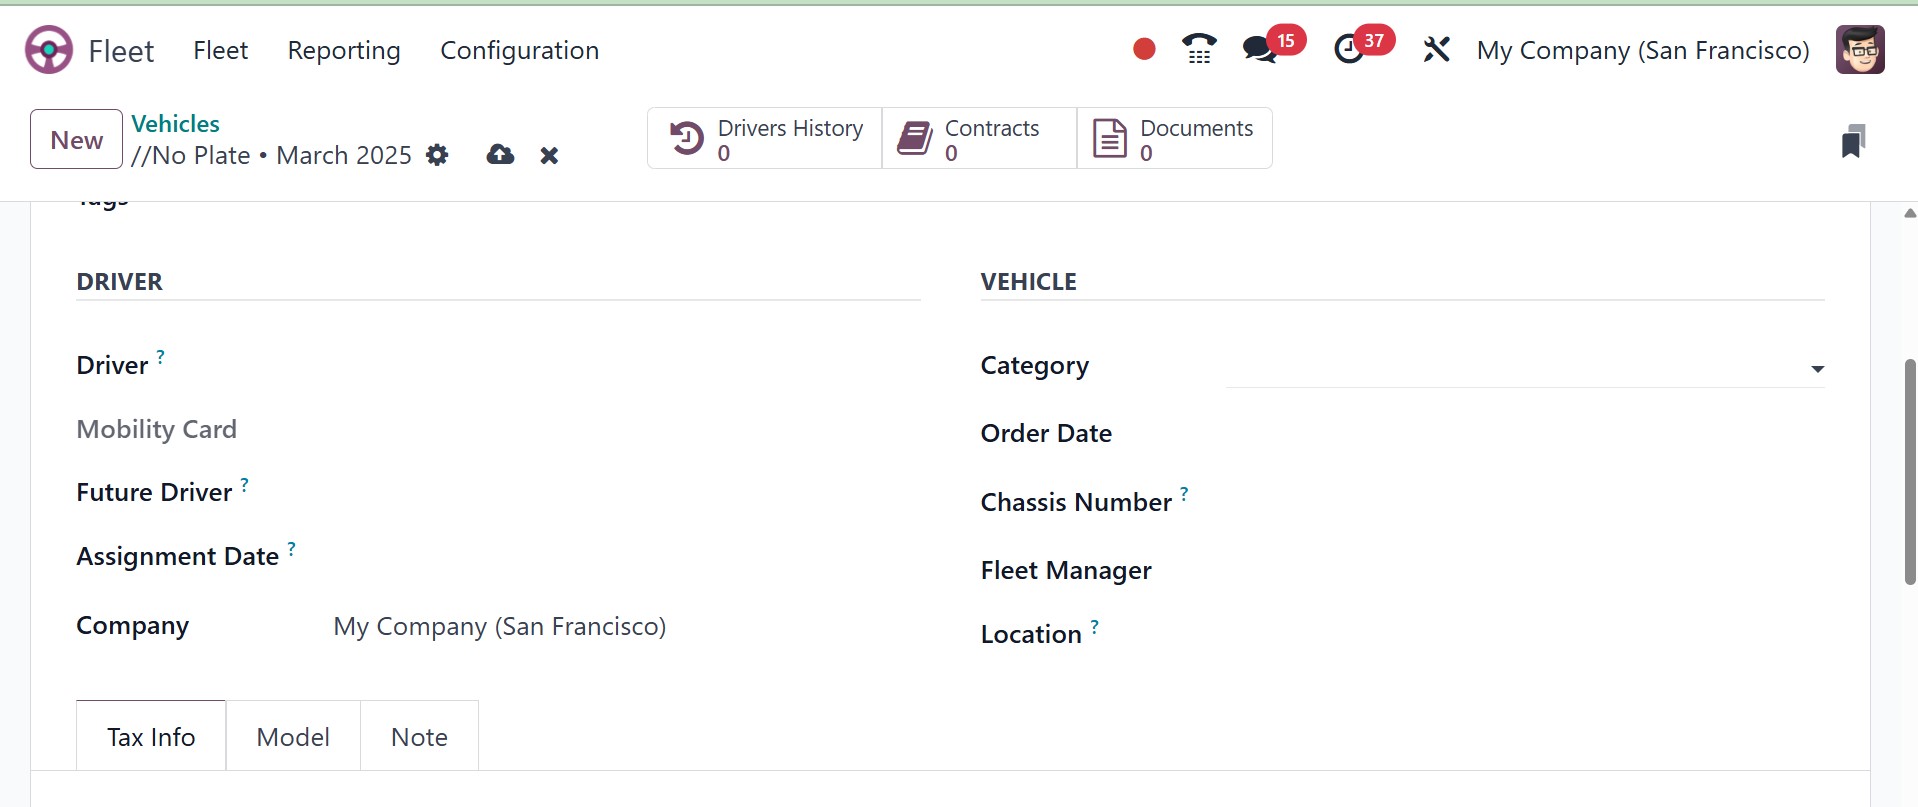
You can enter the Chassis Number, Fleet Manager, Location, and Company in the Vehicles
information area. You can assign the Horsepower Taxation, the Disallowed Expenses
Rate, and the Start Date and its percentage under the Start Date option in the FISCALITY
option in Tax Infotab. To add a line, click the button that is available.
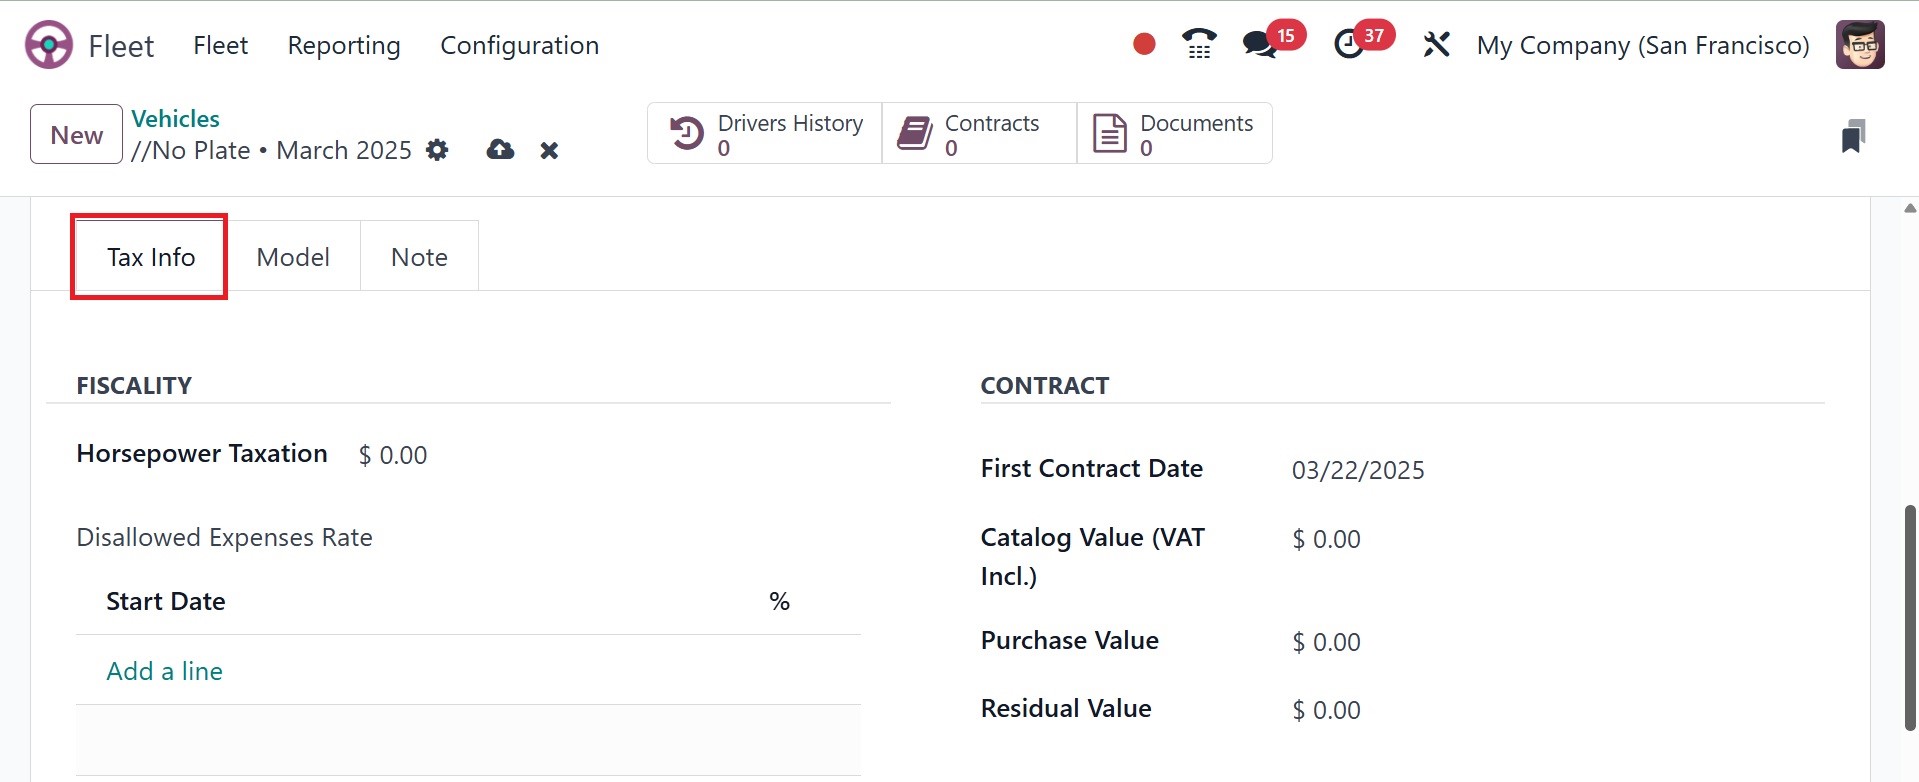
You can also enter the First Contract Date, Catalog Value (including VAT), Purchase
Value, and Residual Value in the Contract section of the Tax Info tab.
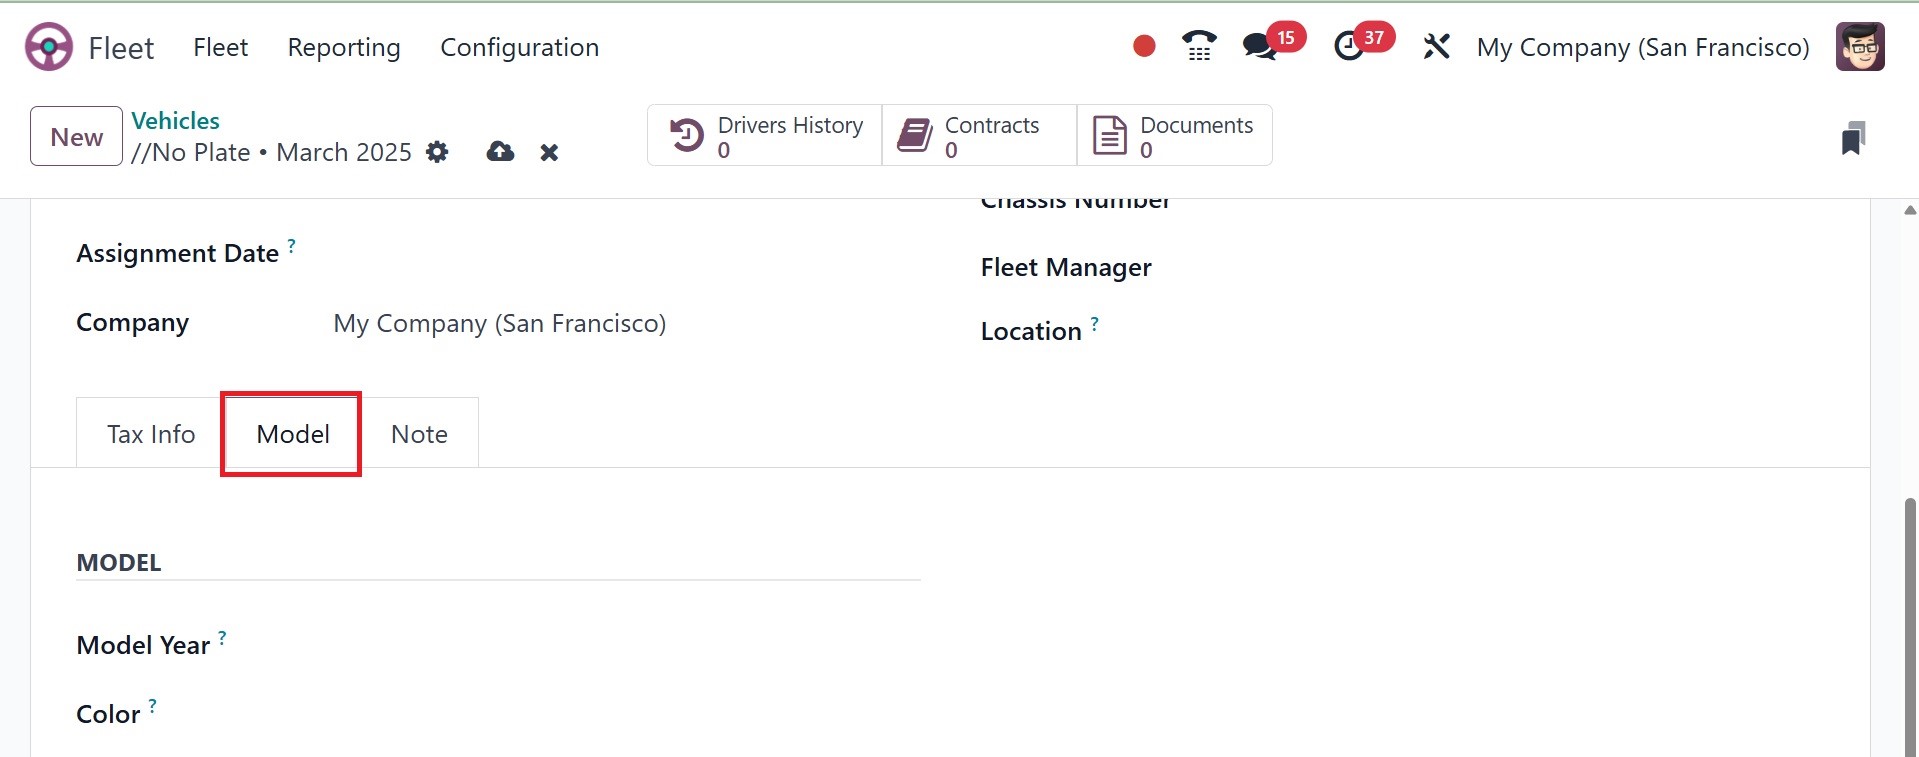
Details like Model Year, Transmission, and Color can be shown under the Model tab
of the Vehicle creation window. Additionally, you can specify the engine's horsepower,
power, fuel type, carbon dioxide emissions, and carbon dioxide standard.
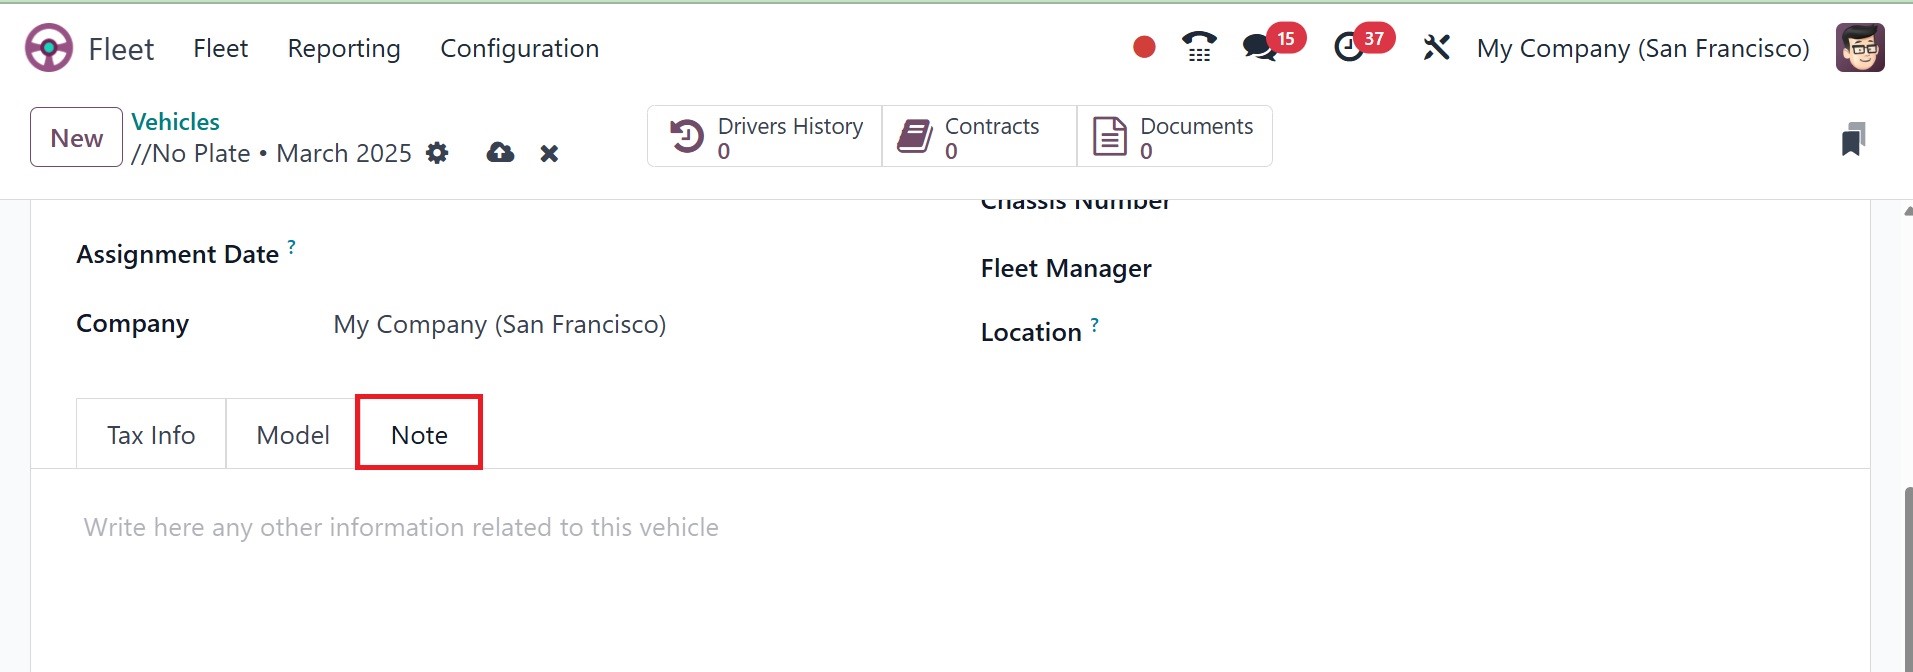
Any further information about this vehicle should be noted under the Notes tab of
the Vehicle creation window.
Depending on the modules you placed in the system, the window also has a few smart
buttons in addition to these alternatives. The direct connection to that specific
operation will be provided by these smart buttons. Three smart buttons are visible
here: Services, Contracts, and Drivers History.
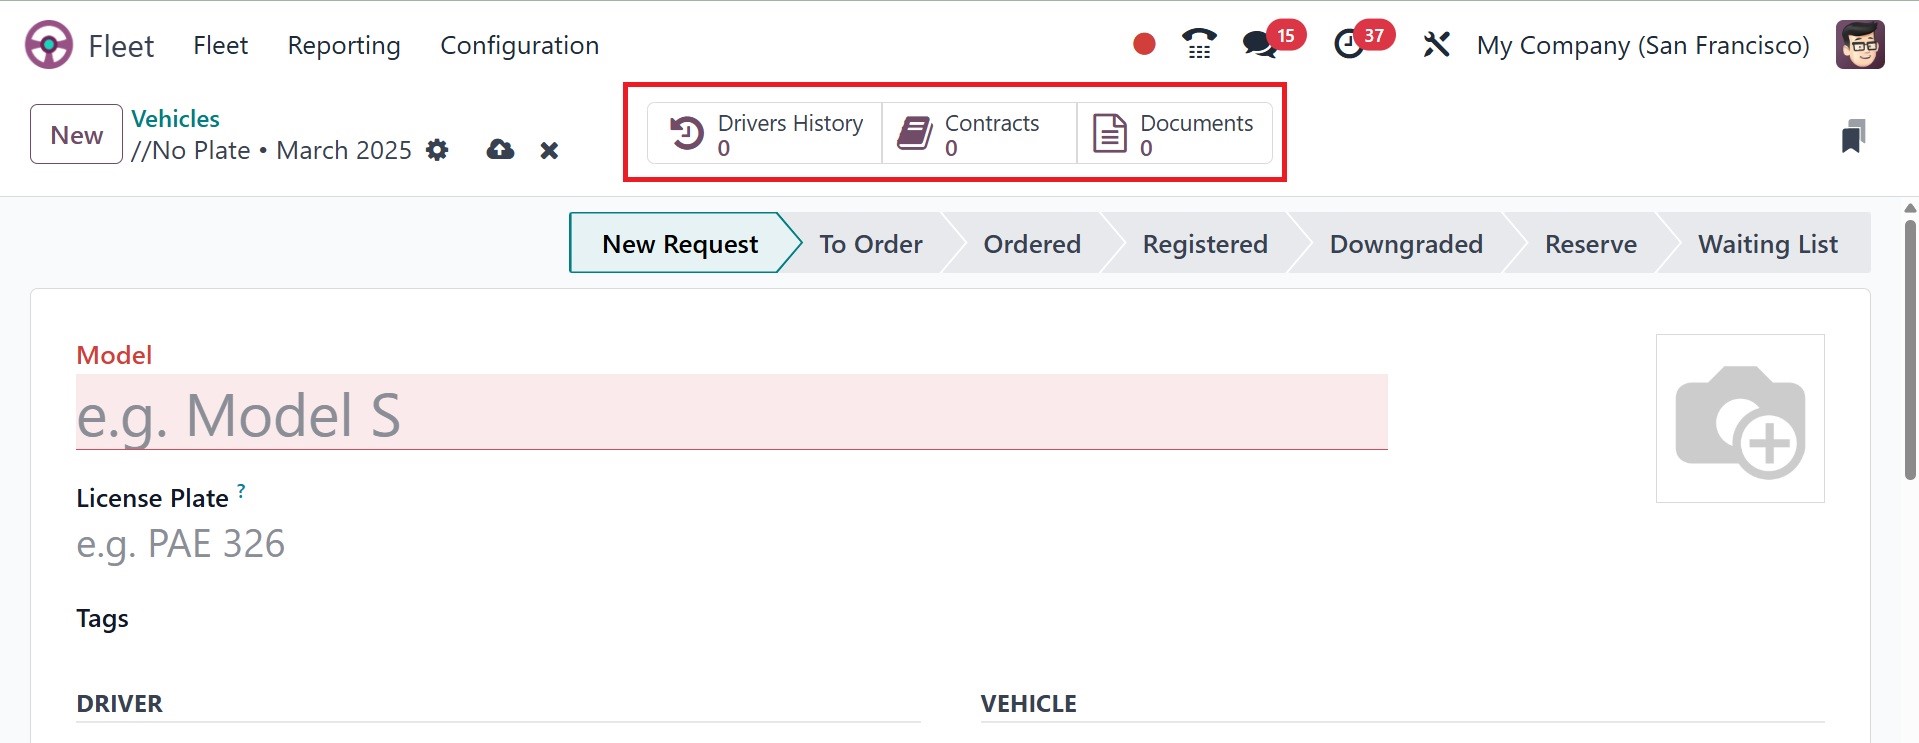
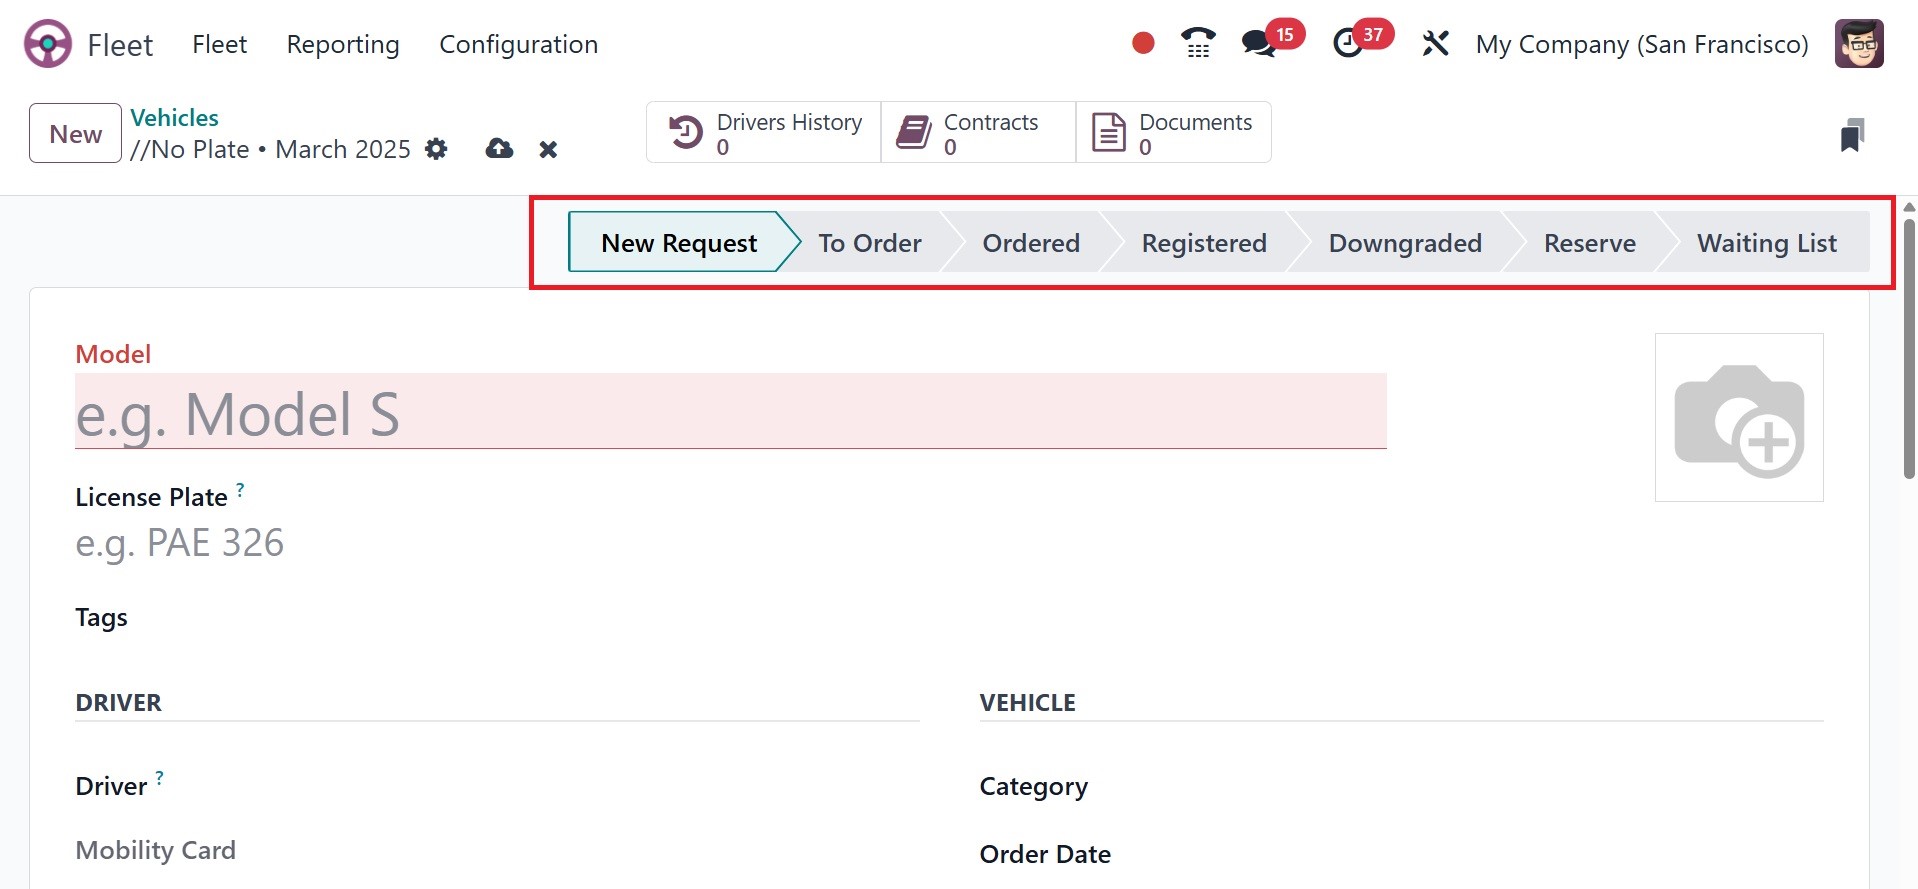
The graphic below highlights the images of these icons. Similar to this, the window
shows different phases of the vehicle's operation at the top, such as NEW REQUEST,
TO ORDER, ORDERED, REGISTERED, and so forth. You can click on the appropriate stage
of the car you made.
You can save the information to establish a new car on the platform by clicking
the SAVE button once you have entered all the necessary information. Depending on
the chosen step, the newly produced vehicle will be added to the Vehicles list.
1.1 Contract
To reach the Contracts window, navigate to the Vehicles tab of the Odoo Fleet management
module and select the Contracts menu. Below is a picture of the Contracts window.
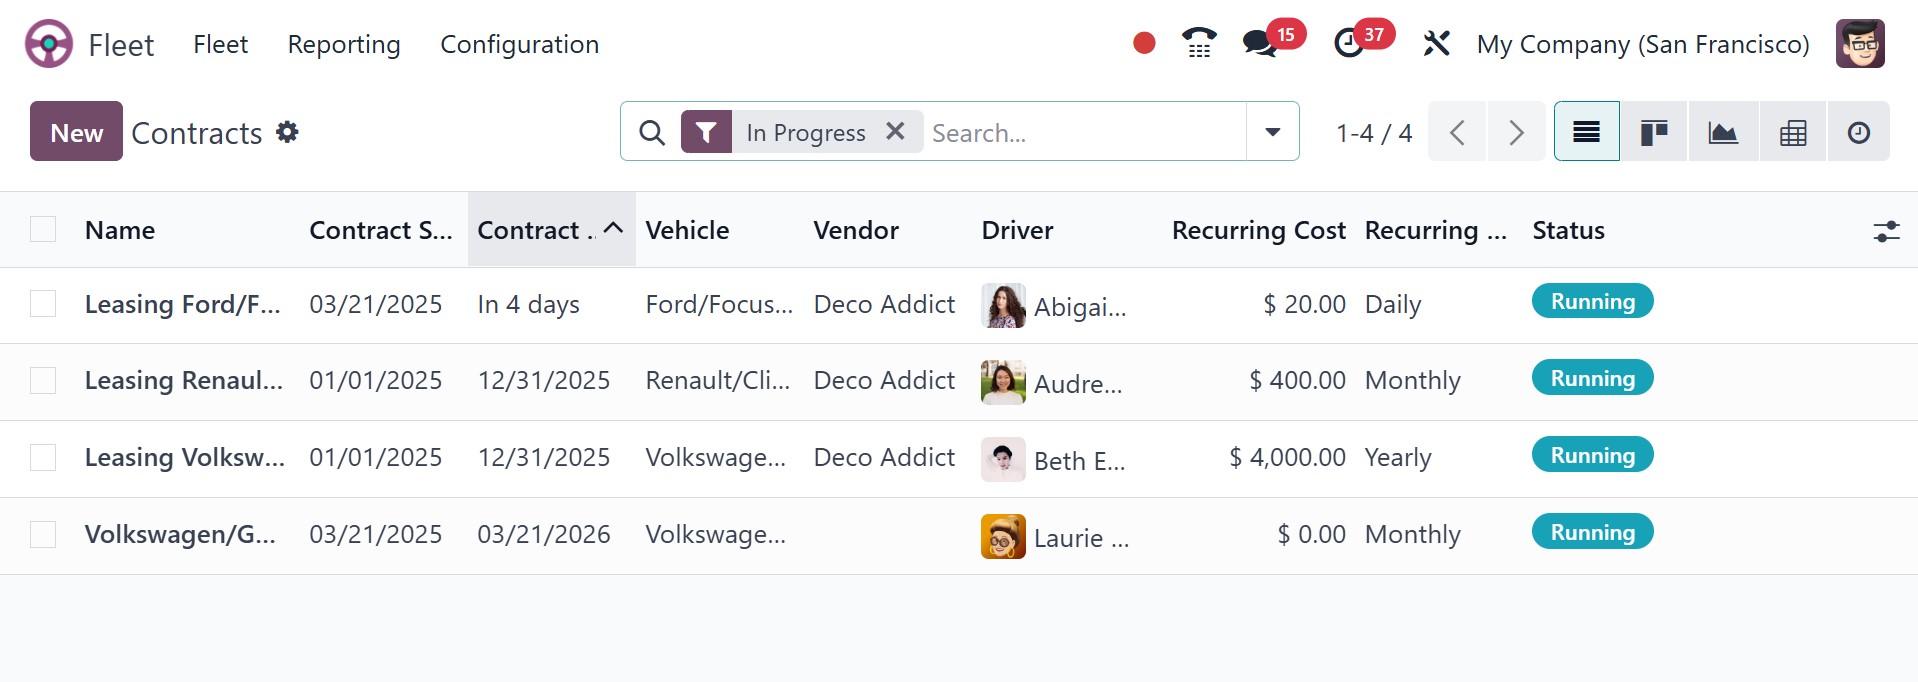
You can see all of the contracts that are defined in the platform in this Contracts
window, along with the important details about each one, including the contract's
name, start and expiration dates, vehicle, vendor, driver, recurring cost, frequency
of recurring costs, and status. Each of these contacts can be chosen and viewed
in detail, with the ability to modify the information if necessary. To display the
data in many ways, the system provides a range of viewing parameters.
Graph, Pivot, Activity, List, and Kanban views are all included in the set. Odoo
also provides a custom filter option in addition to many preset filtering choices.
Expired, Archived, and In Progress are the default filters. Additionally, you can
export all of the window's details to an Excel sheet by selecting the Export All
icon next to the New button. You can click the New icon to create new contracts.
The Contract creation form will appear as soon as you click the button, as seen
below.
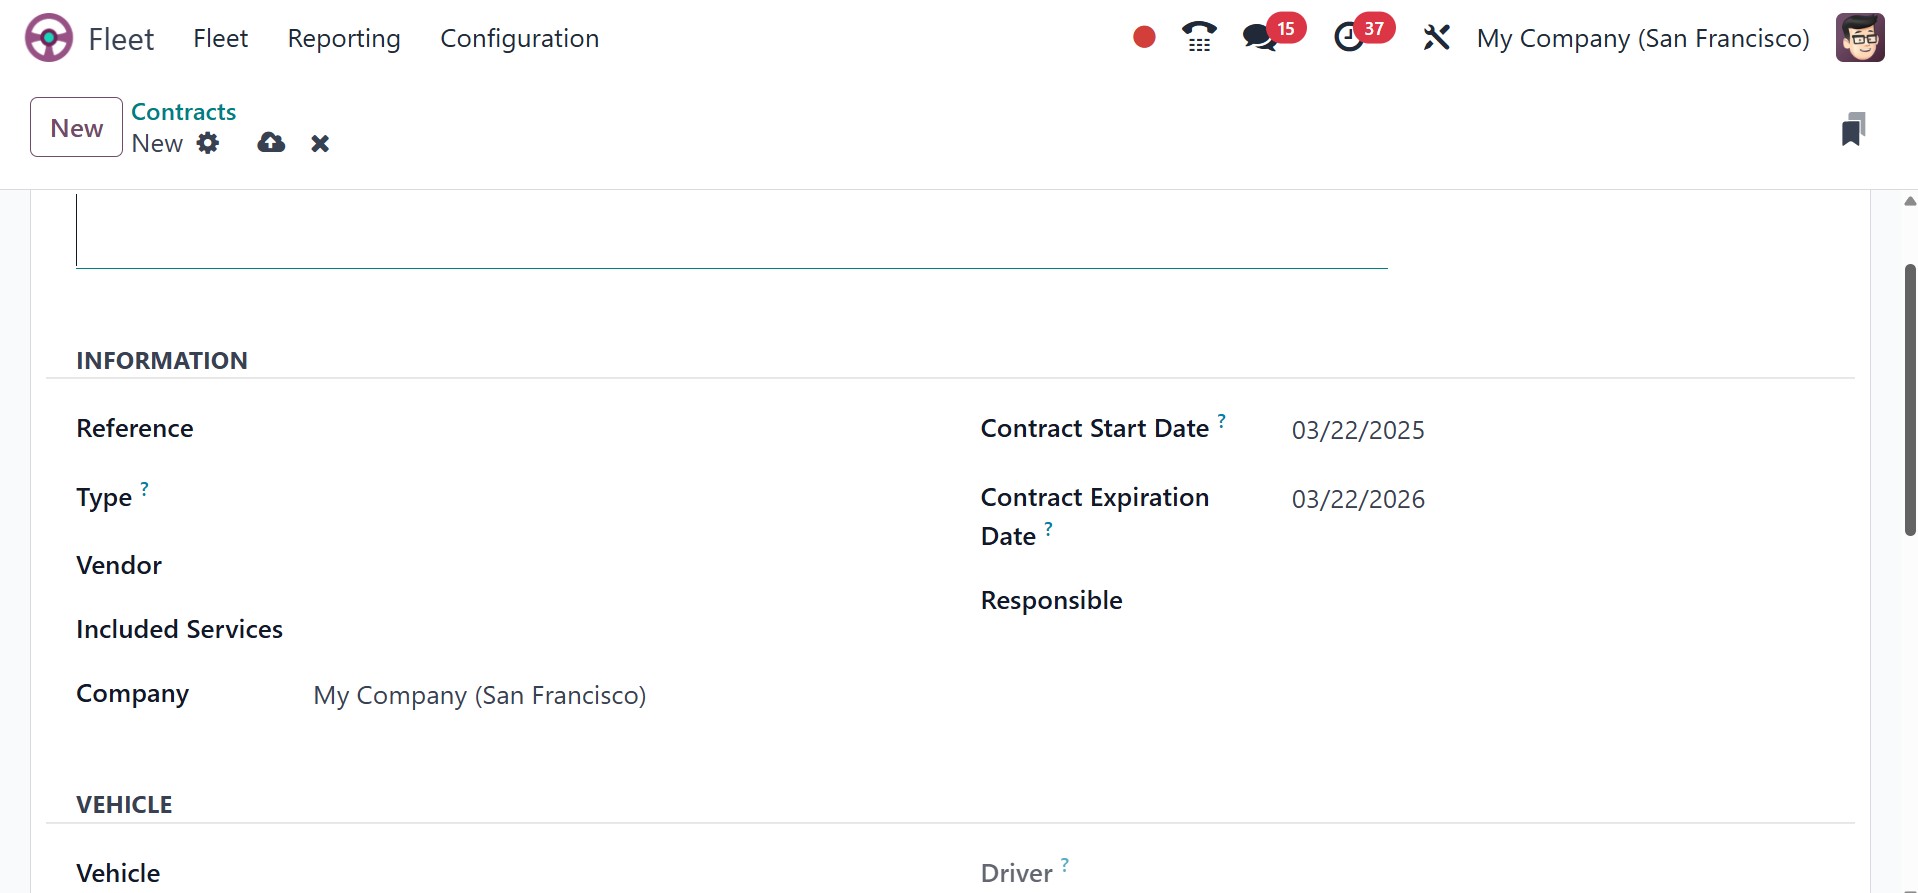
You can fill out the information in this Contracts creation form. You might start
by giving the specifics of the contract. Thus, you can include the name of the company,
the vendor, the reference, the cost type that was acquired, and the responsible
person. Additionally, you can explain the Activation Cost, which must be paid at
the time the contract is created. After that, you can give the amount of the depreciated
and recurring costs.
Following that, the car in question and its driver's address can be specified using
this log. In a similar manner, you can provide the invoice date so that the expense
is incurred on that day. The dates of the contract's start and expiration should
also be included. The Included Services option provides an explanation of the services
included by this contract. Lastly, you can fill in the Terms and Conditions box
with all the additional information pertaining to this contract. You can save the
information by clicking the SAVE button after completing each of these steps.
1.2 Services
The Services menu is the next menu that appears beneath the Fleet tab of the Odoo
Fleet module. By following the path Fleet -> Fleet -> Services, you can click on
this option. As seen below, you will now be taken to the Services window.
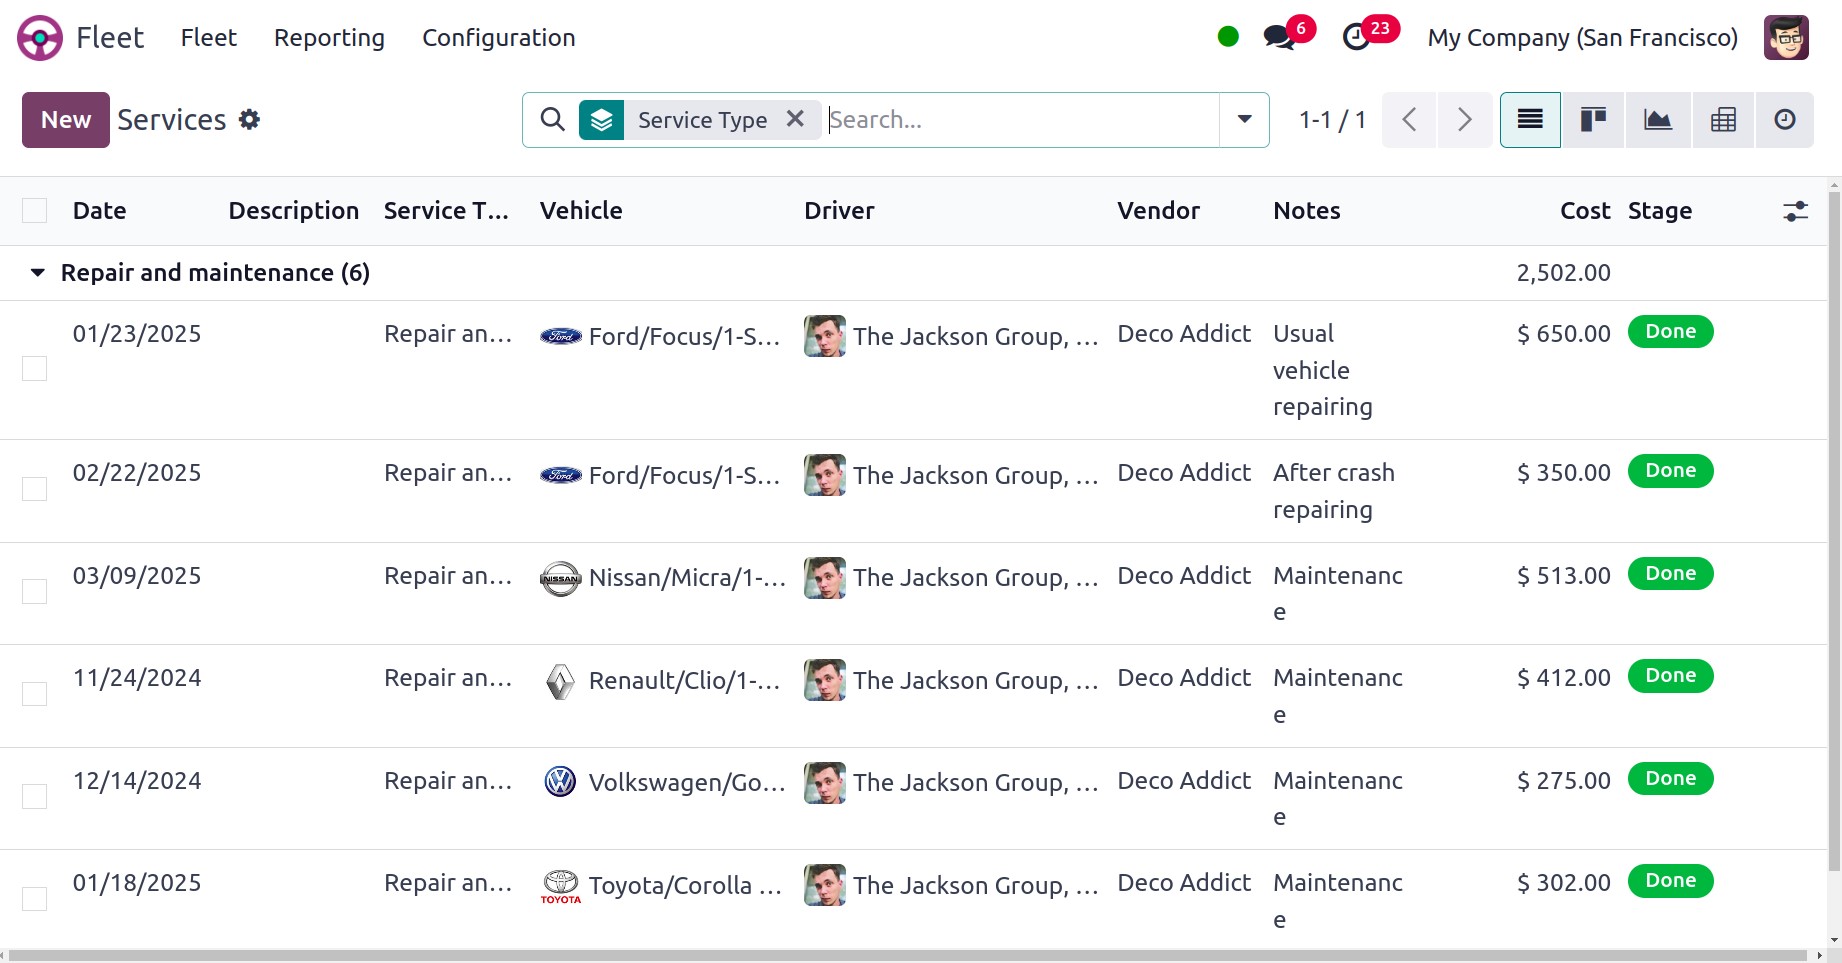
This Services window allows you to see all of the services that have been performed
on the platform. Date, Description, Service Type, Vehicle, Driver, Vendor, Notes,
Cost, and Stage will all be displayed in the Services window's list view. The driver's
photo will appear in the window.
Odoo keeps track of all the service records that are created in accordance with
their separate stages of operation when you look at the window's Kanban view.
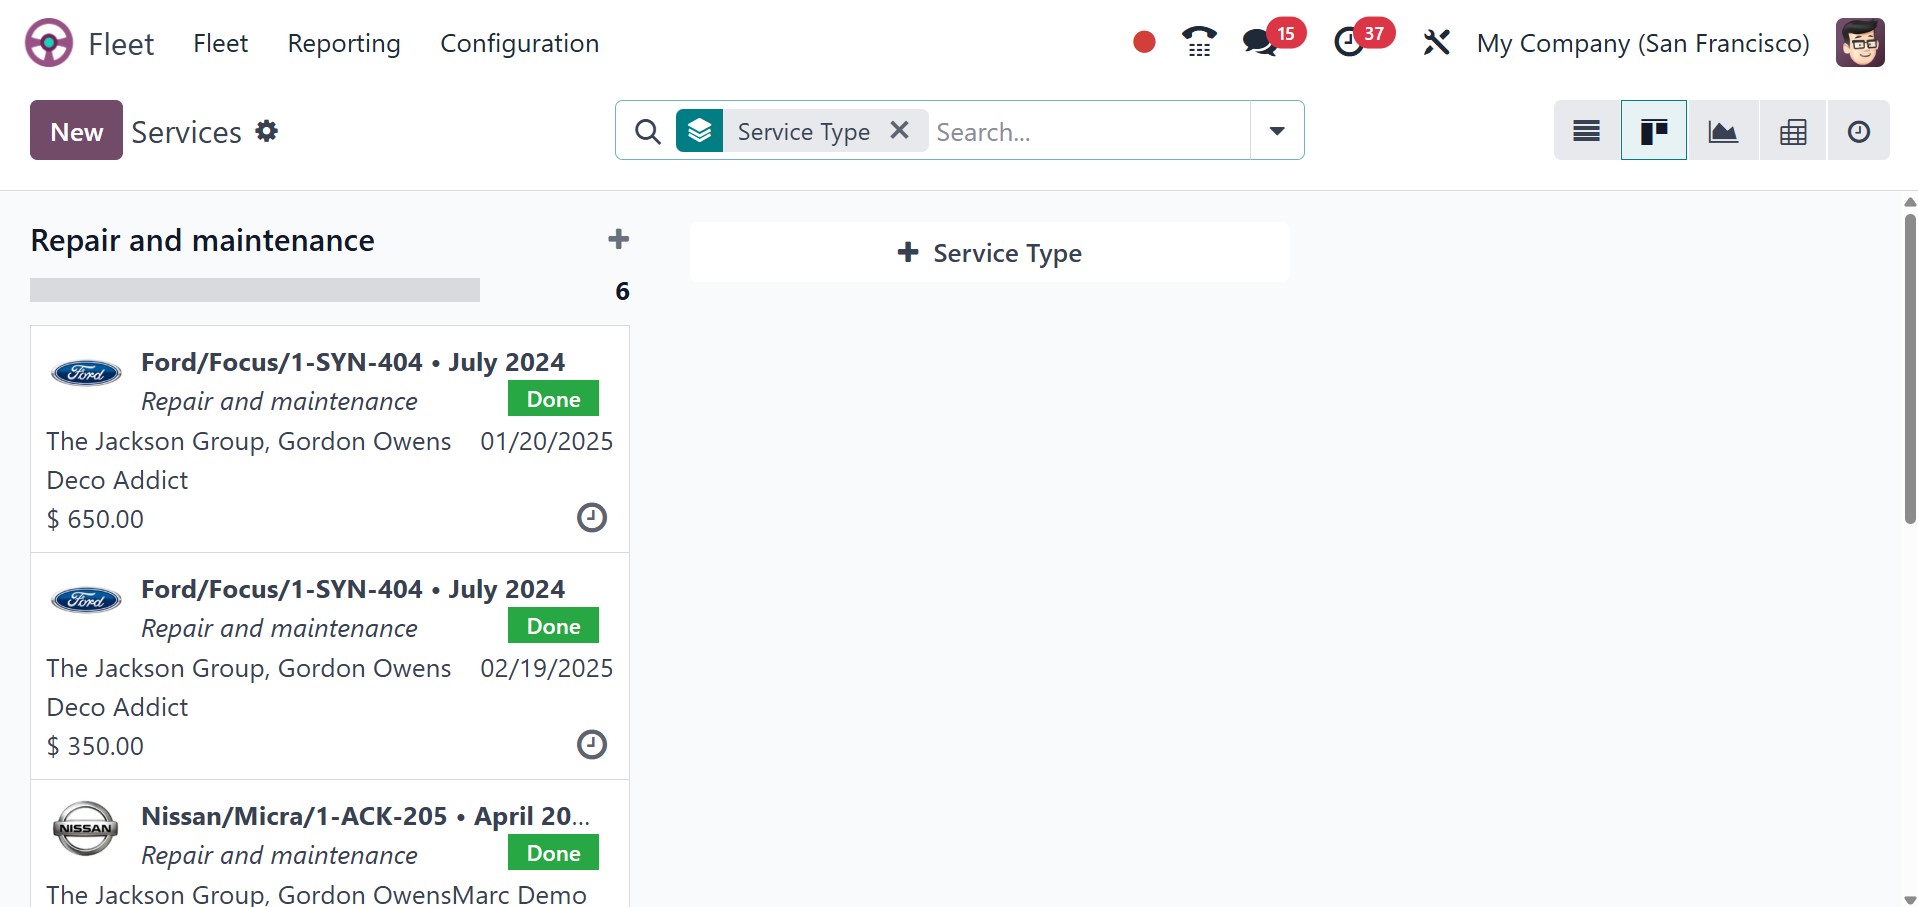
You may see many stages, including New, Running, Done, Cancelled, and so on, in
the window above.
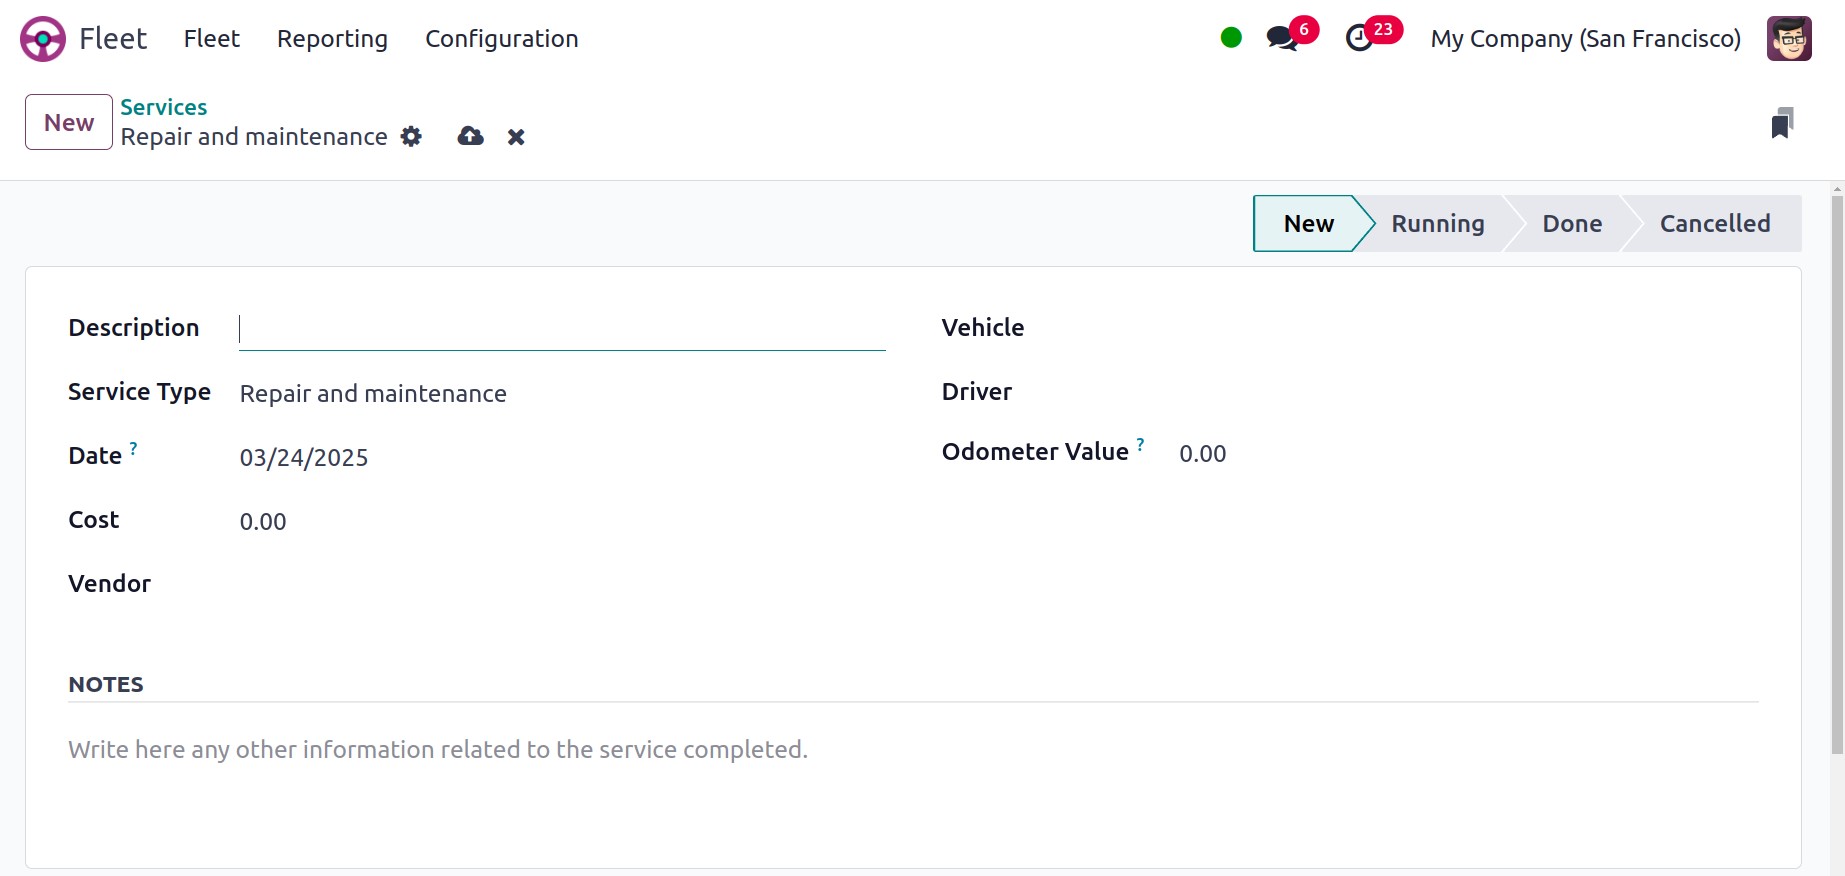
Details such as the service's description, type, date of execution, vendor and vehicle
information, driver, and odometer value should all be entered in the Services creation
box. Additionally, you may use the Notes area to insert any additional information
pertaining to this specific service. You can add the newly created service to the
list of services shown in the Services window by clicking the SAVE button once you
have filled out this form.
1.3 Odometer
Under the Fleet tab of the Odoo Fleet management module, you will find the Odometer
menu. To view the window, click on this Odometer menu. First, let's examine the
module.
The vehicle's meter reading will be displayed in the odometer window. An odometer
is a piece of equipment that measures a car's distance driven in order to determine
its mileage. Additionally, the most crucial piece of data in fleet management is
the odometer reading. It will have a detrimental effect on your entire fleet management
procedure if you don't handle it correctly. As a fleet manager, you should monitor
the vehicle's consumption, the longevity of the full fuel, and the accuracy of your
odometer readings. It will assist you in managing expenses and taking appropriate
action.
Keeping track of all these readings by hand is not feasible and is not accurate.
You should utilize an automated method to manage these issues. The best way to handle
all of these intricate procedures is by using the Odoo Fleet Management System.
When it comes to replacing or getting rid of a car, odometer readings are crucial.
Therefore, fleet managers will benefit from the Odoo odometer reading feature, which
will help them understand how efficient the vehicles are in your company.
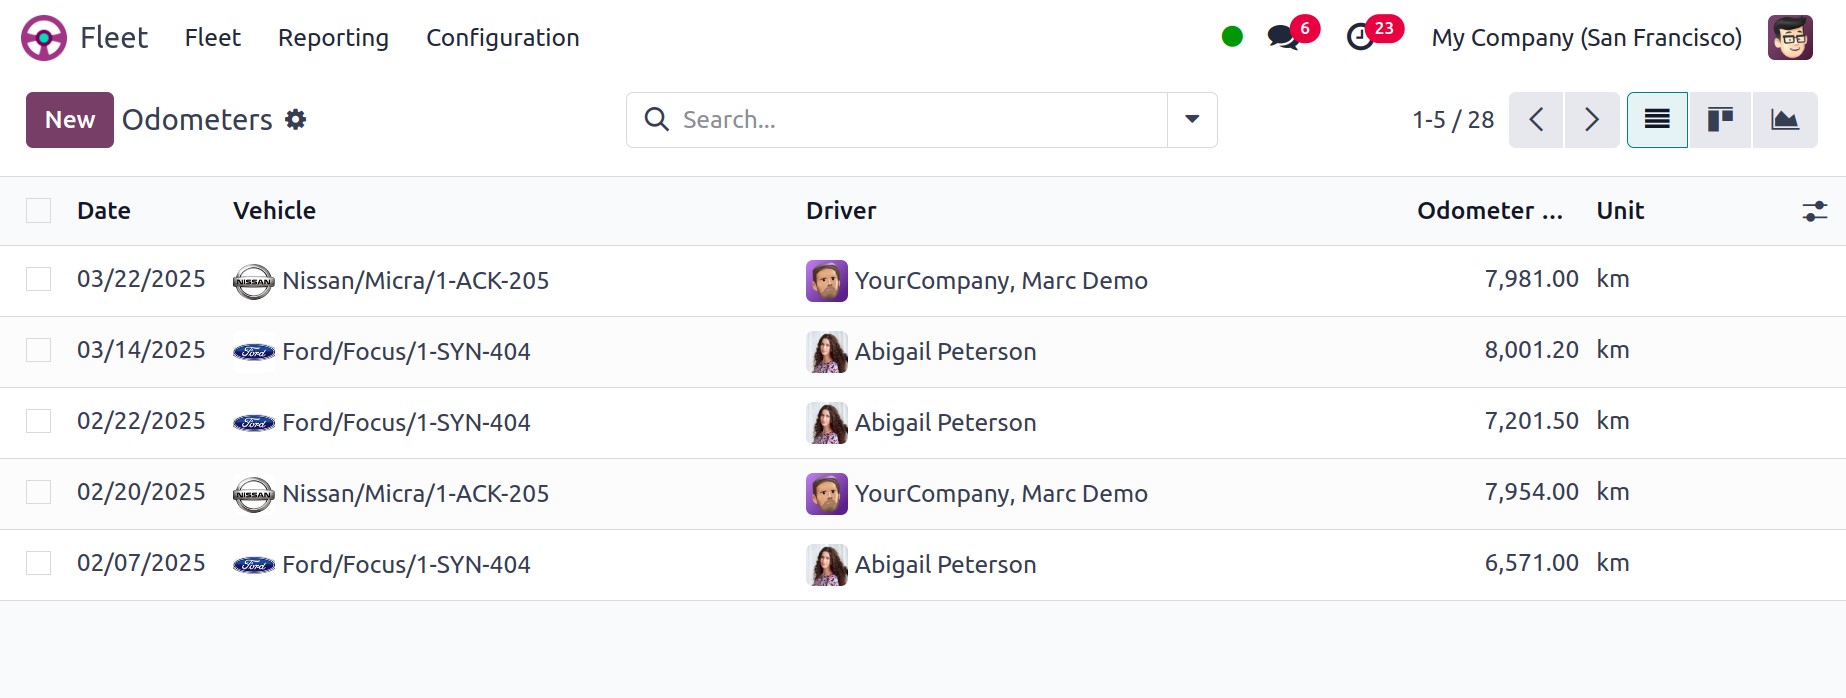
Worth, Date, Vehicle Name, Driver, Odometer Value, and Unit will all be included.
You can click on the corresponding icons, which are accessible from the window's
upper right corner, to view the reports in graph and Kanban format. To make it easier
to obtain the reports, you will also apply and create several filters and group-by
choices. Additionally, by selecting the Export All button, you may export every
odometer report to an Excel document. Click on the NEW button to generate a new
Odometer record. A new creation line will be solidly displayed in the same window
as seen below when you press this button.
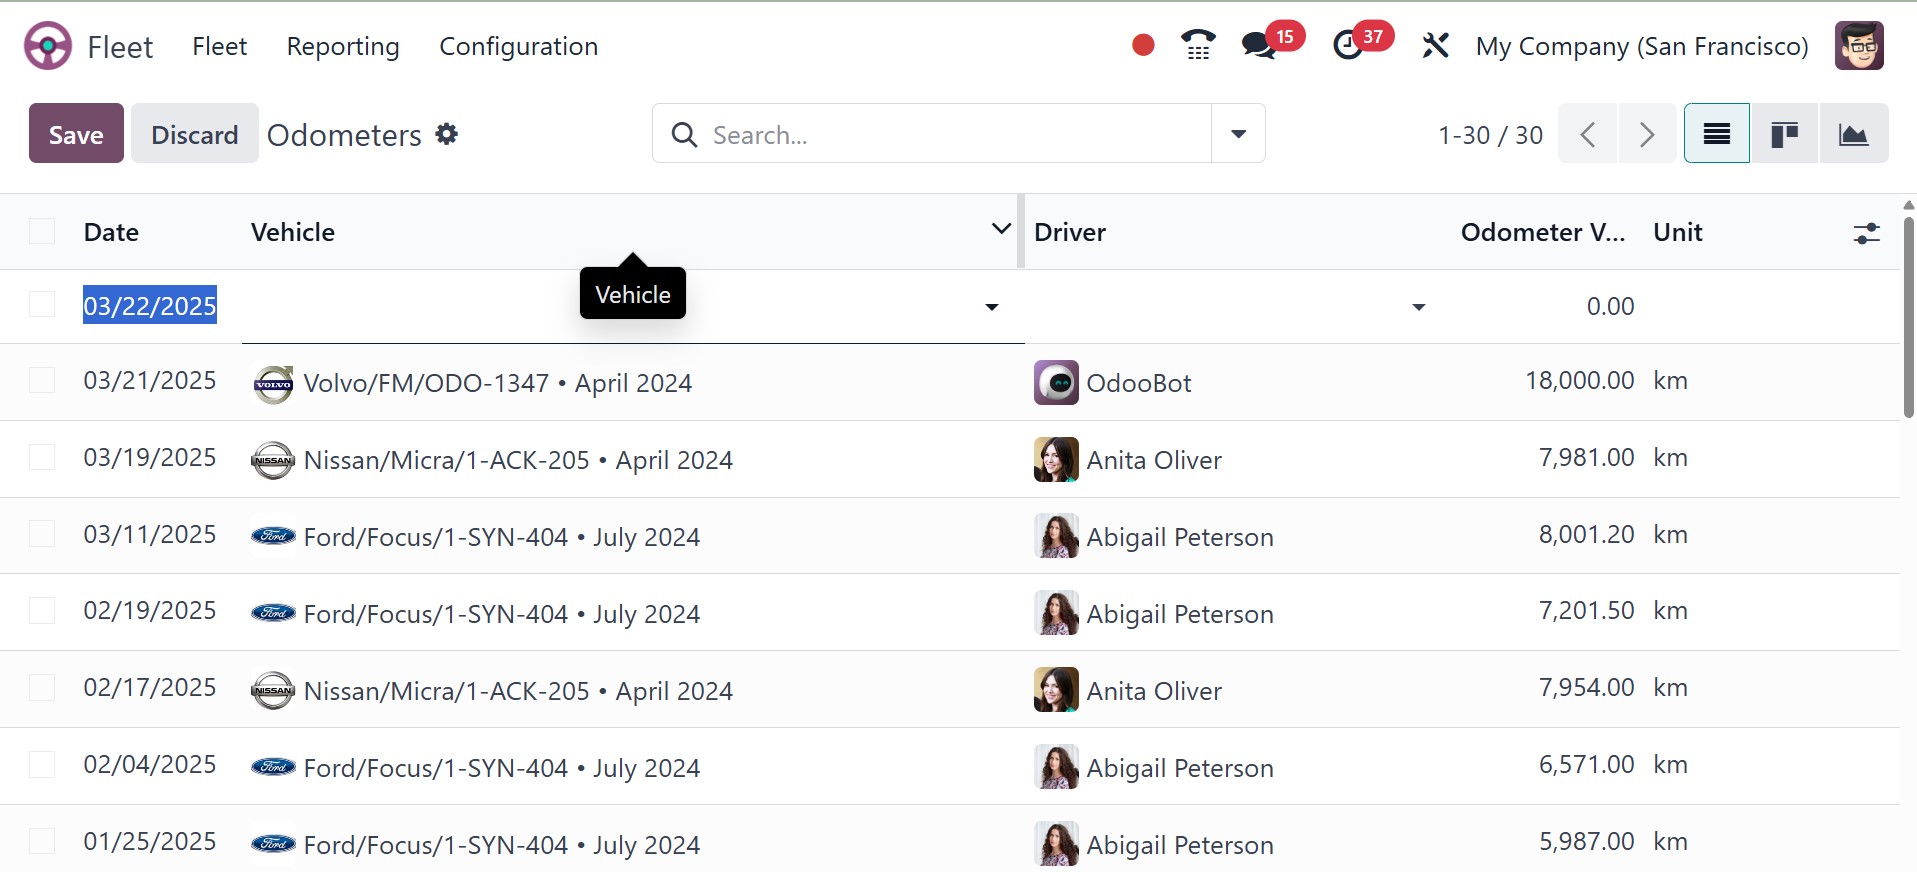
You can enter information like the date, vehicle name, driver details, odometer
value, and unit on this creation line.
We are able to clear the window's Odometer option. We have now covered every option
found in the Odoo Fleet management module's Fleet page. Let's now examine the module's
Configuration tab.