1. IoT boxes
To manage their IoT devices, users can install the Odoo 18 ERP
Package application.
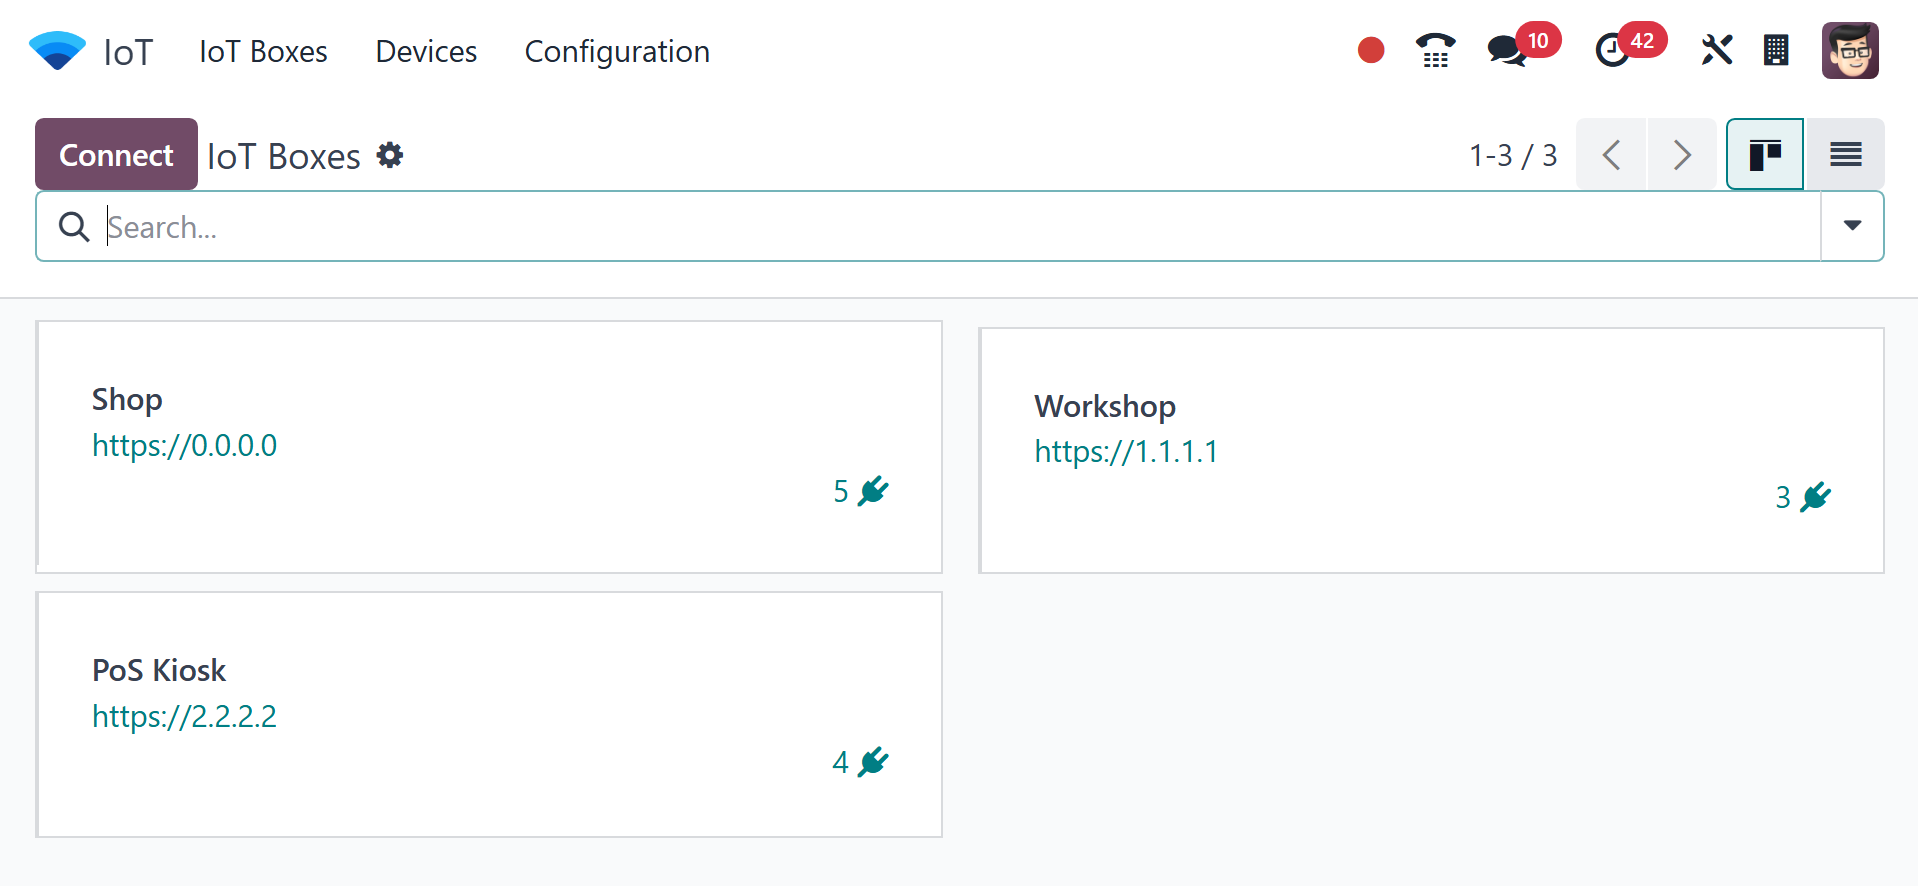
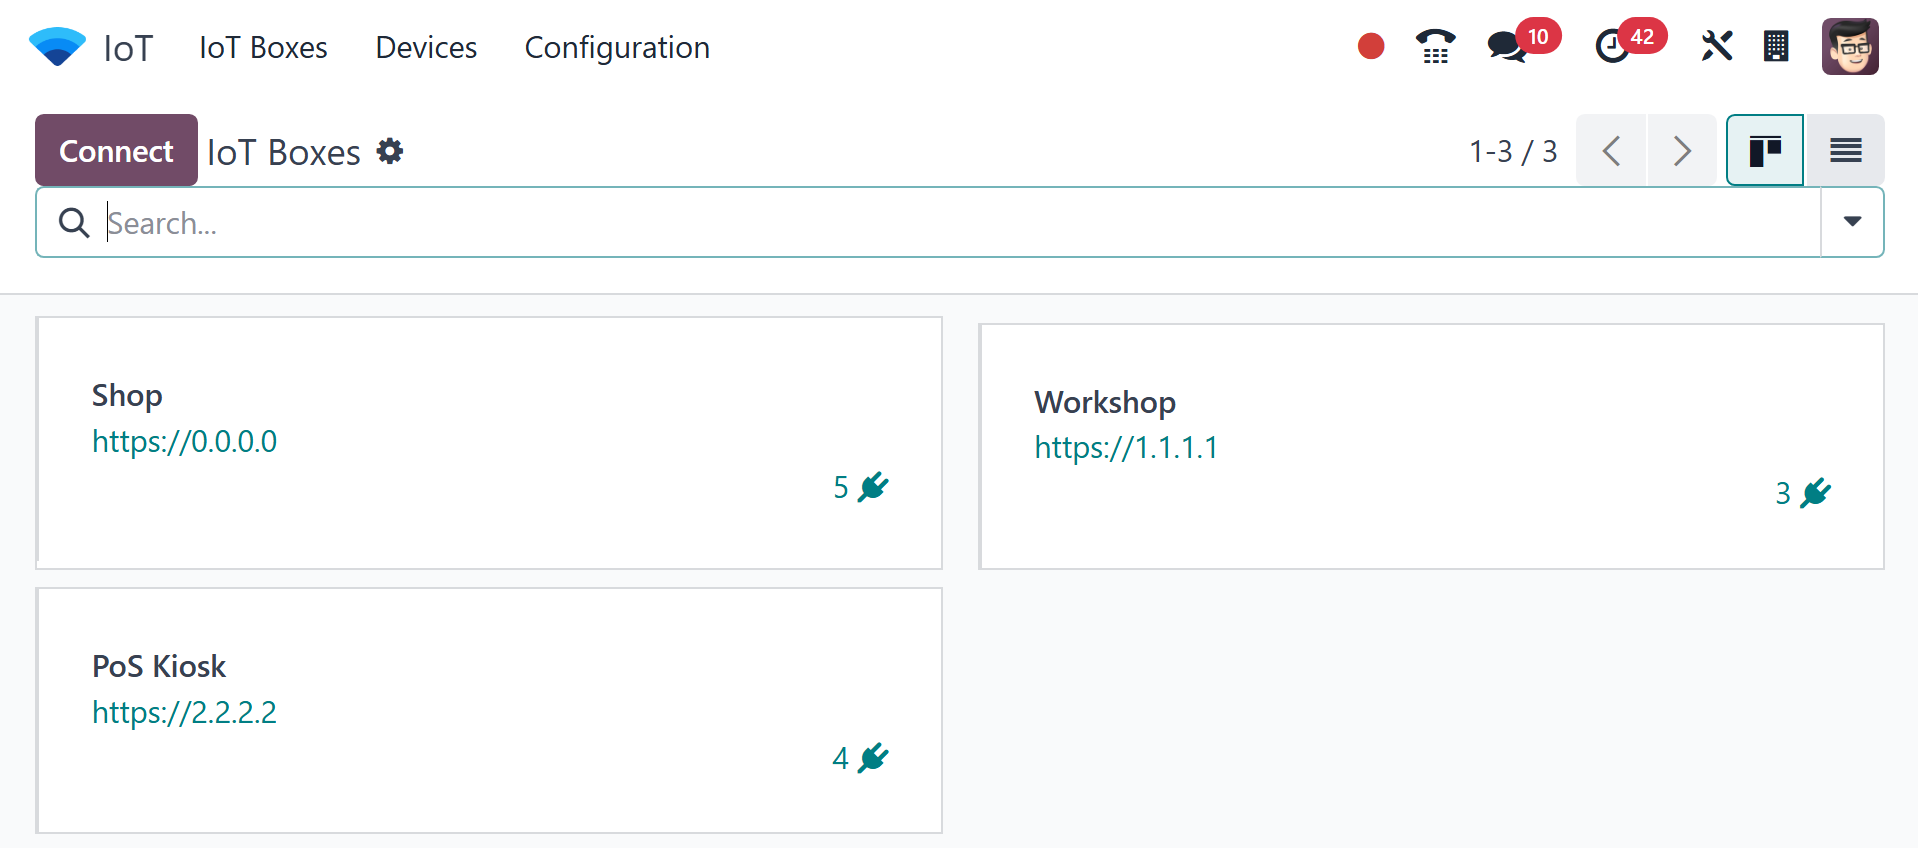
As can be seen below, the dashboard of available IoT Boxes is visible
in the window that is presented. The Kanban view of the IoT Boxes is
displayed, together with the number of connected devices and
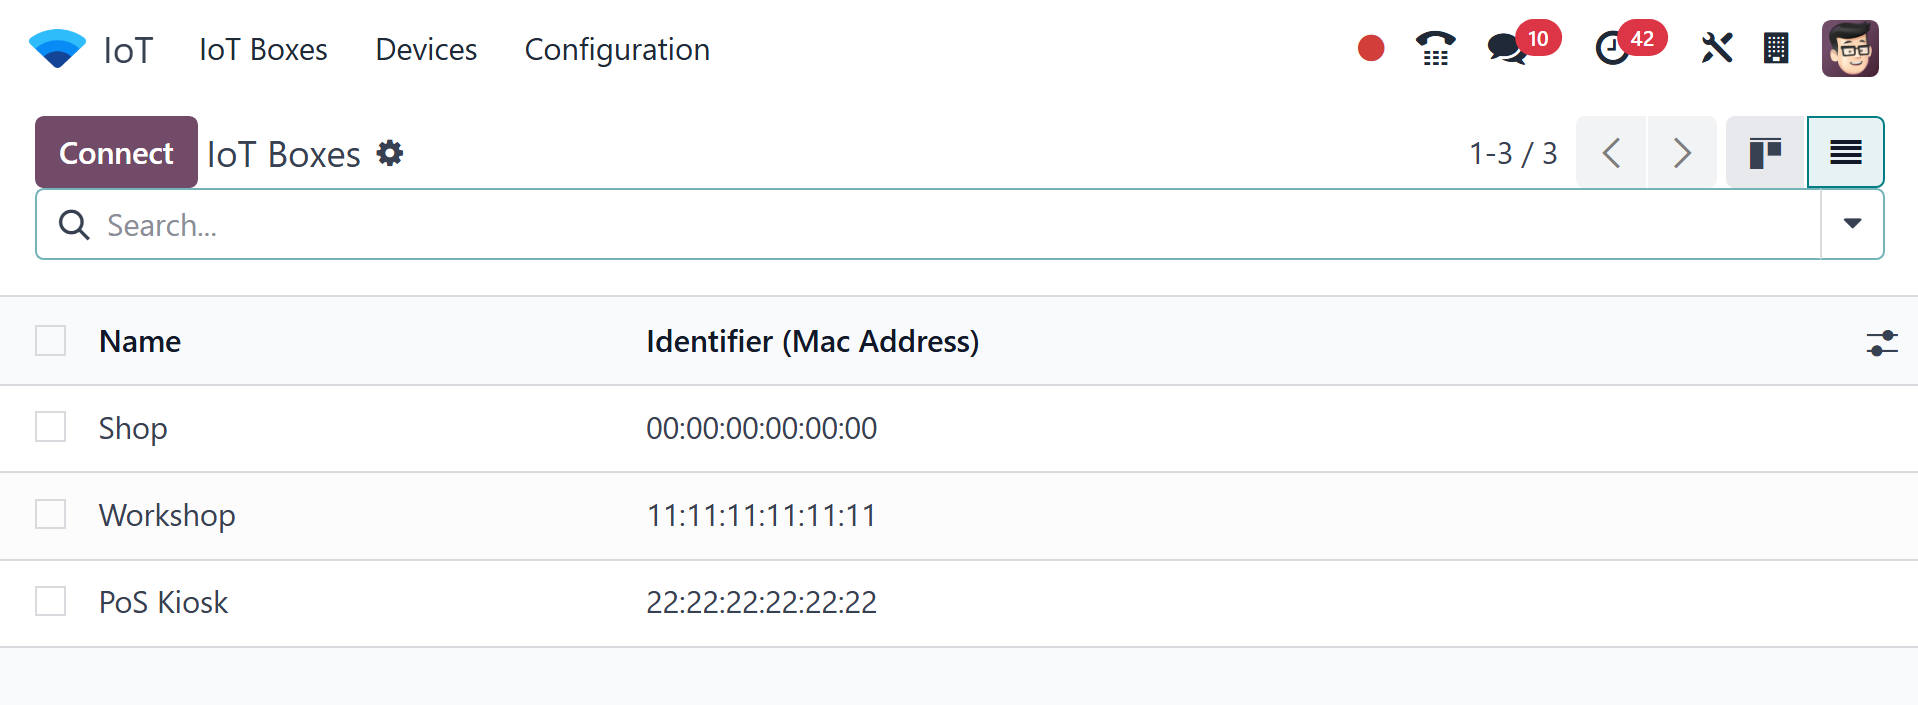
communication links. You may also change the Kanban view to a list
view by clicking the "List" icon in the top right corner of the
page.
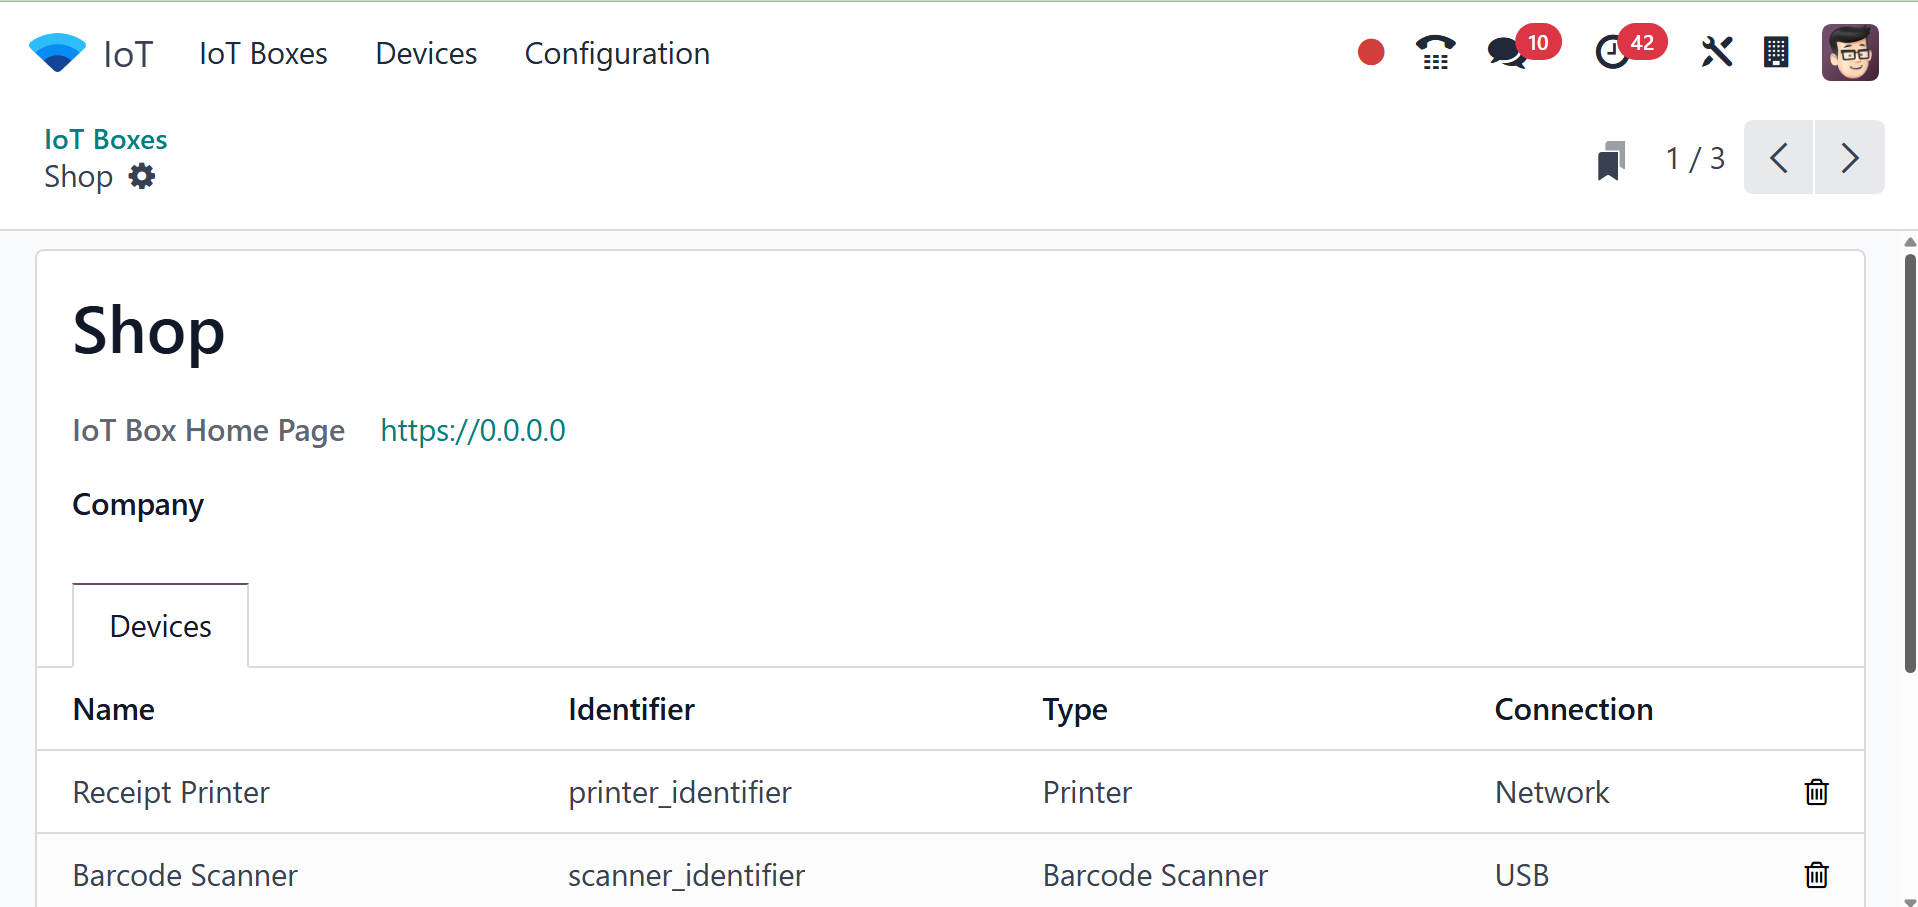
You can see which devices are connected to the IoT Box by looking at
the Kanban Card, as seen in the screenshot below.
On selecting a particular one, the page will be as in the screenshot
below.
Click "Connect" in the upper-left corner of the "IoT Boxes" dashboard
after accessing the IoT Boxes dashboard platform. This action will
open a pop-up window, as shown below.
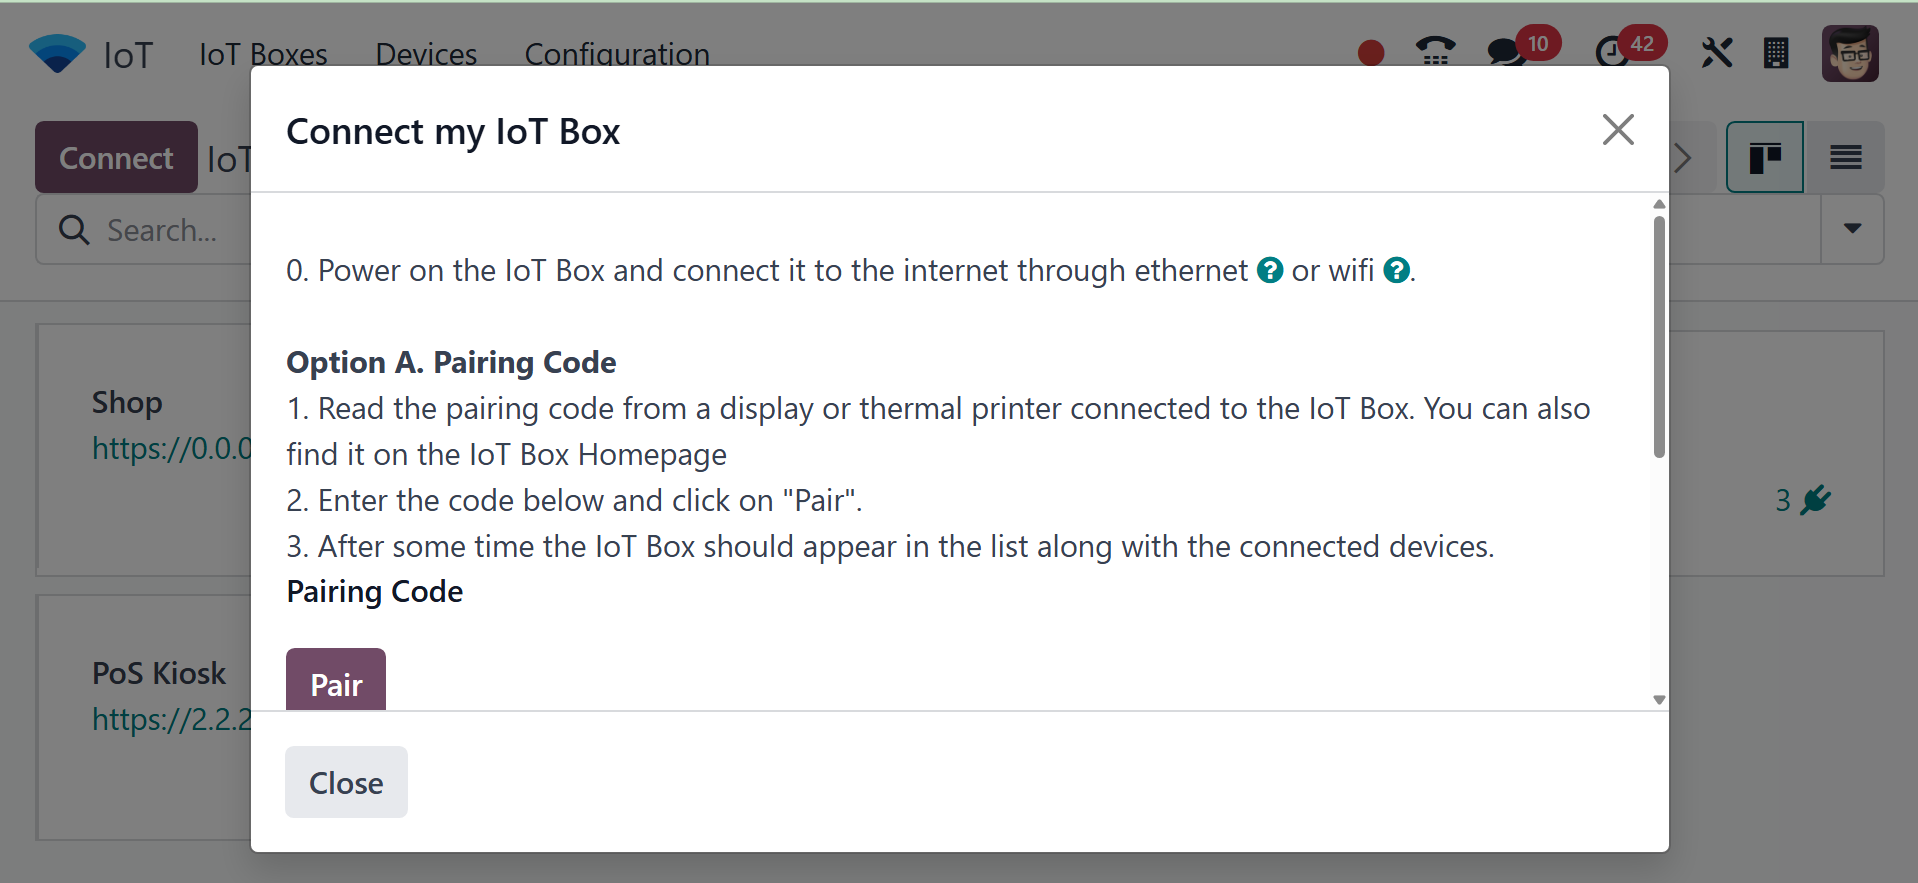
There are two suggested ways to link the IoT unit to the database.
The Internet of Things device should be connected to a wired
"Ethernet Connection" or "WiFi Connection." To continue with the
joining procedure, you can adhere to the guidelines in either of the
two sections that follow.
Ethernet Connection: To create an Ethernet connection, type the
"Pairing Code" in the appropriate field and press the "PAIR" button.
The IoT box will now show up on the IoT Boxes page after being
connected to the database.
WiFi Connection: Choose the link from the "WiFi Connection" section
that is supplied in the "Token" field to later connect the IoT box
to the Odoo database. After that, connect to the IoT box WiFi
network by using your laptop or computer to browse through the
various WiFi networks. These procedures are rather simple to follow,
much like setting up a Bluetooth or wireless connection.