2. Channels Menu
Upon opening the module, the home
dashboard will display all
existing Live Chat channels
on the ‘Channels’ dashboard
window in a kanban view. This
interface provides an
overview of the chat
channels, including
information such as the
channel name, the number of
operators, the number of
active sessions, the customer
satisfaction percentage, and
buttons to either join or
leave a session.
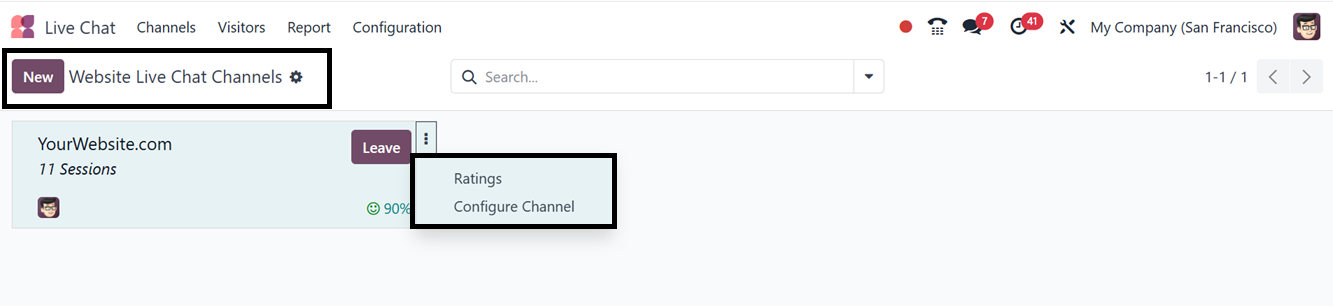
The three dotted vertical menu
placed on a channel kanban
card can be used to check the
channel Ratings and Configure
Channel. Using these
features, you can manage and
alter the existing channels.
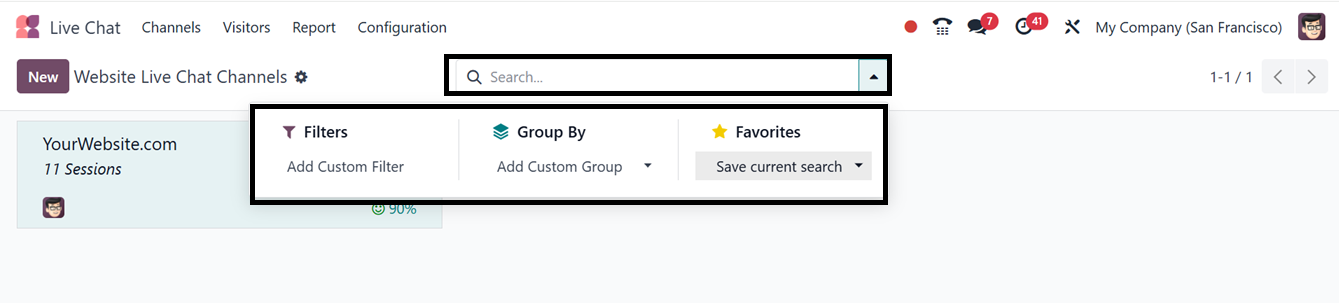
Additionally, users can apply
custom filters and custom
group-by options using the
Filters and Group By filter
tabs. The Favorites tab
offers further options such
as saving current searches,
importing records, linking
spreadsheets, and adding to
dashboards. The system also
enables the creation of new
website Live Chat channels
through this window.
To establish a new Live Chat
channel, users can click on
the "New" button at the upper
left corner of the window,
which opens a creation form.
This form allows the entry of
the channel name and an
image.
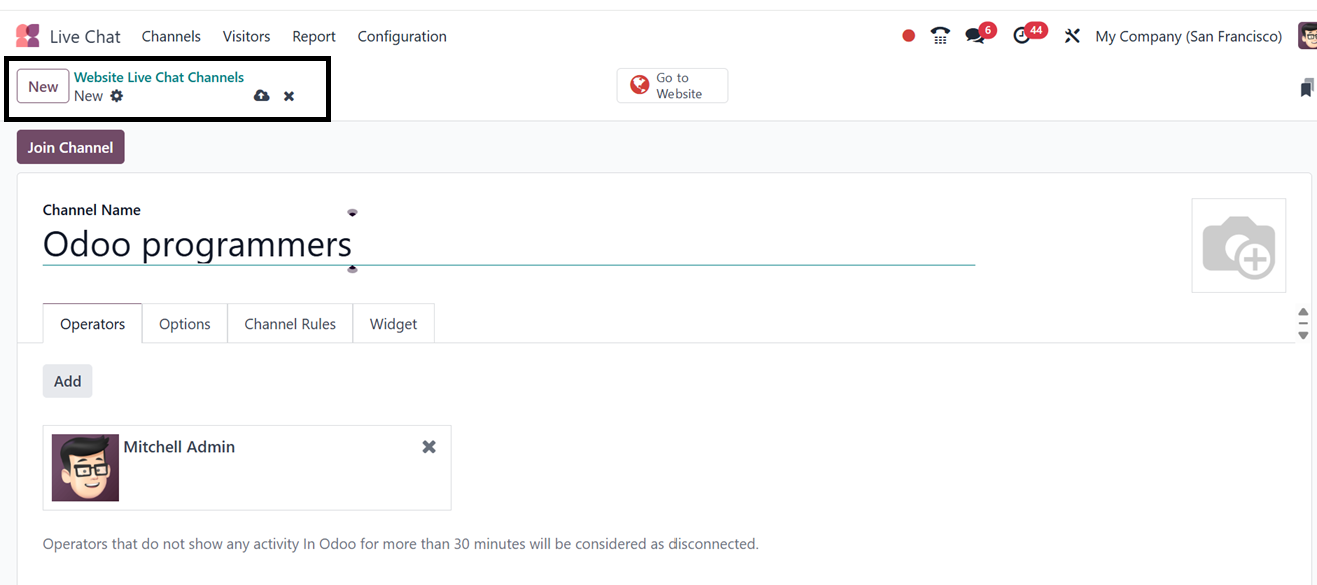
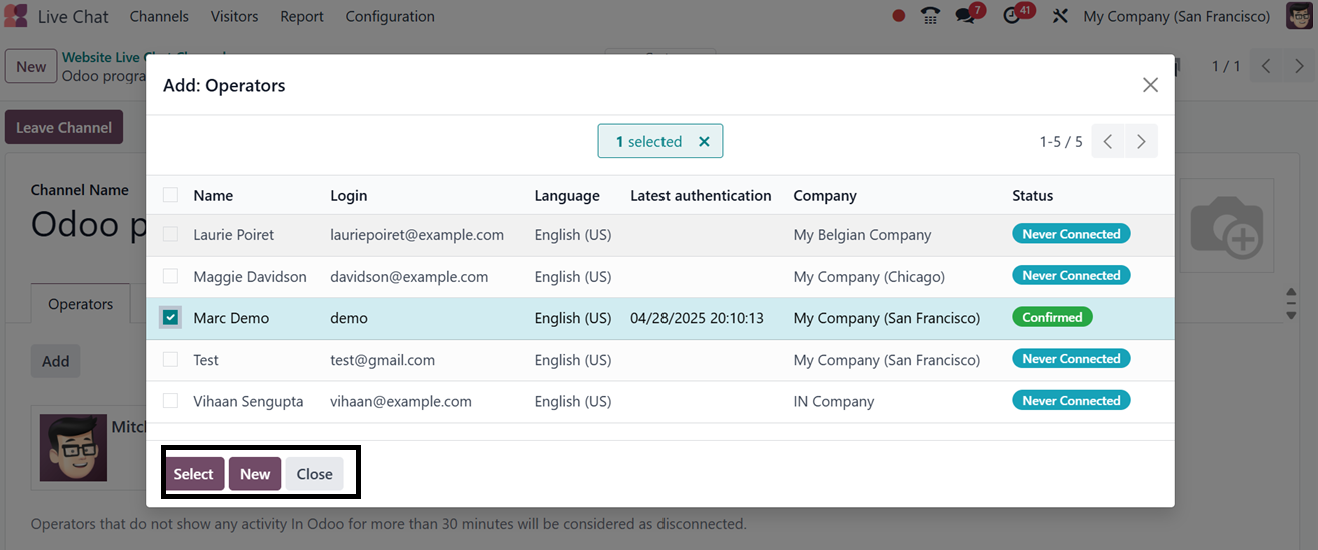
Under the Operators tab,
operators can be assigned to
the chat channel by selecting
the "Add" button, which opens
a pop-up window displaying
predefined operators. Users
may either select an existing
operator or create a new one
by clicking on the "Add"
button.
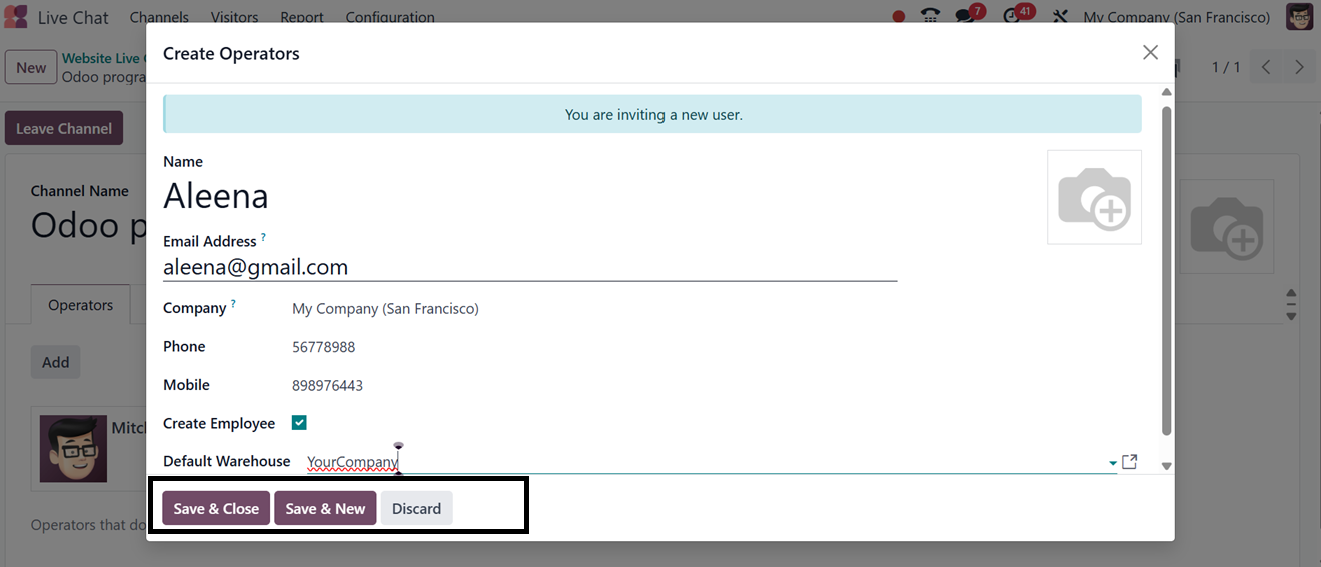
When creating a new operator,
necessary details such as the
operator’s Name, Email
Address, company affiliation,
phone numbers, and default
warehouse can be entered.
Additionally, an image of the
operator can be uploaded.
Once the required information
is entered, users can save
the operator’s details by
clicking the "Save & Close"
button, as depicted in the
screenshot below.
Then, the users will be added to
the ‘Operators’ tab section.
Now, customization of the
Live Chat window and button
is possible through the
settings tab in the Live Chat
Channel creation window.
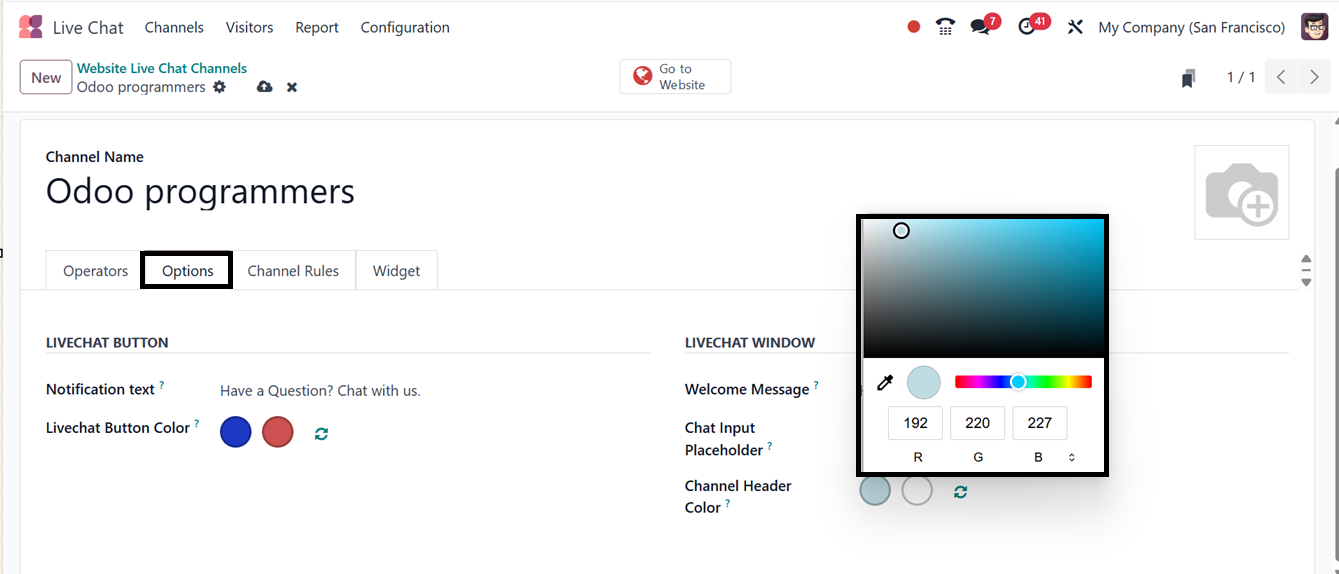
Using the ‘Options’ tab, you can
modify the default
notification text on the Live
Chat support button and
specify the background color
of the button using the
‘Livechat Button Color’ and
‘Notification text’ fields
provided under the ‘LIVECHAT
BUTTON section. Furthermore,
the ‘LIVECHAT WINDOW’ section
allows customization of the
Welcome Message for visitors,
Chat Input Placeholder text,
and the Channel Header Color
using a gradient tool, as
highlighted in the screenshot
below.
Users can define specific rules
for the Live Chat channel
under the ‘Channel Rules’ tab
by clicking on the ‘Add a
line’ button. In the rules
configuration pop-up, you can
choose the visibility of the
Livechat Button. Here, you
can configure actions such as
hiding the chat button,
automatically displaying the
chat window, or keeping the
chat button visible with
notifications.
Then, choose the Chatbot, Enable
or disable the rule only if
no operator is available for
the channel, and provide a
URL Regex expression for
specifying the web pages of
this channel. Finally,
restrict the chat
availability to designated
countries, as depicted in the
screenshot below.

After setting the rules, save the
data, or you can create
multiple channel rules as per
the requirement, using the
same process but with
different specifications. So,
the rules will be added
inside the ‘Channel Rules’
tab, as shown below.
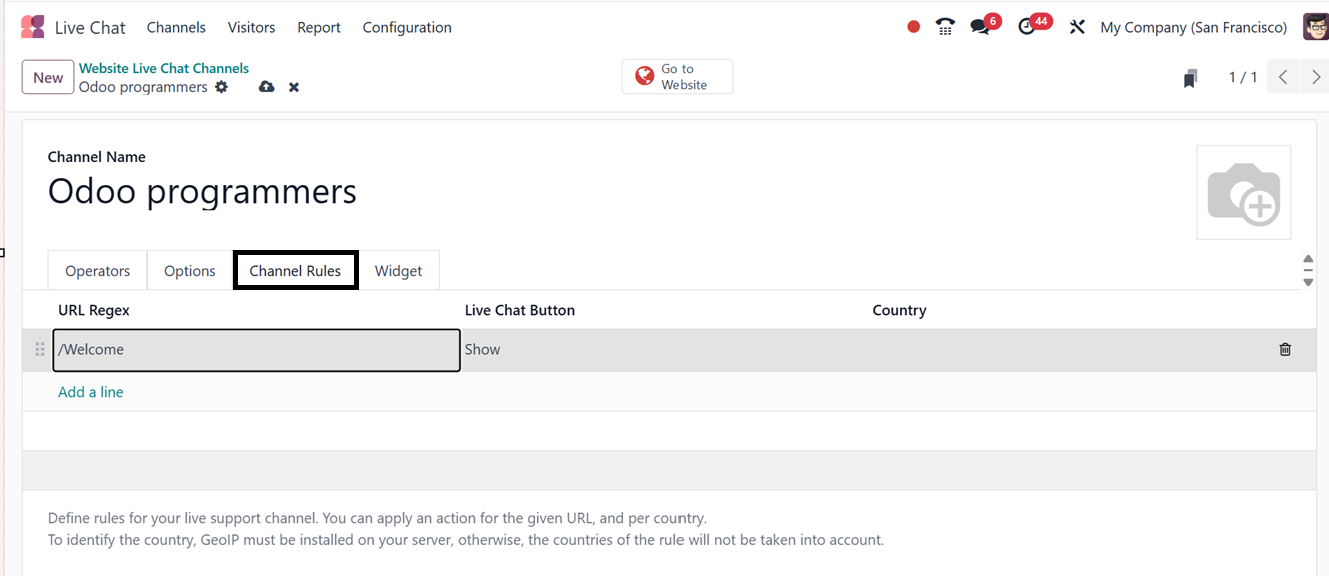
The URL Regex field in the
‘Channel Rules’ tab is used
to define which website URLs
should display the live chat
widget. You can manage the
widget's appearance by
configuring a regular
expression, making sure it
only shows on pertinent pages
(such product, checkout, or
support sections) and not on
unapproved or unnecessary
websites.
You can edit a regular expression
pattern that matches your URL
Expression in the ‘URL Regex’
section
(eg:https//:domain.com/page
name).You can customize the
label that shows up on the
button that people click to
start a chat on your website
by going to the "Live Chat
Button" section. Finally, the
‘Country’ field can be used
to specify particular
countries where this
particular channel rule is
applicable. This keeps your
brand consistent throughout
your online presence,
improves targeting,
strengthens security, and
optimizes speed by preventing
unwanted script loading.
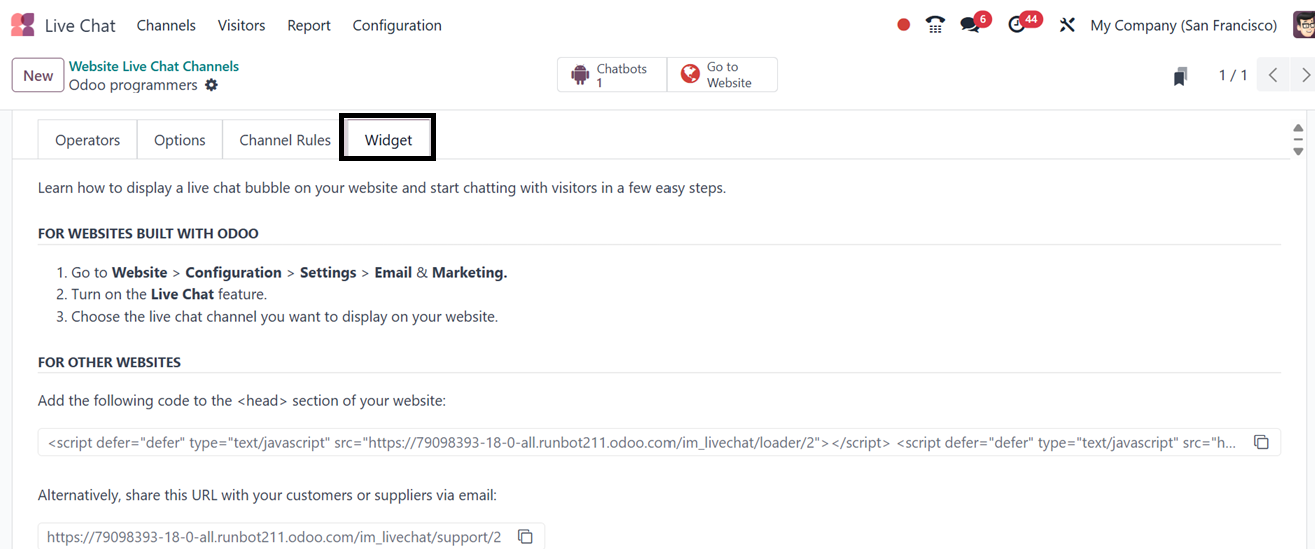
The ‘Widget’ tab provides the
necessary code and URL for
embedding the Live Chat
feature into a website. The
provided code can be copied
and pasted onto the website,
or the URL can be shared via
email. For Odoo CMS-based
websites, the Website Live
Chat channel can be added
through the Website module's
settings.
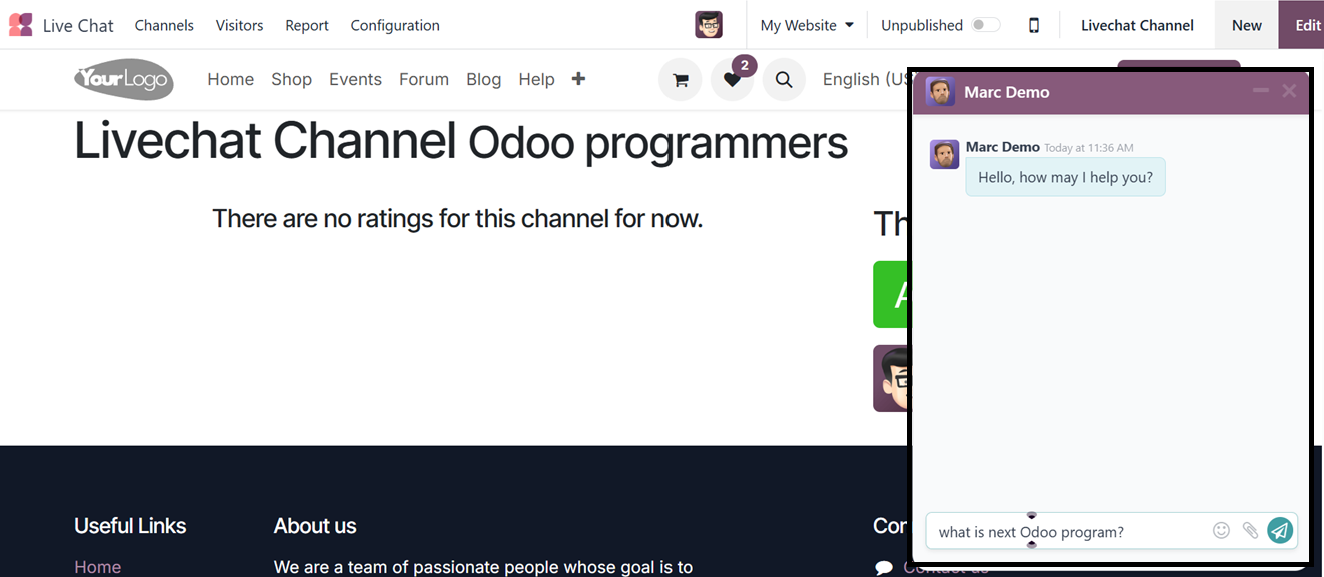
Once a new Live Chat channel is
created, it must be published
to be accessible to visitors.
This can be done through the
‘Go to Website’ smart button
available in the upper right
corner of the window, which
directs users to the website
module. By changing the
status from "Unpublished" to
"Published," the Live Chat
feature becomes active.
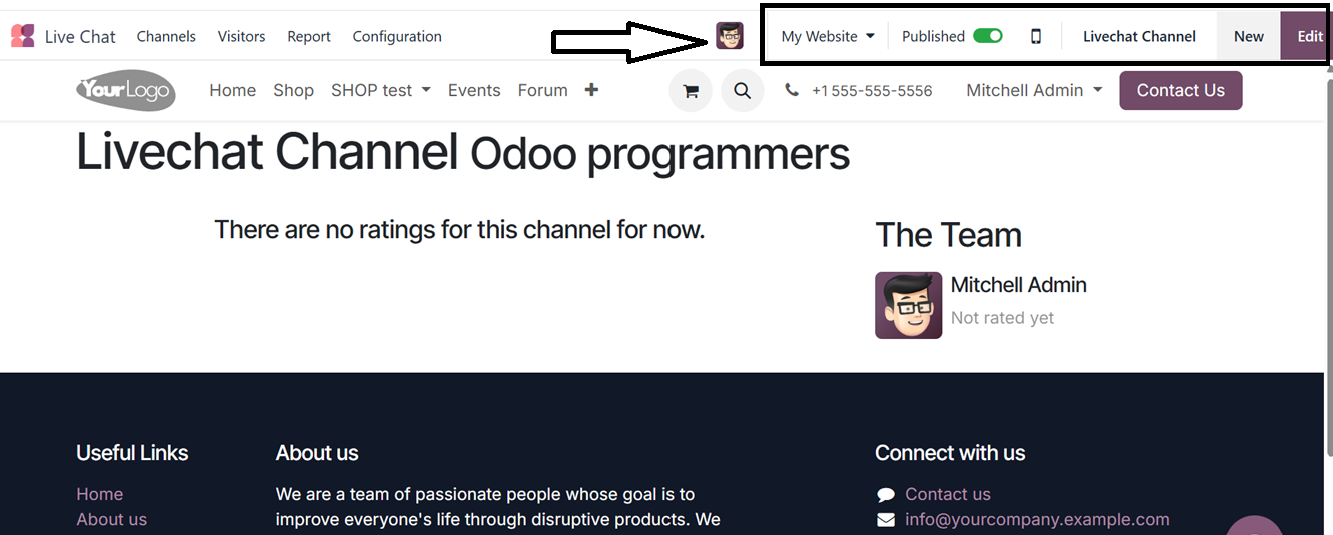
Clicking the 'Edit' button in the
website user interface allows
you to change the page specs.
The editing capabilities of
Odoo Studio may be integrated
to make it easy and quick to
develop and modify your
webpages to satisfy certain
needs.
After creating the channel, you
can use the chatbox icon
placed on the web page to
start a new chat, as depicted
in the screenshot below.