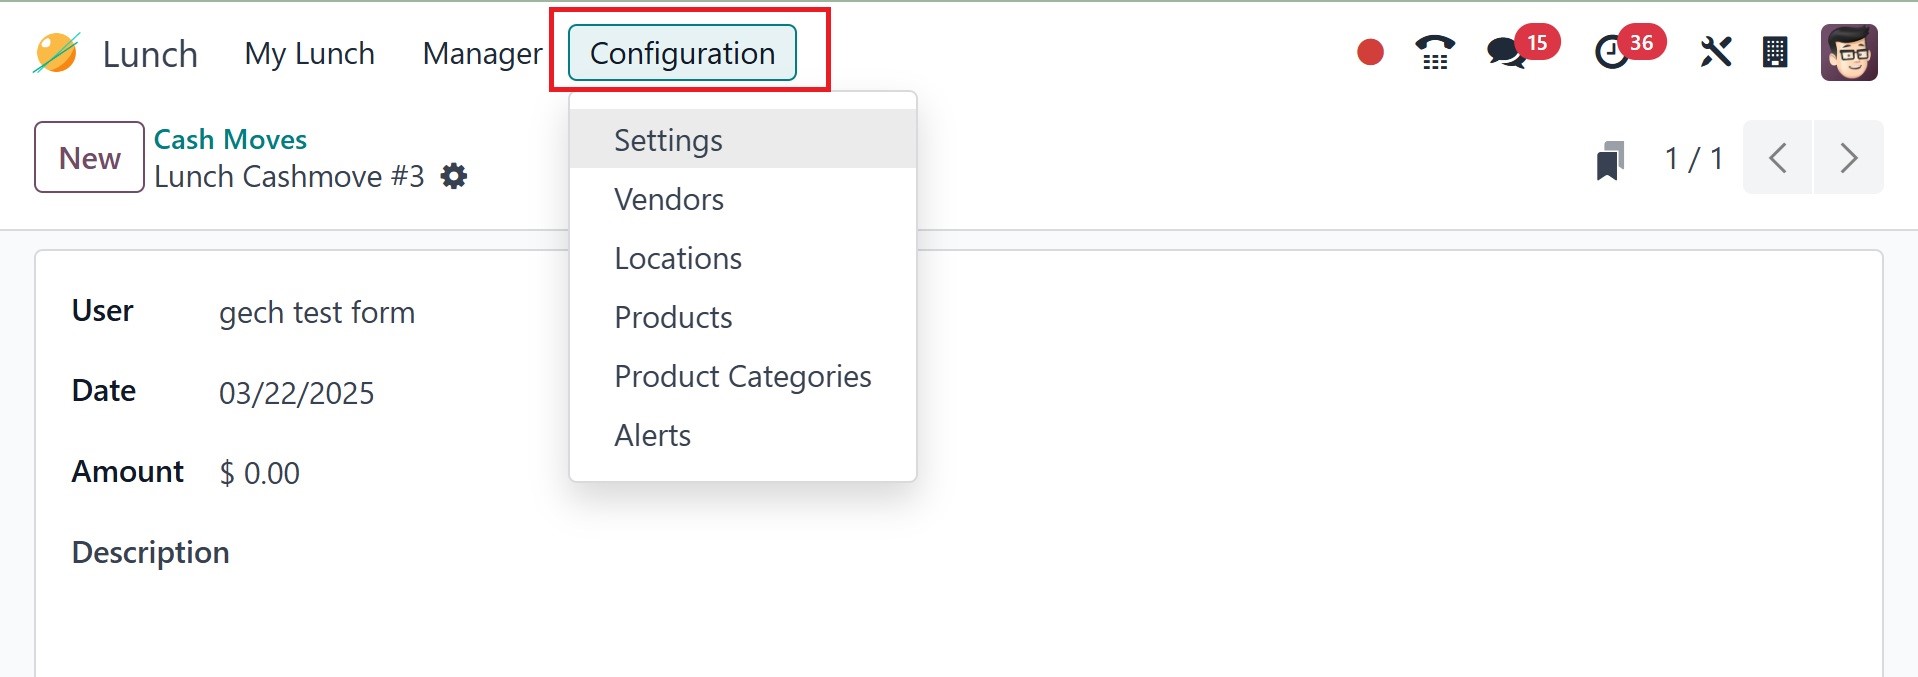
3. Configuration
The Configuration menu in the Lunch module contains options for
Settings, Vendors, Locations, Products, Product Categories, and
Alerts. Let's take a closer look at each option in this section.
3.1 Settings
By choosing the Lunch Overdraft option from the module's Settings
menu, you can specify the maximum overdraft that your staff members
are permitted to experience.
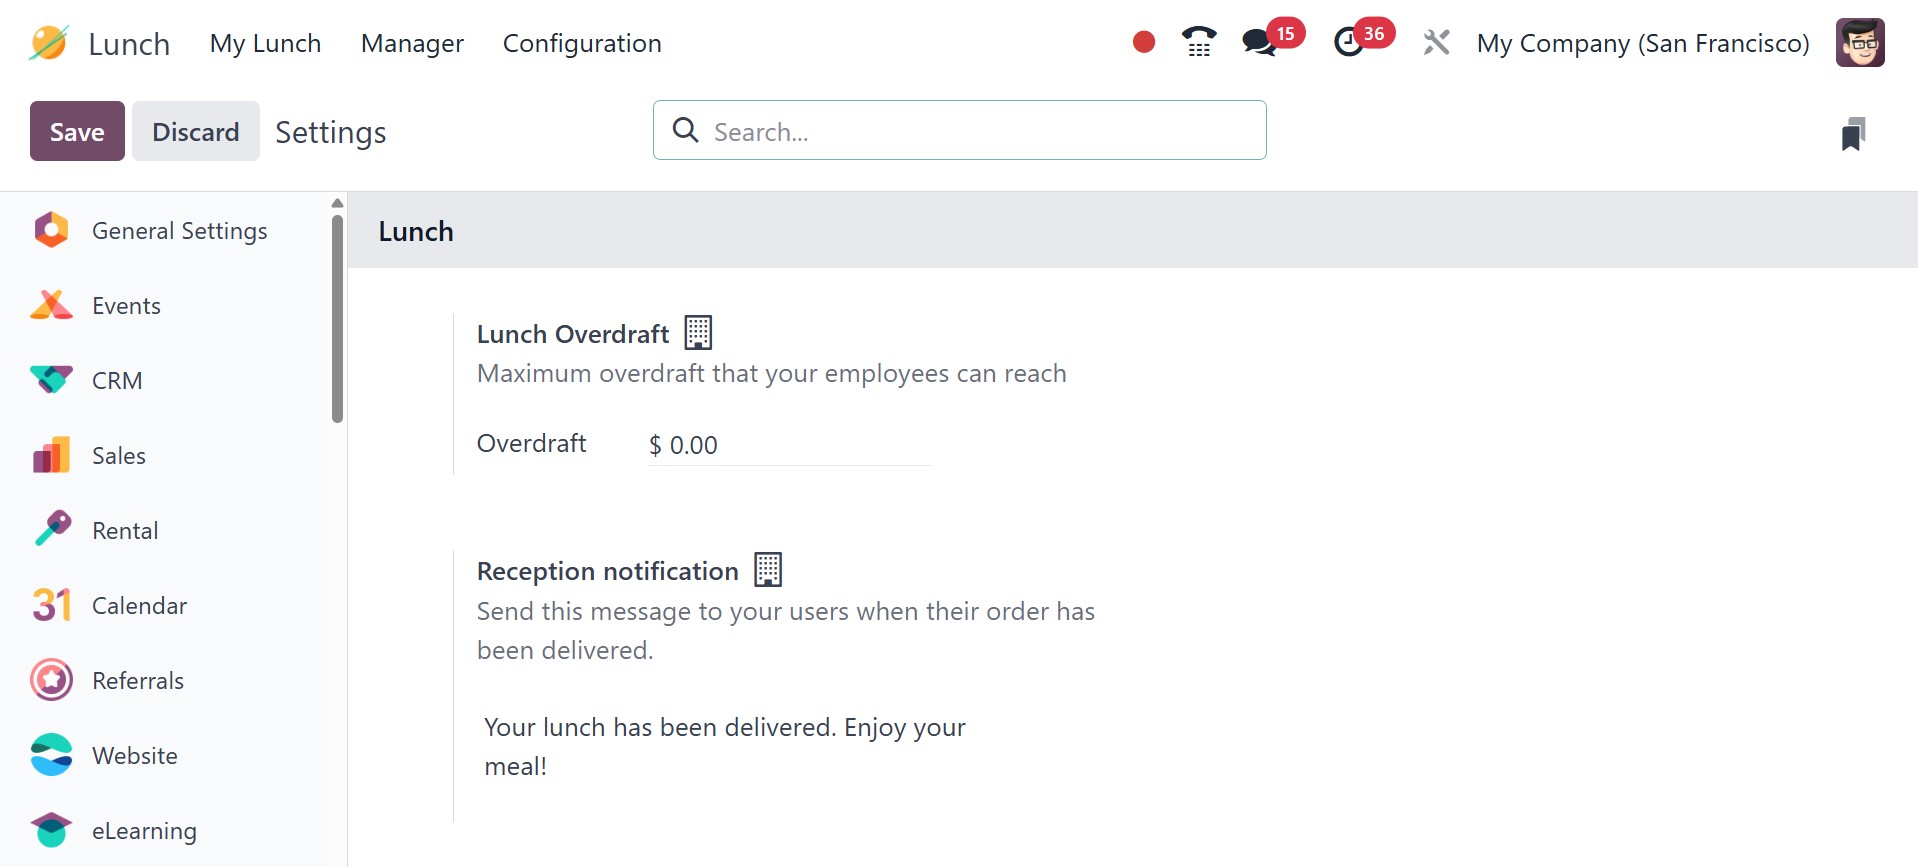
You can set up a Reception Notification on this platform. This
message will be sent to users when their orders are delivered.
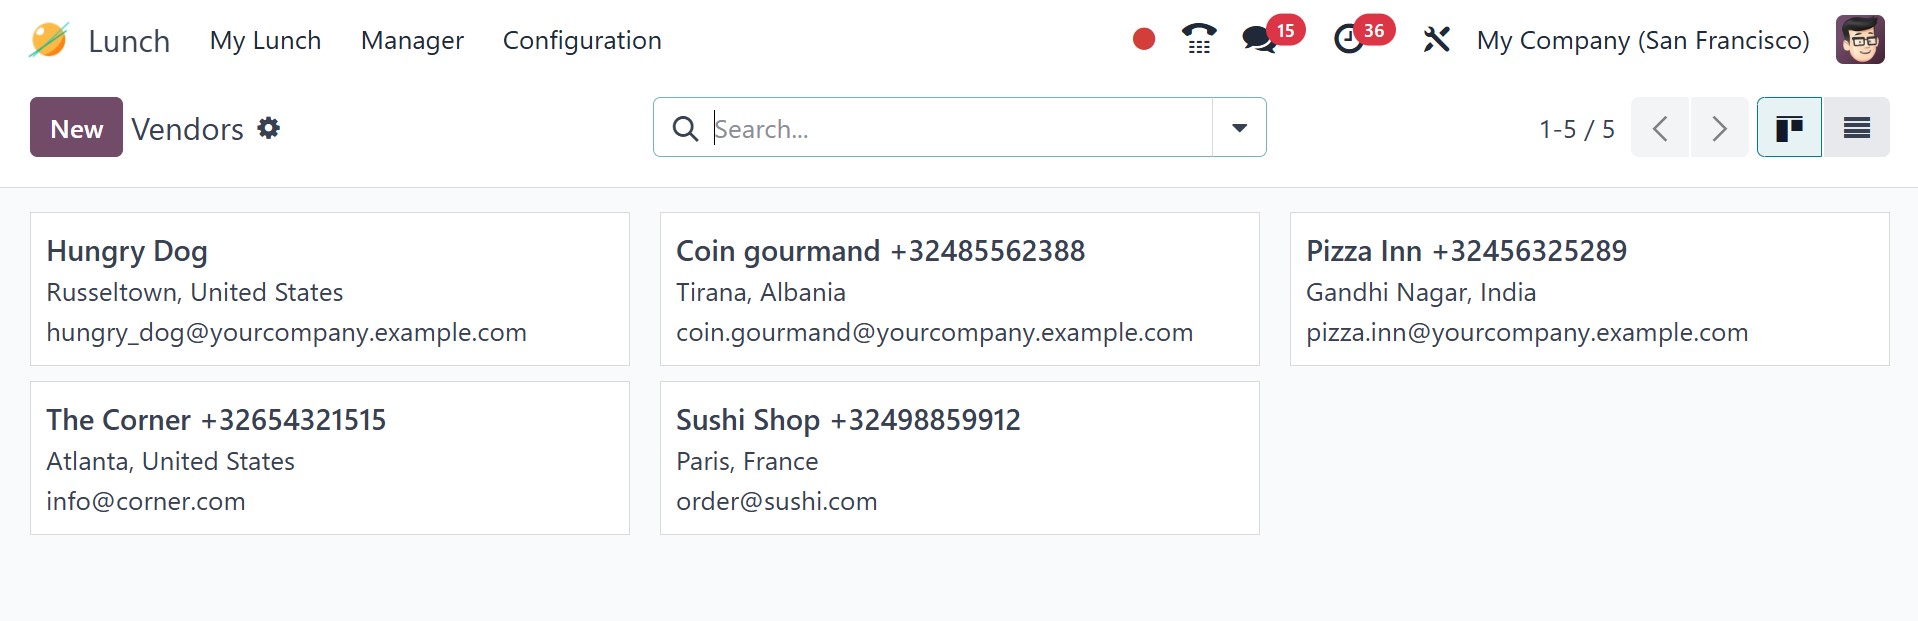
3.2 Vendors
The Vendors option allows you to establish different vendors for the
Lunch module. This is the location of the previously configured
vendors.
The New button allows you to add a new vendor to the database. As can
be seen in the screenshot below, a new form view will open.
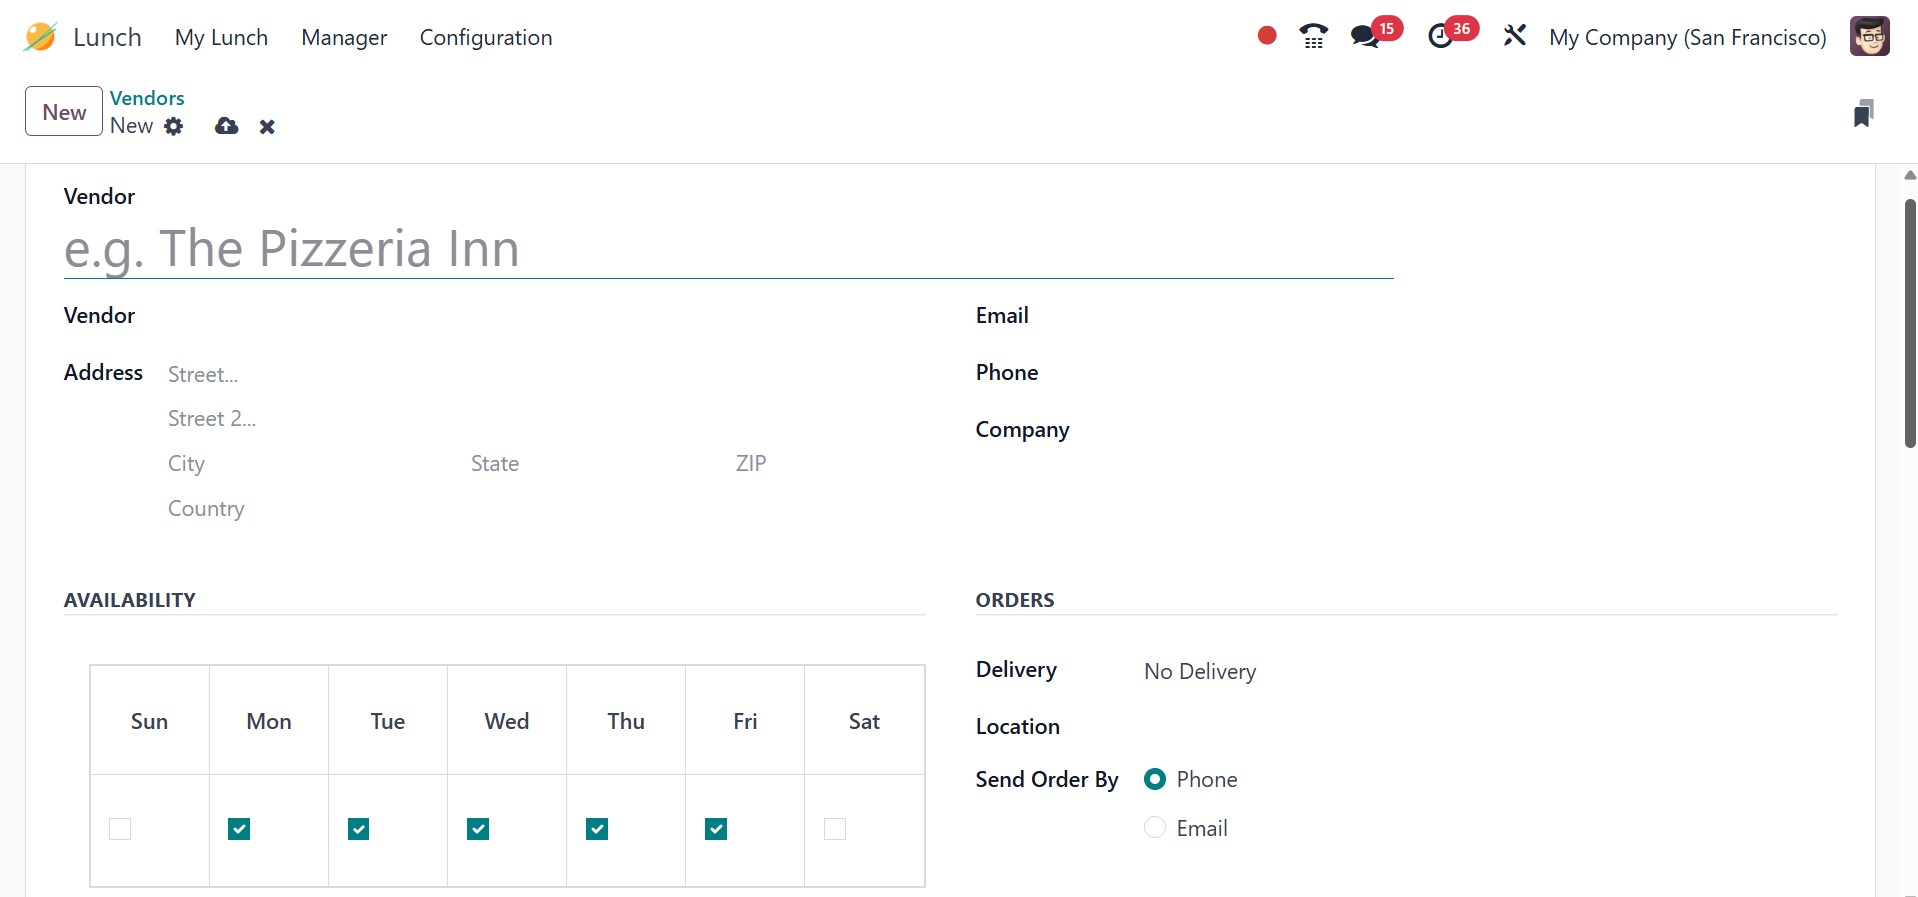
In the appropriate field, you can enter the Vendor, Vendor Address,
Email, Phone, Company, and Responsible. Enter the vendor's time zone
in the appropriate field. Depending on the vendor's work schedule,
you might mention in the specified section that their service will
be available in a week. If the merchant provides delivery, you can
enter it in the relevant field. The Send Order By box allows you to
choose how the vendor will receive client orders. The services'
expiration date can be entered in the Until box. If you want to add
more labels to the vendor form, use the specific field.
3.3 Location
A company may have multiple offices and branches. In order for the
caterer to deliver food promptly, the lunch venue must be indicated
when placing orders.
The Location option is located in the Lunch module's Configuration
menu. The company, address, and location name will be shown on the
list. You can enter the new lunch location's information by clicking
the New button.
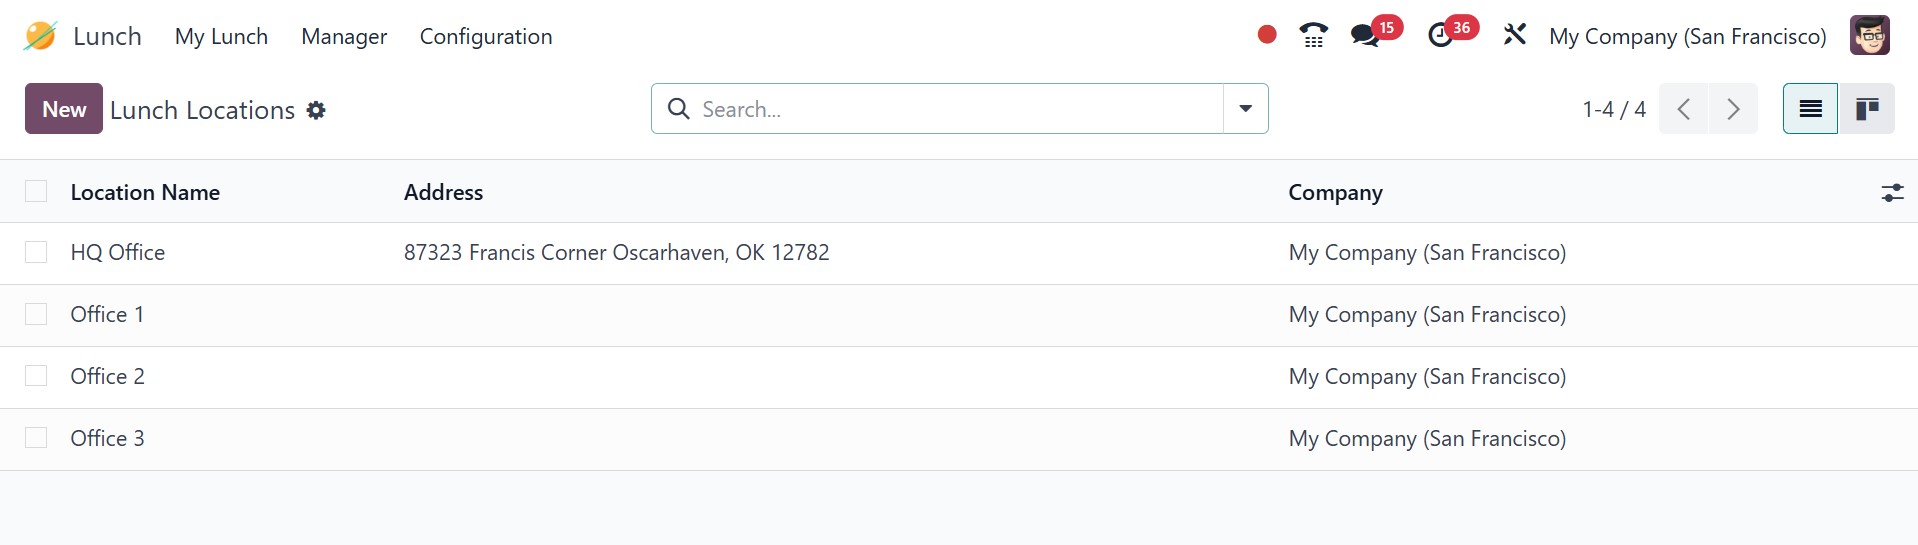
Under the list of available sites, a new line will show up. Here, in
the appropriate sections, you can enter the lunch location's
details. Click the store button to save the location.
3.4 Products
You can add a range of foods and items to the Lunch module by using
the items option in the Configuration menu. The platform will show
pre-configured products in list view. You can select from the
Vendors and Categories options in the panel on the left side of the
screen.
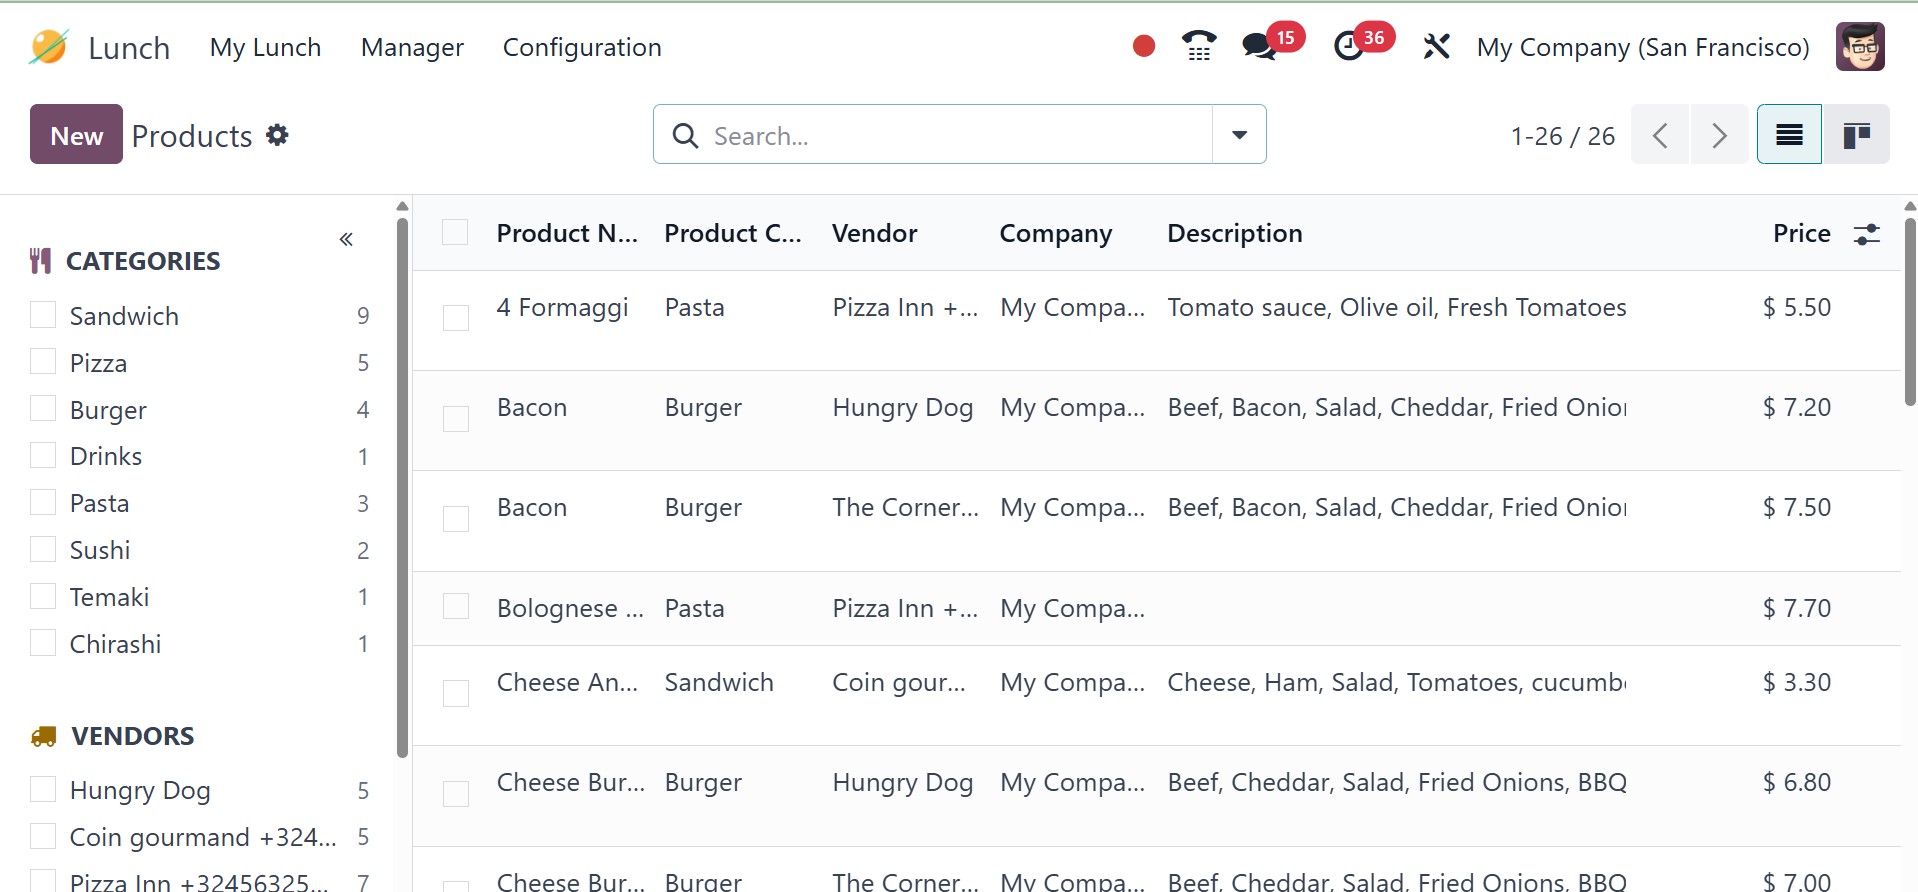
The list preview shows the product name, product categories, vendor,
firm, description, and price. By choosing the New button, you can
easily create a brand-new product.
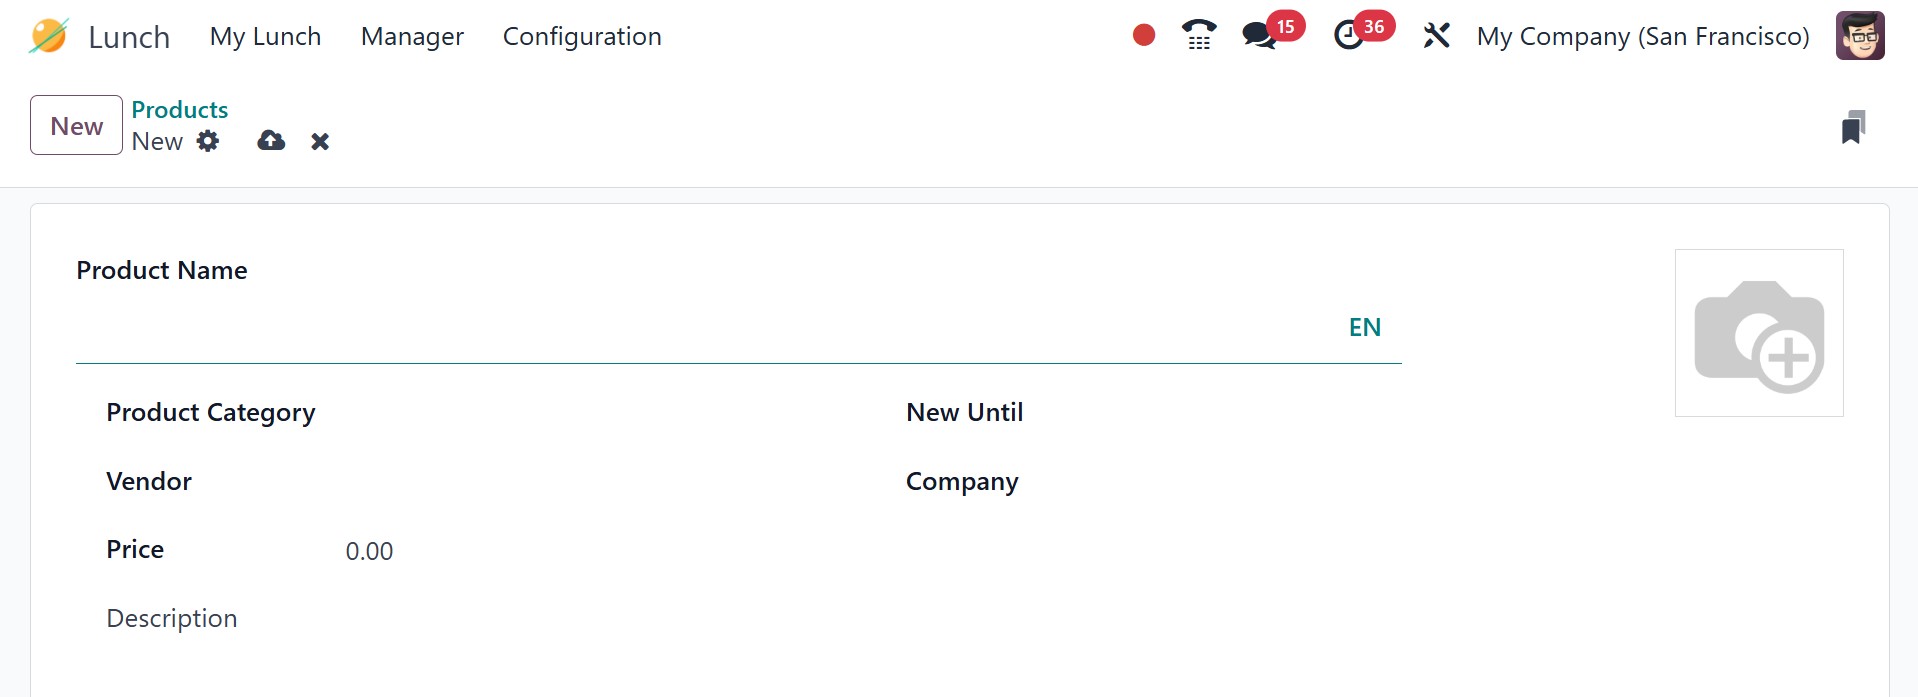
In the appropriate fields, you can enter the Product Name, Product
Category, Vendor, Prices, Description, New Until, and Company. Put a
beautiful picture of the product in the relevant field.
3.5 Product Categories
Product categories can be specified using the Configuration menu's
Product Categories option. The list will show the pre-made
categories for the modules.
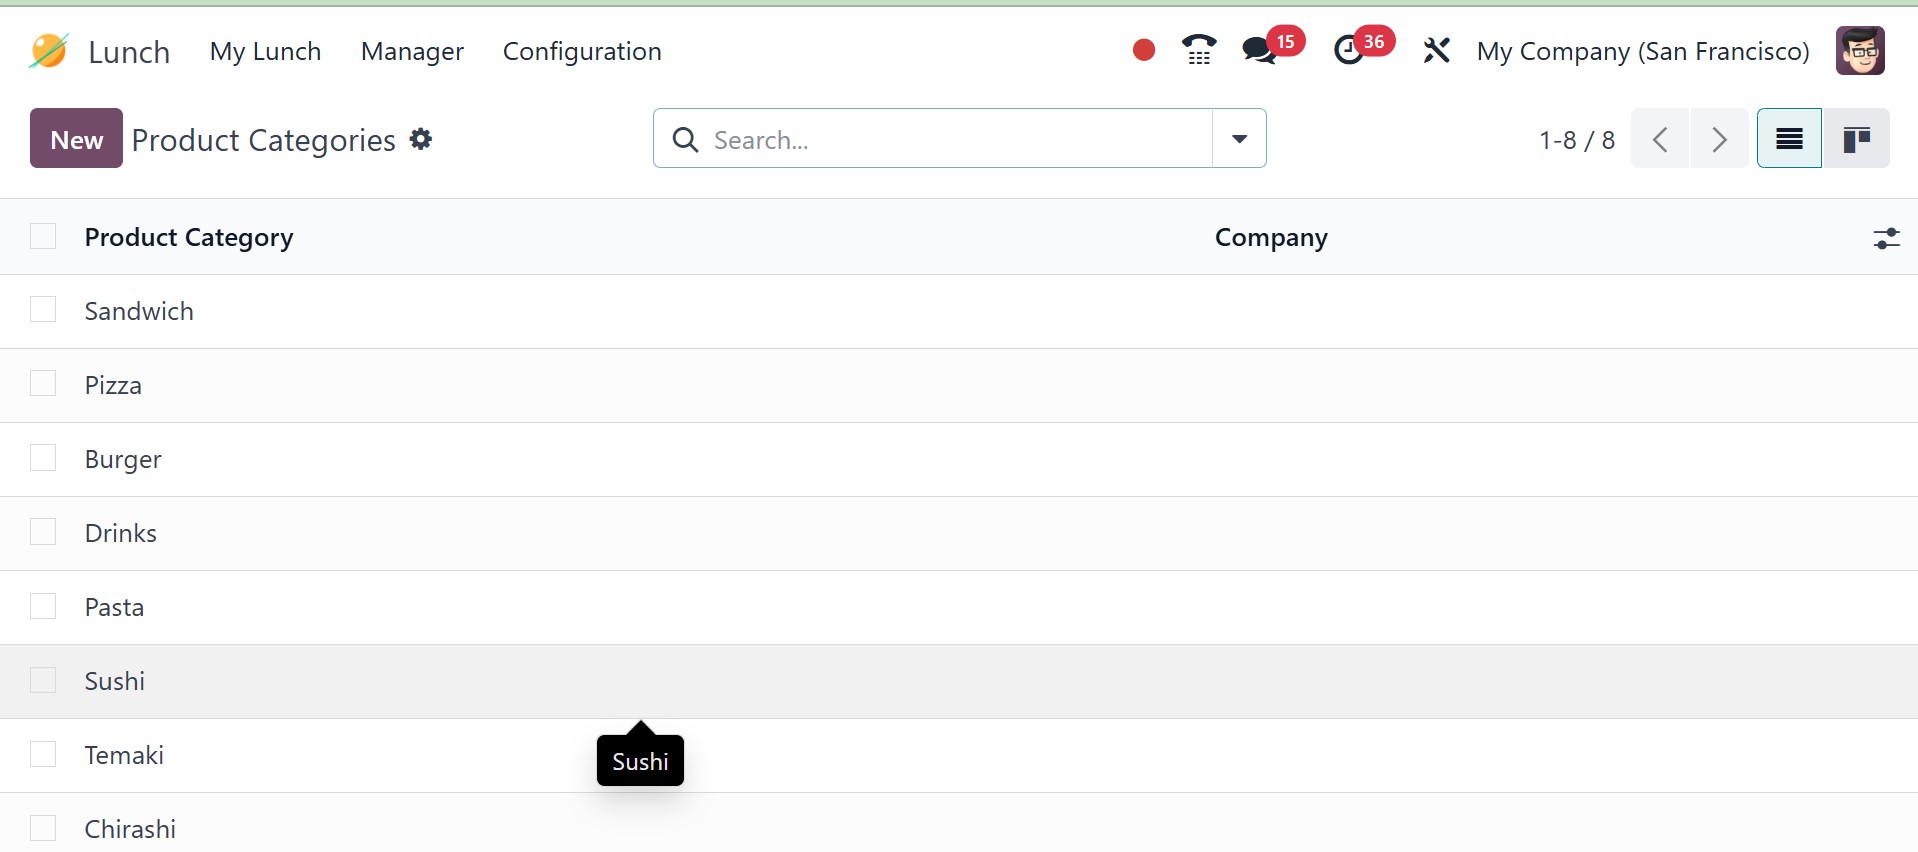
Click the New button to add a new category. After that, a new form
view will appear, as shown in the screenshot below.
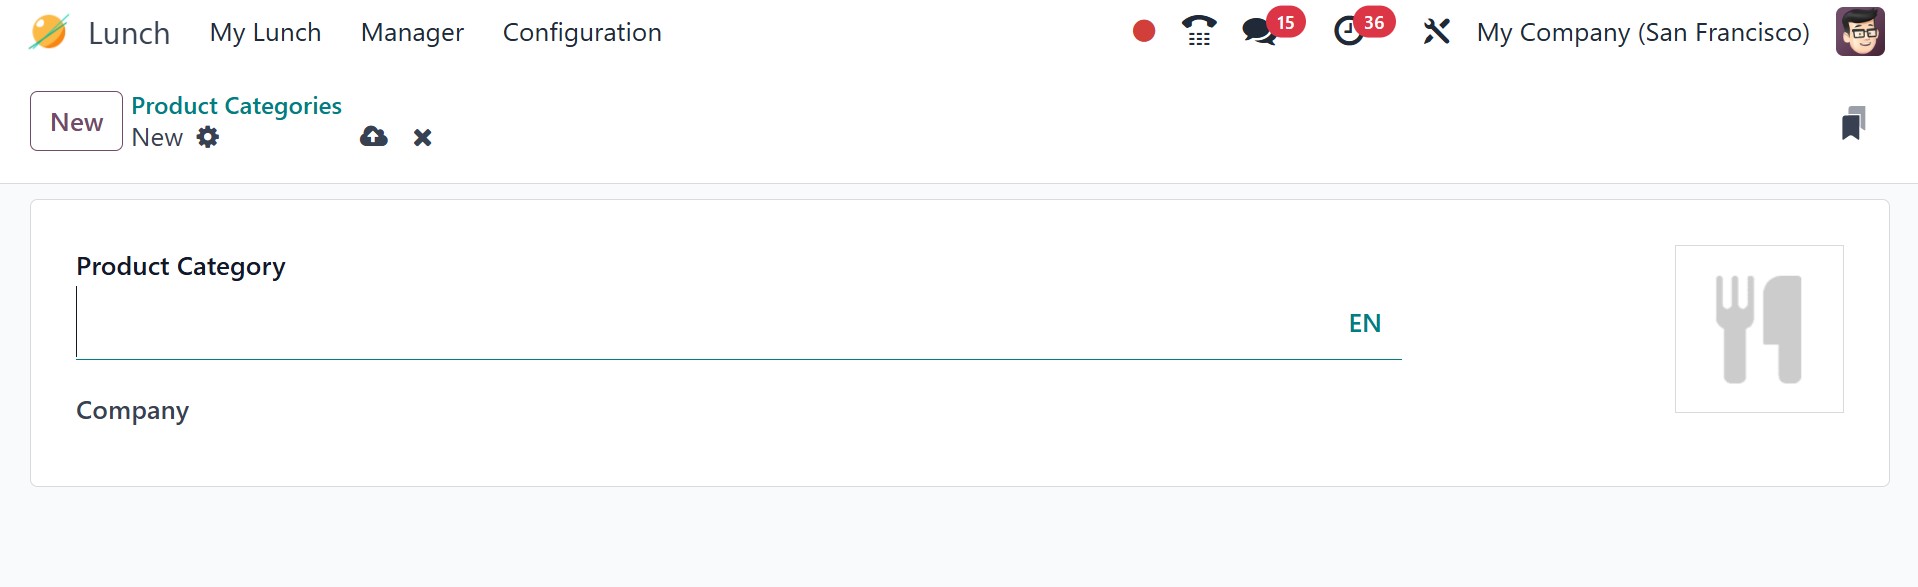
You can include the Product Category and the Company in the
designated fields.
3.6 Alerts
If you want to send user notifications, you can utilize this platform
to set alerts.
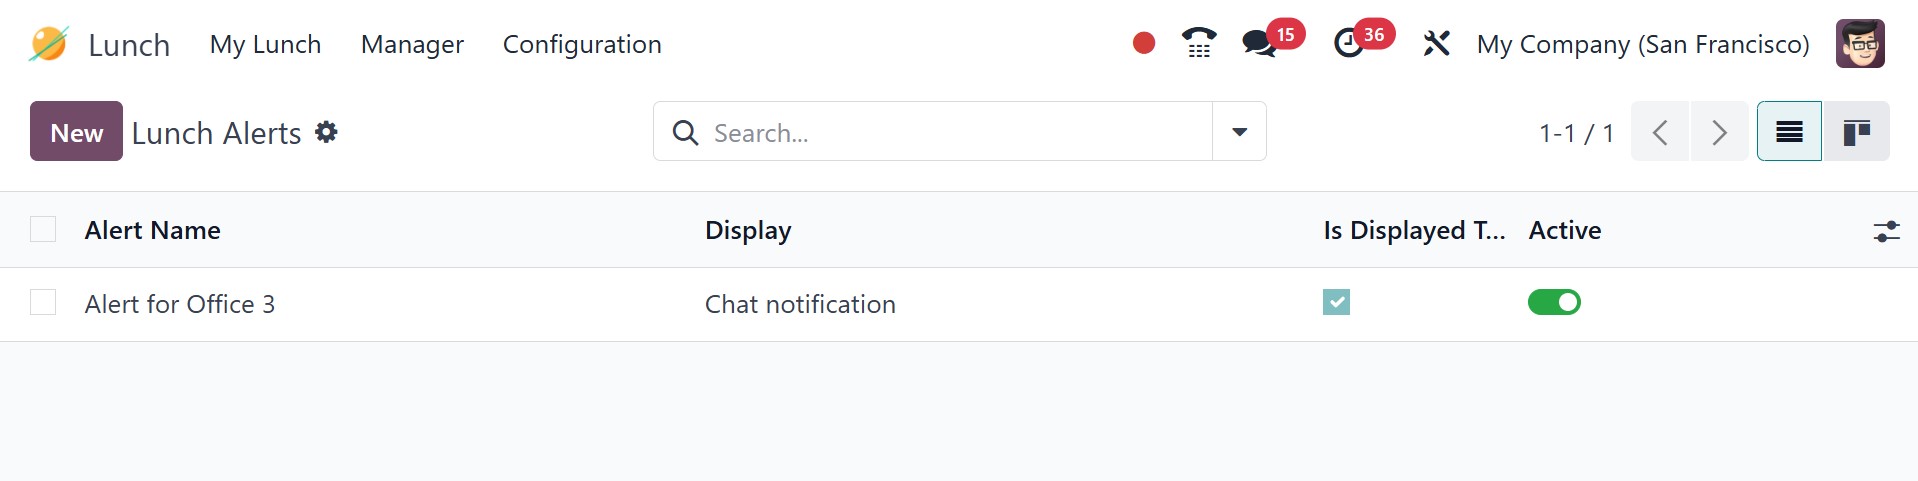
The pre-configured lunch alerts include Alert Name, Display, and
Active status, as can be seen in the screenshot above. Click the New
button to create a new alert.
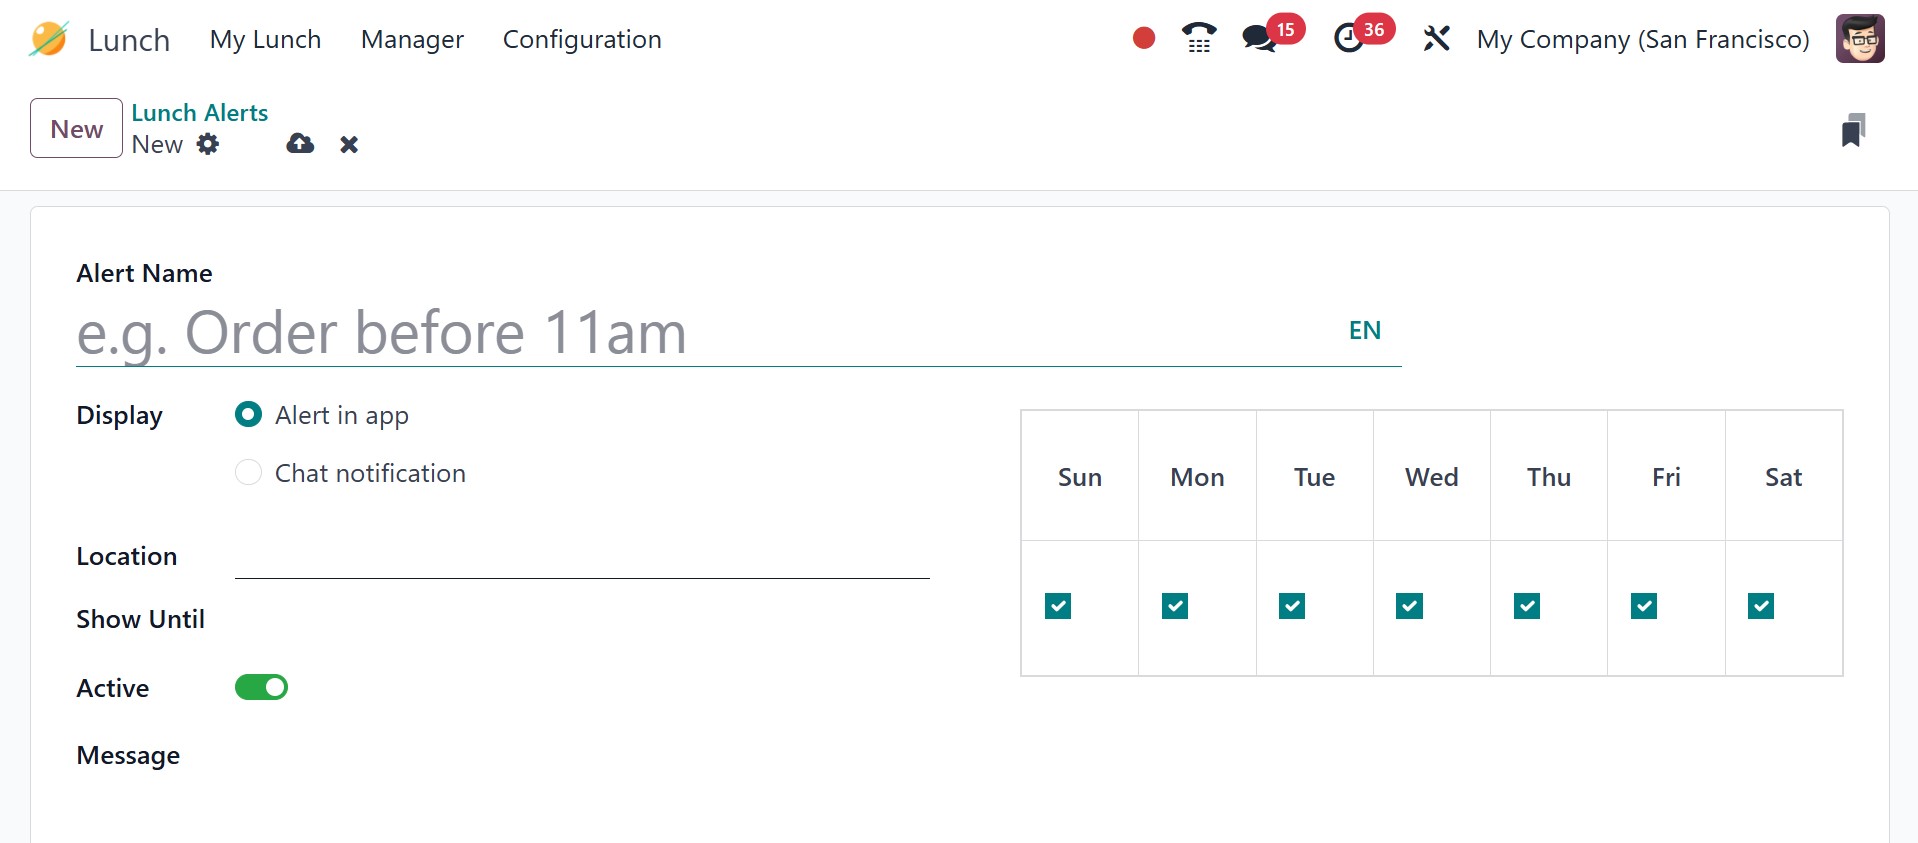
In the corresponding field, provide the Alert Name. The app has the
ability to show alerts and conversation notifications. Fill in the
appropriate areas with Location, Show Until, and Message. If the
Active option is selected, the alert will be triggered. You can
select the time zone and days from the field to create
notifications.
A company's internal food supply management can be made easier using
the Odoo18 Lunch module. Lunch will be served risk-free, and
employees will gain a great deal from the savings in productive time
and effort.