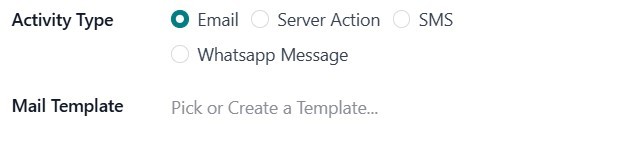
Configure mail template
If Email is selected as the Activity Type, the option to Pick a
Template in the Mail Template field is available.
To create a new template directly from the Mail Template field, start
typing the title of the new template, then select Create and Edit to
reveal a Create Marketing Template pop-up window. Proceed to create
and configure the new email template.
Clicking on 'Create and Edit' opens a pop-up window where you can
design or select a new email template for your activity.
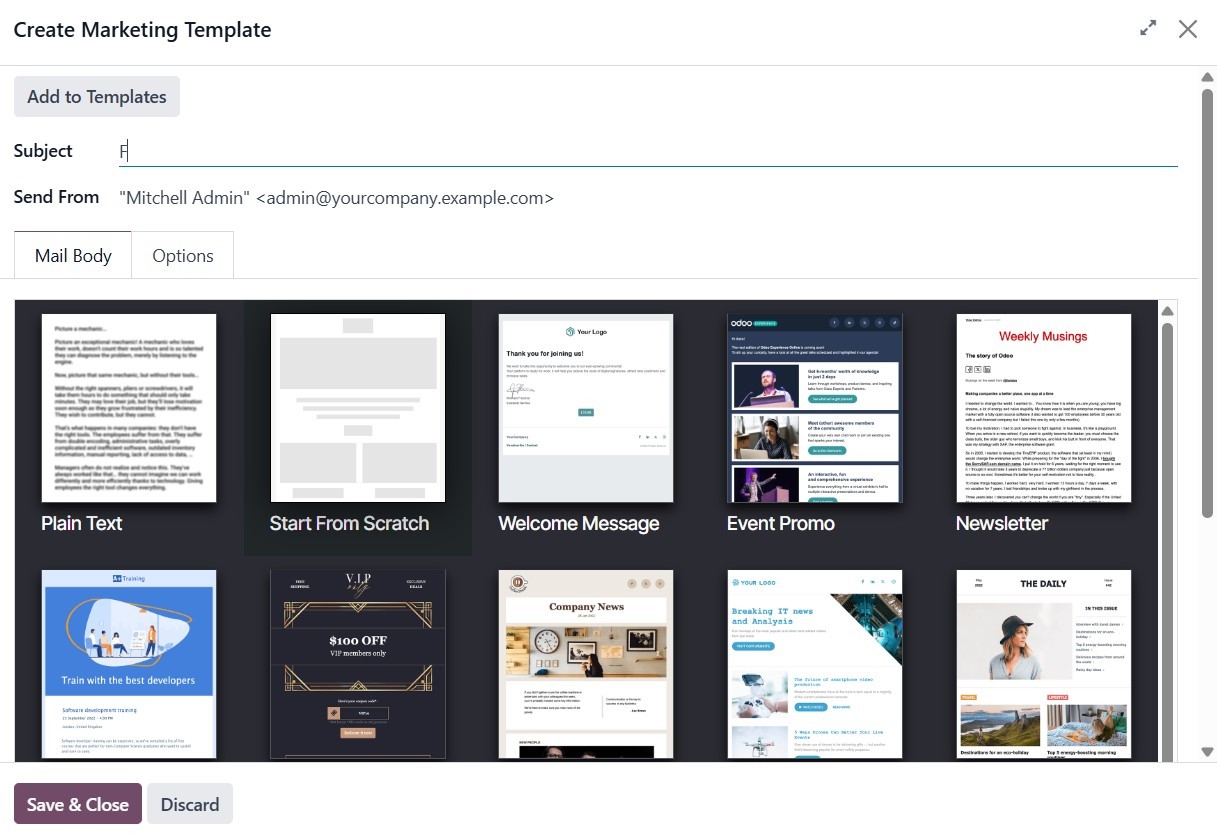
You will see a wide selection of building blocks on the left-hand
side of the screen. These blocks can be easily dragged and dropped
into the email body to structure your content.
In addition to the design tab, there is an Options tab that provides
advanced configuration options to enhance your email functionality
further.
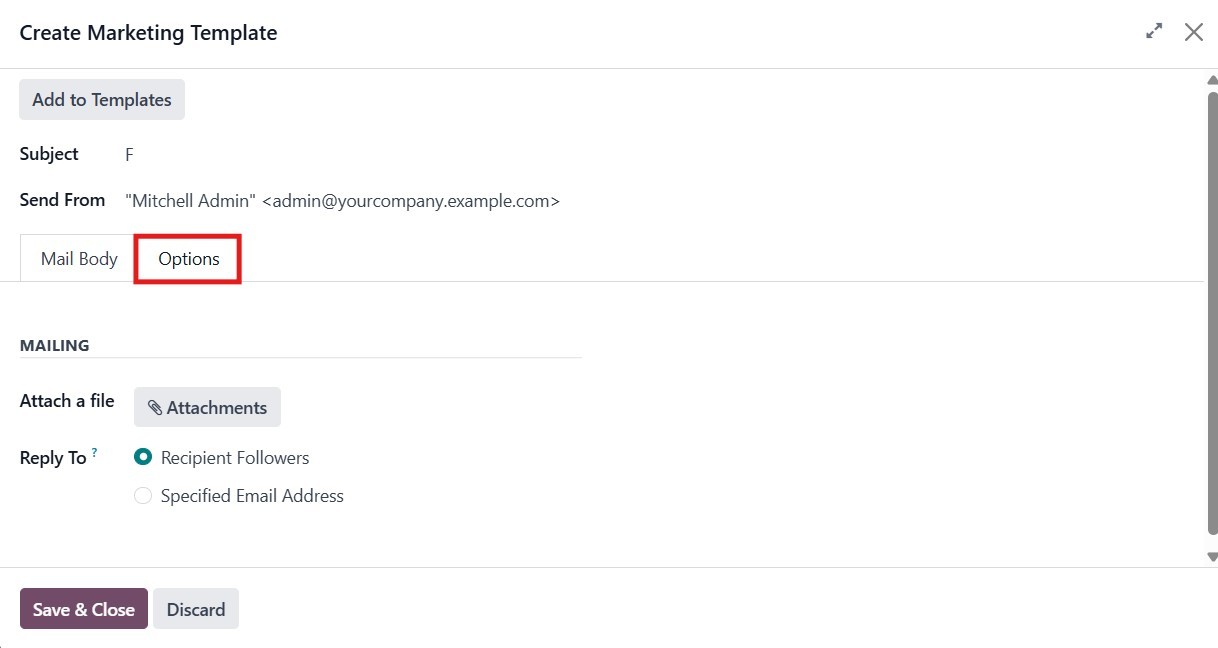
Once the email content is finalized, you can configure additional
options, such as attaching files, setting a Reply-To email address,
and adjusting other sending preferences. After completing the setup,
click Save & Close to finish creating and scheduling the email
activity.
You will then be prompted to either Save and New to add another
activity immediately or Save and Close to return to the main
campaign form.
Once you're back on the Campaigns screen, you’ll see a few more
fields that will help you organize and manage your campaign better.
Such as:
- Trigger: This lets you set when the activity should run, for
example, after a few hours, days, or weeks.
- Expiry Duration: This sets the time and date when the campaign
should end.
The domain section helps define which records the campaign should
apply to.
- Activity Filter: Helps narrow down which records are affected by
a specific activity.
- Applied Filter: This is the rule that determines which records
match your filter settings.
After filling in all the details, click Save to update your campaign.
If you want to add a follow-up step, click Add child activity at the
bottom of the activity box. A child activity is a task that happens
based on what the contact does, for example, whether they opened the
first email, didn’t open it, clicked a link, or didn’t click it.
You can choose what type of child activity to create (Email, SMS, or
Server Action), set its trigger, and then click Save to complete the
setup. The child activity will run depending on the condition you
selected. You can click Save once all the values have been added.