2. Rooms
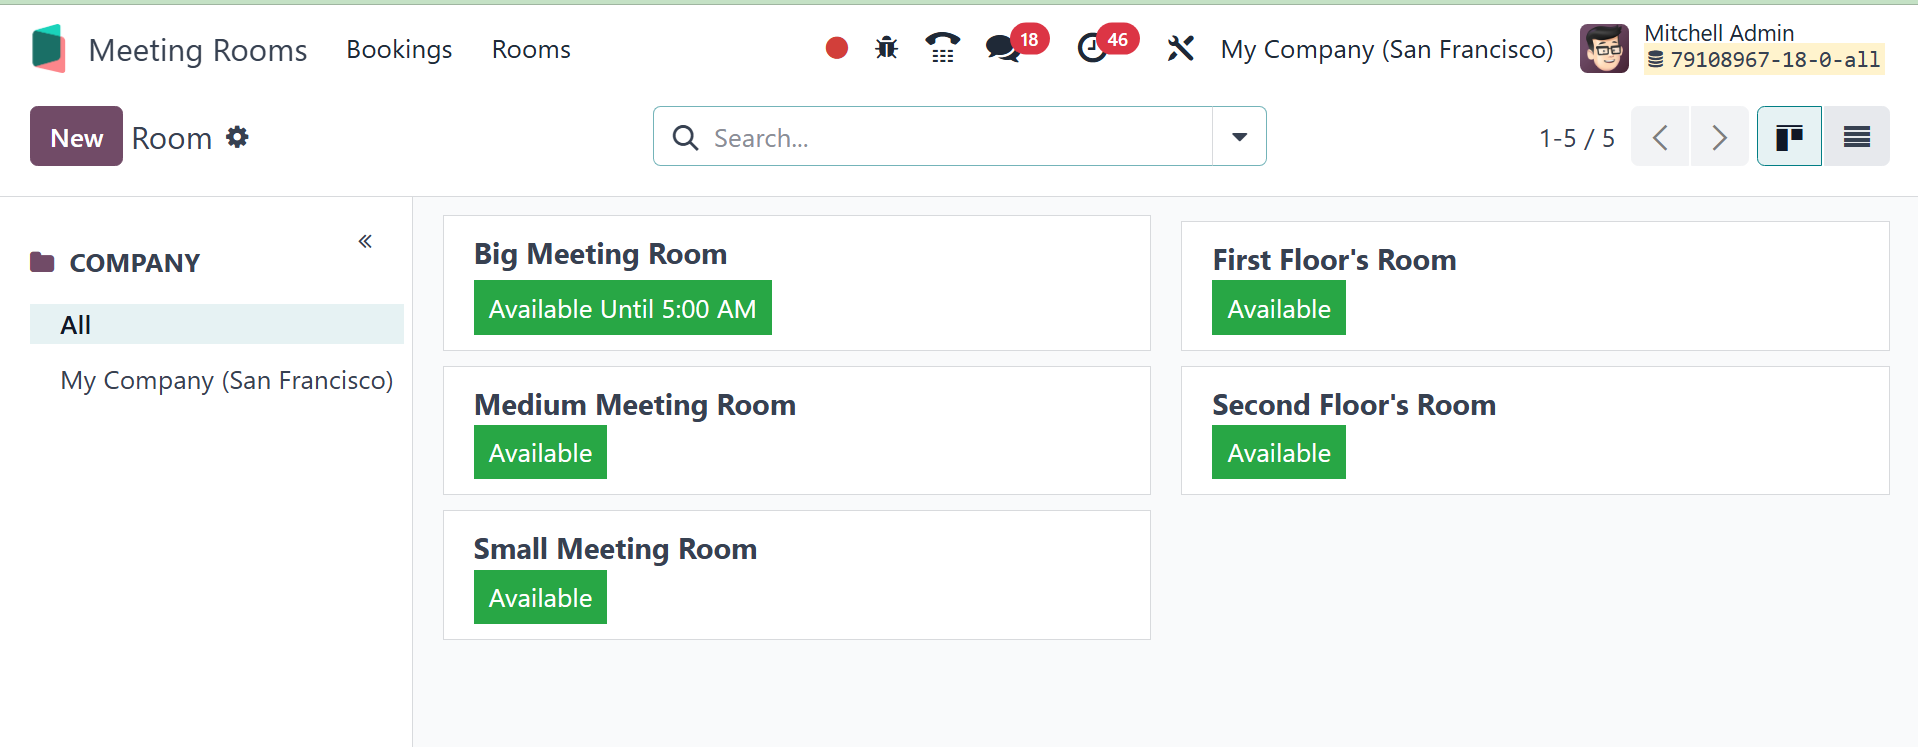
By choosing the rooms option, you may see the company's meeting
rooms. On the right side, the rooms are shown. The green tint of the
room signifies that it is available until the designated time. Red
will be used to represent a busy room. On the left, a few filters
are then shown. You can filter all rooms or rooms in a single firm
using the section on the left.
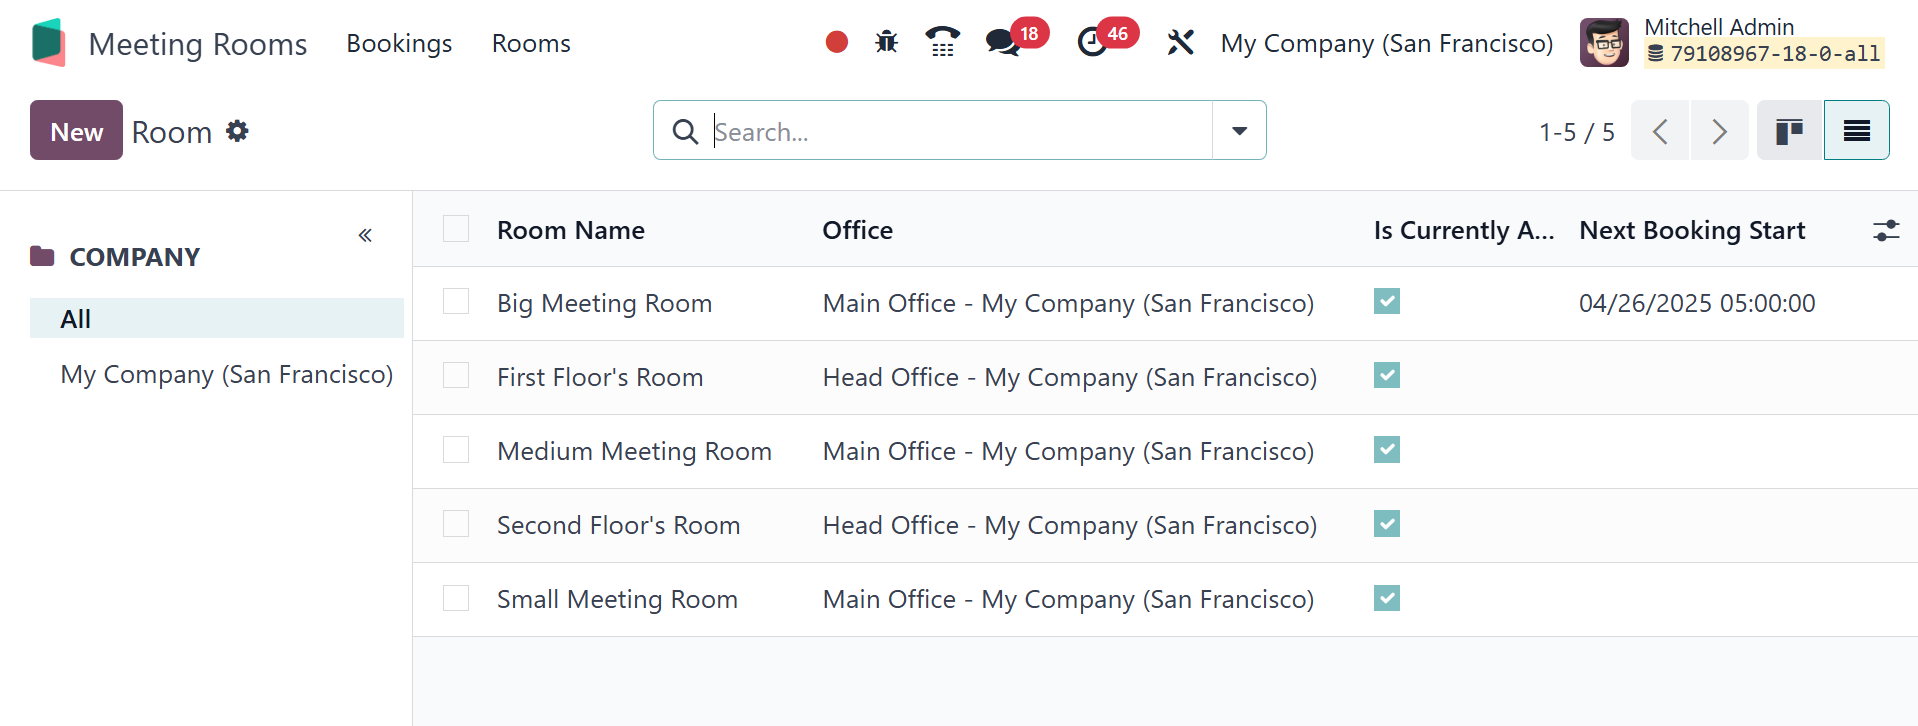
The page can be viewed in list view as well.
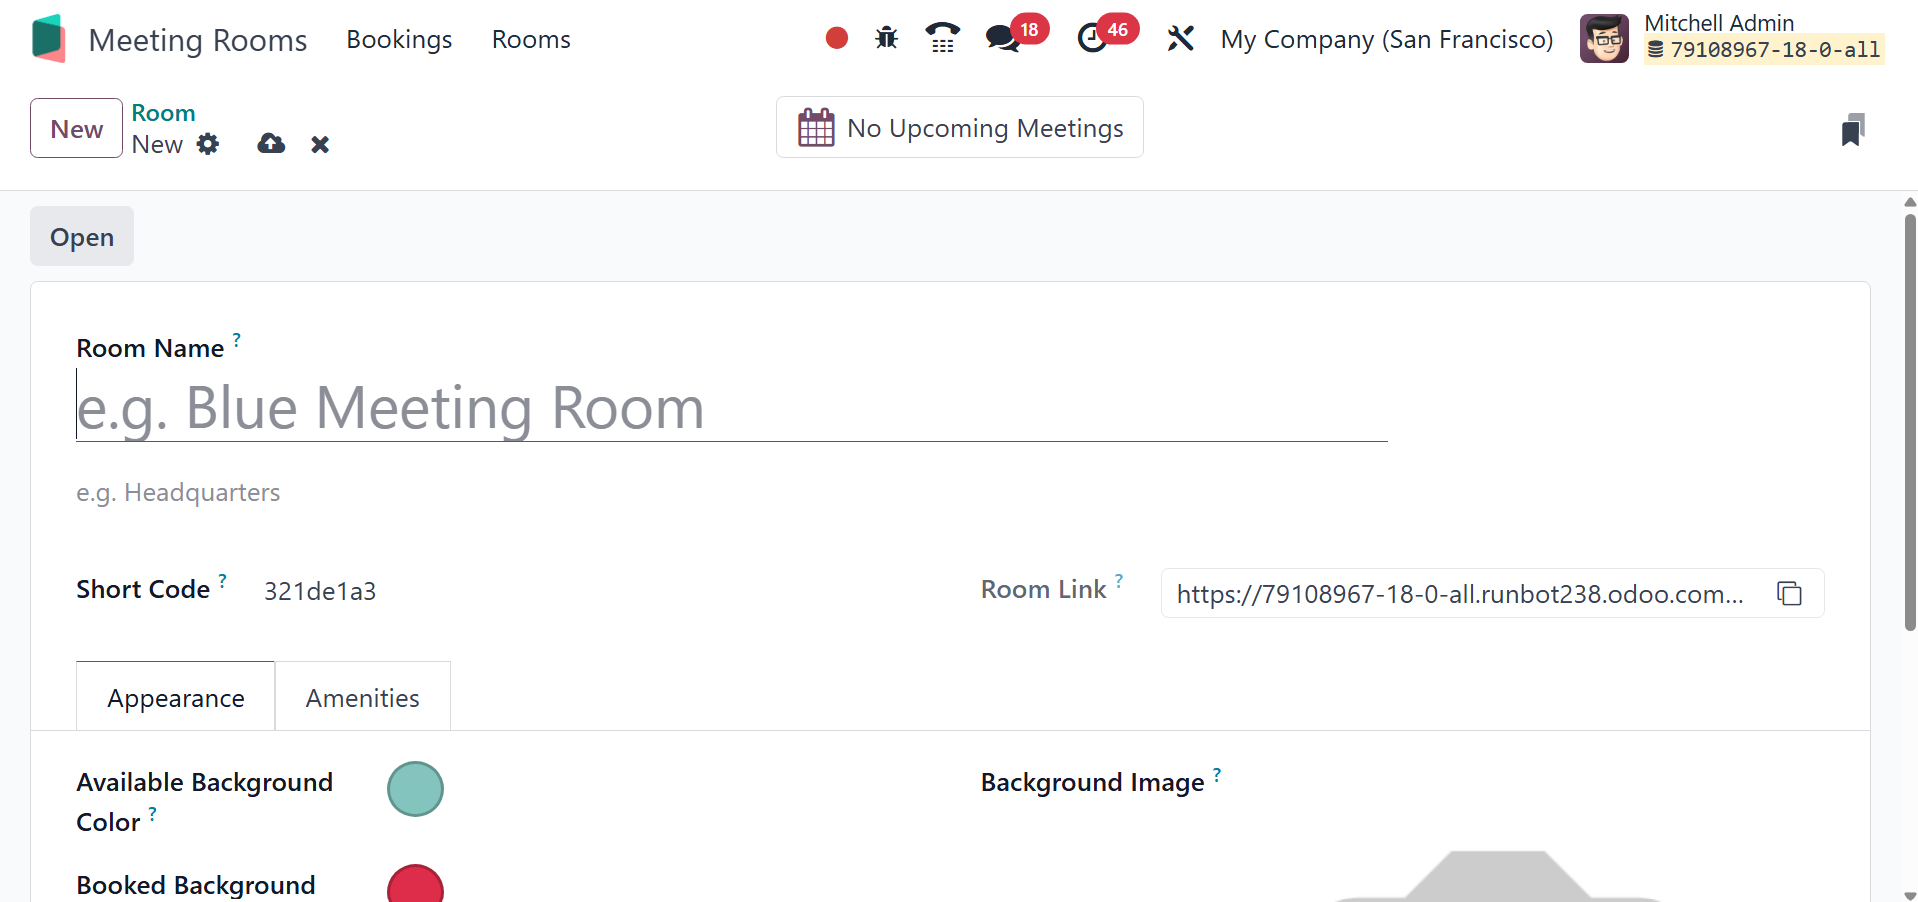
To add a new room, click the New icon. In the form view, type the
room's name and short code. The Available and Booked displays can
then have different backdrop colors specified using the Appearance
option. Next, upload the room's picture. The room booking form URL
then shows up there. On the Amenities page, you can add any comments
pertaining to the room. The newly generated slot should then be
saved.
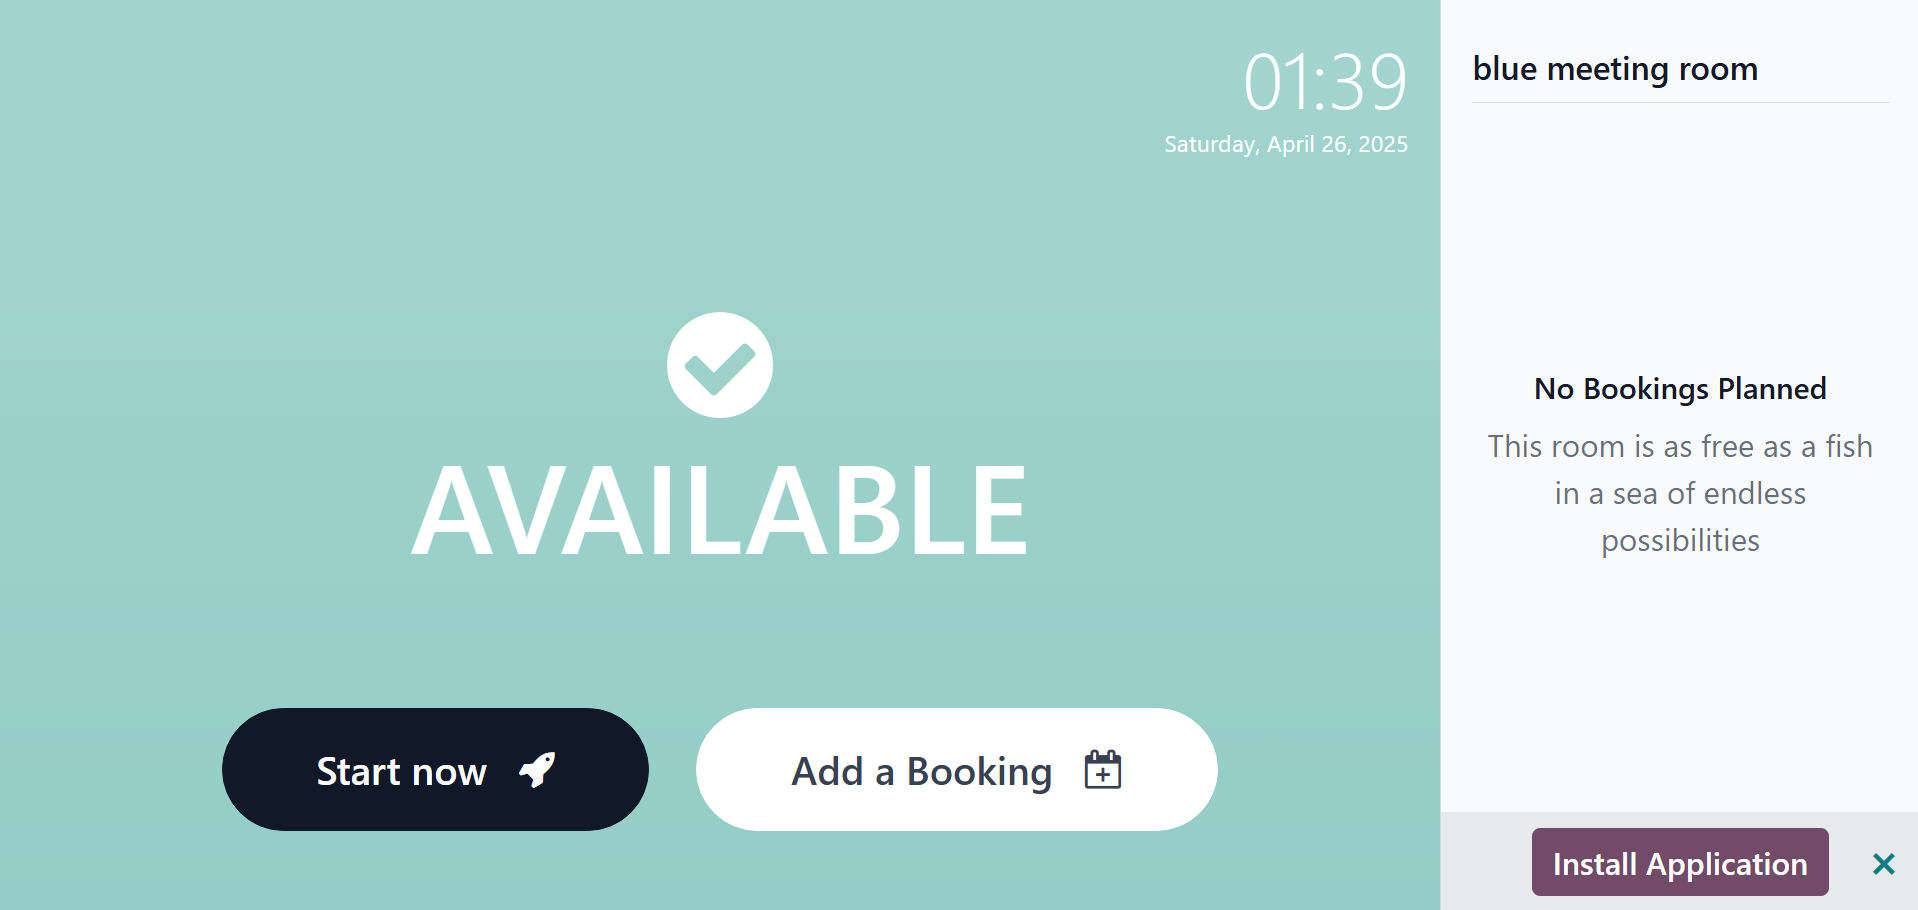
Then an Open button shows up. Using that, the user can add a meeting
within the space. You may view the booking in the Booking smart tab.
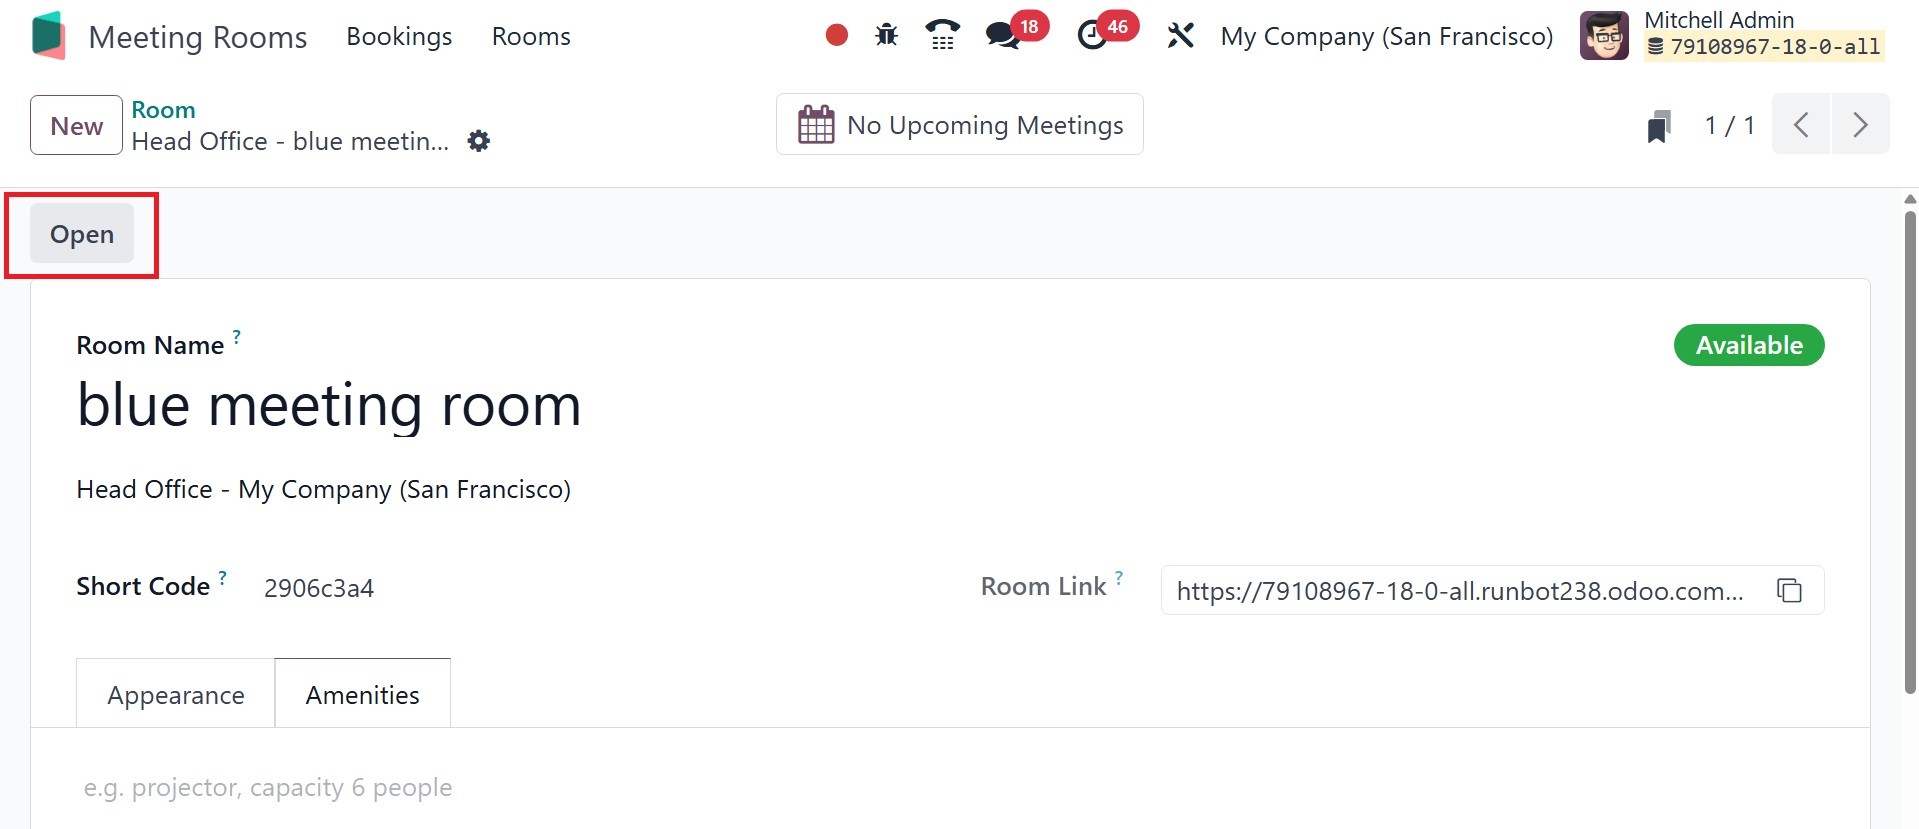
The image below illustrates the screen that appears when you click
the Open button. Since they selected blue from the list of available
backdrop colors, that is the background color. The "start now" and
“add a booking” buttons are present.
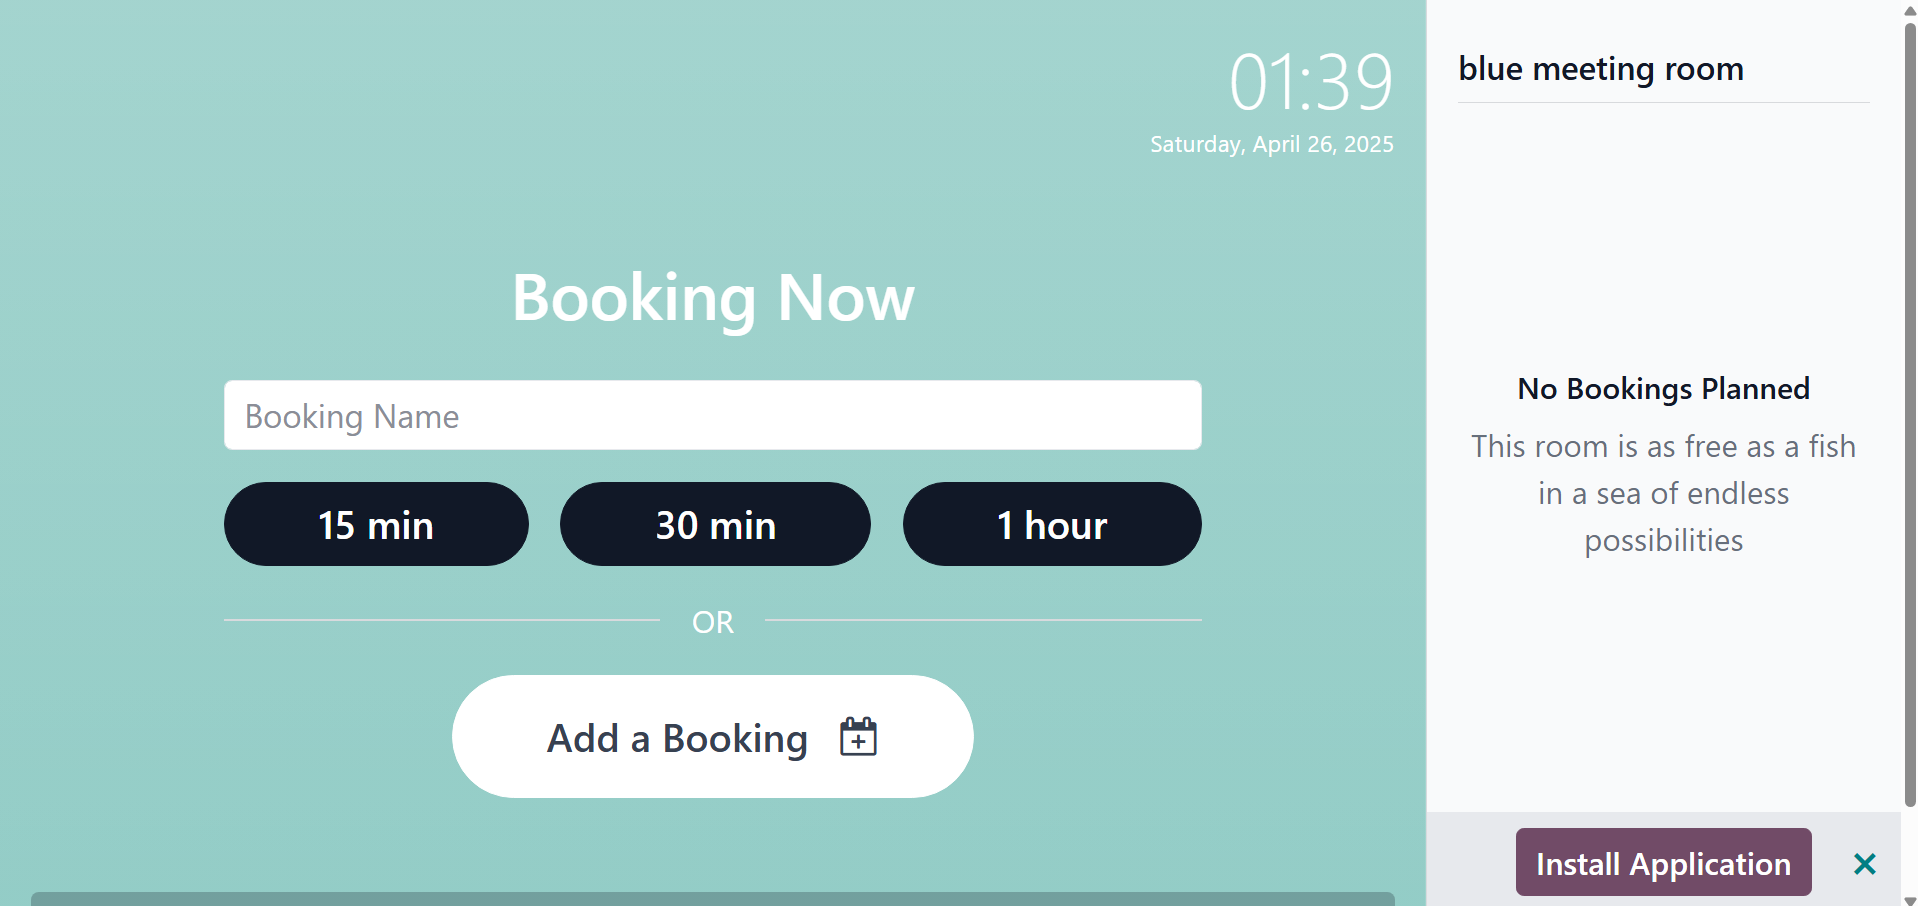
Another page opens after the reservation is made. Select the time and
add the name.
The meeting has been scheduled. Since the meeting requires thirty
minutes, a timer is in operation. Additionally, the time will be
displayed on the left side.
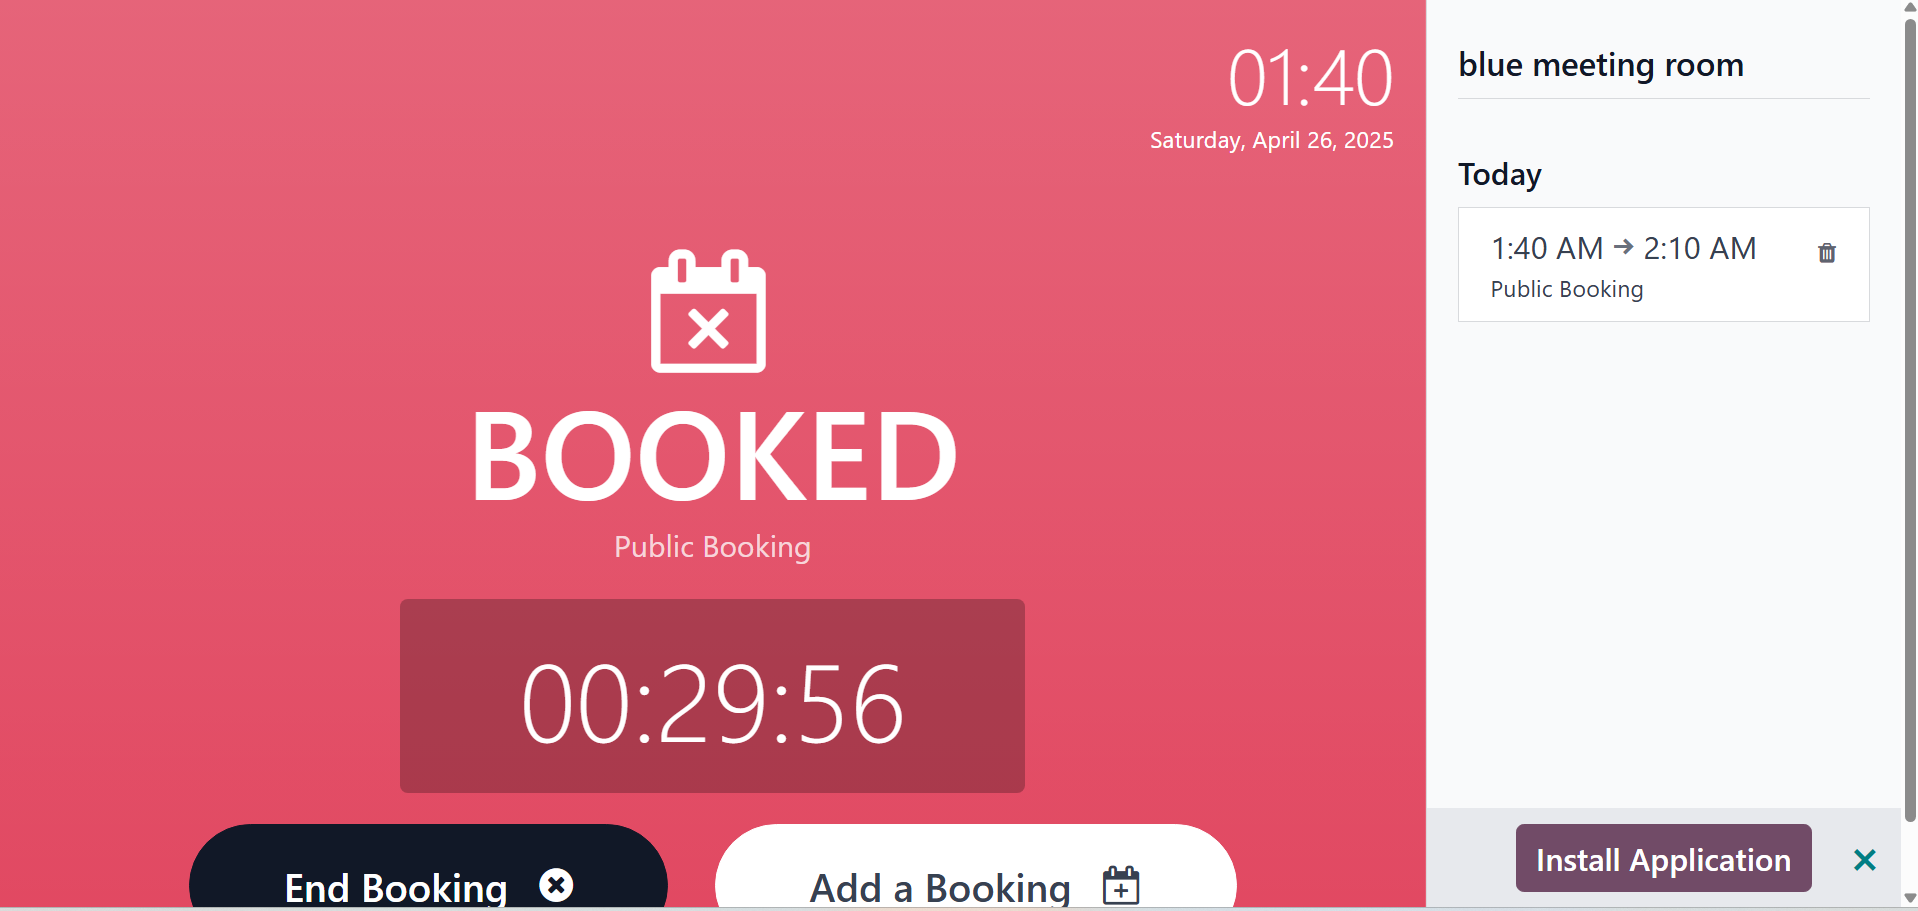
To end the booking, go for the end booking option.

There, you can make the confirmation. On selecting the Add a booking,
you will get the page, as in the image below.
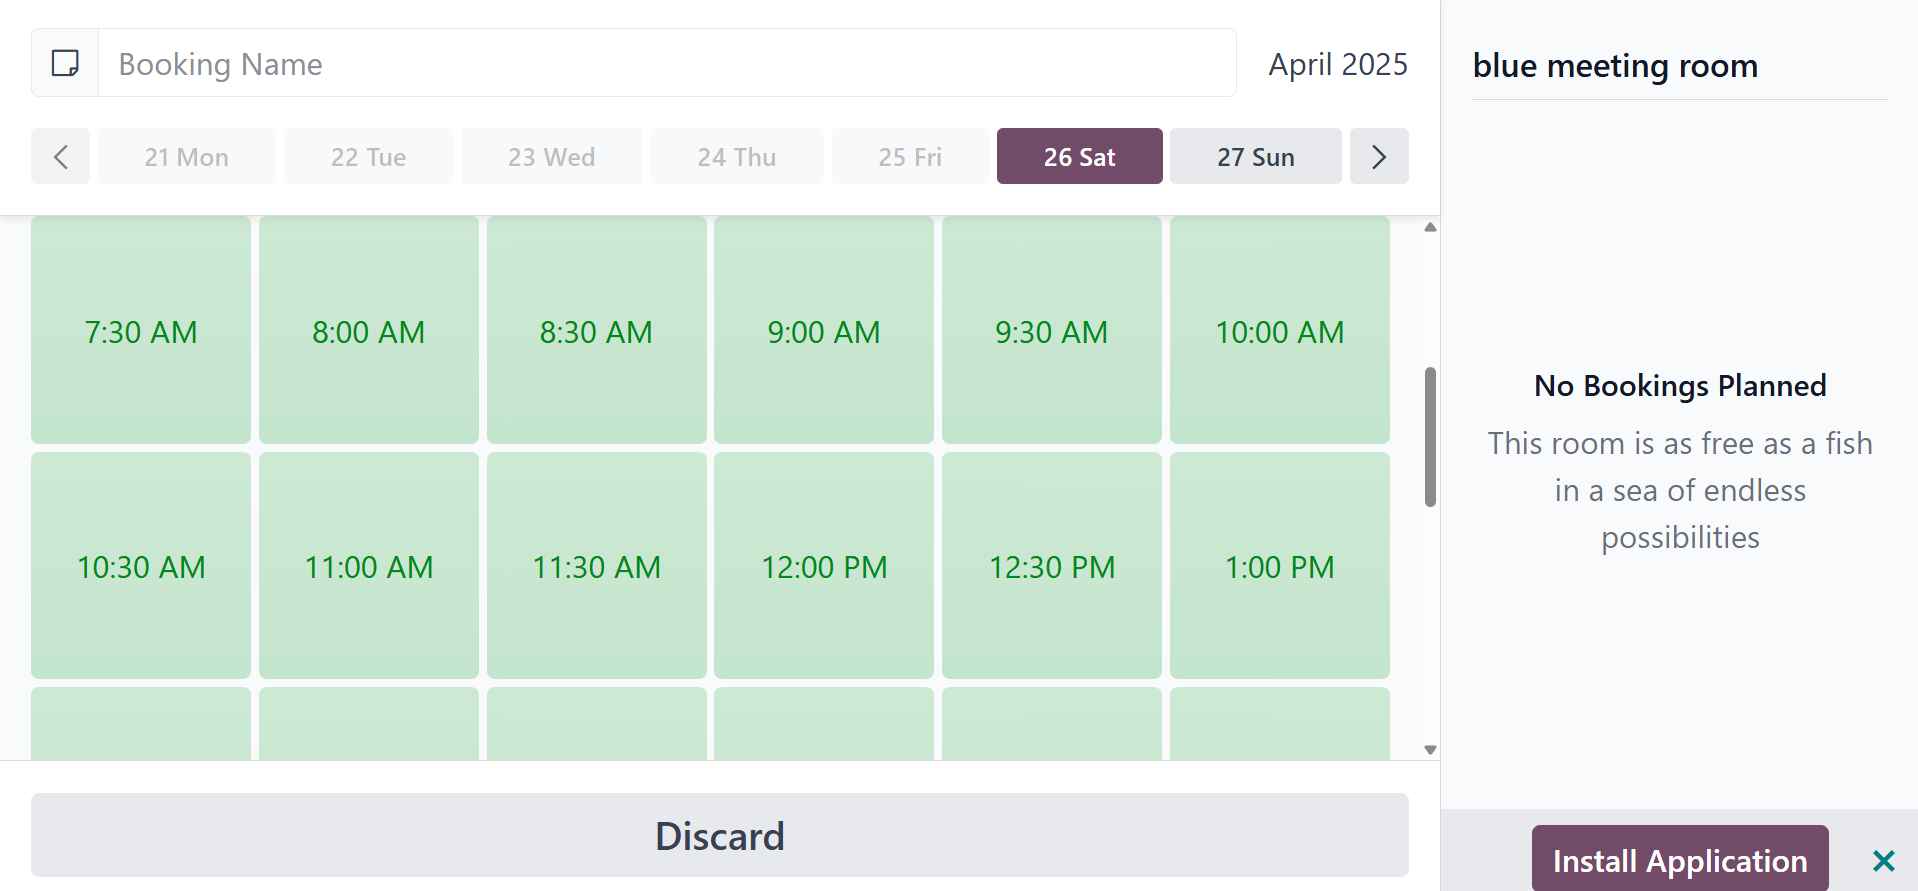
There, you can decide the date and time for the booking.
In conclusion, by maximizing resource use and making it easier to
schedule meeting spaces efficiently, Odoo 18's meeting room module
fosters a more organized and collaborative work environment. Through
its intuitive interface and integration options, the module makes it
easier to manage meeting spaces inside the Odoo 18 environment,
which boosts overall productivity.