3. Work Entries
Work entries are necessary for an organization to monitor and handle
real-time data from its work entry source. It acts as a log of the
workers' previously planned work schedule. Work Entries and Time Off
to Report are the options available under the Work Entries tab.
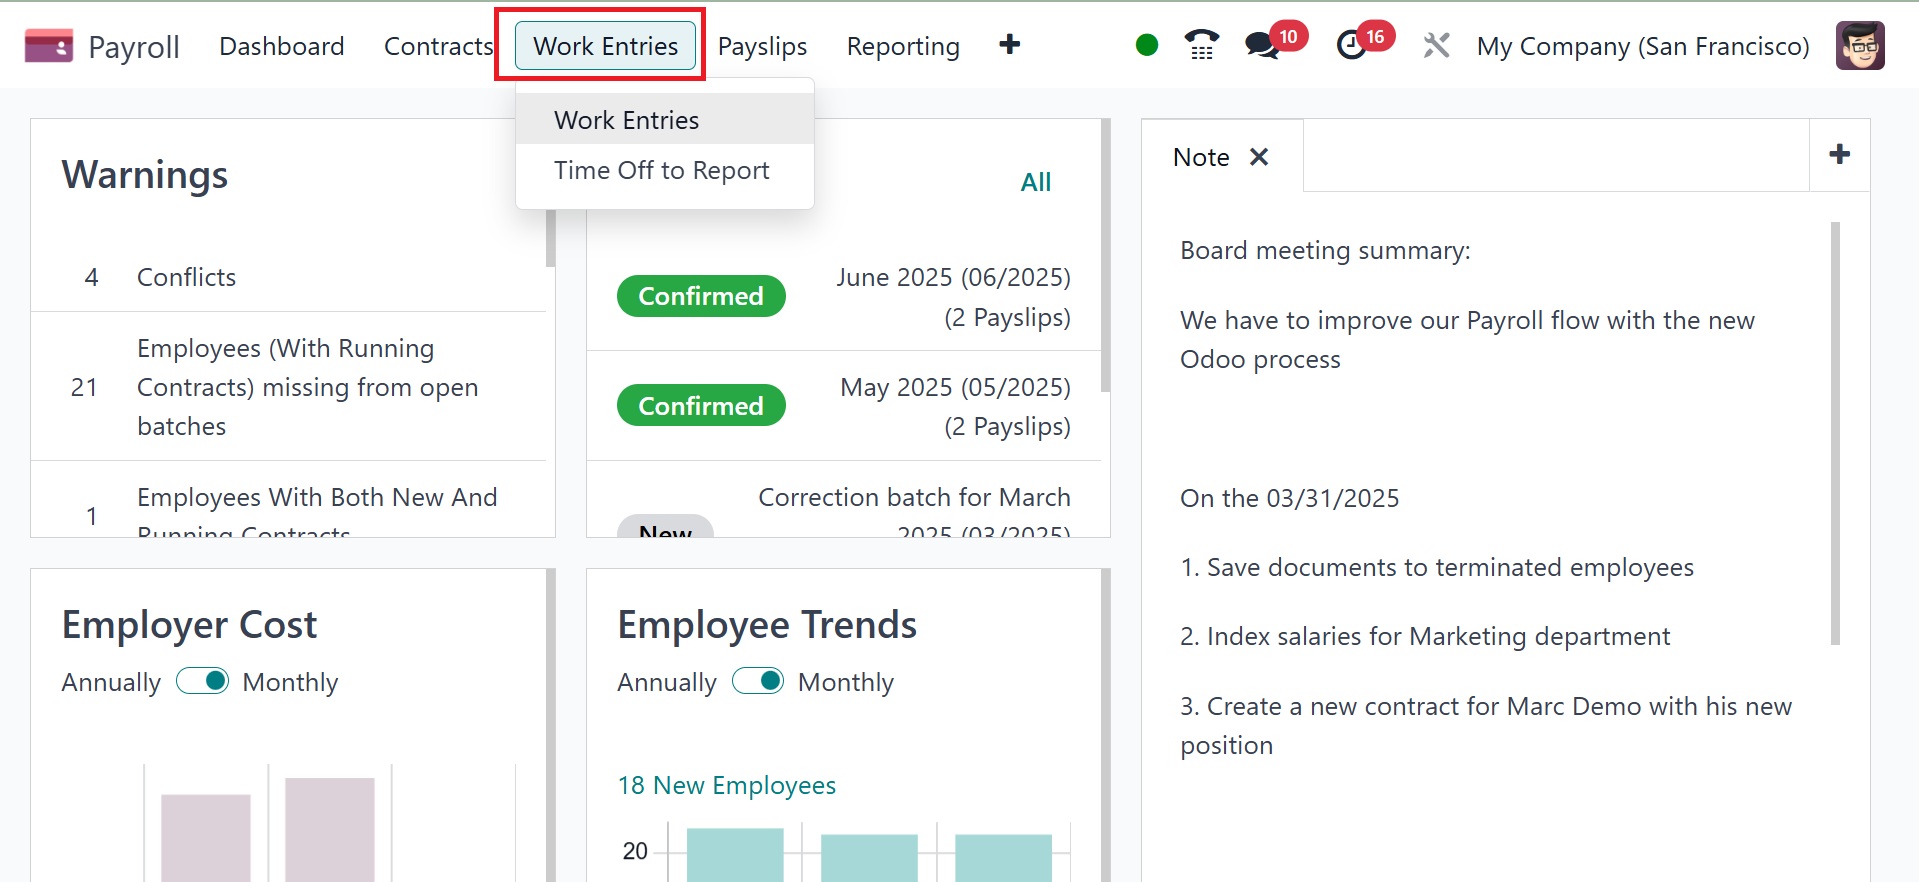
We can handle each employee's work entries, time off requests, and
conflicts under the Work Entries tab. Now let's define each menu in
the Work Entries tab of Odoo 18 Payroll.
3.1 Work Entries
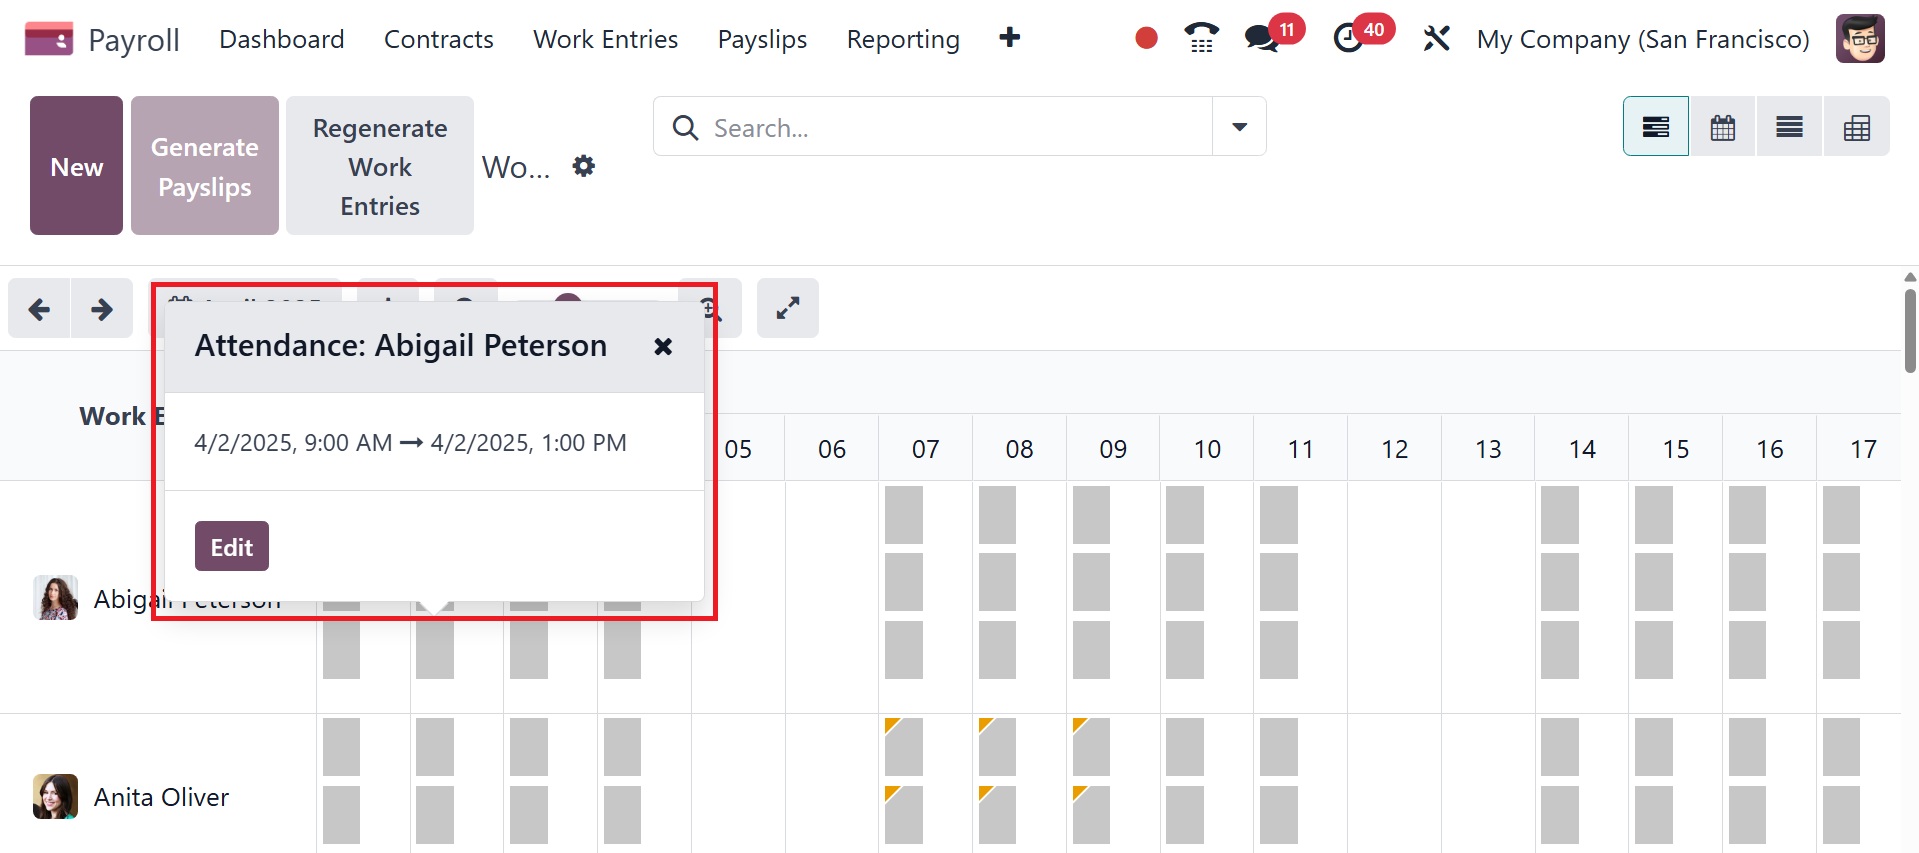
Each employee's work entry can be quickly managed after choosing the
Work Entries option from the Work Entries menu. By default, Odoo 18
categorizes all conflicts into work items. The Work Entry pane
displays the employee's name along with any work entries that are in
conflict. Conflicting work entries in the Odoo 18 Payroll module can
arise from overlapping or inconsistent records of an employee's
working hours, leaves, or other time-related entries. Odoo 18
provides robust tools for identifying and resolving these conflicts.
The Gantt view's Work Entry window displays invalidated and
undefinable work entries.
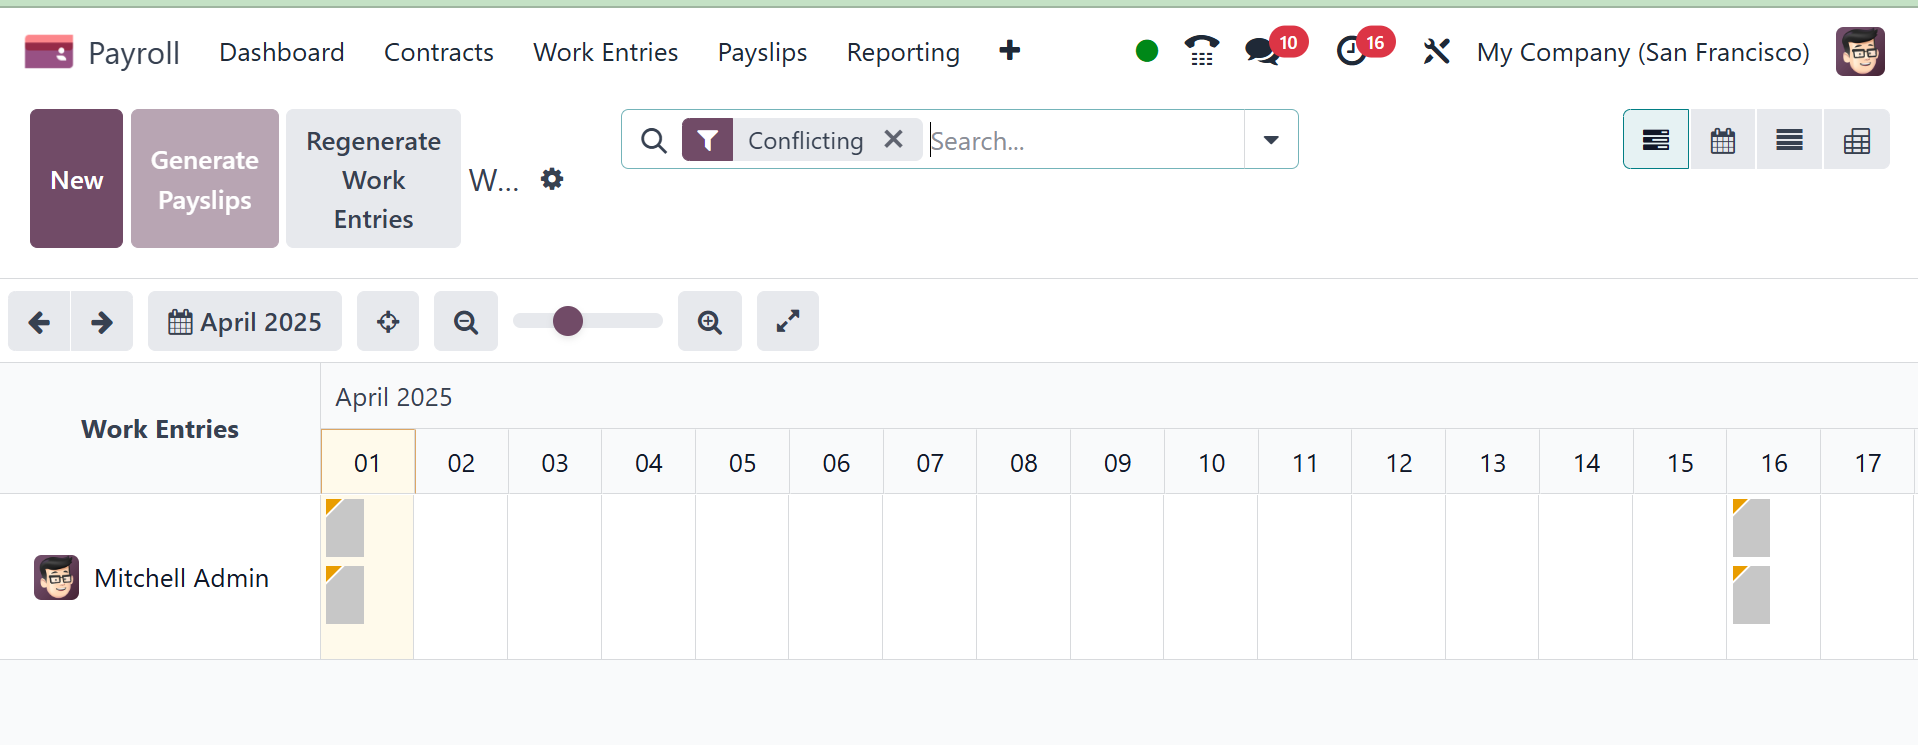
A summary of each employee's work entries for a given month is
displayed in the Gantt view. It is possible to sort the employee
work input by DAY, MONTH, and WEEK. The color blue is used to
represent the employee's overtime. Additionally, grayscale is used
to depict the normal entries.
In the List view, we can see the individual work entry for each
employee along with details like Name, Type of Work Entry, Duration,
State, Start, Finish, and so on.

A new employee work entry could be created by clicking the New
button. But usually, the work entry will be automatically updated
based on the work entry source defined in the employee contract.
Select your employee from the open screen after applying the work
entry type name. Later on, you can select the Work Entry Type from
choices like Extra Hours, Attendance, and Sick Time Off. It is
possible to specify the From and To dates of an employee's work
entry. A conflict will appear if the employee has two work entries
on the same day, like attendance and time off.
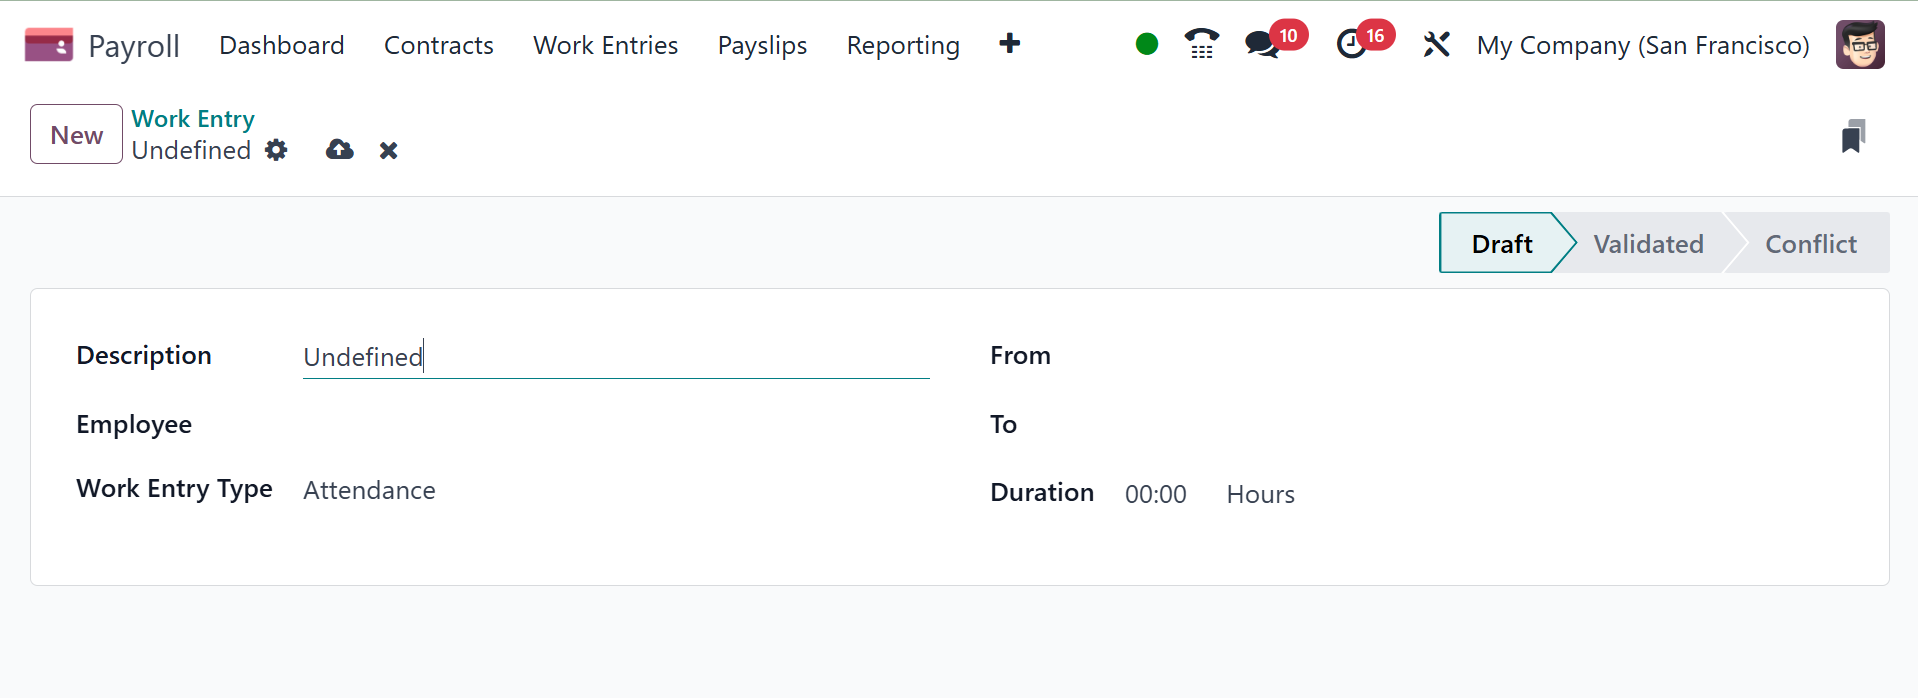
After all the data has been entered, each piece of information is
easily saved in the Work Entry box.
3.2 Time Off to Report
By choosing the Time Off to Report option from the Work Entries tab,
a user can view the time off details for each employee, those are
deferred. The Start Date, Duration, Payslip State, Time Off Type,
End Date, and other details of each employee's leave can be viewed
in the List view of the Time Off window. On the left side of the
window, the DEPARTMENT and STATUS sections are also displayed
separately. You can sort the time off by authorized or disapproved
and observe the corresponding updates on the Time Off window.
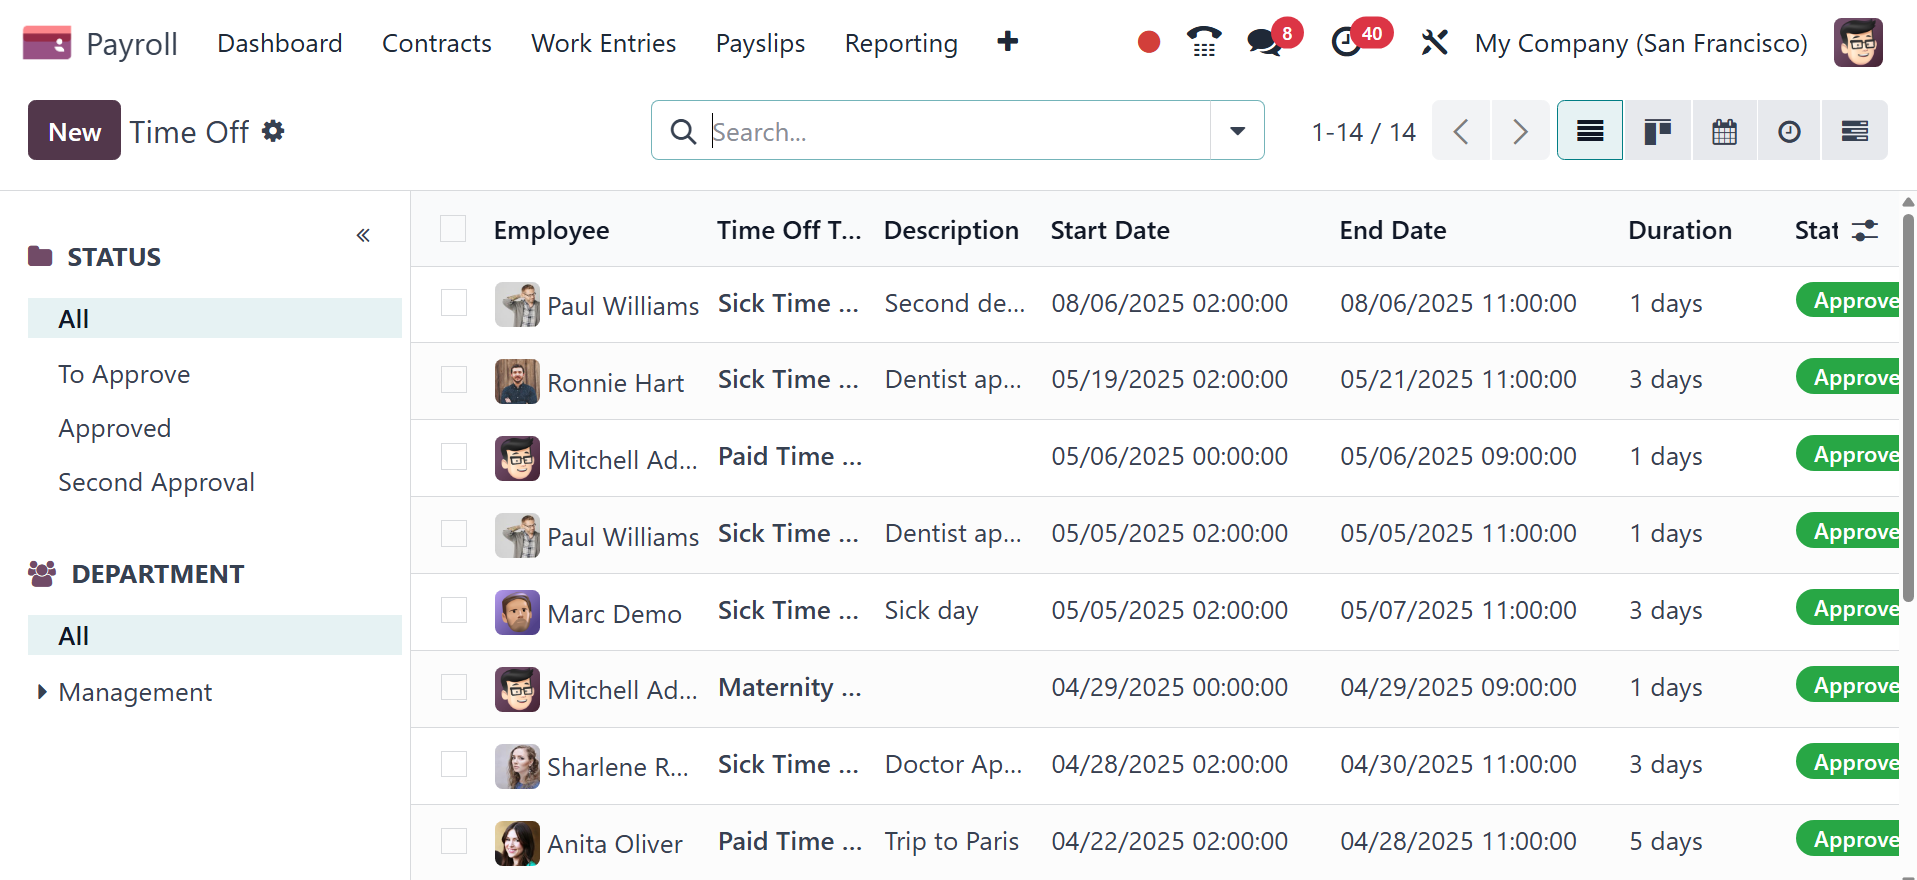
Users can access the Time Off window in a number of formats, such as
Calendar, List, Gantt, Activity, and Kanban. To generate a new time
off report for an employee, select the New button on the Time Off
screen. To create a new time off, go to the NEW option, and the
creation page will be, as in the image below.

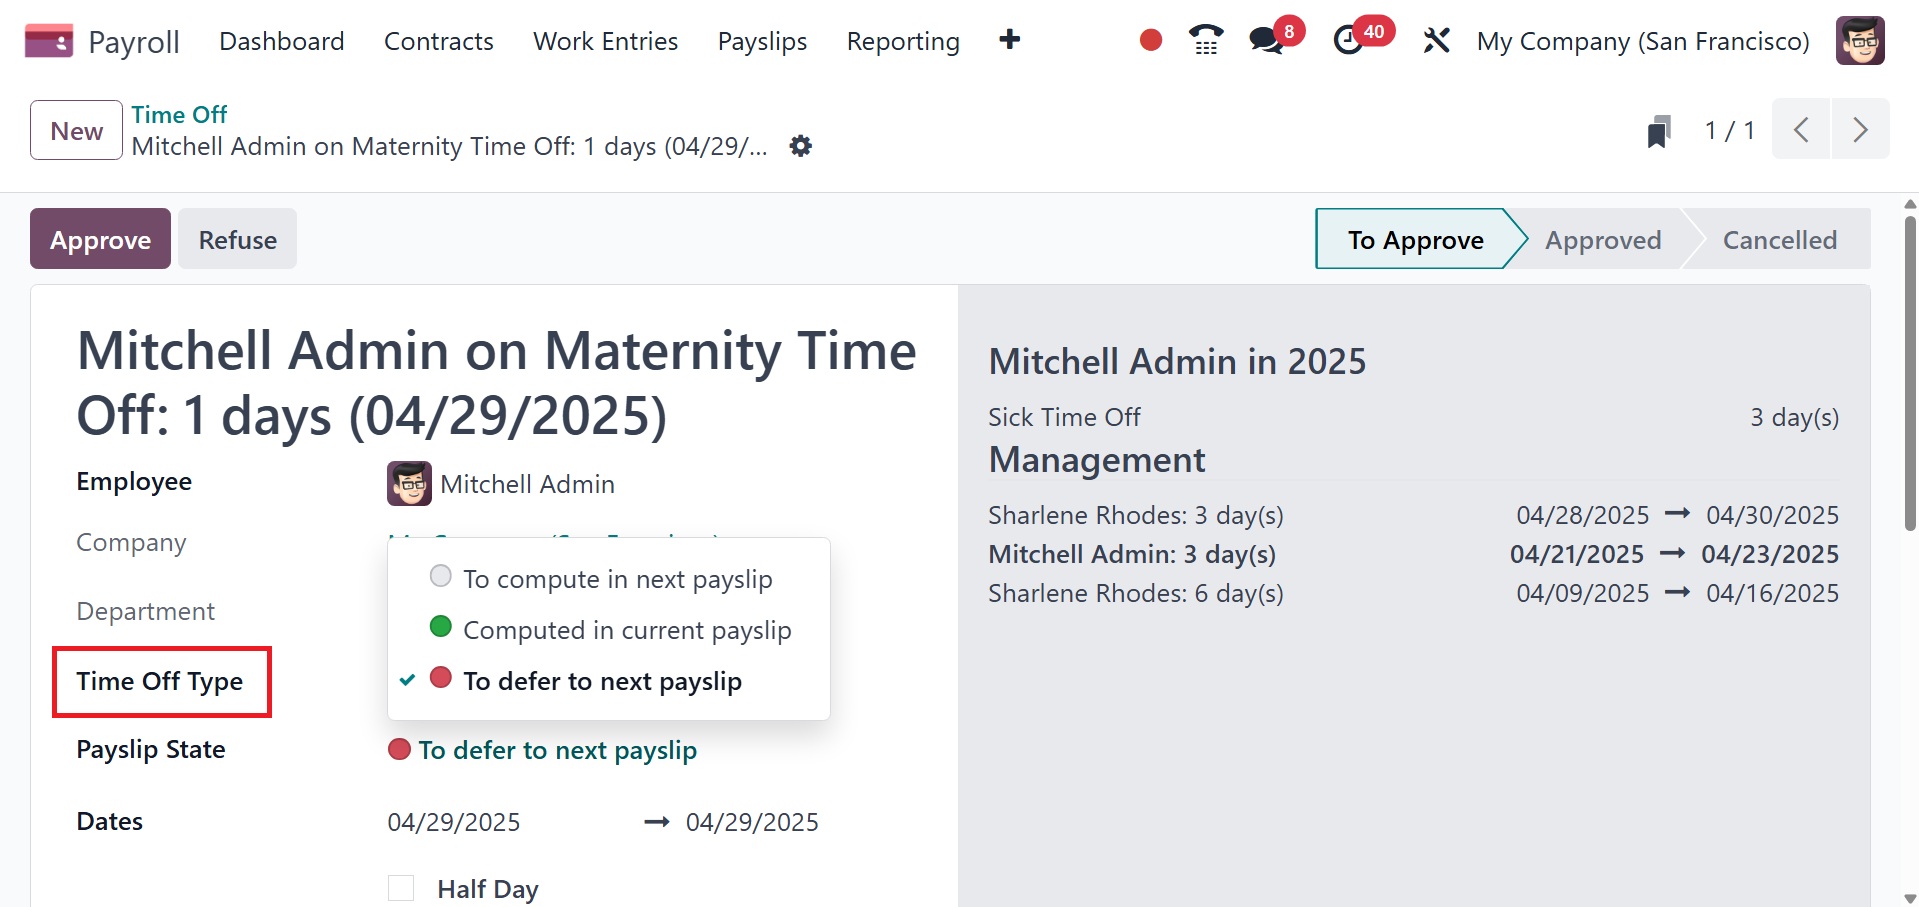
There, you can add the employee, company, department, time off type,
payslip state, dates, and description as well. The payslip state
option within the "Time Off to Report" section indicates the current
status of a time off request in relation to its impact on the
employee's payslip. It helps track whether the time off has been
considered and included in the payroll calculations. The payslip
state can be set to defer to the next payslip also. The "defer to
next payslip" refers to a functionality where time off entries are
not processed within the current pay period's payslips. Instead,
they are rolled over to the next pay period's payslip for
calculation and payment.