8. Mobile
Self-order & Kiosk
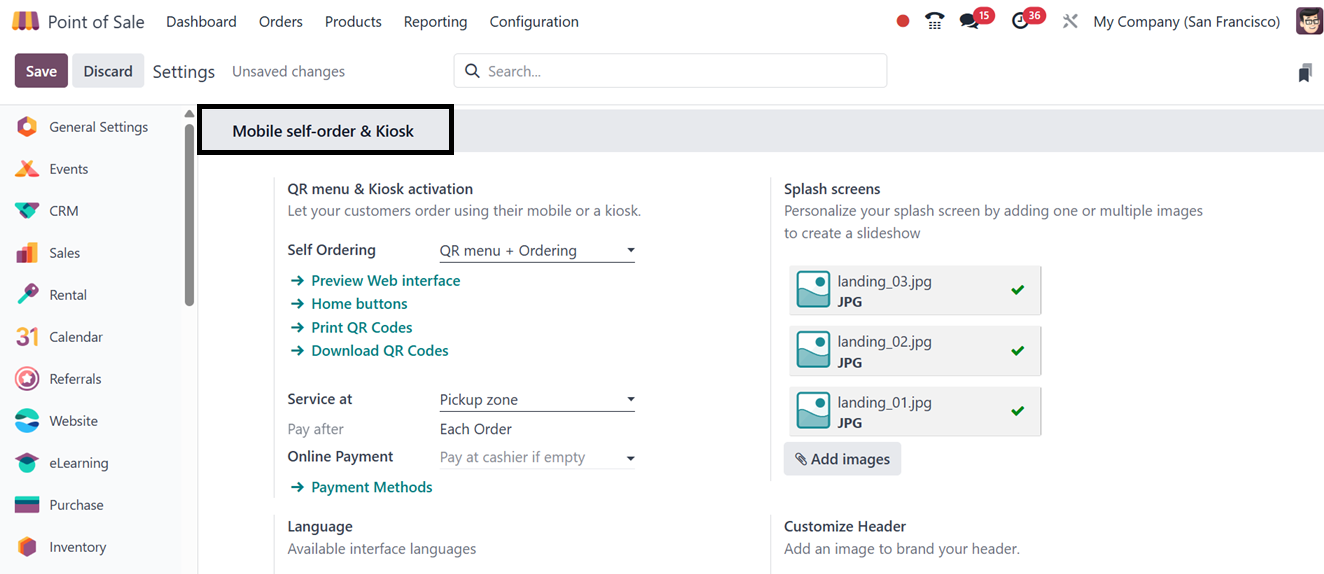
Odoo 18 introduces Mobile
Self-order & Kiosk
functionality, allowing
customers to place orders via
kiosks or mobile devices. You
can configure Self-ordering
as a QR Menu, Kiosk, or QR
Menu + Ordering. So choose
the ‘Kiosk’ from the ‘Point
of Sales’ field in the
settings window.

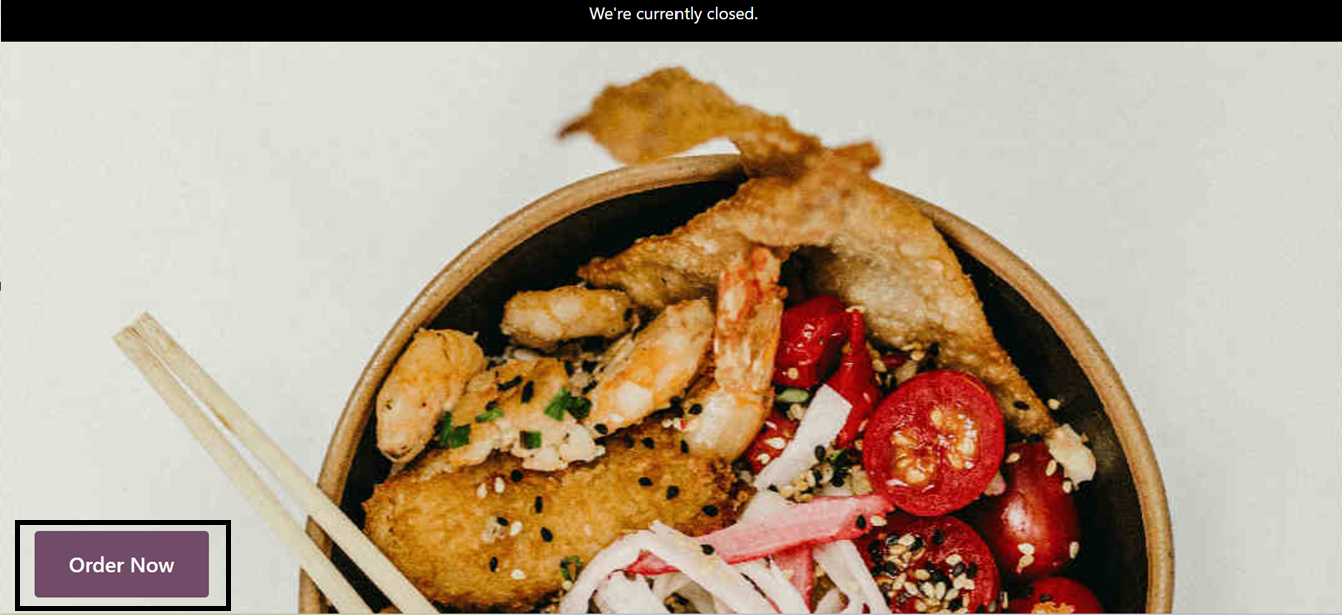
To check how the Kiosk interface
displays, click on the
‘Preview Web Interface’ link.
This will open the interface
as shown below.
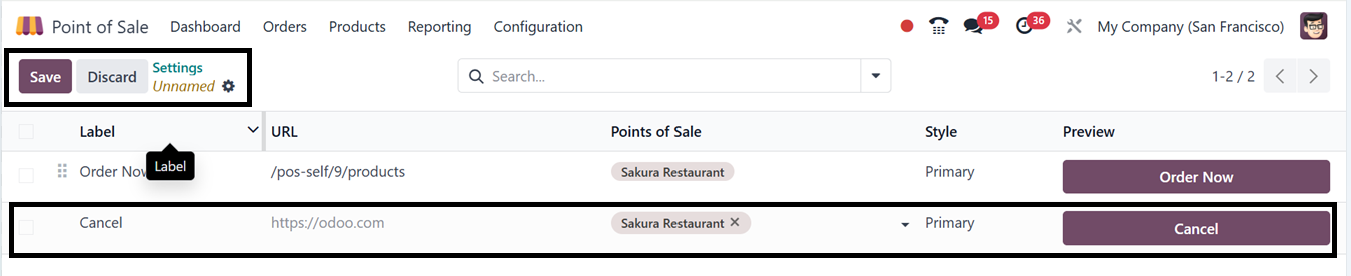
The ‘Home Buttons’ link can be
used to create and manage the
home buttons that appear on
the Kiosk display window. You
can see the dashboard of all
the available buttons with
the facility for creating new
ones.

After opening a new home button
creation window using the
‘New’ button, edit the Label
Name, URL, Point Os Sale
Session, Style and button
Preview as illustrated in the
screenshot below.
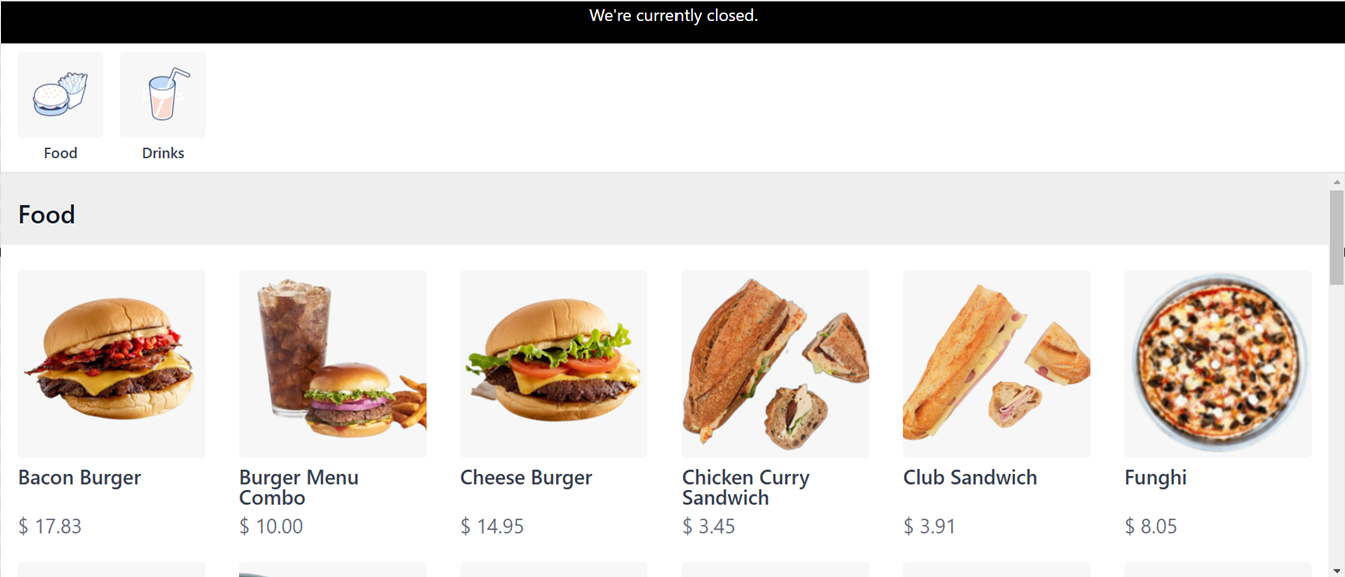
The new button will be added to
the kiosk home page and you
can utilize this to check the
products catalog.

After clicking on the new ‘Menu’
home button, you will direct
to the products menu as shown
below.
Odoo also provides other two self
ordering options rather than
the Kiosk self ordering
system. You can choose these
options from the ‘Self
Ordering’ field of the
‘Mobile self order & kiosk’
tab from the Settings window.
Then, you can customize
settings like Print QR Codes,
Download QR Codes, Payment
Methods, and Available and
Default Languages.
9.1 QR Menu
Businesses like cafés and
restaurants that want to
minimize manual involvement
would benefit from Odoo’s ‘QR
Menu’ functionality, which
streamlines the customer
experience by enabling
customers to peruse menus and
make orders directly on their
mobile devices.
After selecting the’QR Menu’
option for the self ordering
system, Odoo will display'
Print QR Codes,’ and
‘Download QR Codes,’ links
that can be used to configure
QR Codes for self ordering
Kiosk interface.

Depending on how many tables and
floors your restaurant has,
the "Download QR Codes"
button will instantly
download the necessary number
of QR Codes. To print the QR
codes, click on the ‘Print QR
Codes’ link and in the
displayed window, Odoo will
download the QR Codes
according to the table count
of your restaurant session
into your system as shown
below.
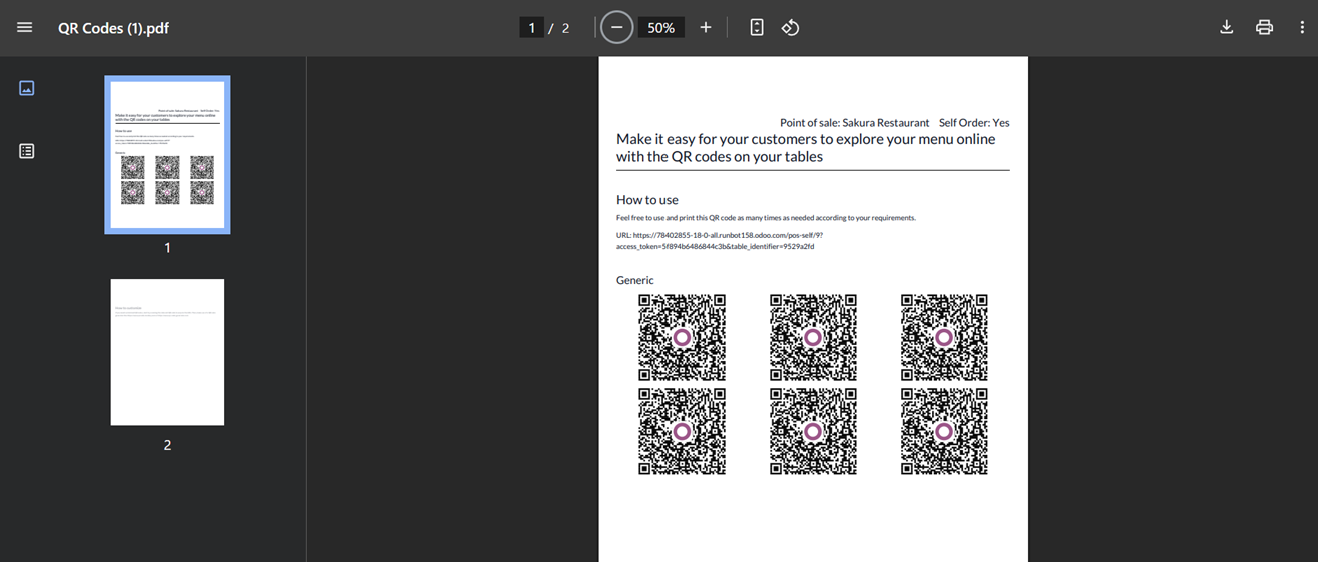
Then, these QR codes may be
placed effectively across a
restaurant so that visitors
can use their smartphones to
scan them. This takes
visitors to an online menu
where they may peruse,
personalize their meals, and
place orders right from their
phones. This not only
expedites the ordering
process but also lessens the
effort for the personnel,
freeing them up to
concentrate on other areas of
service.
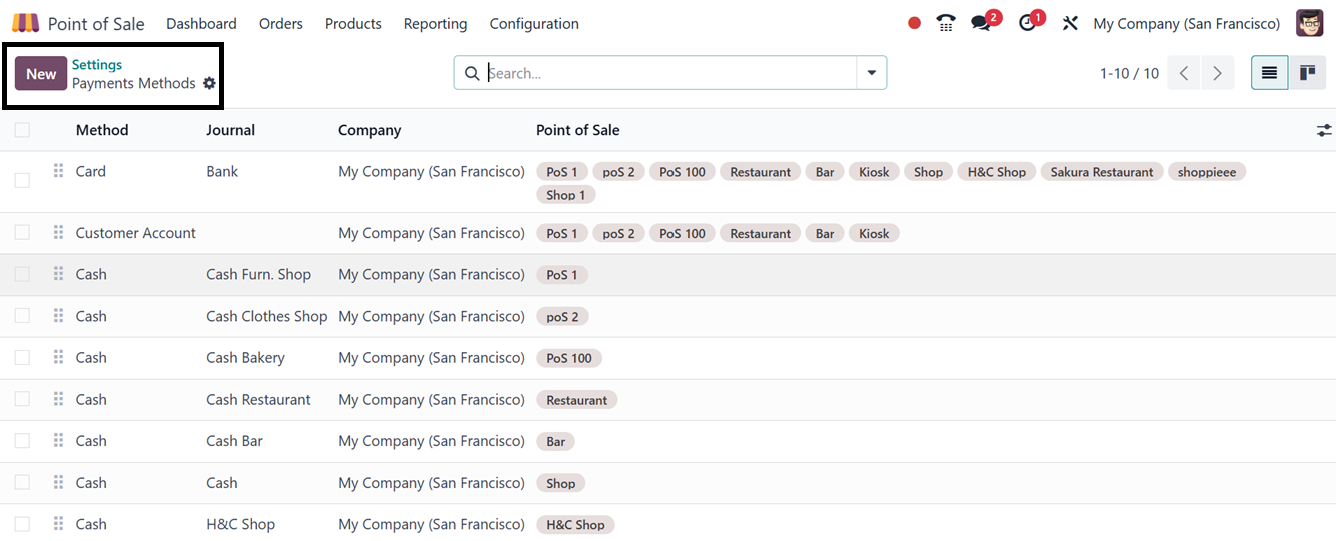
To manage and create the payment
methods for the Kiosk
shopping session, click on
the ‘Payment Methods’ link
and choose or create payment
methods from the dashboard
window.
To create a new payment method,
click on the ’New’ button and
edit the payment method name
in the ‘Method’ field. Then,
activate the ‘Online
Payment,’ and ’Identify
Customer’ fields according to
the payment mode.
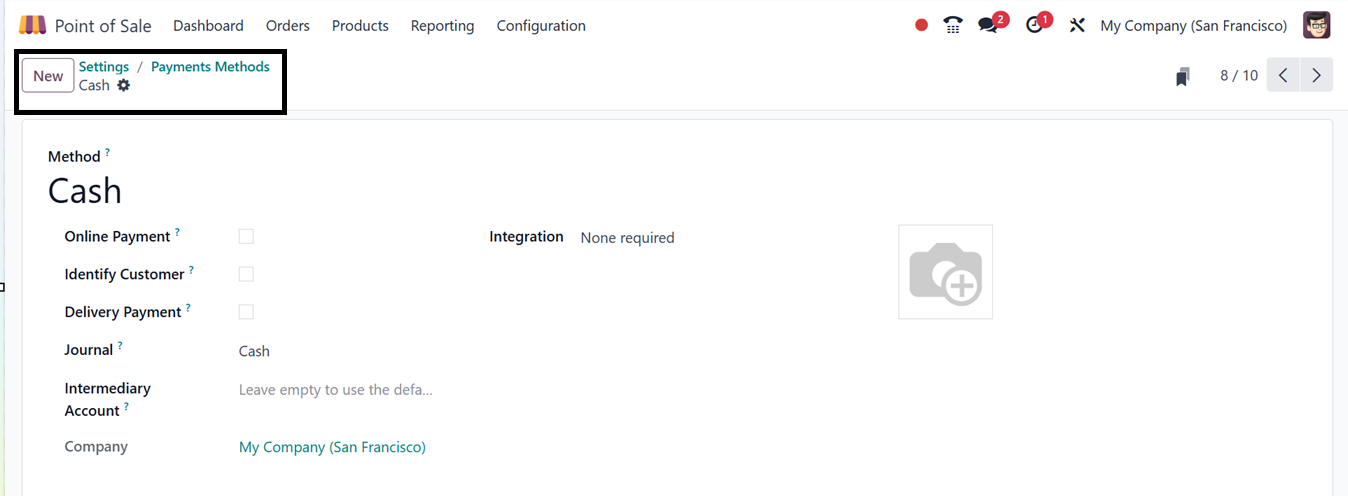
You may also specify the Journal,
Intermediary Account, and
Integration options for a
more detailed payment method
configuration. The
comprehensive process for
creating a new payment method
is outlined in the Point of
Sale Settings section of this
book.
9.2 Splash Screens
In Odoo's POS module, Splash
Screens are pop-up
notifications that provide
order summaries, promotions,
payment alerts, or customer
instructions, improving
efficiency and communication.
You can add attractive and
customized splash screen
images to the kiosk window by
pressing the ‘Add images’
link provided under the
Splash Screen Images field.
The ‘Add images’ button will
open your device storage. You
can choose the required image
and add them as a kiosk
splash screen.

Deleting and managing the
previous images can also be
done by simply deleting the
images and replacing another
using the ‘Add images’
button. Then you can add a
brand image for the Kiosk
shop using the ‘Upload your
file’ link provided under the
‘Customize Headers’ option.
To display the kiosk web
interface contents in
different languages, you can
customize the Default and
Available languages under the
‘Language’ settings. To add
new languages into the PoS
web interface from Odoo
database, you can utilize the
‘Add Languages’ button.
After configuring the languages
settings, you can see the
available languages from the
web interface as illustrated
in the screenshot below.
You can customize the web content
by selecting your preferred
language from the available
options for better clarity.
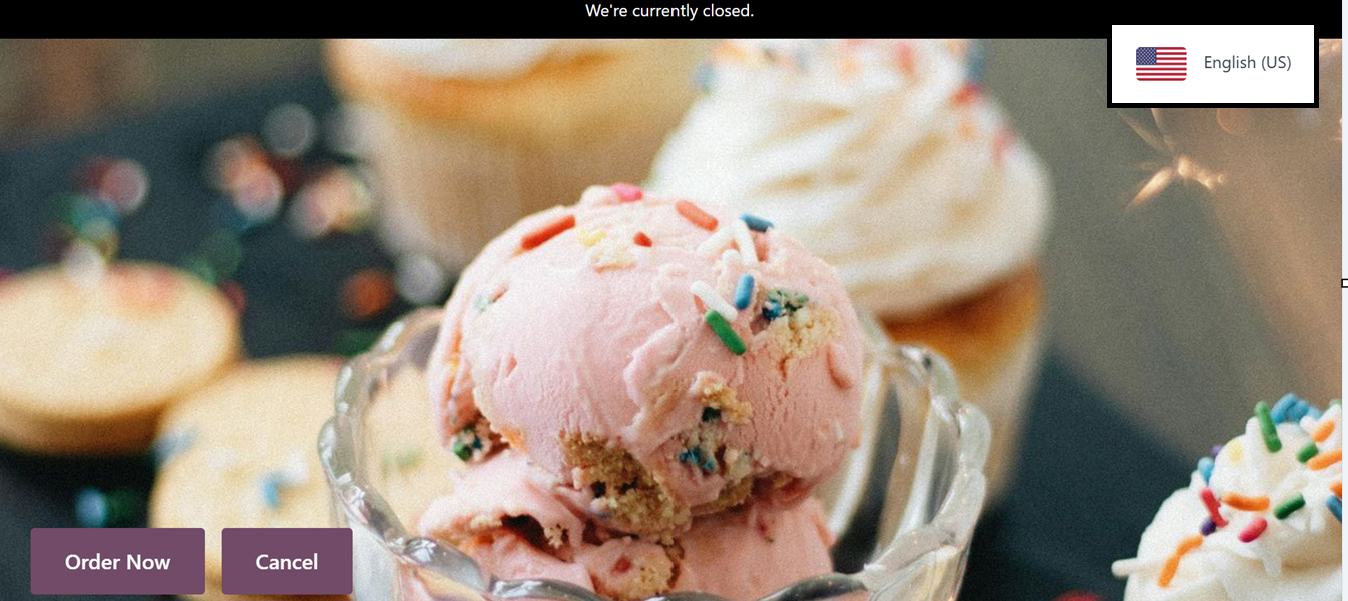
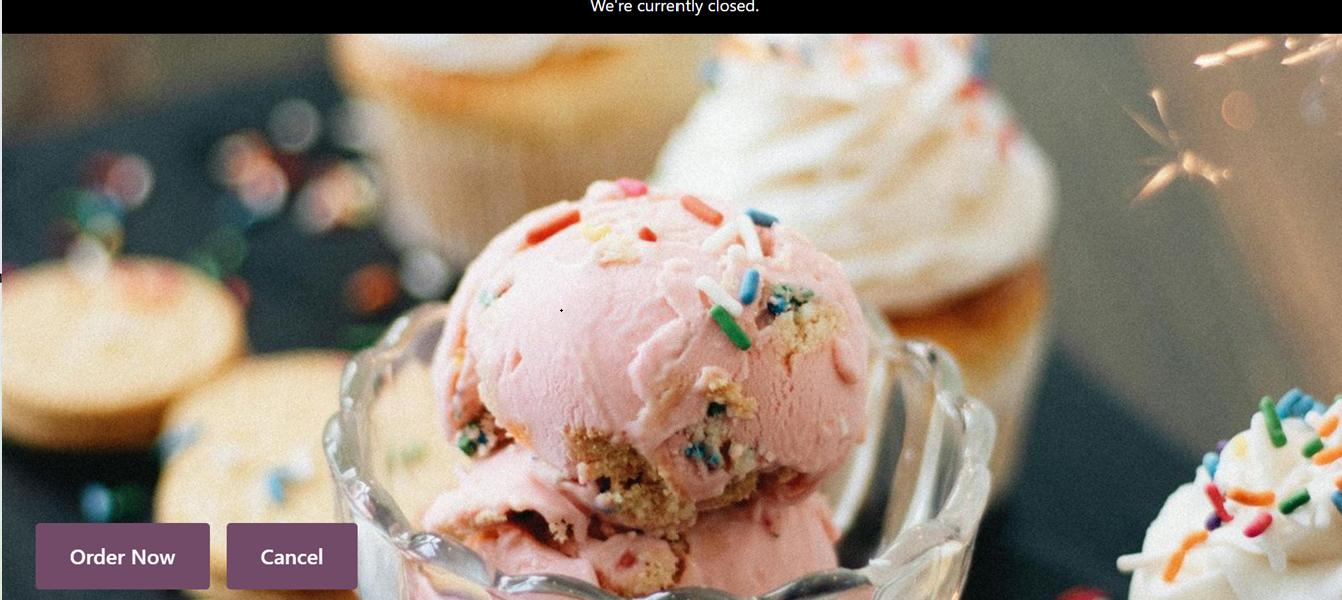
Once all settings are saved,
customers can place orders
during active sessions by
selecting products and tables
using the "Order Now" button.
The order will then be
displayed within the
corresponding session.
9.3 Ordering through a Kiosk
Interface
By facilitating self-service
transactions, the Kiosk
Interface in Odoo's Point of
Sale module enhances consumer
ordering. With its
interactive and user-friendly
interface, this system
improves order efficiency and
lessens staff burden.
To start a Kiosk sales session,
you can go to the Point of
Sale’s Dashboard Menu and
choose the Kiosk Session.
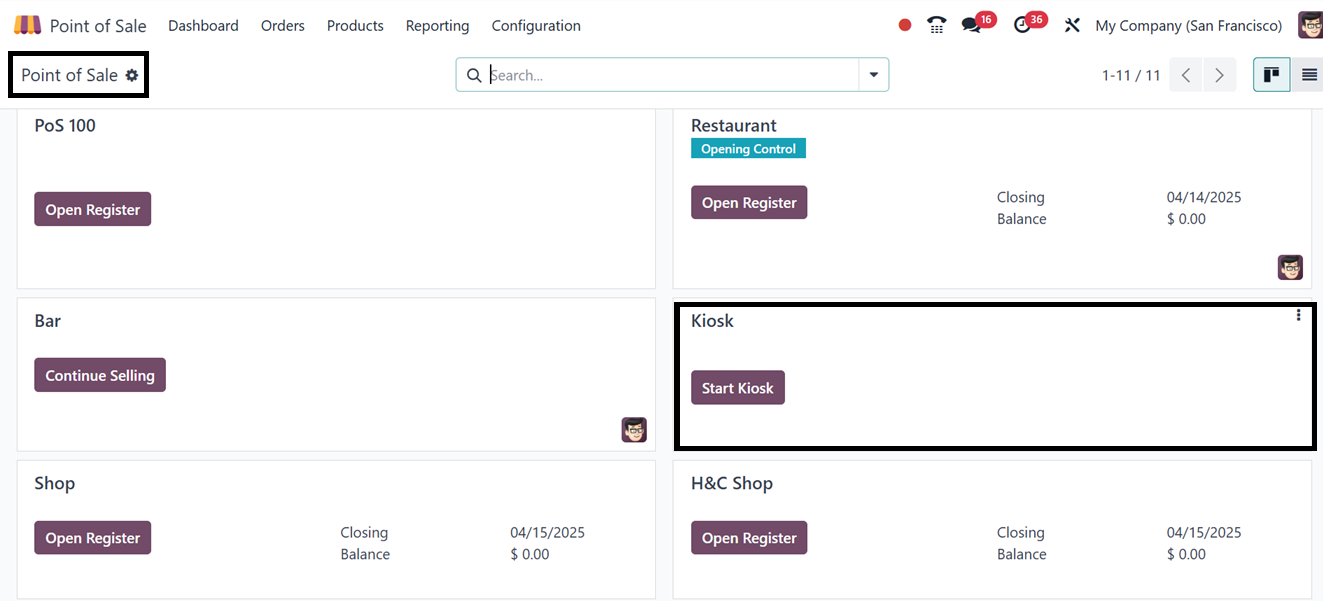
For kiosk use, after
configuration, click "Start
Kiosk" from the dashboard,
and a URL will be provided to
access the kiosk interface.
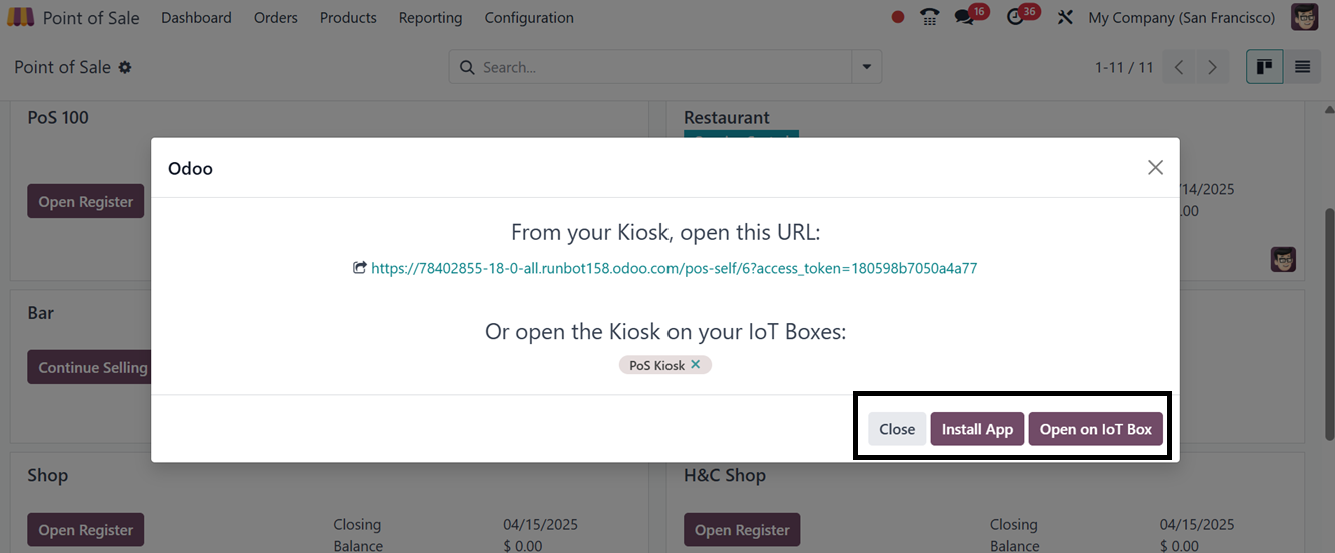
Then, you can open the kiosk
application on an IoT Box
using the ‘Open on IoT Box’
button or click on the
‘Install App’ button to
install the Kiosk app and
login into the Kiosk sale
system. This will lead you to
another window where you can
install the app using the
‘Install’ button.

Installing the app will launch
the app into your system
database and you can quickly
order the items from the
Kiosk-Odoo Self Order window
as illustrated in the
screenshot below.
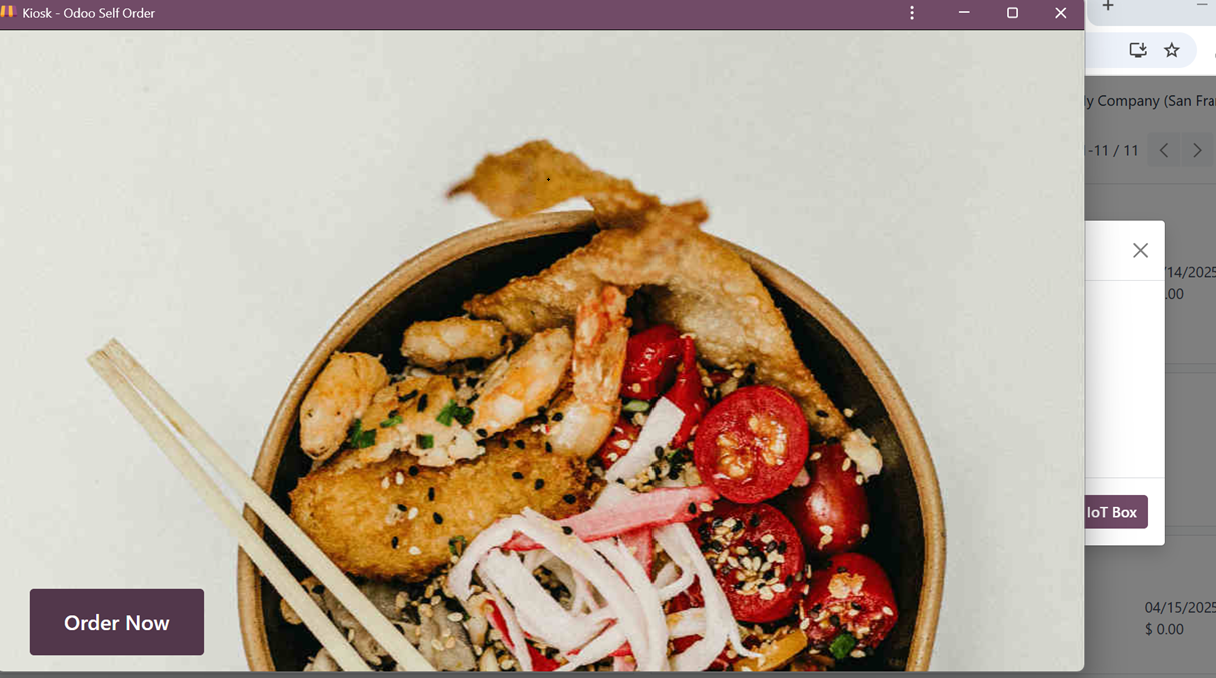
Then, press the ‘Order Now’
button and start picking the
products from the catalog and
proceed with the ‘Order’
button.
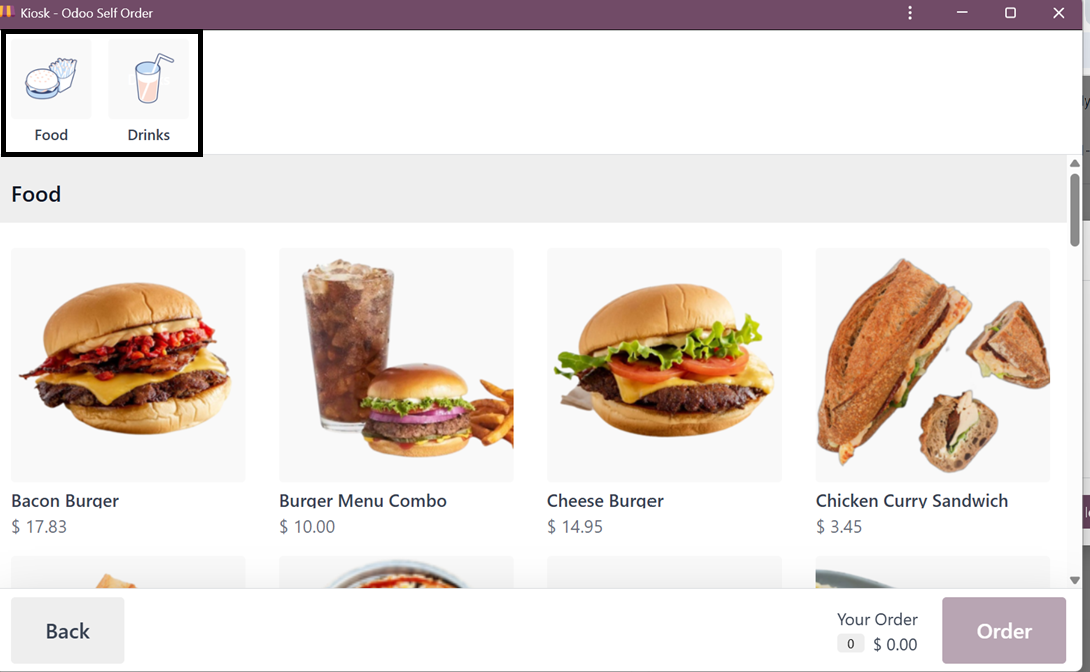
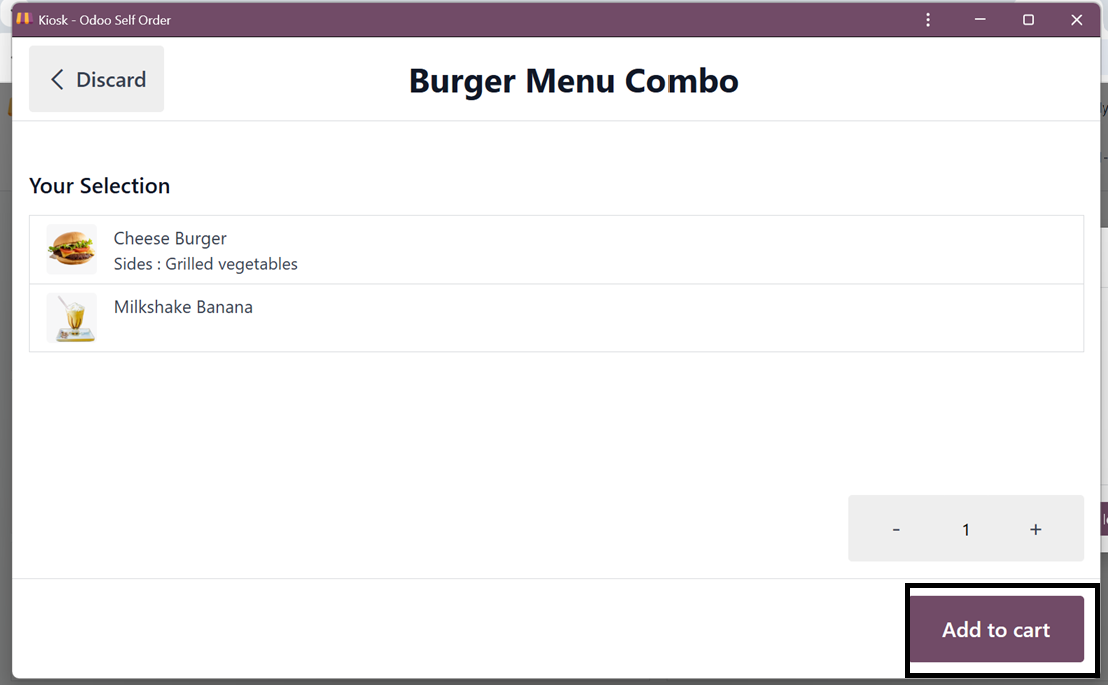
Then, choose the products and add
them to the shopping cart
using the ‘Add to cart’
button.
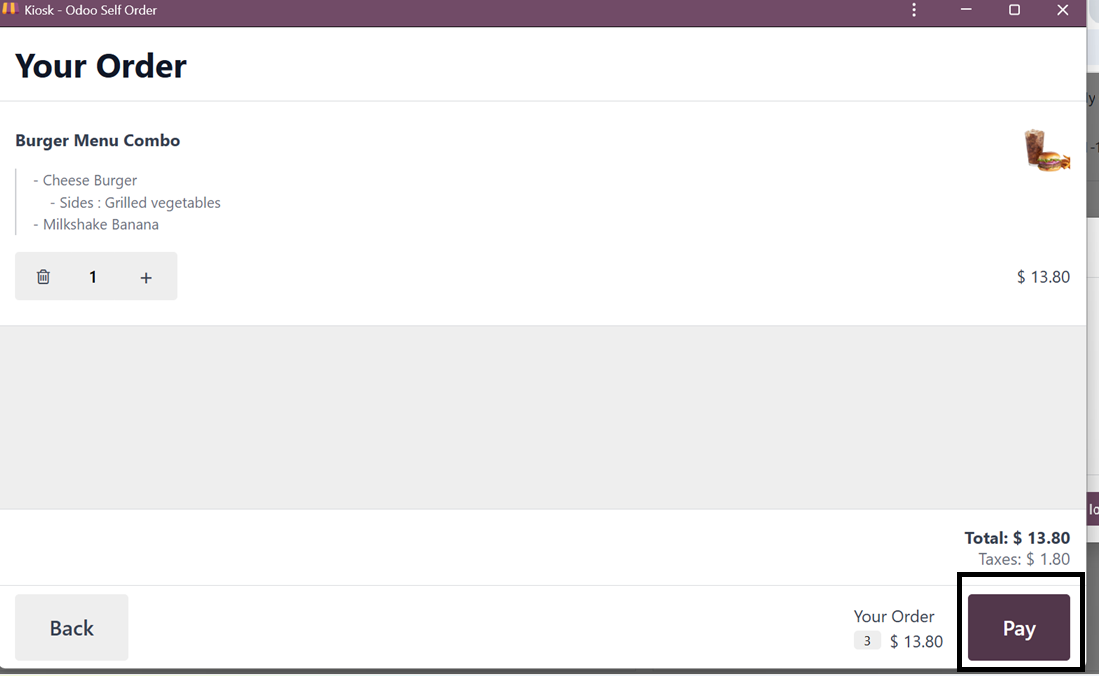
Next, order the products using
the ‘Order’ button and go to
the payment procedure using
the ‘Pay’ button.
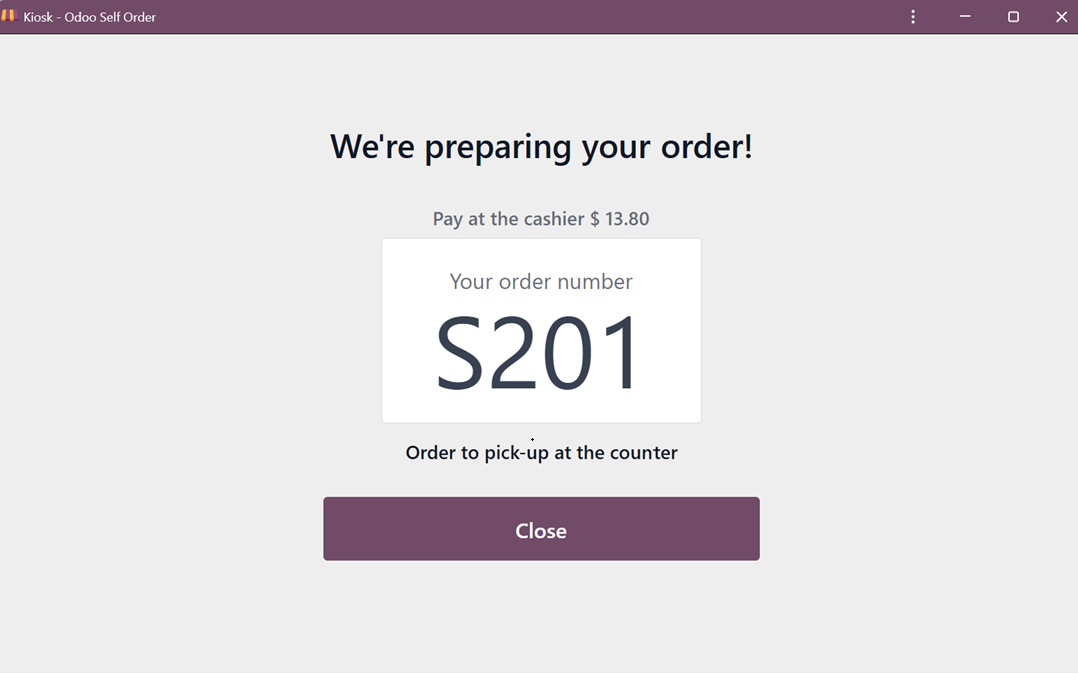
The ‘Pay’ button will complete
the order and you will get
the Order Number to pick-up
from the counter as shown in
the screenshot below.
Finally, you can collect the
products and pay the amount
directly from the shop
counter.
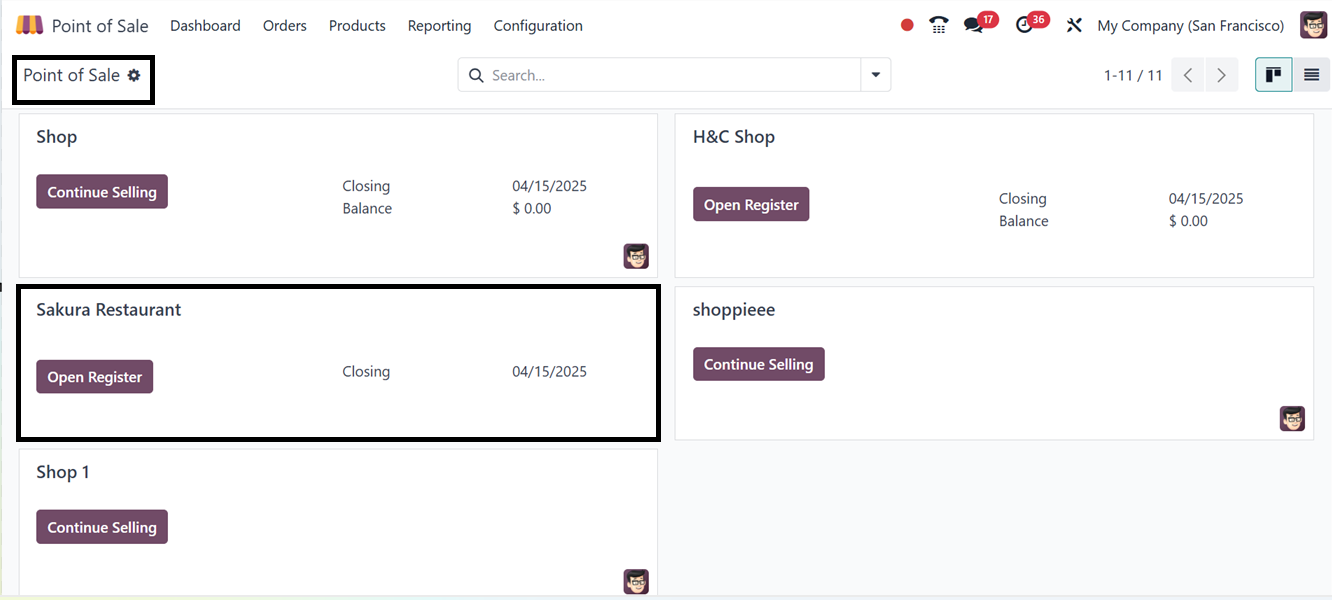
After setting the QR Menu in the
Kiosk settings area, open the
restaurant and start shopping
for the products. So, you can
go to the point of sale
‘Dashoard’ window and open
the restaurant by clicking on
the ‘Open Register’ button
and providing an opening
note.
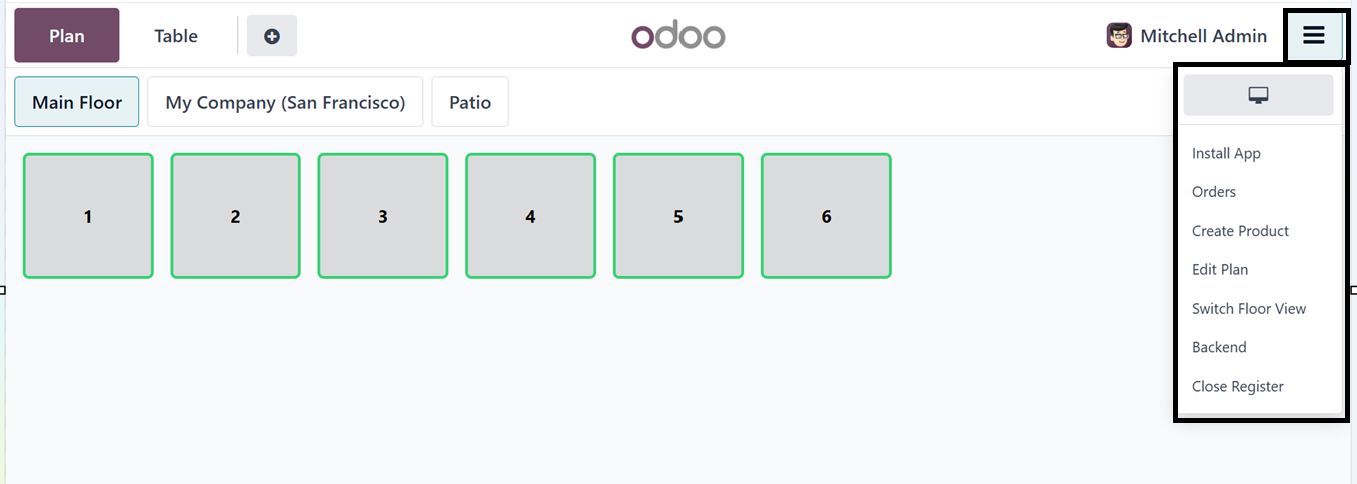
After opening the kiosk mode, you
will be entered into the
restaurant section, with the
floor plan and table view the
same as when we open a normal
restaurant session as shown
in the screenshot below.
Then, choose the table and the
products catalog will appear.
Then, you can choose the
products and proceed with the
order using the ‘Order’
button and then the payment
completion.
While ordering through a QR Menu
application interface, you
can see the web page
interface as shown below.
9.4 QR Menu+Ordering
The 'QR Menu+Ordering' option
allows customers to access
digital menus and place
orders directly from their
mobile devices, enhancing the
dining experience and
streamlining operations.
Activating this option will show
an ‘Self Ordering Enabled’
feature on the kanban view of
the particular shop inside
the POS dashboard, allowing
real-time monitoring and
management of self-orders,
ensuring efficient tracking
of incoming orders and smooth
operations during busy
periods.
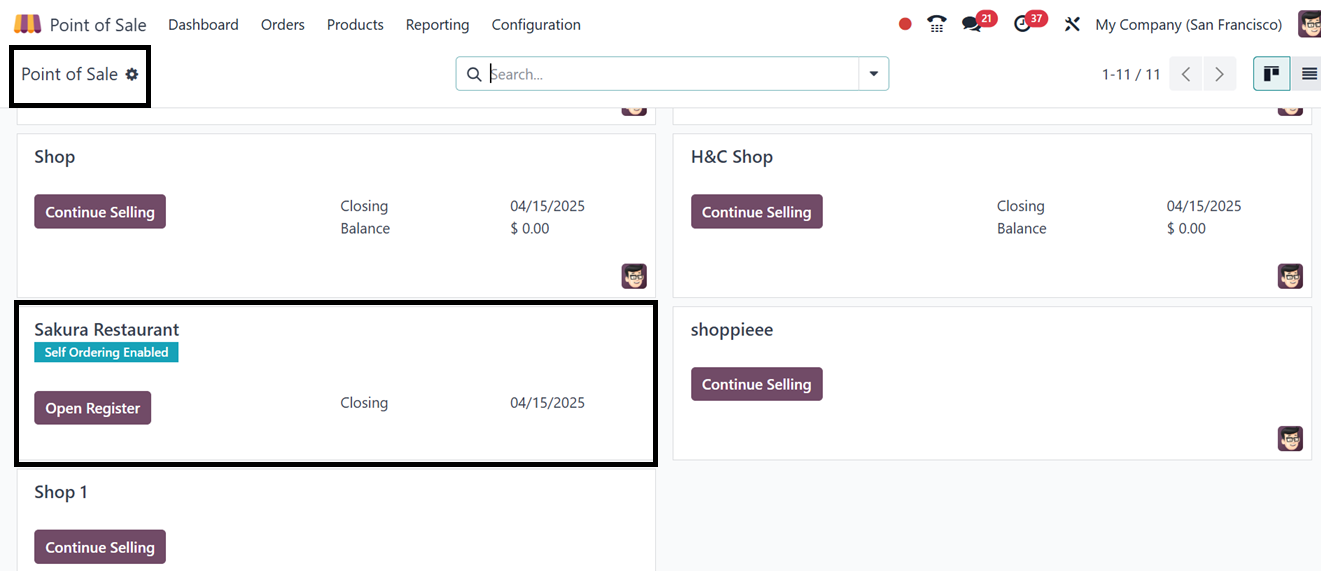
Then, you can open the kiosk
session by clicking on the
‘Open Register’ button and
providing the opening note.
The ‘Preview Web Interface’
button from the Self Ordering
settings window can be used
to check how the kiosk
interface looks.

After that, pick the items you
want and click the Orders
button to start the ordering
process. The interface will
immediately change to a
preview that is optimized for
mobile devices while used a
smartphone. Click the Pay
button after choosing the
products, then use any of the
Point of Sale payment
possibilities to finish the
payment.
Then, configure other settings as
per the requirements
including Floors, Tables, Eat
in/Take Out and other
settings specifics as per the
requirements.