3. Configuration
Users can manage Settings,
Projects, Project Stages,
Task Stages, Tags, and
Activity Types using the
Configuration option in the
Project module. We went over
a lot of the Settings menu
options in detail when
creating projects and tasks.
3.1 Settings
Under the settings option, you
have the options, as shown in
the image below.
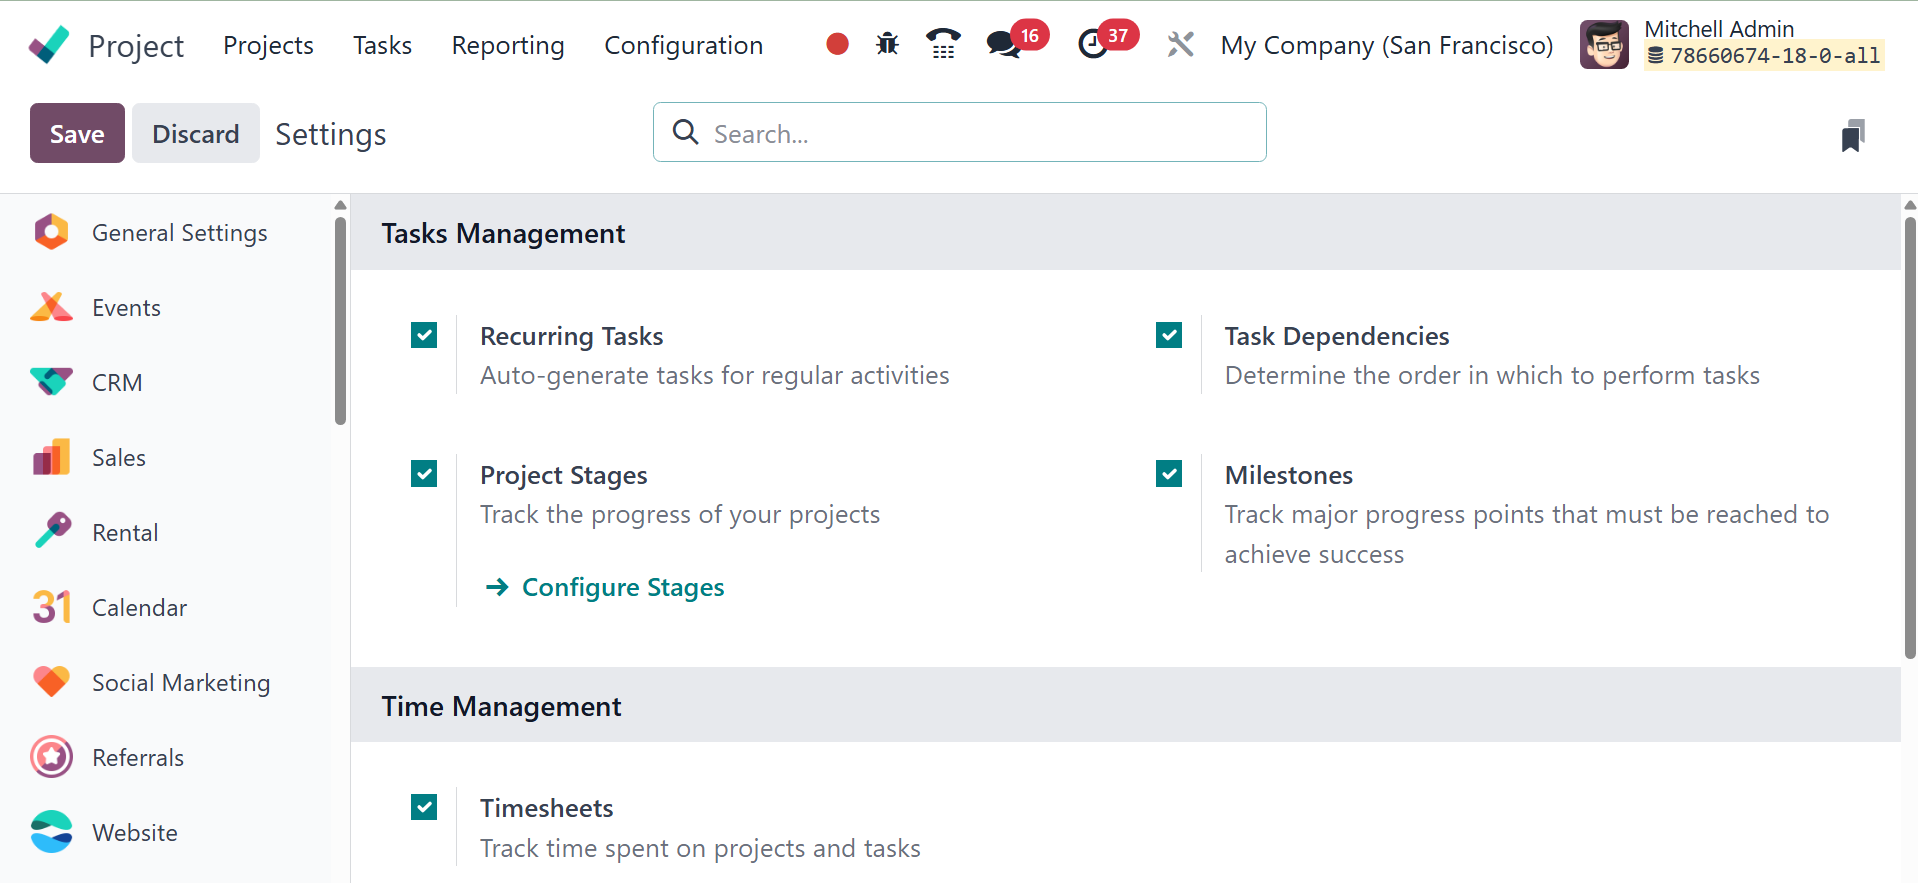
The recurring task option helps
to auto generate tasks for
regular activities. It is
possible to establish
repeating tasks after the
feature is activated. To do
that, either click the New
button to start a new project
or choose an appropriate
project from the Project
module's dashboard.
A wizard to create a project
appears. Enter the project
name in the Name field of the
form. Turn on the Billable
option to enable time and
material invoicing and the
Timesheet option to track the
amount of time spent on
tasks. Assign a client to the
project so that supplies and
billable time can be billed
appropriately. To enable
automatic task creation when
emails are sent to the
specified alias, enter an
email address in the "Create
tasks" field.
The task stages can be added by
entering the stage name in
the designated area and then
clicking the Add button on
the new page that displays
when the Create Project
button is clicked.
The tasks can now be added under
the project's phases after
they have been added. To do
that, either click the New
button to add a job to the
first stage or click the +
icon accessible for each
stage to add the work under
that specific stage.
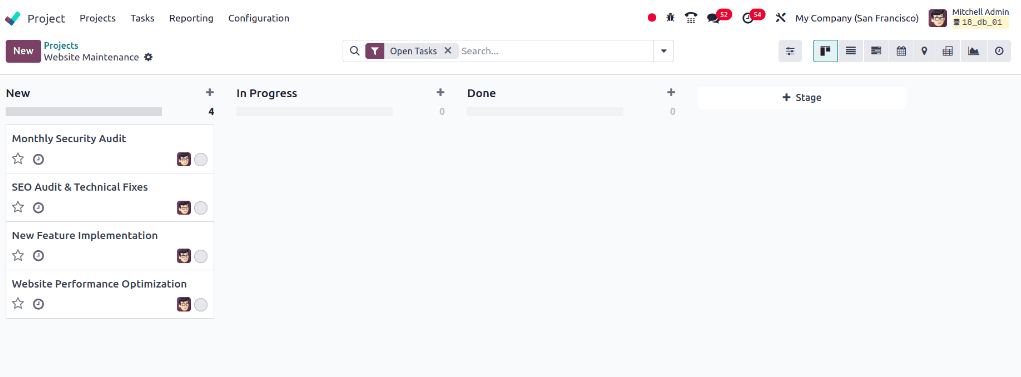
Let's assume that, once all the
necessary activities have
been added, the "Monthly
Security Audit" task needs to
be completed each month.
Therefore, this work can be
set up as a recurring task
rather than being created as
a new one every month.
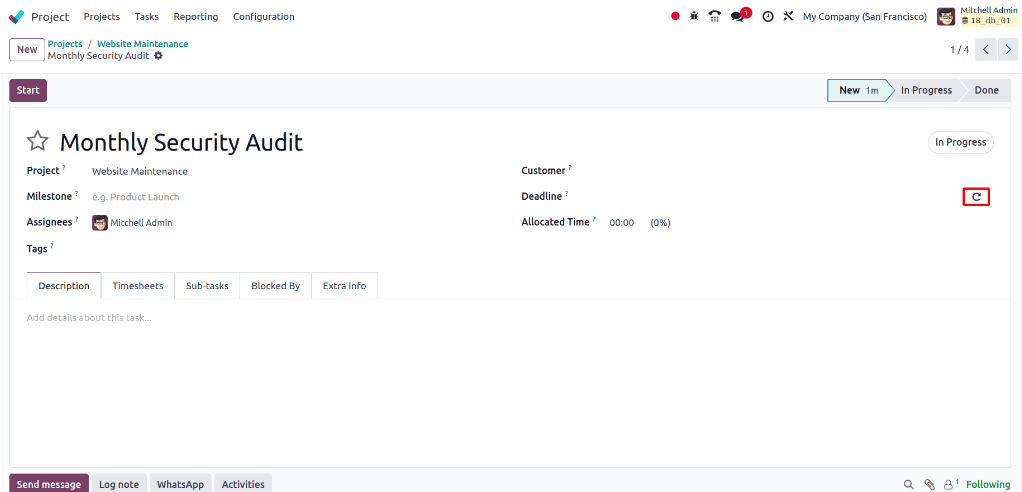
There is a space named Deadline
in the task form, and next to
that field is a recurrent
icon, as seen in the image
below. Choose the task
"Monthly Security Audit,"
which has to be set as a
recurring job.
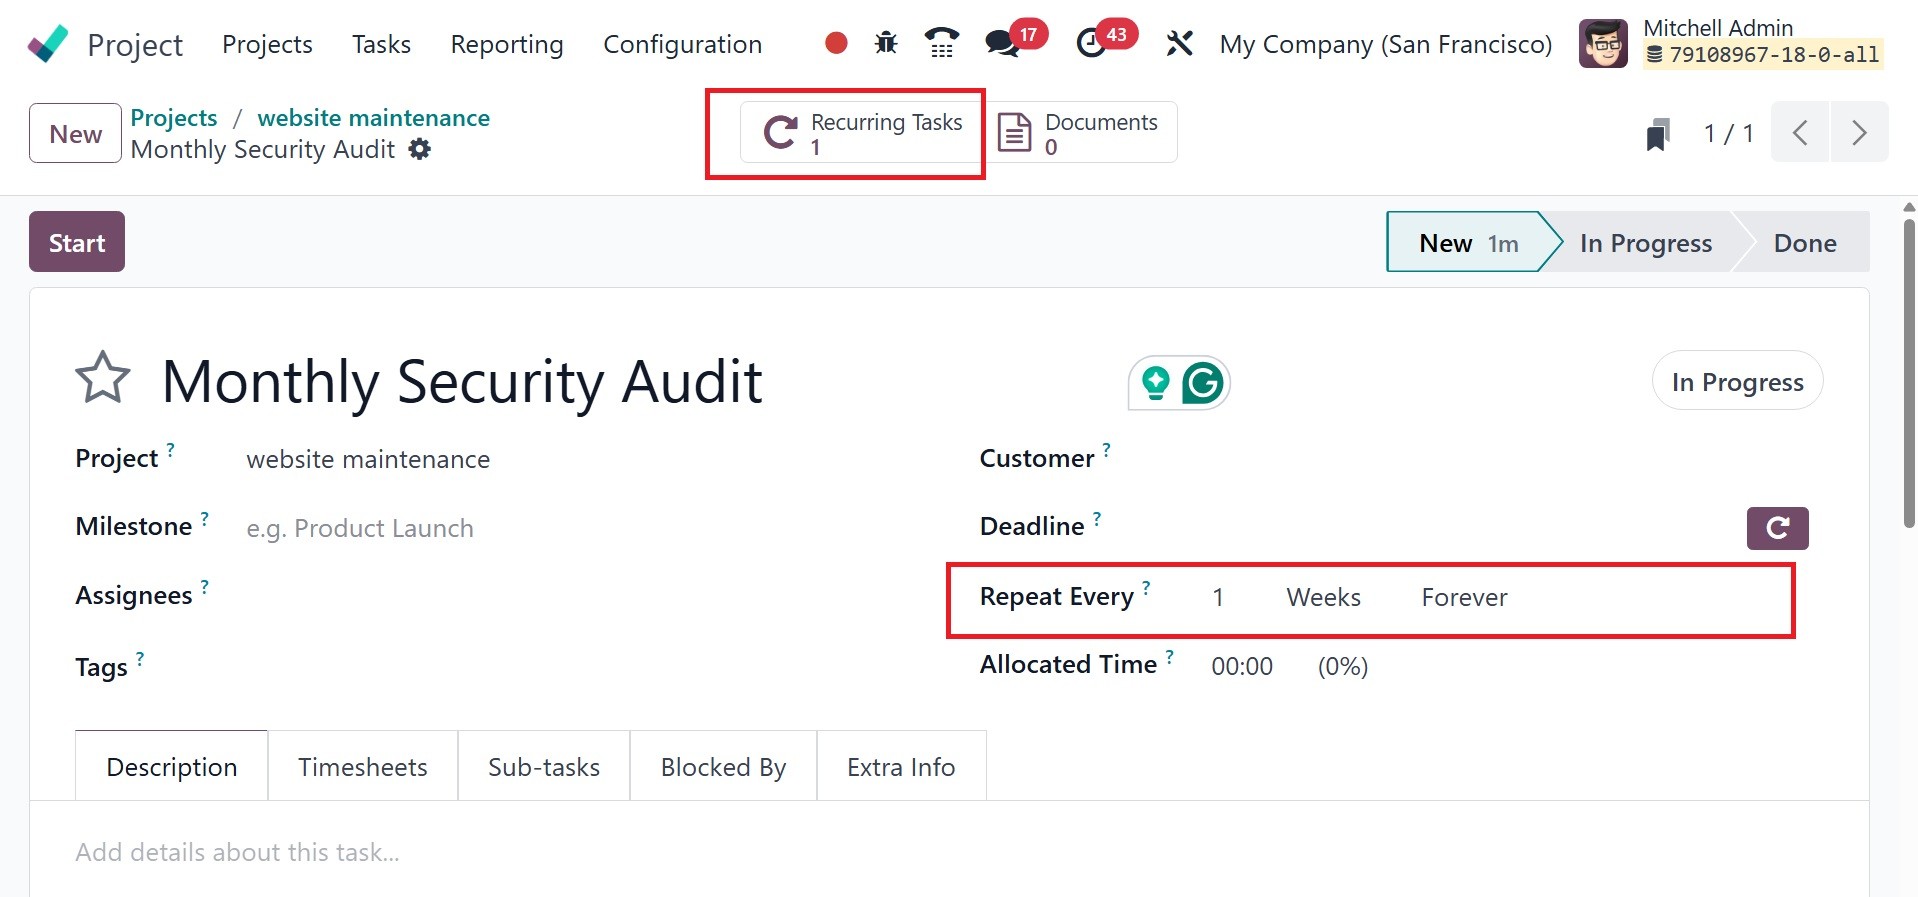
Clicking the repeating icon
brings up an extra field
named Repeat Every. You can
specify the interval (days,
weeks, months, or years) at
which the task should repeat
in this area. There is also a
box where users can specify
an end date or set the task
to recur indefinitely. A date
field that allows users to
specify the last time the
recurring job occurred is
displayed if the Until option
is used.
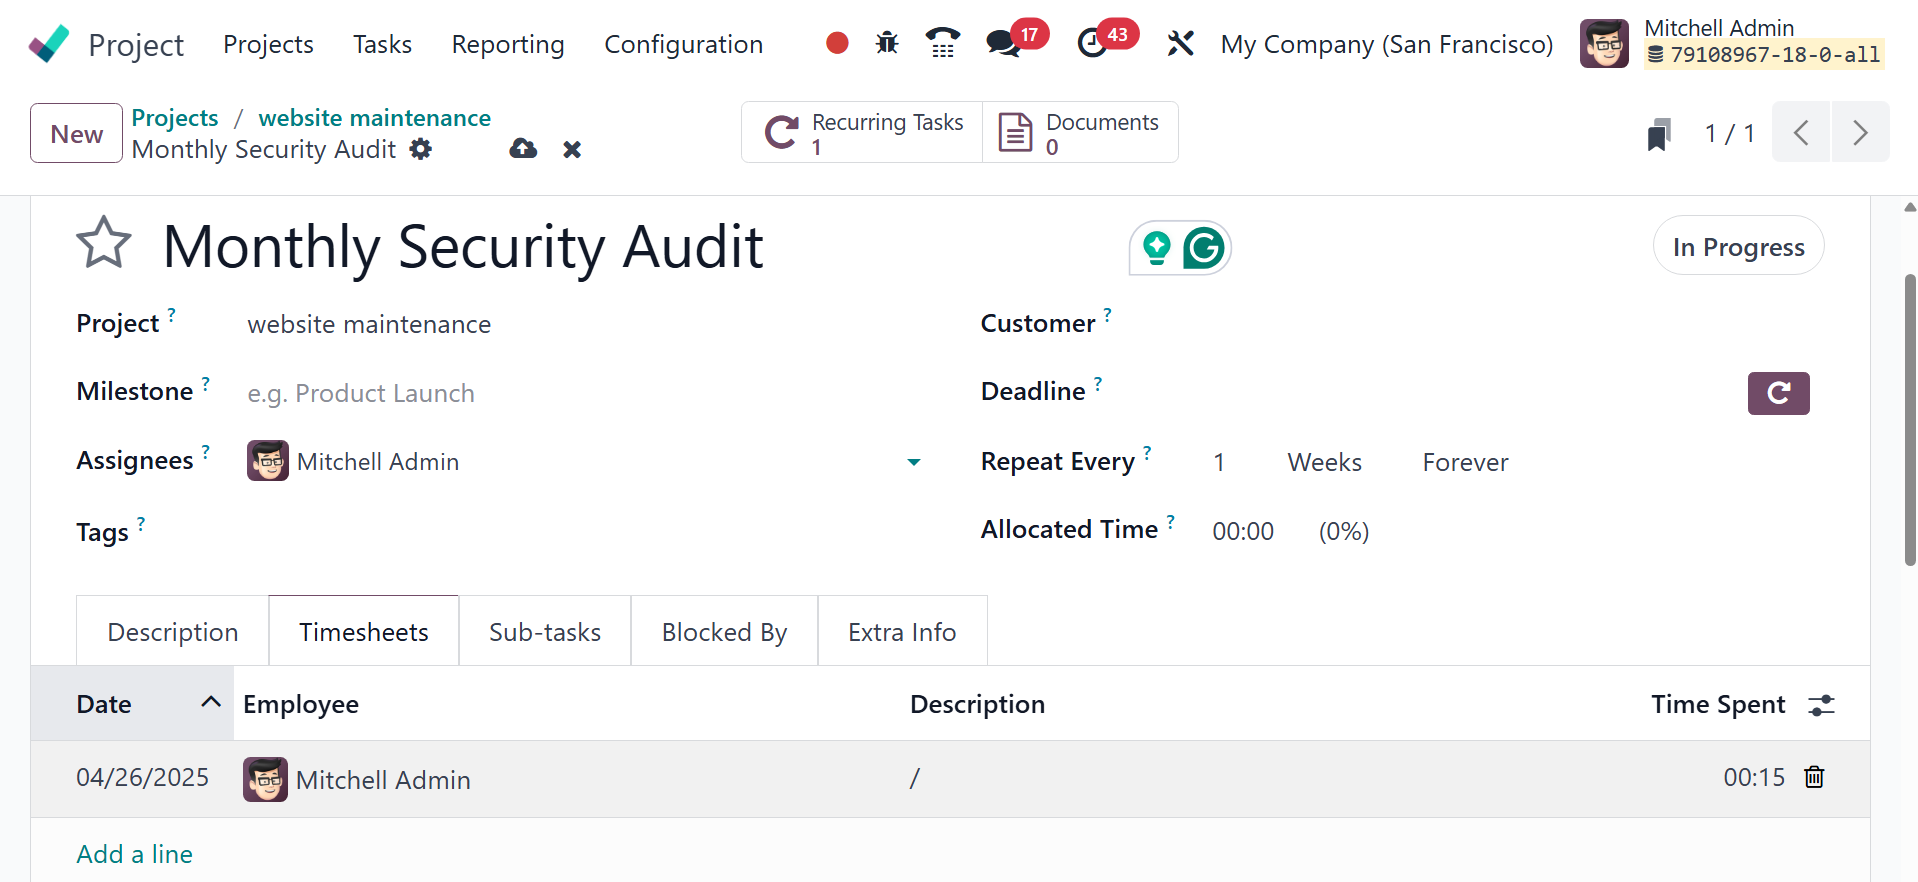
Continue by adding the remaining
task data, such as the
cutomer, if applicable, the
project's deadline, the time
allotted for the project,
tags, and milestones. In the
timesheets tab, add the
task's timesheet.
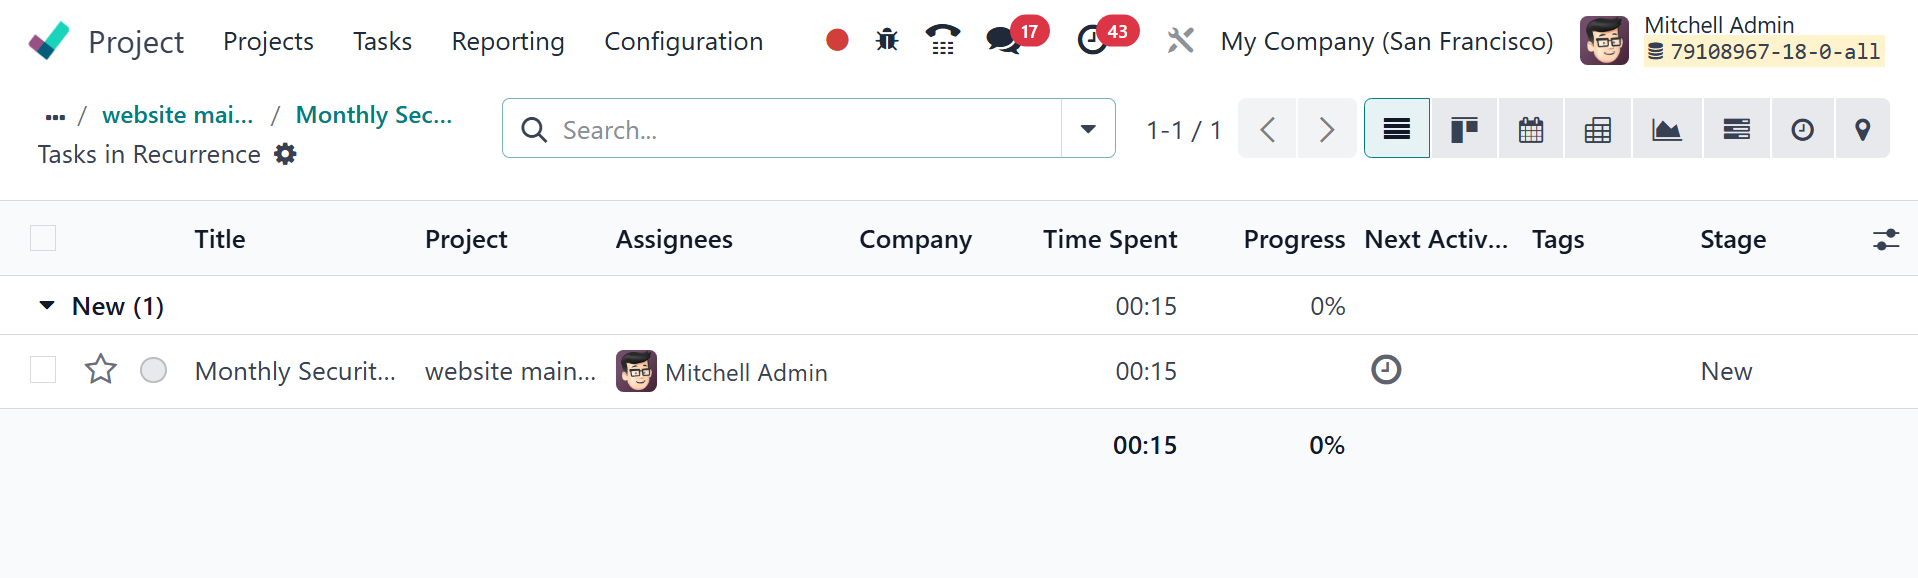
Additionally, there is a
Recurring Tasks smart tab
where the task that has been
set as a recurring task can
be viewed along with the
task's assignees, the stage
in which it is currently in,
and any time that has been
logged to the recurring task
can be viewed in the Time
Spent field. The task's
progress will also be
displayed based on the time
spent. You may also click on
the clock icon under the Next
Activity to complete any
activities that need to be
established for the job. From
here, you can also view the
tags that have been added for
the job.
The task's state can be changed
from In Progress to Done once
it is finished. Another
recurring job will be created
as soon as the task is set to
the Done state, and two will
appear on the smart tab. Go
to the most recent task and
click the recurrent icon to
end the recurrence.
The next opton is project stages
which effectively monitor the
progress of your projects.
Your projects can be arranged
according to their current
status.
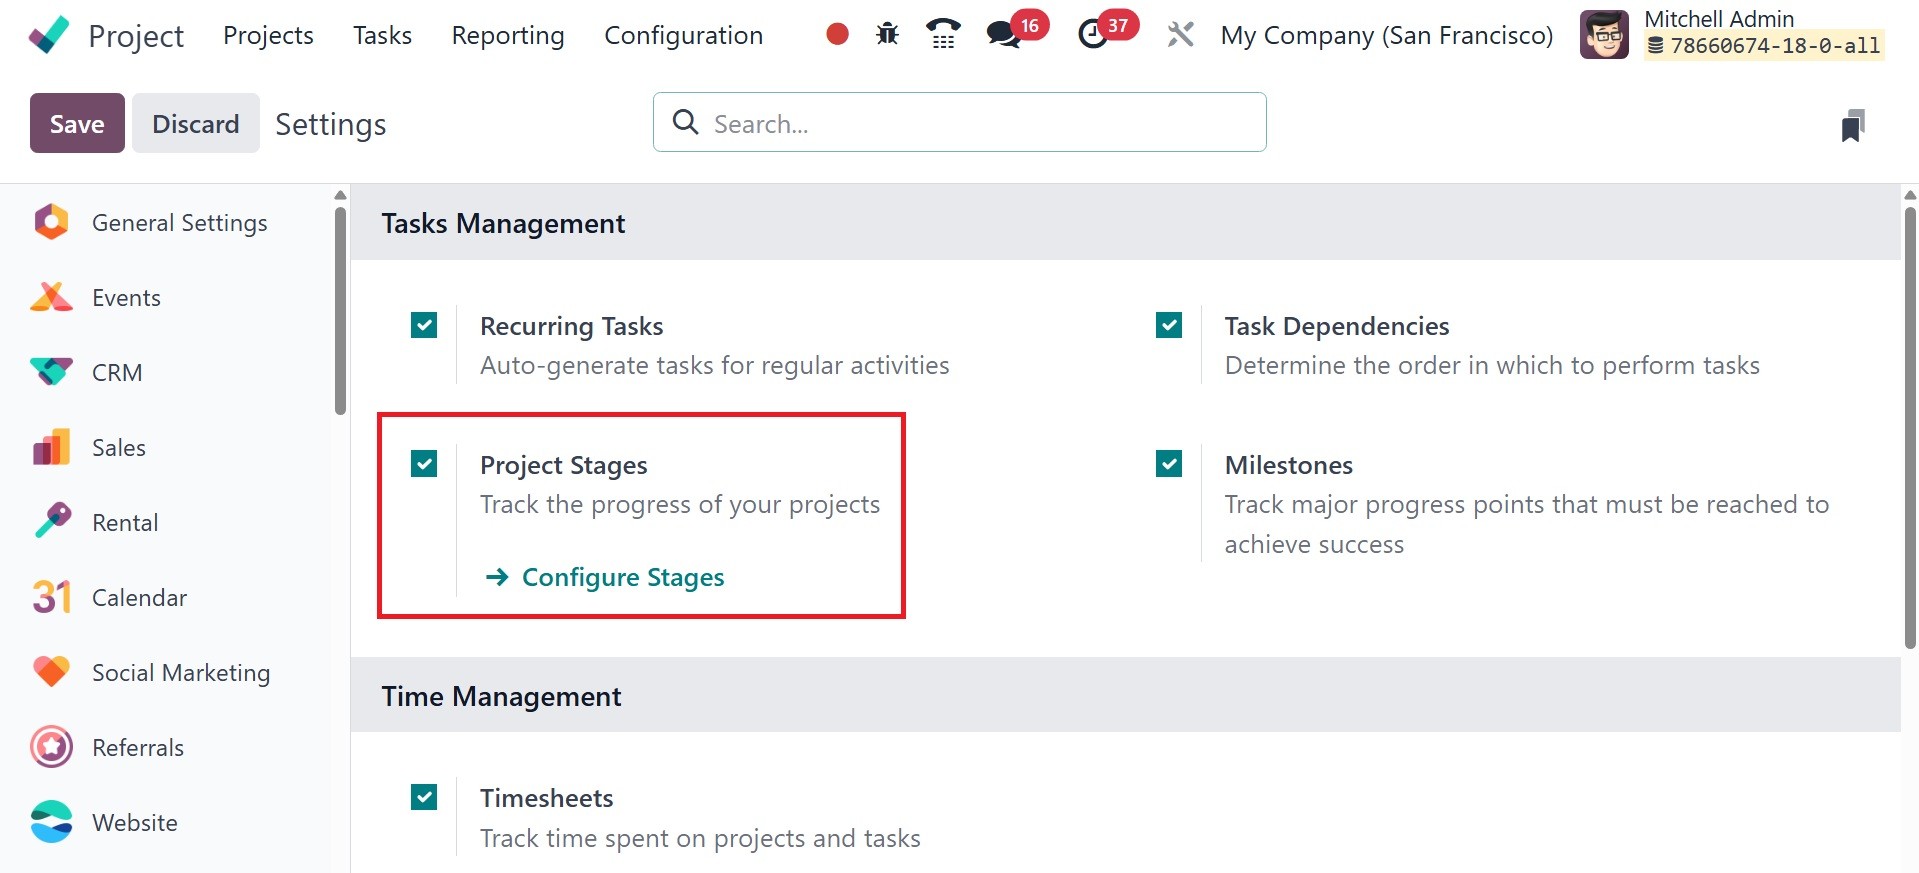
The appropriate choice will
appear in the module's
Configuration menu after this
functionality is enabled.
This platform will show the
pre-configured stages for
your projects.
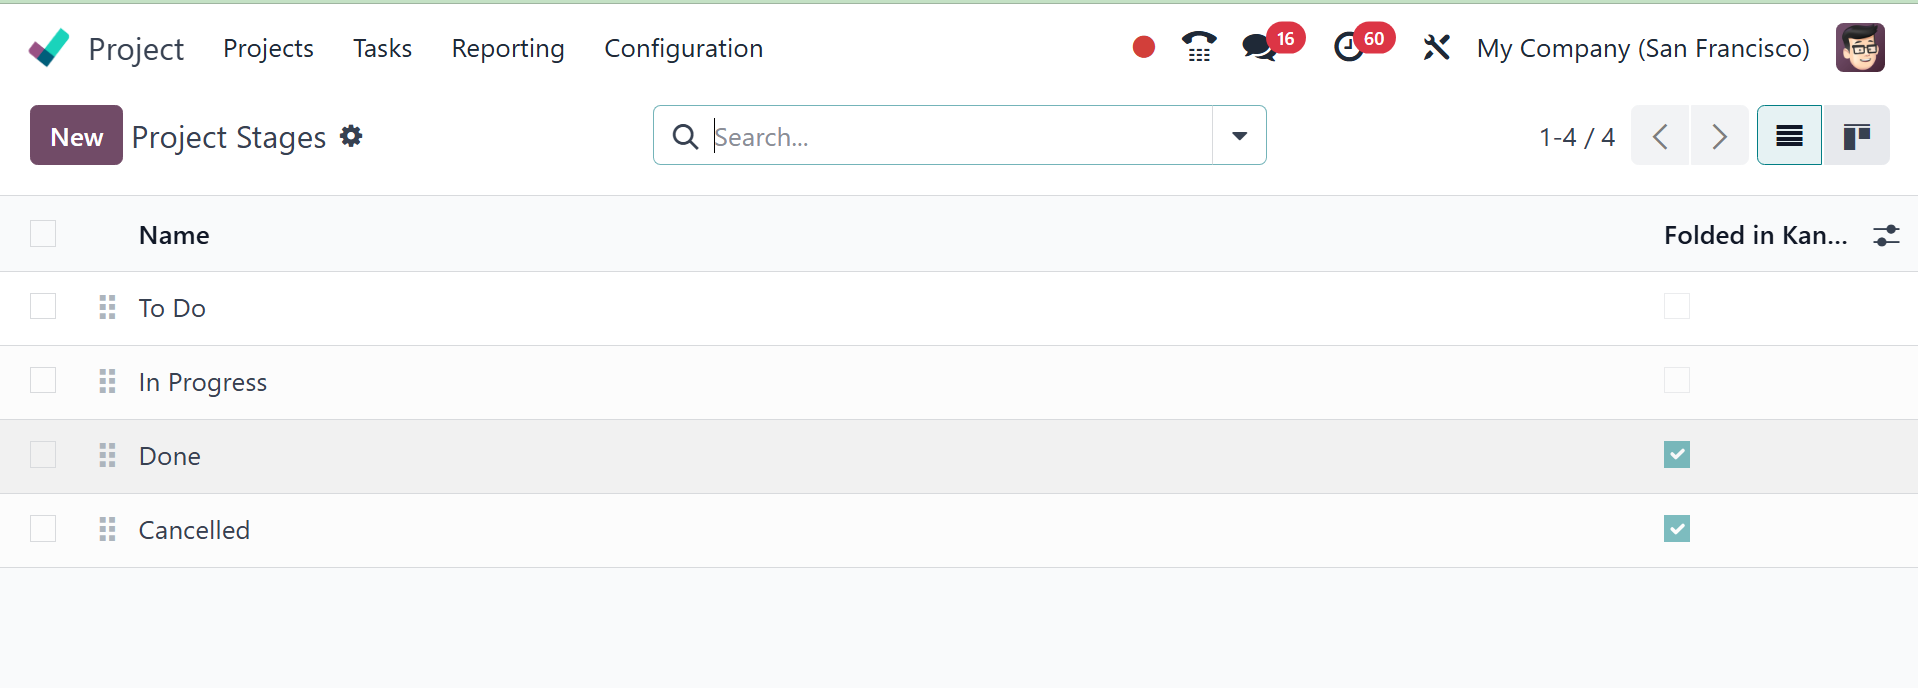
The names of the project stages
are displayed below. You can
include a new project stage
by choosing the New option.
You can describe the new
project stage in the new line
that appears beneath the
current project stages when
you click this button.
Enable the Folded in Kanban field
if you wish to fold this
stage in the project's Kanban
view. Click the Save button
to save the new level.
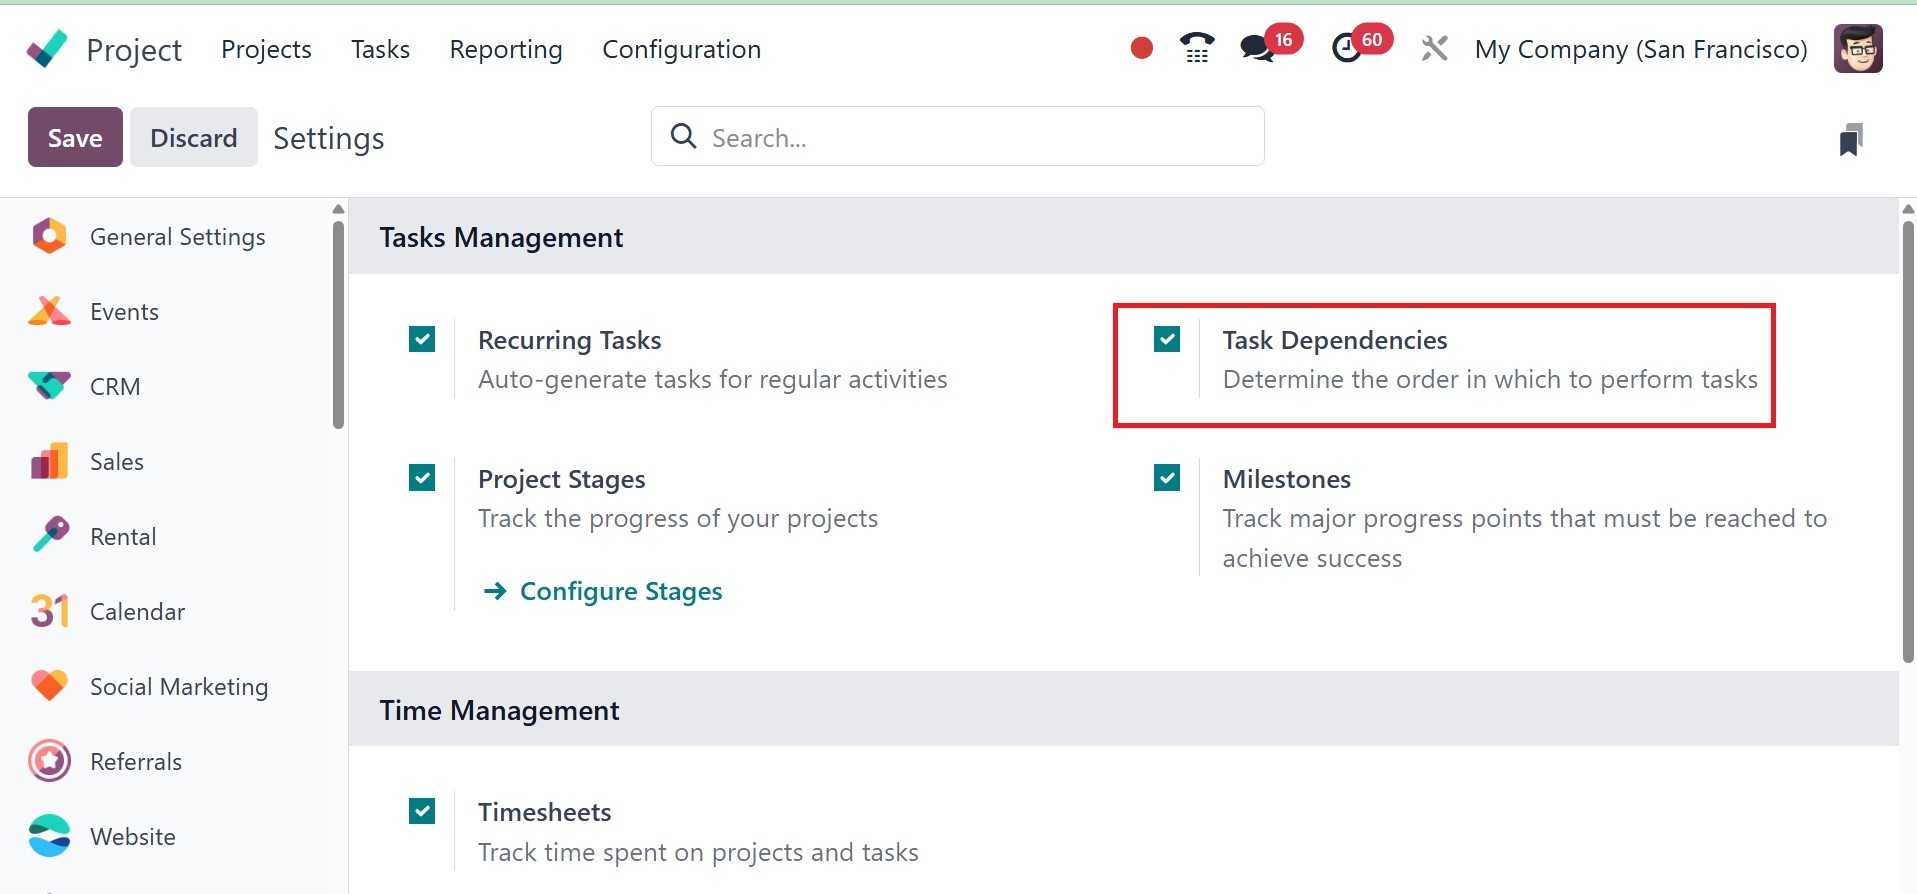
The next option is task
dependencies, which establish
the sequence in which the
tasks should be completed.
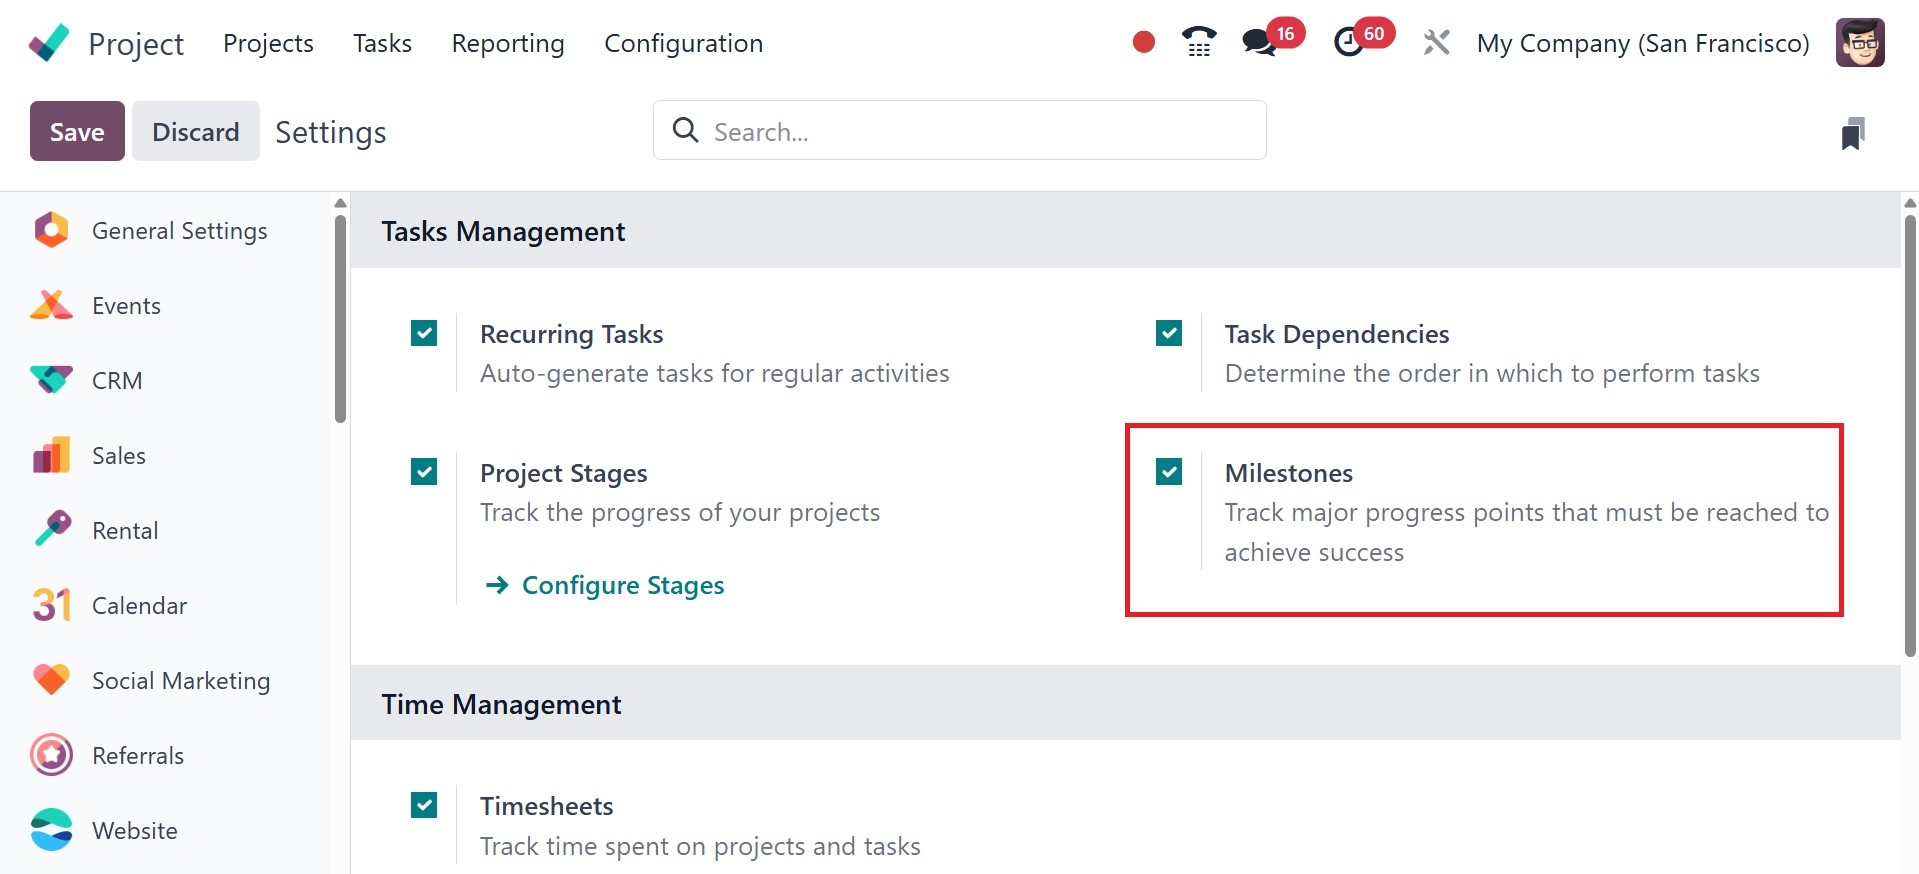
Now, there is the Milestones
option, which tracks major
progress that must be reached
to achieve success, as in the
image below.
Below that, you have the time
management option, where you
can track time spent on
projects and tasks.

Finally, you have the customer
ratings option, which tracks
the customer satisfaction on
tasks. Go for the set a
rating email template on
stages option, and the page
will be as in the screenshot
below.
Then, there are different fields
like,
Name: Specifies the name of the
stage.
SMS Template: Assign a template
to automatically send an SMS
when a task reaches this
stage.
Email Template: Assign a
template to automatically
send an email when a task
reaches this stage.
Sequence: Determines the order of
this stage within the task
pipeline.
Collapsed in Kanban: If enabled,
this stage will be minimized
in the Kanban view.
Projects: Displays the projects
that use this stage.
Rating Email Template: Here, a
mail template that has to be
used for sending the rating
mail can be provided.
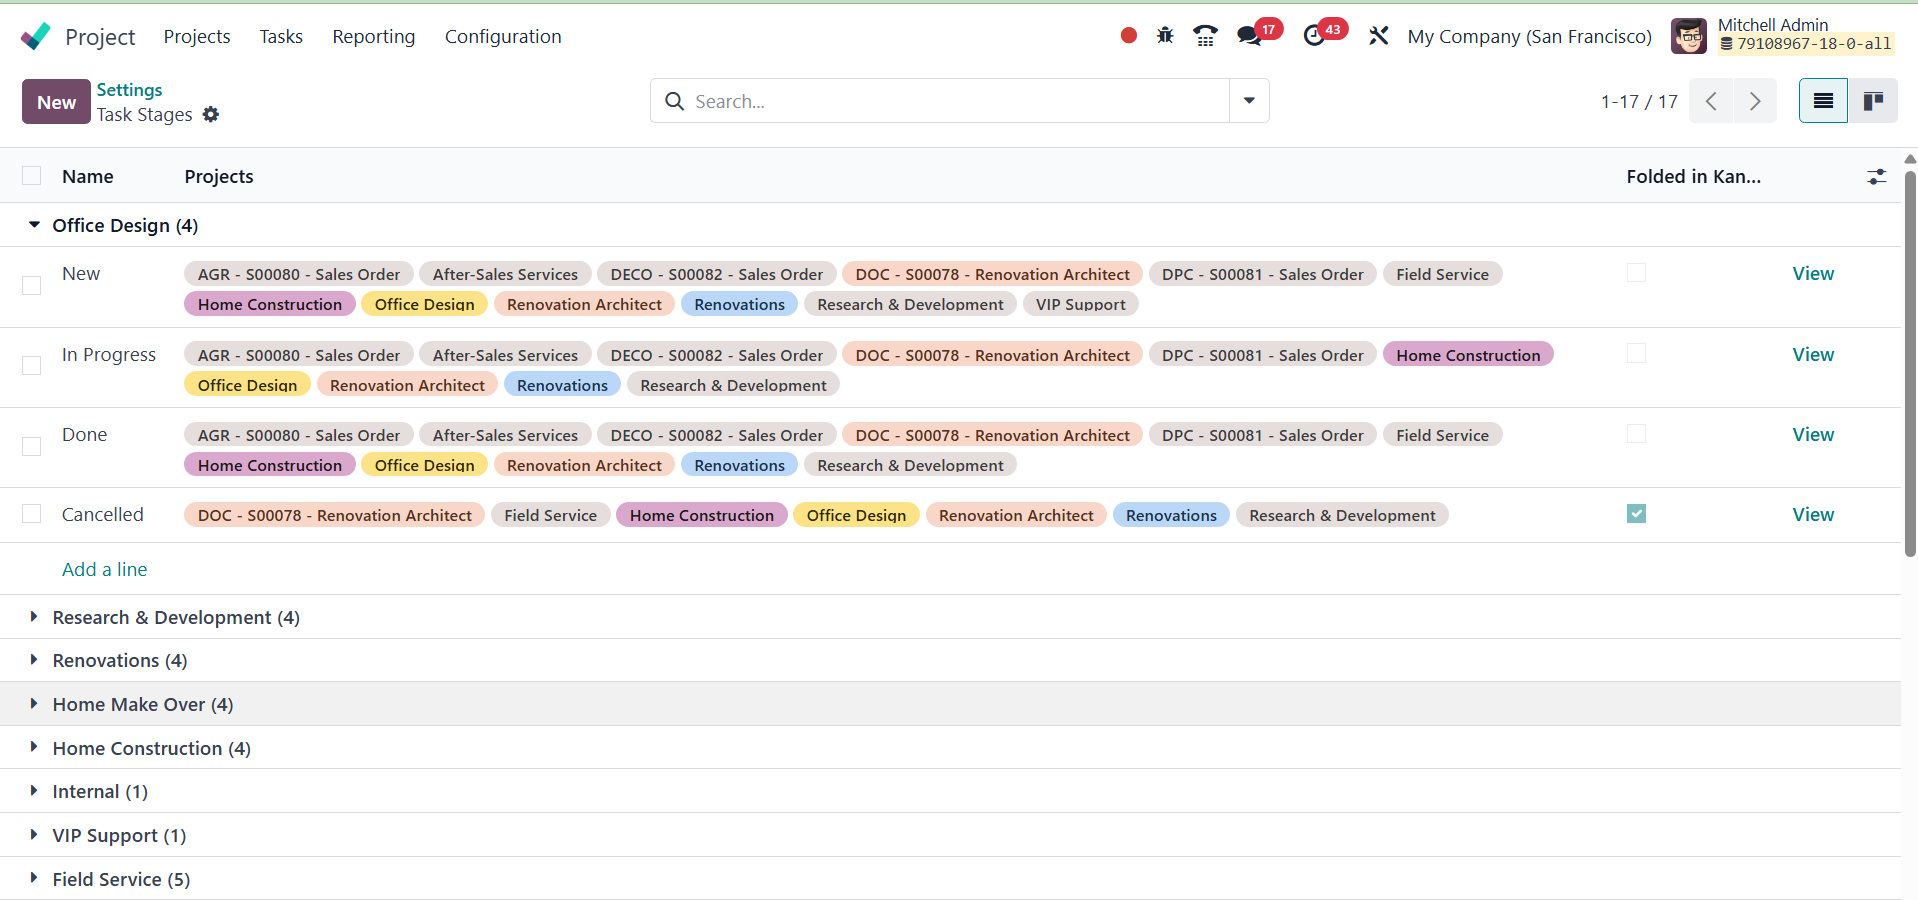
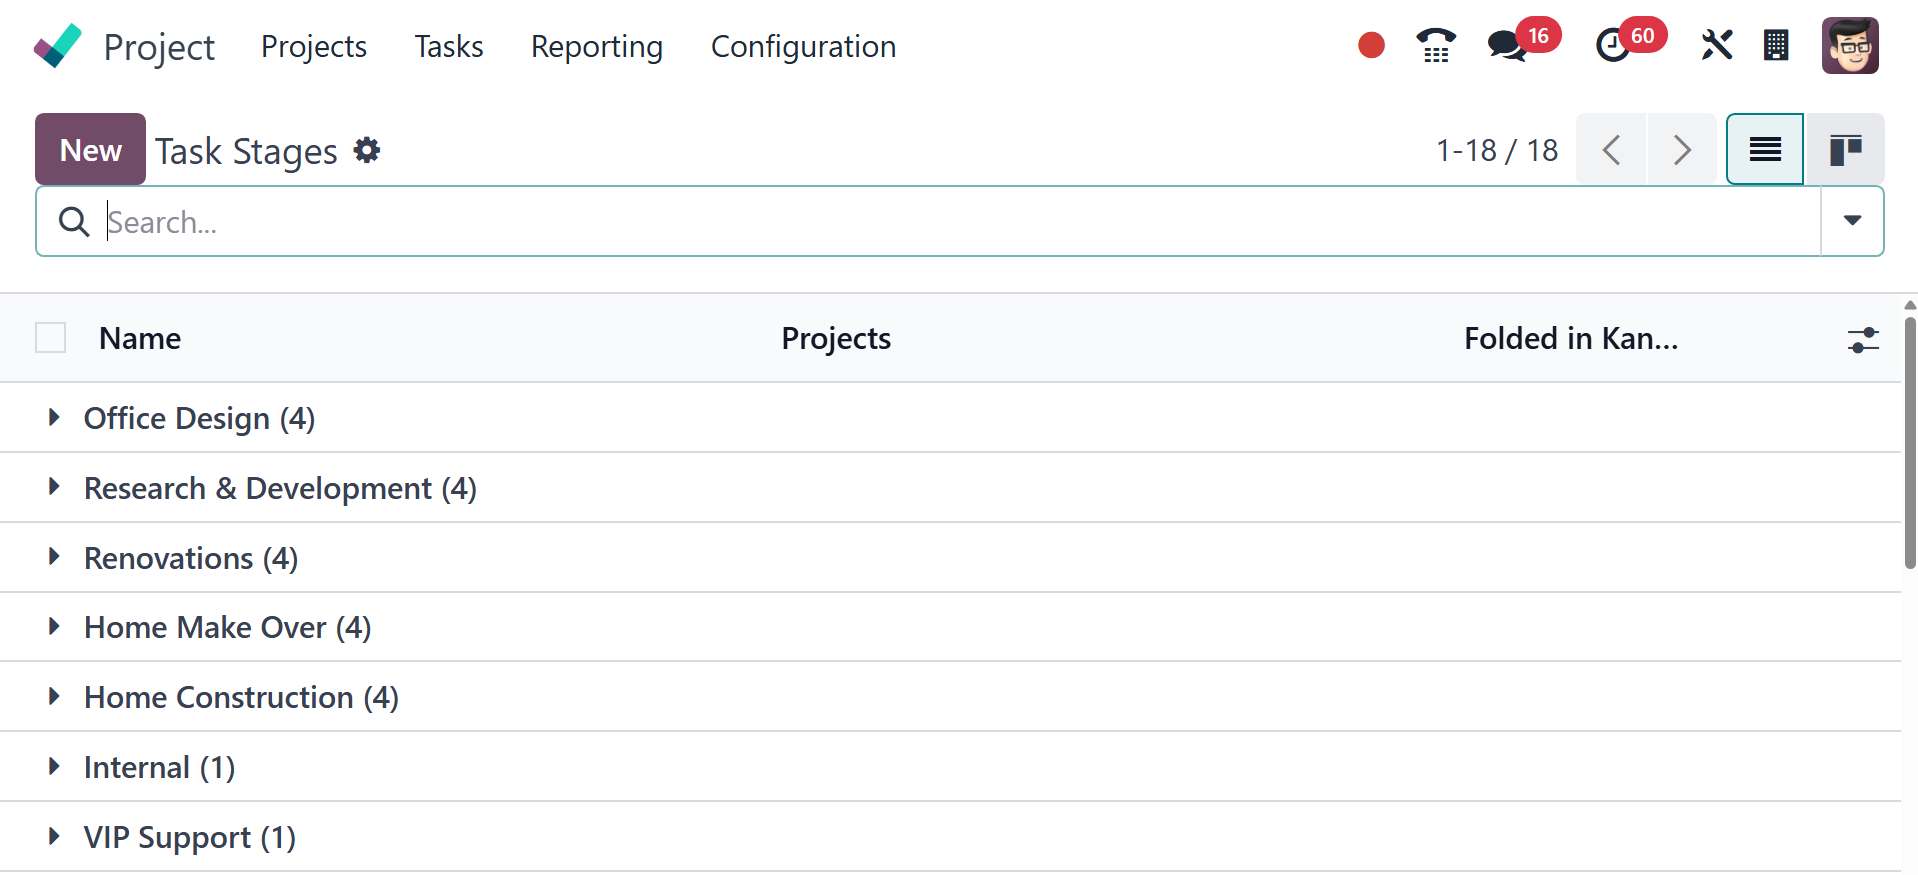
3.2 Task Stages
We discussed how to add new task
stages when creating tasks
for a project. The
Configuration menu of this
module provides access to an
alternative platform for
managing task stages. It will
be easy to track activities
if you break them down into
phases according to their
current stages.
As can be seen in the screenshot
above, the list view of the
task stages shows the Name
and Projects of each work
stage. A form view where you
can add a new task stage will
open when you click the New
button.

Name the task stage in the space
provided. Here, you will be
able to change the stage's
sequence number if needed.
This stage can be folded in
the Kanban view by turning on
the Folded in Kanban option.
If you only want to add this
stage to certain projects,
you can specify those
projects in the Projects tab.
3.3 Tags
Using tags is usually a good
approach to make searching
easier. Tag configuration
options are available in most
Odoo 18 modules. As seen
below, the Tags option is
also included in the Project
module's Configuration menu.

The name of the new tag can be
entered in the new line that
appears when you click the
New button. Click the Save
button to save the new tag.
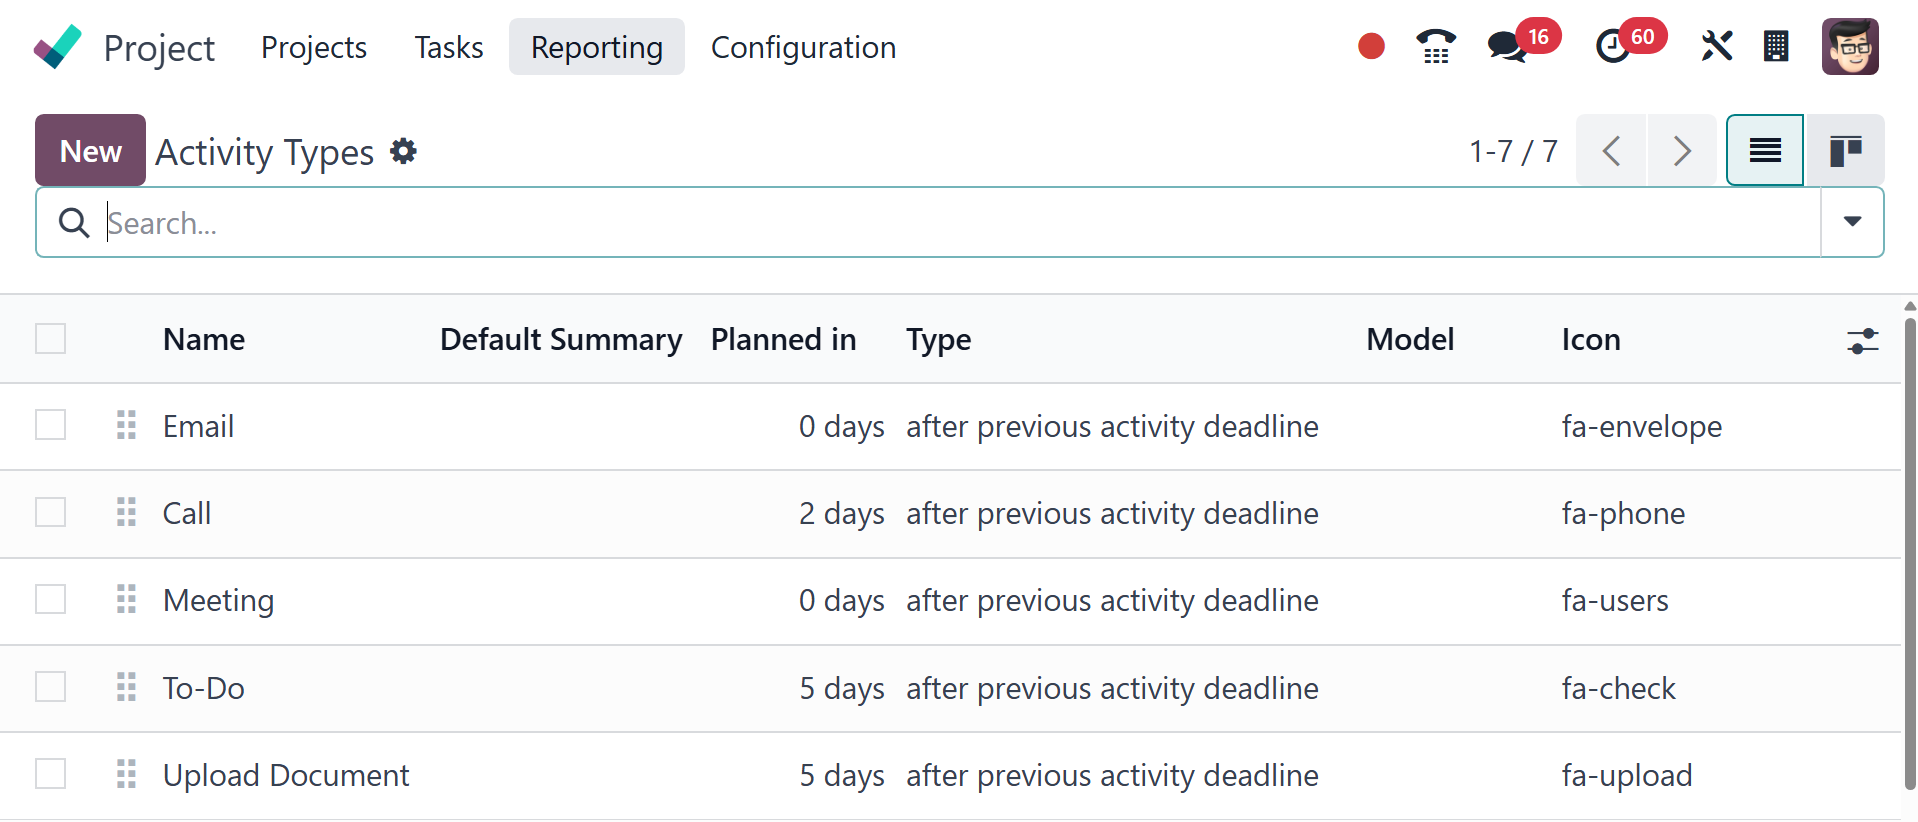
3.4 Activity Types
While working, it could be
important to schedule
meetings, emails, and phone
calls. Therefore, the
Activity Types under the
Configuration menu can be
used to set up these
activities. New buttons can
be used to add more kinds of
activities.
The default user, model, default
summary, icon, decorating
kind, chaining type,
recommendation, email
template, timetable, activity
name, and action to be
performed during the activity
should all be added. As a
result, the procedure for
developing an activity is
consistent across modules.
Under the activity settings,
you have the above-mentioned.
Action: Specify the action the
activity triggers, such as
"Upload Document", "Phone
Call", "Meeting", or
"Reminder".
Model: If the activity should be
specific to a model, set it
here.
Default User: Specify the default
user assigned to the
activity.
Default Summary: Enter a default
summary for the activity.
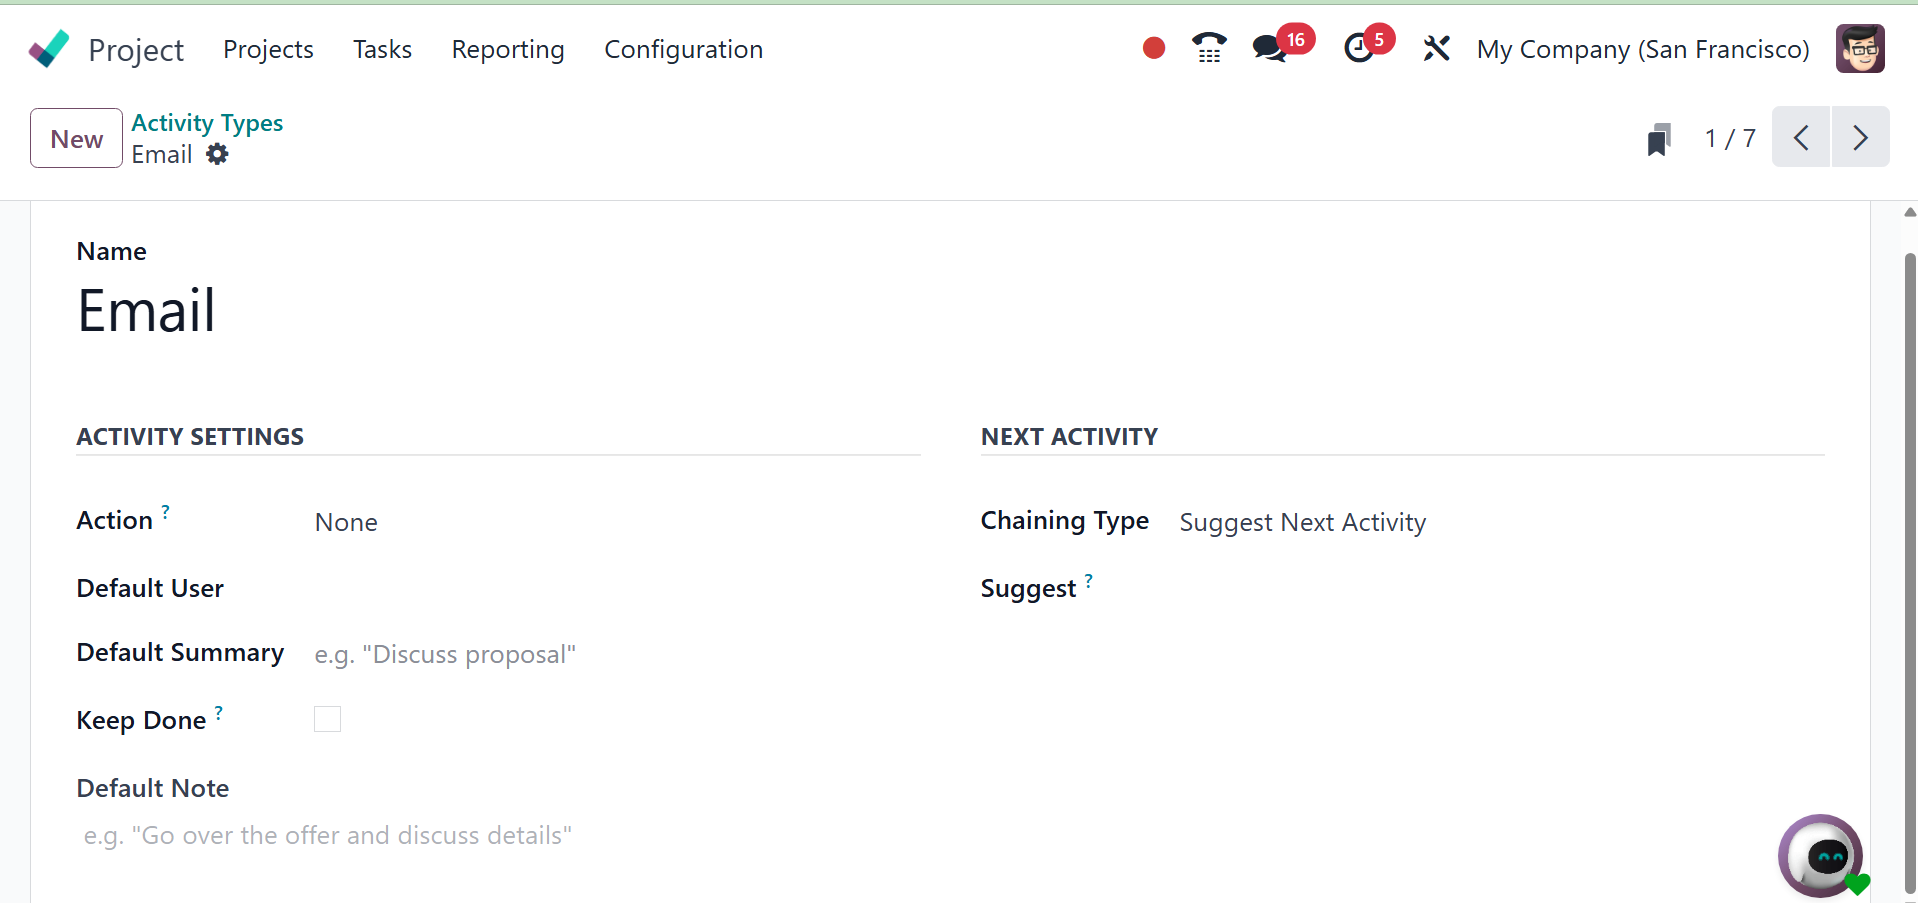
Under the next activity, you have
the options like,
Chaining Type: Select how the
next activity should be
handled
Suggest Next Activity: Suggest
the next activity when the
current one is marked as
done.
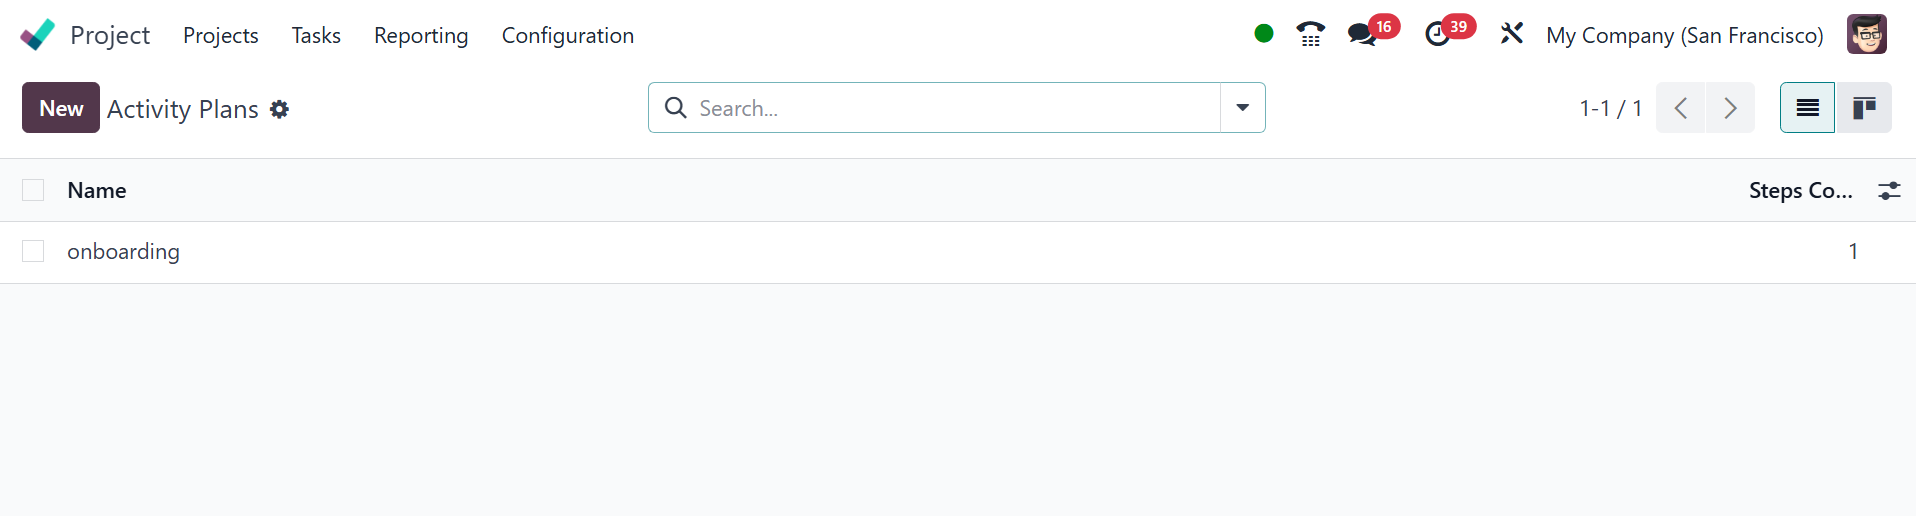
3.5 Activity Plan
To finish the work, additional
activity planning can also be
included inside the
configuration. Select the
Activity Planning option from
the Configuration menu to add
such plans. Then, to add a
new plan, choose the New
option.
Name the firm and the plan first.
Next, add the Activity Types
to the Activities To Generate
tab using the Add a line
option.