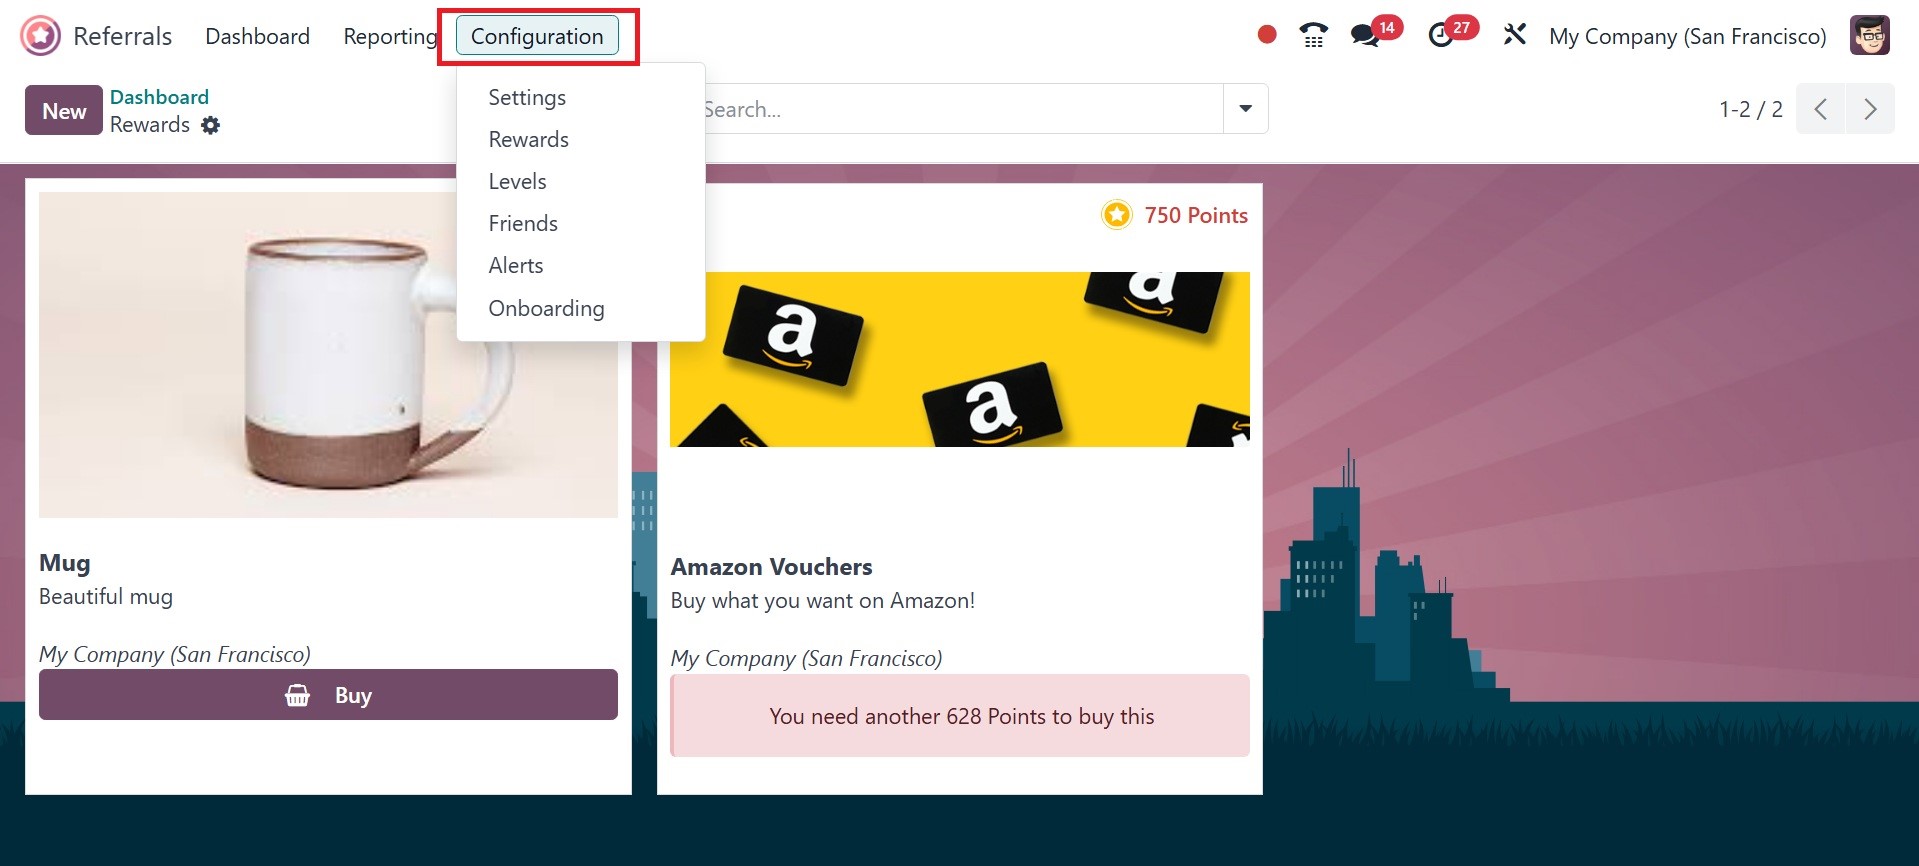
2. Configuration
The Configuration feature of Odoo 18 Referrals comprises friends,
onboarding, rewards, levels, and notifications. Users may easily
handle each of these tasks with Odoo 18. Below, we'll review each
feature mentioned in the Configuration.
2.1 Settings
Under the settings option, you are provided with the background
option, which helps you to set up a background image, as in the
image below.
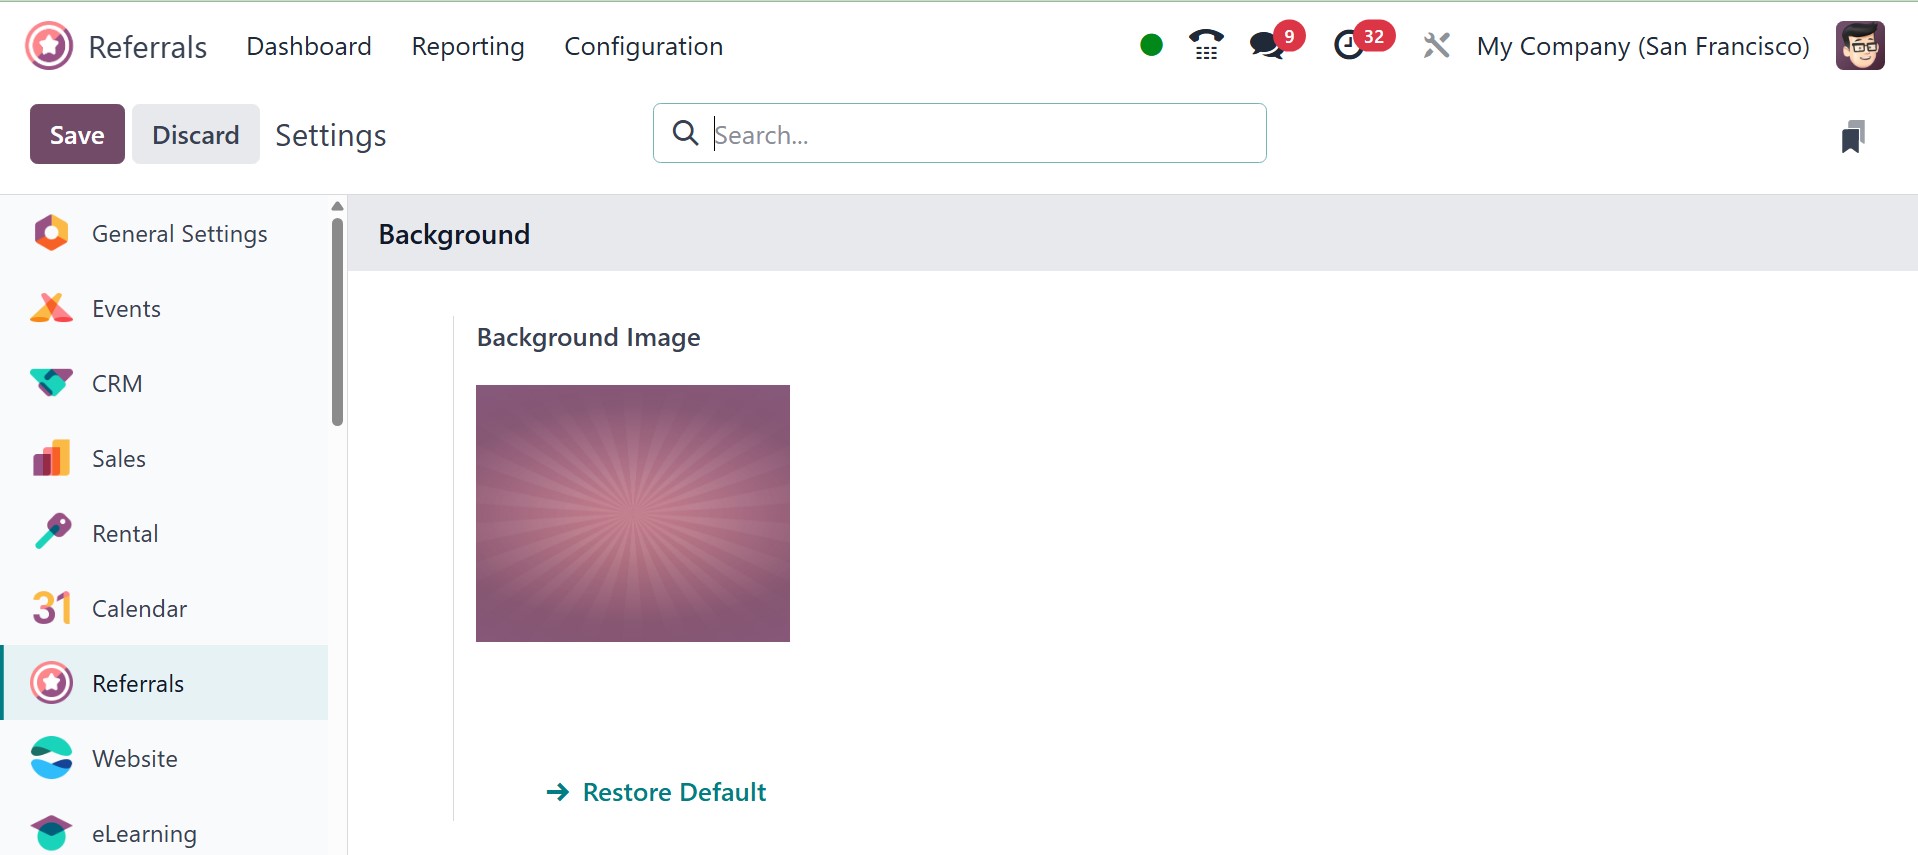
You can also restore the default background using the restore default
option.
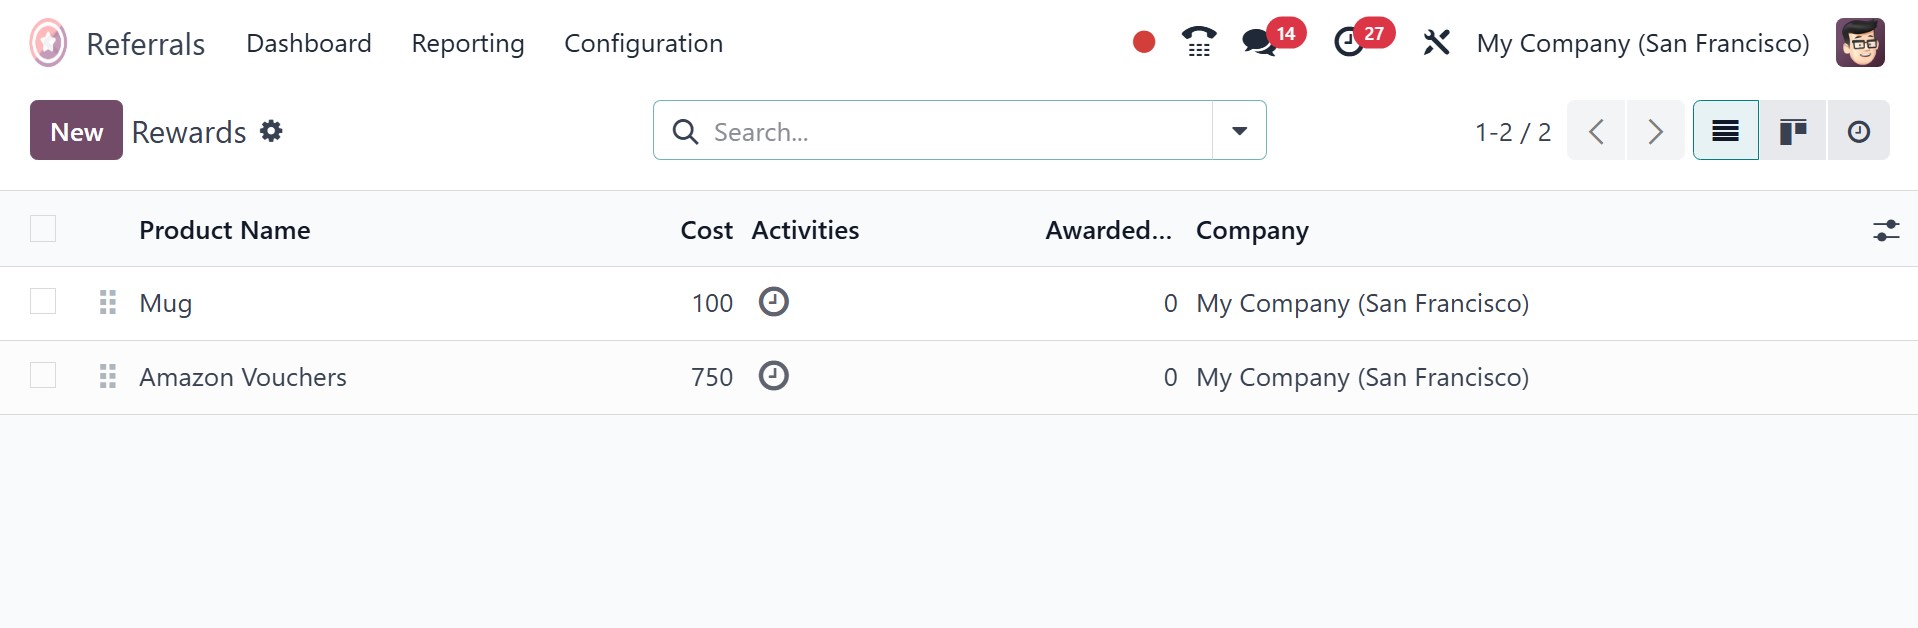
2.2 Rewards
In order to recognize achievement, commitment, and diligence, rewards
are given. It is awarded to a company or someone for their success.
Each reference submitted by employees in the hiring department earns
points and rewards for the Odoo18 reference module. These referral
points can be used by staff members to buy goods from the business's
website or physical store.
You can see a list of all incentives after choosing the reward option
in Configuration. In the Rewards box, employees who have received
awards are listed under Cost, Company, Product Name, Activities, and
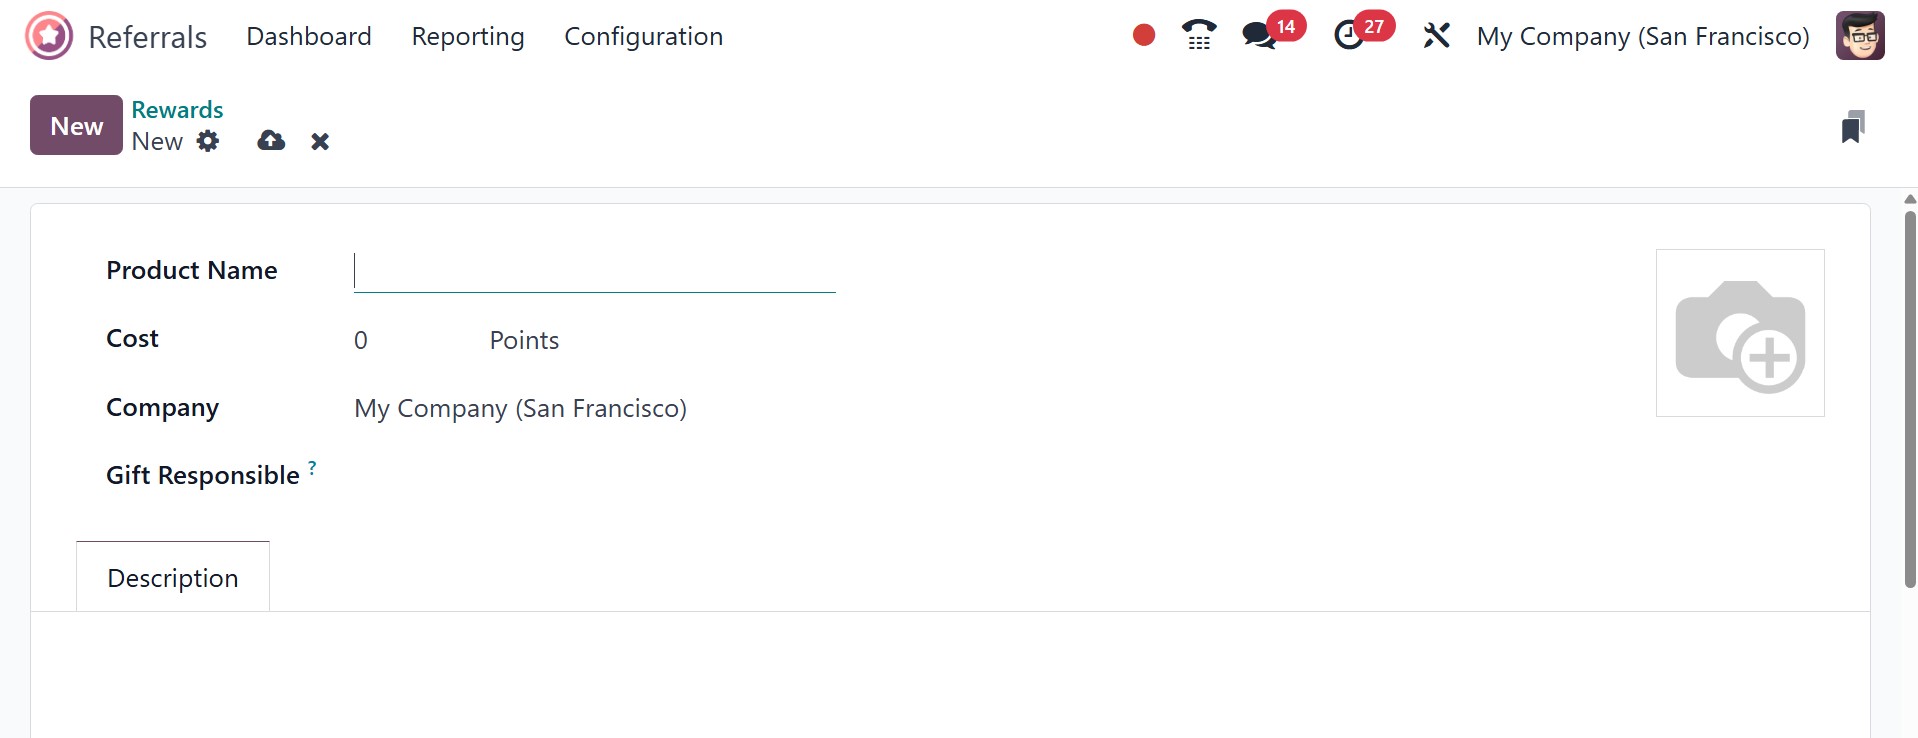
List View. A new prize can be chosen by selecting the New symbol.
On the blank screen, type the product name and cost per point. You
can choose the company name and the present recipient later on in
the present Responsible section. You can include pertinent
information about the reward under the Description tab.
Thus, the advantages of the Odoo 18 Referral module are easily
explained.
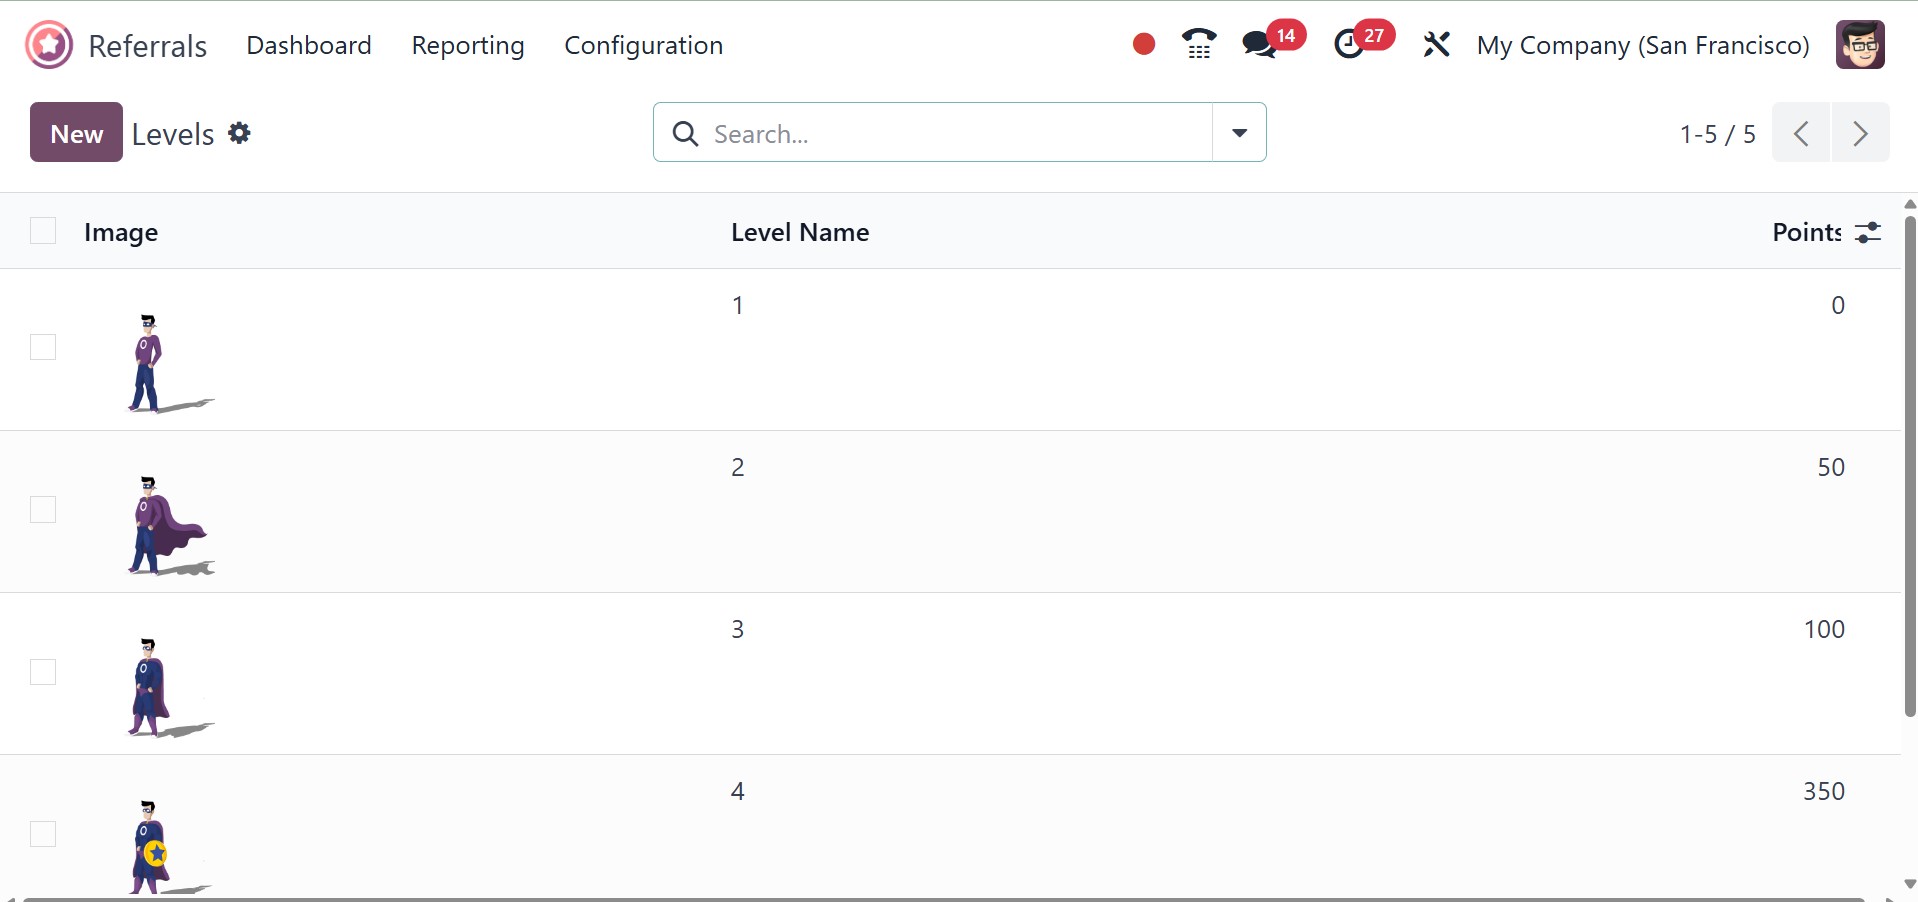
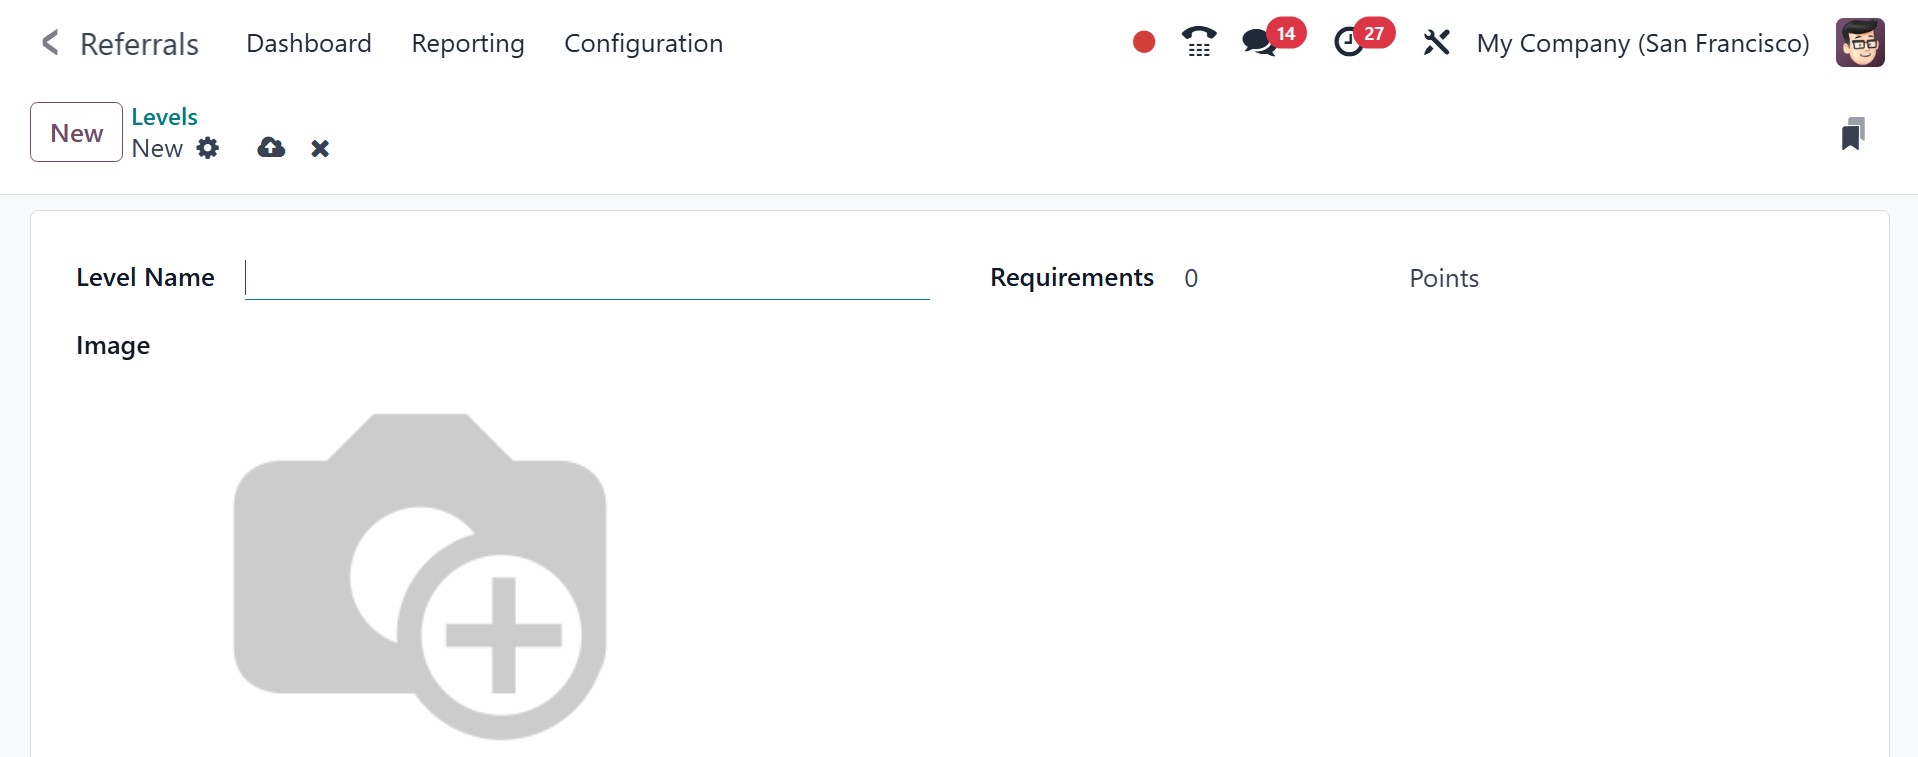
2.3 Levels
Assigning employees to different recruitment process stages based on
each referral is easy with the Odoo18 system. In Odoo 18 Referral,
the Levels menu is visible beneath the Configuration tab. A user can
obtain information on a number of levels through the Levels window,
such as the Level name, image, and points. Users can make a new
level by clicking the New button.
In the Levels window, you can input the Level Name and the quantity
of points needed to meet the requirements. Users can also apply
level-related images under the Image option. Once entered, every
piece of data is instantly saved in Odoo 18.
4
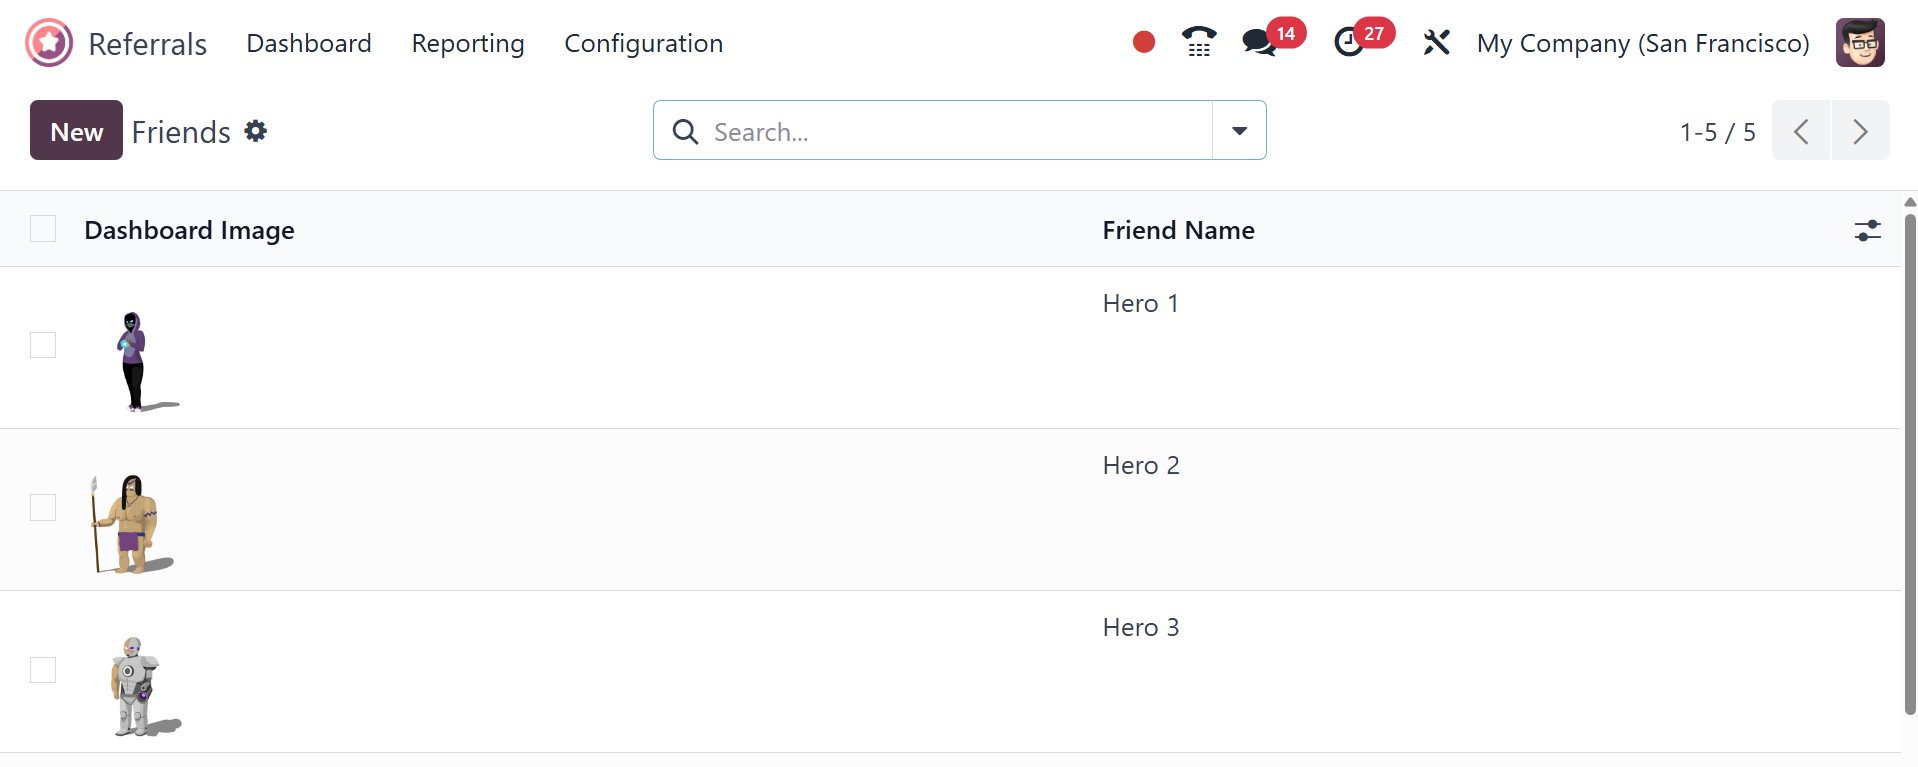
2.4 Friends
Eye-catching settings and a range of animations also complement the
Odoo18 Referral Module's operation. We can manipulate different
images and animations to show candidates in specific firm referral
processes. In order to manipulate different motion visuals on a
platform, Odoo18 creates a special Friends window. All of the
related photos are shown in the open window when you choose the
Friends option under Configuration. The Friend Name and Dashboard
image are displayed on the Friends screen. You can define new buddy
info after selecting the New button.
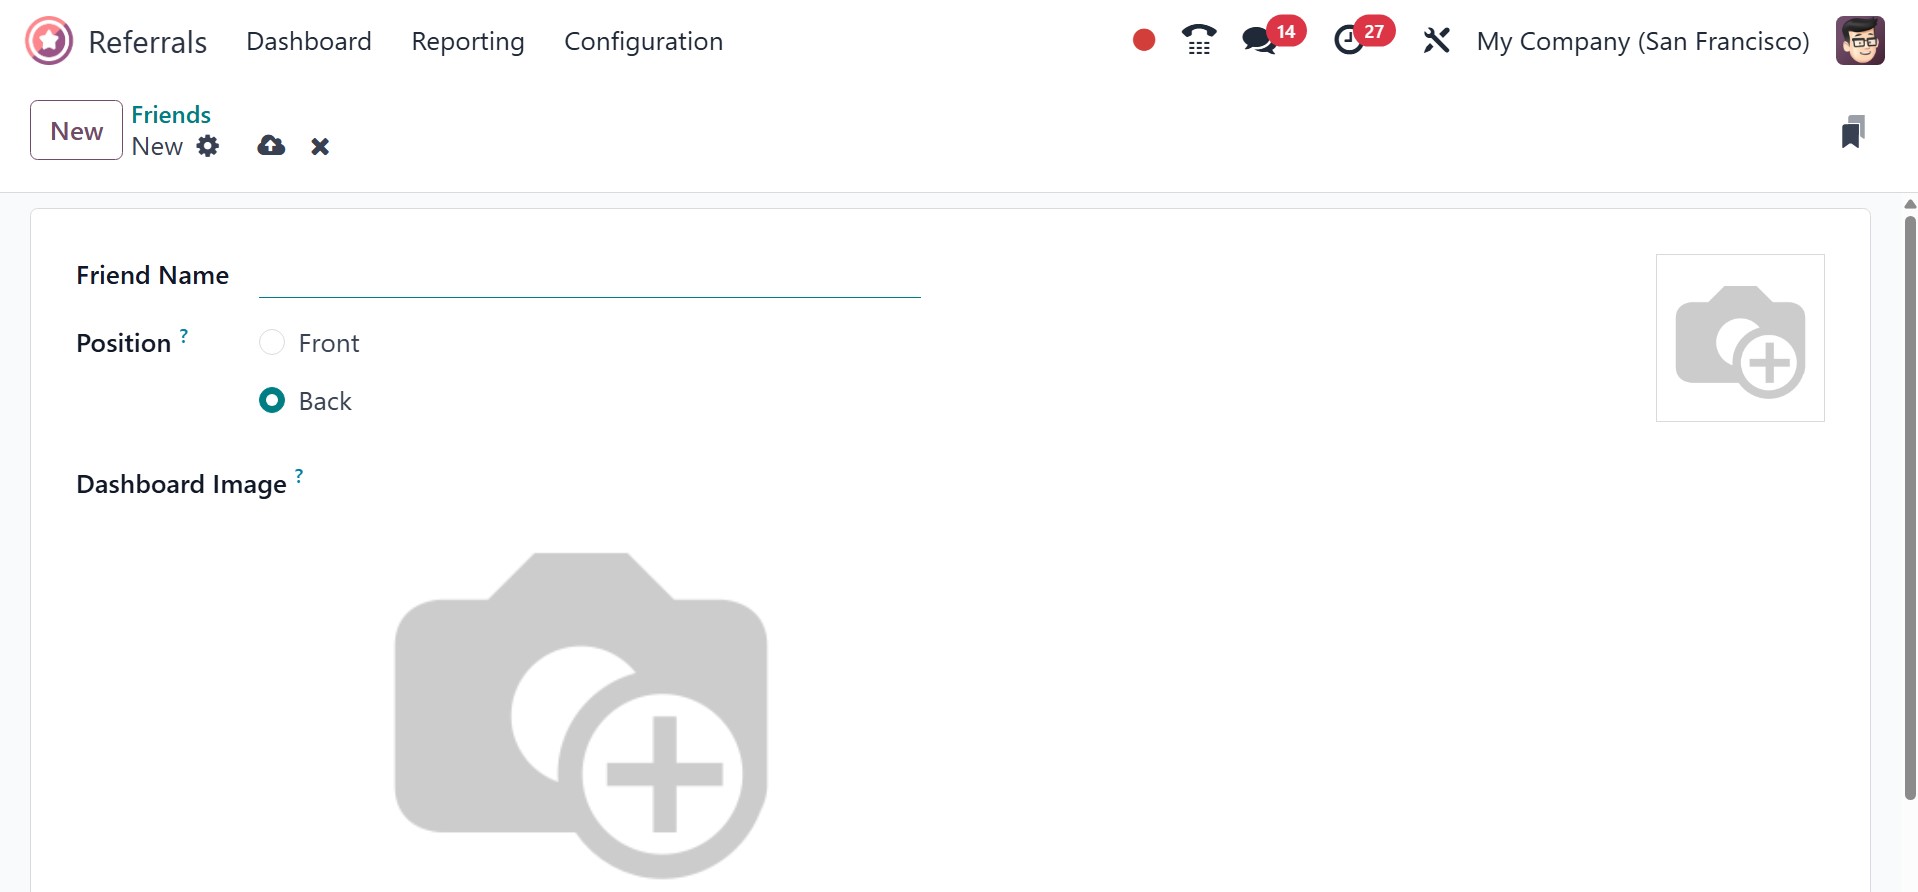
Enter the friend's name in the appropriate space and select whether
to place them in the front or back. Once these parameters are
specified, you can use the Dashboard Image field to add images for
the friend on a dashboard.
We can quickly summarize the details about our pals in Odoo 18 as a
consequence.
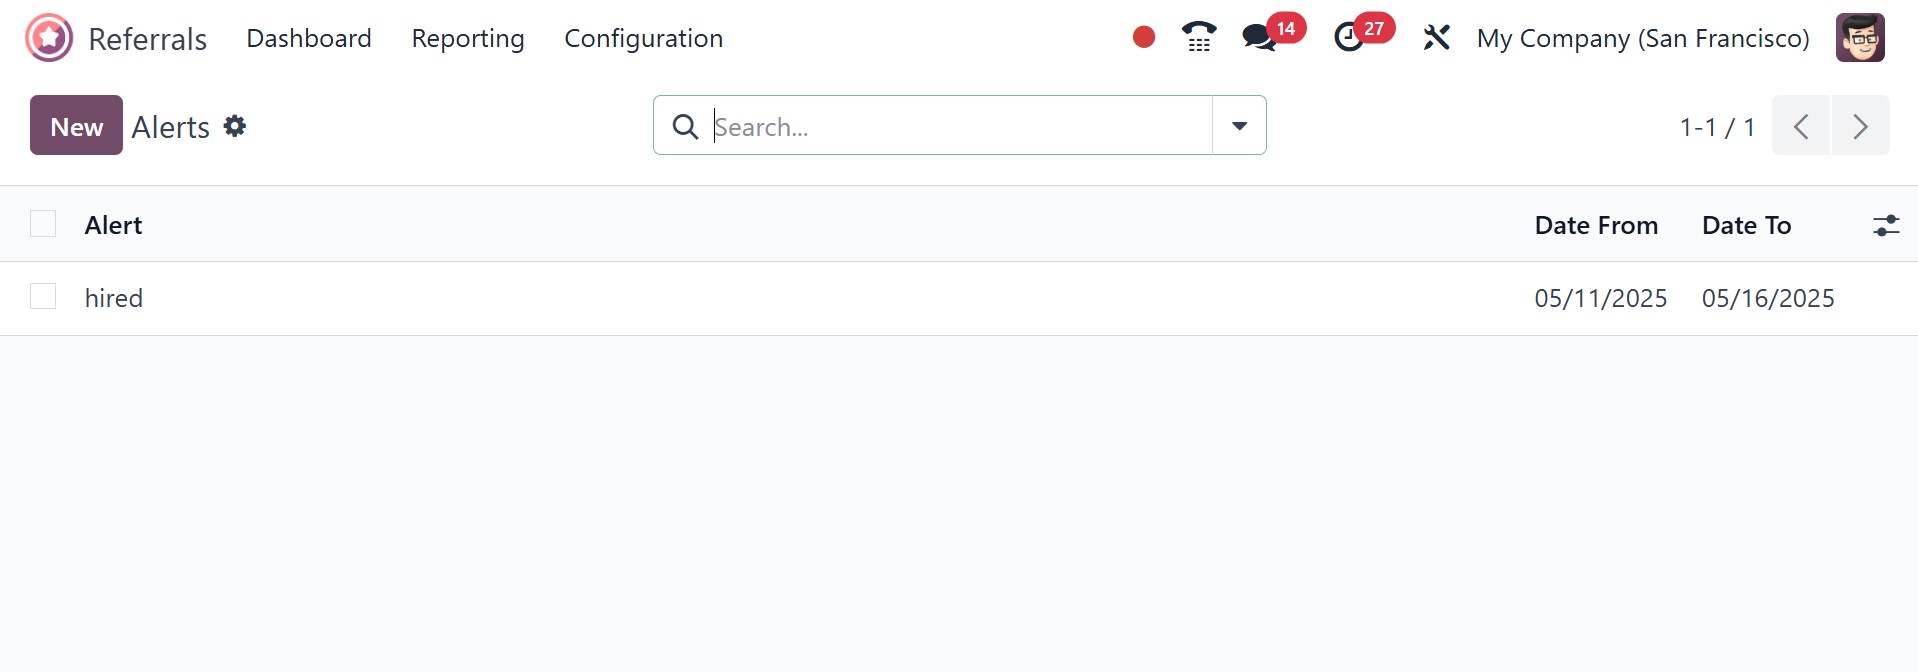
2.5 Alerts
Users can create an informative alert by choosing the Alerts option
from the Configuration menu. You can forward emergency-related
messages and notifications within the notifications pane. Employees
of a company can benefit from being informed about upcoming events.
The Alerts pane displays the Date From, Alert name, and Date To
details for every pre-configured alert. The New button ensures that
you provide new alert data.
On the open page, enter the start date in the Date From box and the
final date in the Date To option. The alert's name and the firm name
can also be entered in the Alert box.
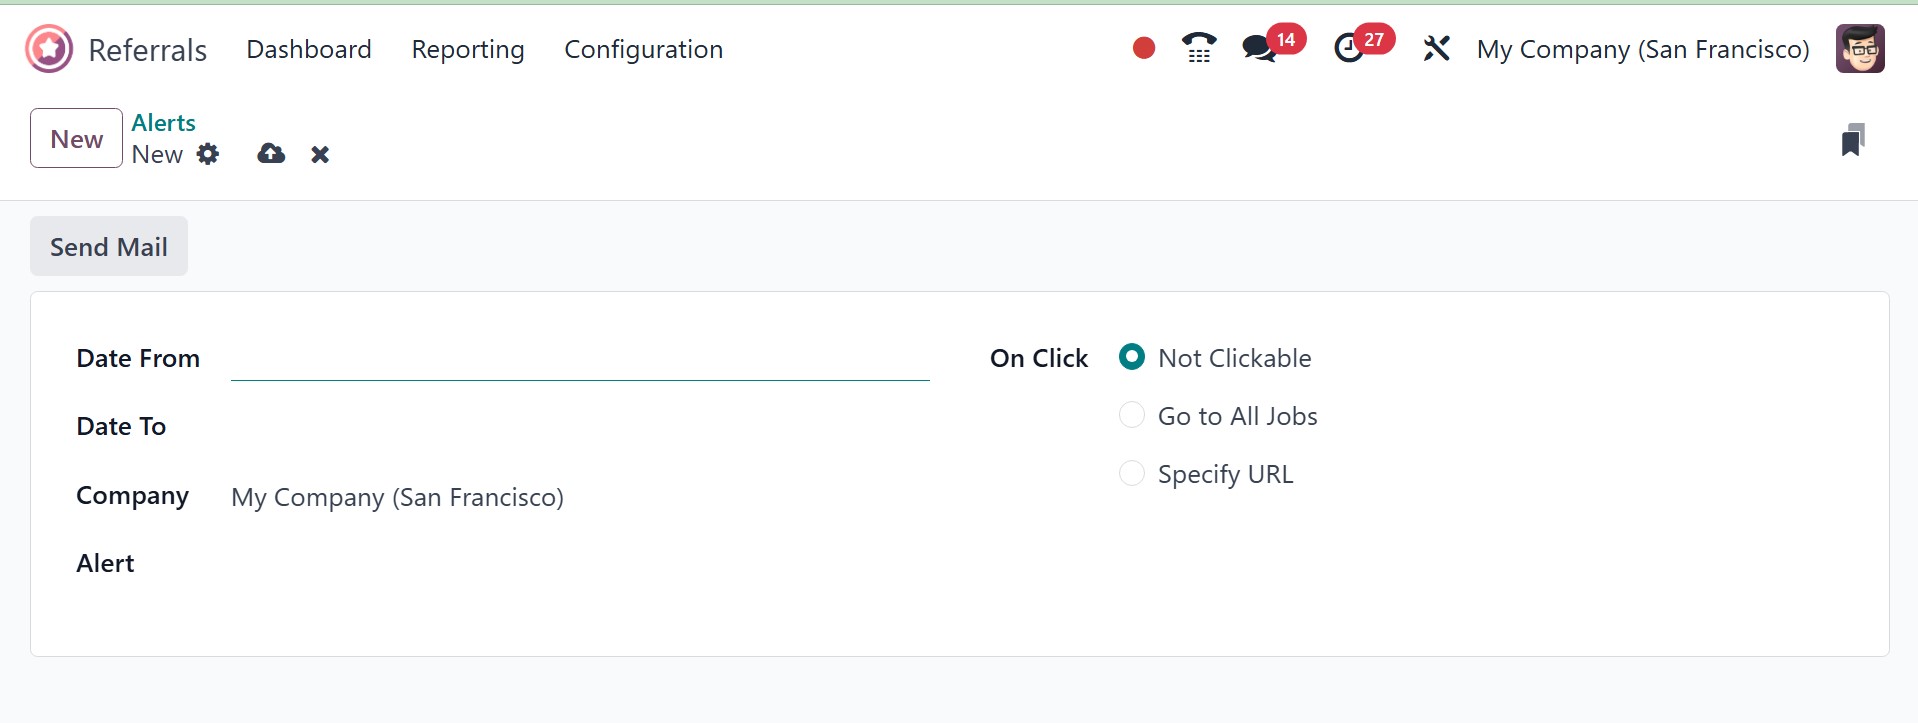
In the On Click column, you can choose options like Go to All Jobs,
Not Clickable, and Specify URL. To send the alert mail to the staff,
click the Send Mail button in the Alerts window.
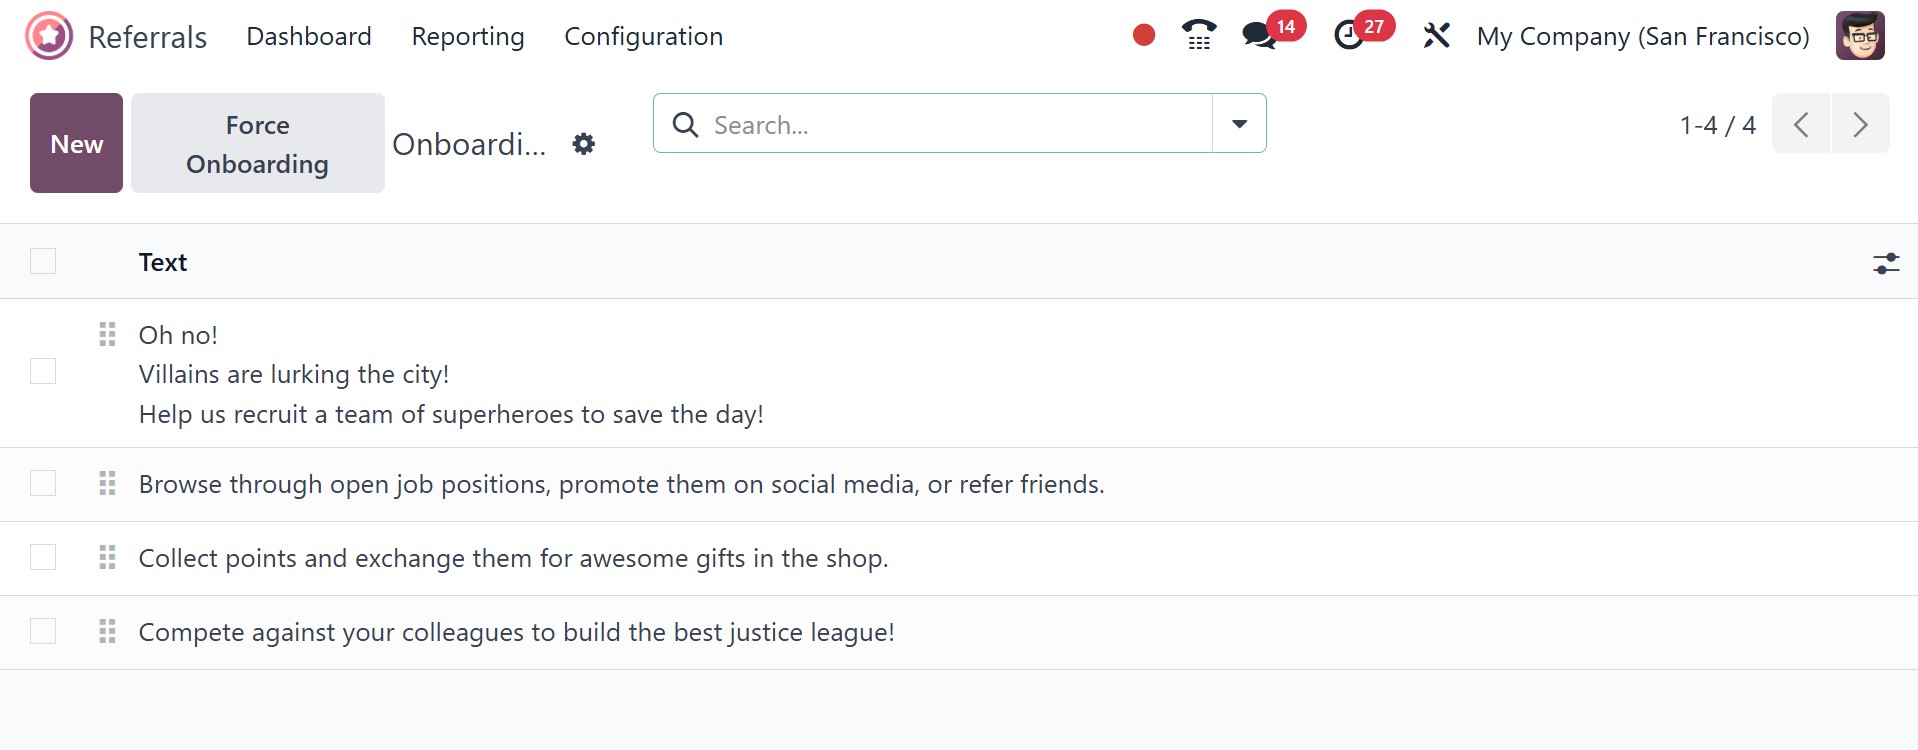
2.6 Onboarding
The user can view all of the onboarding messages after selecting the
Onboarding option in Configuration. It has the ability to view all
created text within the Onboarding box.
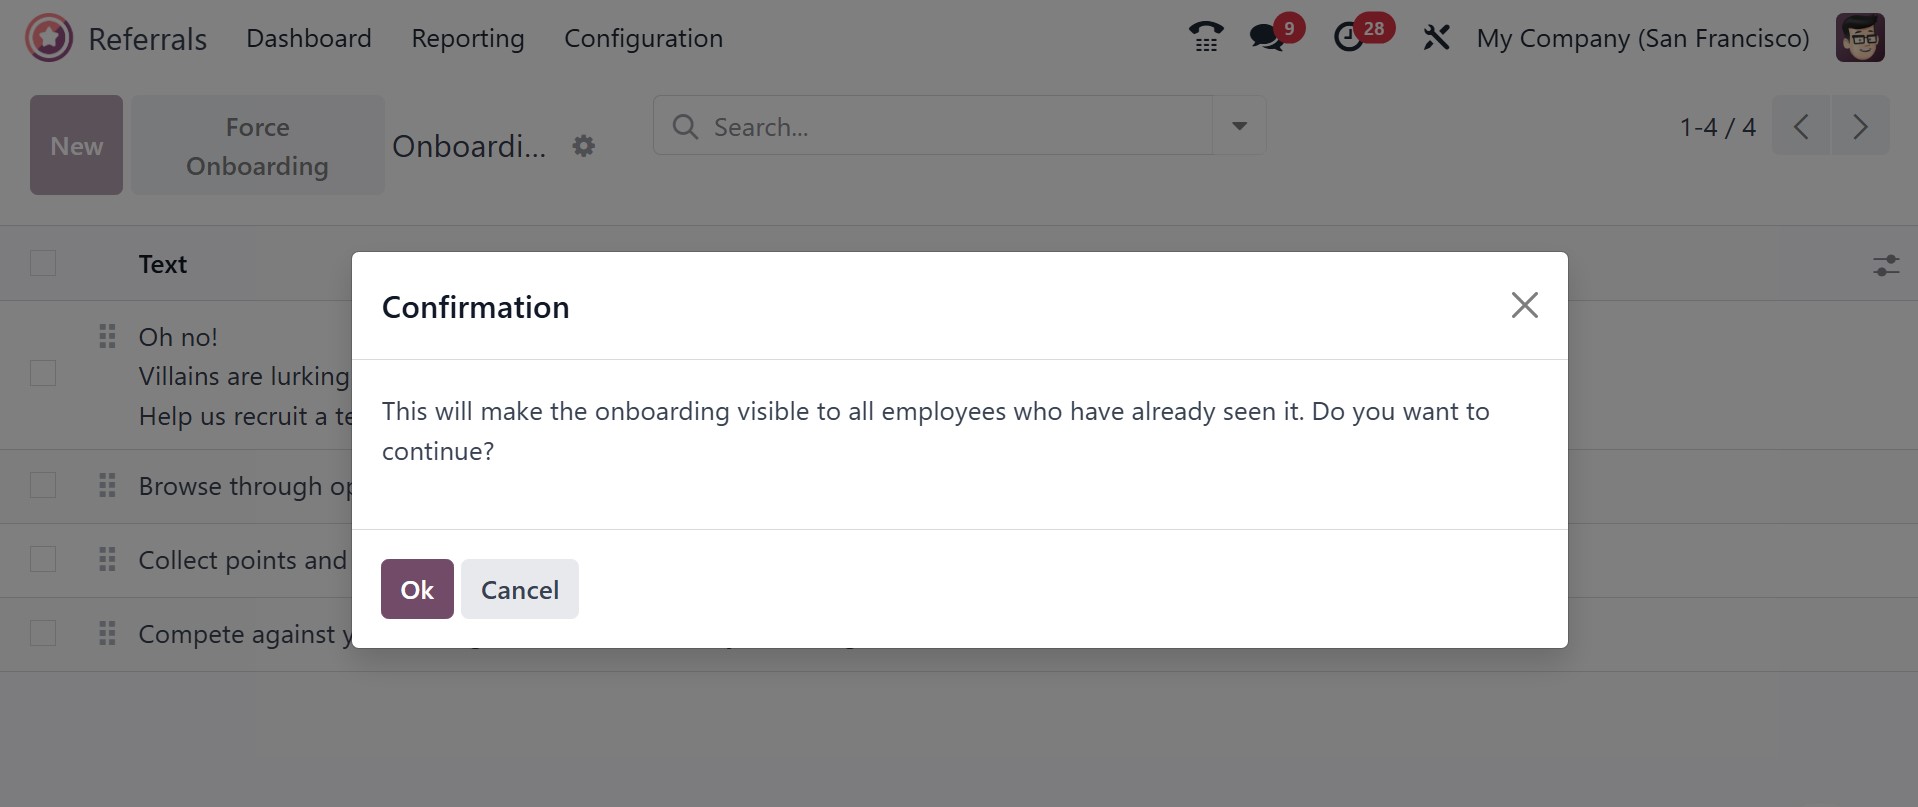
The "Force Onboarding" button found in the Onboarding options is
used to retrigger the onboarding flow for employees who may have
skipped or completed it previously. This will make the onboarding
visible to all employees who have already seen it. On selecting the
icon, you have a confirmation page.
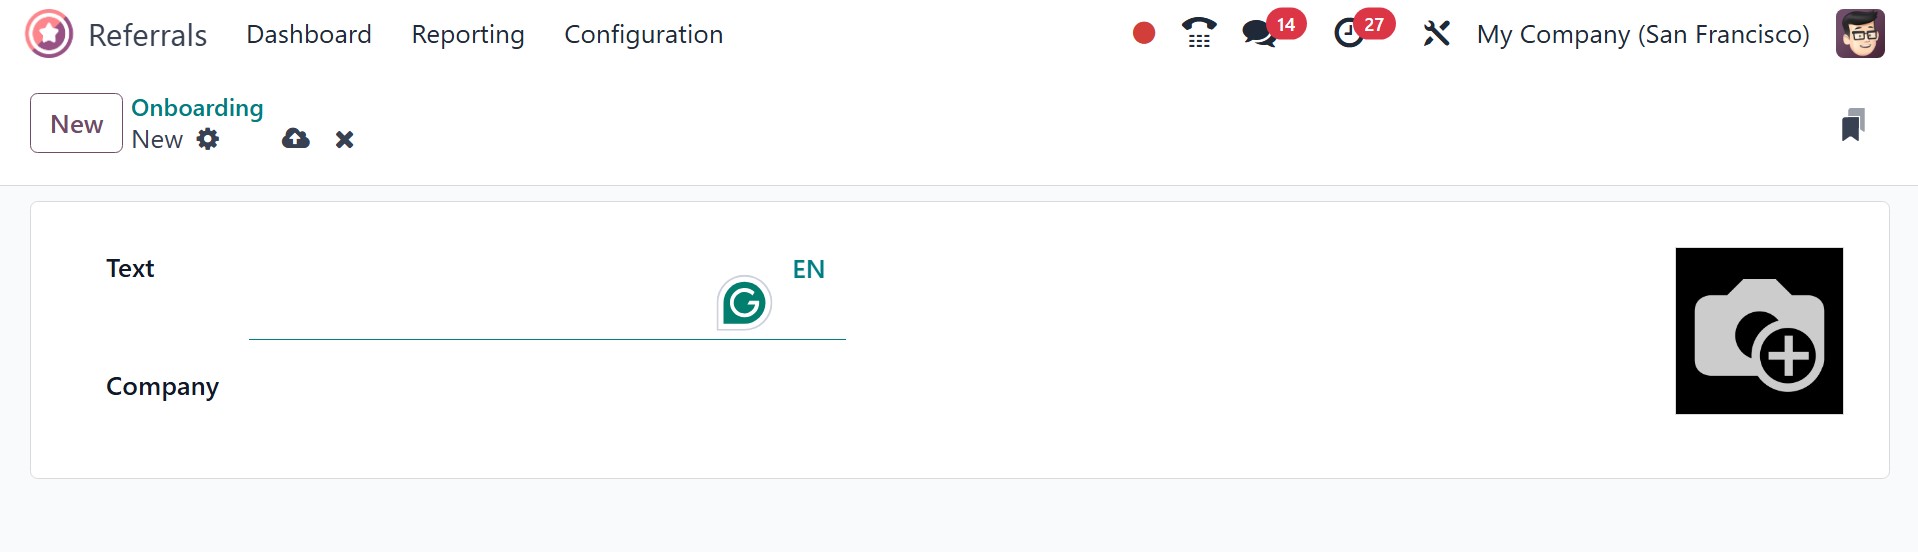
We can compose a new onboarding message by clicking the New button.
On the new screen, choose the Company and apply the onboarding
message in a text box.
Every piece of data is easily stored in Odoo 18 as soon as it is
stated.