2. Rental Products
It is easy to create new rental products in the rental module. The
method of creating a rental product is similar to that of
configuring items. When adding a new product, don't forget to check
the "Can be rented" option in the Configuration window. There is a
link to the Product menu on the main page.
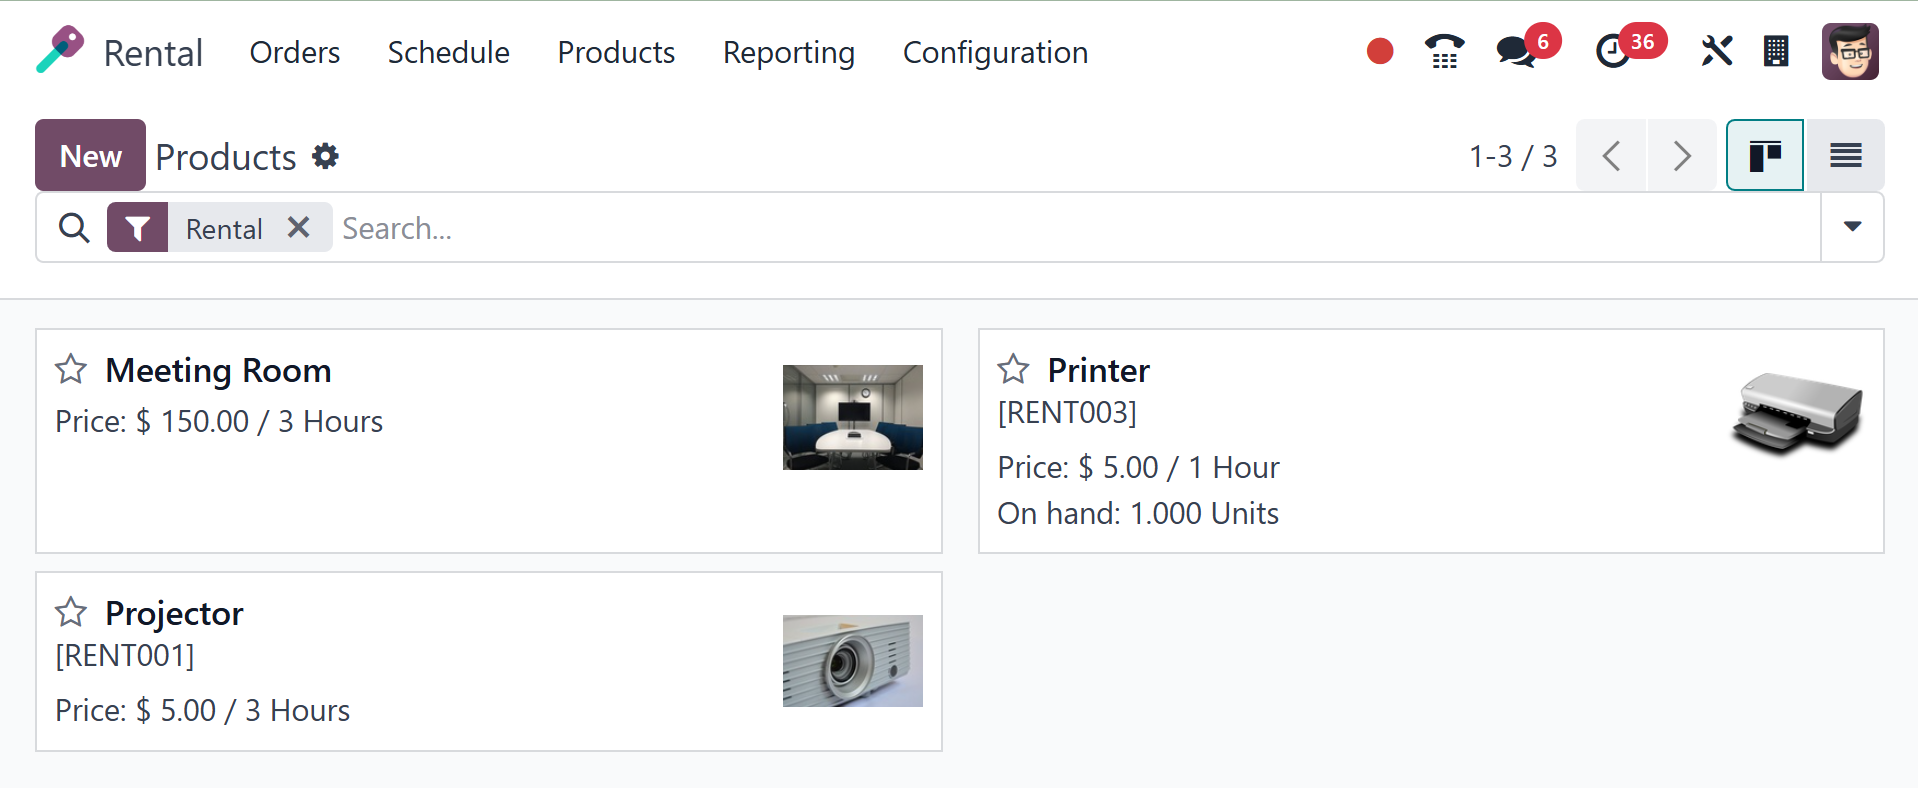
On the page, users can see a lot of items that are available for
rental. It provides the product's description in addition to its
name and cost. As seen in the screenshot, a user can make a product
of the same kind by using the New icon.
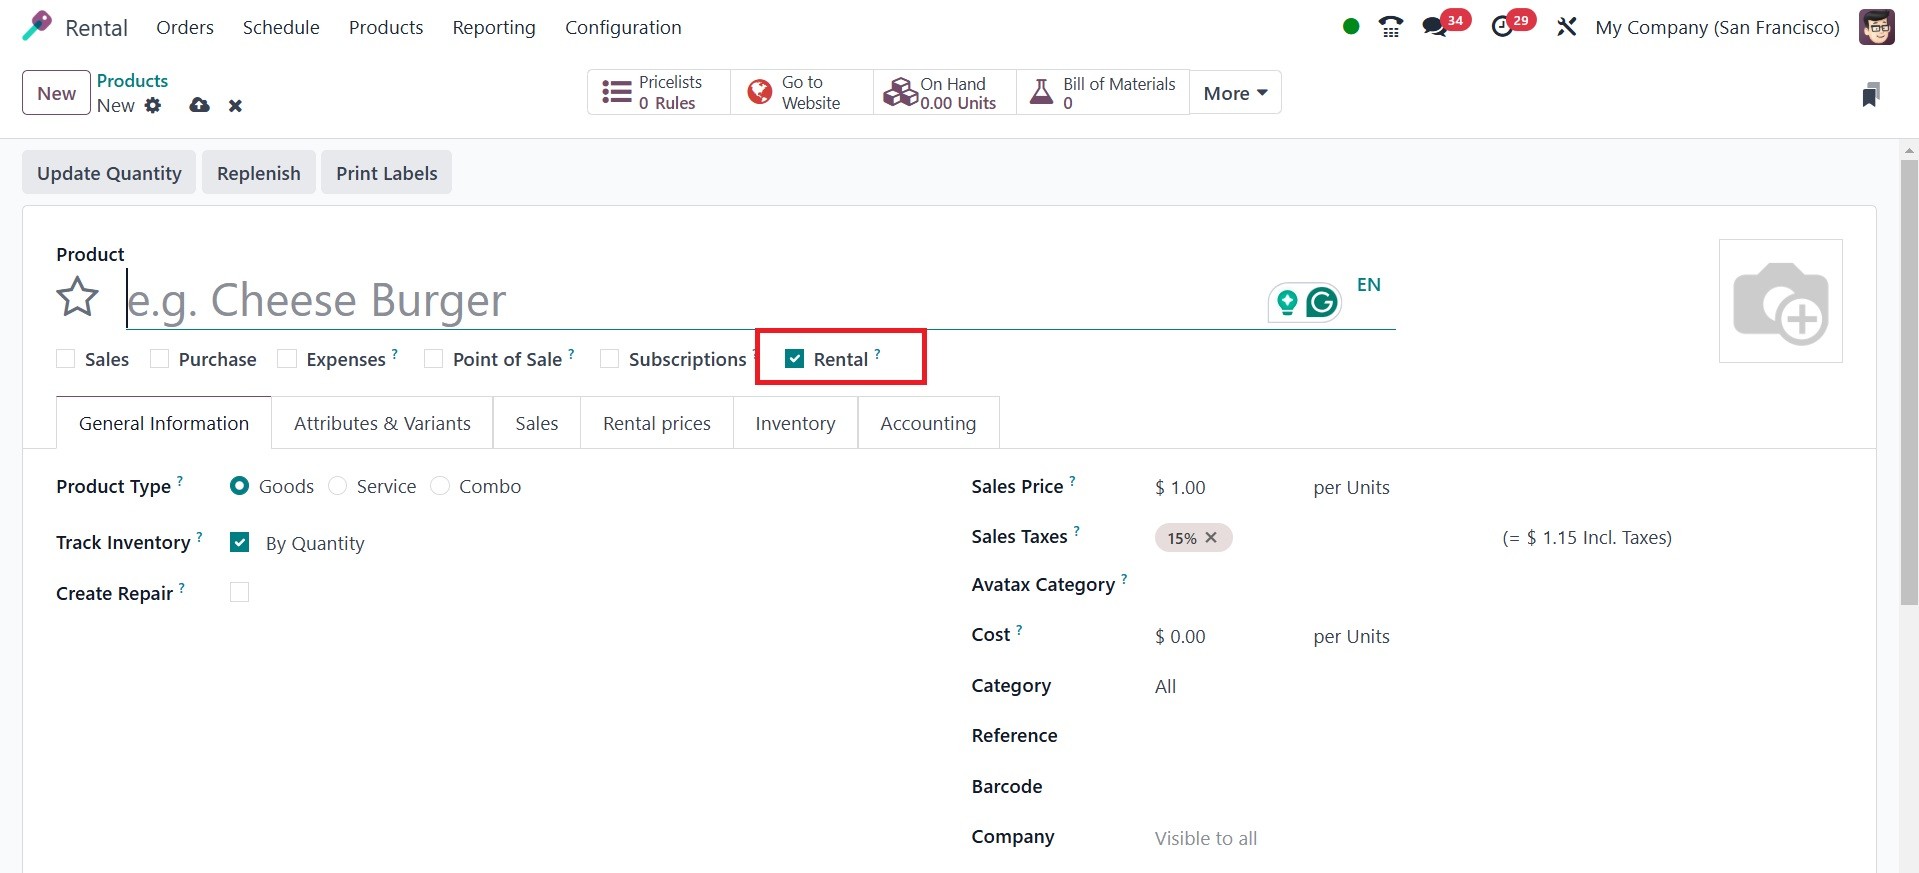
The creation page allows you to upload a large number of details. You
can put the product's name and an image of that specific product in
the designated fields. The product can now be purchased, sold, used,
rented, and recurrently activated. This option needs to be activated
because it is rented.
Numerous tabs are now available for you to enter different
product-related data. Under the General Information tab, you may use
the drop-down box to choose the Product Type. For the invoice
policy, there are options for the delivered quantity or the ordered
quantity. In the appropriate box, you can also enter the Units of
Measure, Purchase UoM, Sales Price, and Customer Taxes. The options
are as follows: Product category, Internal reference, Barcode,
Product Tags, Avatax category, Taxcloud category, and Company name.
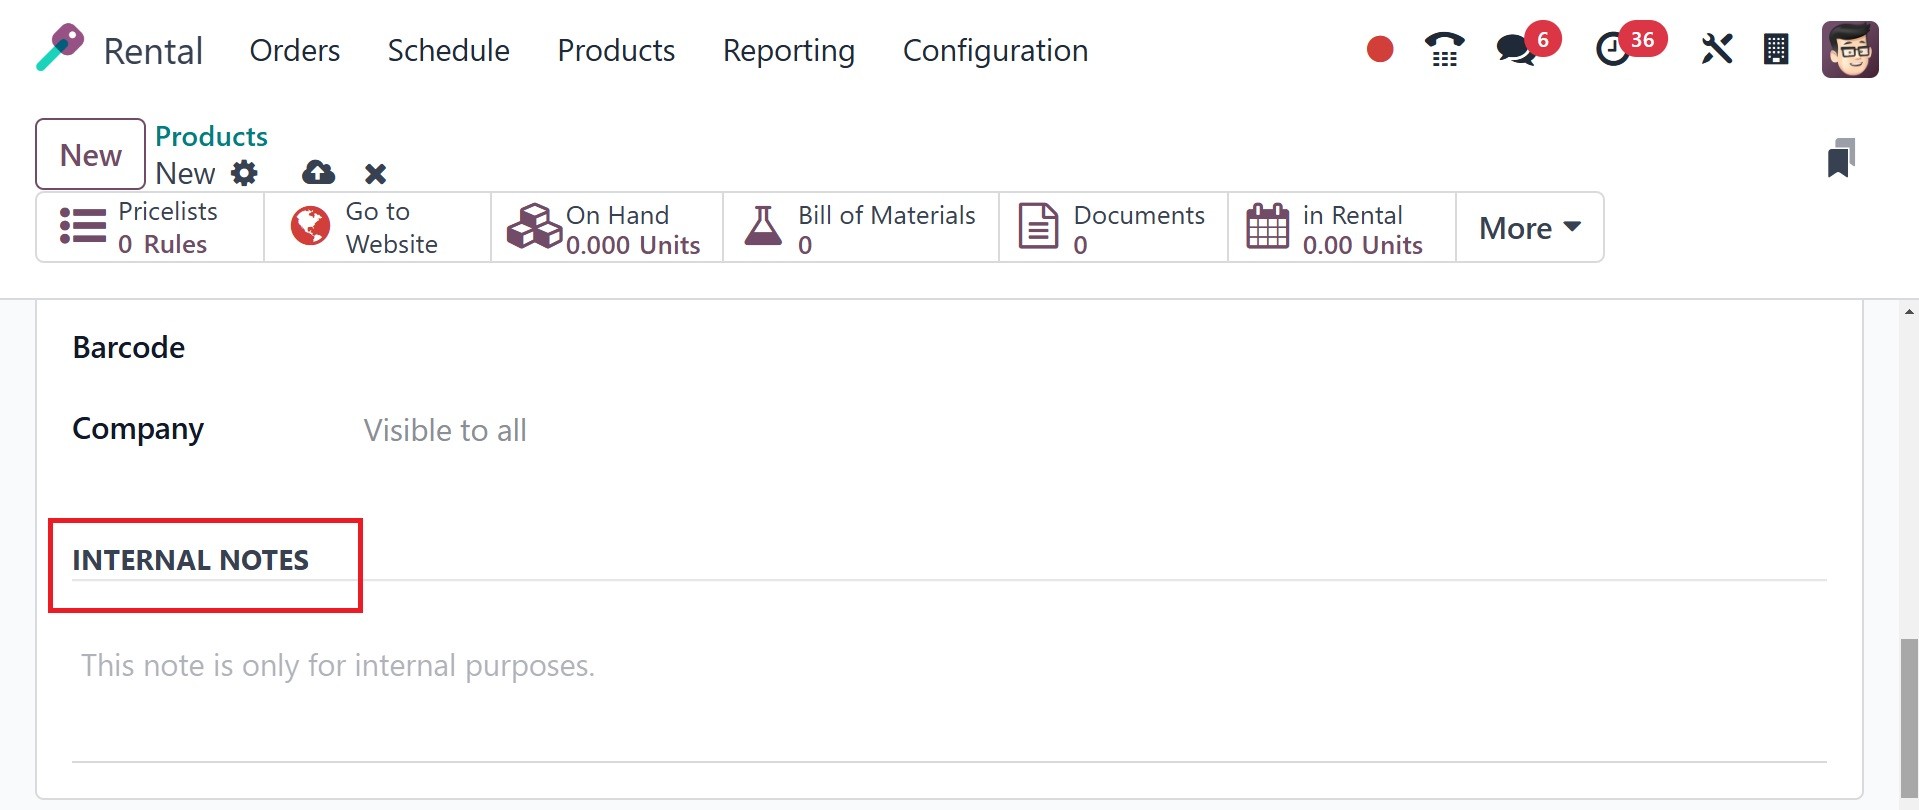
The INTERNAL NOTES section, which is indicated in the screenshot
below, is where you can leave a note regarding the product.
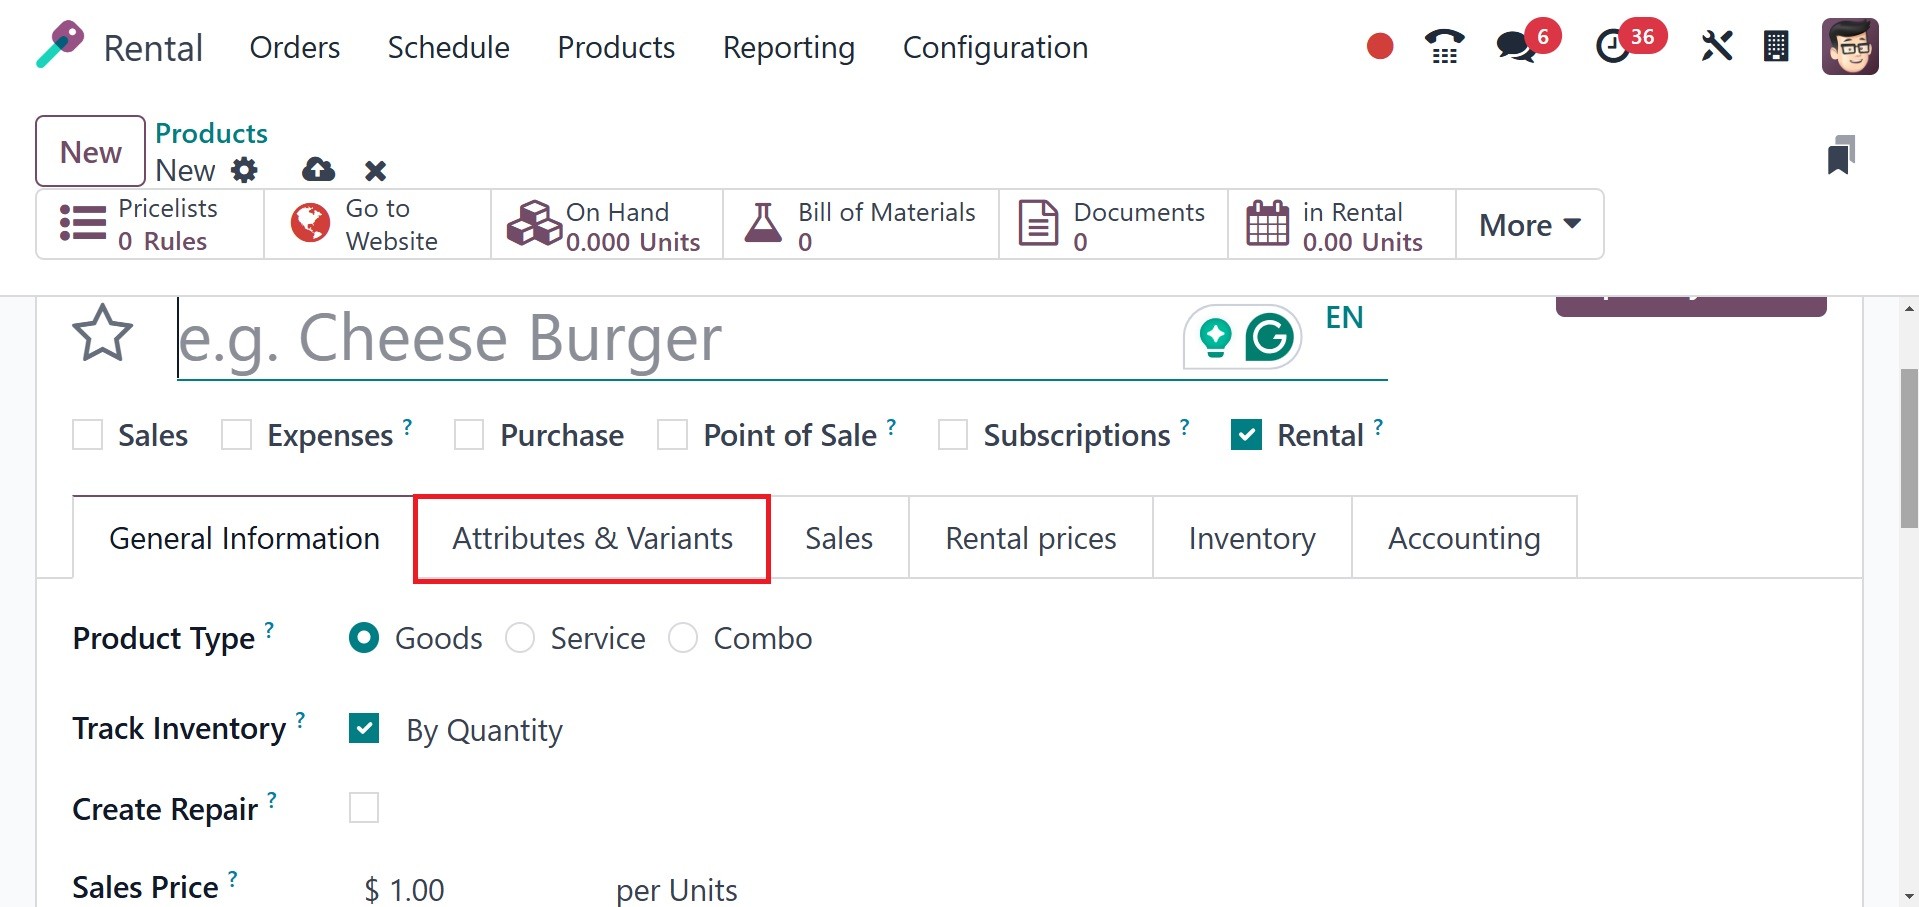
You can input the attribute name and its corresponding value in the
Attributes and Variants tab, which appears after General
Information. The Add a Line option makes it simple to add the
properties to the product.
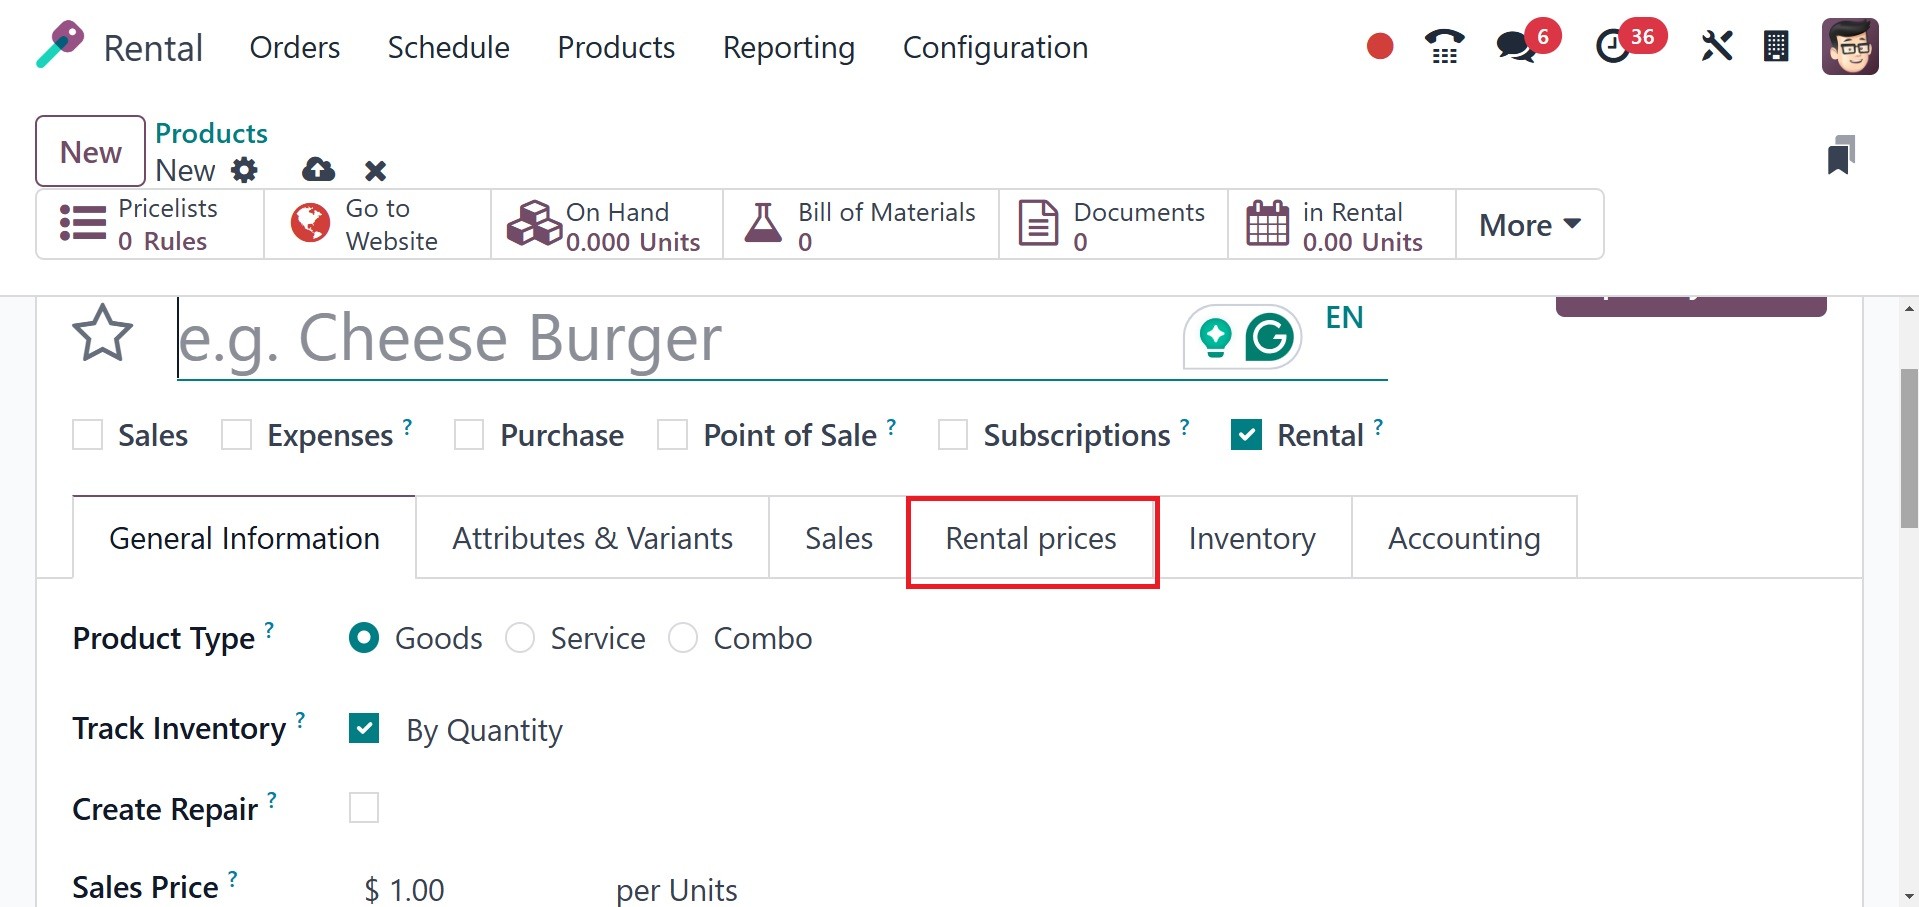
The Add a Price button on the Rental Price tab allows you to add a
new price, as seen in the illustration below. The length of the
lease will determine if the fee is added. Days, weeks, or months
might be used to calculate prices. Depending on the designated unit,
we can also activate the rental cost. The time range, cost, and
price list are among the details.
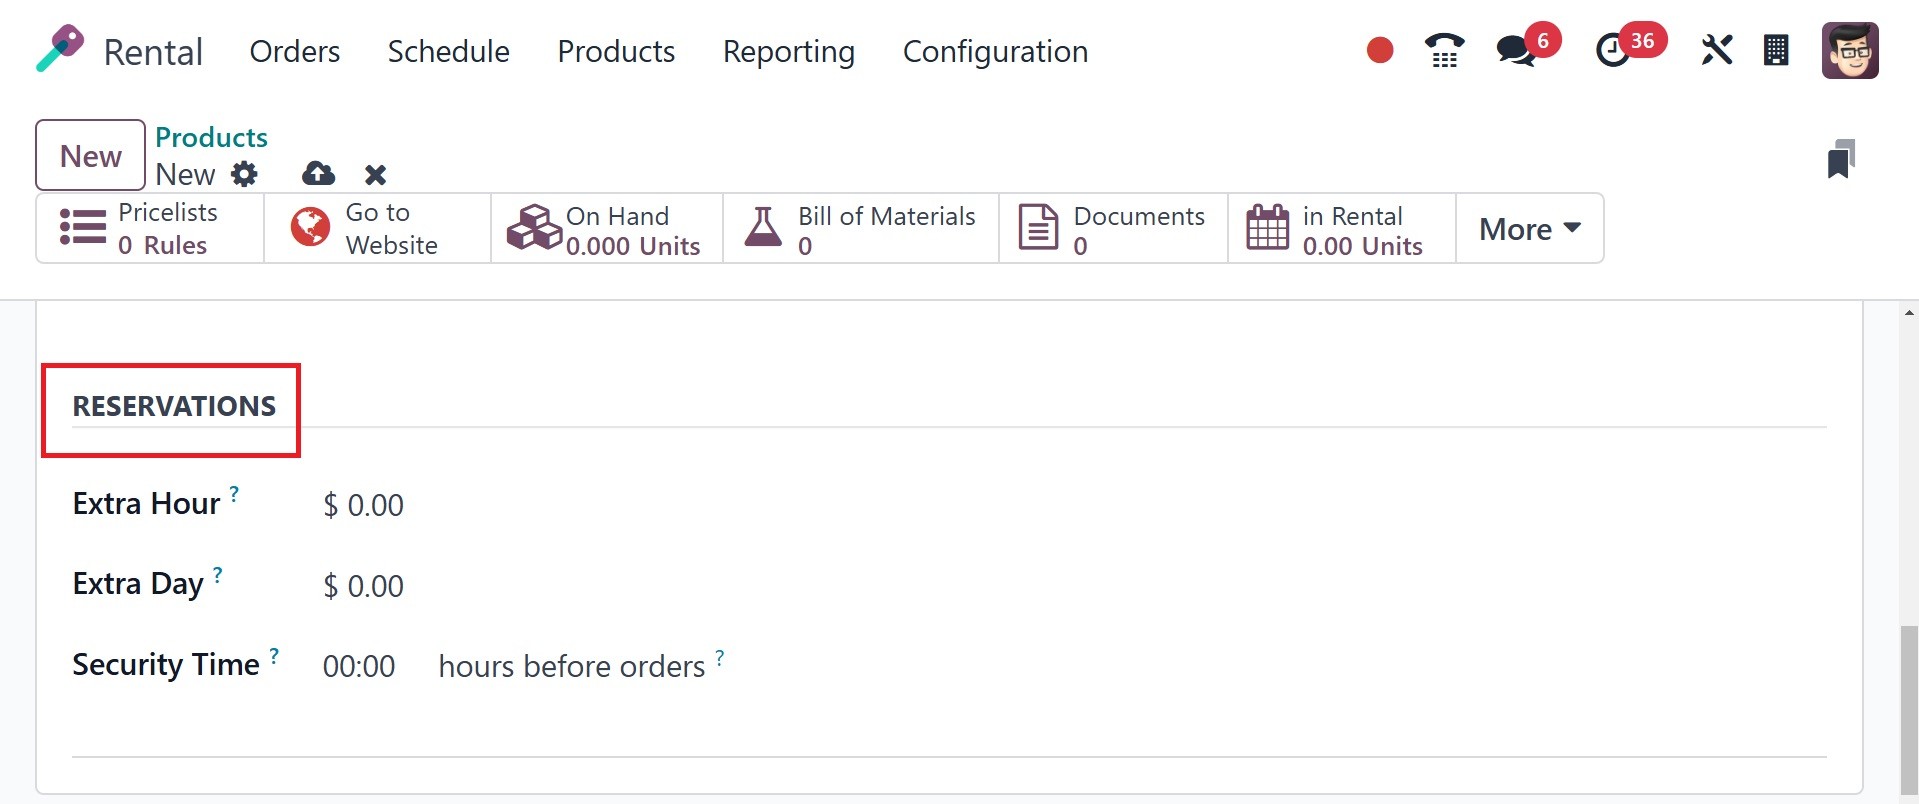
Aside from adding more hours, days, and security time, the next
choice in the rental fee is RESERVATIONS. The Security Time can be
used to provide the Security Time between two leases. During this
security period, the product will not be accessible, and Odoo 18 ERP
makes sure that it is returned before the subsequent rental. When a
consumer returns an item late, businesses can automatically apply
additional rental rates using the Odoo Rental module's Extra Hour
and Extra Day options.
The Inventory tab comes next. Using the OPERATIONS option under the
inventory tab, you can add the routes as buy, manufacture, replenish
subcontractors on order, drop ship, or drop ship. You can also use
the View Diagram option if you need to see the diagram.
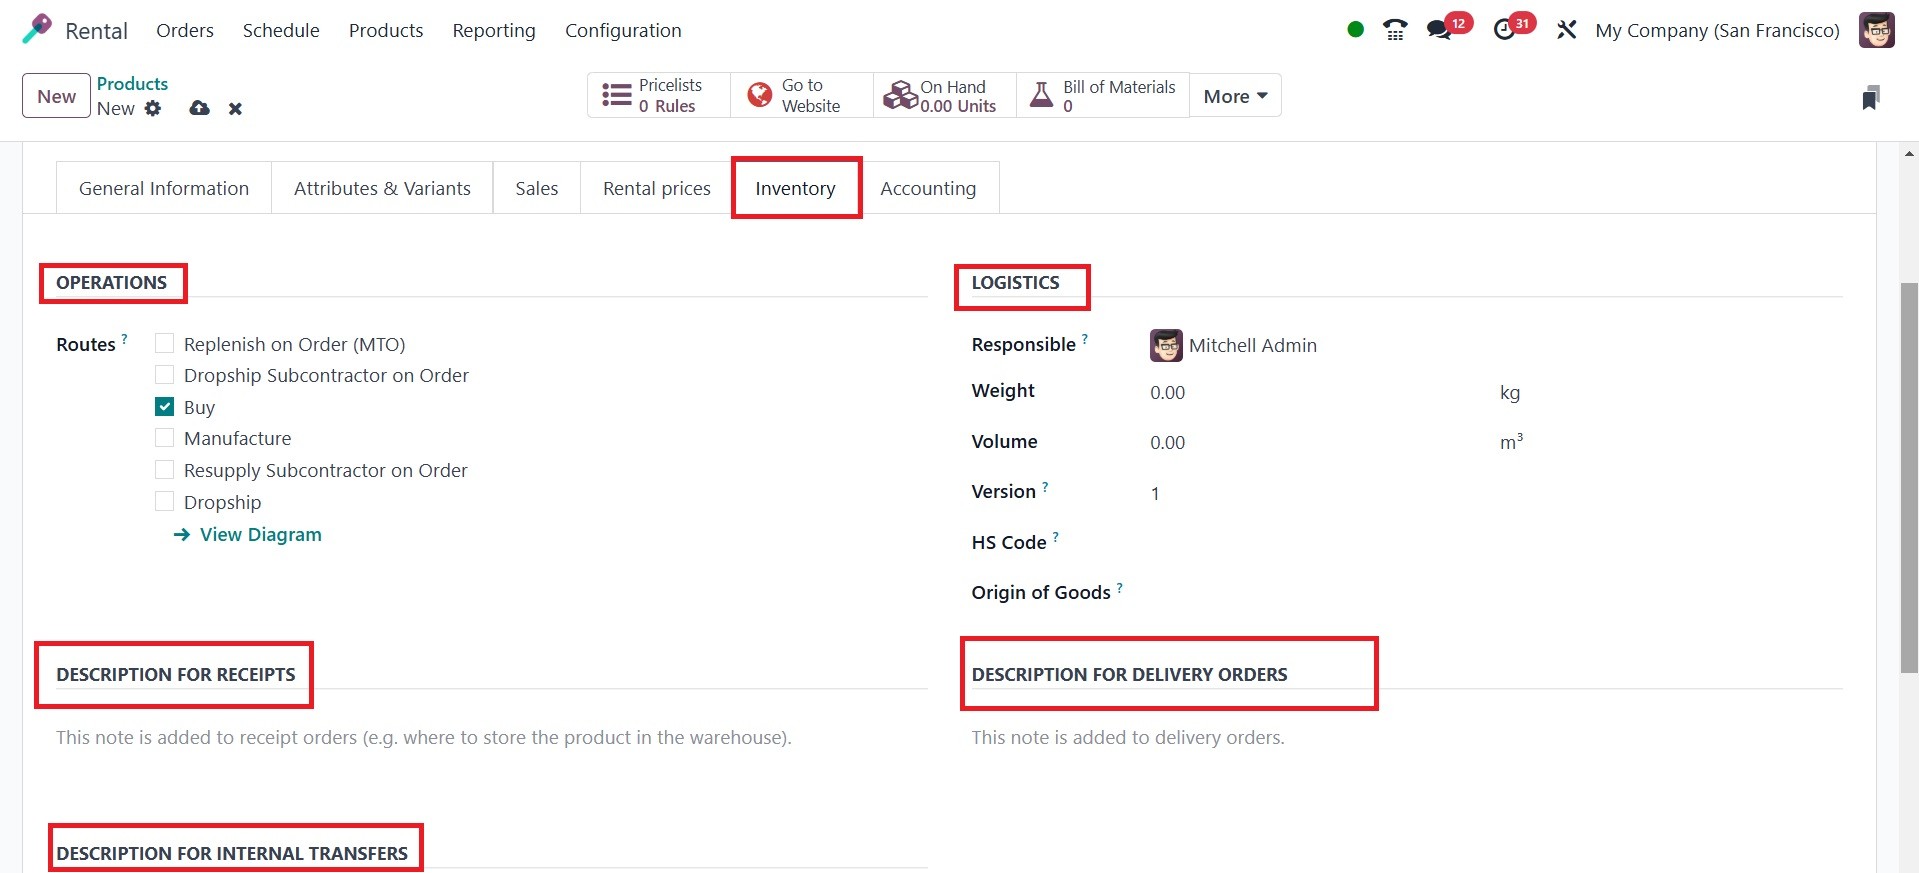
The LOGISTICS option requires the addition of the Responsible User,
Weight, Volume, Version, HS code, and Origin of Goods.
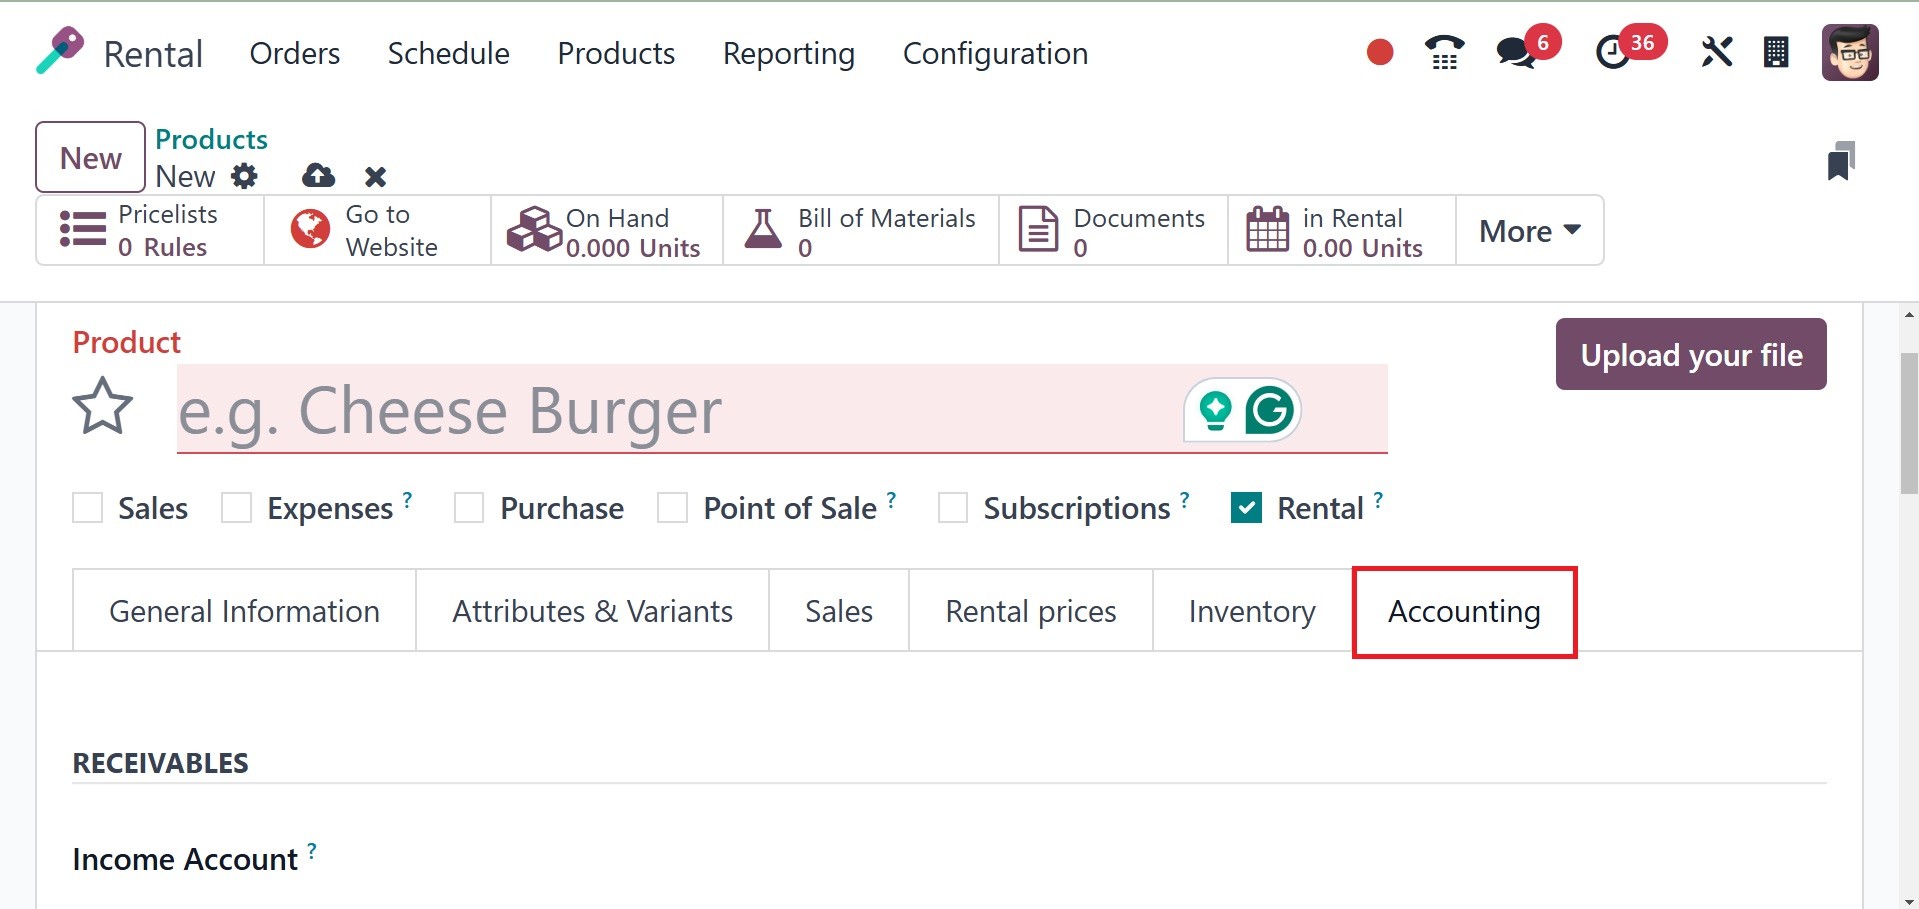
The Accounting tab is the next one, as shown in the screenshot above.
You must enter the income account under the RECEIVABLE option, the
expense account and price difference account under the PAYABLE
option, the commodity code and country of origin under the Intrastat
option, and the email template under the AUTOMATIC EMAIL AT INVOICE
option.
After generating a rental product or after providing all the
necessary information, you can obtain the information. This item is
then added to the list of previously created rental goods.