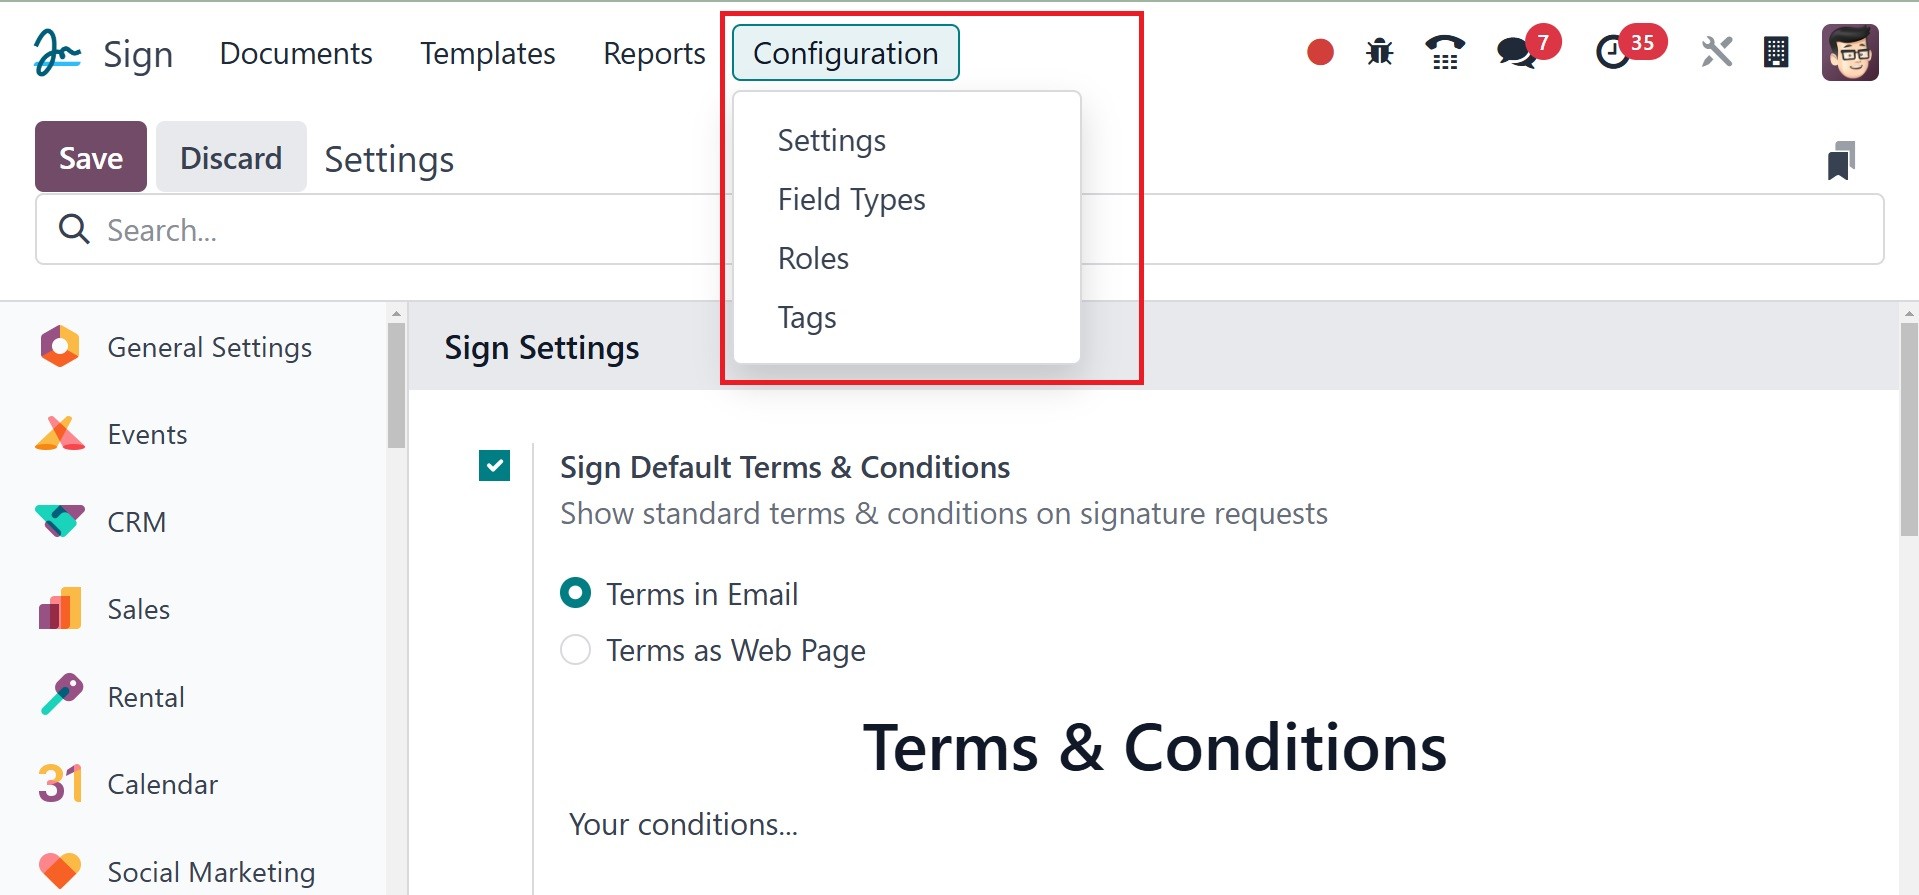
2. Configuration
The module's Configuration tab has the Settings, Field Types, Tags,
and Role menus, all of which will be quite useful when you're
carrying out your document signing process.
2.1 Settings
When you choose the Settings menu, the Settings window will open as
shown in the window.
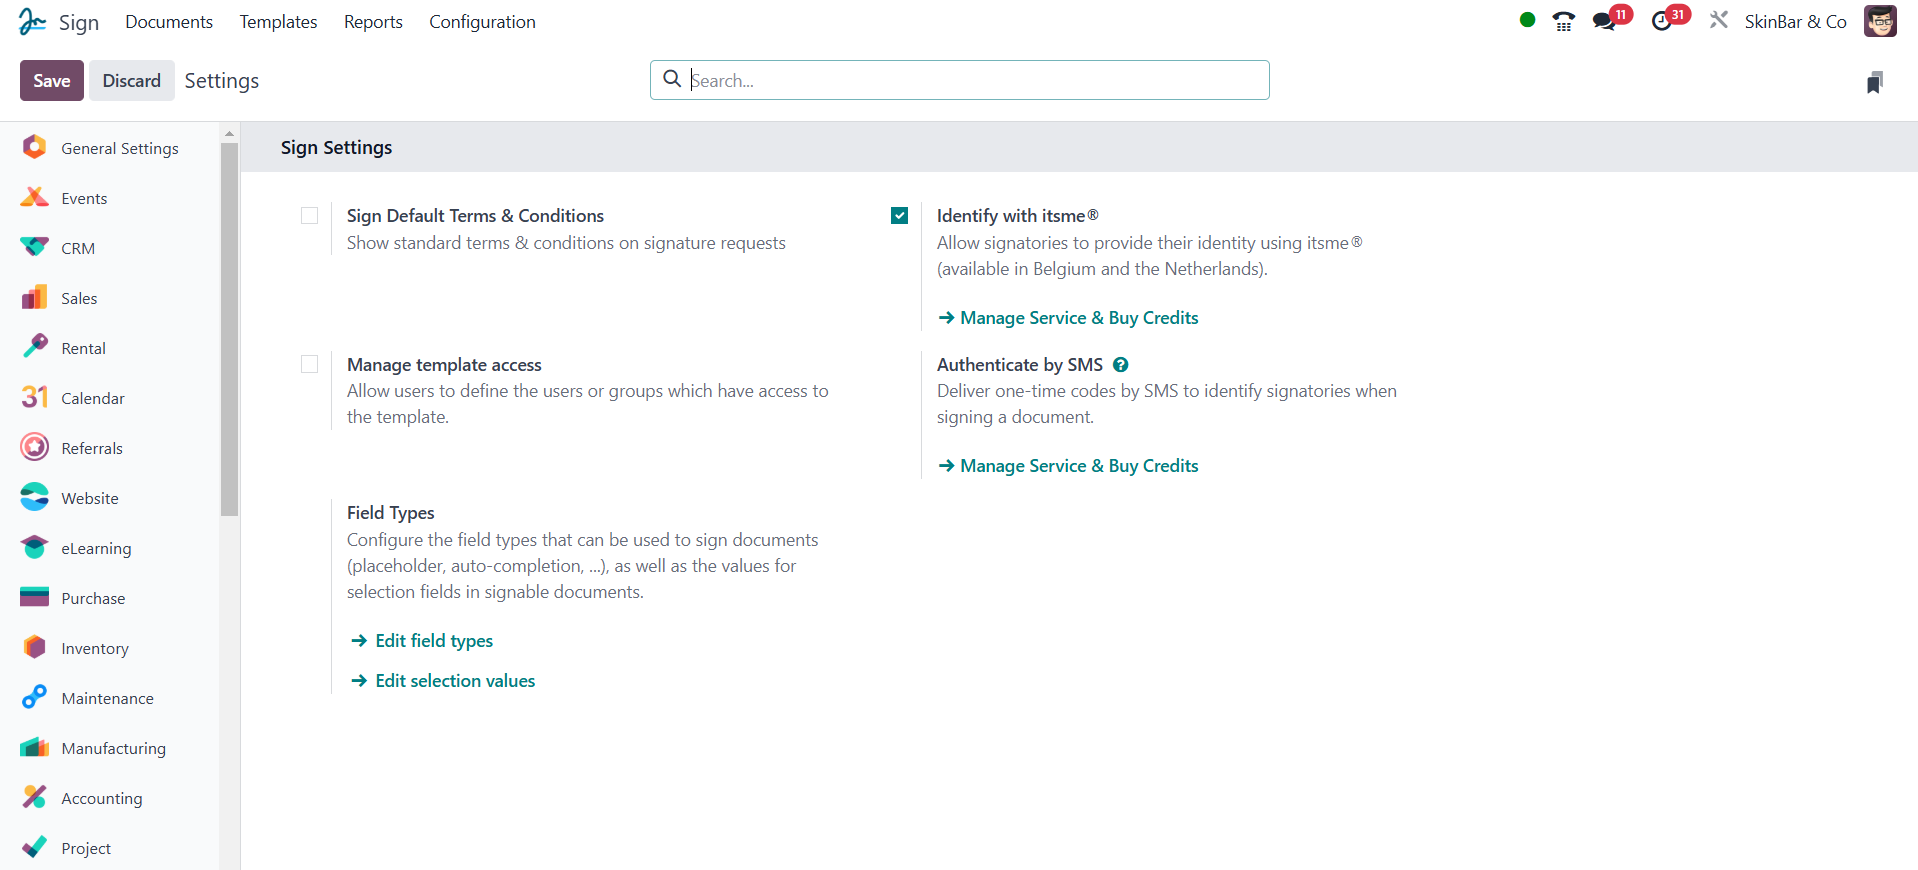
In the Settings page, you may see the option to Sign Default Terms &
Conditions. It is possible to save the option to show standard terms
and conditions on requests for signatures.
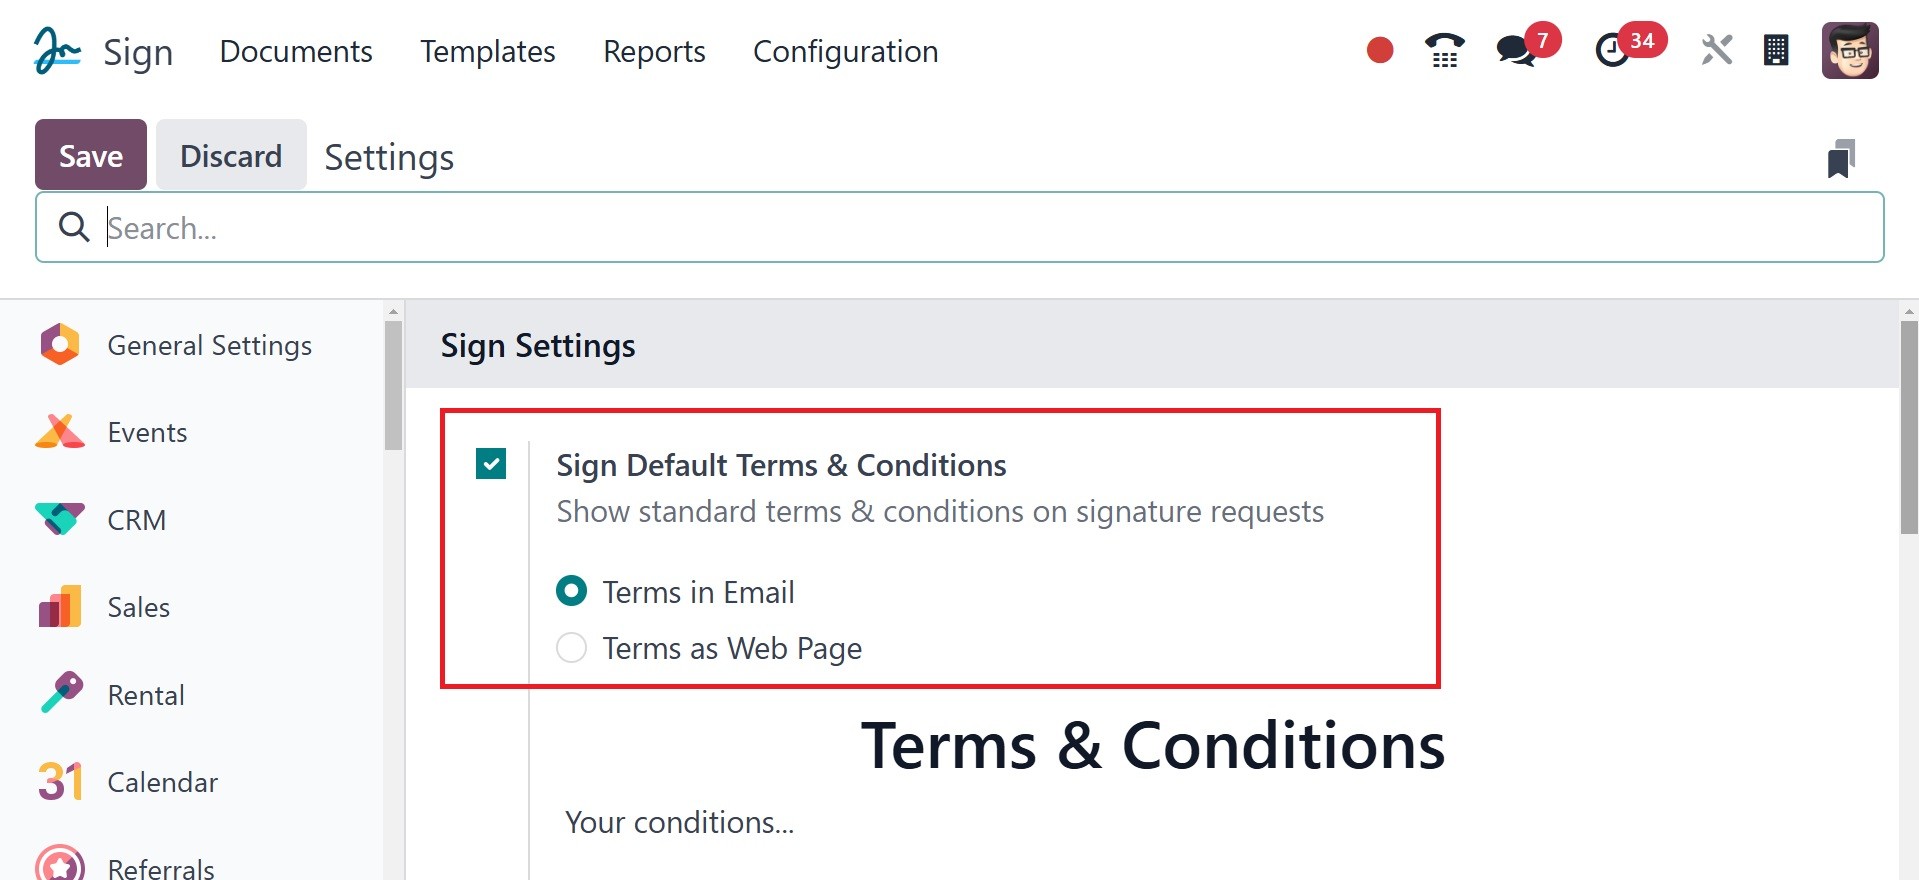
There are two definitions for the terms, including
Terms in Email: The terms will be included at the bottom of every
email that asks for a signature.
Terms as a Web page: A link to your content will be included at the
bottom of every email requesting signatures.
The following option, Identify with itsme@, allows the signatories to
use this to verify who they are. You can create a signing order by
selecting "Enable Signing Orders," which will only notify the
recipients when it's their turn to sign.
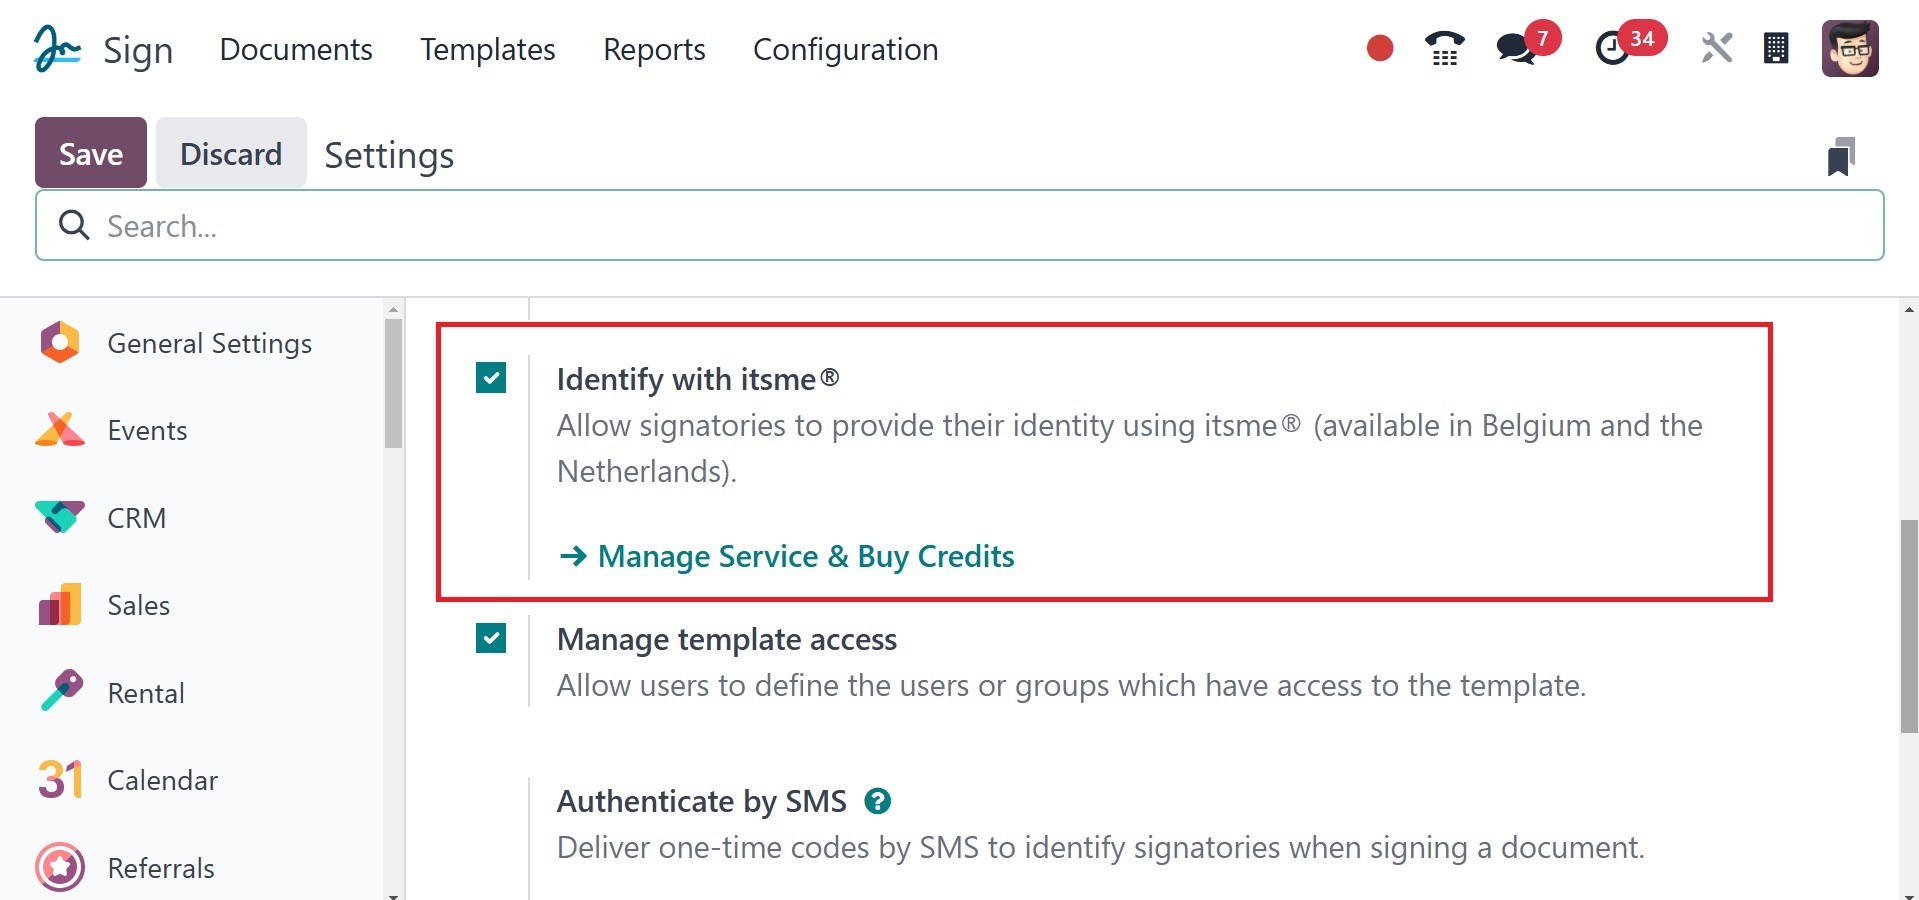
With the Manage Template access option, you can designate which
individuals or organizations have access to the template.
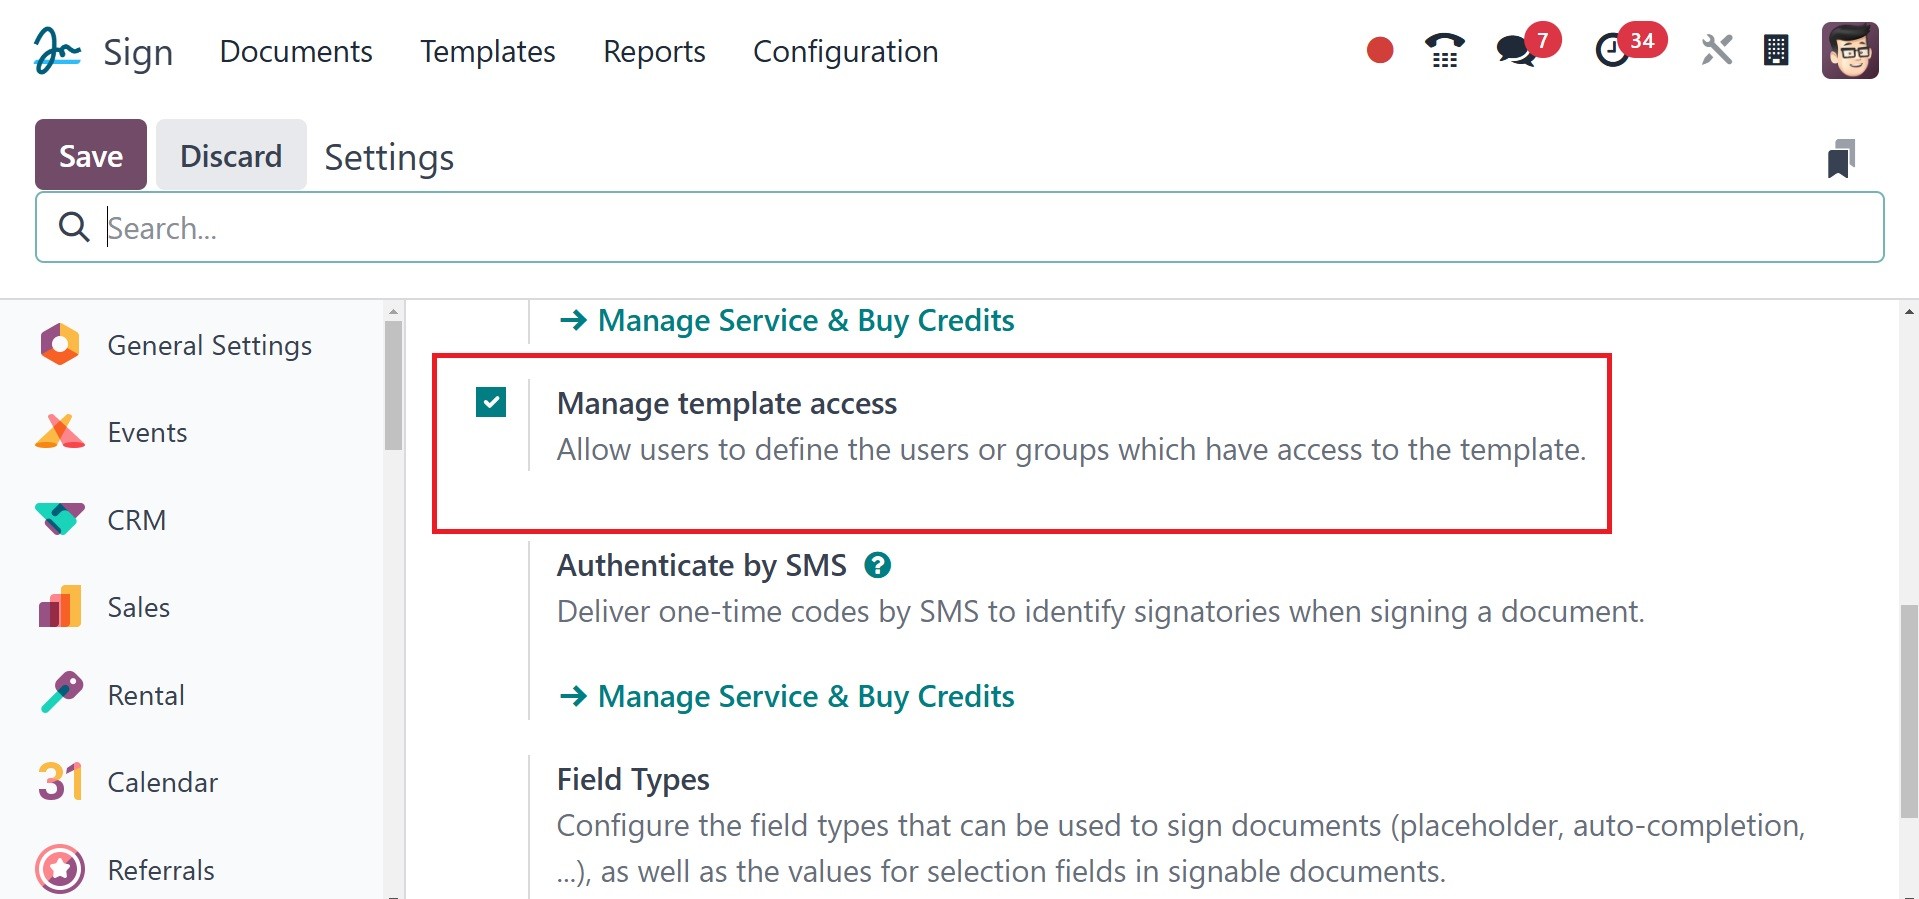
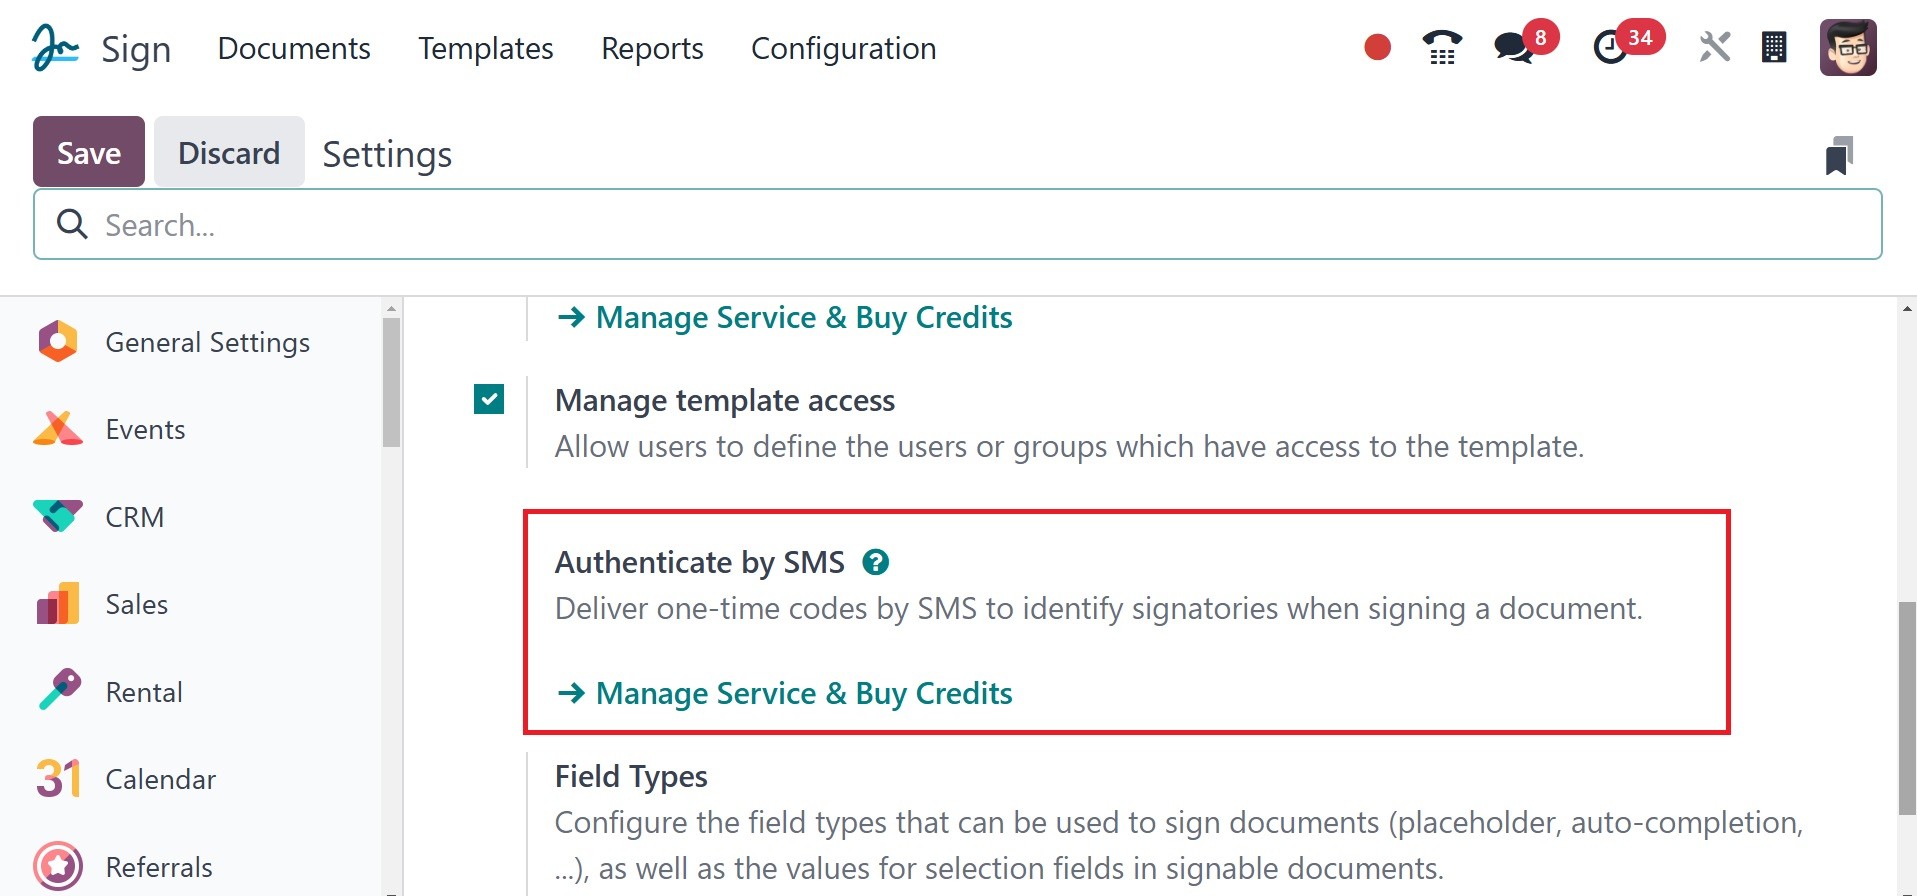
The Authenticate by SMS function allows users to identify signatures
when they sign a document by sending one-time codes via SMS.
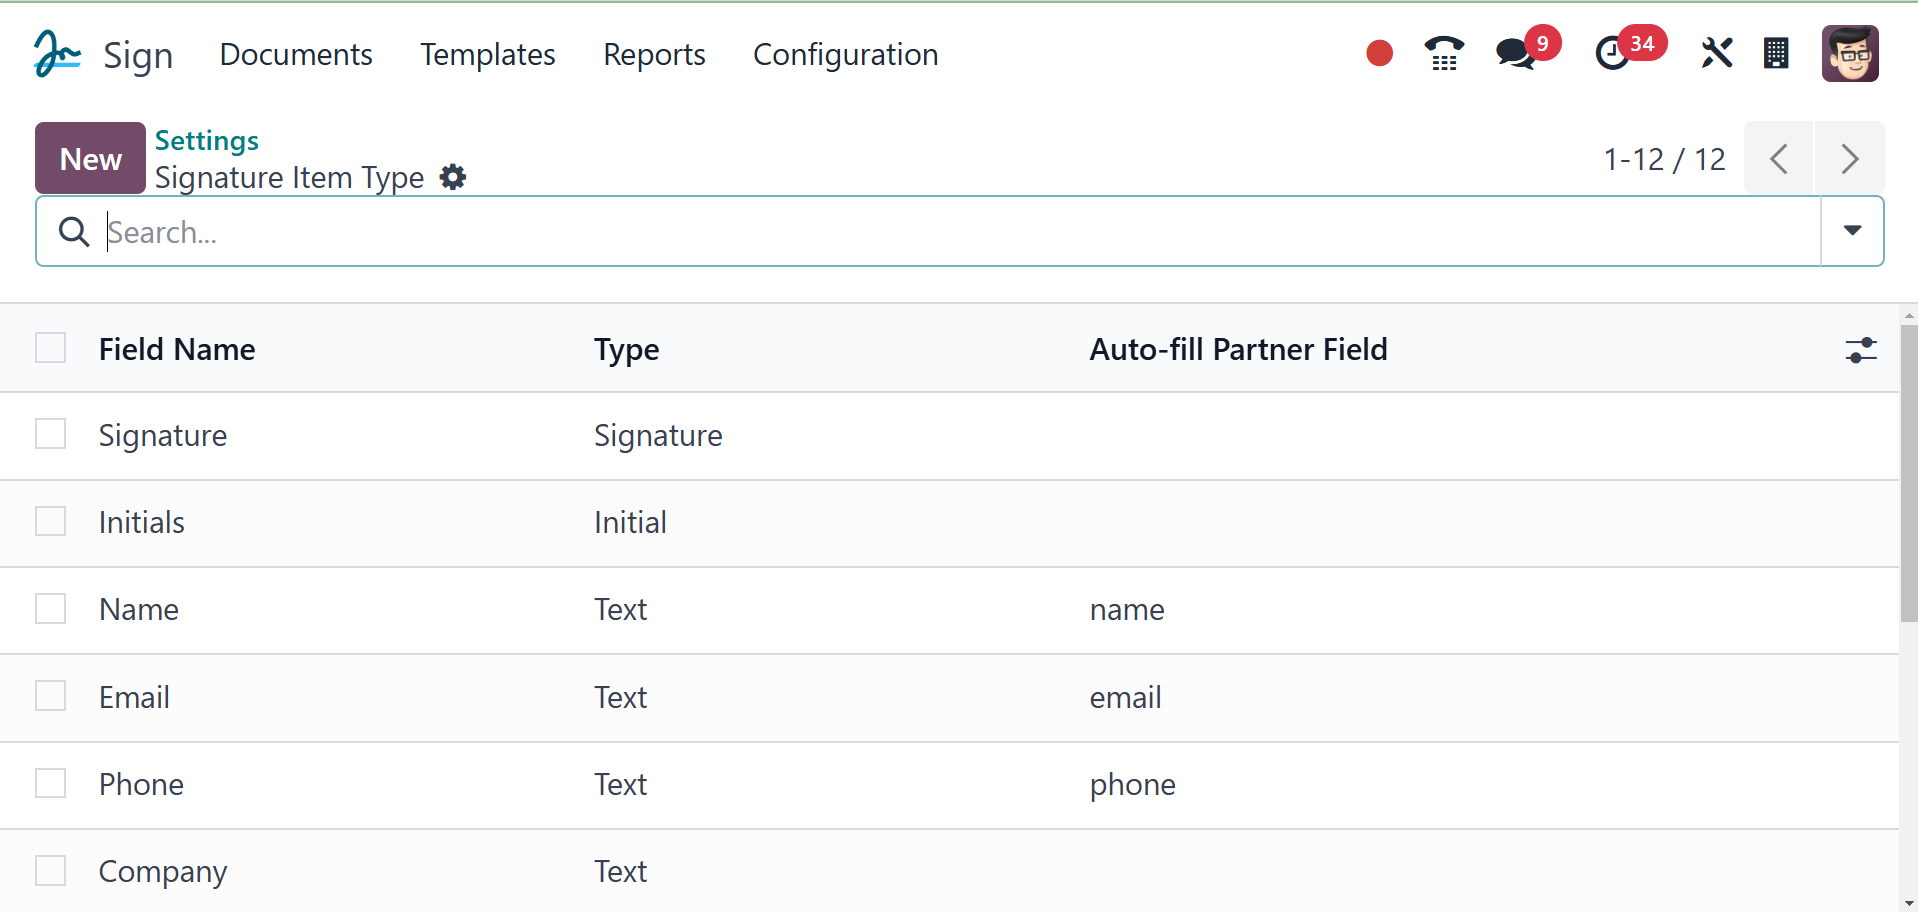
2.2 Field Types
You can examine and create additional fields or signature item kinds
from this field types option. The display includes the Autofilled
partner field, Type, and Field Name. The NEW button can be used to
create a new field.
Enter the field name in the designated space in a new field. The
dropdown list allows you to select the Type. Text, Signature,
Initial, Multiline text, Checkbox, and Selection are all included in
the list. Auto-fill When signing the document, the user can have the
Partner Field automatically fill in the technical name. Next, while
establishing a new field type, you can provide Default Width,
Default Height, Tip, and Placeholder.

2.3 Role
The Roles option on the Configuration page of the Odoo18 Sign module
allows you to configure signature item roles based on your business
requirements. As seen in the figure below, when you choose the
Signature Item Role Window from the Roles menu, it will open.
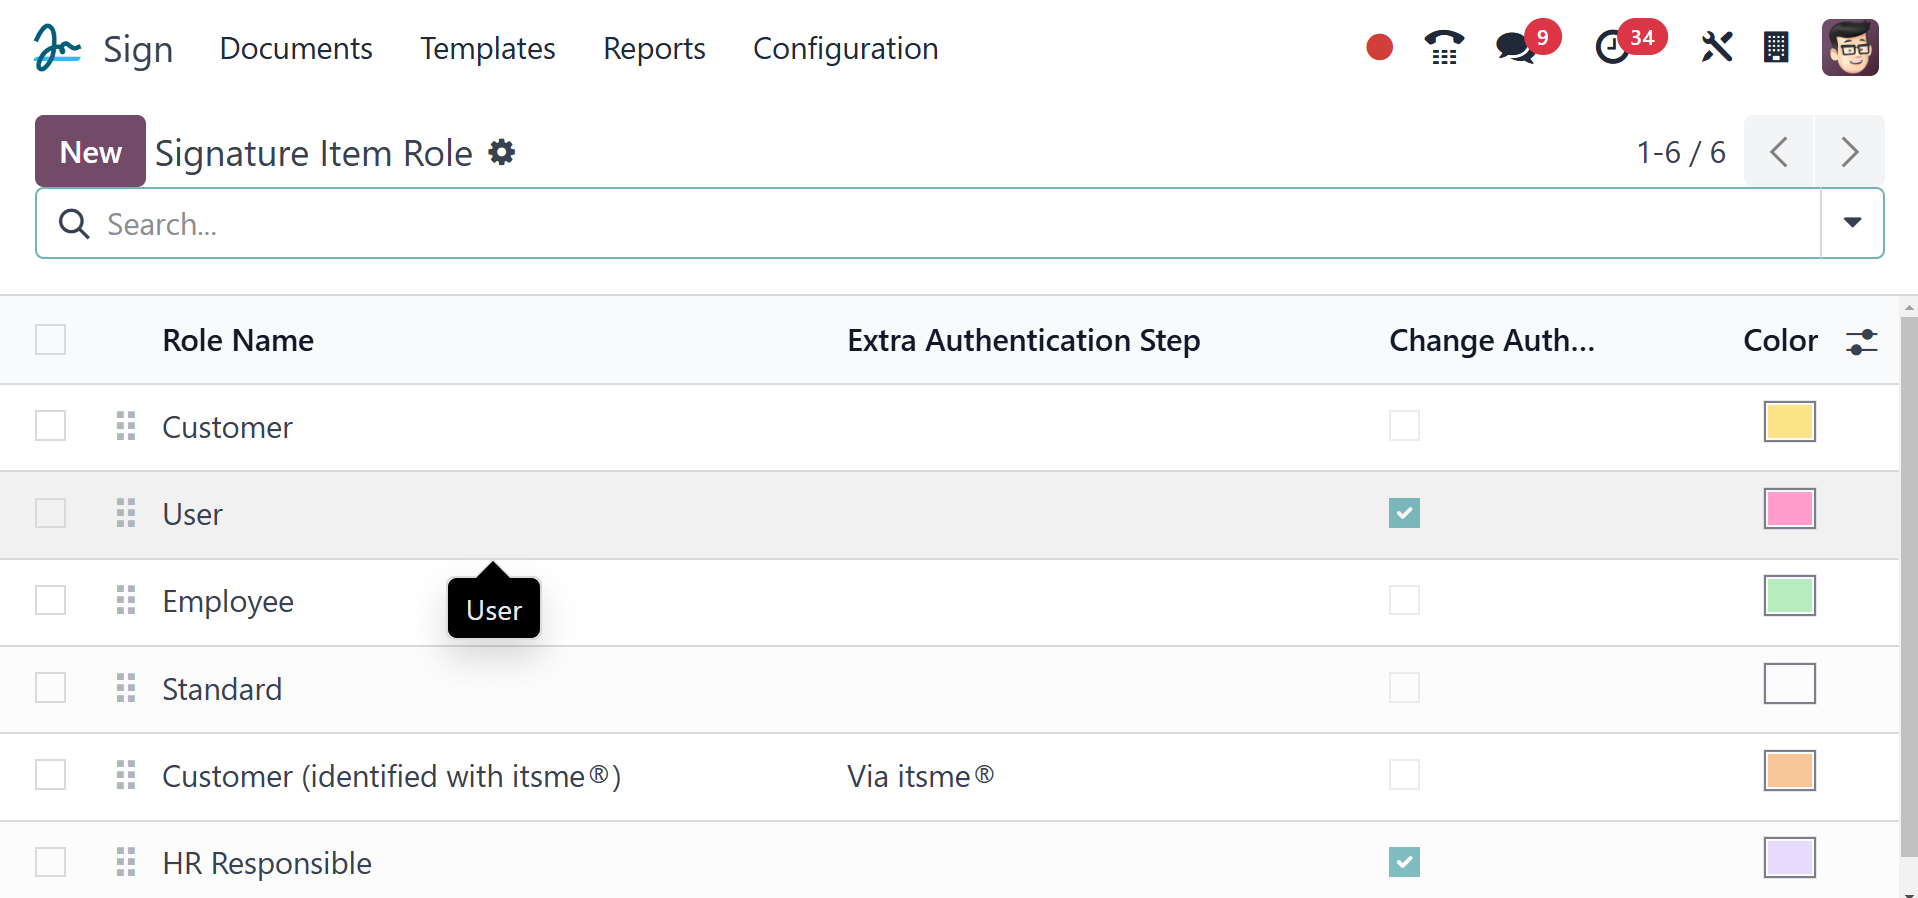
The Signature Item Role window allows you to see all of the Signature
Item Roles that have ever been made in the system. "Role" refers to
the one who is required to sign the contract. The platform allows
you to set up new jobs based on your requirements. Use the NEW
button to create a new role.
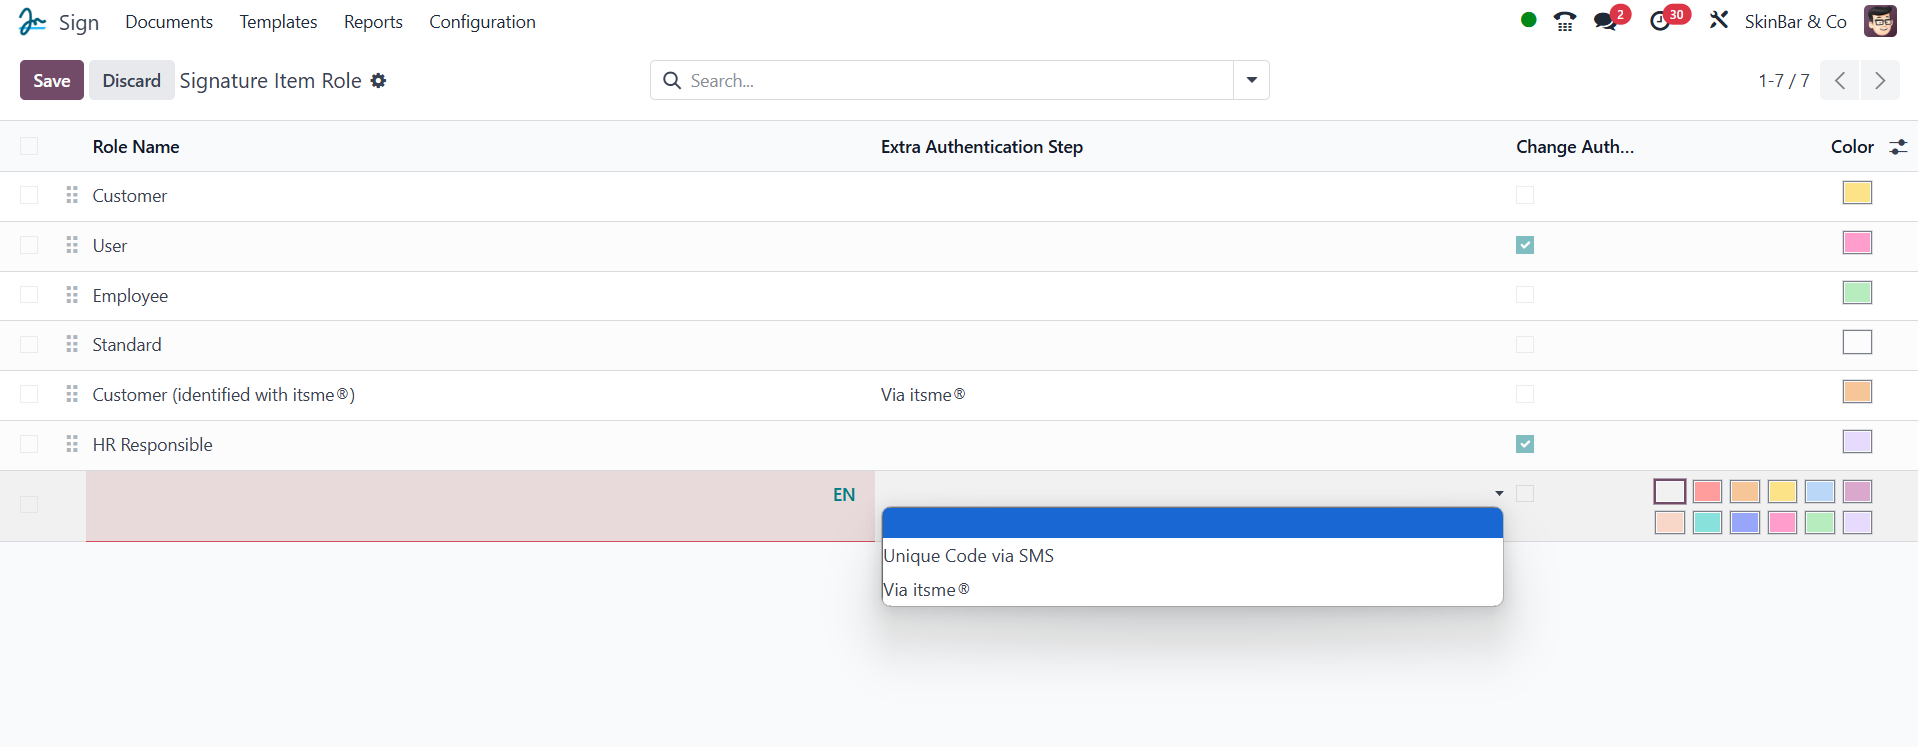
The system will now provide a new row in the same window where you
may enter the role name and select Extra Authentication, either
Unique Code via SMS or Via its me@, in order to set up a new
Signature Item Role. You may also select a color that will make it
easier for you to identify the new role right away.
2.4 Tags
All the configured tags will be available under the tags option under
the configuration tab, as in the image below.
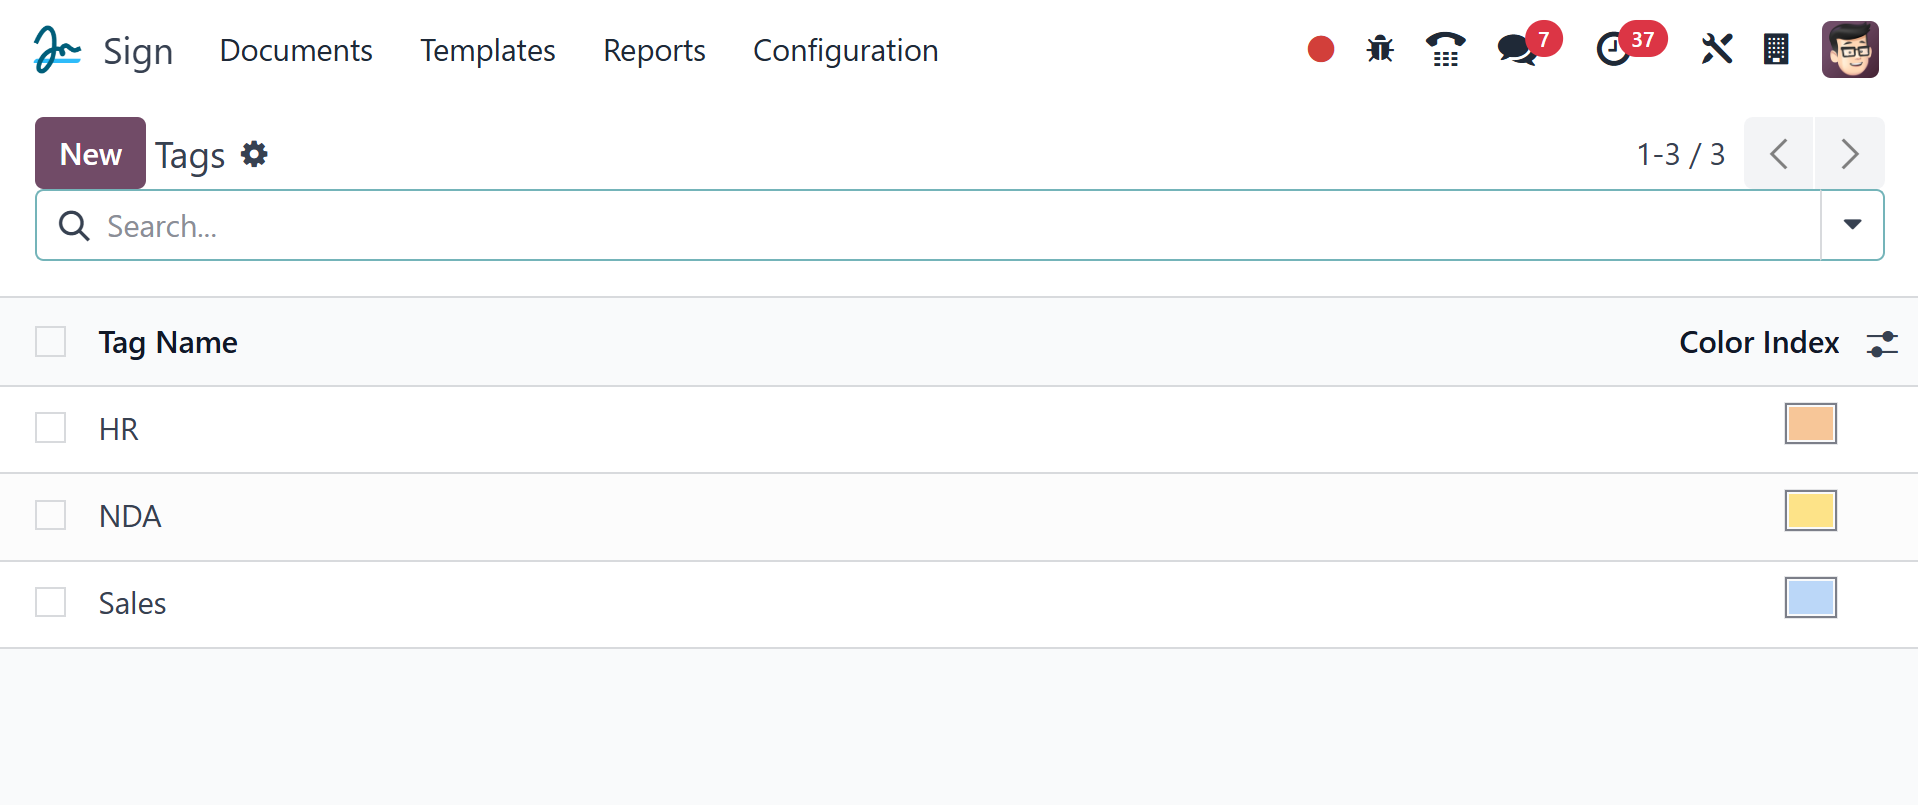
You can easily create a new one using the New option provided on the
page.