In an era where instant communication drives customer engagement,
SMS marketing
has proven to be one of the most direct and effective methods for
reaching audiences.
Unlike emails that can get lost in crowded inboxes or social media
posts that rely
on algorithmic visibility, SMS messages land straight into a user’s
mobile inbox
with a high open rate and immediate visibility. Recognizing this
potential, Odoo
18 introduces an enhanced SMS Marketing module designed to
streamline the creation,
scheduling, and management of SMS campaigns.
The SMS Marketing module in Odoo 18 is more than just a messaging
tool; it’s a strategic
platform that enables businesses to communicate promotions,
reminders, updates,
and personalized offers directly to their customers. Integrated with
other essential
Odoo apps like CRM, Events, Contacts, and Marketing Automation, it
provides a unified
approach to building effective, targeted communication workflows.
Whether you're
a retail business announcing flash sales or an event organizer
sending out last-minute
updates, Odoo's SMS module ensures your message is delivered swiftly
and efficiently.
SMS Marketing
What sets the SMS Marketing module apart is its user-friendly
interface, automation
capabilities, and real-time performance tracking. The module in Odoo
18 enables
you to strategically plan and enhance your marketing efforts,
ultimately boosting
customer engagement and conversion rates. With its streamlined
design, sending messages
through this module is quick and efficient, requiring minimal time
and effort. To
begin using the module, simply install the SMS Marketing module from
the Odoo ERP
App Store.

Once installed and opened, the dashboard provides a comprehensive
overview of your
SMS campaigns, including messages that have been sent, are in
progress, scheduled,
or failed, giving you clear insights into every stage of your
marketing workflow.
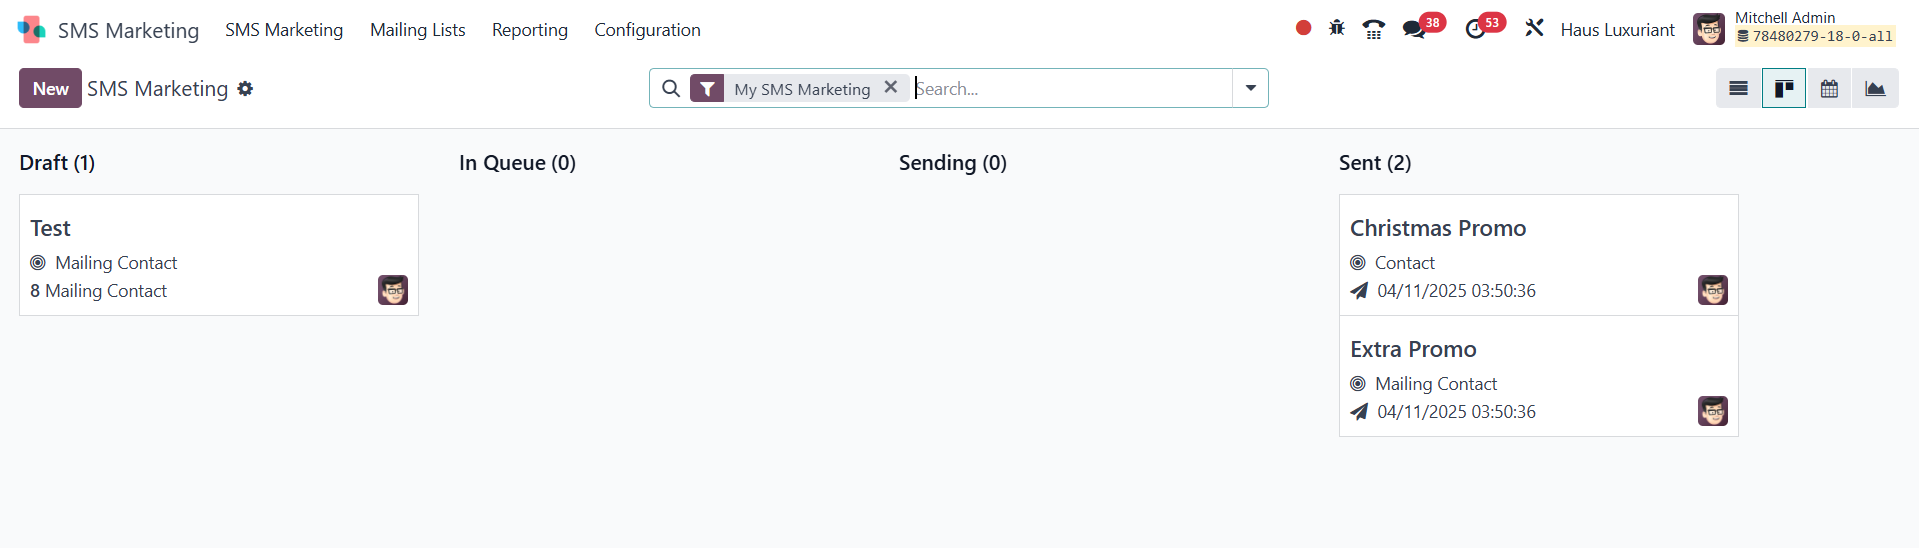
On the SMS Marketing page in Odoo 18, you can monitor your campaigns
through various
stages that reflect the current status of each message. These
stages, Draft, In
Queue, Sending, and Sent, allow you to easily track and manage the
progress of your
SMS messages. Each stage displays a list of messages sent to
specific recipients,
offering clear visibility and control over your marketing
activities.
To enhance usability, Odoo provides Filter and Group By options,
enabling you to
sort and categorize messages based on your preferences. The module
supports multiple
viewing formats, including Kanban, List, Calendar, and Graph views,
giving users
the flexibility to analyze data in the format that suits them best.
In the Kanban
view, detailed information such as the Sender, Recipient, Date, and
more is displayed
for each SMS, ensuring complete transparency.
Additionally, you can use the Favorites icon to mark important SMS
campaigns for
quick access later. Each stage column includes a Settings icon
offering options
like Fold, Archive All, Automation, and Unarchive. The Fold option
allows you to
collapse messages in the Kanban view, while Archive All enables you
to archive messages
in bulk. To switch to the list view, simply click the List icon
located on the right-hand
side of the interface. This view provides a structured table format
that makes it
easy to review and manage SMS data efficiently.

In the List View of the SMS Marketing module, you can access a
detailed overview
of each message. This includes key information such as the Date
Sent, Message Title,
Responsible User, Number of Messages Sent, Click-Through Percentage,
and the Current
Status of the message. This structured layout allows for easy
monitoring and evaluation
of your SMS campaigns.
To create a new SMS marketing campaign, click on the New button
located on the left-hand
side of the SMS Marketing dashboard.
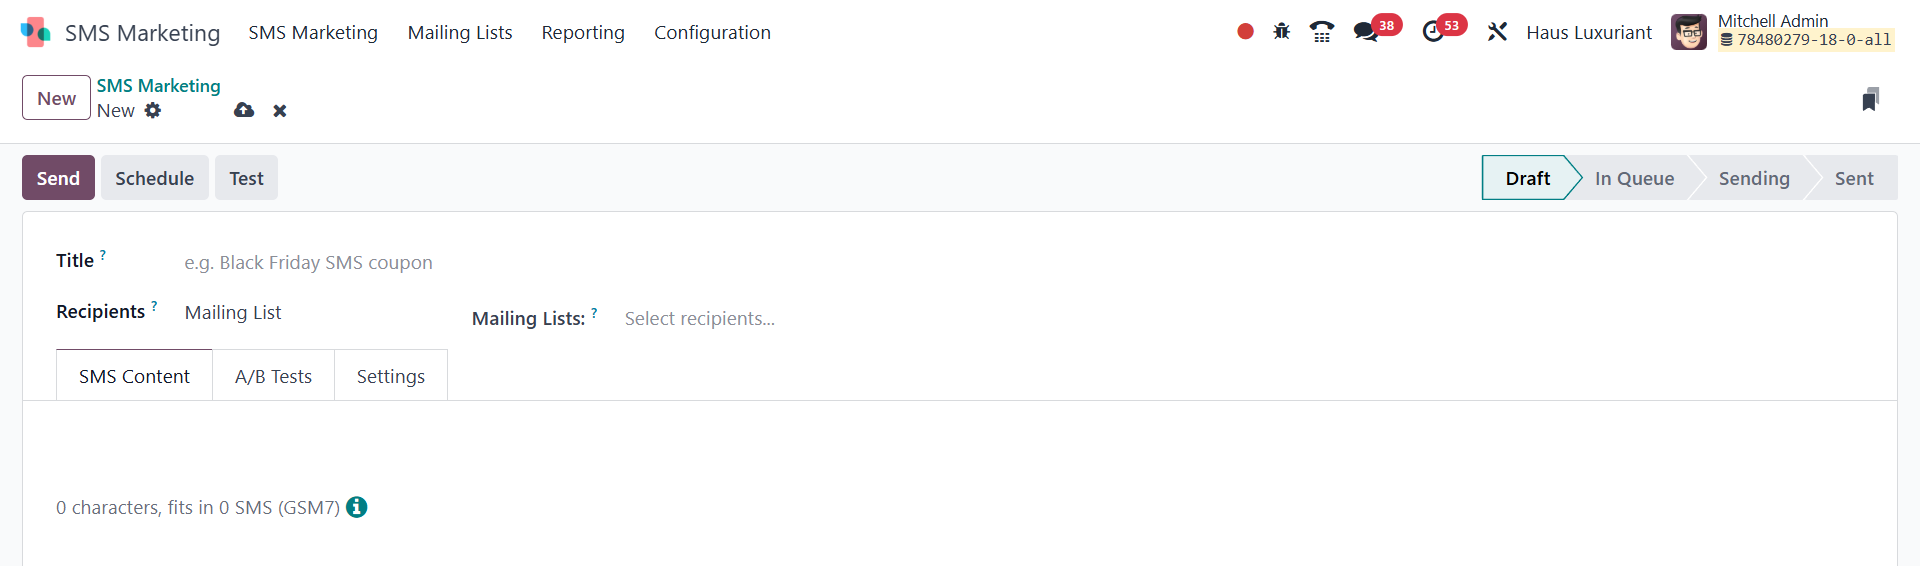
On the creation form, you’ll be prompted to enter specific details.
Begin by giving
your SMS a Title, which serves as the internal reference for the
campaign. Next,
choose the Recipient from the available drop-down list. If you're
not sending a
mass message, Odoo intelligently assists in selecting individual
recipients based
on context.
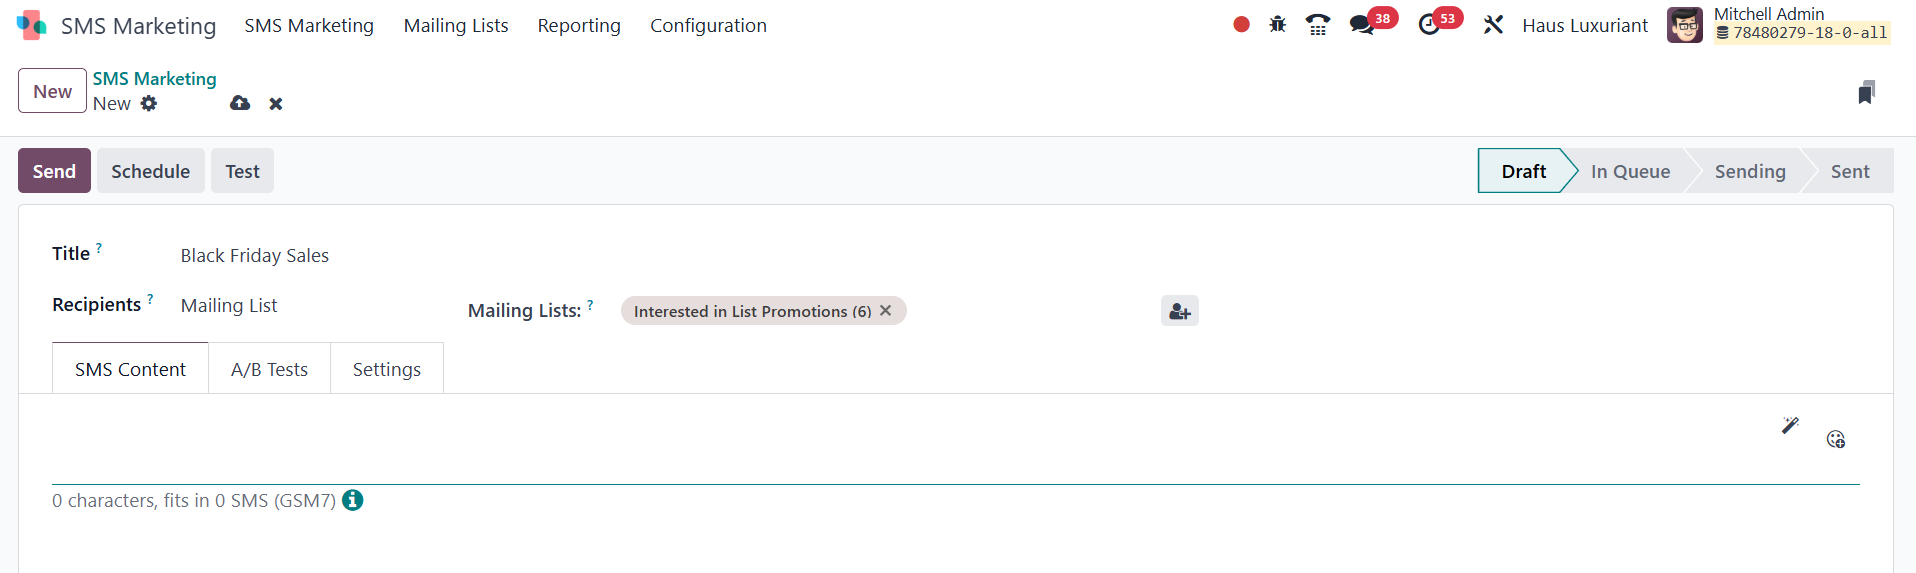
You’ll then need to specify the Mailing List to which the SMS should
be sent. Once
you've defined your audience, you’ll notice three main tabs
available on the SMS
creation page: SMS Content, A/B Tests, and Settings.
Under the SMS Content tab, you can compose the actual message you
intend to send.
This section is where you draft the core content of your SMS,
whether it's a promotional
message, a reminder, or an update. The straightforward text editor
allows you to
keep your message concise and impactful, aligning with the character
limits typically
associated with SMS communication.

The next tab is A/B Tests, where you can choose to activate the A/B
testing feature
by enabling the provided option. If the A/B Testing option is
checked, recipients
will receive only one version of the message throughout the entire
campaign. This
ensures that each recipient is exposed to a single variation,
preventing duplicate
messages and preserving a smooth user experience. Odoo randomly
selects recipients
for each version, allowing you to test the effectiveness of
different SMS content
variations without overwhelming your audience.
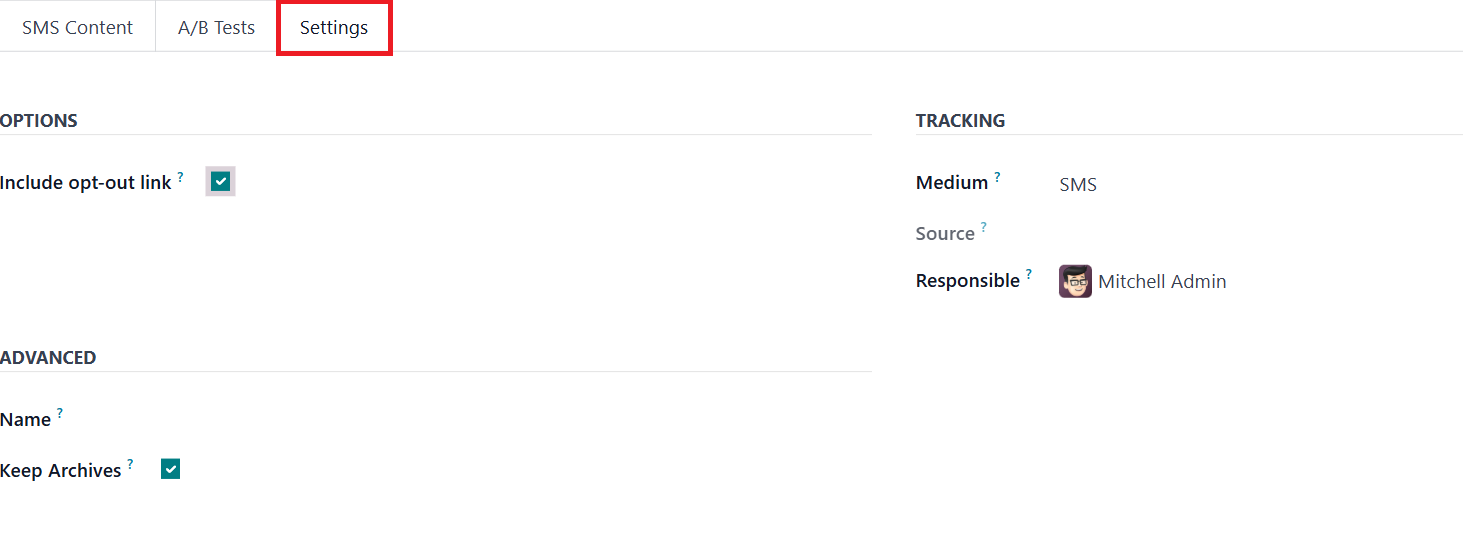
The final tab is Settings, where you can configure additional
details related to
your SMS campaign. One of the key fields here is Responsible, which
allows you to
assign the campaign to a specific user, typically someone overseeing
or managing
the marketing activities. You can also enable the Include Opt-Out
Link option. When
this is activated, an opt-out link is automatically included in the
SMS content,
giving recipients the choice to unsubscribe from future messages. In
the Tracking
field, specify the medium for tracking the performance of the
campaign. The Keep
Archives ensures that historical records of the campaign are saved
for future reference
or auditing.
After filling in all the necessary details for your SMS campaign,
click on the Save
icon to store the information. In addition to the save option, you
will find other
important actions on the left-hand side of the page, including Send,
Schedule, and
Test. These options give you flexibility in how and when your
campaign is executed.
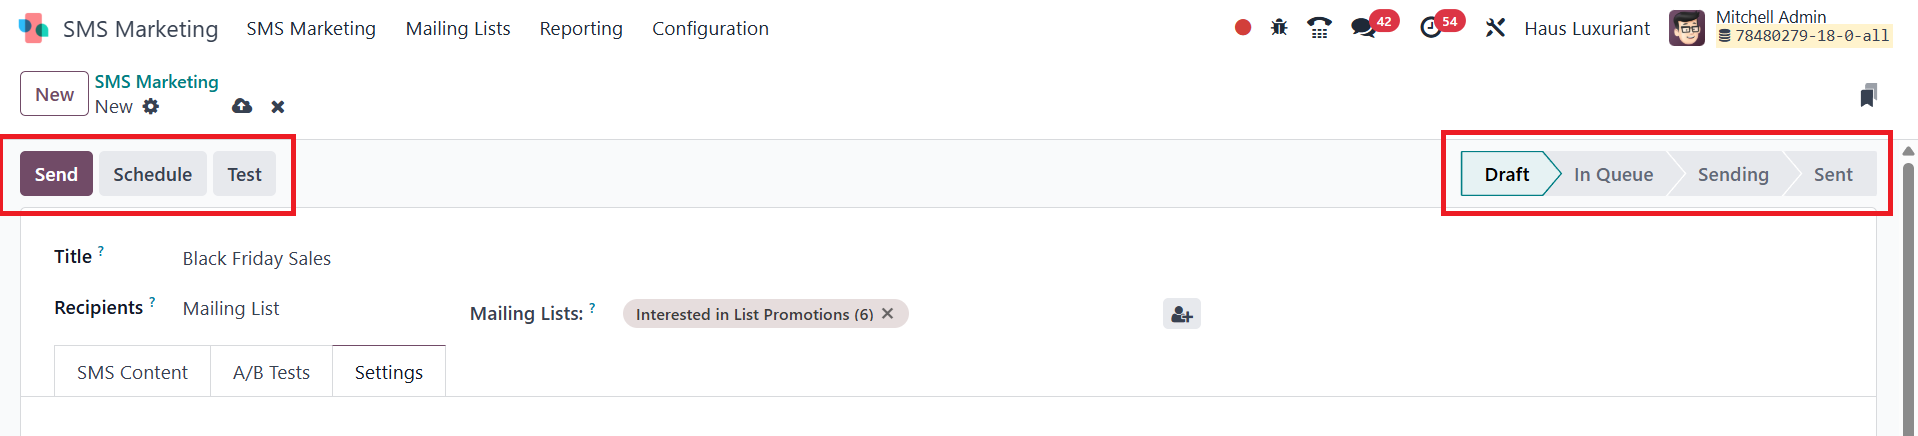
On the right side of the page, you will see the various stages of
the campaign,
such as Draft, In Queue, Sending, and Sent. These stages track the
progress of your
SMS campaign, providing a clear status overview.
If you choose the Send option, a confirmation page will appear,
ensuring that you
are ready to launch the campaign.
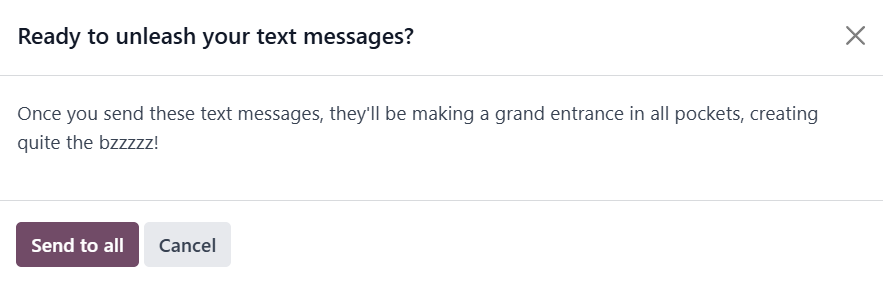
This confirmation step helps prevent any accidental sends and gives
you one last
opportunity to review the details of your message before it’s
distributed.
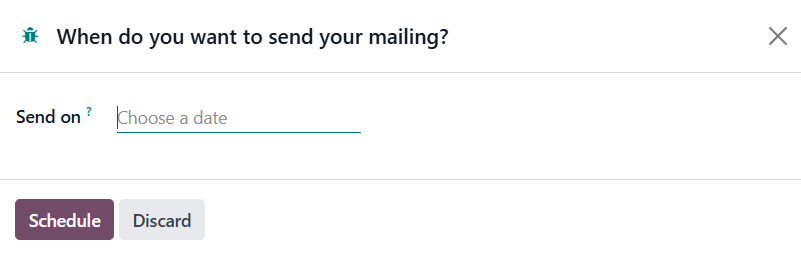
The next option is Schedule. When you select this option, a new page
will appear
where you can specify the date you want the SMS to be sent. This
feature allows
you to plan your campaigns ahead of time and schedule them for
optimal delivery.
The page that appears when you choose the Schedule option will
prompt you to enter
the desired date for sending the SMS, as shown in the example above.
The next option is Test. When you select this option, a new window
will open, as
shown below.
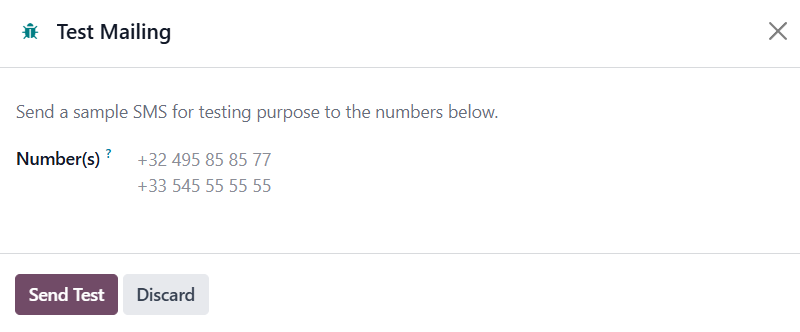
On the Test page, you can enter the contact numbers to which you
want to send a
test SMS. This feature allows you to preview how the message will
appear to recipients
before sending it to your full audience. Once you’ve entered the
test contact numbers,
simply select the Send Test option to dispatch the message to those
numbers for
testing purposes. This ensures that your SMS content is correctly
formatted and
functioning as intended before launching the full campaign.