1. Mailing lists
Mailing Lists is a crucial feature within the SMS Marketing module,
designed to streamline the process of sending targeted SMS messages
to groups of recipients. The option is split into two sub-menus:
Mailing List and Mailing List Contacts, providing flexibility in
managing and organizing your audience. Mailing List allows you to
create groups of contacts, while Mailing List Contacts helps you
manage and add individuals to these groups. This feature saves you
significant time by eliminating the need to send messages
individually, enabling you to efficiently communicate with a larger
audience.
Once you navigate to the Mailing Lists menu from the main dashboard,
you'll be presented with a list of all the mailing lists you’ve
created.
The Mailing Lists page is available in both Kanban and List View
formats, offering a versatile way to view and manage your groups.
The Kanban View provides a more visual and organized approach,
displaying each mailing list as a card for easy access. On this
page, you will see a complete list of all the created mailing lists
in a structured format. It displays key details such as the name of
each mailing list and the total number of contacts associated with
it. For easier navigation, you can also switch to the List View by
selecting the corresponding icon on the right-most side of the page.
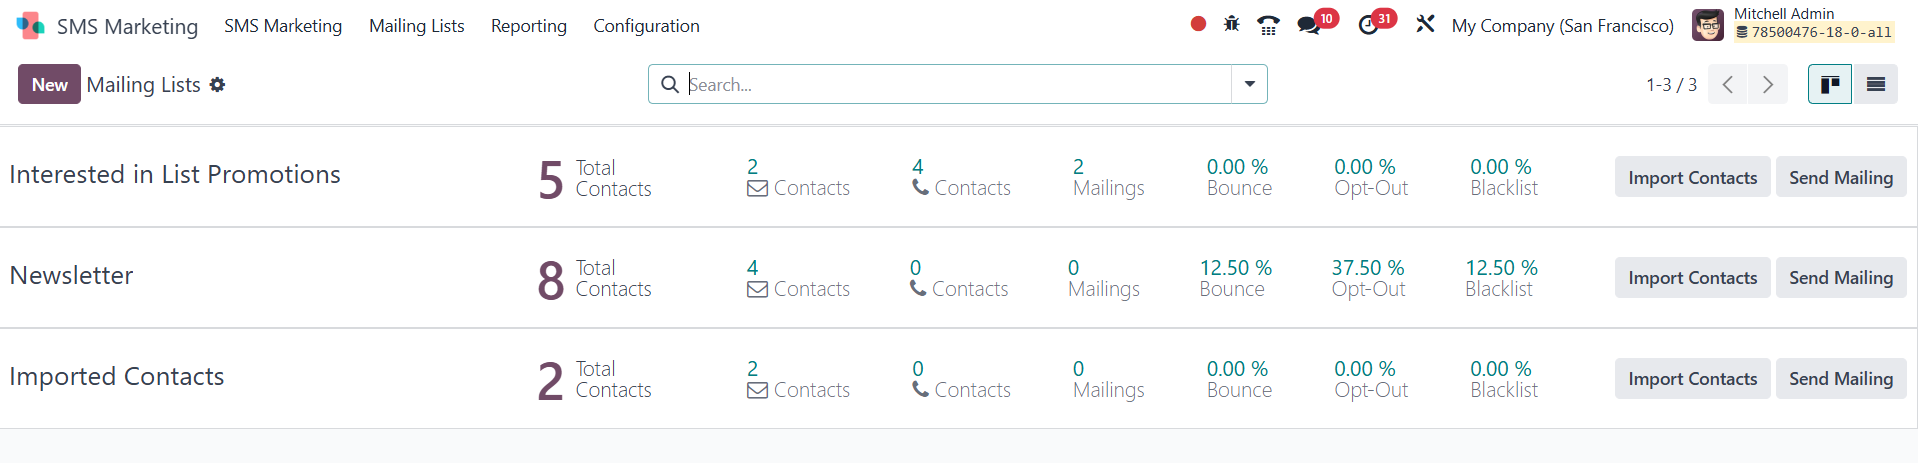
The List View provides a simplified tabular layout, as shown in the
preview below.

This page displays details such as the mailing list name, the
activated "Show in Preference" option, total number of mailings,
bounce rate, opt-out percentage, blacklisted mailing percentage, and
the total number of recipients. You can also utilize the Group By
and Filters options to categorize and sort the data as needed. To
create a new mailing list, simply click on the NEW button located on
the left-most side of the page.
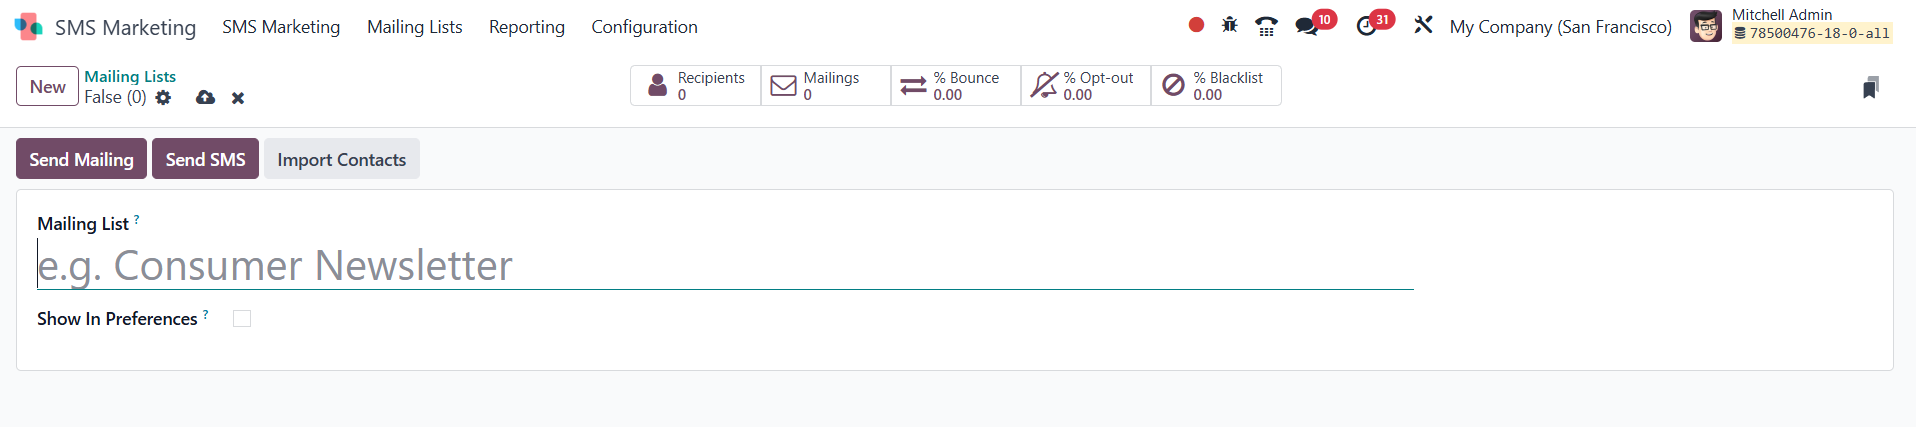
On the mailing list creation page, you need to enter a name for the
mailing list and activate the Show in Preference option if required.
After filling in the necessary details, click the Save icon to add
the new mailing list to the existing list. Once saved, it will
appear on the main Mailing Lists page along with the other
previously created lists. Additionally, you will get options to Send
Mailing, Send SMS, and Import Contacts on this page.
Under the Mailing Lists menu on the main dashboard, you’ll also find
another useful option, Mailing List Contacts. This section displays
the individual contacts associated with your mailing lists, as shown
below.
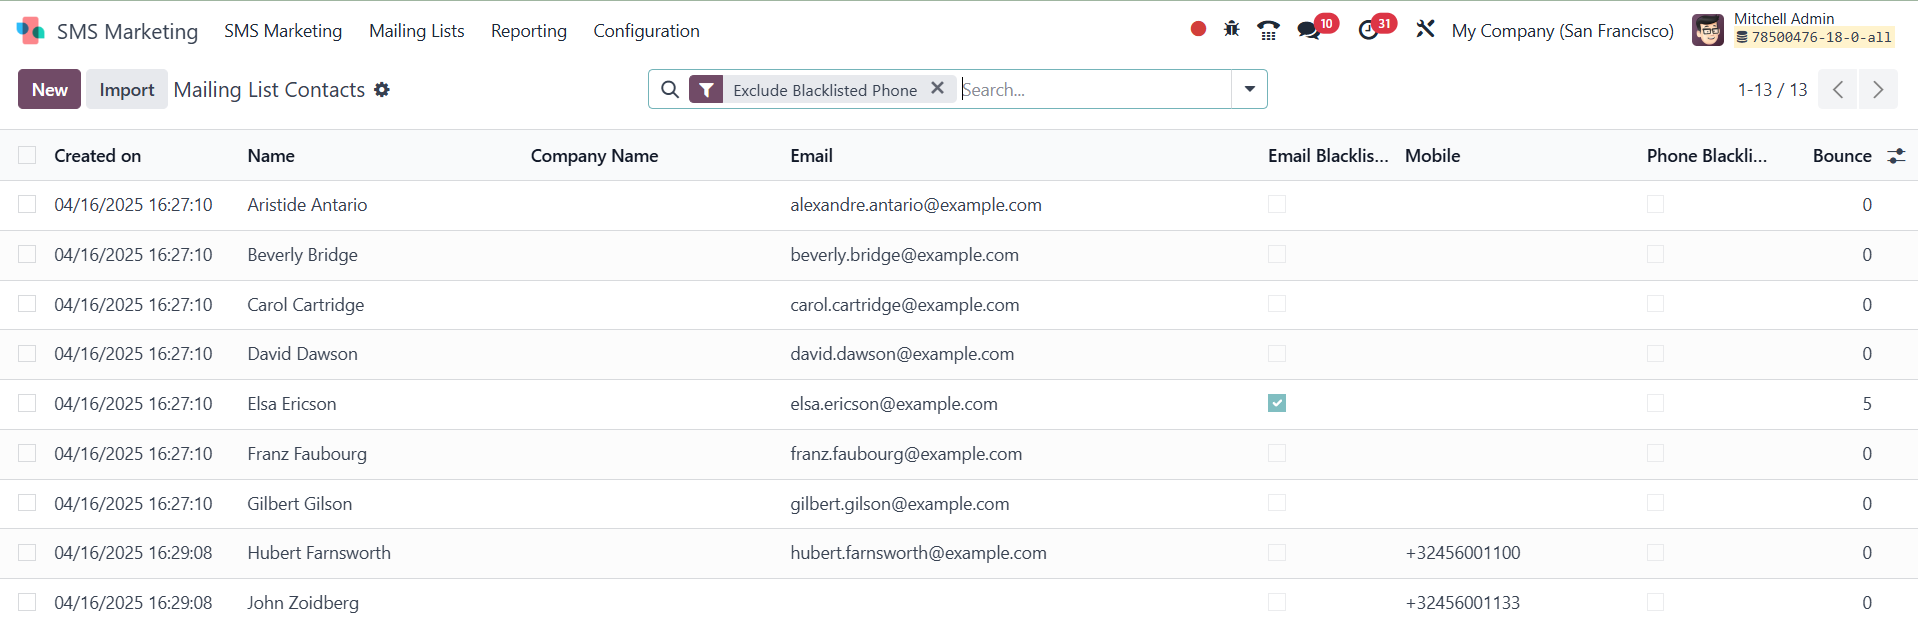
The Mailing List Contacts page displays all the previously configured
contacts associated with various mailing lists. It includes details
such as the creation date, contact name, company name, email
address, email blacklist status, mobile number, phone blacklist
status, and bounce information. To efficiently manage and sort your
contacts, you can use the Filters and Group By options, helping you
save valuable time. The Favorites feature allows you to mark
specific contacts for quick access. Additionally, there's an option
to Import files if you want to upload contact data in bulk. To add a
new contact, simply click on the NEW button. This will take you to
the contact creation page, as shown in the screenshot below.
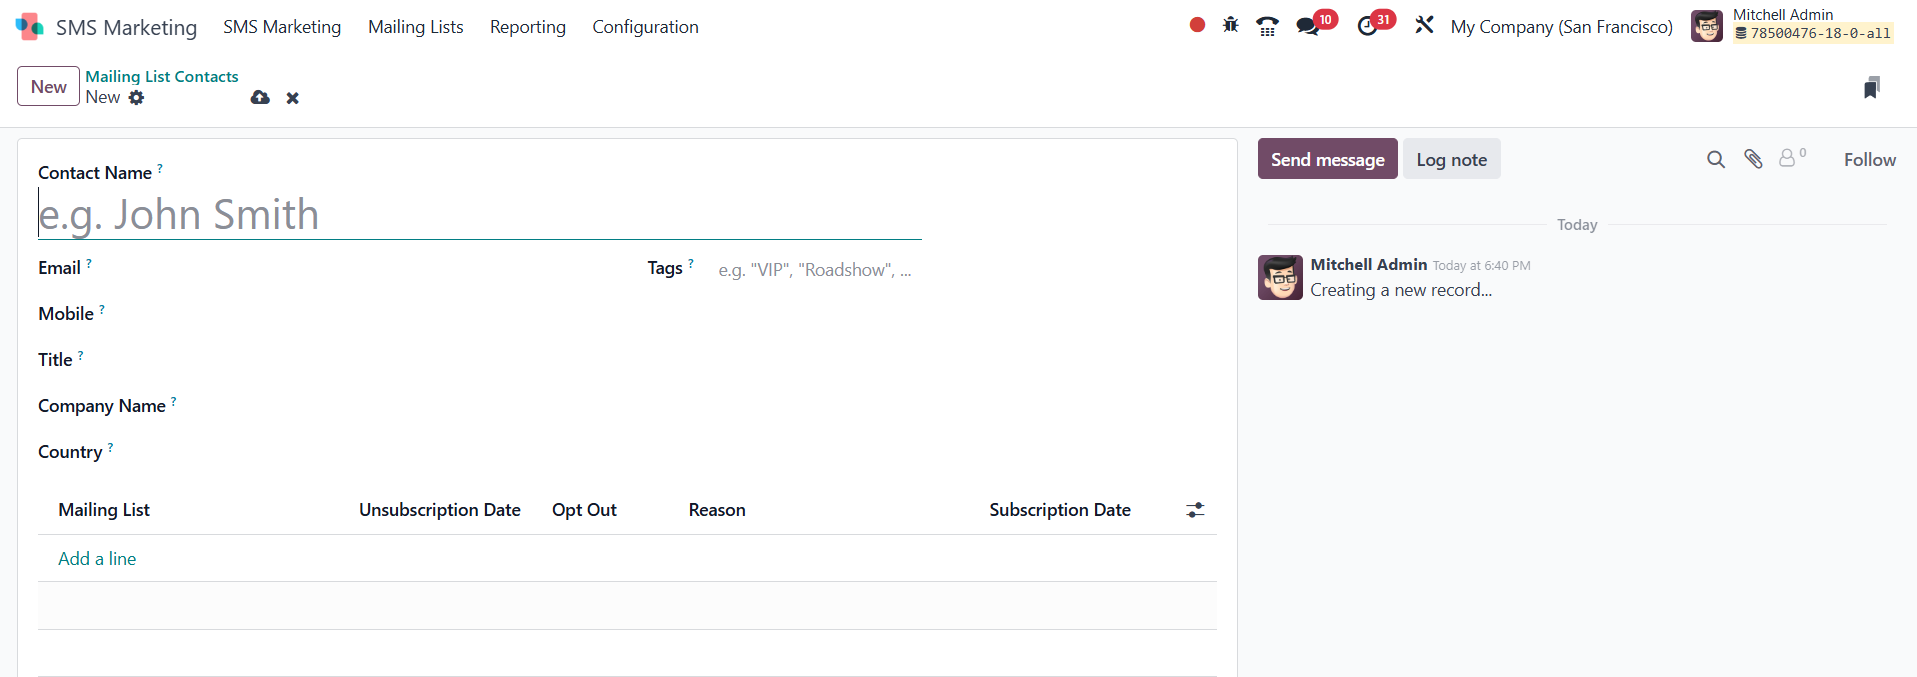
On the contact creation page, you need to enter key details such as
the contact's name in the designated field. Below that, you can fill
in personal information, including related tags (if any), email
address, mobile number, title, company name, and country. To link
the contact with a mailing list, use the Add a Line option. This
section also allows you to specify the subscription date, enable the
opt-out option, and include other relevant settings. Once all the
necessary details are entered, click the Save icon to add the new
contact to your existing list of mailing list contacts.