2. Posts
To create new content, simply click the New Post button
located on the Feed page. This allows you to compose and
publish posts directly to your connected social media accounts from
within the Social Marketing module.
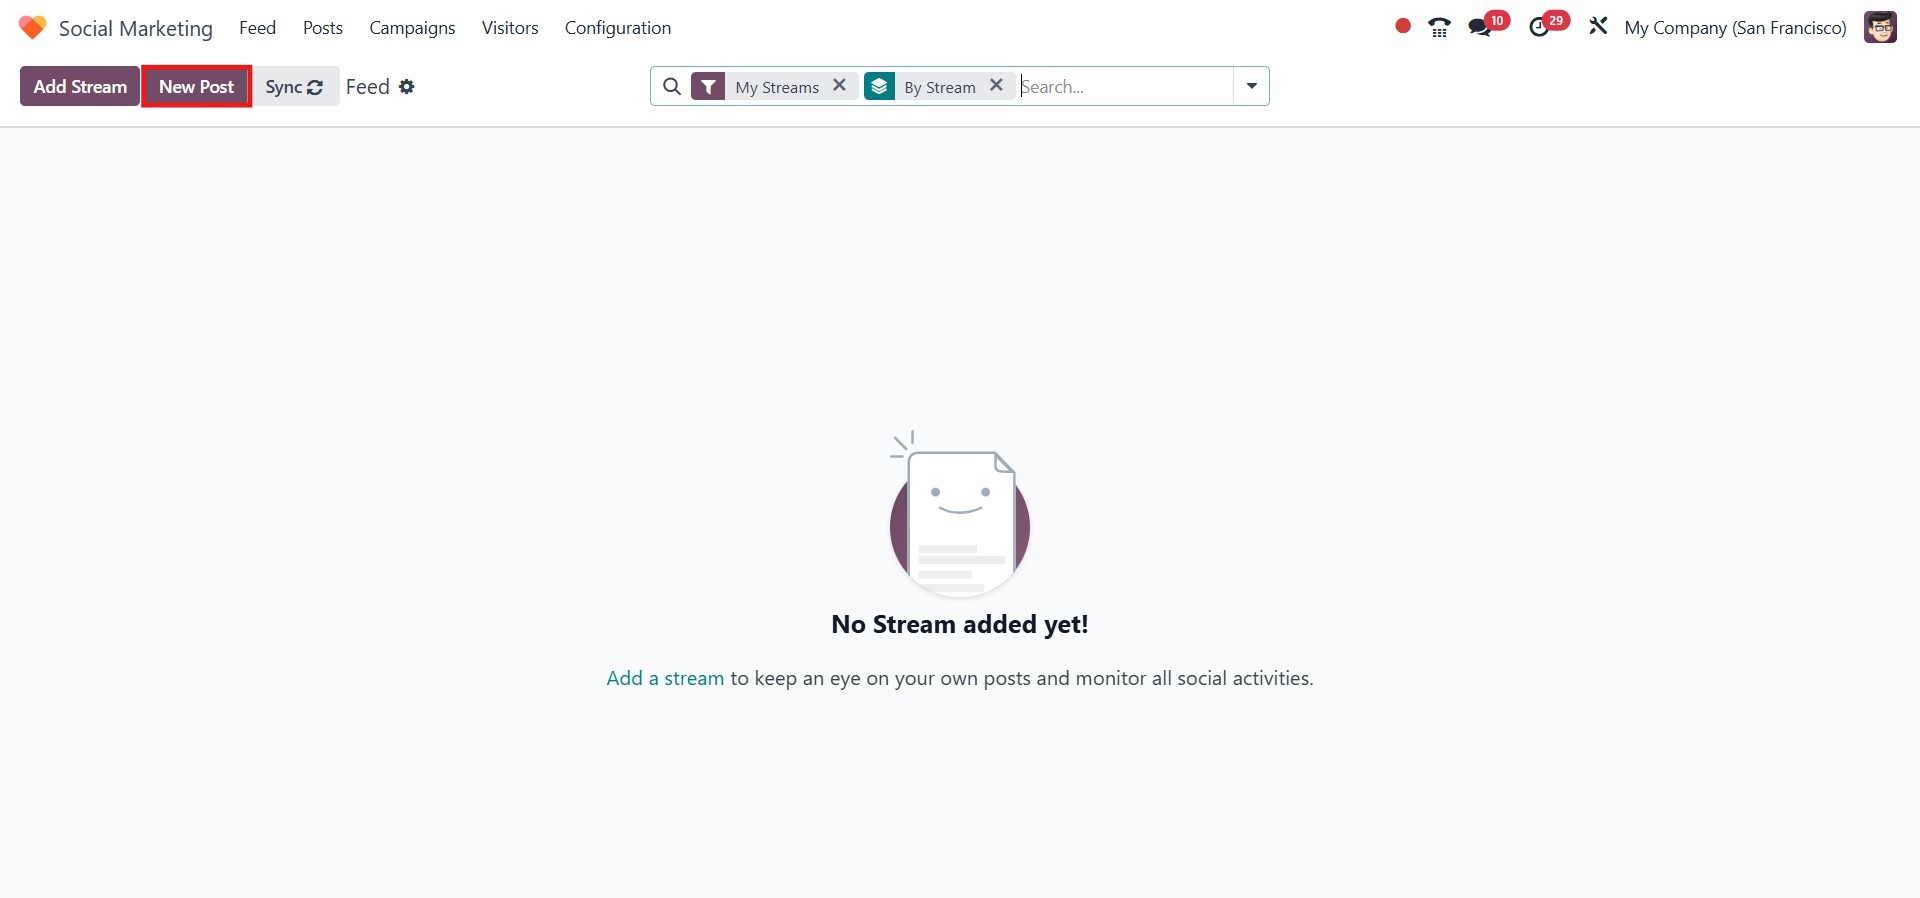
Alternatively, this module offers a dedicated Posts dashboard.
This section provides an organized view of all the posts created for
the connected social media accounts.
From the Post menu, you can easily manage and review content
shared across various platforms. It serves as a central space to
publish updates about events, product launches, promotions, and
other marketing-related announcements for your business.
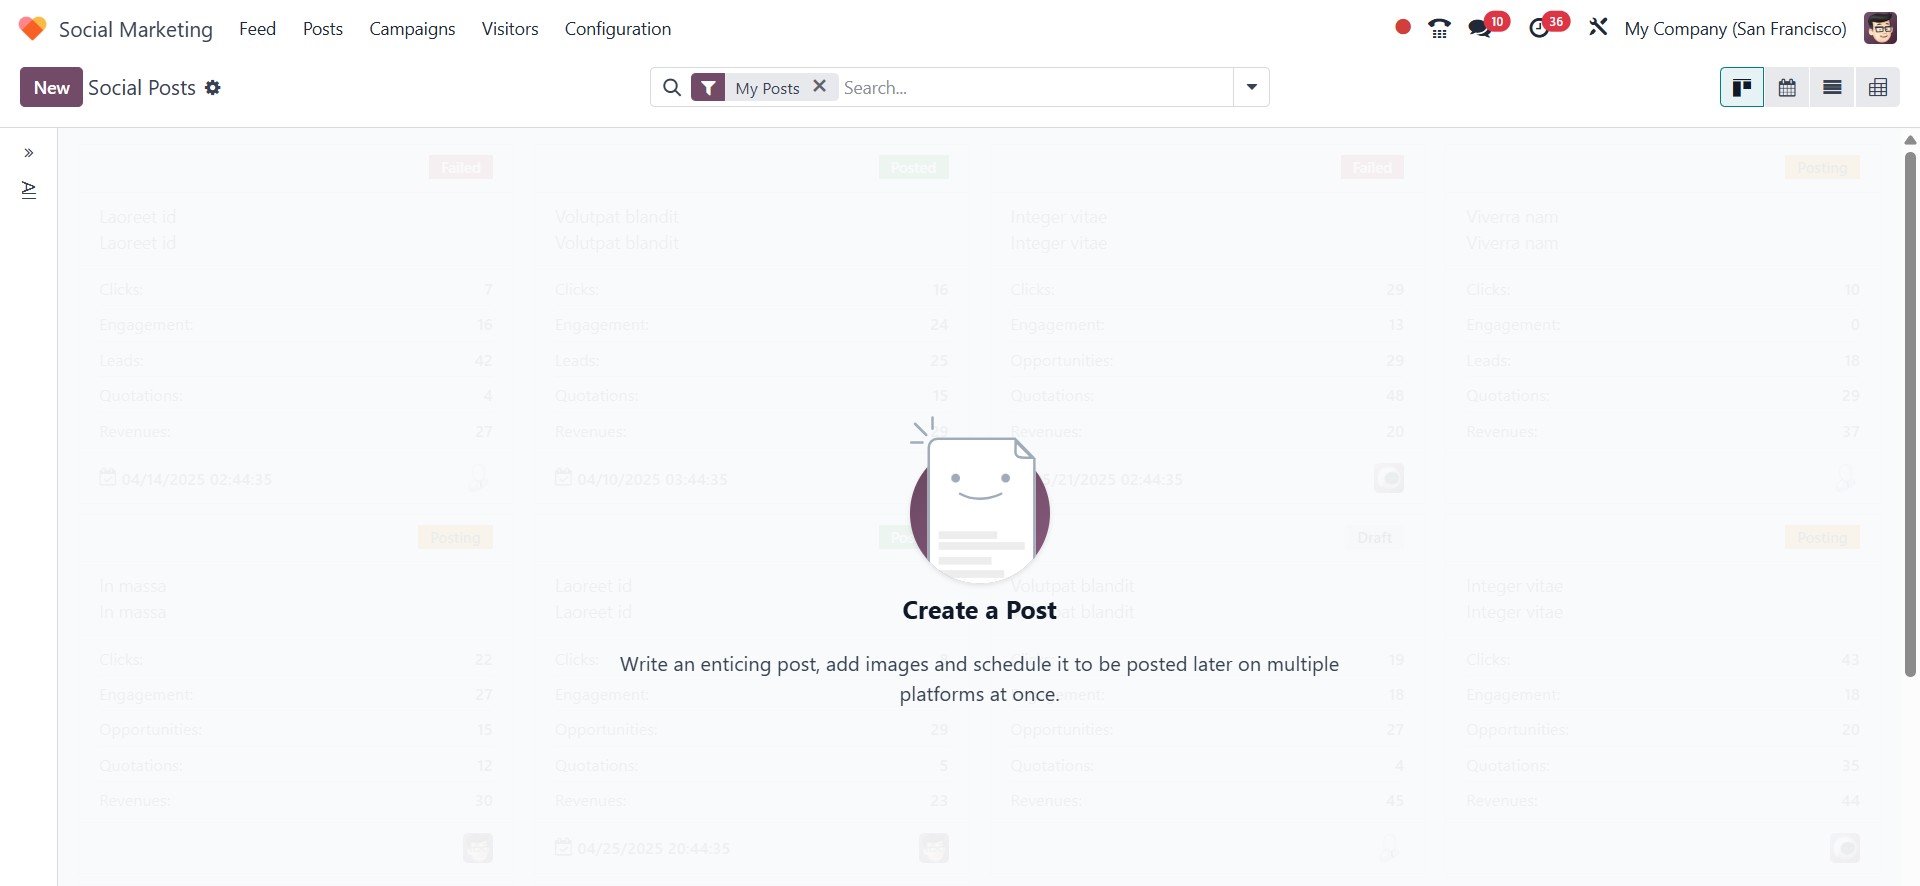
In the Posts section, each post is displayed in a Kanban
view, organized under separate tabs. Each card provides key
details at a glance, including the publication status and the icons
of the social media platforms where the post was published.
You can also view important performance metrics for each post, such
as the number of Clicks, Opportunities, Quotations, and
the revenue generated. Additionally, the scheduled
publication date and time are clearly shown on each card.
On the left-hand side of the screen, you’ll find a filtering
panel that allows you to sort posts based on their status
(e.g., scheduled, published) or by the associated social media
accounts. To suit different analysis or management preferences, you
can switch the view to Calendar, List, or Pivot mode.
Click the New button to start a new post.
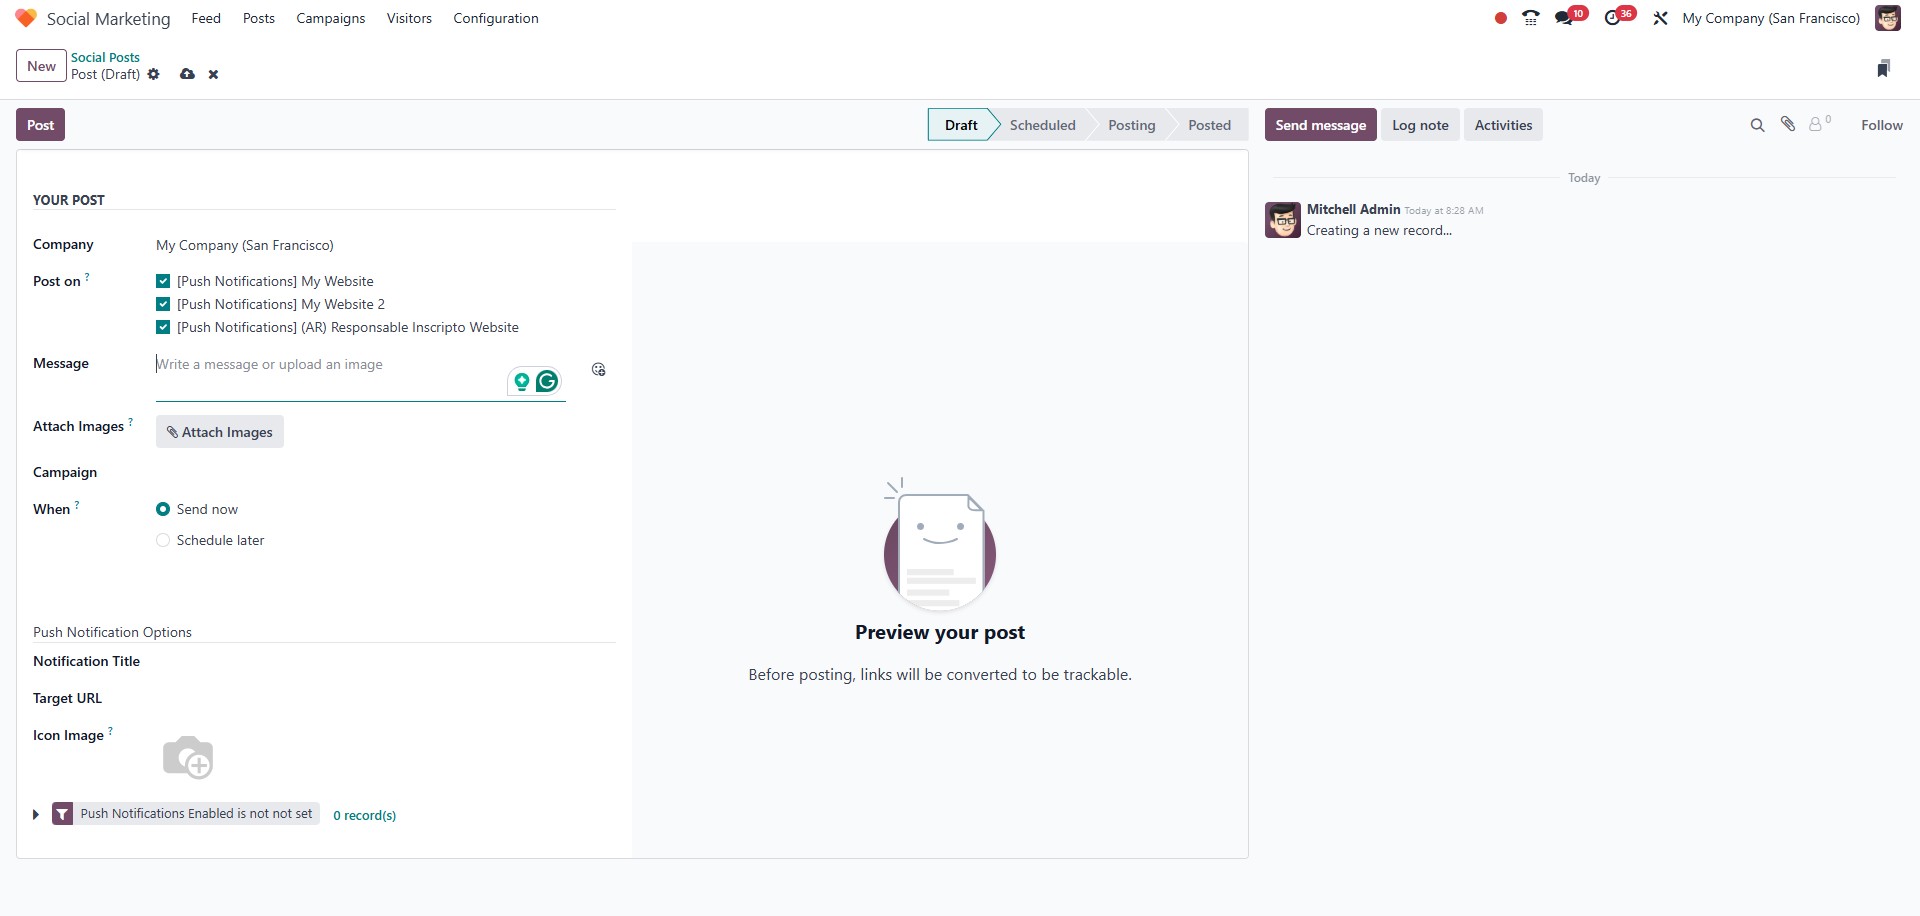
When creating a new post in the Social Marketing module, begin
by entering the name of your company in the required field.
In the Post On section, select the social media accounts
where you want the post to be published.
The Message field allows you to compose the content of your
post. If you wish to include visuals, you can use the Attach
Images option to upload images that will accompany the post.
If the post is part of a specific marketing campaign, you can link it
to the relevant Campaign by selecting it from the corresponding
field.
In the When section, you can decide when the post should be
published. Select Send Now to publish the post immediately,
or choose Schedule Later to set a specific date and time for
publication.
While selecting the accounts for publishing your post, you will also
find the option to enable Push Notifications. This feature
allows you to send real-time alerts to your customers whenever a new
post is published.
To receive these notifications, customers must first grant permission
to receive push notifications from your account. Once
enabled, this feature ensures that your audience is instantly
informed about new products, upcoming events, blog articles,
announcements, updates, and more, directly on their devices.
Push Notifications serve as a valuable tool for keeping your audience
engaged and informed, enhancing the overall impact of your social
media marketing strategy.
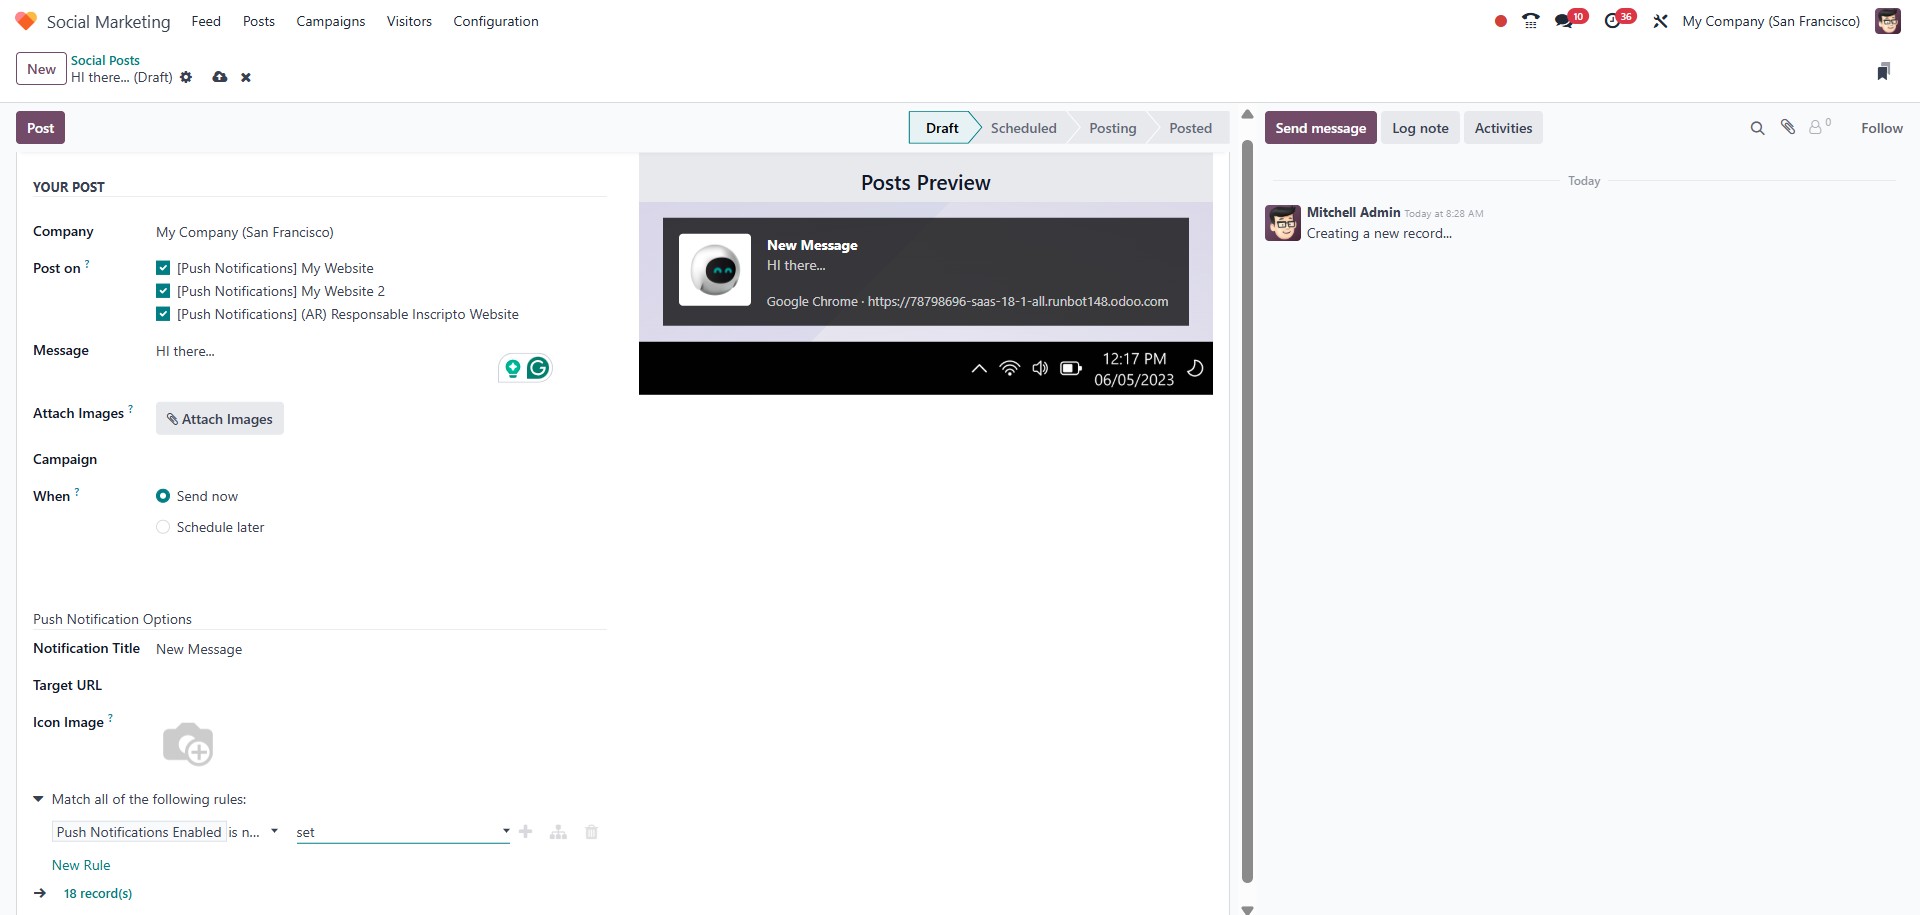
After selecting the Push Notification option from the Post
On column during post creation, additional configuration
fields will appear within the post editor.
You can specify the Notification Title, the Target URL
that users will be directed to upon clicking the notification, and
an Icon Image that will appear within the browser
notification. These elements help customize the look and
functionality of the notification for a more engaging user
experience.
If the Local Time option is enabled, the push notification
will be delivered to each recipient based on their local time zone.
For example, if you schedule a post for 15:00, it will appear at
15:00 in each user’s respective time zone, regardless of your own.
Additionally, you can define a domain filter to target
notifications to specific users, ensuring that only those matching
the specified criteria receive the alert.
Once all the necessary details have been entered, click the
Save button to finalize the post setup. Before publishing, a
preview window will appear, allowing you to review the
content of your post as it will be displayed on the selected social
media platforms.
Once you're satisfied with the preview, click the Post button
to publish the content to the accounts you’ve selected.