5. Configuration Menu
The Time Off Types option in the Configuration menu allows HR
managers to create and manage various leave types, customizing
approval criteria, durations (full day, half day, or hours), and
notification preferences. The Display Name, Allocation Approval, and
Work Entry Type are shown in the platform's list view.
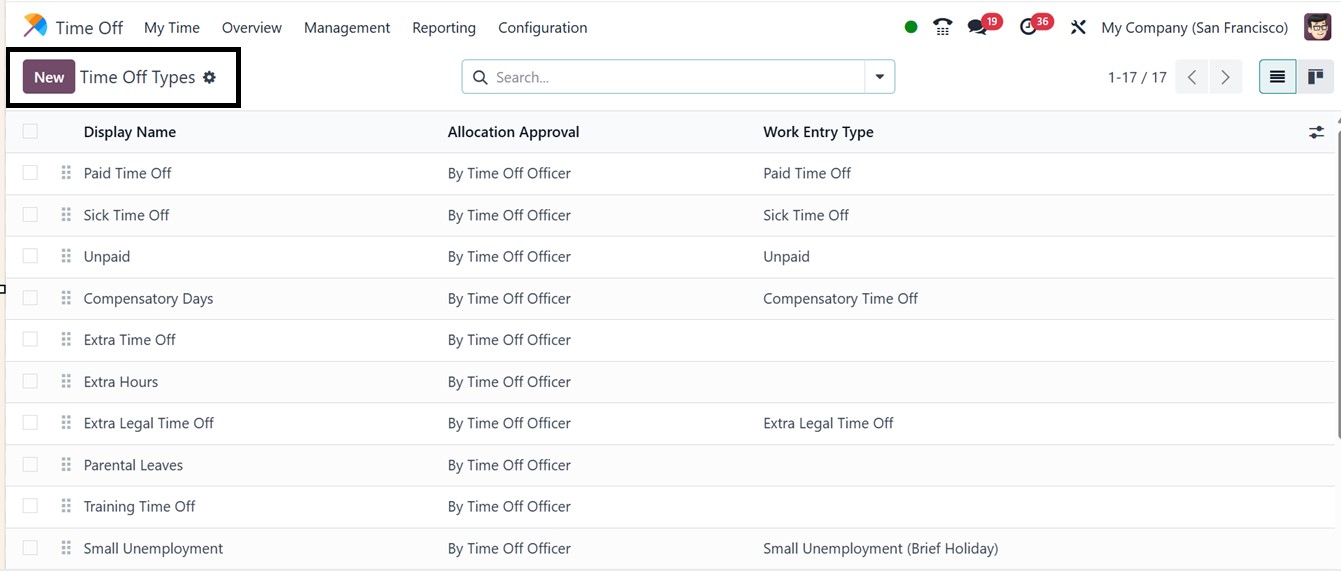
For instance, managers can set a leave type to require approval by
both the employee’s manager and a Time Off Officer. Additional
settings include attaching supporting documents, defining accrual
plans, and configuring negative balance allowances. So, just click
on the ‘New’ button to create a new Time Off Type according to the
requirement.
Firstly, administrators can define unique leave types, including
vacation, sick leave, and compensatory days. Then, the Approval
processes can be configured as: No Validation, By Time-Off Officer,
By Employee’s Approver, and both By Employee’s Approver and Time-Off
Officer.

The ‘ALLOCATION REQUESTS’ tab has the ‘Requires Allocation’ field.
Selecting "Yes" signifies that requests for time off must be
accompanied by appropriate allocations. The ‘Requires Allocation’
can be marked as "No Limit" if they can be approved without previous
allocation. If you select the Yes option, ‘Employee Requests’ will
show up as a new field. The user can request a personal allotment by
choosing the Extra Days Requests Allowed option. The Not Allowed
option does not allow the user to seek an allocation.
Within the ‘Notified Time Off Officer,’ the time off officer who will
get the alert to approve time off or allocation is selected. No one
will be notified if it is unoccupied. In the ‘Take Time Off in’
section, you may choose whether to take a full day, half day, or
hours off.
You can allow supporting resources to be attached by activating the
relevant field. Either worked time or absence time may be entered in
the designated field for time off. The distinction between working
hours and absence will be used to compute the accrual plan rate.
In the ‘CONFIGURATION’ section of the form, you can activate the
‘Deduct Extra Hours’ feature to determine if an employee's
additional hours will affect their time off balance for a specific
type of work. Then the ‘Public holiday included’ option can be used
to allow public holidays to be included in the employee's time off
allocation if they fall within the requested time off period.
Finally, the Time Off module controls the visibility of a specific
time off type on the employee's dashboard by activating the ‘Show on
dashboard’ option. The name of the company will appear immediately
in the relevant area.
User requests may exceed the number of days allowed when ‘Allow
Negative Cap’ is set, leaving a negative balance. Next, enter the
maximum number of negative days that can be taken for this kind of
leave in the amount in the Negative field; the amount must be at
least one.
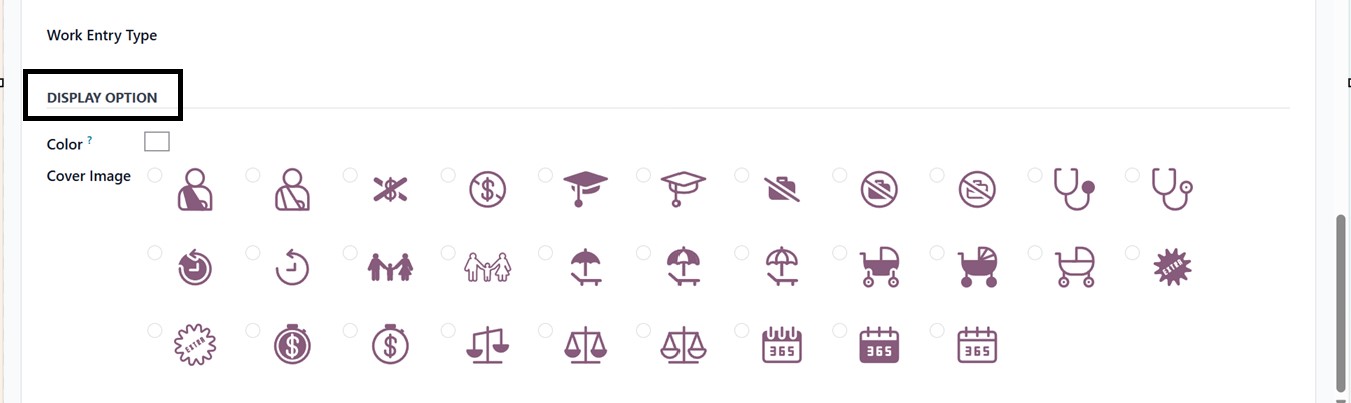
In order to generate timesheets for this type of time off request
verification, include the Project and Timesheet. Set the cover image
and color for the display. Once the necessary information has been
entered, the new Time Off type will be prepared.
5.1 Accrual Plans
Accrual Plans, also accessible from the Configuration menu, automate
the allocation of additional leave based on specific milestones,
such as working hours or predefined durations. Regular and accrual
leave allocations are used by employees, with regular allocations
granting a set amount of leave.
Accrual leaves are granted based on specific criteria. The goal is to
establish a guideline for automated leave distribution. Users can
access a list of configured accrual plans, including Plan Names,
Levels, and Employees.

You can also create a new plan by clicking the New icon. The ‘Name’
option allows you to give the accrual plan a name. Next, bring up
the ‘Carry Over Time’ and ‘Accrued Gain Time.’When the "Based on
Worked Time" option is selected, working days, rather than calendar
days, will be used to compute the accrual period.
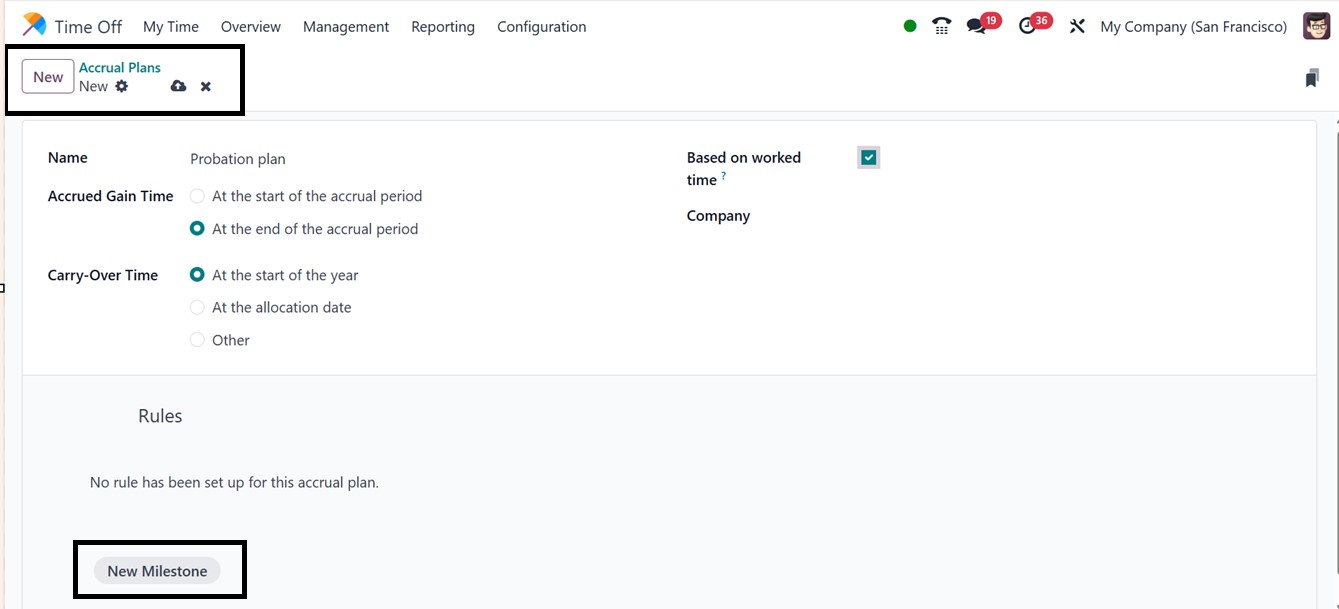
Administrators can now set custom leave accrual milestones,
carry-over rules for unused leave, and other custom parameters. The
accrual plan rules can be modified by clicking on the ‘New
Milestone’ button, which will display a new pop-up as shown below.
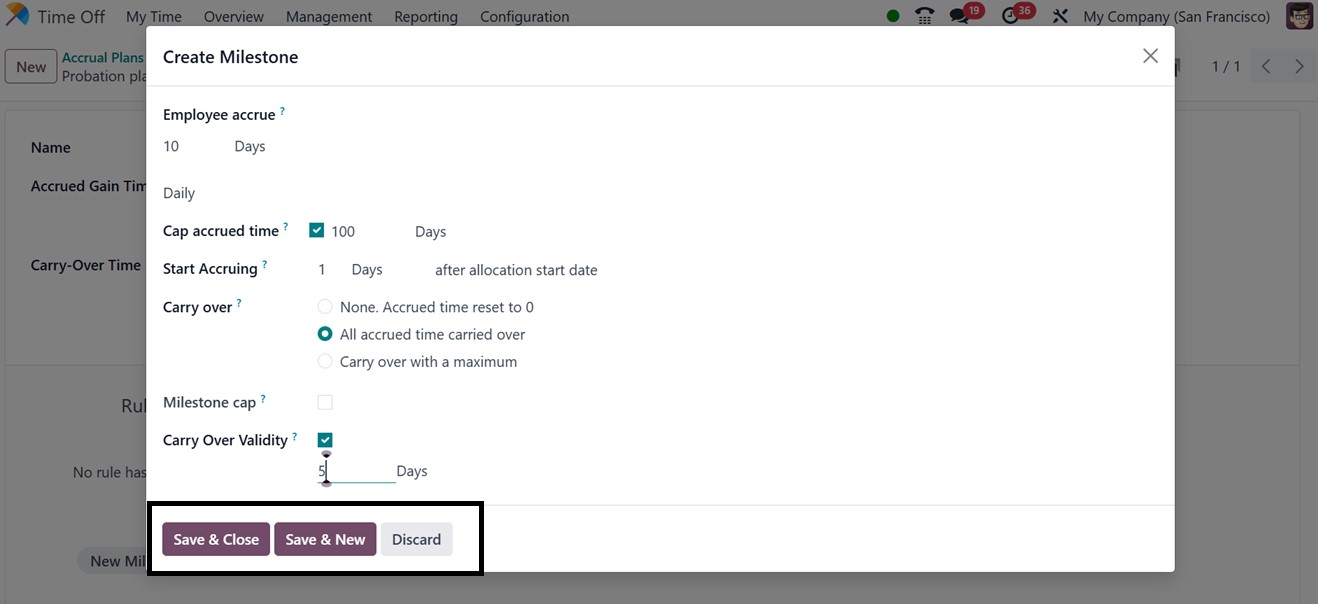
In the Employee Accrue box, note how many hours or days will be added
to the total amount of time off for each period. They introduced a
new field named Source for when the Employee accrue is set to
hourly. The employee calendar and vacation time will be used to
calculate the amount of work hours if the source is set to Calendar.
Otherwise, attendance records will be used to determine the number
of hours worked.
The Start Accruing date, designated as the allocation start date,
marks the beginning of the accumulation. In the Milestone Cap box,
you may choose how many days, months, or years the accrual is
applied after. Then select the ‘Carry Over’ option. Lastly, by
checking the Carry Over Validity box and adjusting the validity
days, you may choose a window of time during which the time carried
over is usable. Then, click Save & Close once you've entered the
relevant details. So, these Accrual plans can be utilized for future
requirements.
5.2 Public Holidays
Public holidays can also be managed from the module’s Configuration
menu for company-wide visibility. The ‘Public Holidays’ page allows
users to view public holiday records and set new ones. It provides
information on the holiday, company, start and end dates, working
hours, and work entry type.
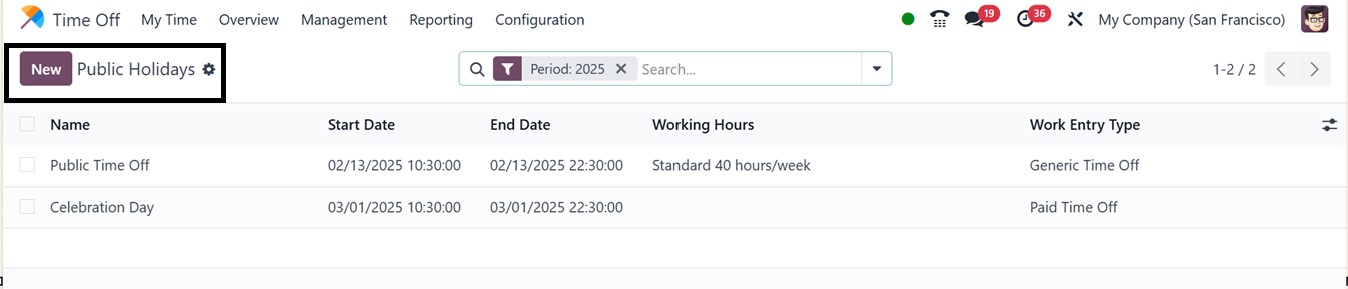
Users can also create a similar type by selecting the ‘New’ icon.
This will open a new editing field where you can edit the Holiday
Name, Start and End Dates, Working Hours, and other relevant details
as illustrated in the screenshot below.
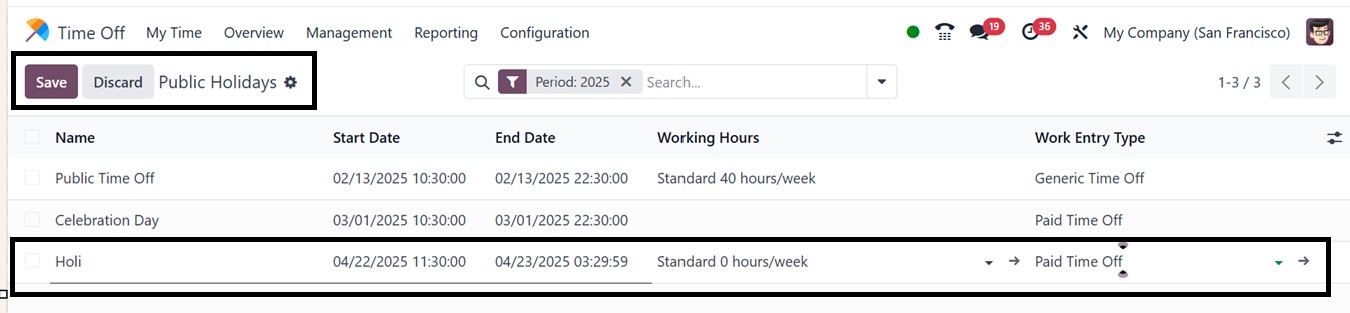
This approach allows you to list all of the public holidays that are
available for a year, as well as to refund or cancel any that fall
on the same day. After adding the details, save the data using the
‘Save’ button.
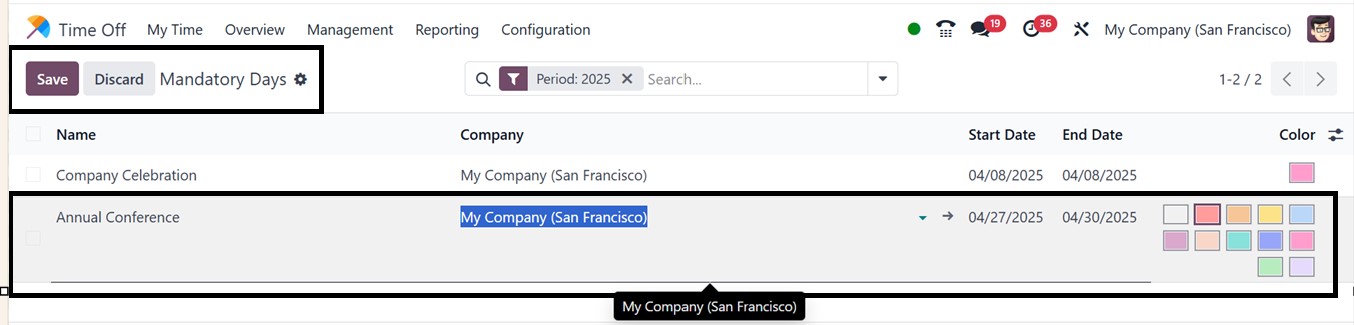
5.3 Mandatory Days
The ‘Mandatory Days’ in the Odoo Time-Off Module highlight critical
workdays where employee attendance is required, ensuring clear
communication of expectations. These days can be configured from the
Configuration menu.
This dashboard also provides the details of all the preconfigured
Mandatory Days, Start, and End Dates. Using the "New" button, you
can rapidly create a new day and edit the required details in the
corresponding fields. Lastly, as seen in the example below, you can
highlight or indicate the significance of the Mandatory Day by
selecting a color from the dropdown selections in the Color area.