In a fast-paced work environment, keeping track of tasks, notes, and
important reminders is essential. The To-do module in Odoo 18 offers
a simple yet powerful way to organize personal tasks and essential
information directly within your Odoo workspace. Whether you’re
writing quick notes, preparing meeting minutes, or planning action
items, the To-do module helps you stay focused and efficient.
Designed to be intuitive and flexible, this module lets you create,
edit, and categorize to-dos across customizable stages. You can also
schedule follow-up activities, collaborate with team members, and
even convert your notes into project tasks, all within a seamless,
integrated experience.
This chapter walks you through the features and capabilities of the
To-do module, helping you make the most of your daily planning and
task management in Odoo.
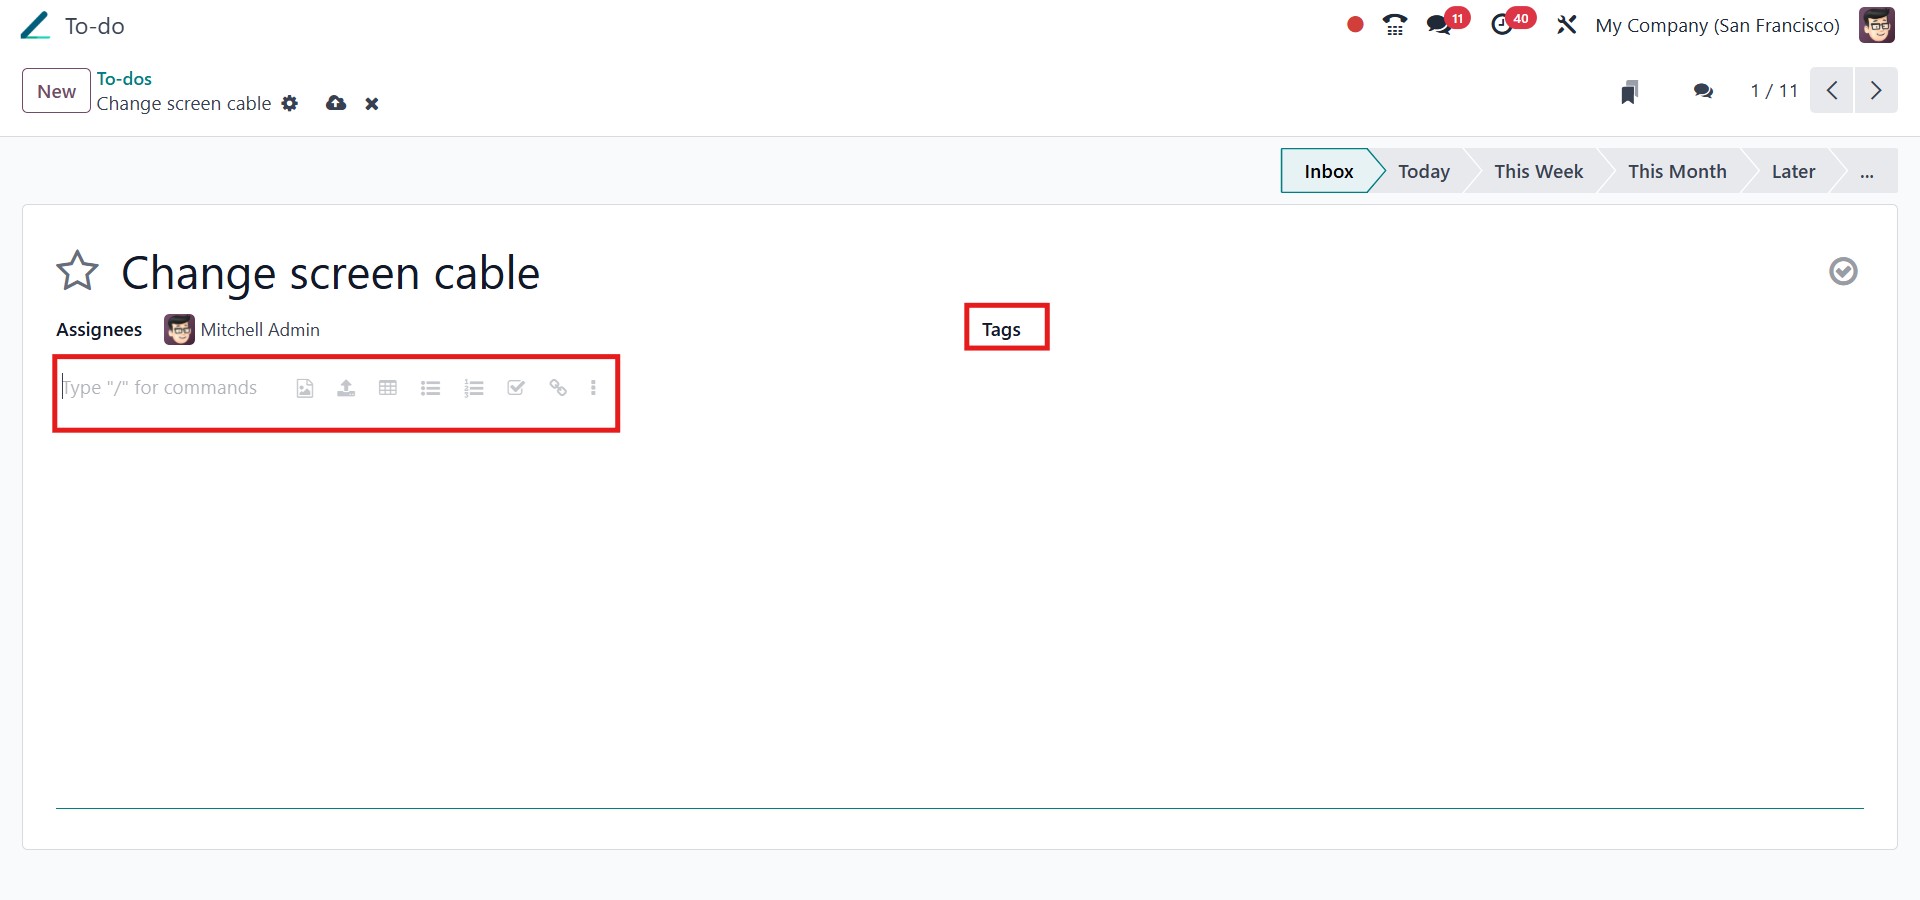
To create a new to-do in Odoo 18, click the New button or the + plus
icon next to any stage. Once you've entered a title for your to-do,
you can click Add to save it immediately or choose Edit to access
additional customization options. In the editing view, you have the
flexibility to add Tags, assign the to-do to specific users, and
enrich the content using the Odoo Editor.

Assigning users to a task allows you to share it directly with them,
enabling better collaboration. The editor also supports advanced
formatting options. By typing a forward slash (/), you can bring up
a menu that lets you structure your content, insert widgets, and add
multimedia elements. For even greater flexibility, you can create a
to-do from anywhere in Odoo by opening the command palette with the
keyboard shortcut Ctrl+K and selecting Add a To-Do, or by clicking
the clock icon in the top bar and choosing Add a To-Do from the
menu.
While editing a to-do, you can further enhance its content by adding
custom buttons, links, images, or even videos. To insert a link,
simply click the link icon in the editor toolbar. You’ll be prompted
to enter the URL or email address, provide a label for the link, and
choose the style and type, either primary or secondary. Similarly,
to add a button, click the button icon, specify its label and
properties, then click Save to insert it into the to-do.
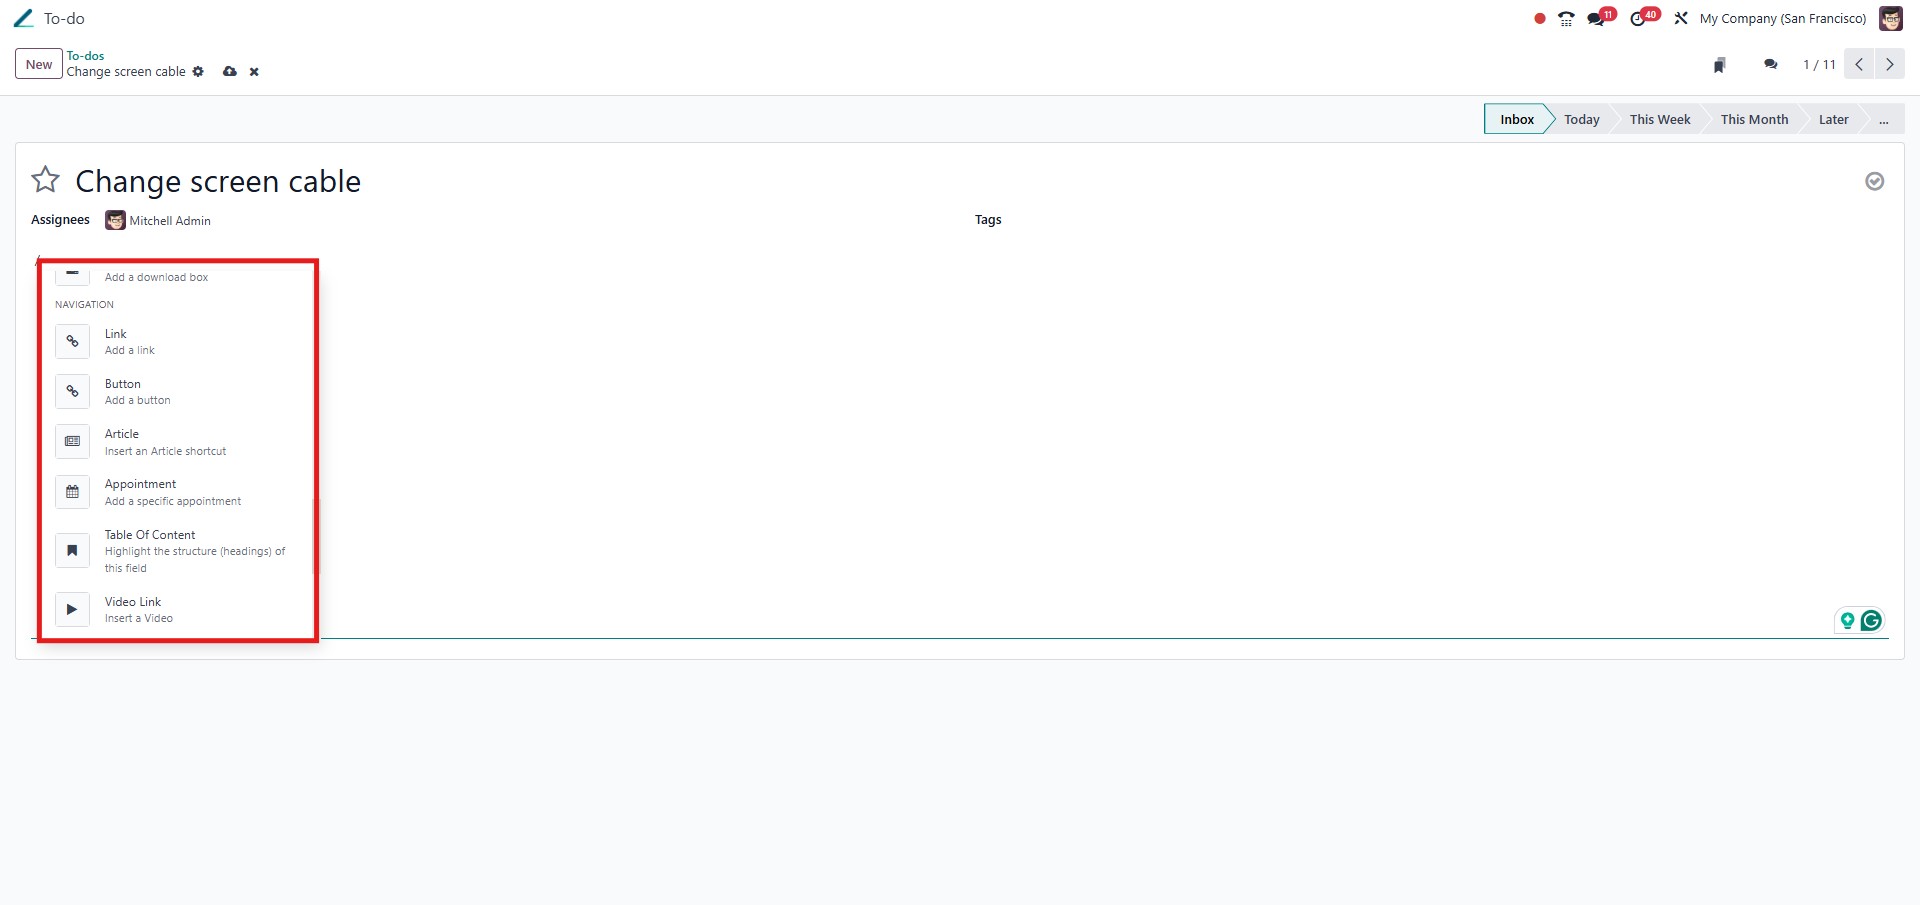
Odoo also allows you to embed media directly within the content. Use
the media option to attach images, articles, or files, making your
notes more interactive and informative.
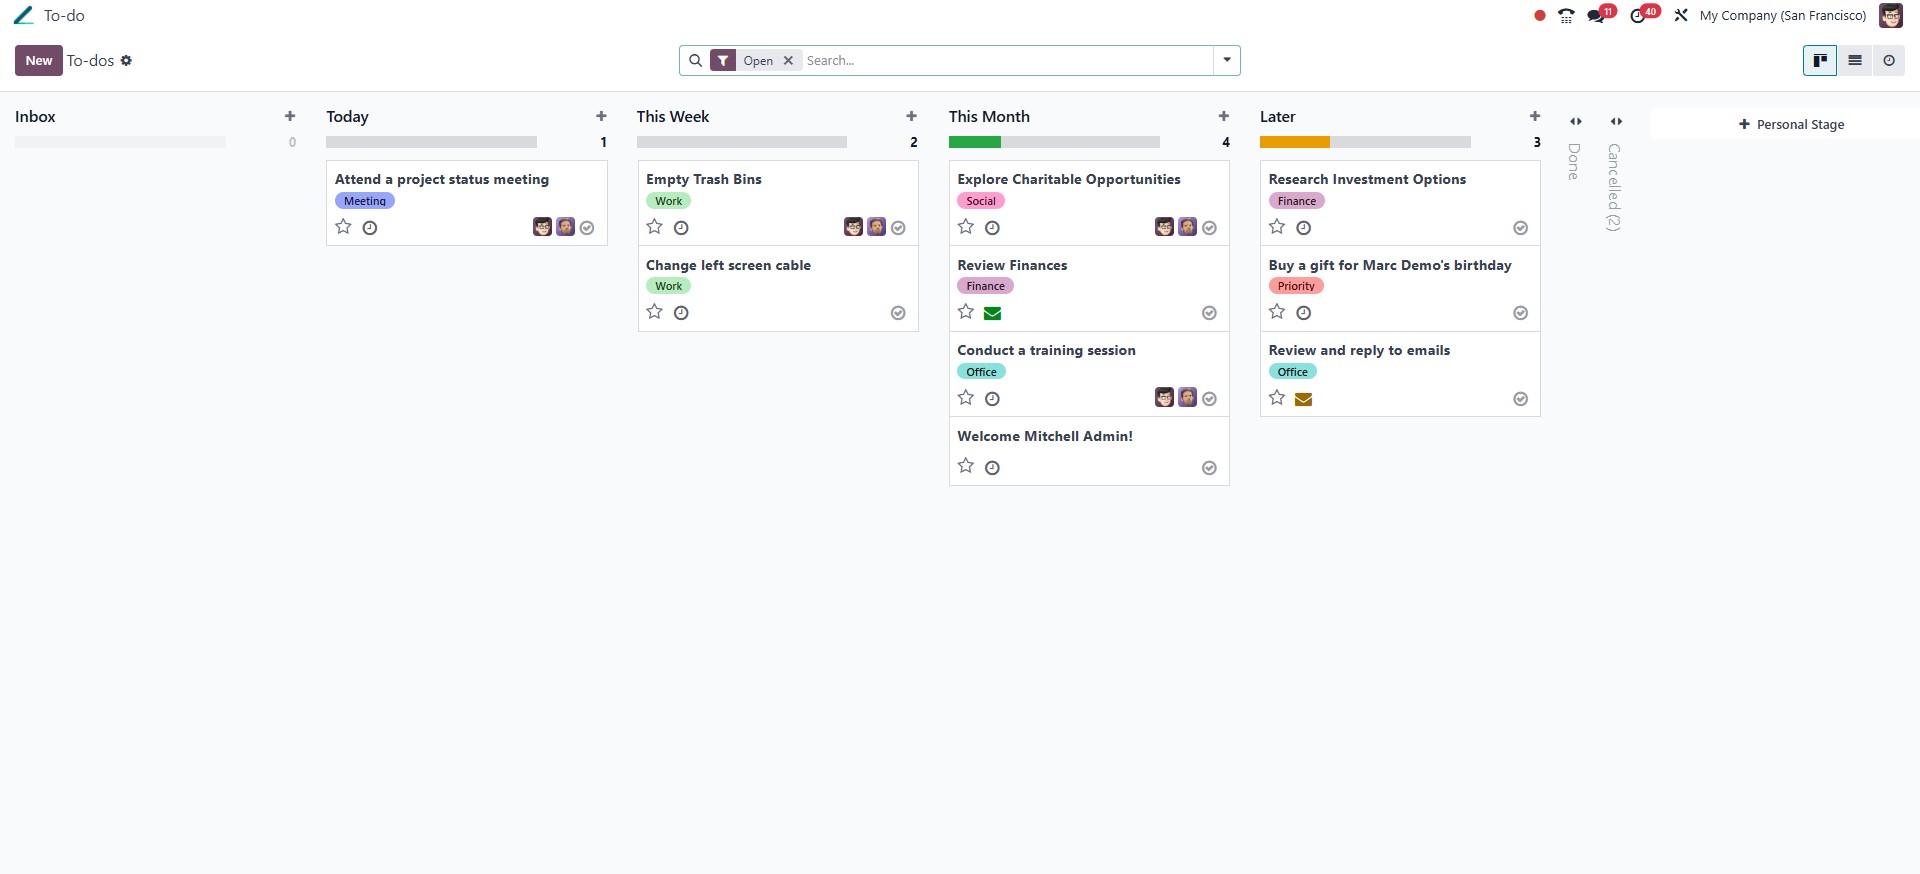
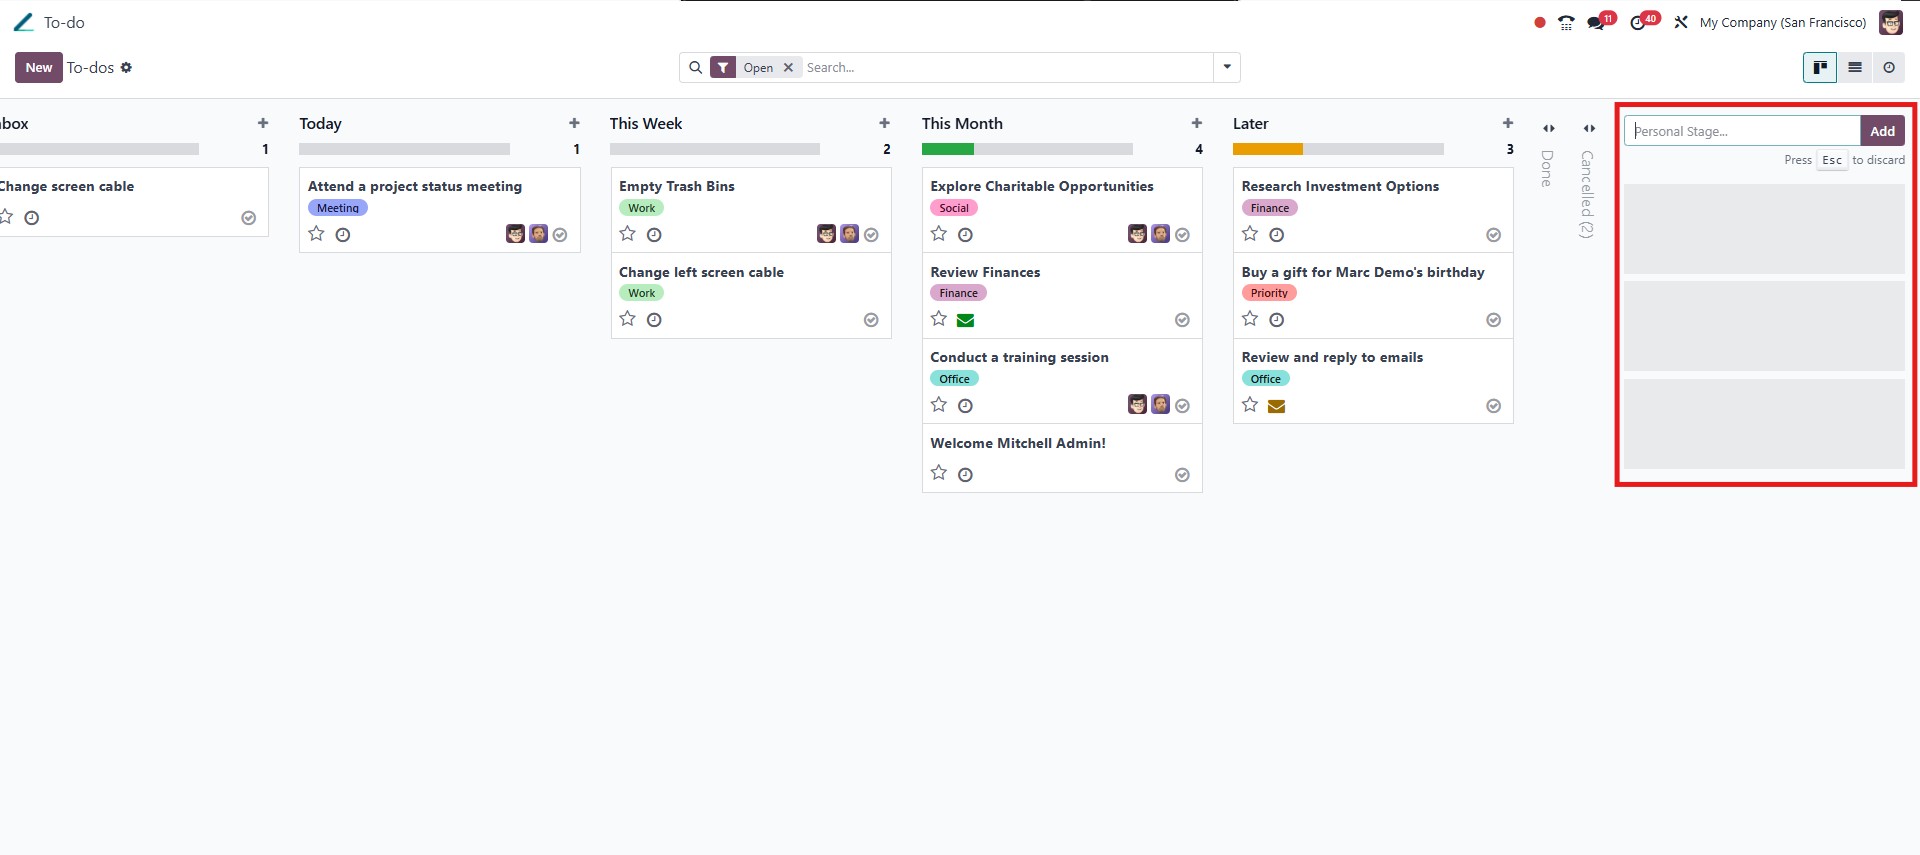
To-dos are categorized and displayed in stages, allowing you to
visually manage their progress. Common default stages include Notes,
Meeting Minutes, and To-do List, but you can easily create your own
custom stages by clicking the + Personal Stage button on the left
side of the pipeline view. Tasks can be moved between stages using
simple drag-and-drop functionality, making it easy to keep track of
your workflow.
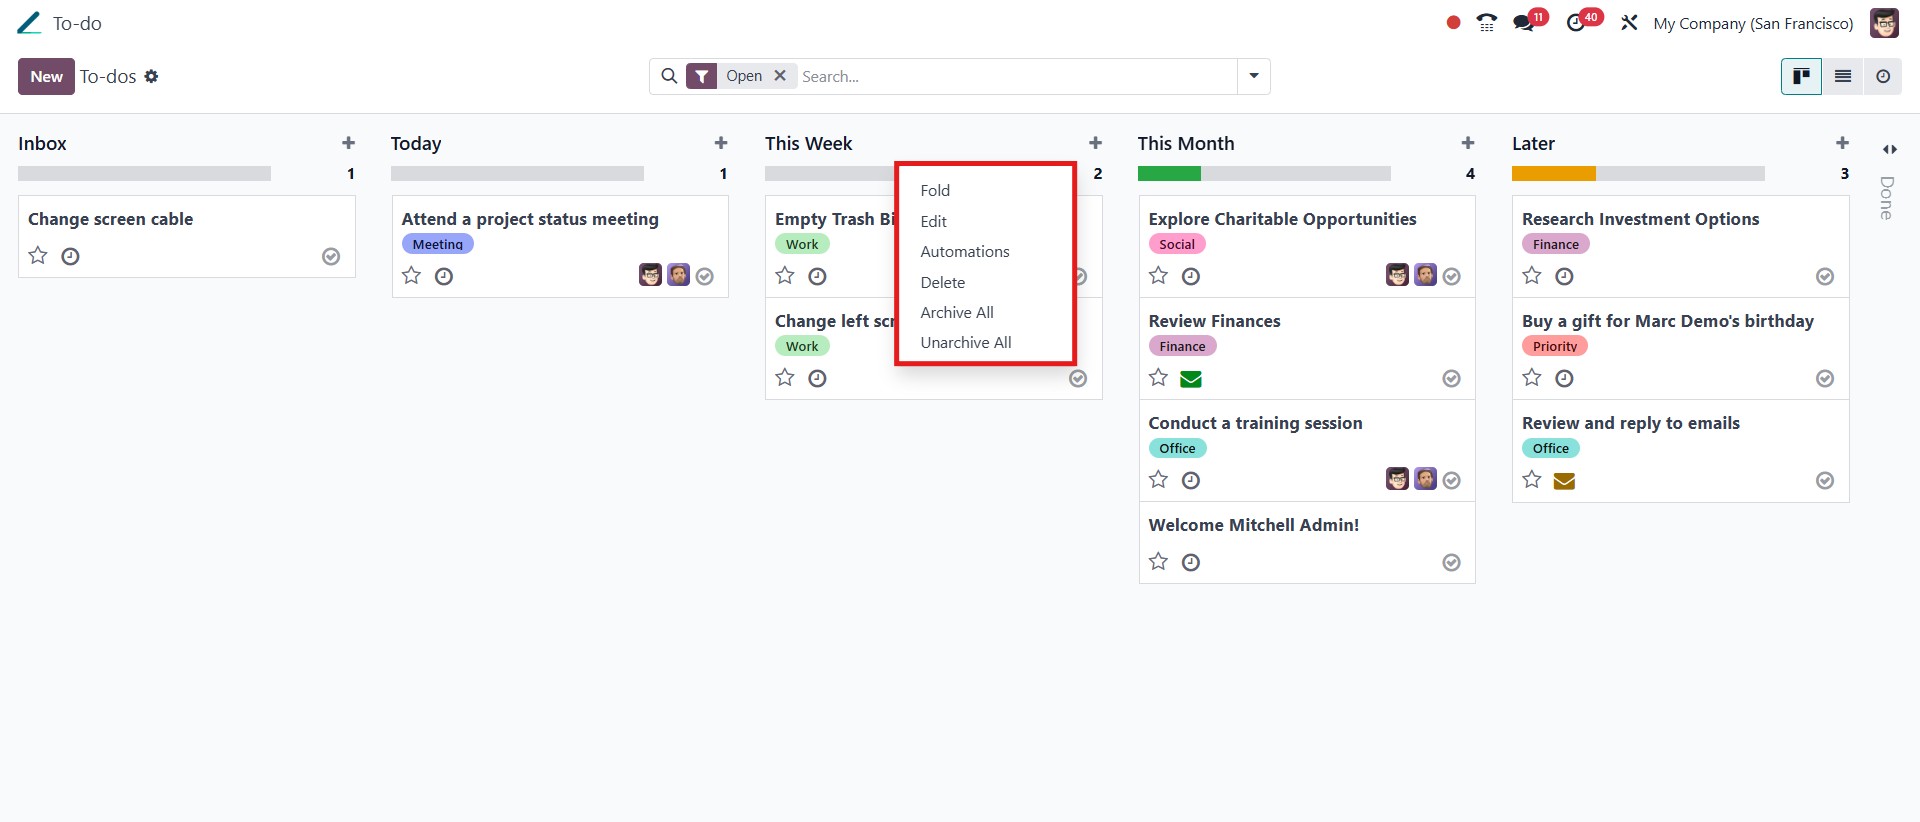
To further customize a stage, click the settings icon located next to
its name. This action opens a menu where you can choose to Fold,
Edit, or Delete the stage based on your workflow preferences. One of
the most powerful tools within this menu is the Automation option,
which allows you to define specific actions that should occur
automatically when a task reaches that stage. Through the Automation
settings, you can configure rules such as assigning responsible
users, triggering emails, changing deadlines, or updating field
values. The grey tick mark on the kanban tile allows users to mark
the task as done, and hence it will appear in green.
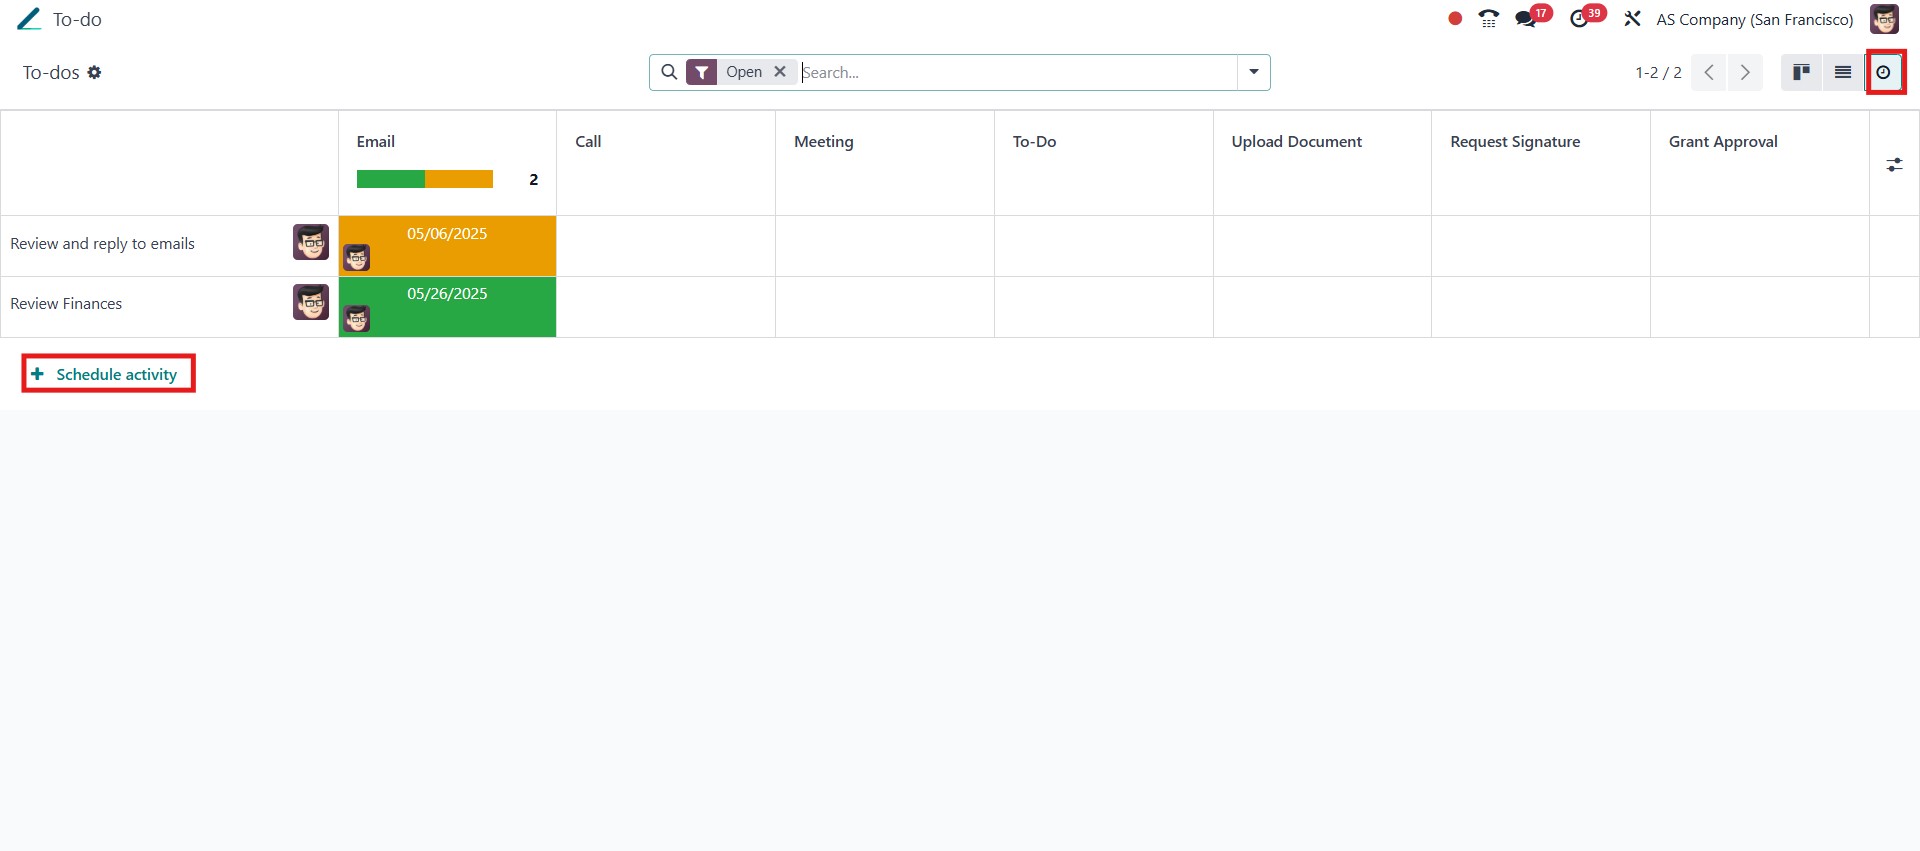
Scheduling activities for your to-dos is straightforward. On the
To-do dashboard, click the clock icon next to the task, then select
+ Schedule an Activity to create a reminder or action item. This
helps you keep track of what needs to be done and when. Once the
task is completed, you can mark it as done by clicking the tick icon
next to the scheduled activity. This action will update the
activity’s status and visually reflect that the to-do has been
completed, keeping your dashboard organized and up to date.
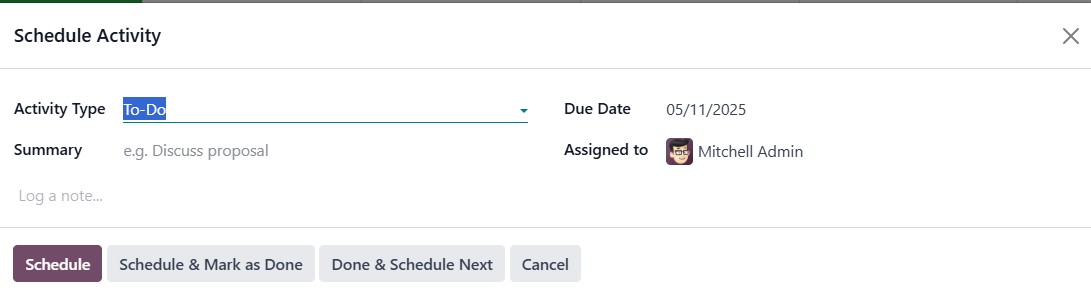
In the scheduling window, choose the Activity Type from a dropdown
list, set a Due date, and assign it to a specific user. You can also
add a Summary and provide a more detailed explanation in the Log a
note section. Once complete, click Schedule to confirm the activity.
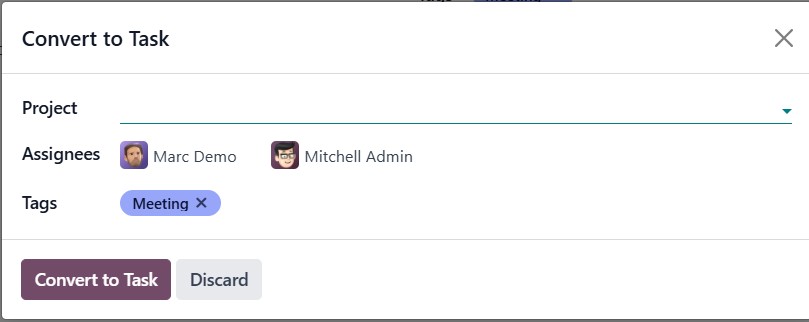
Odoo’s integration with the Project app allows you to convert a to-do
into a fully trackable project task. To do this, open the desired
to-do, click the settings icon, and select Convert to Task. A pop-up
window will appear, prompting you to select a Project, assign a
responsible user, and optionally add Tags.
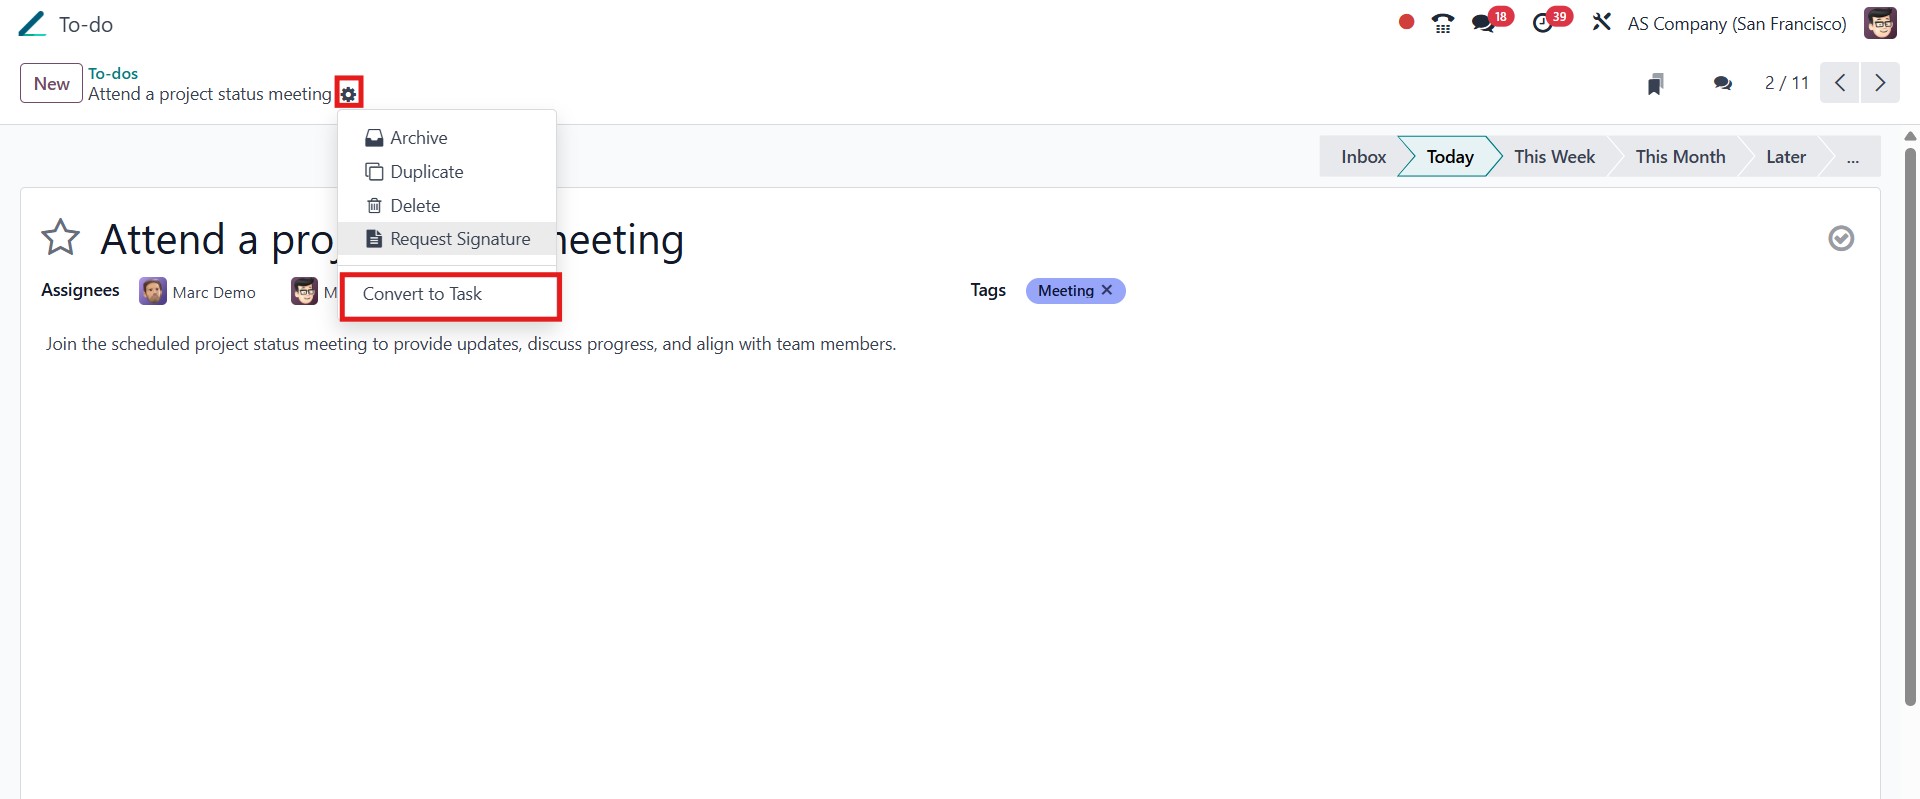
Once you click Convert to Task, the to-do will be transformed into a
task and moved to the selected project.
This feature ensures your personal planning stays organized while
still being integrated with your broader project management tools.
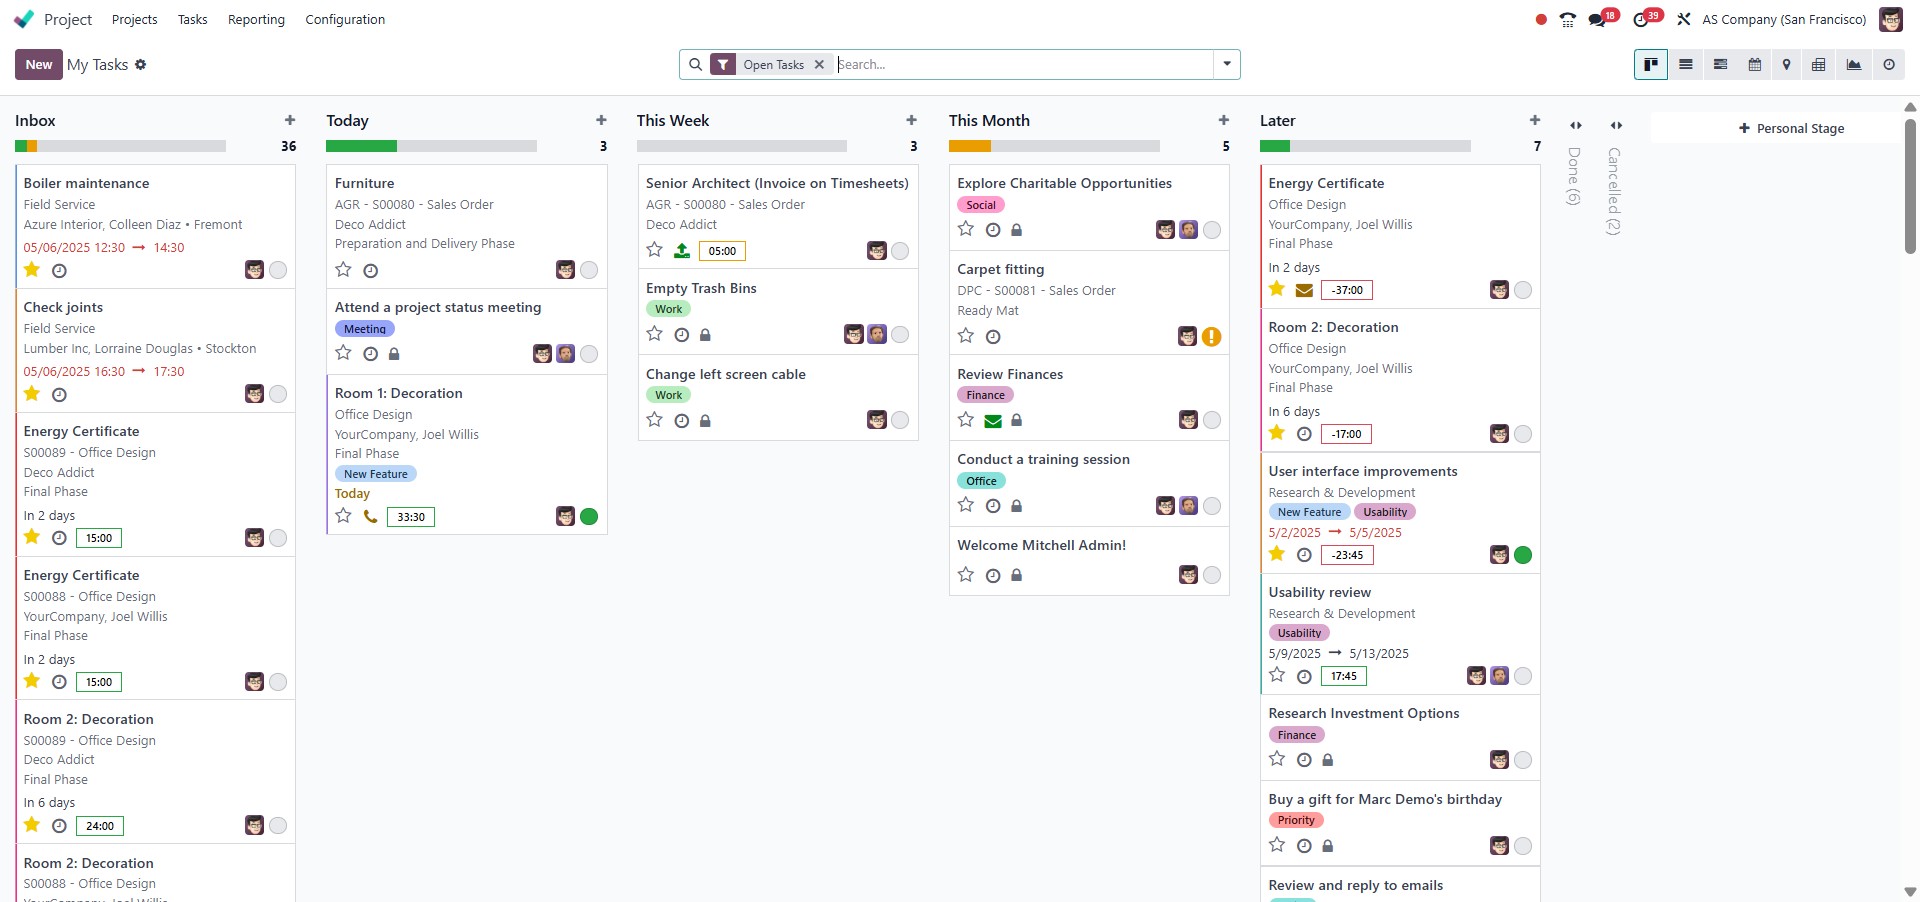
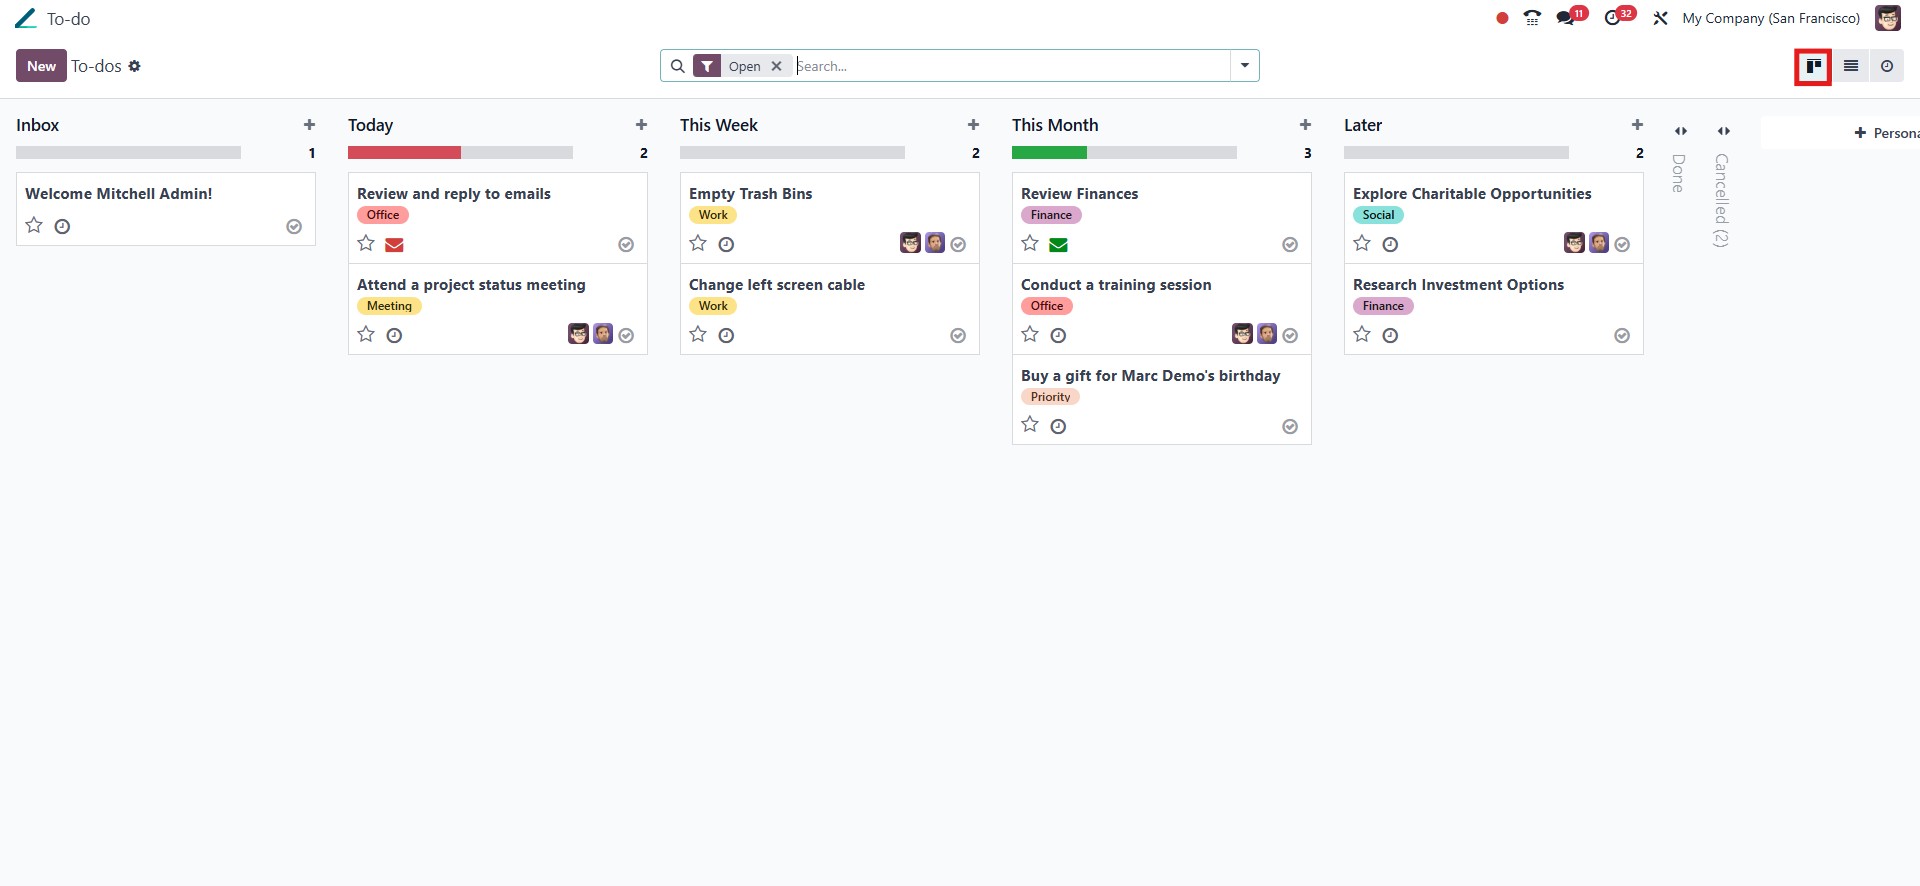
Odoo provides various intuitive views to manage and visualize your
to-do items, ensuring an organized and user-friendly experience. The
Kanban view offers a board-style layout where tasks are displayed in
different stages, such as “New,” “In Progress,” and “Done.” This
visual approach helps users track progress at a glance and move
tasks through stages by dragging them between columns.
The List view presents tasks in a tabular format, which is ideal for
reviewing details like due dates, assigned users, and priorities in
a structured way. For date-focused task planning, the Calendar view
allows users to see their to-dos arranged on specific days, offering
a timeline-based perspective.

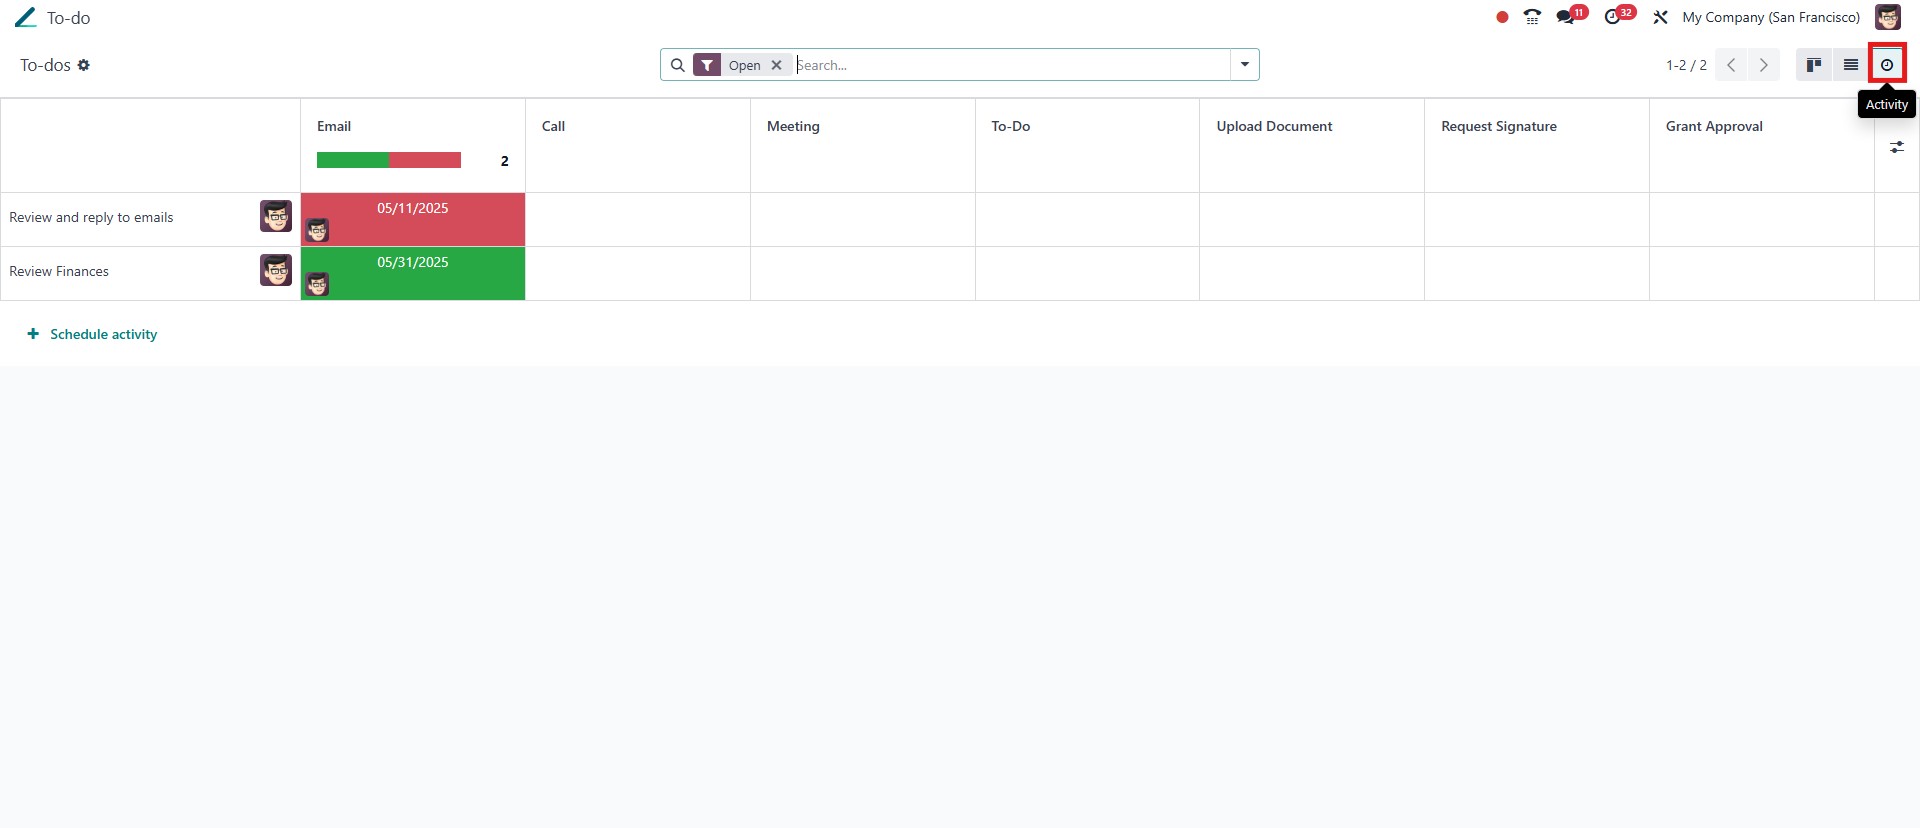
Additionally, the Activity view provides a detailed breakdown of
scheduled, pending, and completed actions in a vertical format,
making it easier to focus on upcoming responsibilities and manage
workload efficiently.
In terms of task status, Odoo distinguishes between open and closed
to-do lists. The Open To-Do List comprises all tasks that are
currently active or in progress. These tasks have not yet been
completed and typically require follow-up actions or are awaiting
progression through their respective stages. Users can interact with
these tasks by scheduling activities, updating information, or
reassigning them as needed. In contrast, the Closed To-Do List
includes tasks that have been marked as completed. Once a task is
finalized and all related activities are fulfilled, it is moved to
this list for record-keeping and reference. Although no longer
active, closed tasks remain accessible for review, reporting, or
auditing purposes, ensuring that the history of completed work is
preserved.
Now that we’ve explored how to create, manage, schedule, and convert
tasks using the To-do module, it’s clear that Odoo 18 offers a
streamlined and collaborative space to capture ideas, track
progress, and stay organized, all from within your daily workflow.