6. Blog operations
Odoo 18 ERP provides a robust platform for streamlining all corporate
operations, including seamless management of blog posting pages
within its Website module. This user-friendly interface facilitates
swift blog post creation with minimal effort. To manage blog posts
from the backend, navigate back to the eCommerce Dashboard.
Within the Configuration tab of the Website module, you'll find
dedicated sections for 'Blogs,' 'Tags,' and 'Tag Categories.' These
sections empower you to establish a structured framework for your
blog content by defining and organizing multiple blogs, tags, and
tag categories. This customized setup enhances efficiency, as you
can easily apply these predefined options directly to your new blog
posts through convenient dropdown menus.
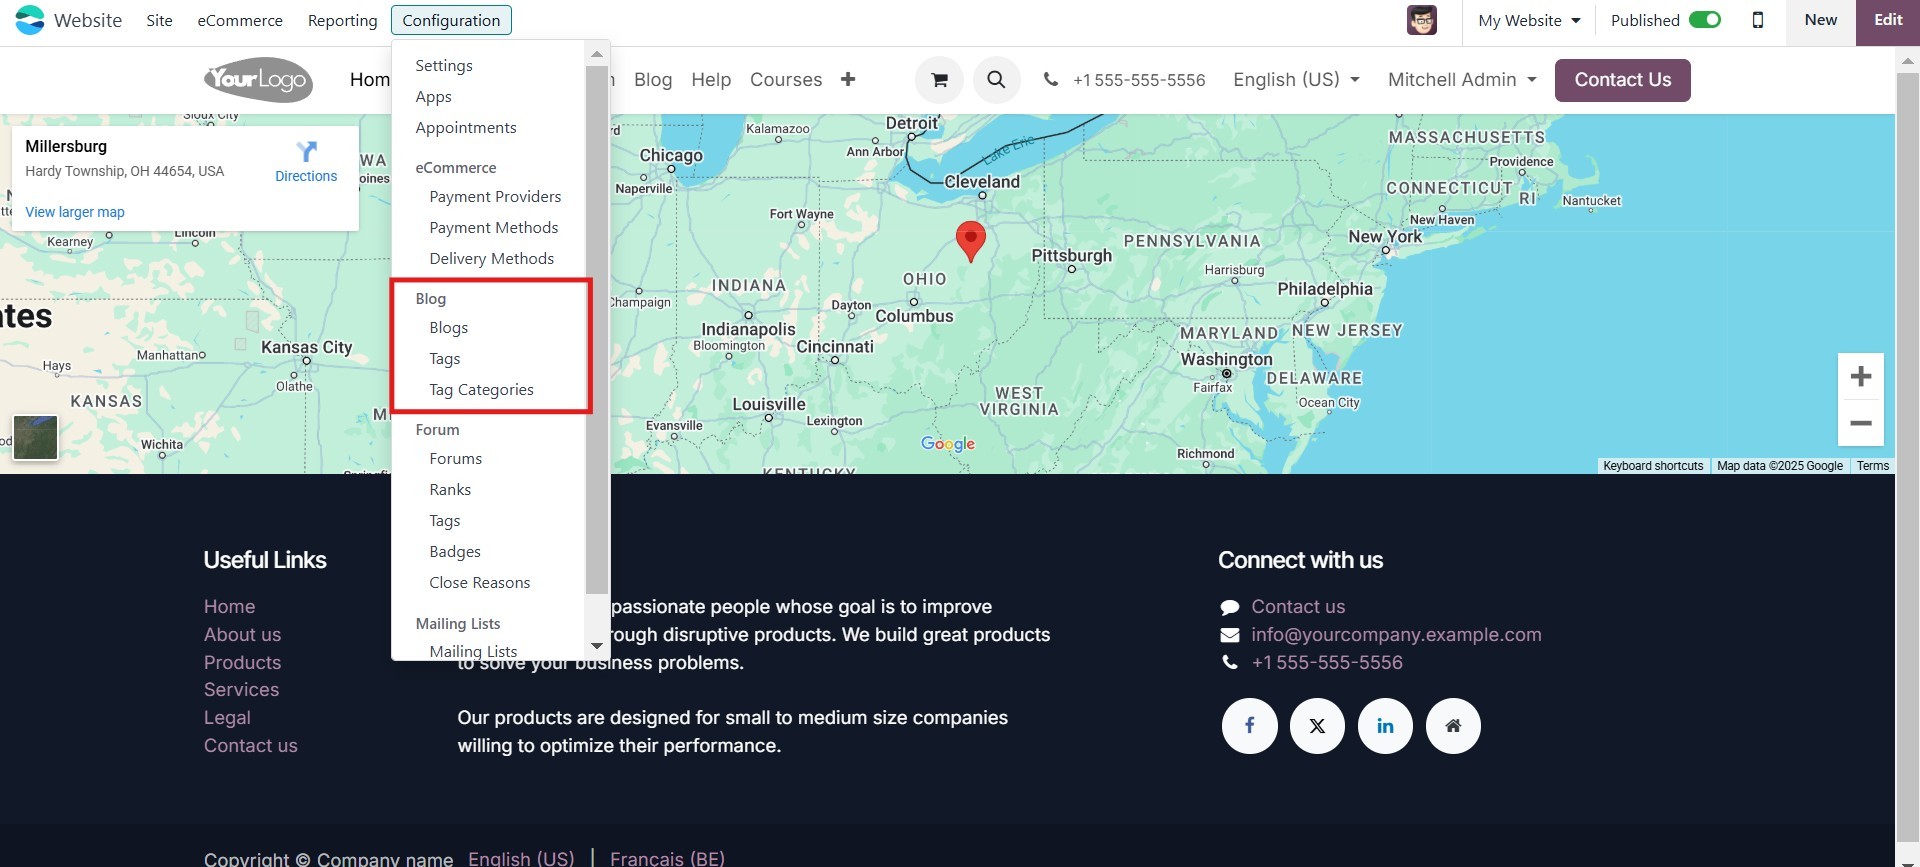
Let's take a look at each one.
6.1 Blog
The "Blogs" menu within the Configuration tab of the Odoo 18 Website
module allows you to create distinct categories for your blogs. This
categorization enhances user experience by facilitating easy
navigation and discovery of blog posts based on specific topics.
6.2 Forum
The "Forum" menu, also located under the Configuration tab of the
Odoo 18 Website module, empowers you to establish forums tailored to
your specific company's requirements. Explore the provided document
for comprehensive information on utilizing forums effectively within
the Odoo 18 platform.
6.3 Appointments
You can schedule online appointments using the Odoo 18 Website
module's Online Appointments menu. Using this Odoo functionality to
organize business meetings and appointments would be quite useful.
This application allows your customers to set up appointments with
you. Please keep in mind that in order to use this feature, you must
first install the Appointment module in Odoo applications. Because
of its highly integrated nature, this function is included in both
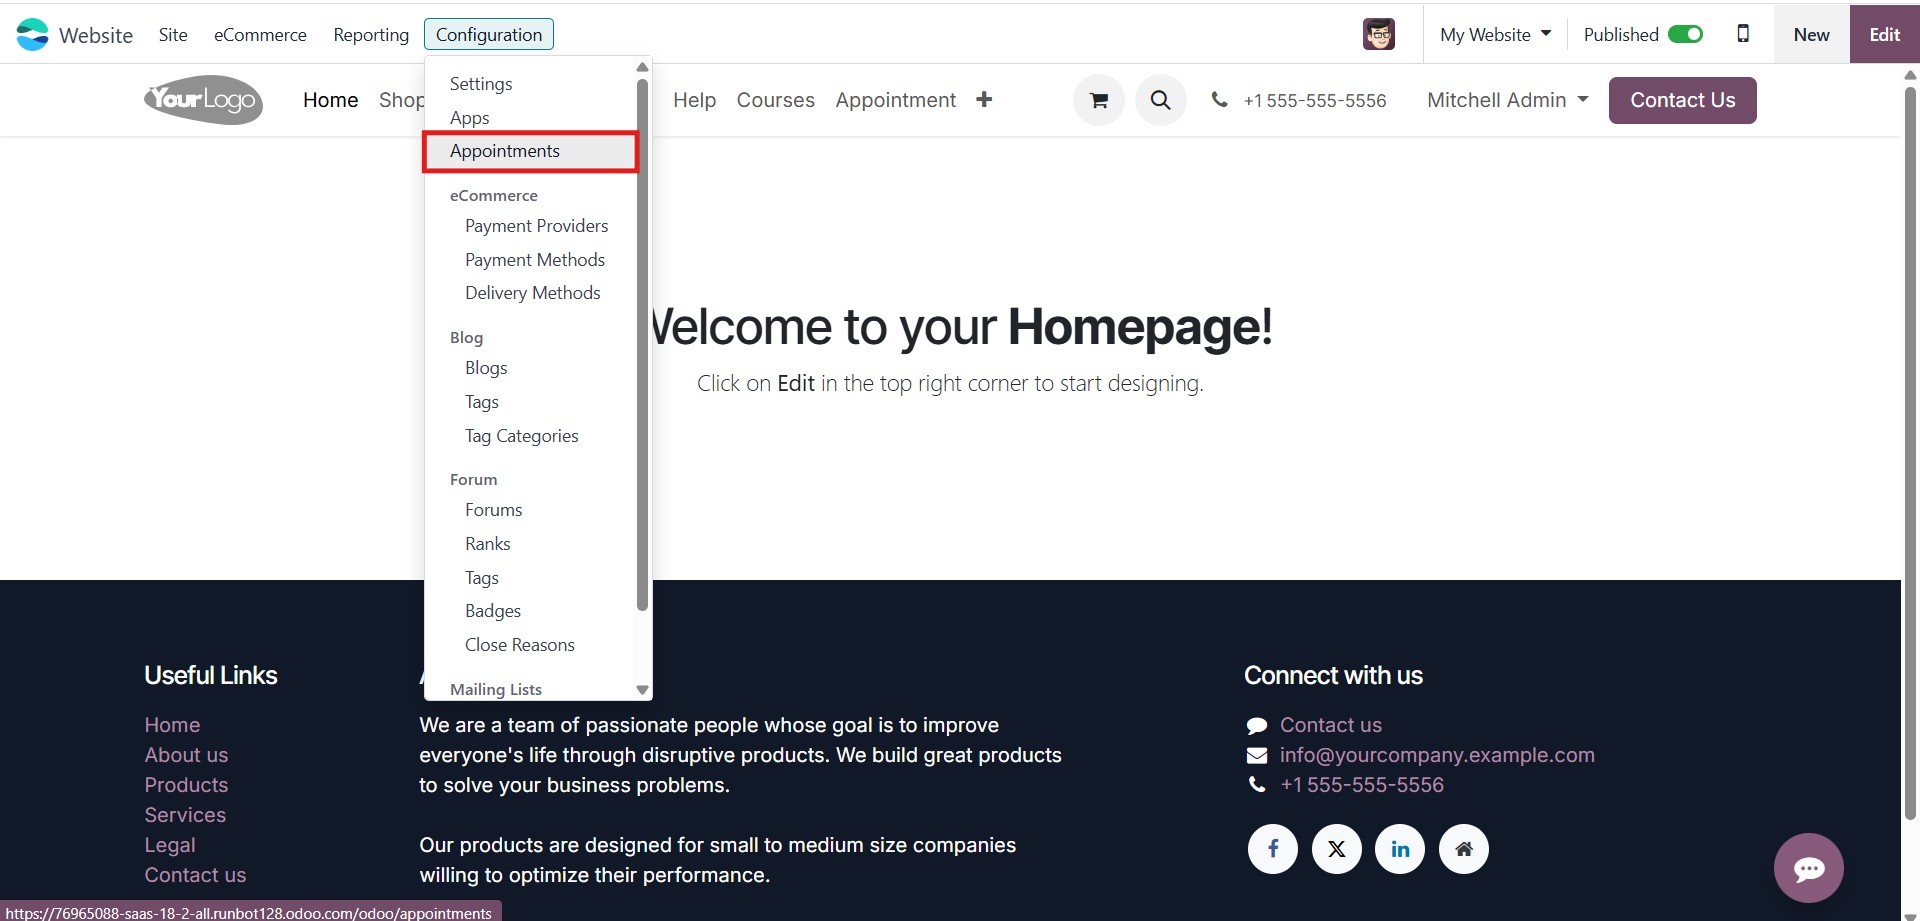
the Website and Calendar modules. When you pick the Online
Appointments option from the Configuration menu in the Website
module, the dialog displayed below will appear.
When the Online Appointments option is selected under Configuration
in the Website module, the corresponding window will appear,
allowing you to easily establish and manage your appointment
settings.
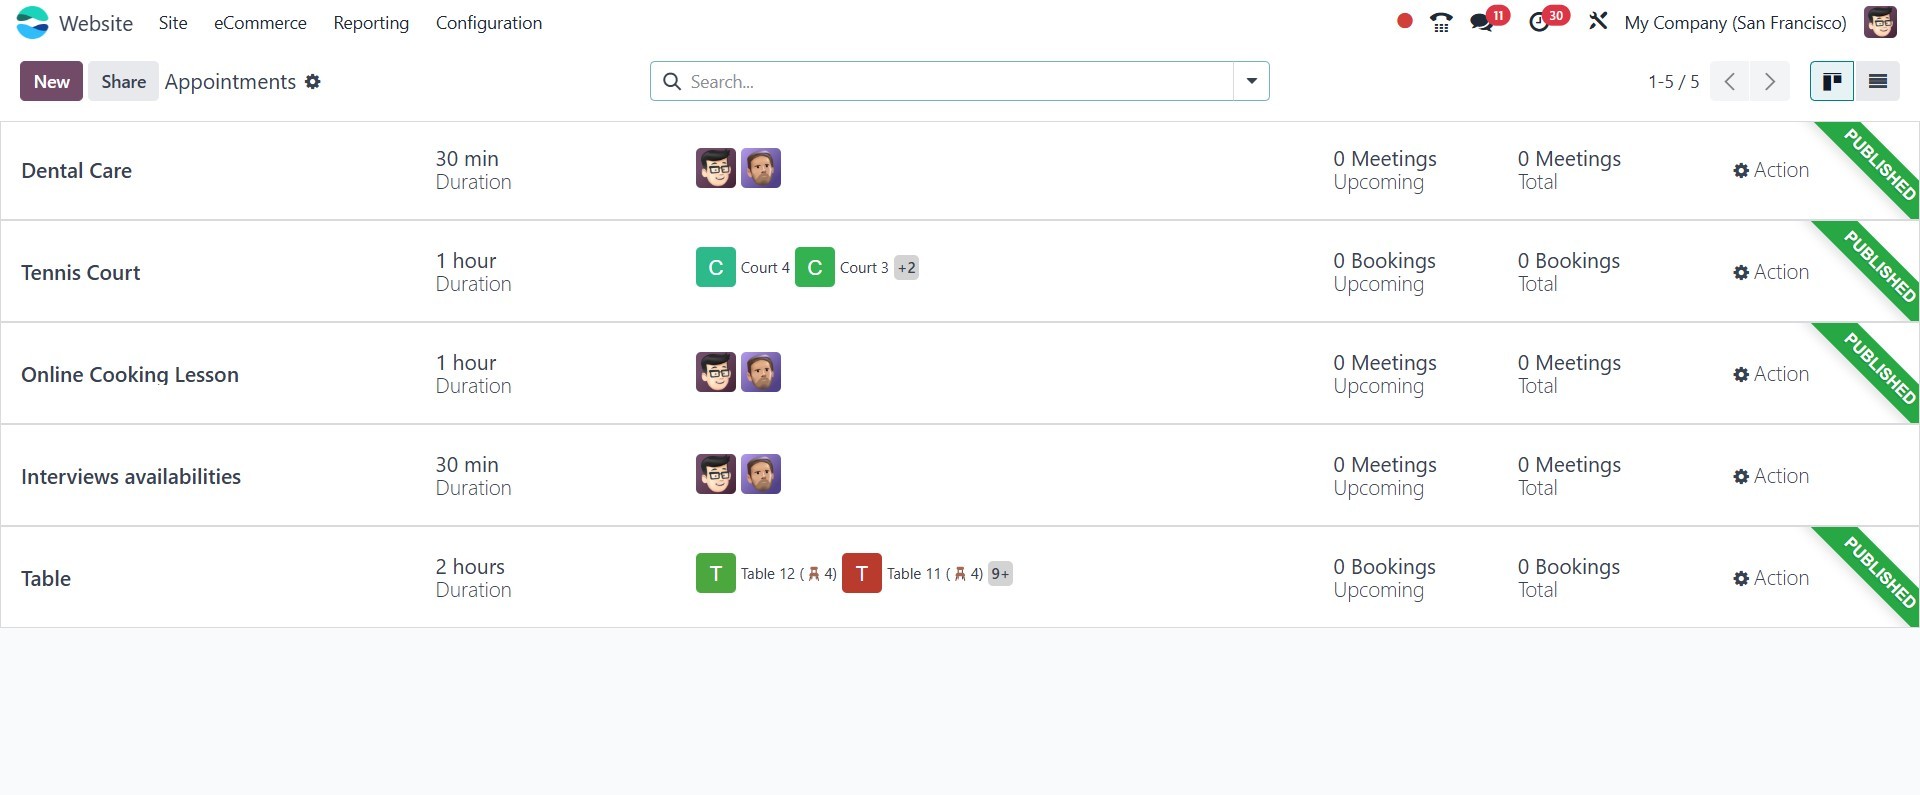
All previously scheduled online appointments are stored and displayed
in this window, allowing easy access and management. The system
presents them in both List and Kanban views for better organization.
To schedule a new online appointment, simply click the New button
and begin the process.
The online appointment creation window will then open, as shown in
the screenshot below.
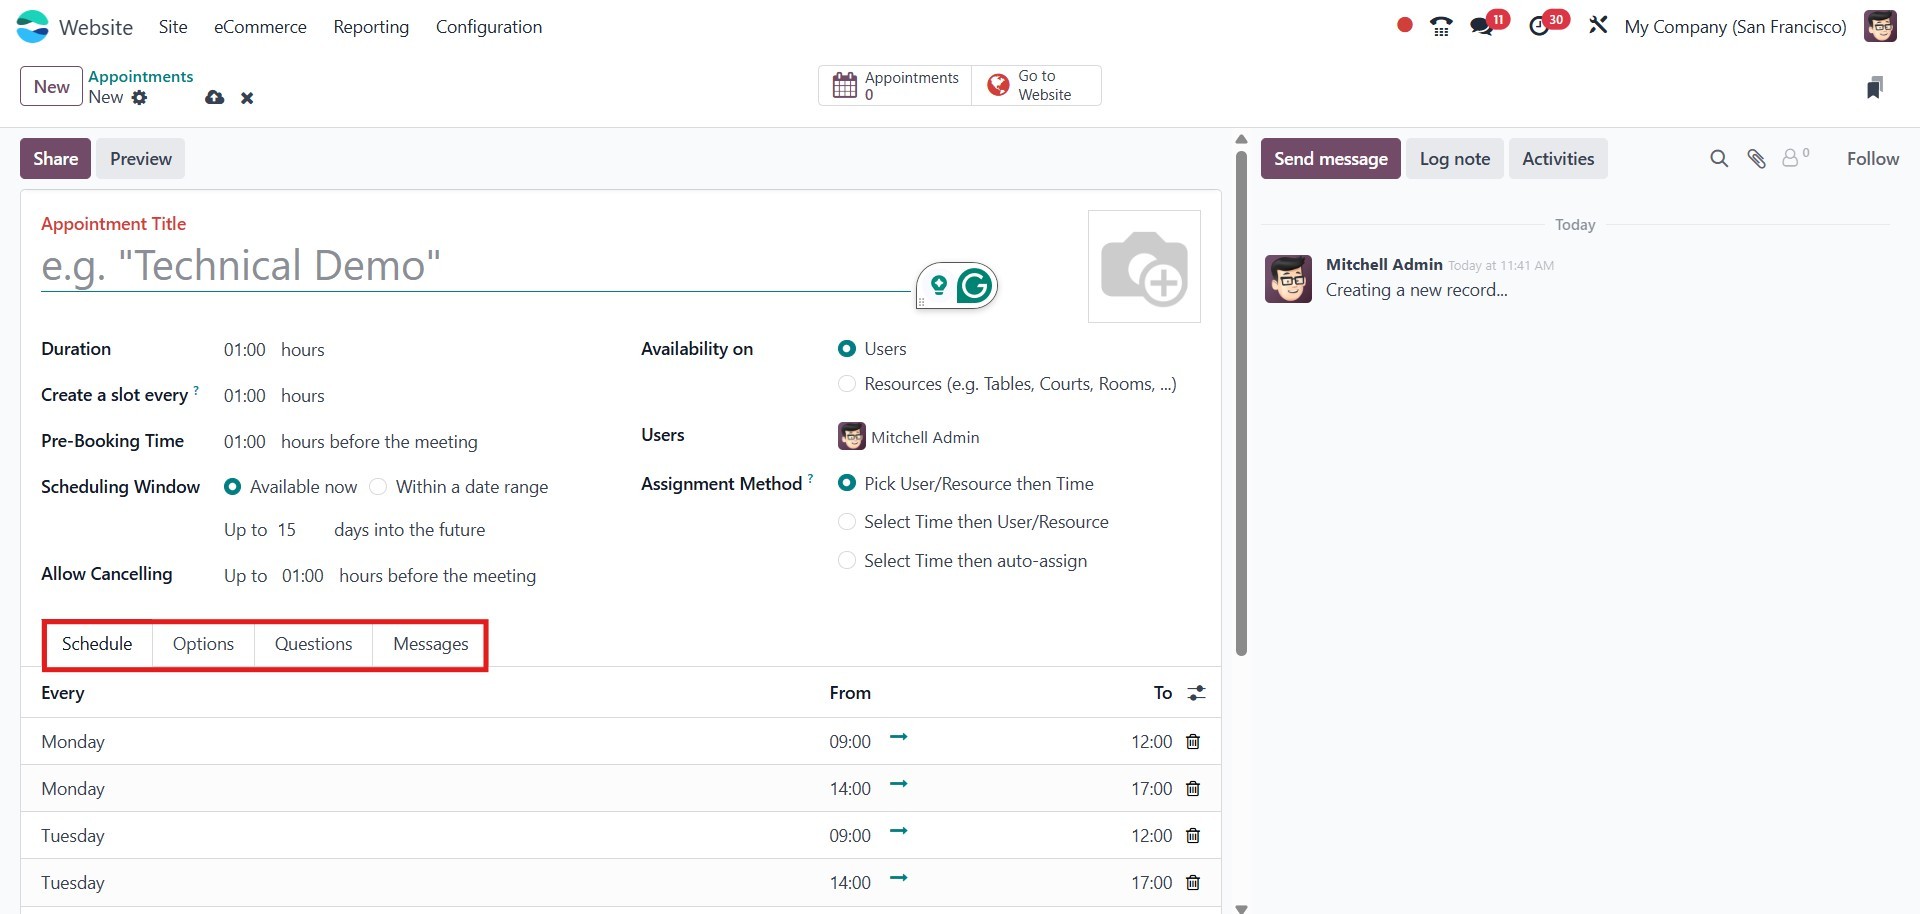
In the appointment creation window, you can set the Appointment
Duration in hours within the Scheduling section. This allows you to
specify how long the appointment will last and how far in advance it
can be booked. Additionally, you have the option to allow
appointment rescheduling. The cancellation period can be defined in
the Allow Canceling field.
The Assignment Method determines how staff members are assigned to
appointments booked through your website. Customers can either have
staff assigned randomly or choose a specific staff member. You can
add available employees by clicking Add a Line under the Available
Employees section.
In the Schedule tab, you can enter the preferred days and times for
appointments.
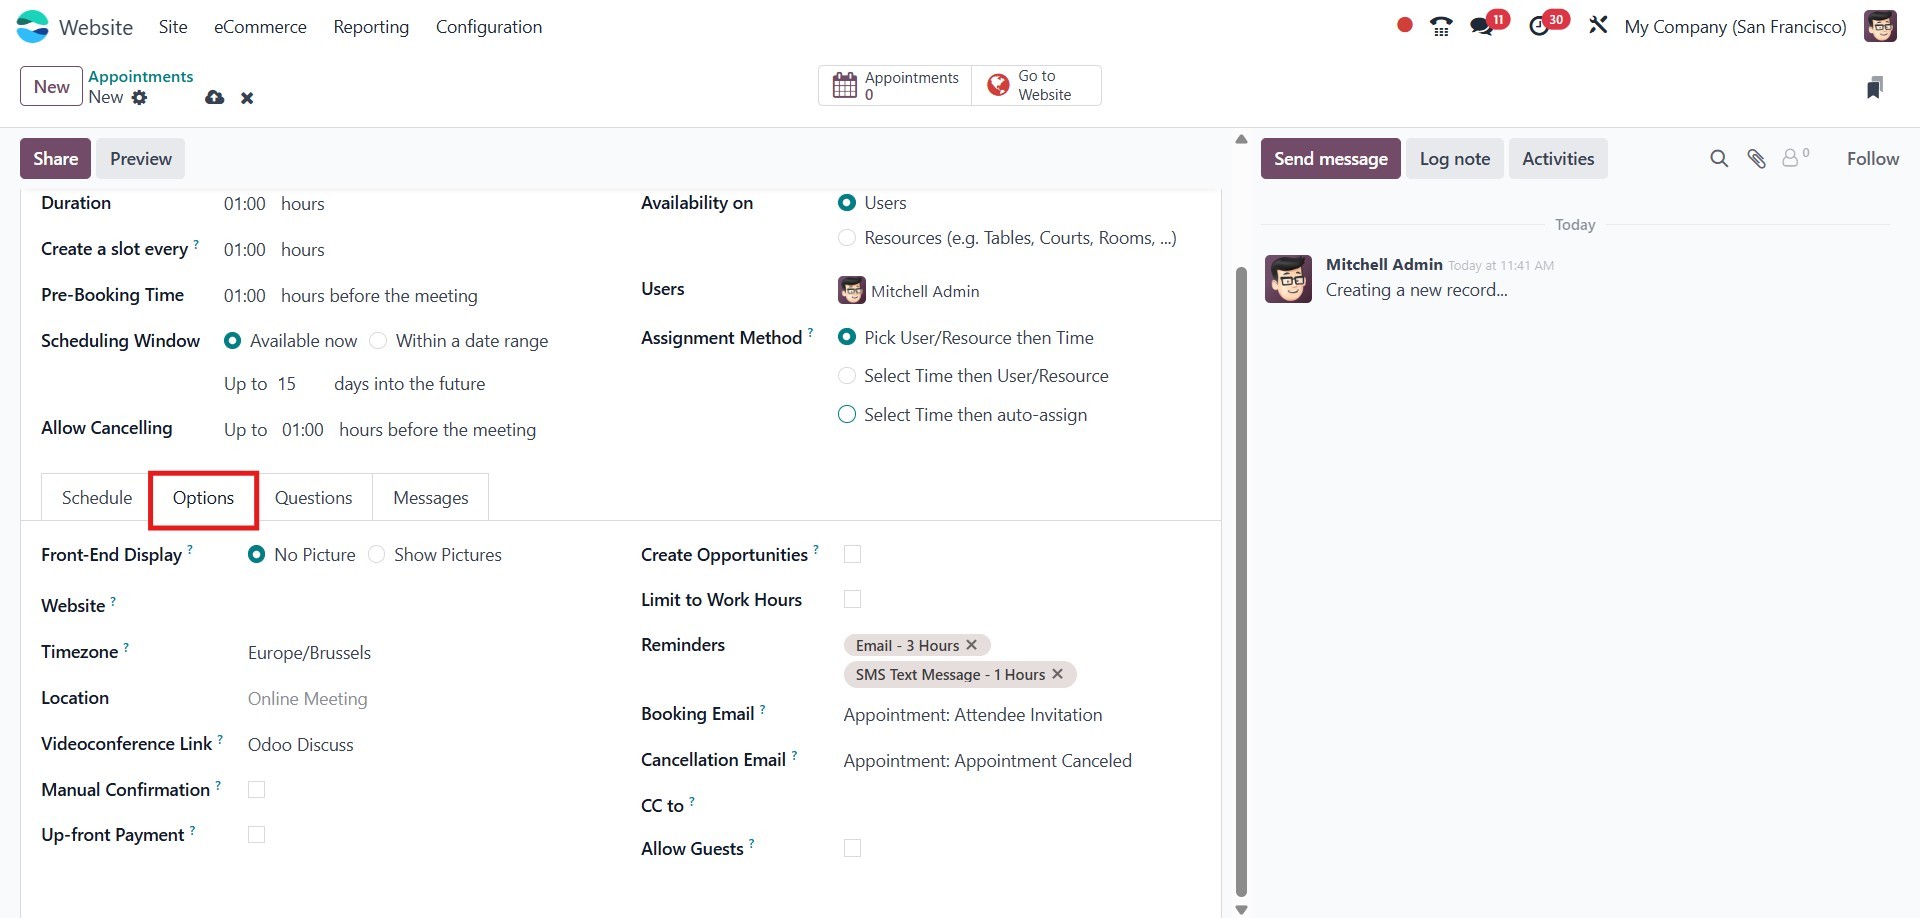
The Options tab allows you to define the appointment type. Based on
your business needs, you can enable or disable the Create
Opportunities option. When enabled, new opportunities will be
created and assigned to the responsible employee for each scheduled
appointment. You can also specify the Appointment Location and the
Time Zone in which it will take place. Additionally, you can
configure Reminders to ensure timely notifications.
If you want to ask the participant questions during the appointment
creation process, you can define them under the Questions tab..
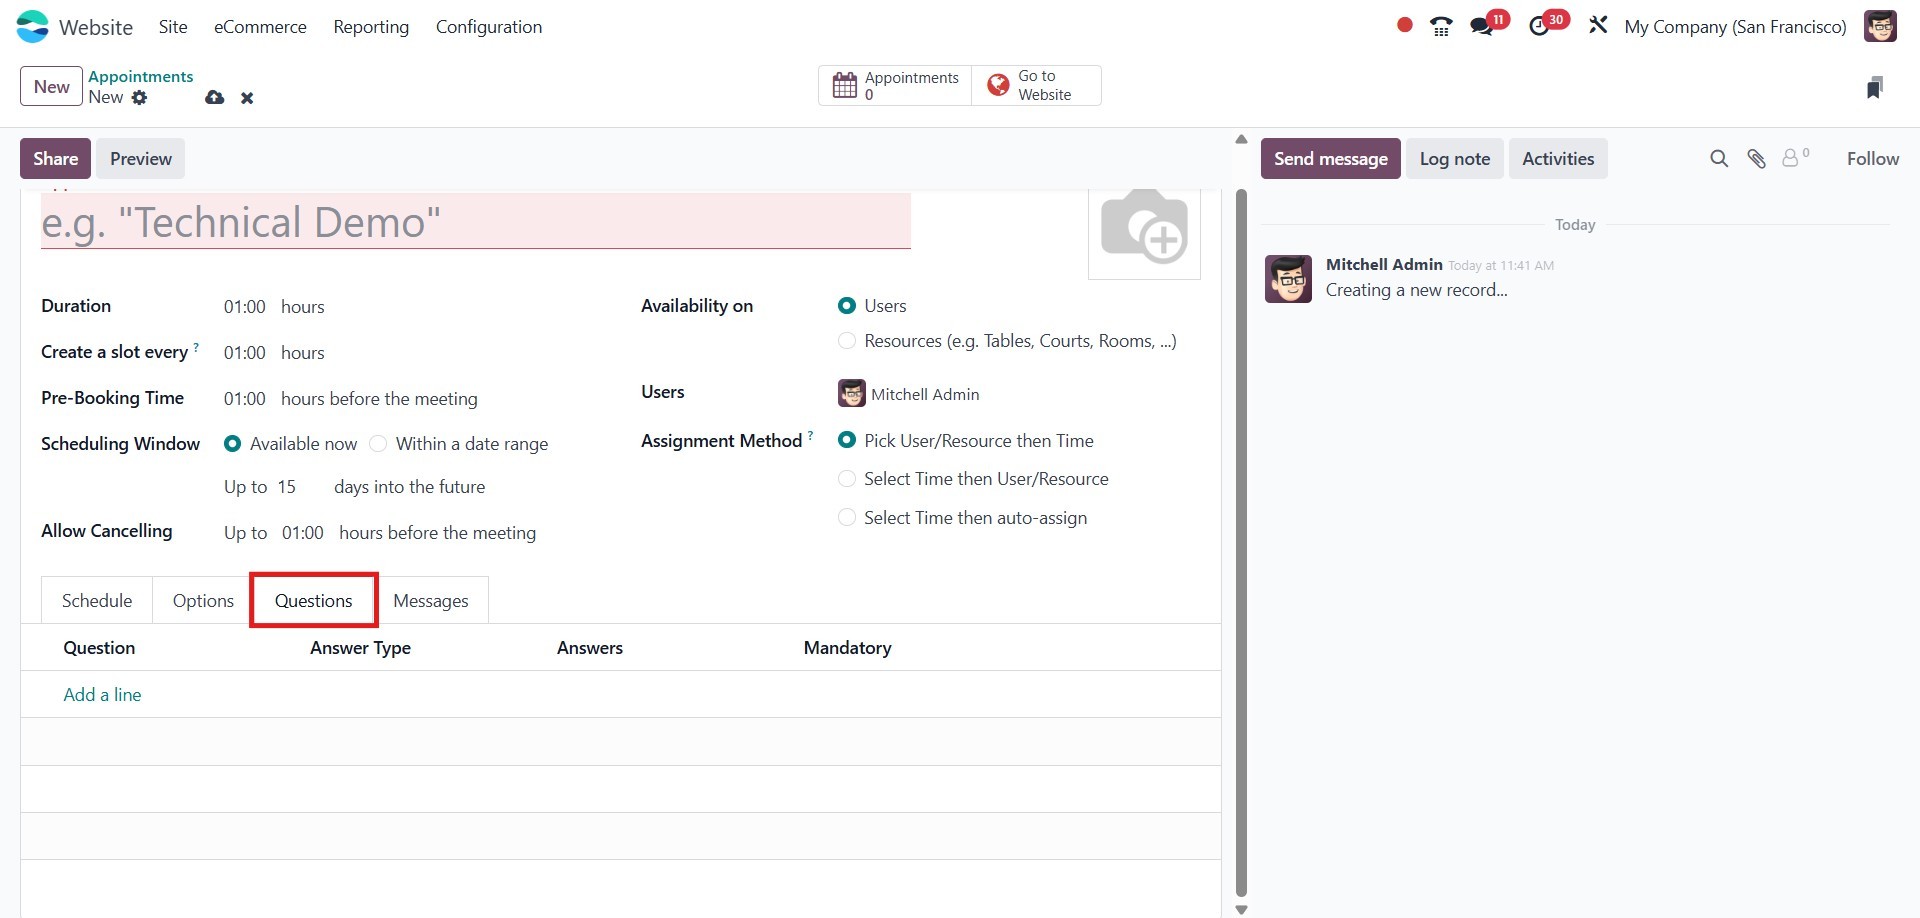
Click the Add a Line button to add questions. A pop-up window will
then appear, allowing you to compose your questions.
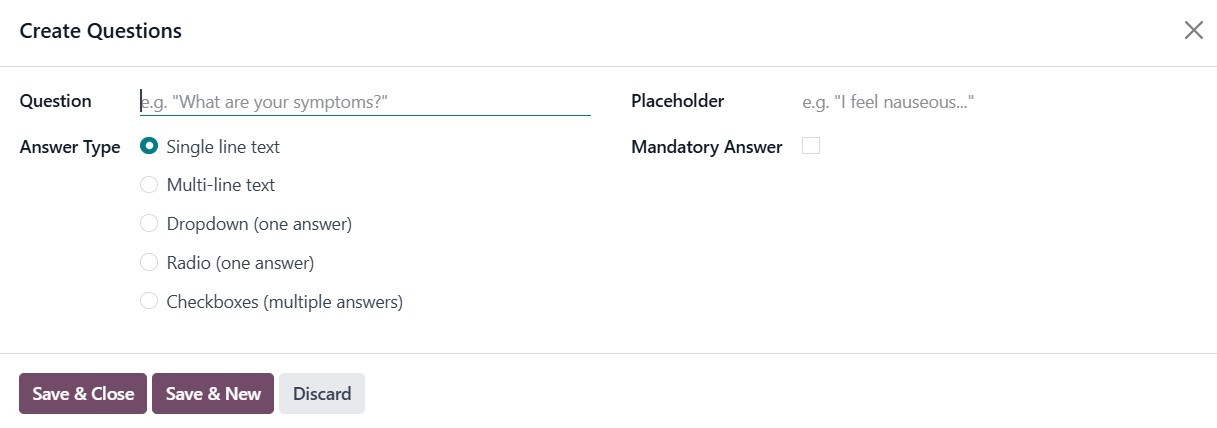
Here, you can define the question and its type. The system offers
multiple question types, including Checkboxes (multiple answers),
Dropdown (single answer), Radio (single answer), and Single-line
Text.
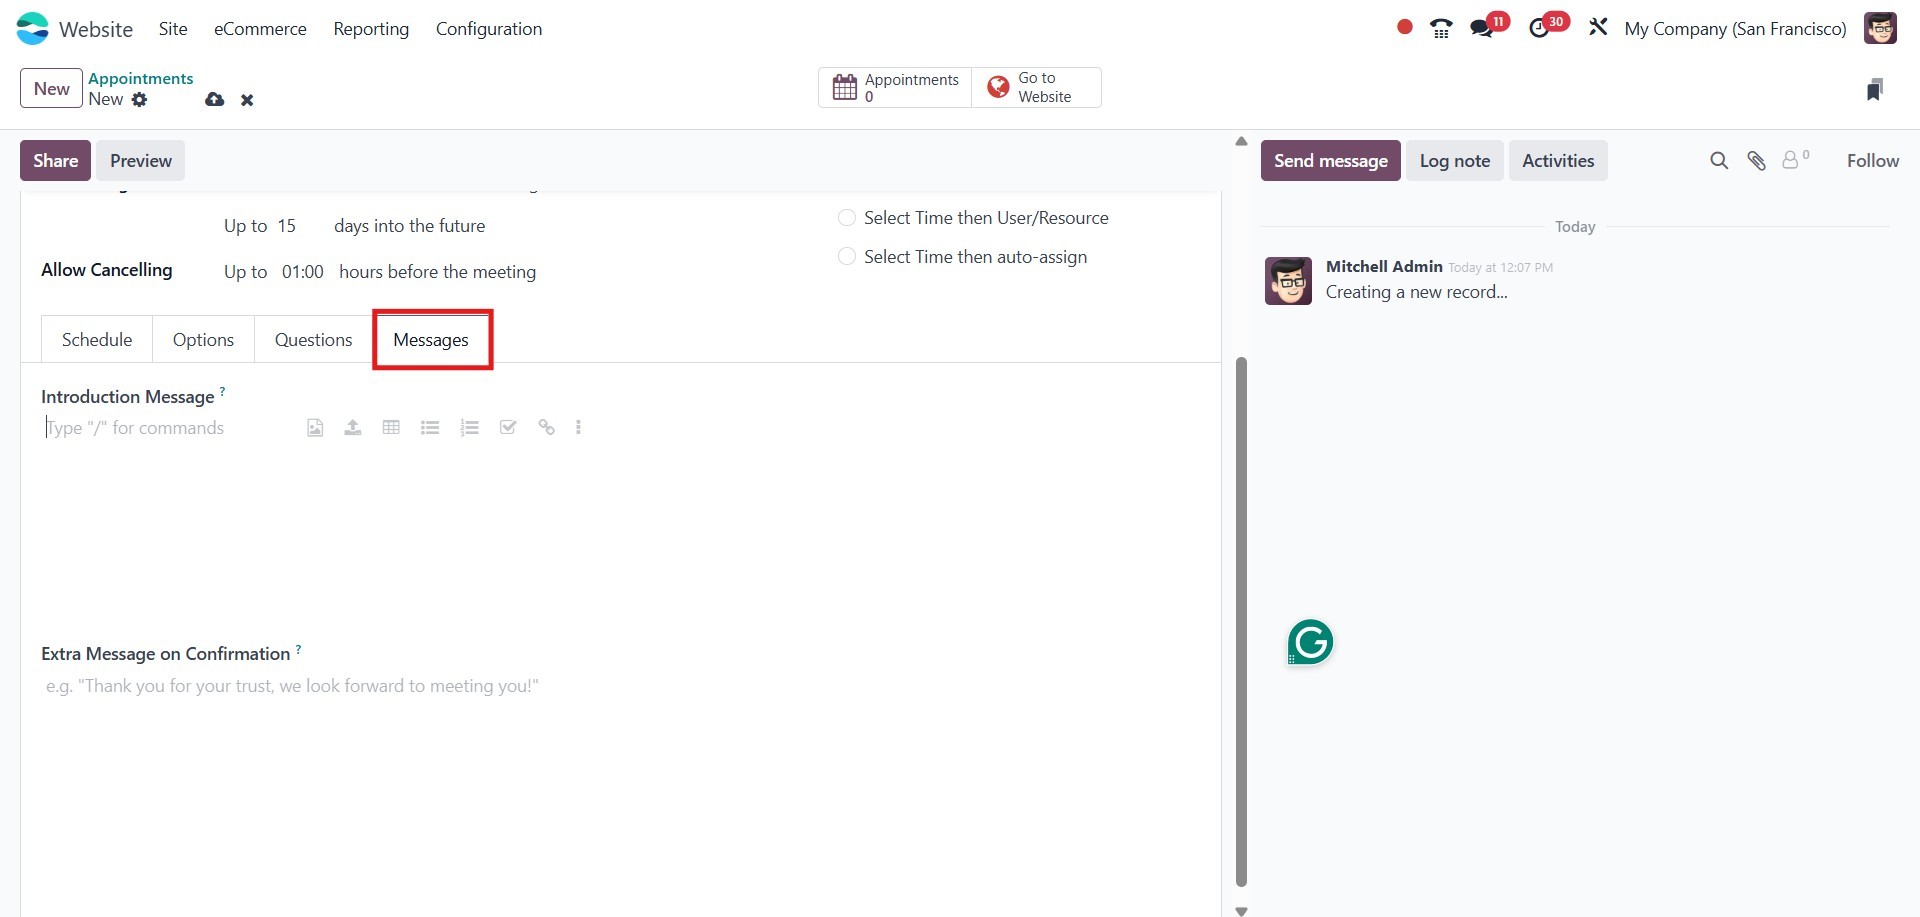
Additionally, in the Messages tab, you can enter details for the
Appointment Introduction and Appointment Confirmation in the
designated fields.
Once you have completed all these steps, you can save the details.
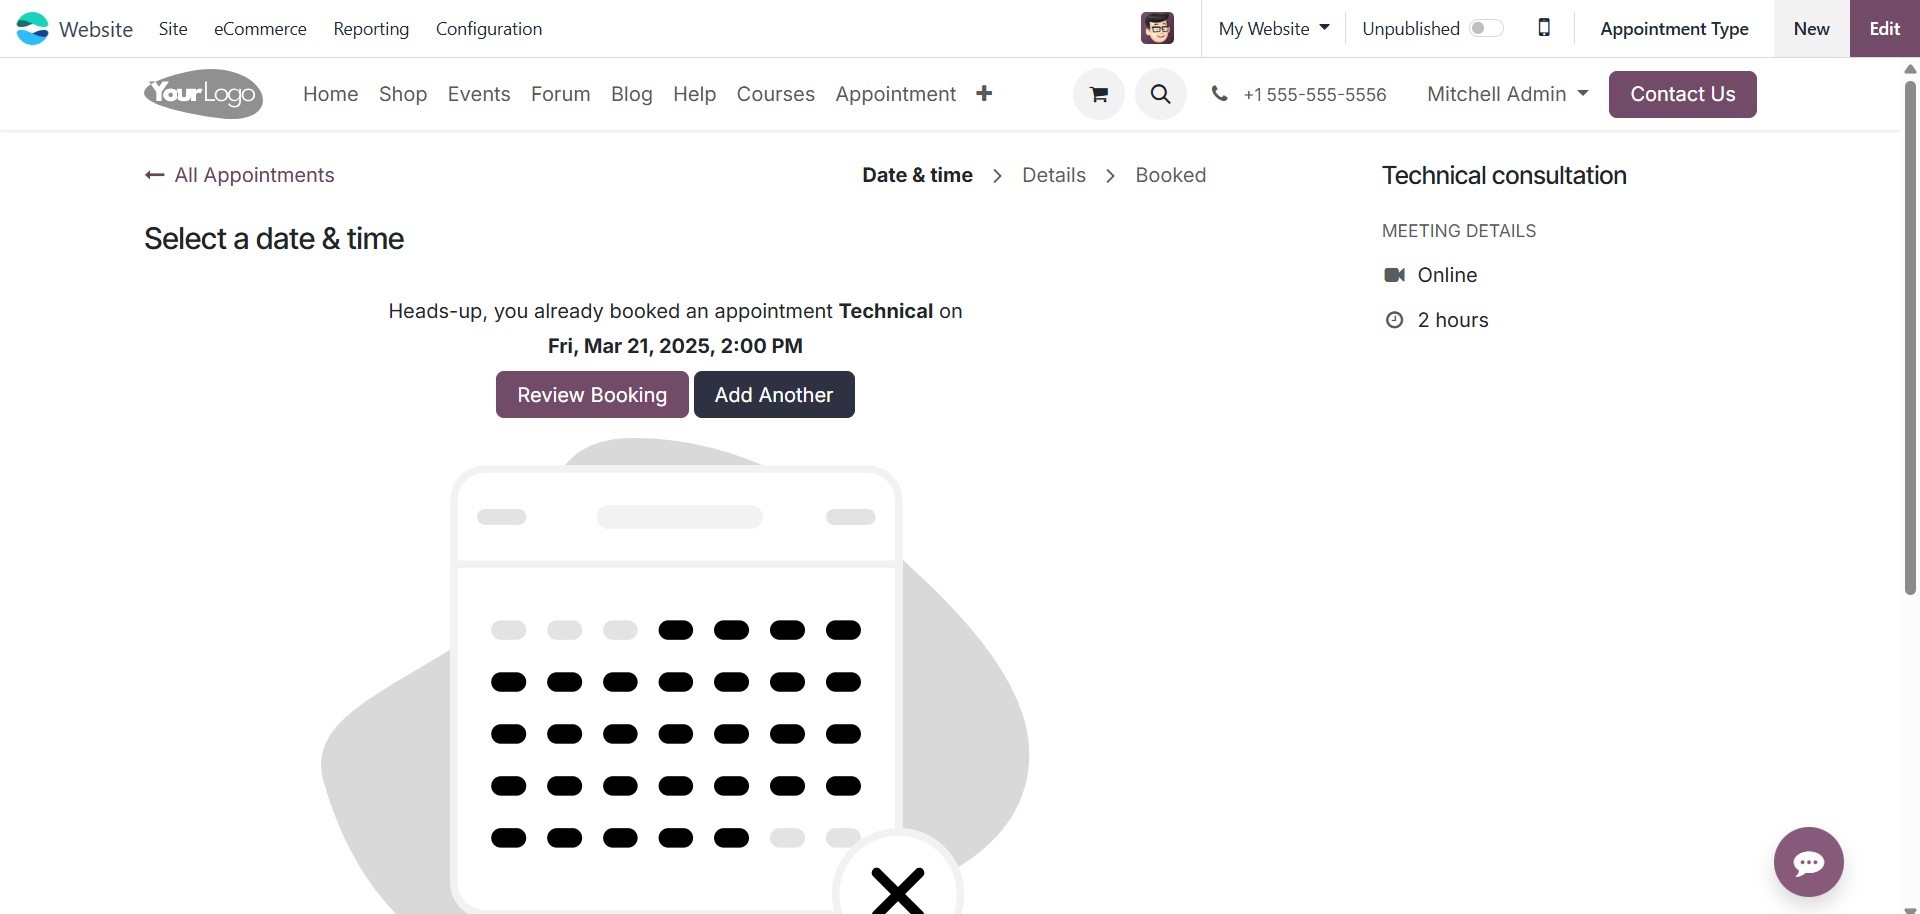
The smart buttons at the top of the window will appear based on the
modules installed in your system. Here, you will find the
Appointments and Go to Website buttons. Clicking the Go to Website
button will take you to the website page, as shown in the image
below.
So far, we have discussed the Online Appointment function, which is
available as a standalone module on the Odoo 17 platform. We will
explore this module in greater detail.
Now that we've covered the Online Appointment function in detail,
we'll move on to the Reporting Feature.