2. Multiple Websites
Odoo ERP empowers businesses to
effortlessly manage multiple
websites within a single,
unified platform. The
advanced Website module
provides unparalleled control
over diverse online
presences, from e-commerce
stores to corporate blogs.
Each website can be uniquely
tailored with distinct
themes, designs, and branding
elements. You gain granular
control over operating
parameters, headers, footers,
and pages while seamlessly
integrating website
functionalities with other
core Odoo ERP modules like
e-commerce and CRM. Enhanced
features in Odoo ERP include
a more intuitive website
builder, advanced SEO tools,
improved e-commerce
capabilities, and enhanced
performance and scalability.
By leveraging these
capabilities, businesses can
streamline their online
operations, enhance their
brand presence, and drive
significant growth across all
their digital channels.
You may create many websites for
your business by using the
Settings window in the Odoo
18 Website module. To see the
Settings menu, go to Website
-> Configuration -> Settings.
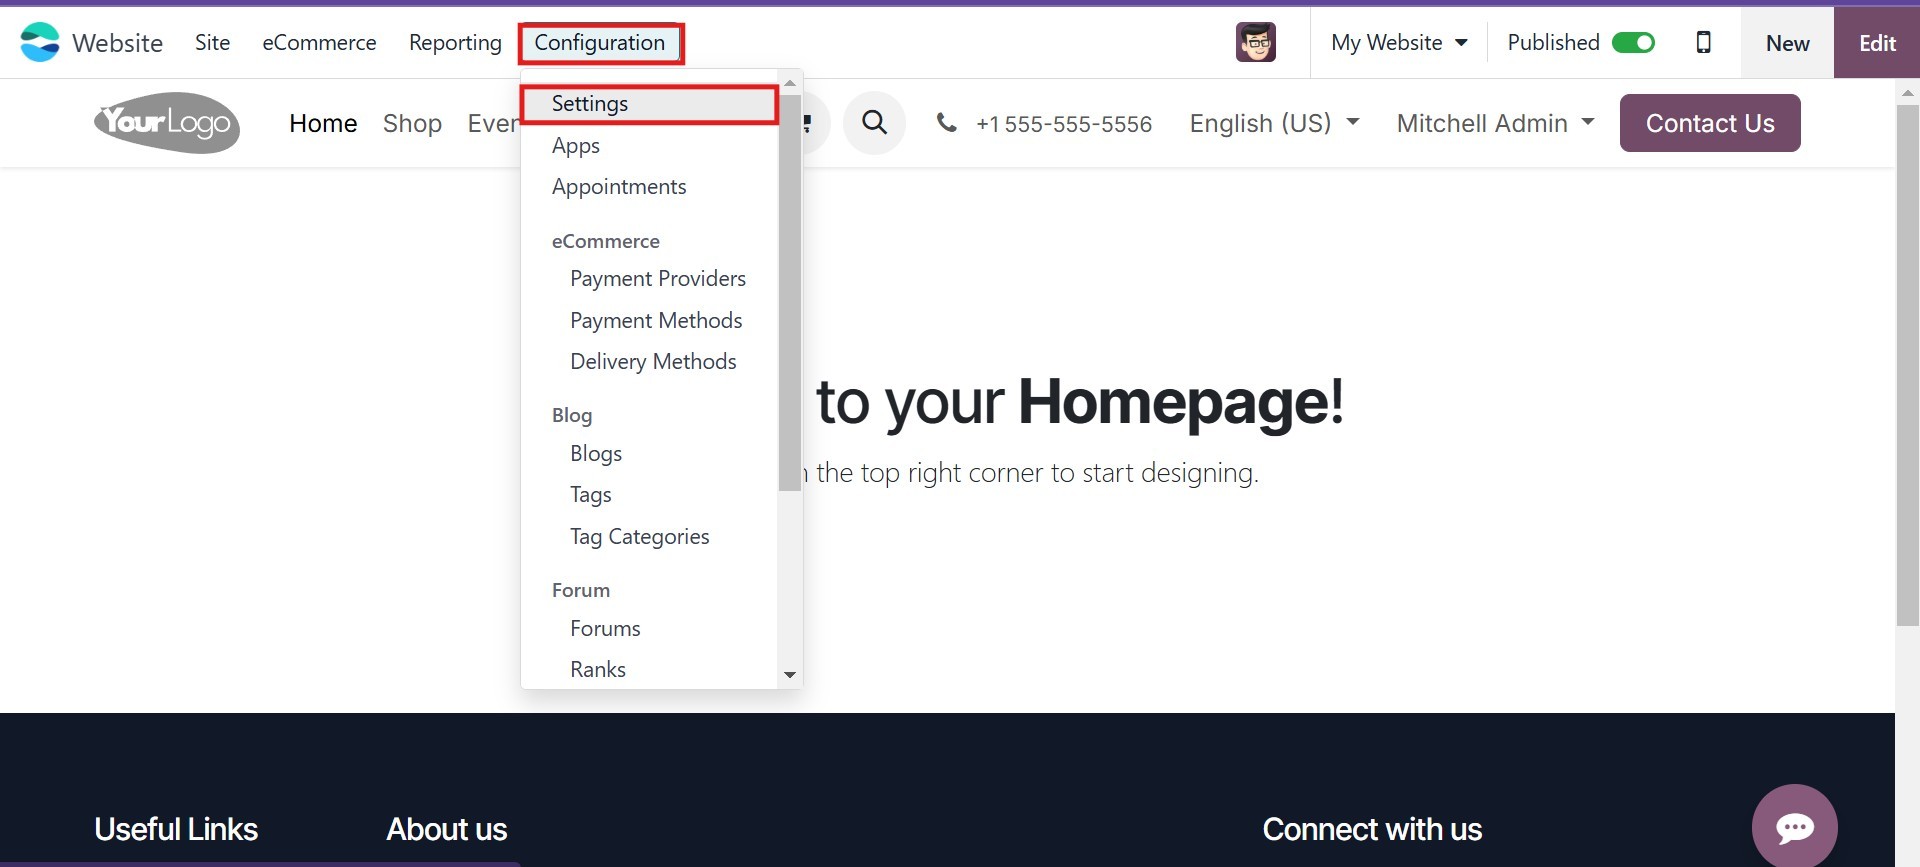
Clicking on the Settings option
will bring up the Website
Settings window, as seen in
the figure below.
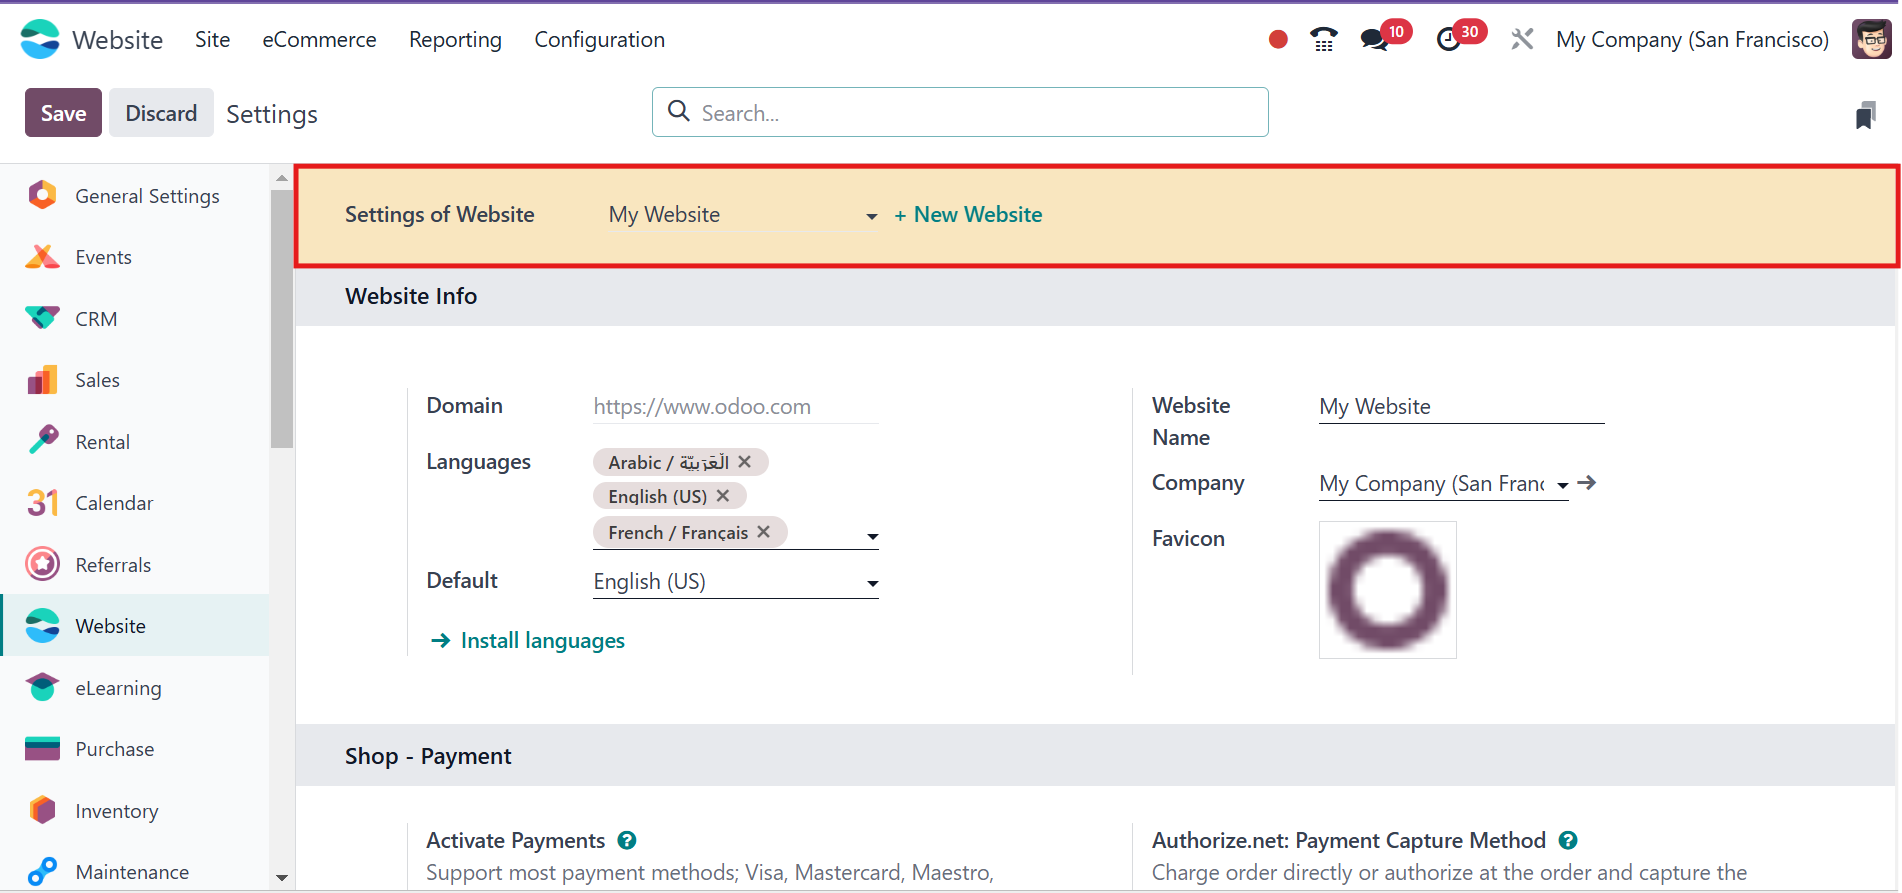
The +NEW WEBSITE menu may be
found in this Settings
window, just below the Select
the Website to Configure
area. This menu may be used
to open a pop-up window to
create a new website. The
following image shows the
pop-up window.
You'll encounter a pop-up window
requesting essential details.
Make sure you enter the
preferred "Website Name" and
"Website Domain." Select the
responsible "Company" from
the list within your Odoo 18
instance. Choose the
languages you want your
website to support and define
the "Minimal Karma" level for
user profile visibility.
After entering these details,
click "Create." A new website
configurator window will
appear, welcoming you with a
message like, ‘Ready to build
the perfect website? We will
set you up and running in 4
steps, encouraging you to
proceed confidently.
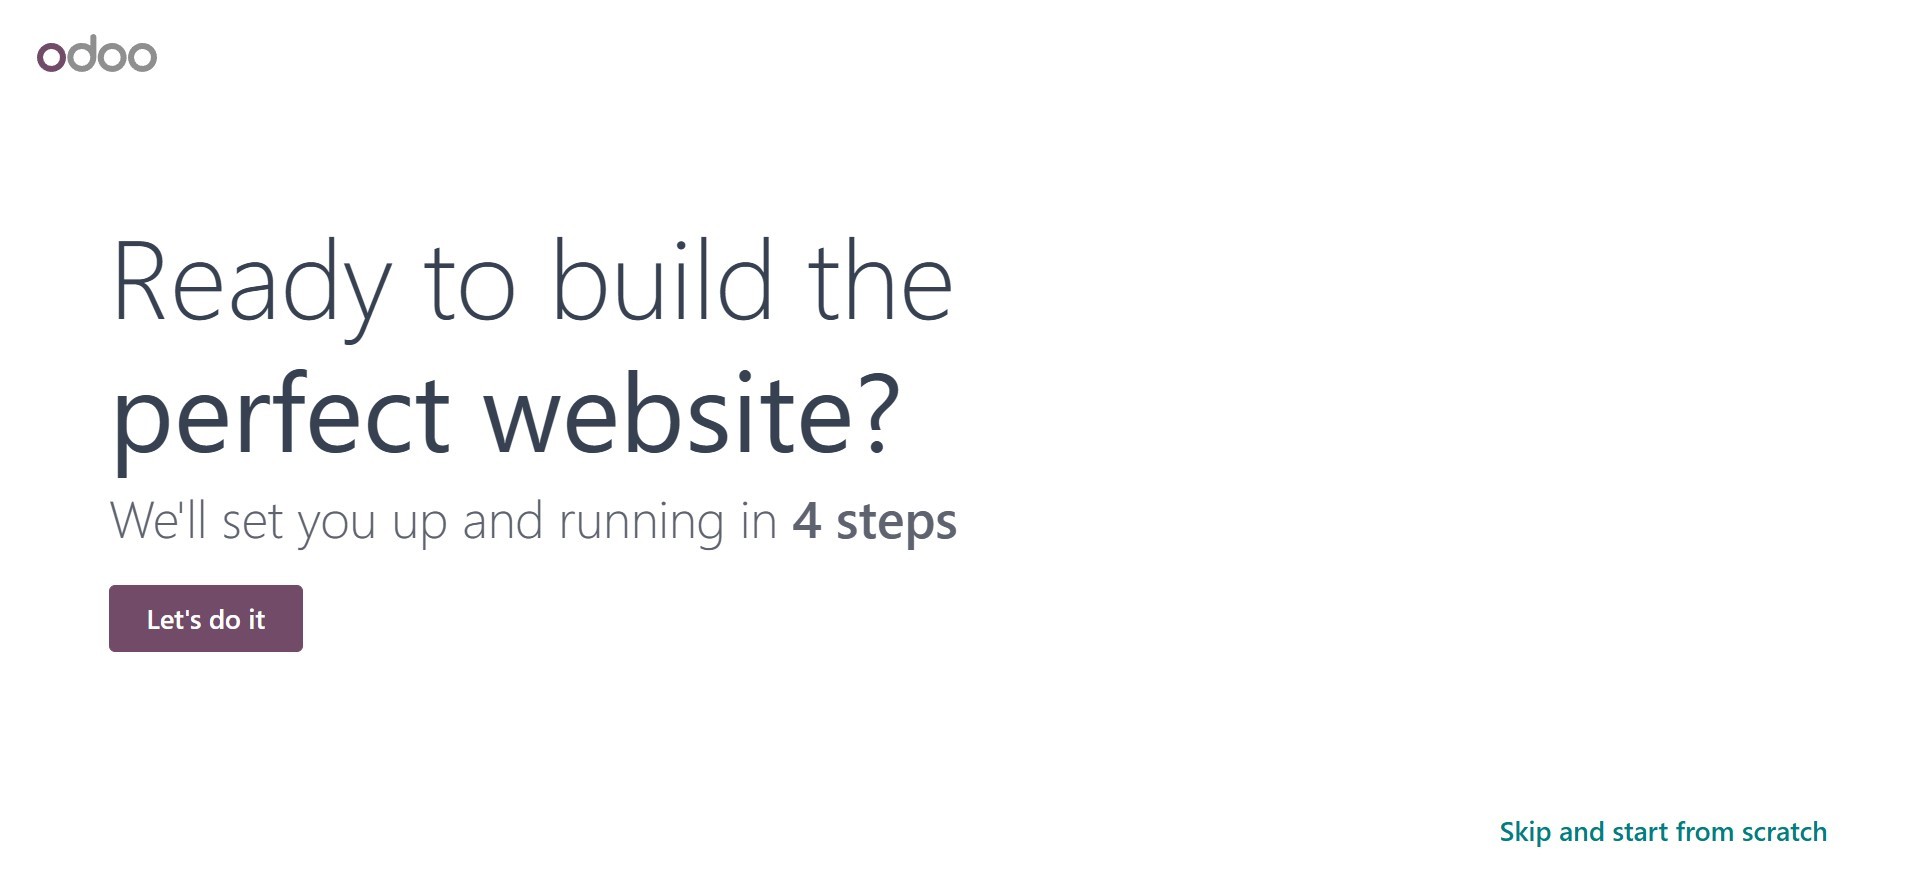
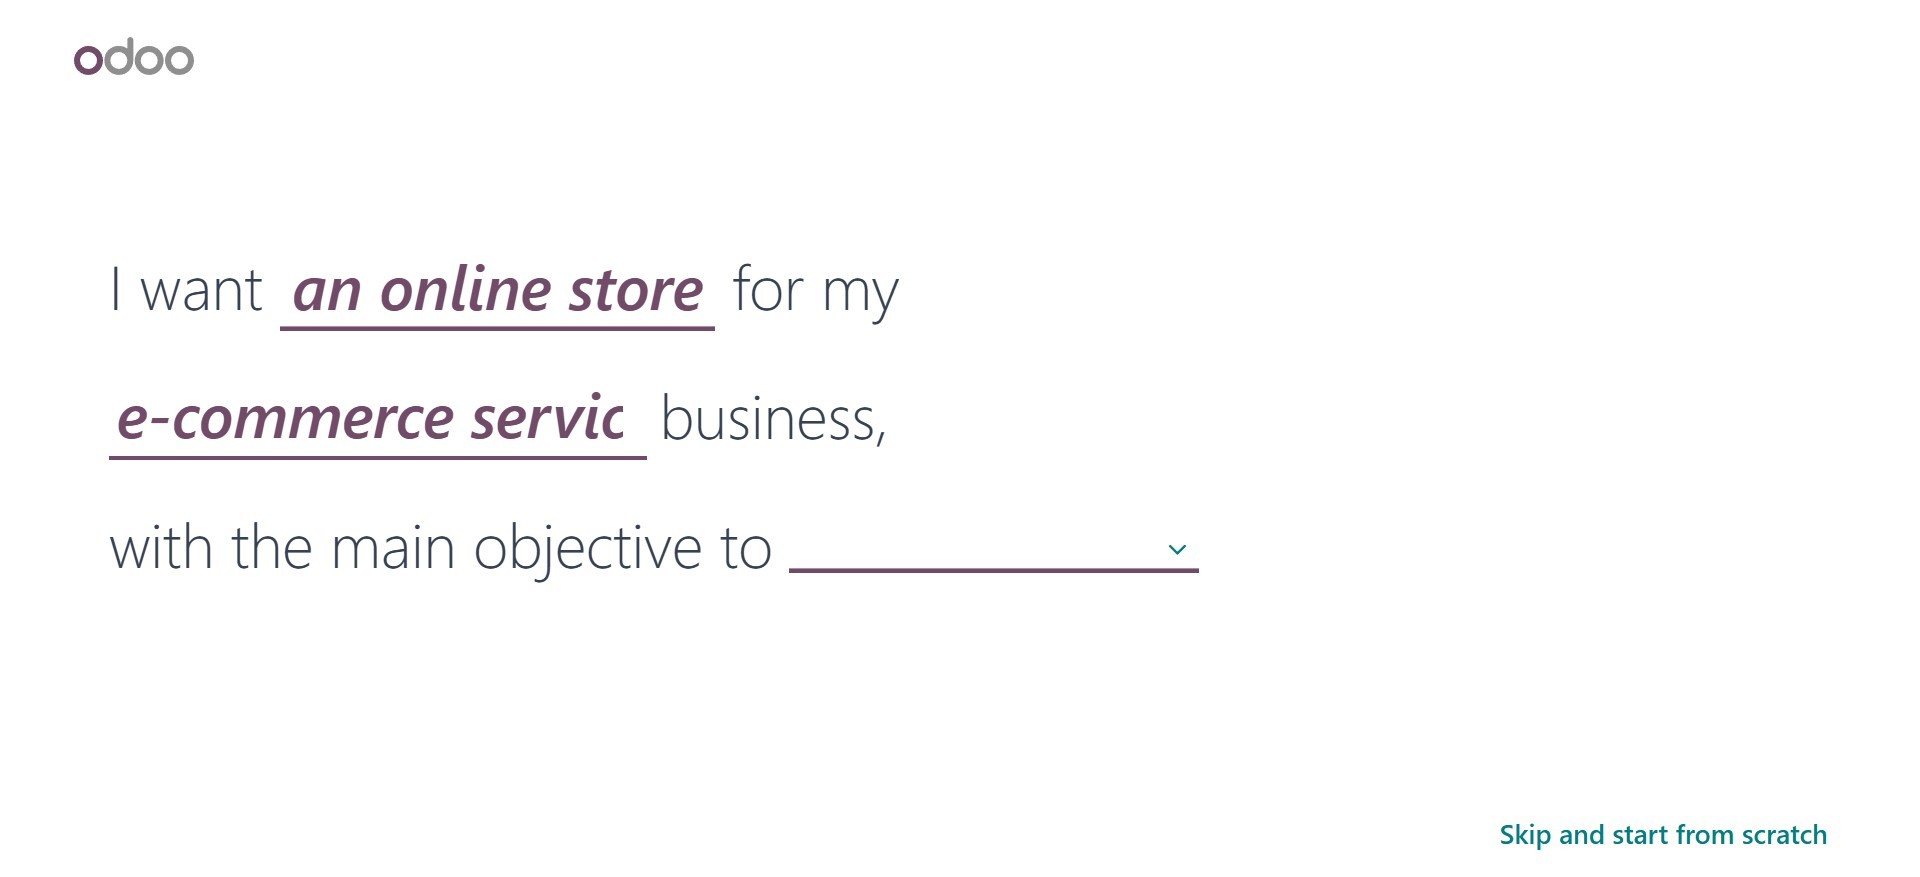
Clicking the 'Let's do it' button
will open a new window where
you can define the type of
website you intend to create
and specify its primary
objective. This window will
guide you through defining
the main purpose of launching
your new website. The new
website configurator, though
particularly beneficial for
those with limited experience
in website creation and
design, is a valuable tool
for businesses of all sizes.
Whenever you initiate the
process of creating a new
website within the module, a
form pre-populated with your
company's details will
appear.
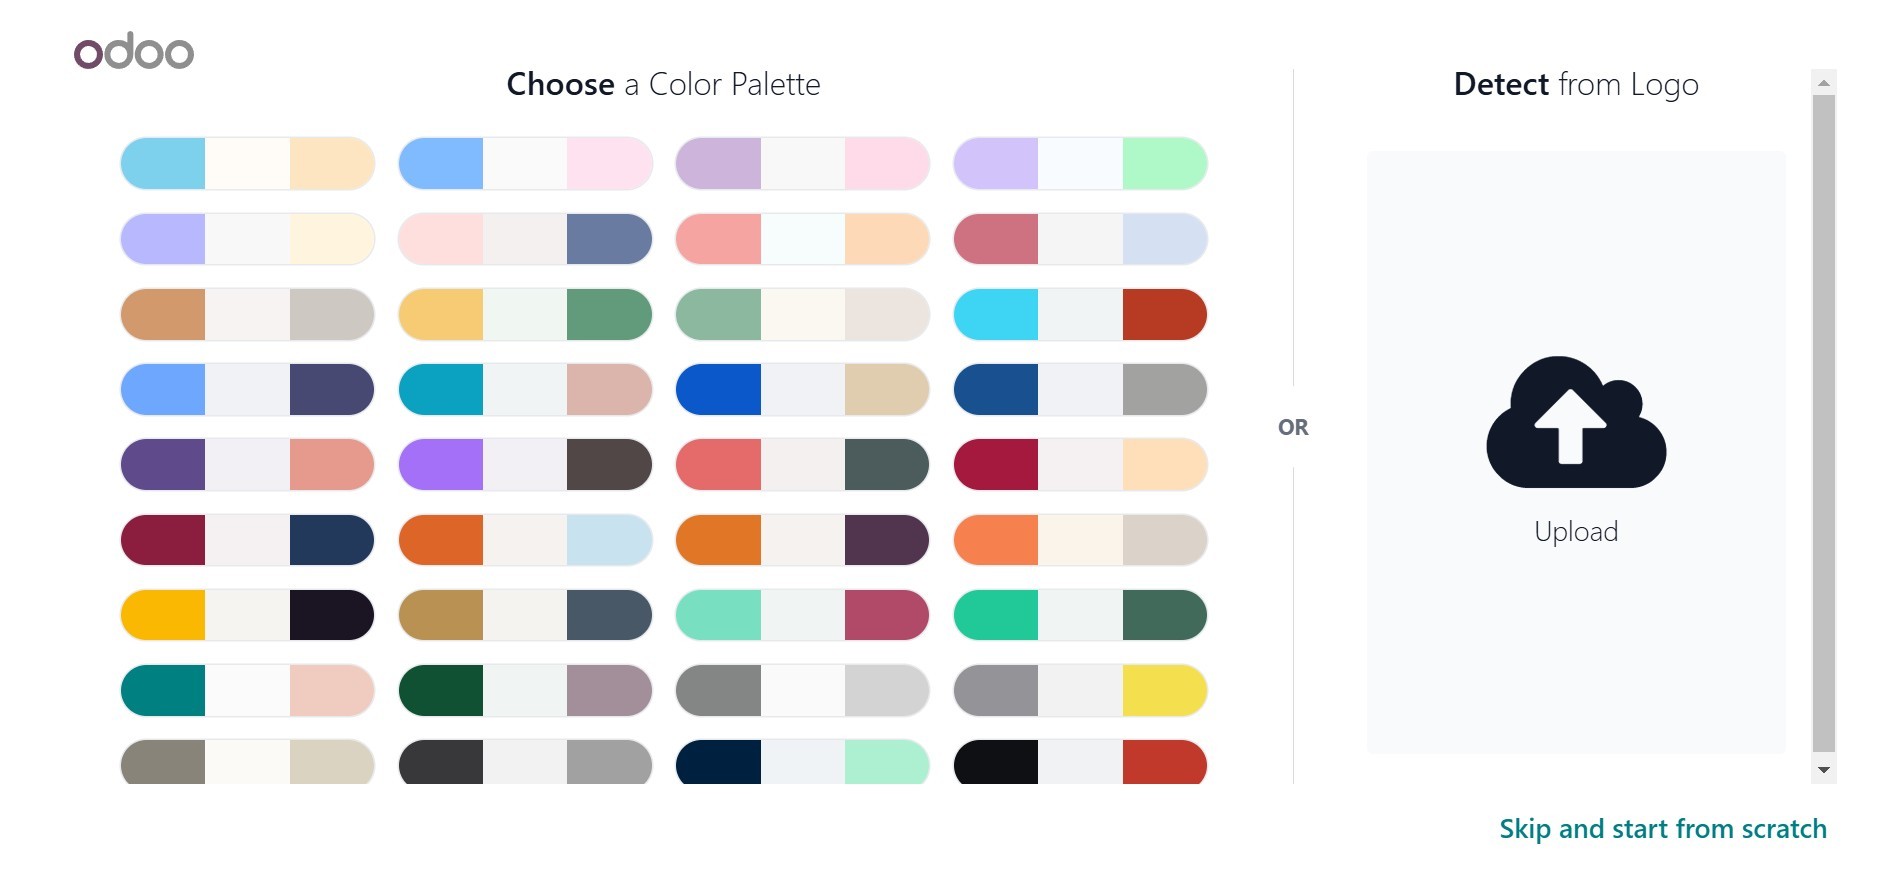
After that, a new window will
appear where you may choose
from a pre-made color scheme
for your website. This step
enhances the visual appeal
and helps establish your
brand identity.
Alternatively, you can upload
your logo. The system can
intelligently analyze the
uploaded logo and suggest a
suitable color palette based
on its dominant colors. To
add your logo, click the
“Upload” arrow.
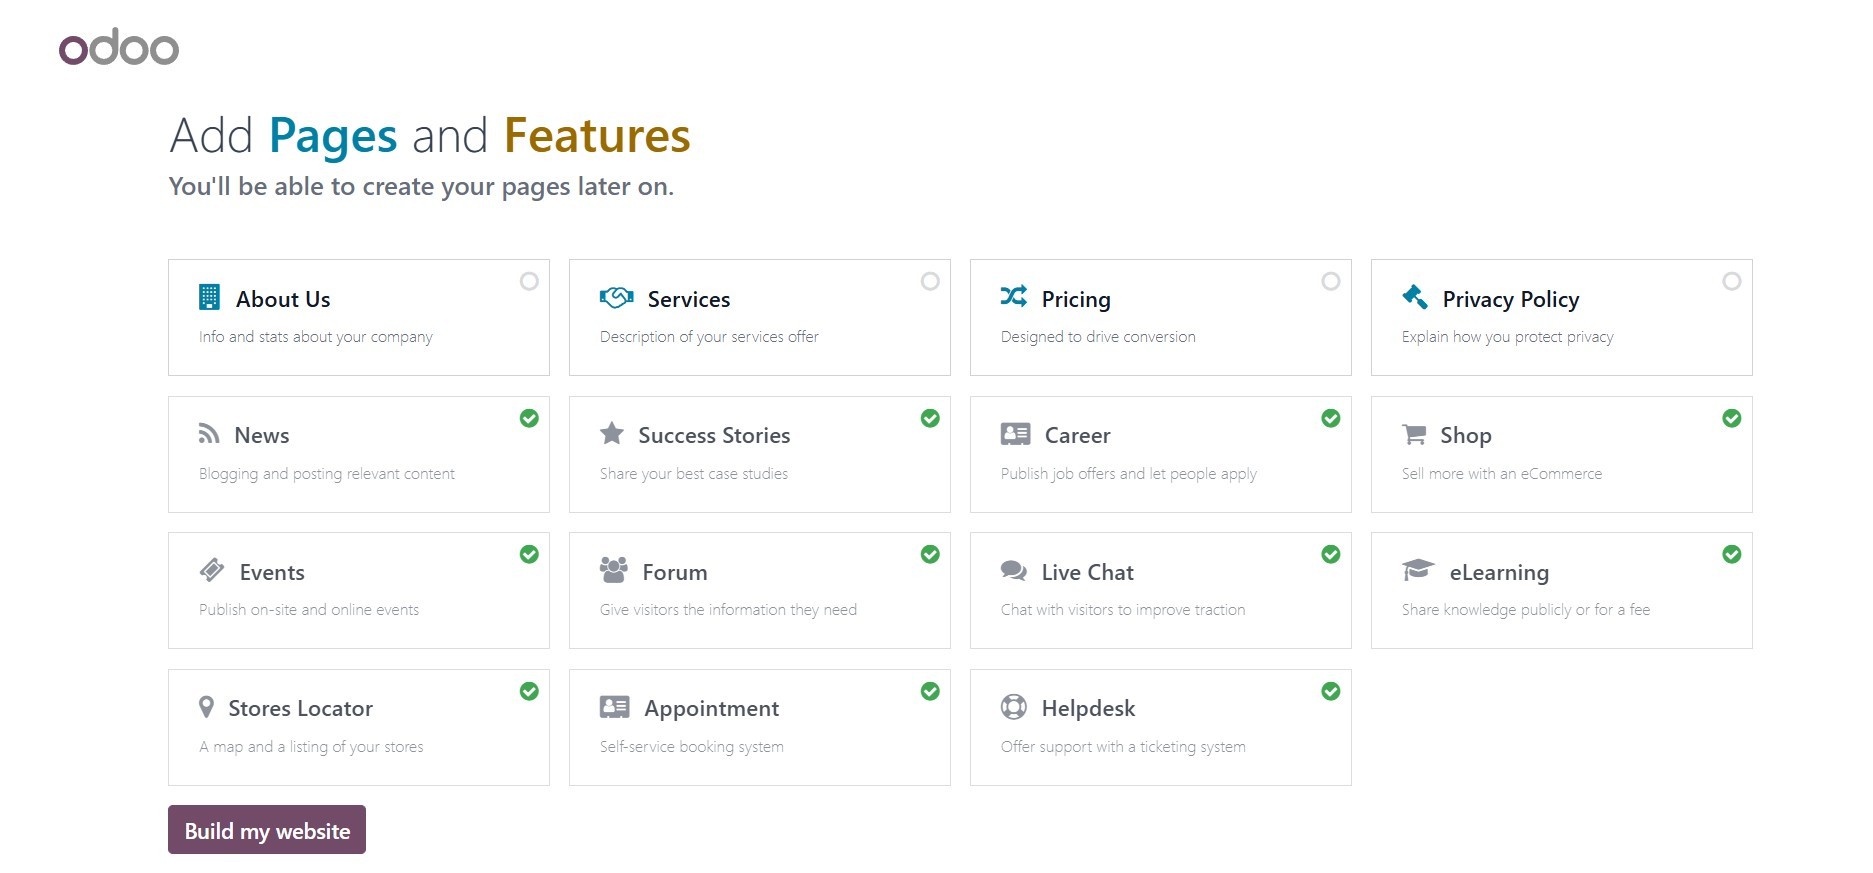
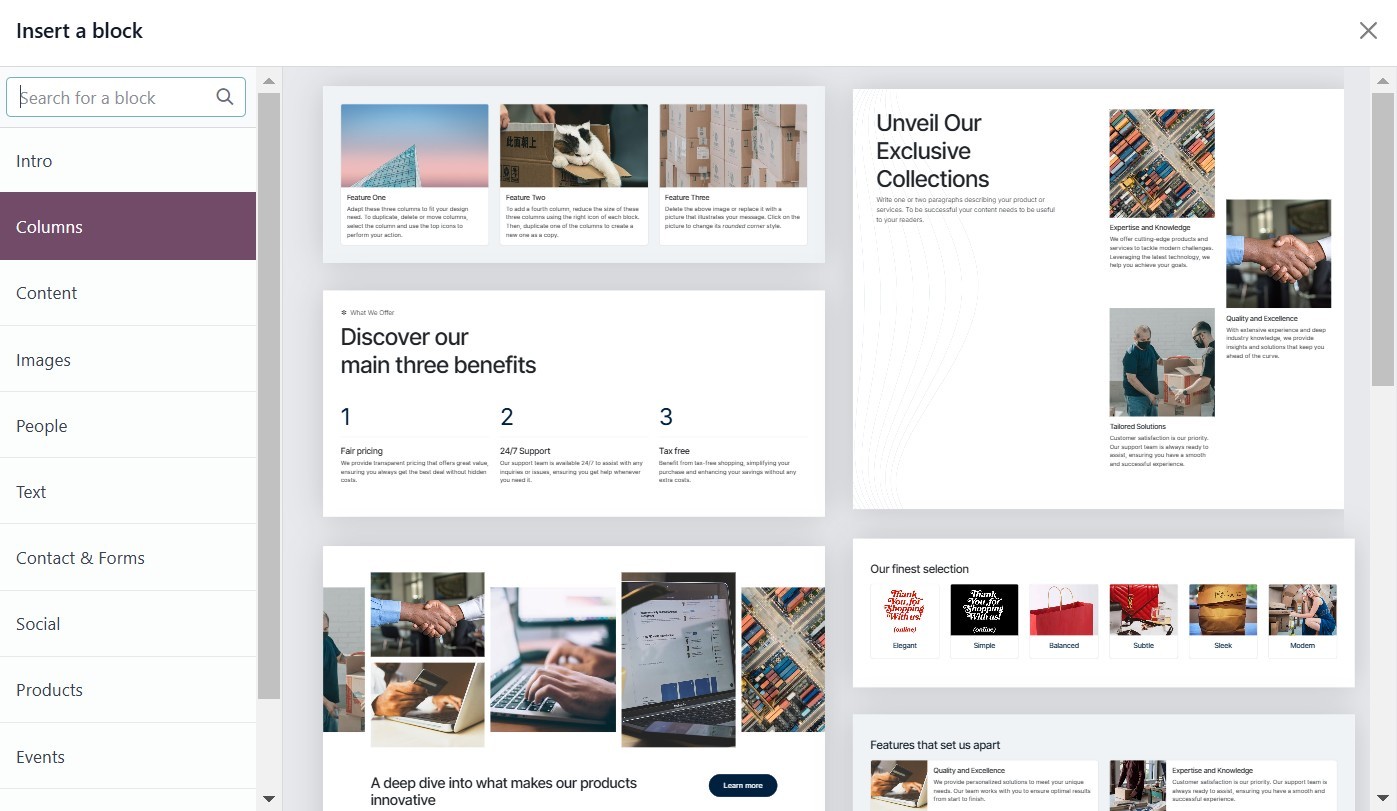
Following the color scheme
selection, you'll be
presented with a list of
pre-defined pages and
features that can be included
on your website. This
convenient option eliminates
the need to create every page
from scratch. A visual
representation of this
selection window is provided
below.
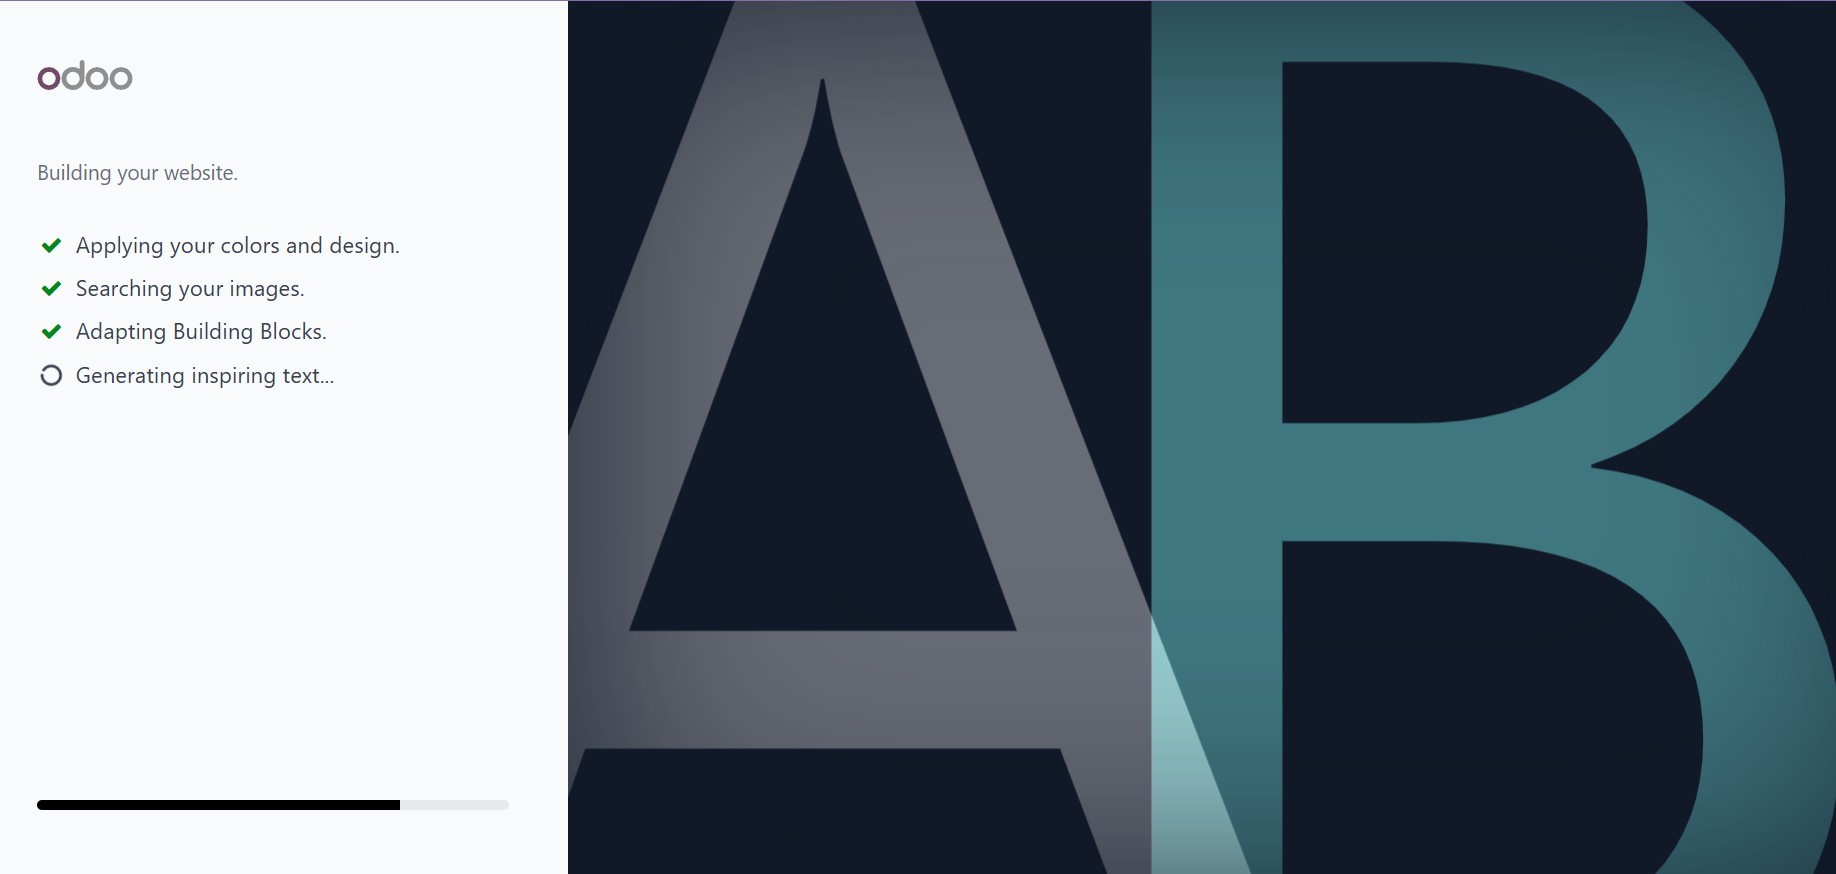
There is a "Build my website"
button at the bottom right of
the window. This button
starts the process of
creating a website. After
that, the system will start
creating your website, which
may take a few seconds to
load.
Once the website loads, you can
easily customize the main
page by following a simple
7-step guide. The system has
already pre-defined the
website's basic structure in
the left section, providing a
solid foundation for your
design.
The right section of the window
displays a collection of
easily draggable and
droppable building blocks.
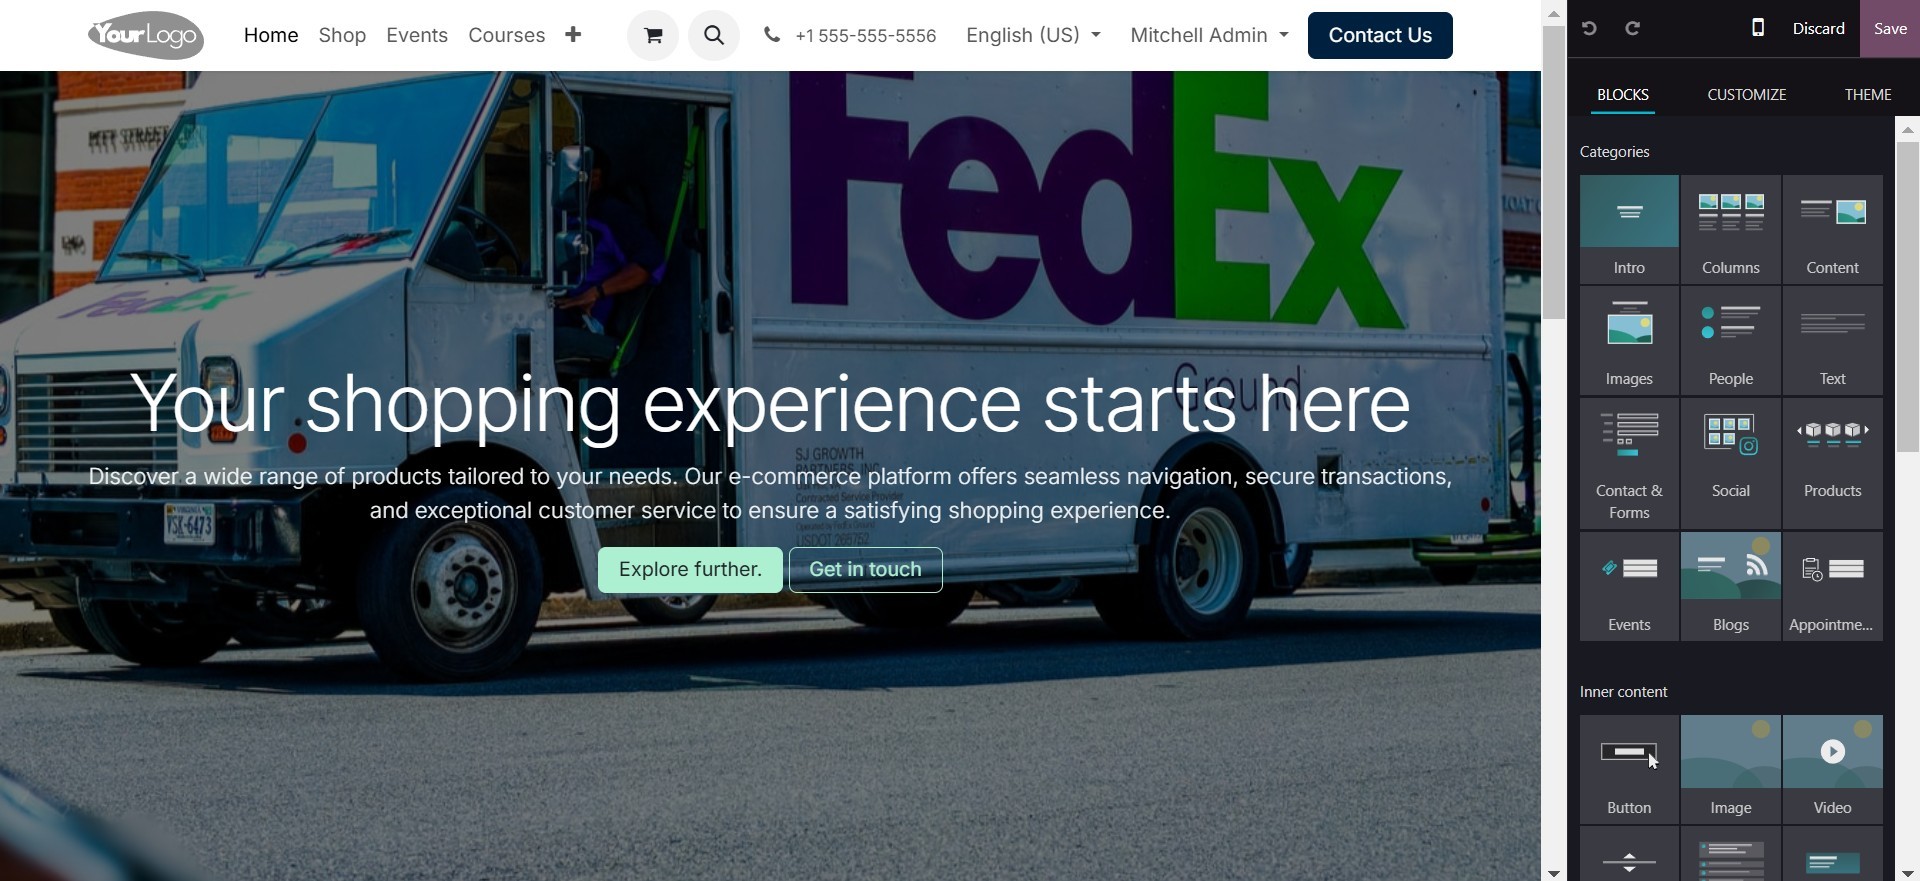
You can select the
appropriate blocks from this
'Blocks' area and drag them
onto your page. Once a block
is placed, a window will then
open, allowing you to
customize it within the
editor.
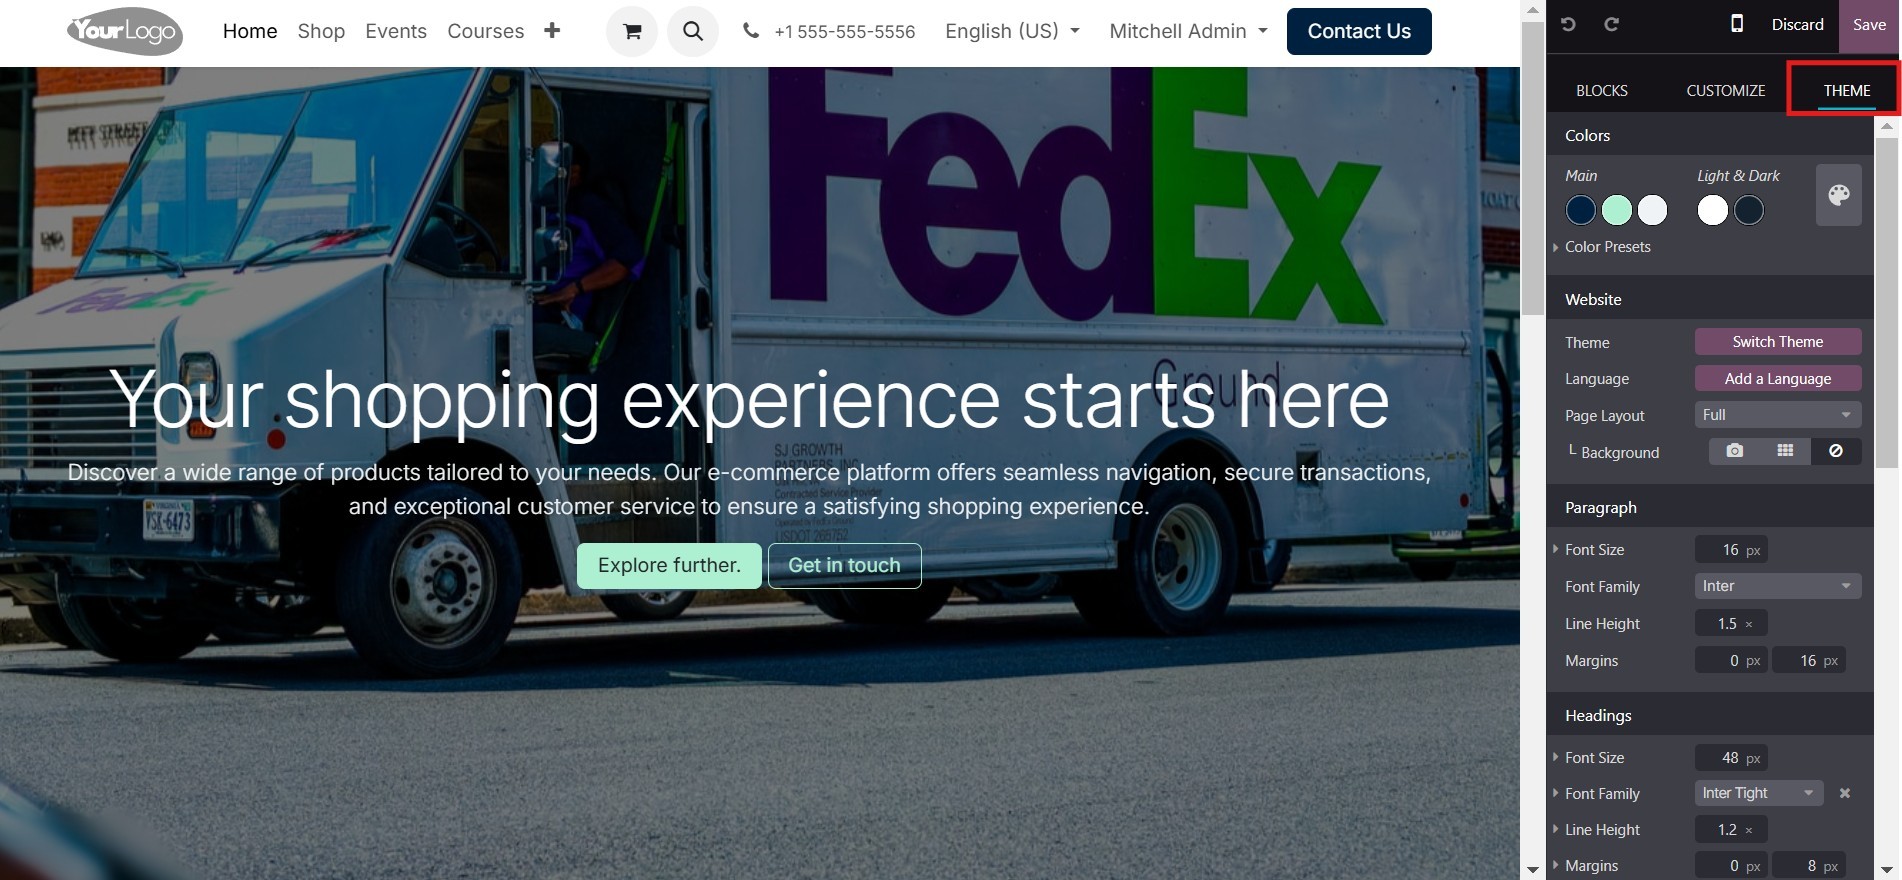
You can quickly modify the
overall look and feel of your
website by clicking on the
'THEME' button. This opens up
a world of possibilities for
developing and customizing
unique themes to perfectly
match your brand identity.
Let's now discuss the management
of multiple languages within
the Website module.
2.1 Managing Multi-Languages
The widely acknowledged and
approved Odoo ERP should
prioritize localization and
mandate support for the
integration of multiple
languages within its website
module. Given its global
popularity, Odoo consistently
strives to provide such
features. The ability to view
and access the company
website in users' native
tongues is a significant
advantage of the multilingual
functionality, enhancing user
experience and accessibility
for a diverse global
audience.
The Odoo 18 Website module's
Settings page provides a
dedicated area for
customizing configurations
related to multiple
languages.

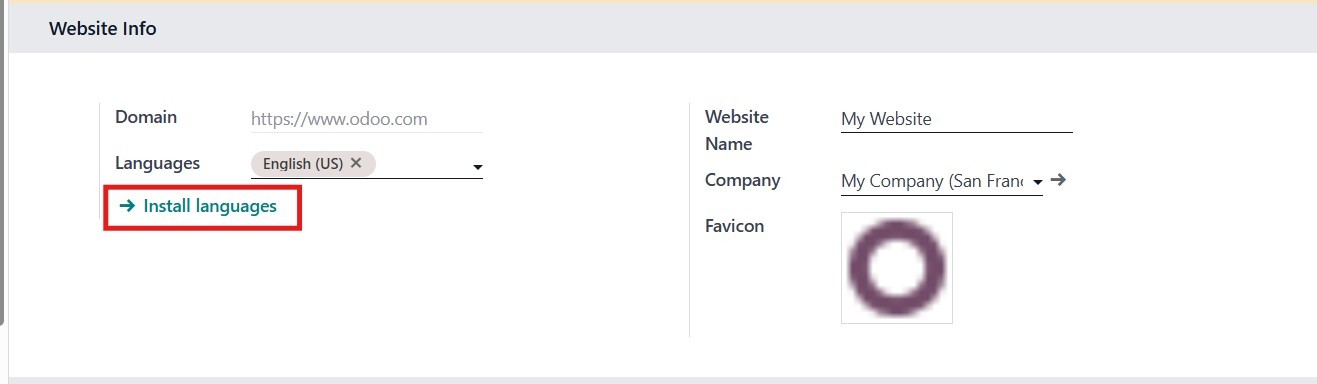
To manage website languages,
navigate to the "Settings"
window and select the
"Website" section. The
"Languages and Default"
option displays the currently
available languages on your
website. To add more
languages, click "Install
languages." This will launch
a pop-up window where you may
choose and install additional
languages for your site.
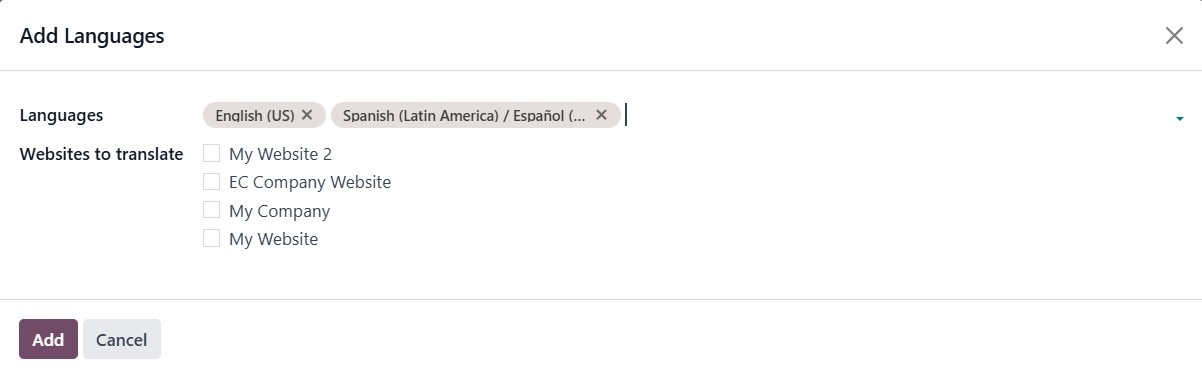
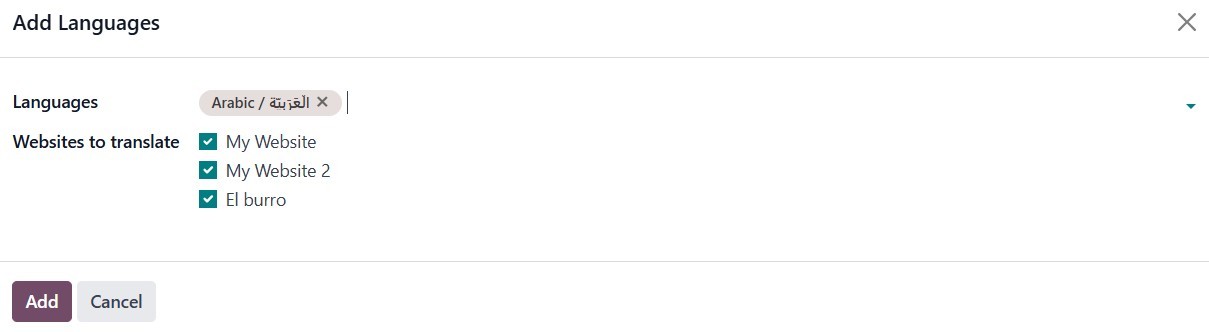
In this pop-up box, use the
drop-down menu to select the
desired language. Then,
choose the specific website
you want to translate. Once
you've made your selections,
click the "ADD" button.
Your website is displayed in the
language that matches your
visitors’ browsers. If the
browser’s language has not
been installed and added to
your website, the content is
shown in the default
language. When additional
languages are installed,
users can choose their
preferred language using the
language selector. The
Translate feature on your
website allows automatic
translation of standard terms
and provides a tool for
manual content translation.
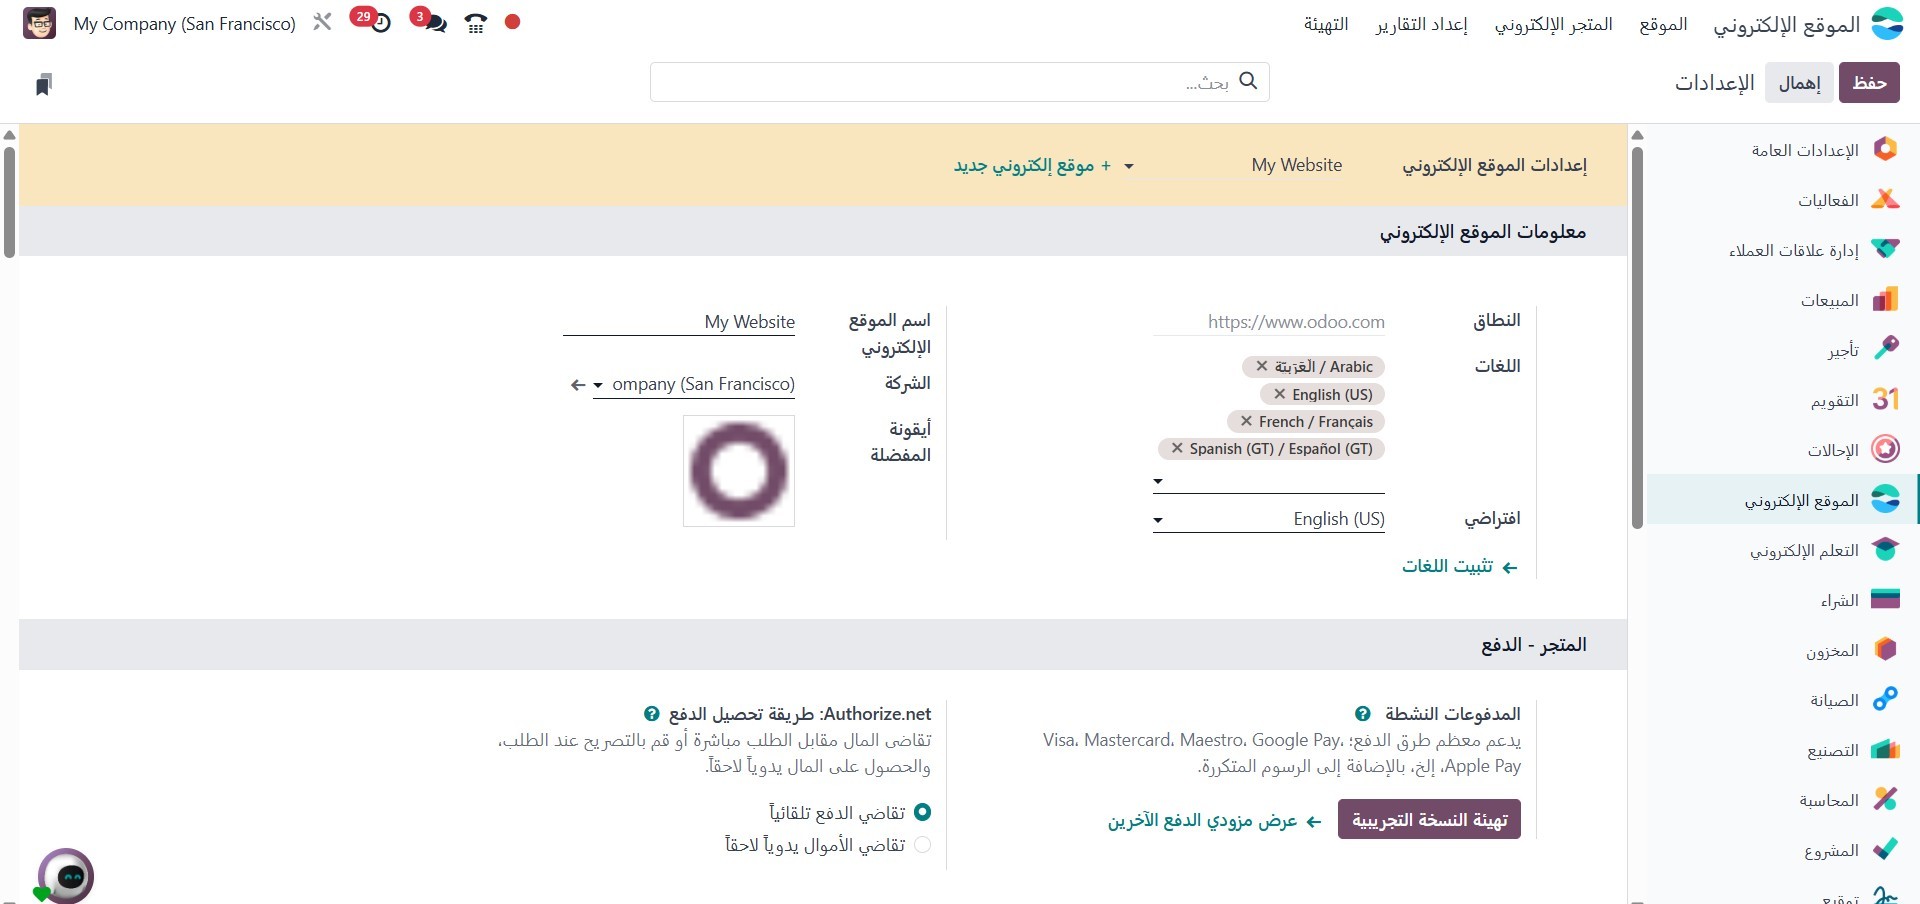
To allow translation of your
website, you must first
install the required
languages and add them to
your website. To do so, go to
Website ‣ Configuration ‣
Settings and click Install
new languages in the Website
Info section.
In the dialog box that opens,
select the languages you want
from the dropdown menu, tick
the required websites to
translate, and click Add.
To edit your website’s languages
later, go to Website ‣
Configuration ‣ Settings and
add or remove the required
languages from the Languages
field in the Website Info
section. Alternatively, once
the languages have been
installed, you can also add
them from the language
selector on your site. You
can click Switch to the
language you have added. You
might then need to refresh
your page to see the newly
added language.

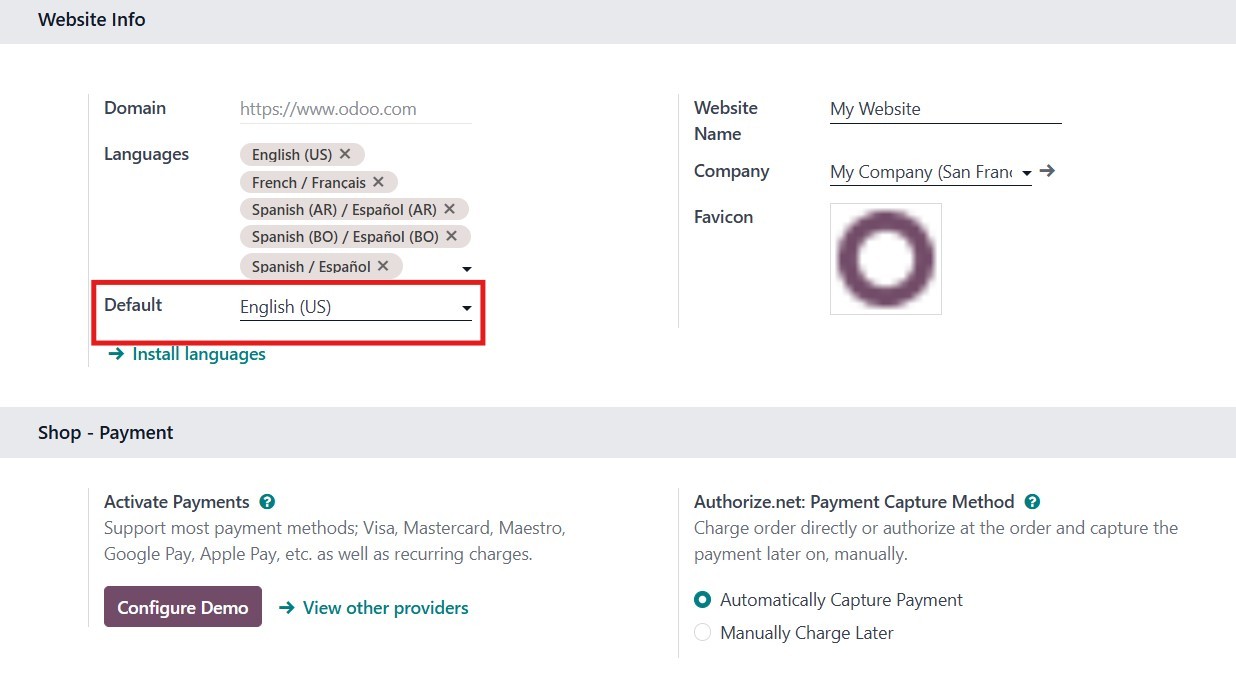
When multiple languages are
available on your website,
you can set a default
language to be used in case
the visitor’s browser
language is not available. To
do this, navigate to Website
‣ Configuration ‣ Settings
and select the desired
language in the Default
field. This field will only
appear if multiple languages
have already been installed
and added to your website.
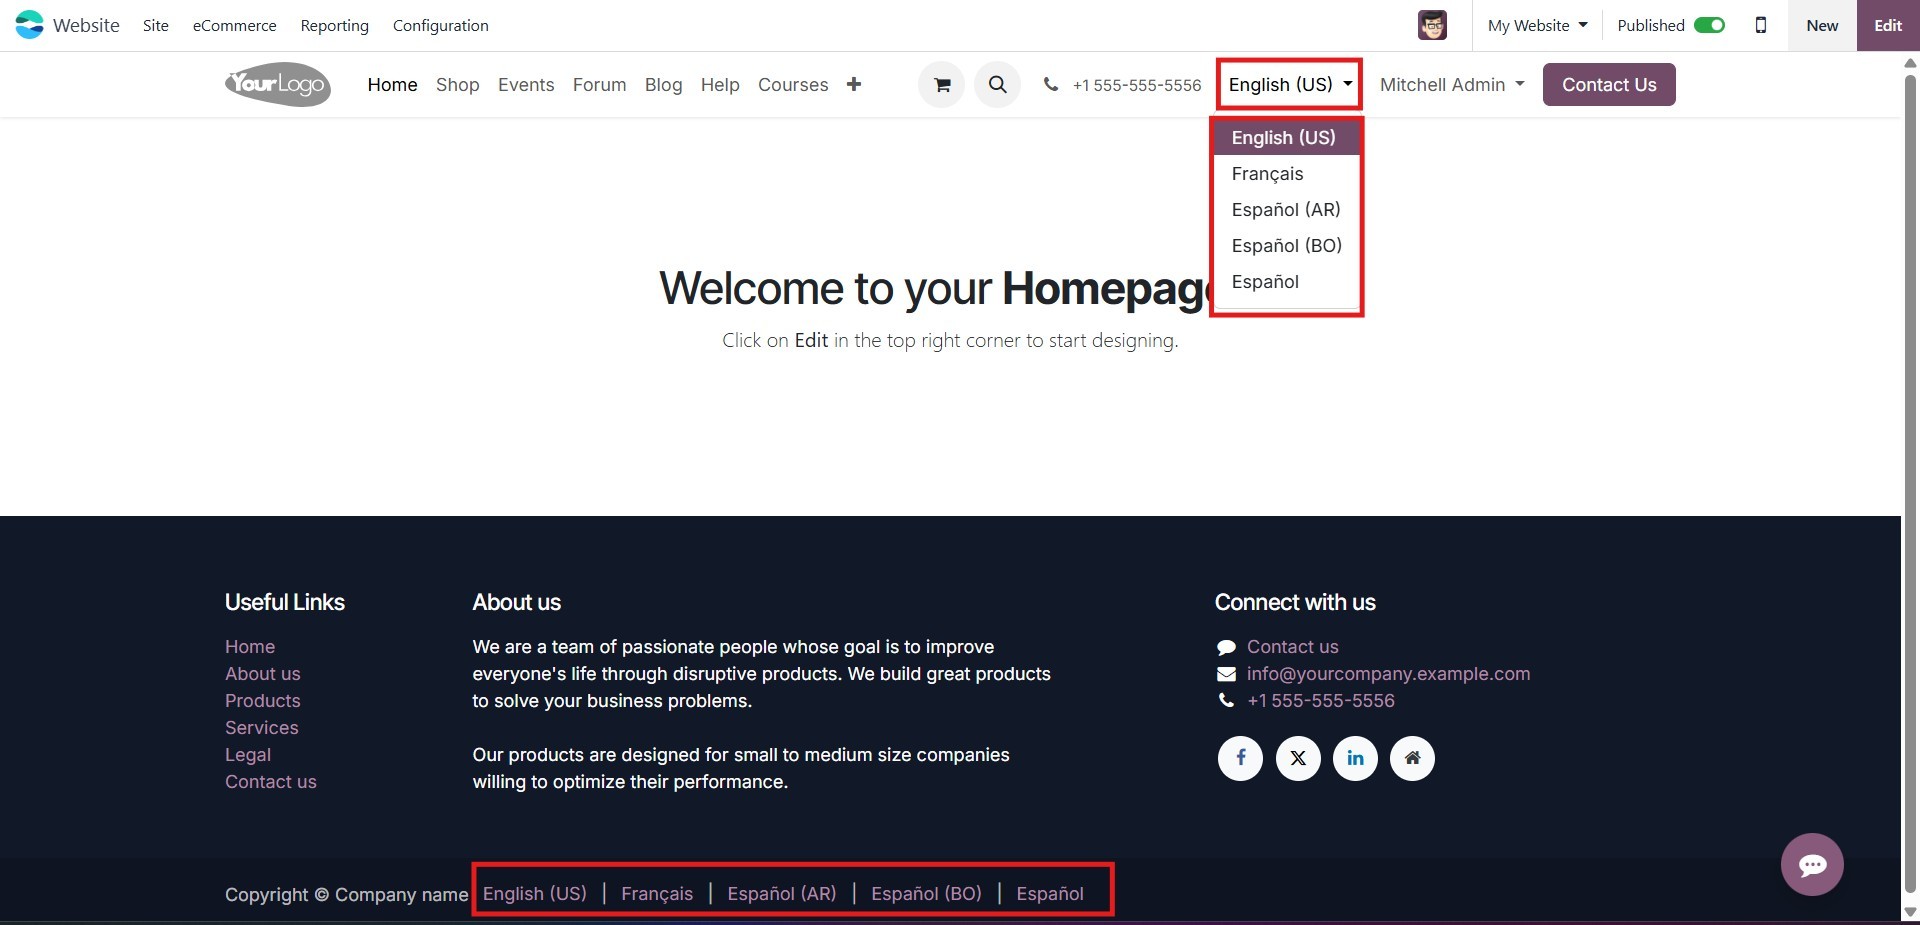
Beyond these features, the system
allows users to switch
languages directly from the
website's homepage. A
dedicated language selector,
usually located at the bottom
of the main page in the
copyright section, offers an
easy way to toggle between
available languages. This
menu may appear either as a
dropdown or an inline list,
depending on the
configuration. To edit this
selector, go to your website,
click Edit, and select the
language selector in the
Copyright block. In the
Copyright section of the
website builder, set the
Language Selector field to
either Dropdown or Inline.
You can also choose None if
you prefer not to display the
language selector. After
making your selection, click
Save. Additionally, the
Language Selector can be
placed in the Header section
of the page by editing the
Navbar settings in the Header
block.
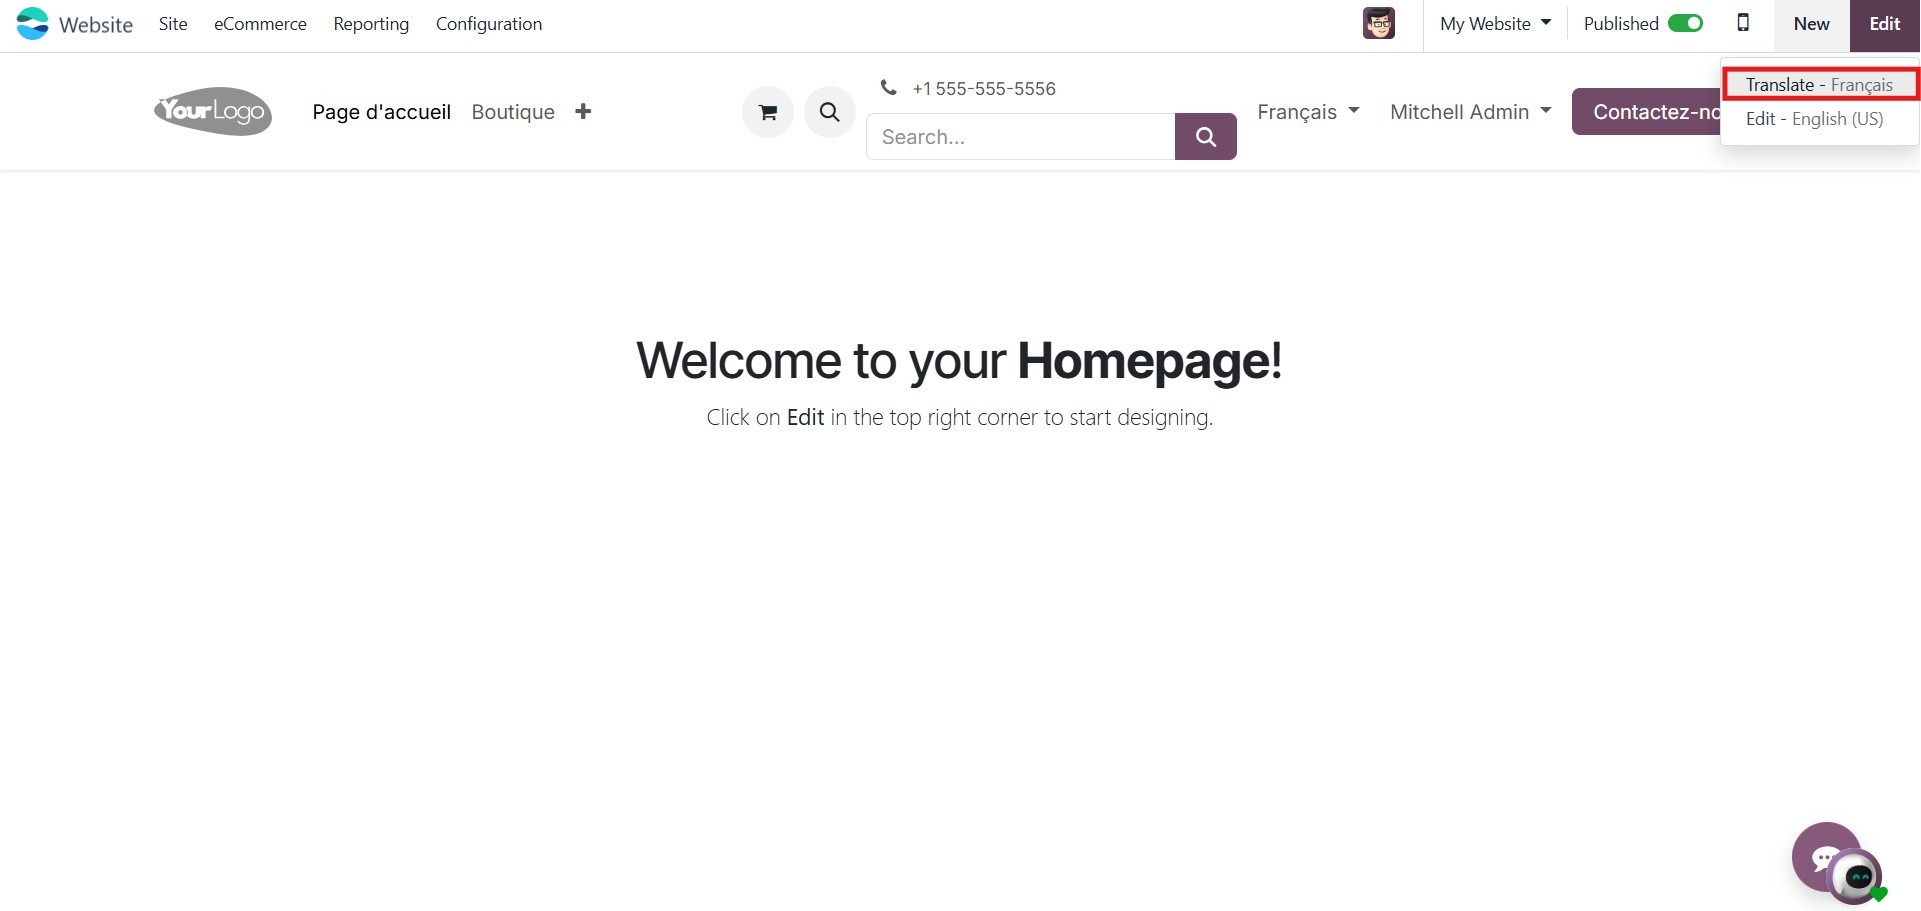
To translate your website
content, first select your
desired language from the
language selector. On the top
right corner of the screen,
just after the edit button,
you can see the translate
button. Click on that, which
will help you translate the
texts. In this mode, Odoo
automatically translates
standard terms while allowing
manual translation for any
content that was not
translated automatically.
Text strings that have been
translated are highlighted in
green, while untranslated
strings are marked in yellow.
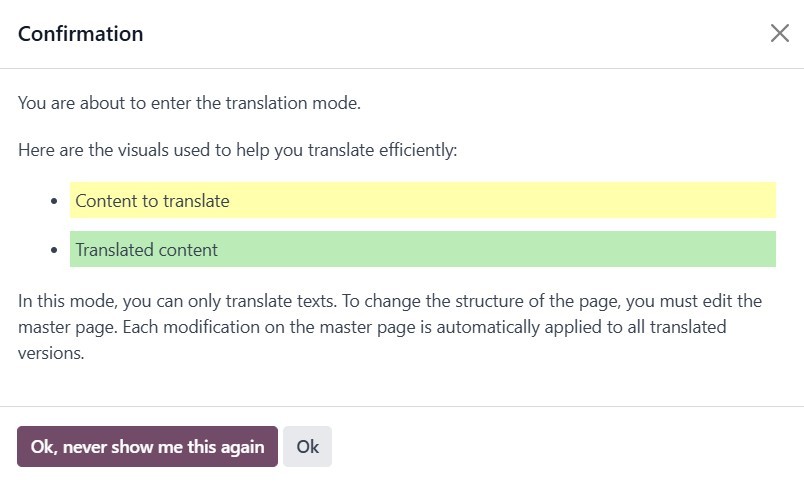
While in translation mode, note
that only text content can be
translated. Any changes to
the structure or layout of
the page must be performed on
the master page, the version
of the page in the original
language of the database.
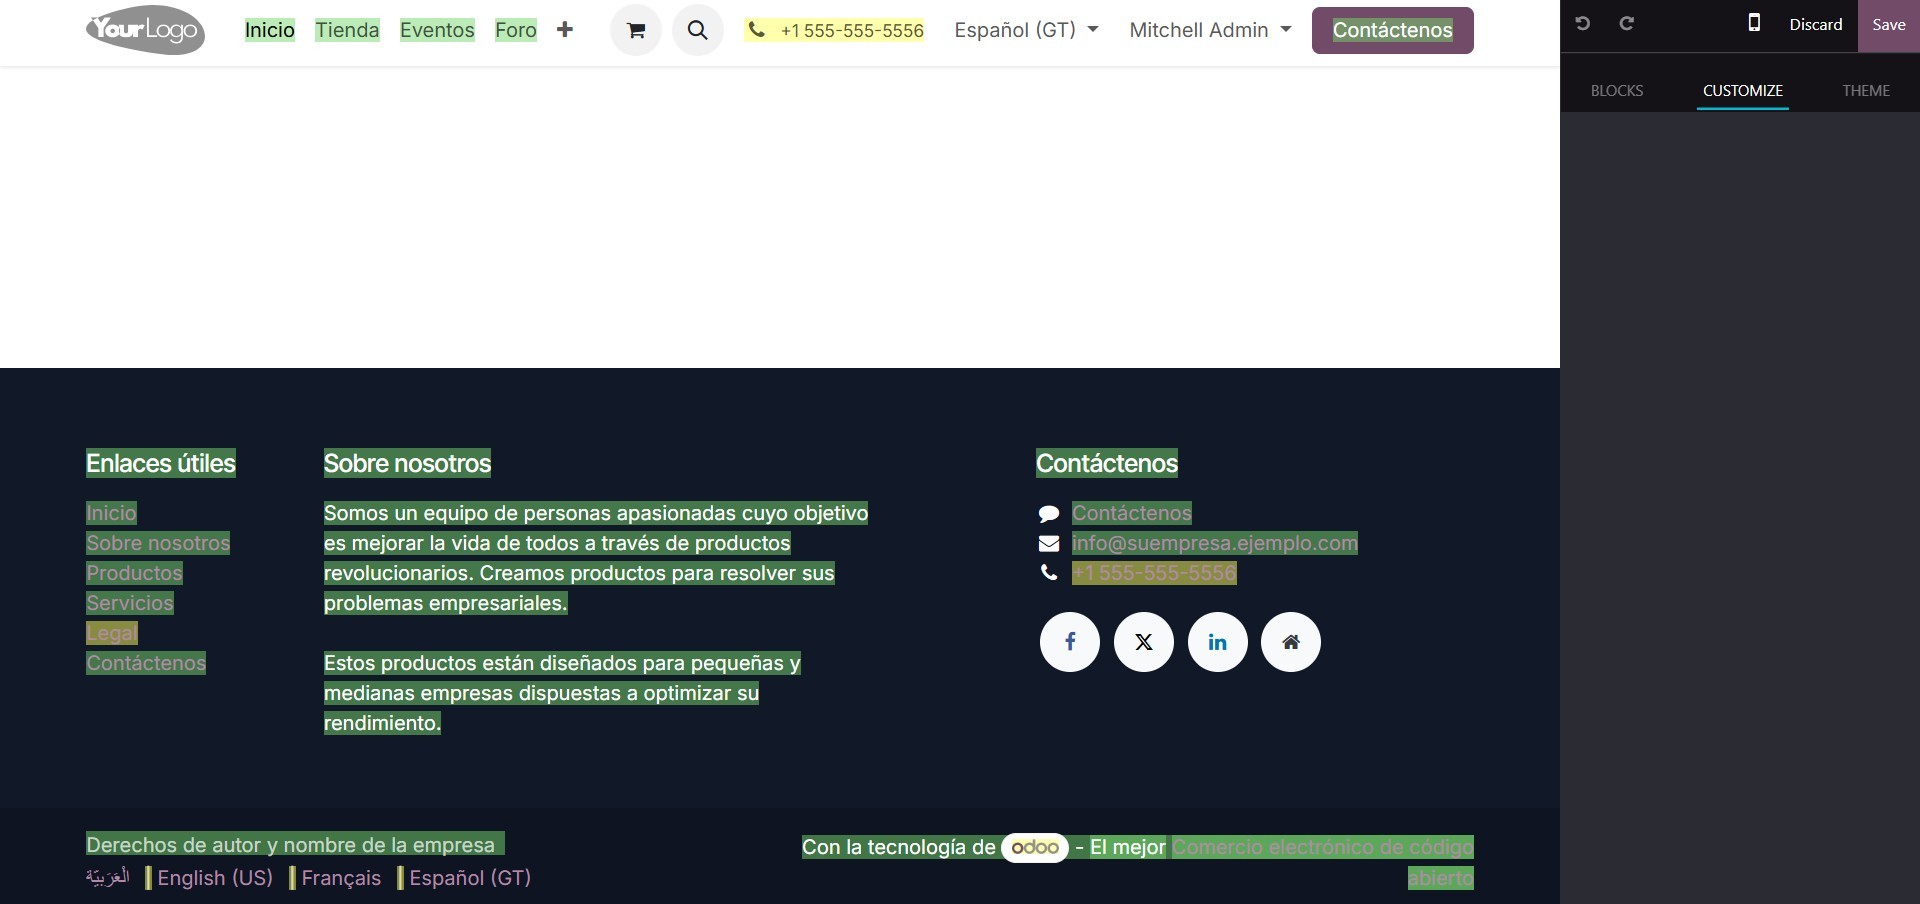
Once changes are made to the
master page, they will be
reflected across all
translated versions. To
replace the original text
with a translation, click on
the block containing the
content, edit the text
needed, and click Save.
Now that we’ve covered how Odoo
18 allows you to handle
multiple languages on your
website, let’s look at how to
create a page.