5. Publish Specific Content
for the website
Odoo users may effectively create
and publish unique content
for the business website via
the module's front end.
Product descriptions, blog
entries, forum debates, and
many other jobs can benefit
from this feature.
When it comes to blog articles,
the platform lets you finish
the full process right from
the front end, including all
the relevant facts.
Additionally, you are free to
change views and attributes
as necessary. After
finishing, you may use the
system to easily publish the
blog post to the website.
This methodology may also be used
for job descriptions, forum
posts, and a wide range of
other kinds of material.
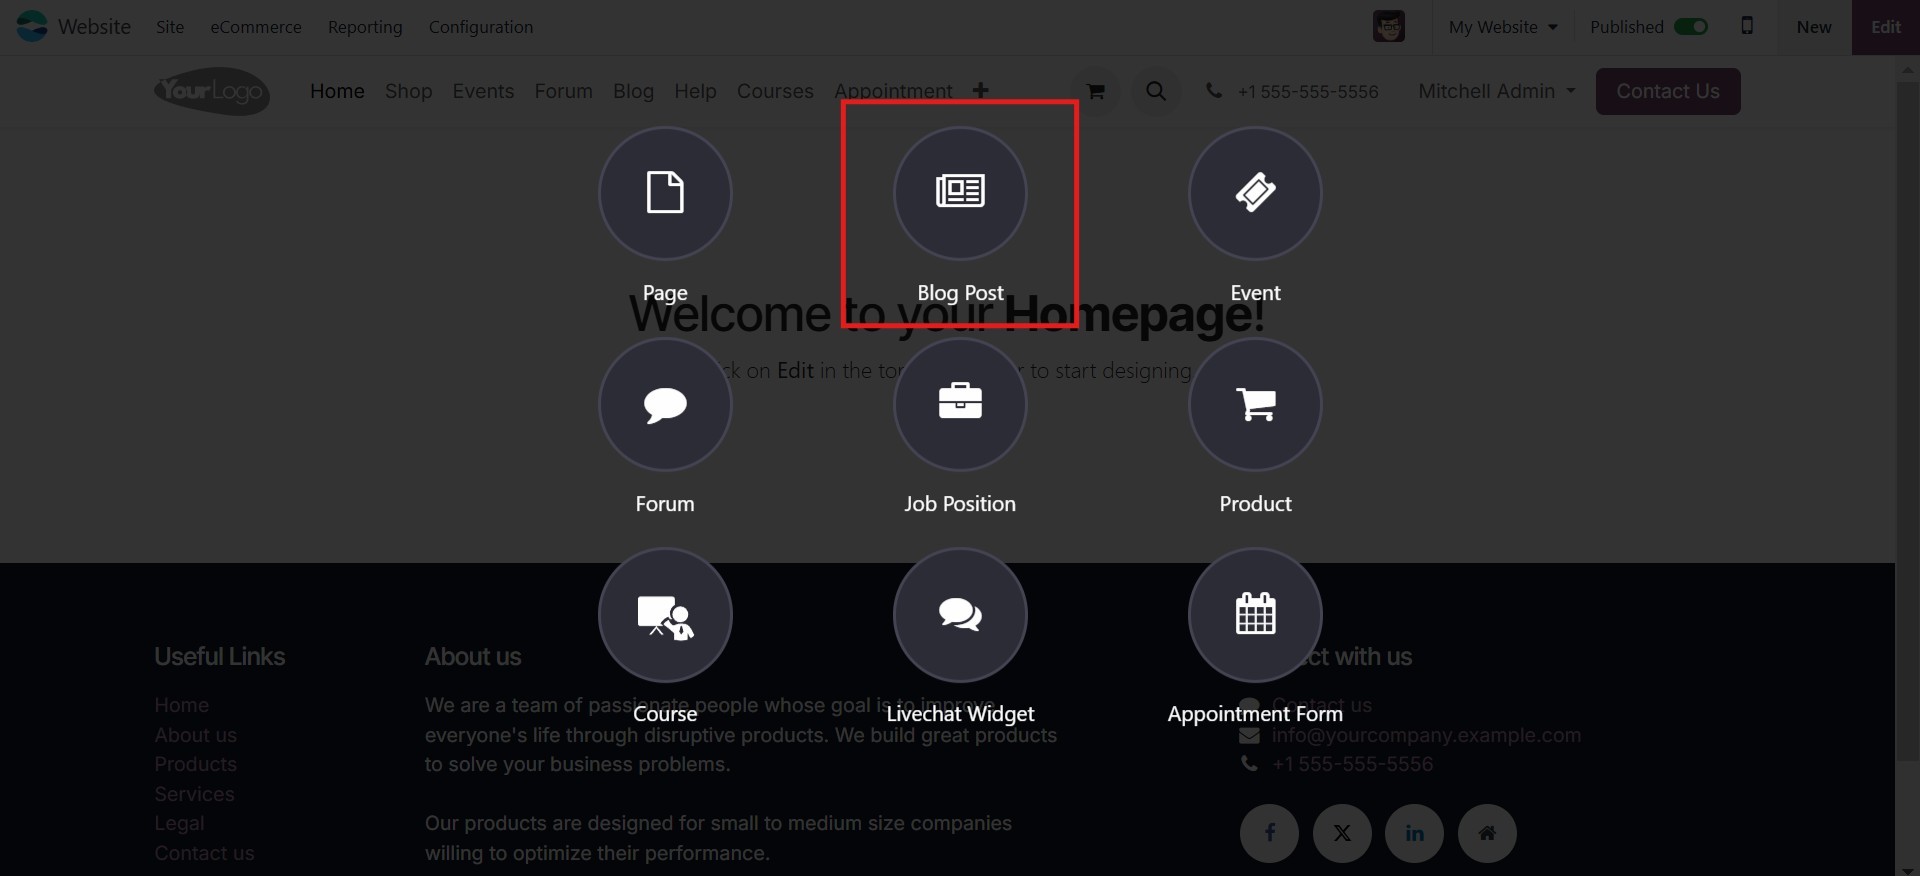
5.1 Page
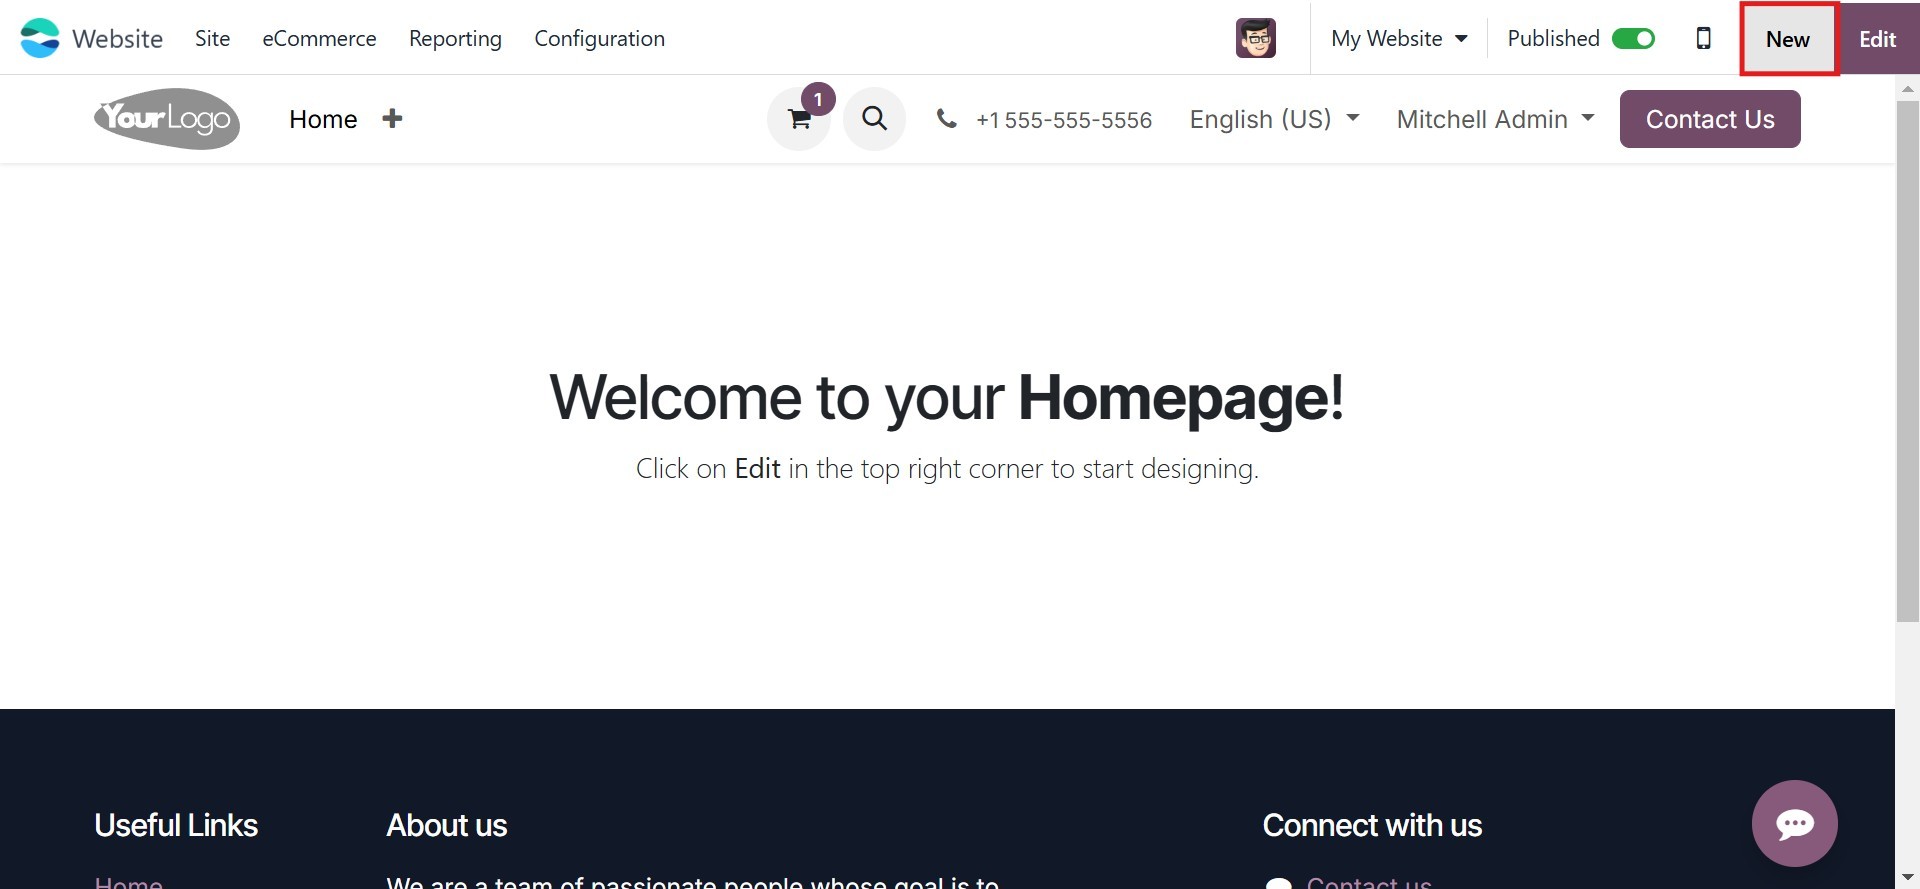
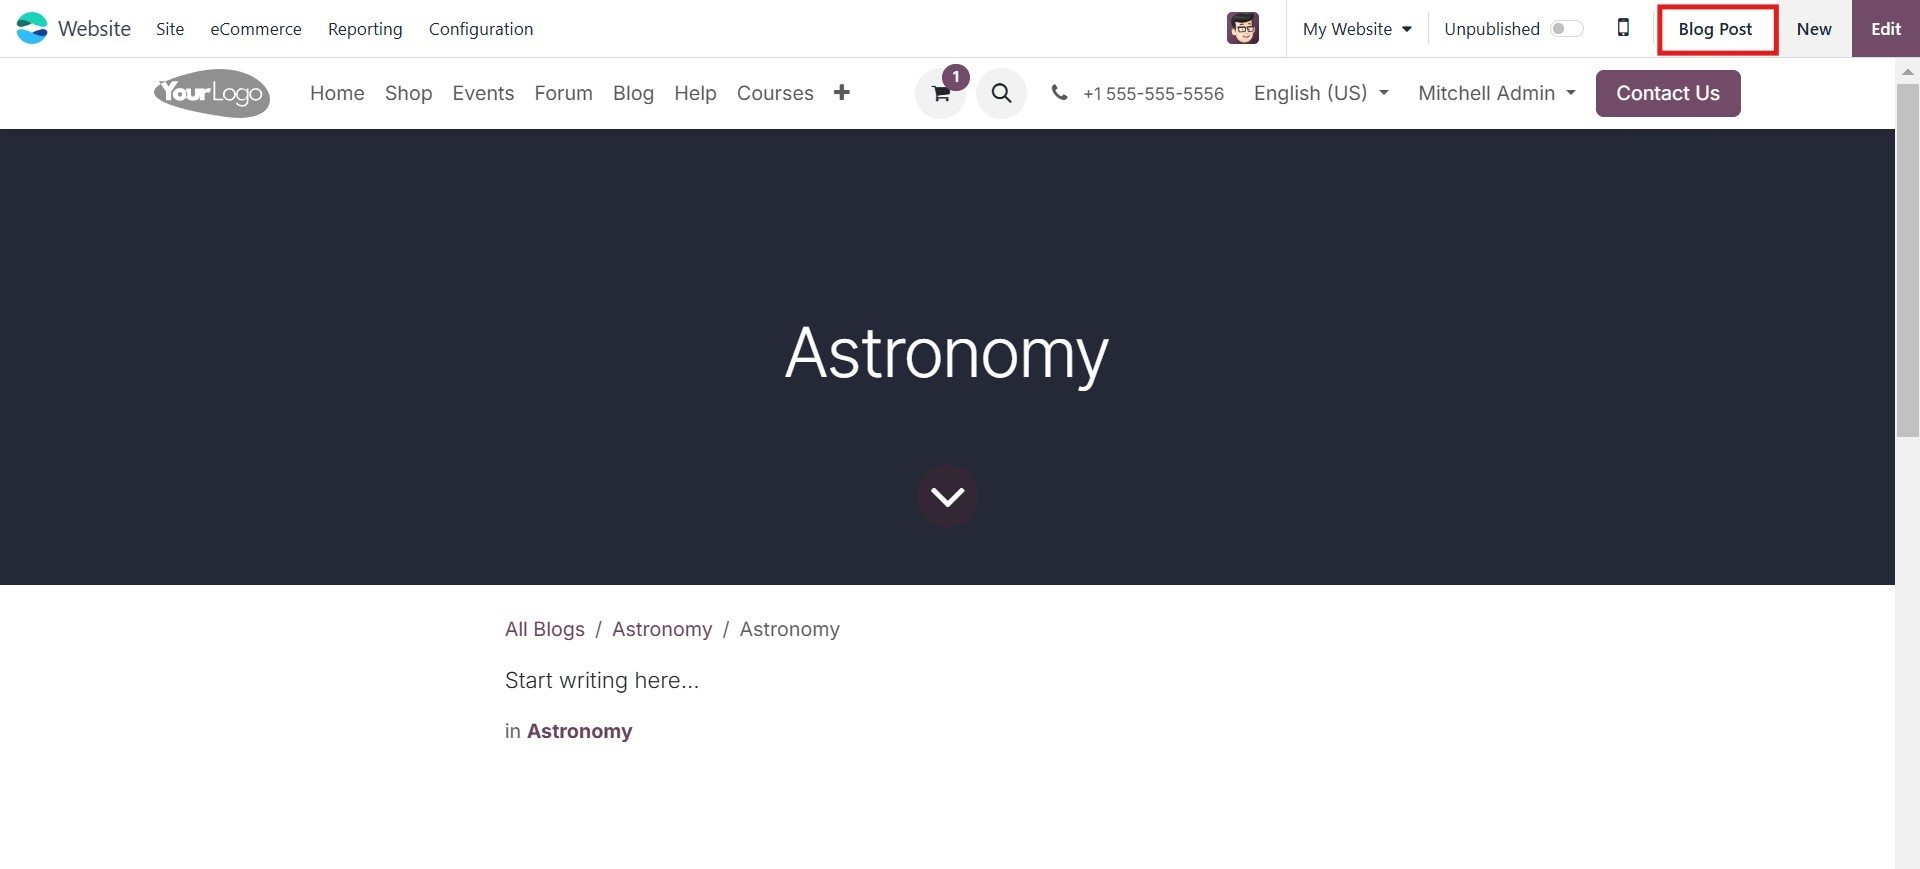
On your website, you'll notice a
'New' button positioned next
to the 'Edit' button, as
depicted in the illustration
below. Clicking this 'New'
button will reveal icons for
posting specific types of
content on your website.

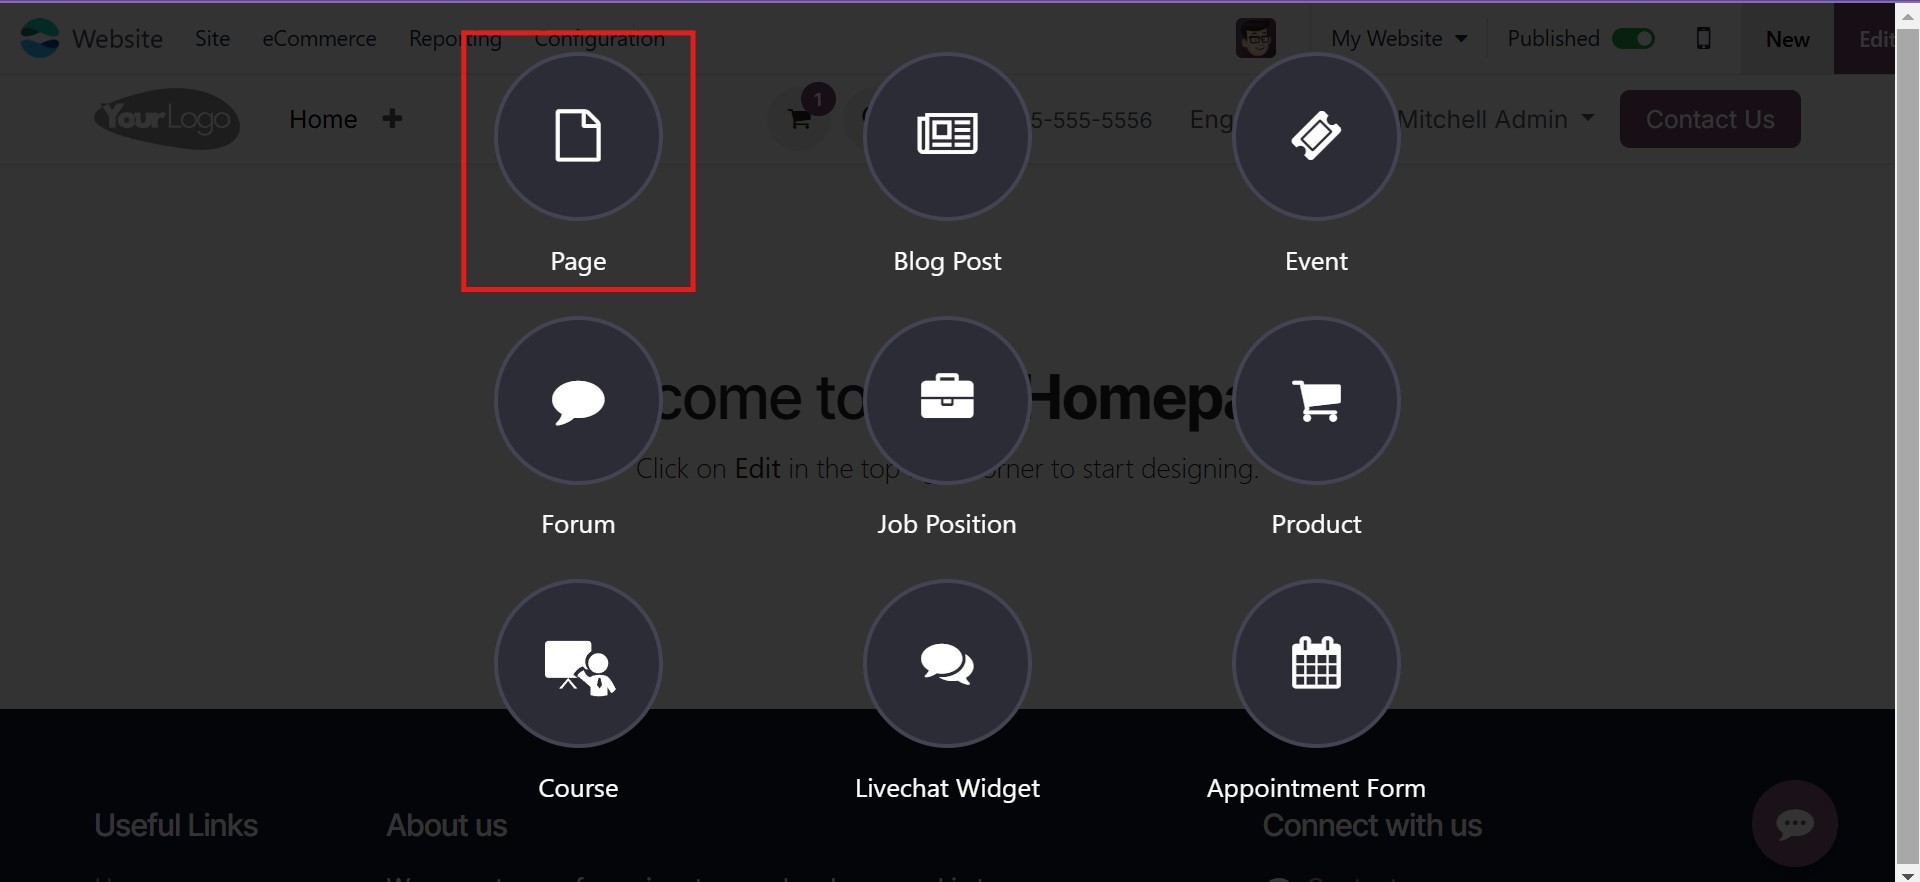
To make a new Page for your
website, use the Page menu.
Clicking this symbol will
bring up the pop-up window
seen in the image below. You
can select the page within
the window.
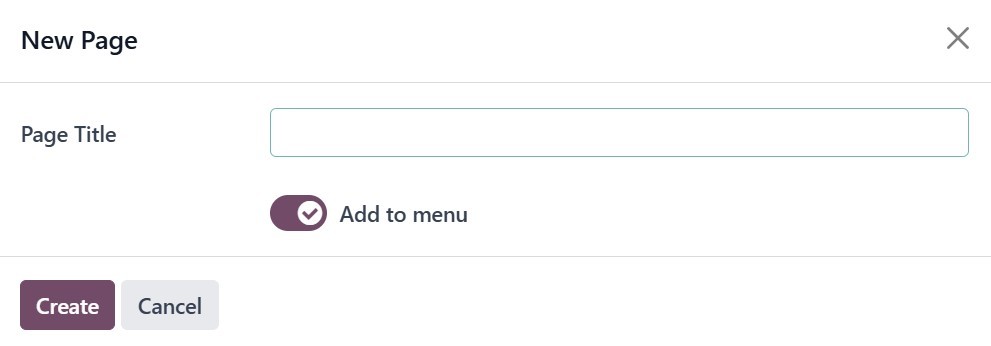
In this pop-up box, you may
enable the Add to Menu
section and input the Page
Title. Later on, you may
choose the Create button from
the same window. The newly
generated page will then show
up on the main taskbar of the
website module.
Additionally, you can use Odoo 18
to create and manage web
pages from the back end by
using the 'Manage Pages'
option found on the 'Site'
tab.
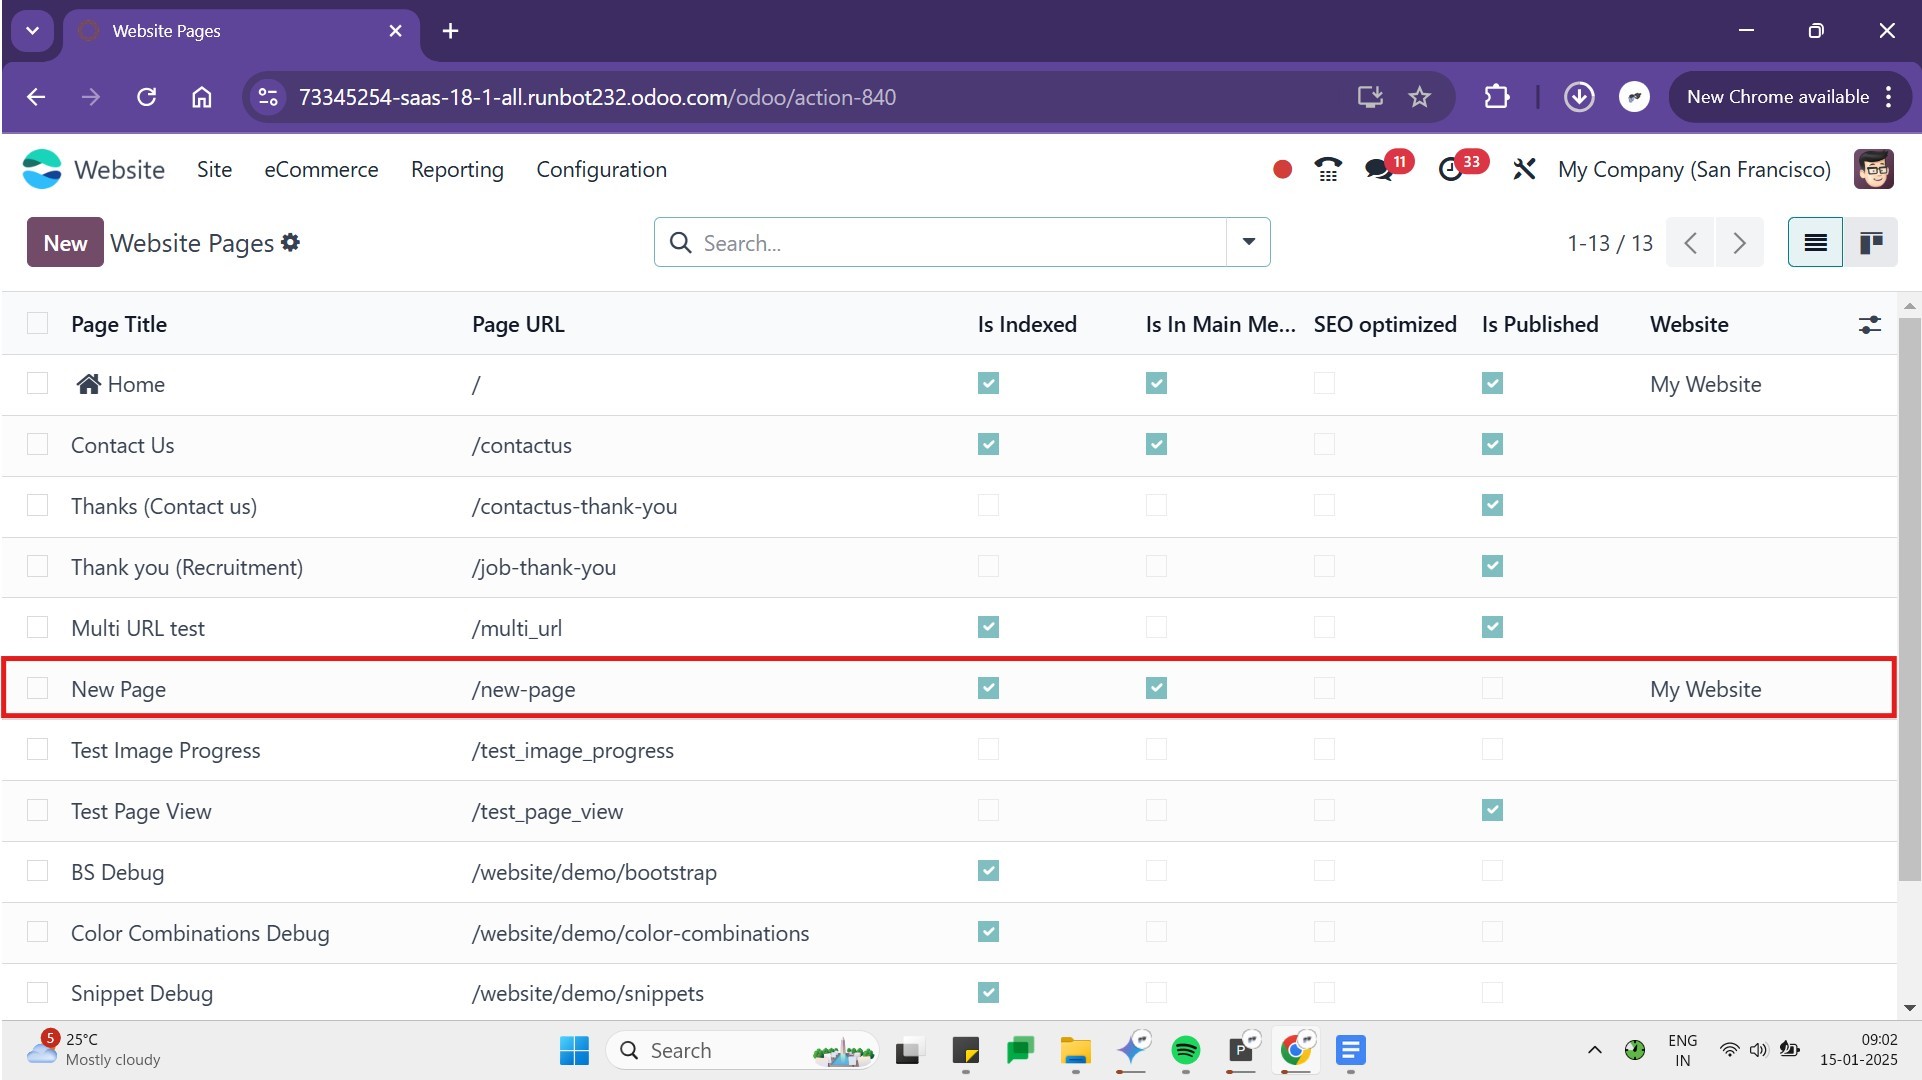
Clicking on the 'Manage Pages'
menu will open a dedicated
'Manage Your Pages' window,
as illustrated below. This
window provides a
comprehensive set of
management tools, including
options to control page
indexing ('Is Indexed'),
publication status ('Is
Published'), and optimize SEO
operations.
This window allows for
independent management of
each page within your
website. To access these
options for a specific page,
simply click on the
corresponding page details.
Within this window, you can also
view the options that
describe the page's inclusion
in the main menu, publication
status, search engine
indexing status, and SEO
optimization status
(indicated by checkmarks or
crosses)
There is a page that has already
been made. Similar to the
previous statement, clicking
the New button will generate
a new page.
5.2 Blog Post
Similarly, you may begin a new
blog post for your website by
selecting the Blog Post menu
option.
The pop-up is now visible, and
you may select the blog post
type.
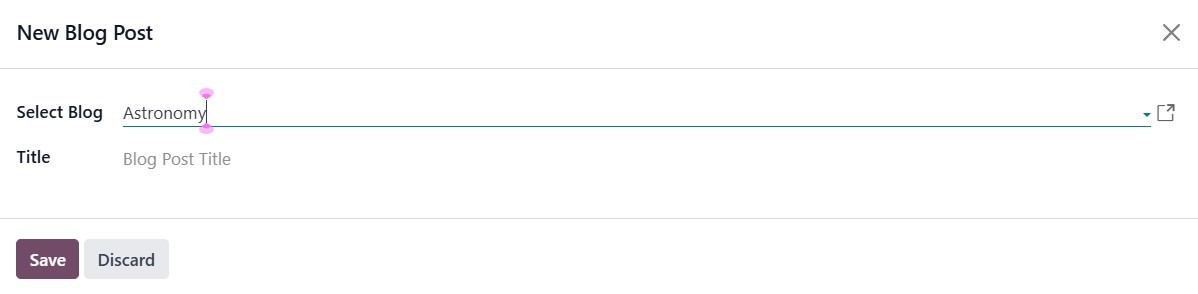
After that, click the Save
button. A new page will now
appear for you to compose a
blog entry.
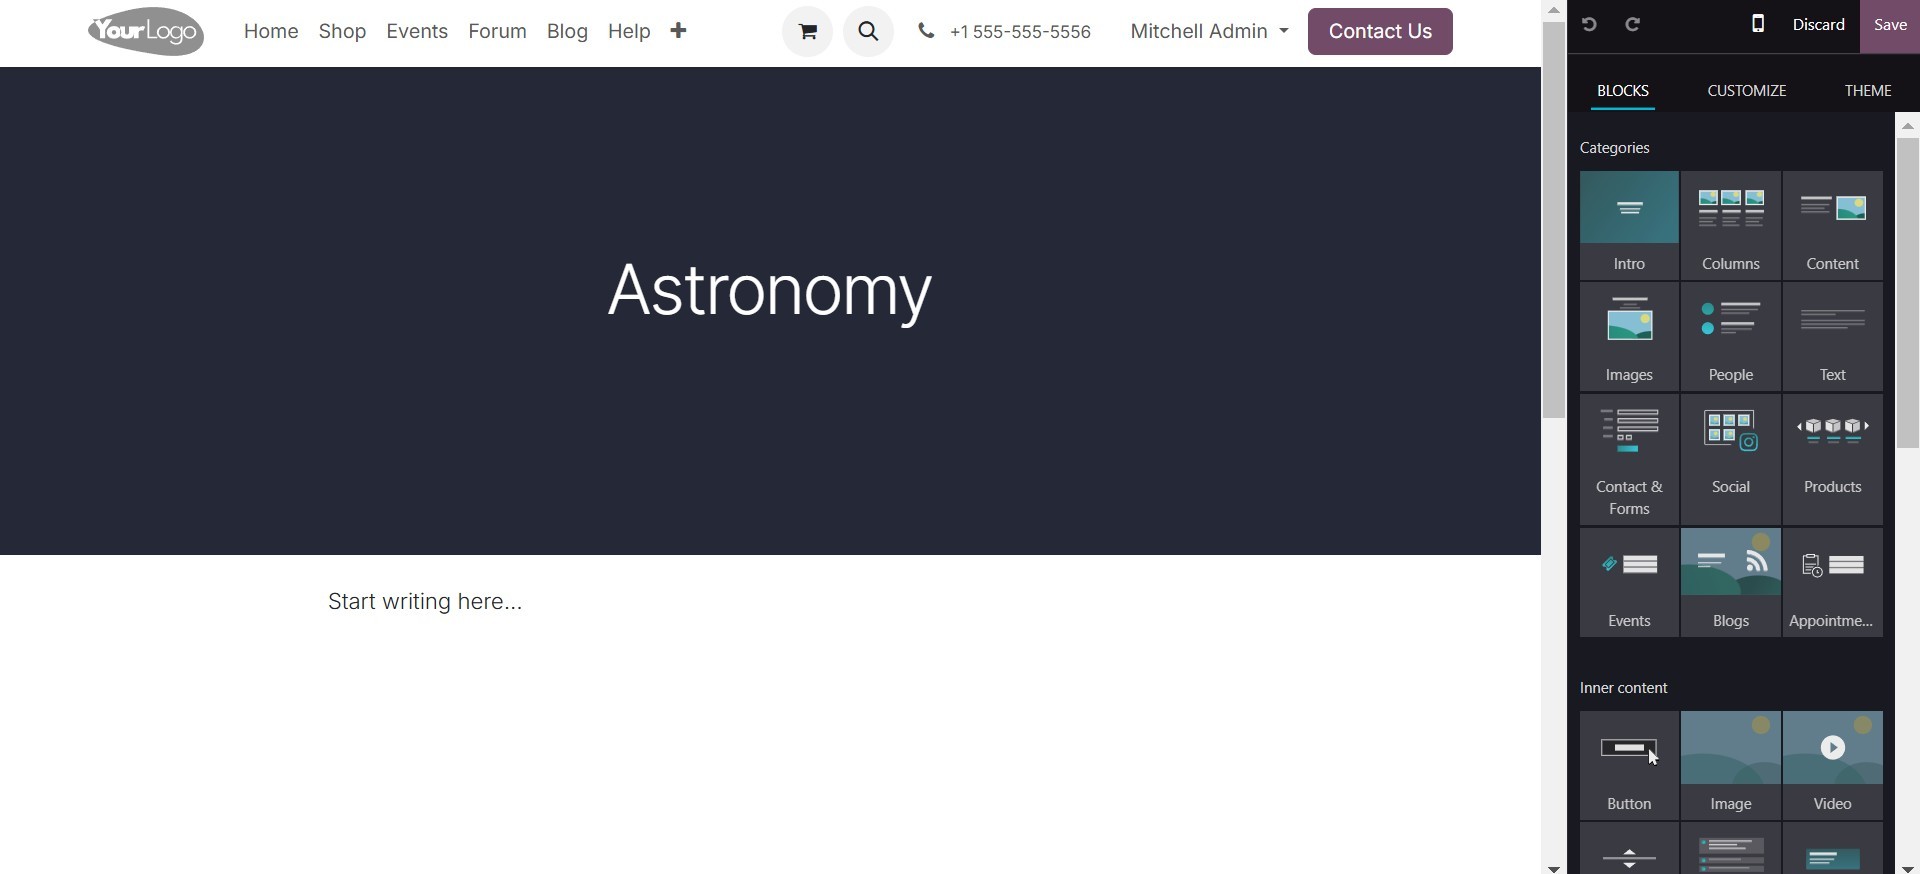
To start creating a blog post,
first enter a title and, if
needed, a subtitle. After
that, you can begin writing
your content directly on the
page. On the right side of
the screen, you'll find
options to create a new blog
page. These built-in editing
tools can help you enhance
the overall appearance and
layout of your site.
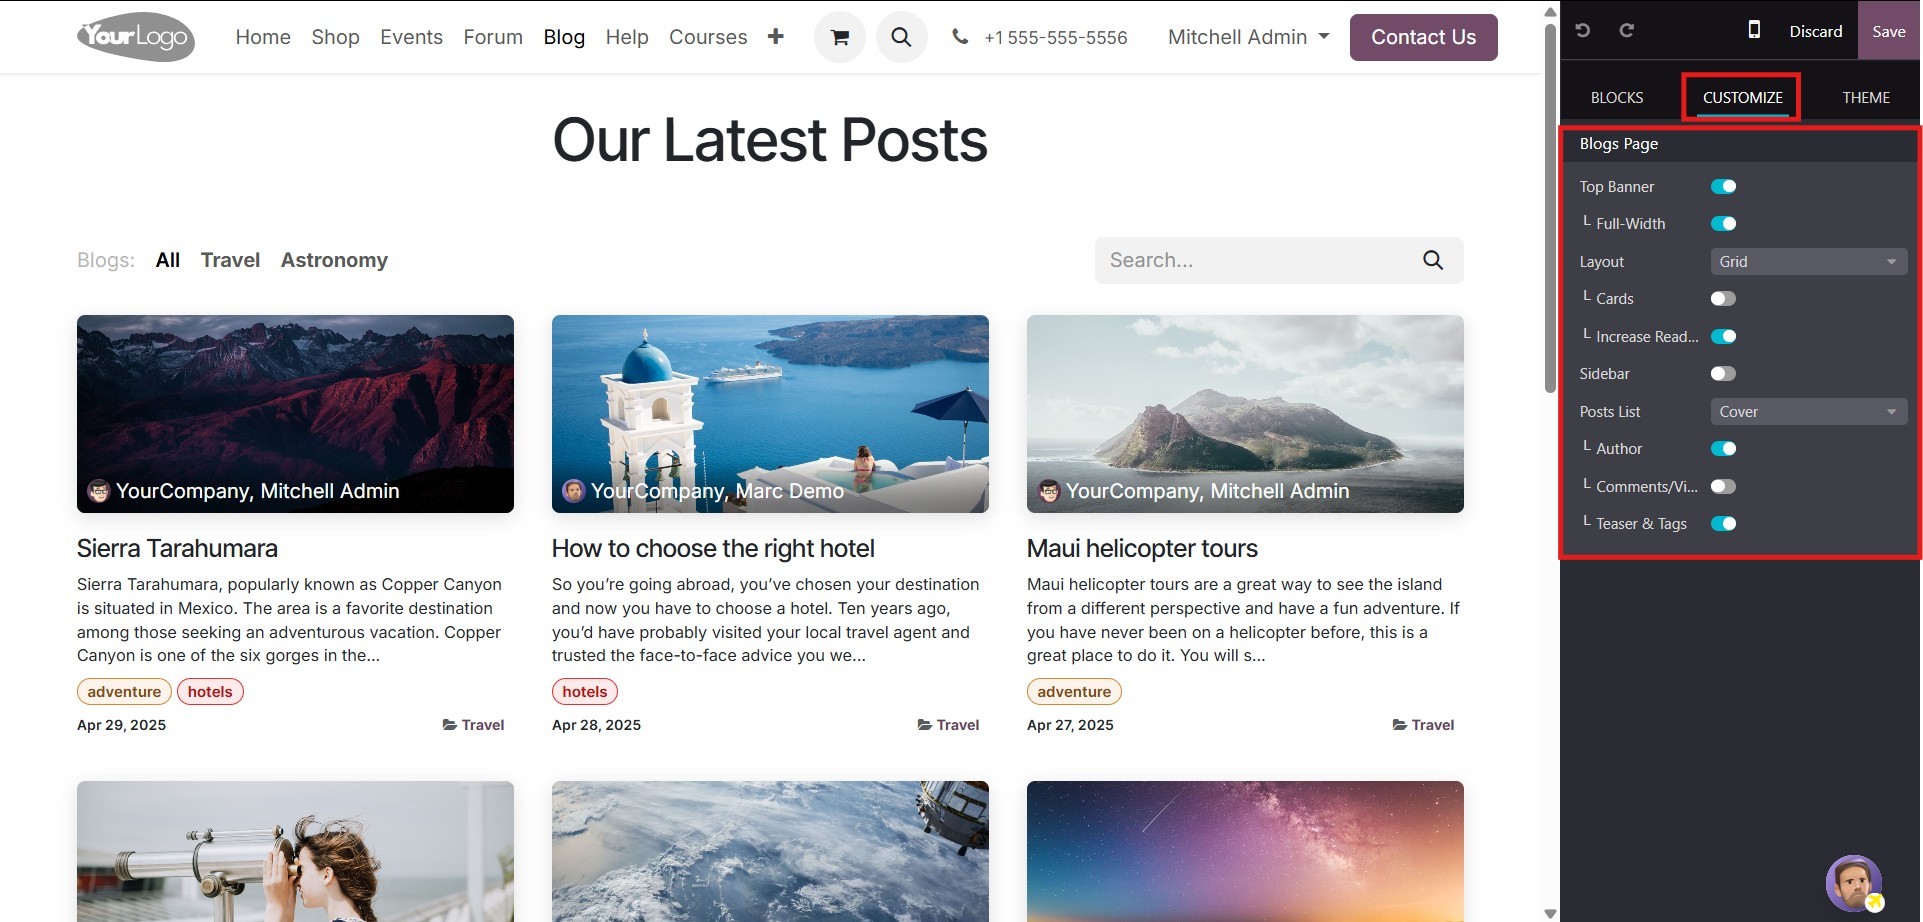
To customize a specific blog
post, open the post and click
on Edit, then select
Customize. It's important to
note that the settings you
choose here will apply to all
blog posts on your site.
You can choose how the blog title
appears by selecting one of
the layout options: “Title
Inside Cover” places the
title within the cover image,
while “Title Above Cover”
displays it above the image.
Enabling the increase
readability option will
automatically improve the
clarity and legibility of
your text, making it easier
for readers to engage with
your content.
You also have the option to
display a sidebar, which adds
several features to your
blog. The Archive feature
allows visitors to filter
posts by month, while the
Author setting shows the name
of the post’s writer along
with the publication date.
You can also enable a Blog
List, which provides quick
access to all your posts, and
Share Links to let readers
easily share your blog on
various social media
platforms. Additionally,
enabling Tags will display
the keywords associated with
each post, helping readers
navigate related content more
easily.
These customization options allow
you to tailor your blog’s
look and functionality,
enhancing both its style and
usability for visitors.
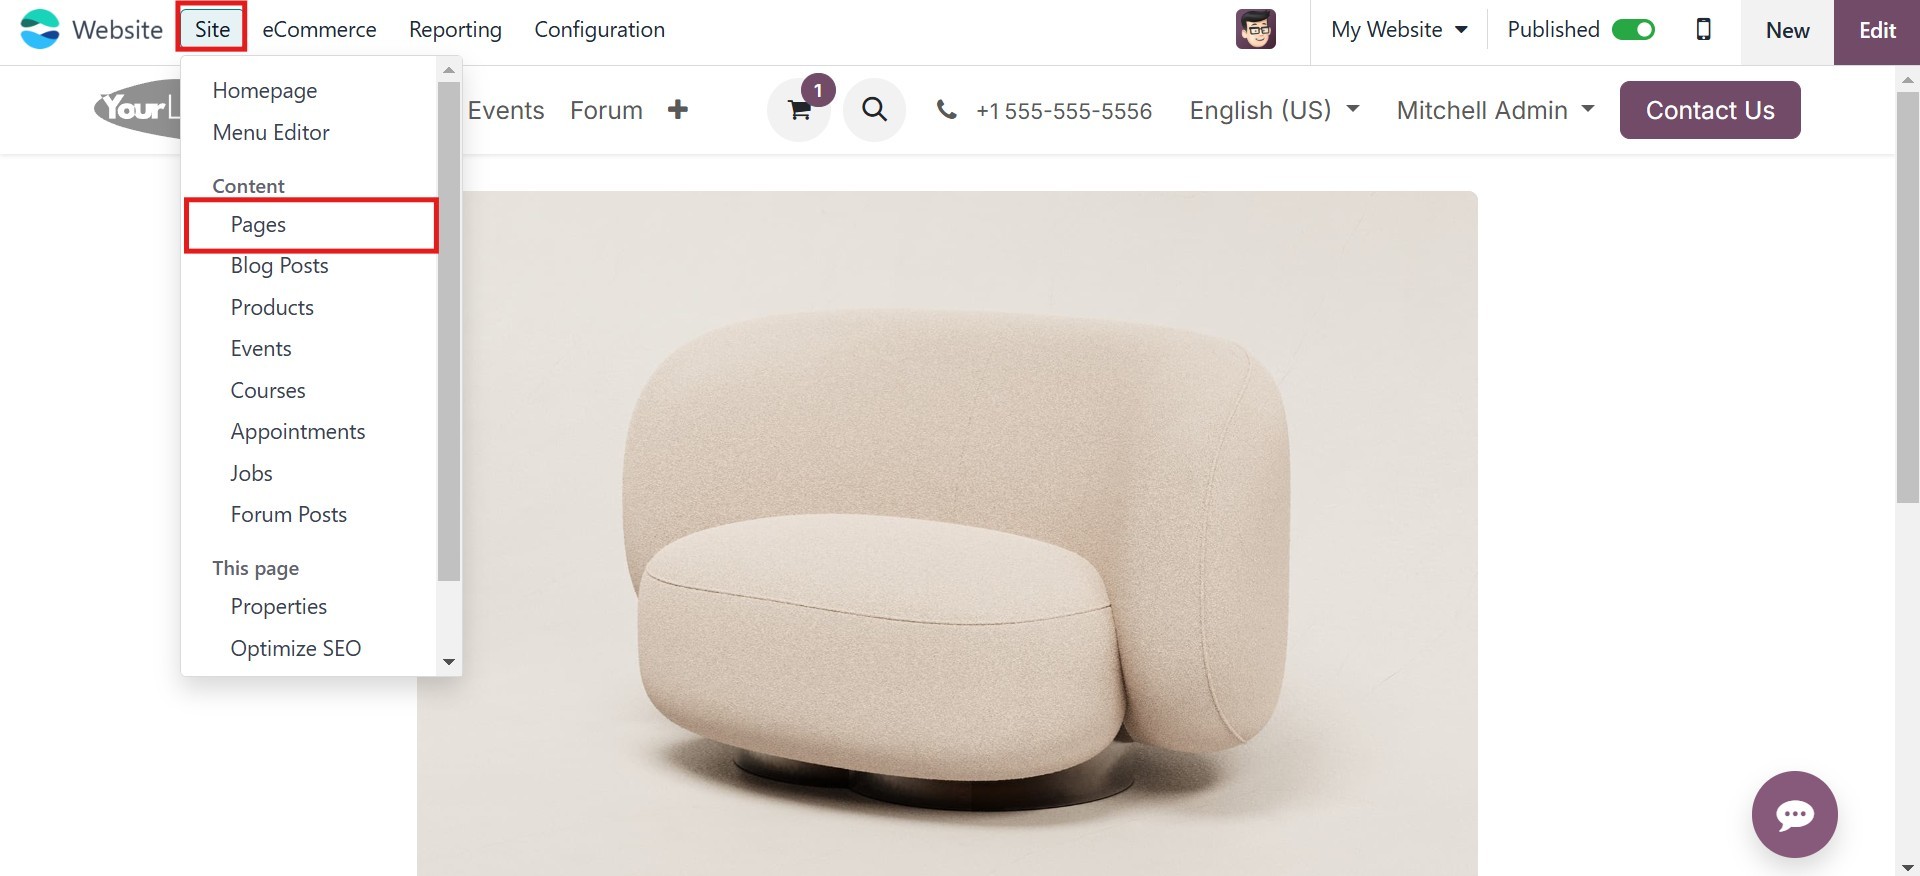
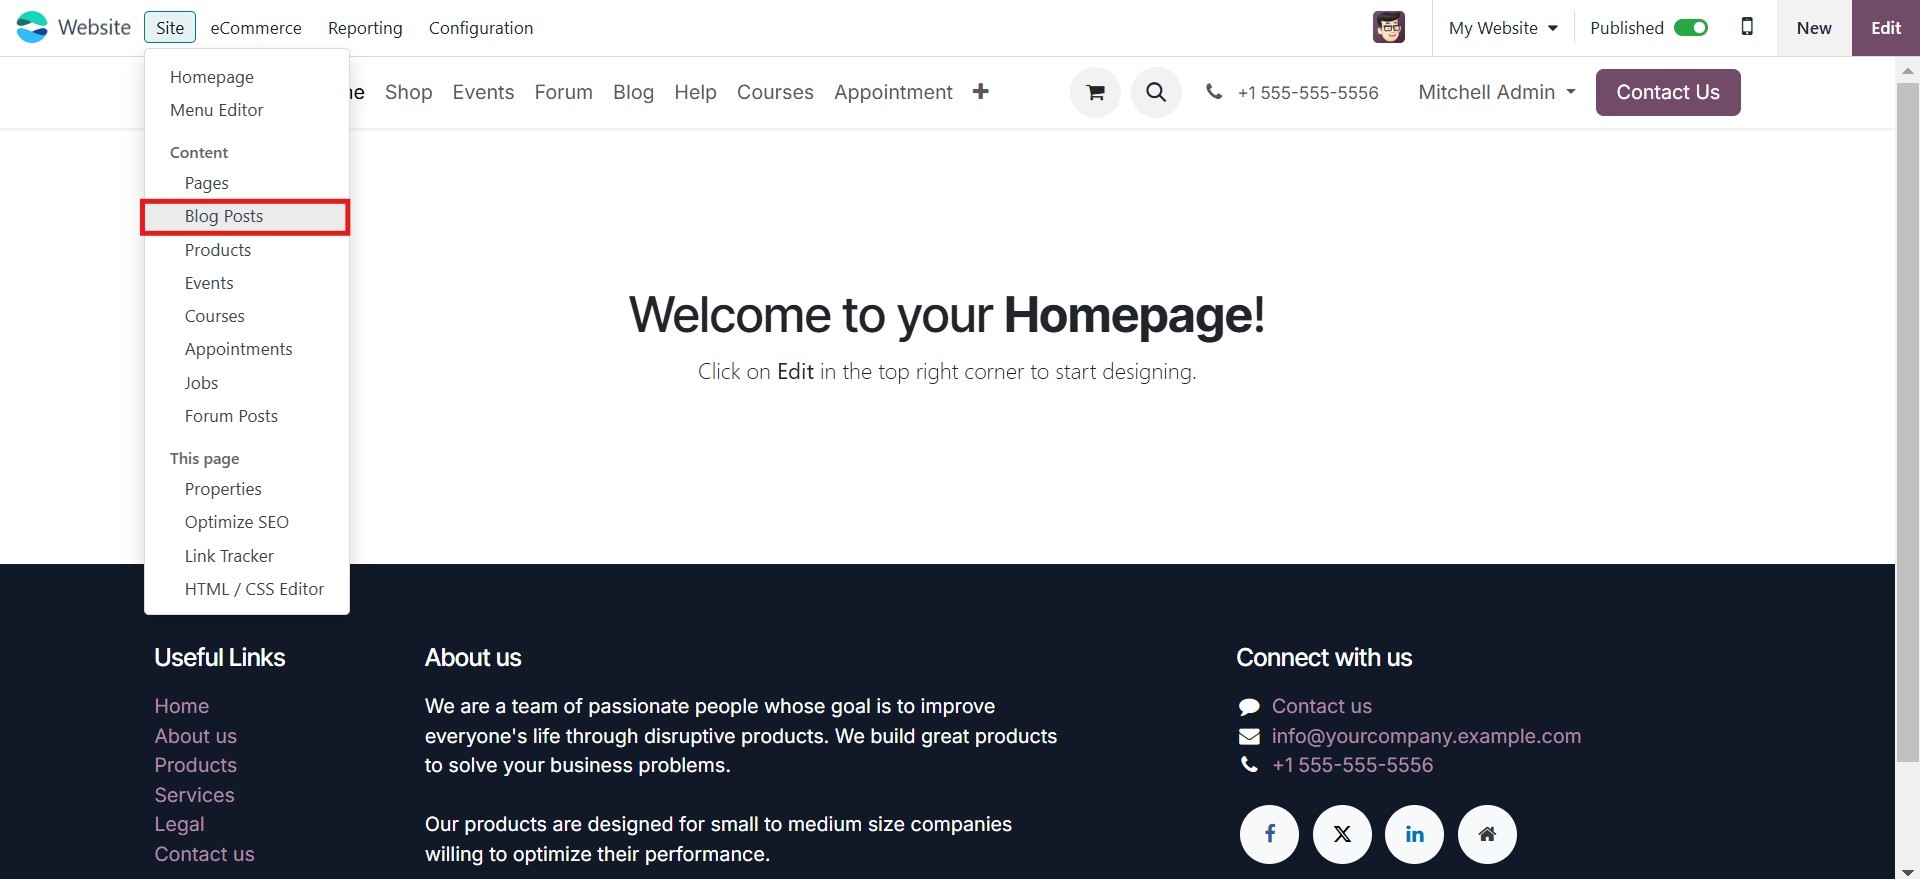
Let's view it by opening the Blog
Posts window. From the Site
menu, select Blog Posts to
open the Blog Posts pane.
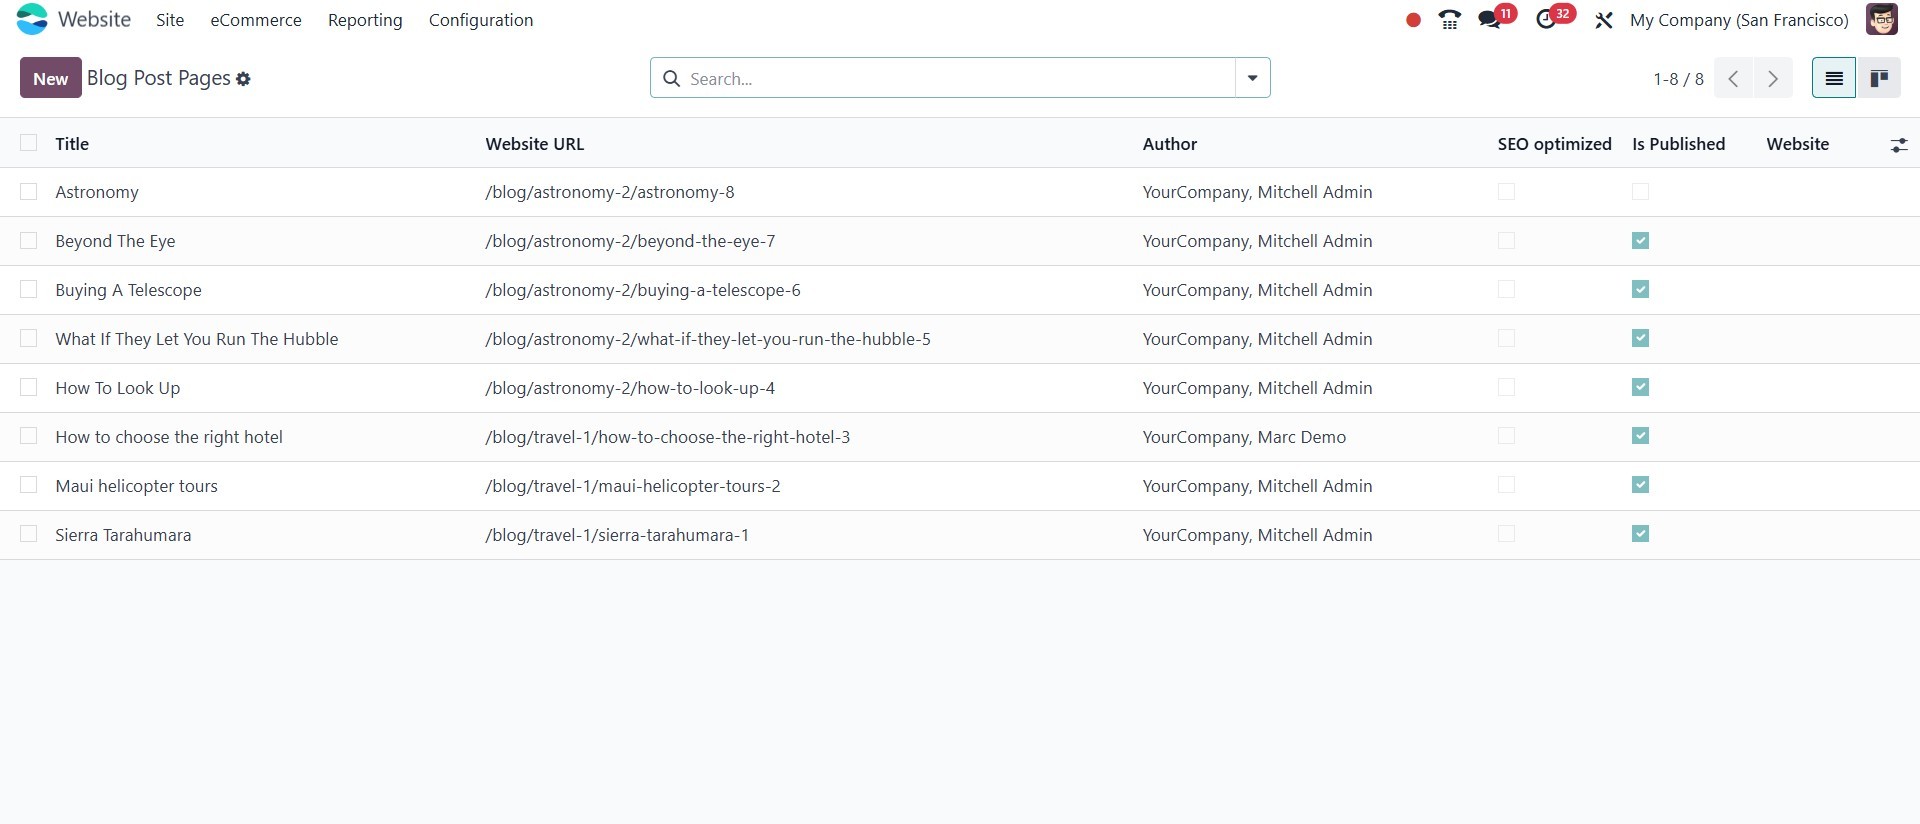
The Blog Posts pane will display
each blog post that has been
detailed on the platform.
Title, Author, Blog, Website,
SEO Optimized, and any other
relevant information are
disclosed. Below is a
screenshot showing the List
view of the window.
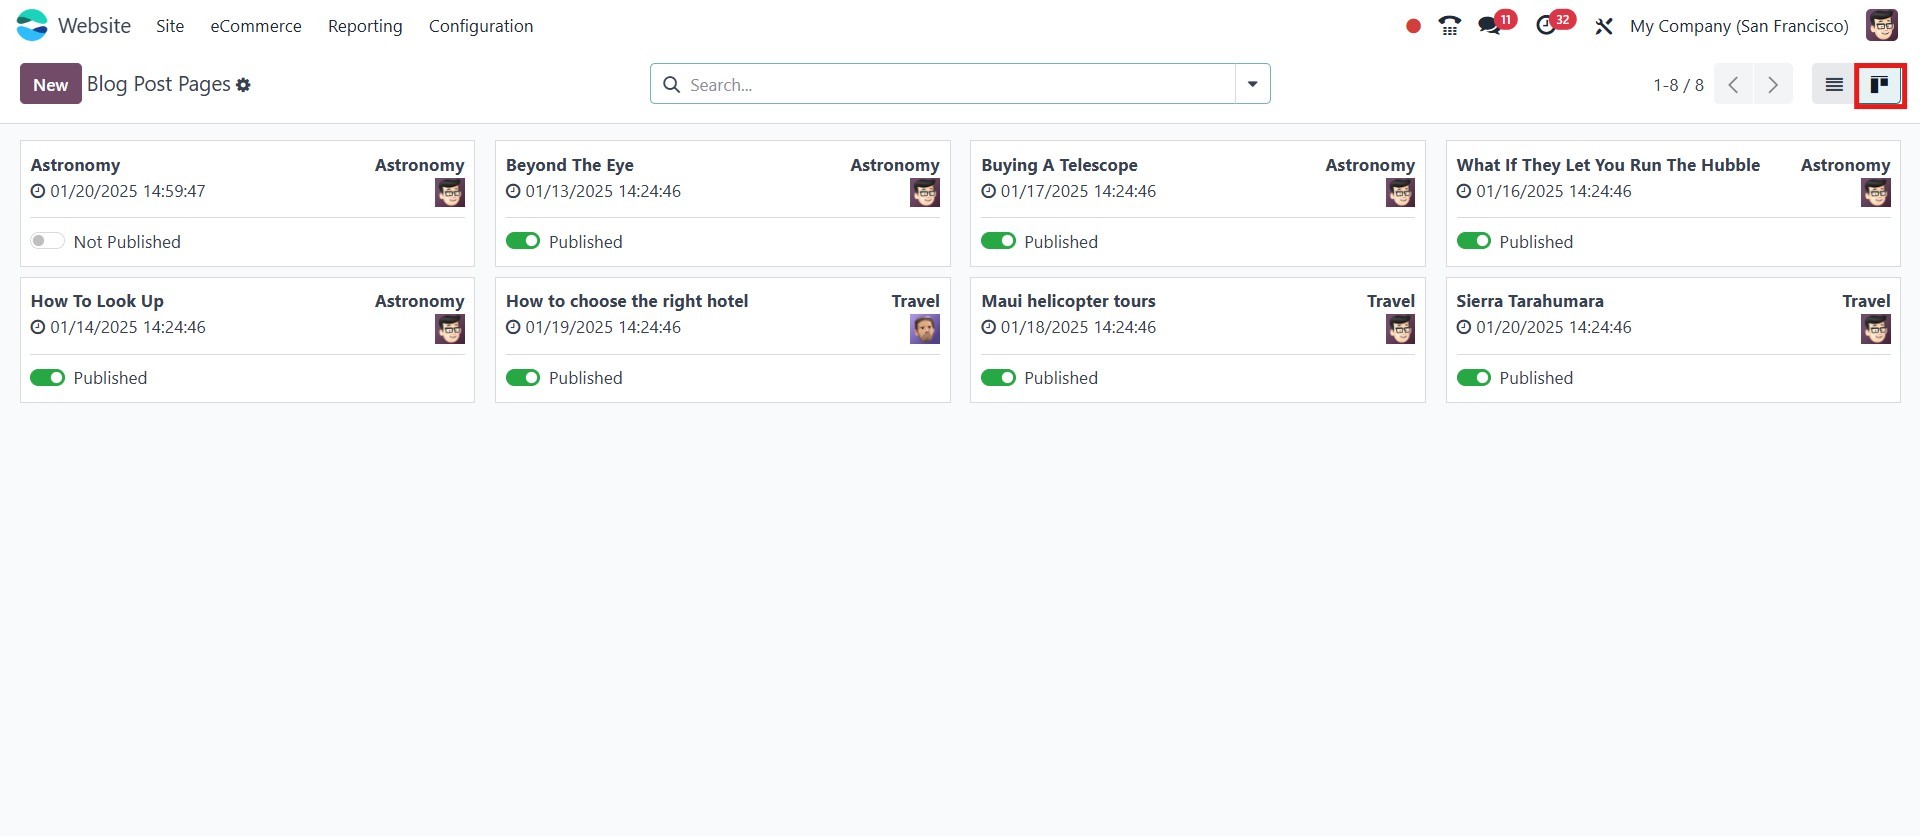
You may also view the details in
Kanban format. The Kanban
menu is in the window's top
right corner; click on it to
open it. Additionally, the
pane contains Group By,
Favorite, Search, and default
and custom filter options,
all of which will make it
much easier for you to
locate, sort, and filter the
listed blog entries.
To begin creating new blog
entries, click the New button
located in the window's top
left corner. A window for
writing blog entries will now
appear. You may write and
modify new blog entries in
this window. Click the Blog
Post button in the top left
corner to make changes to the
blog post.
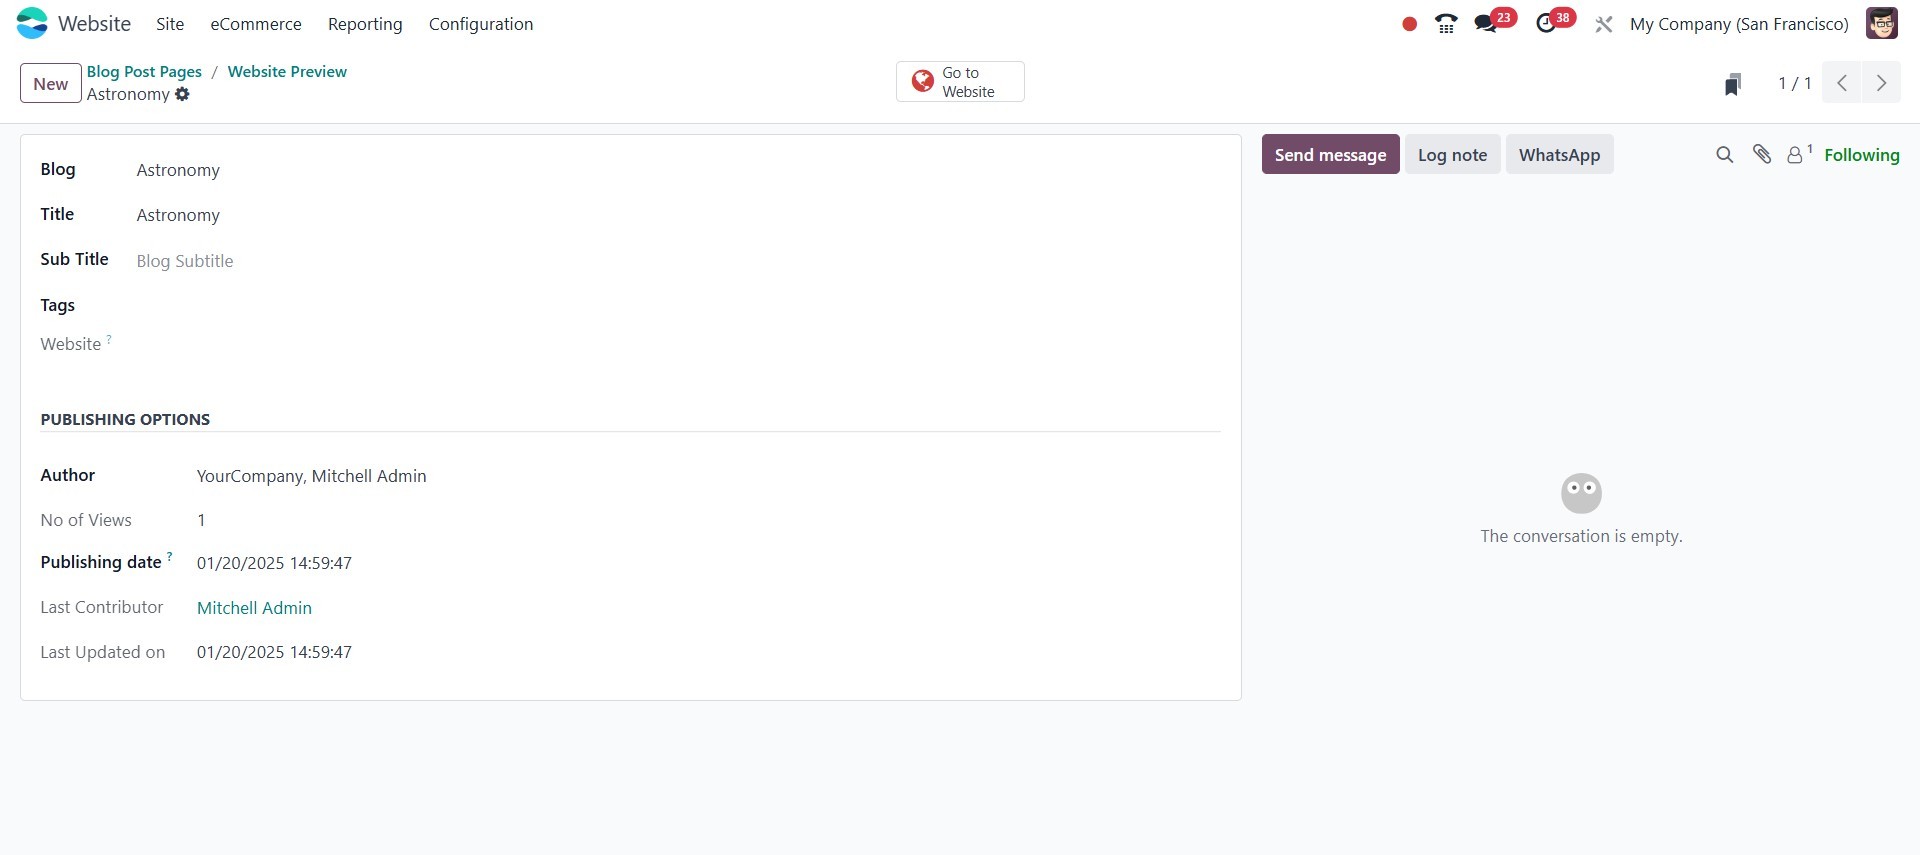
Please provide all the required
information on this form.
Under the Blog option, you
may first choose the name of
the blog. You can specify it
using the accessible
drop-down menu. The website,
tags associated with this
blog post, subtitle, and
title of the blog post might
then be input if you are
using other website
alternatives. You can enter
the Author Name and the
Publishing Date in the
Publishing Options section.
If the platform has already
published one blog post that
is still being edited, you
may additionally choose the
Last Contributor and the Last
Updated On.
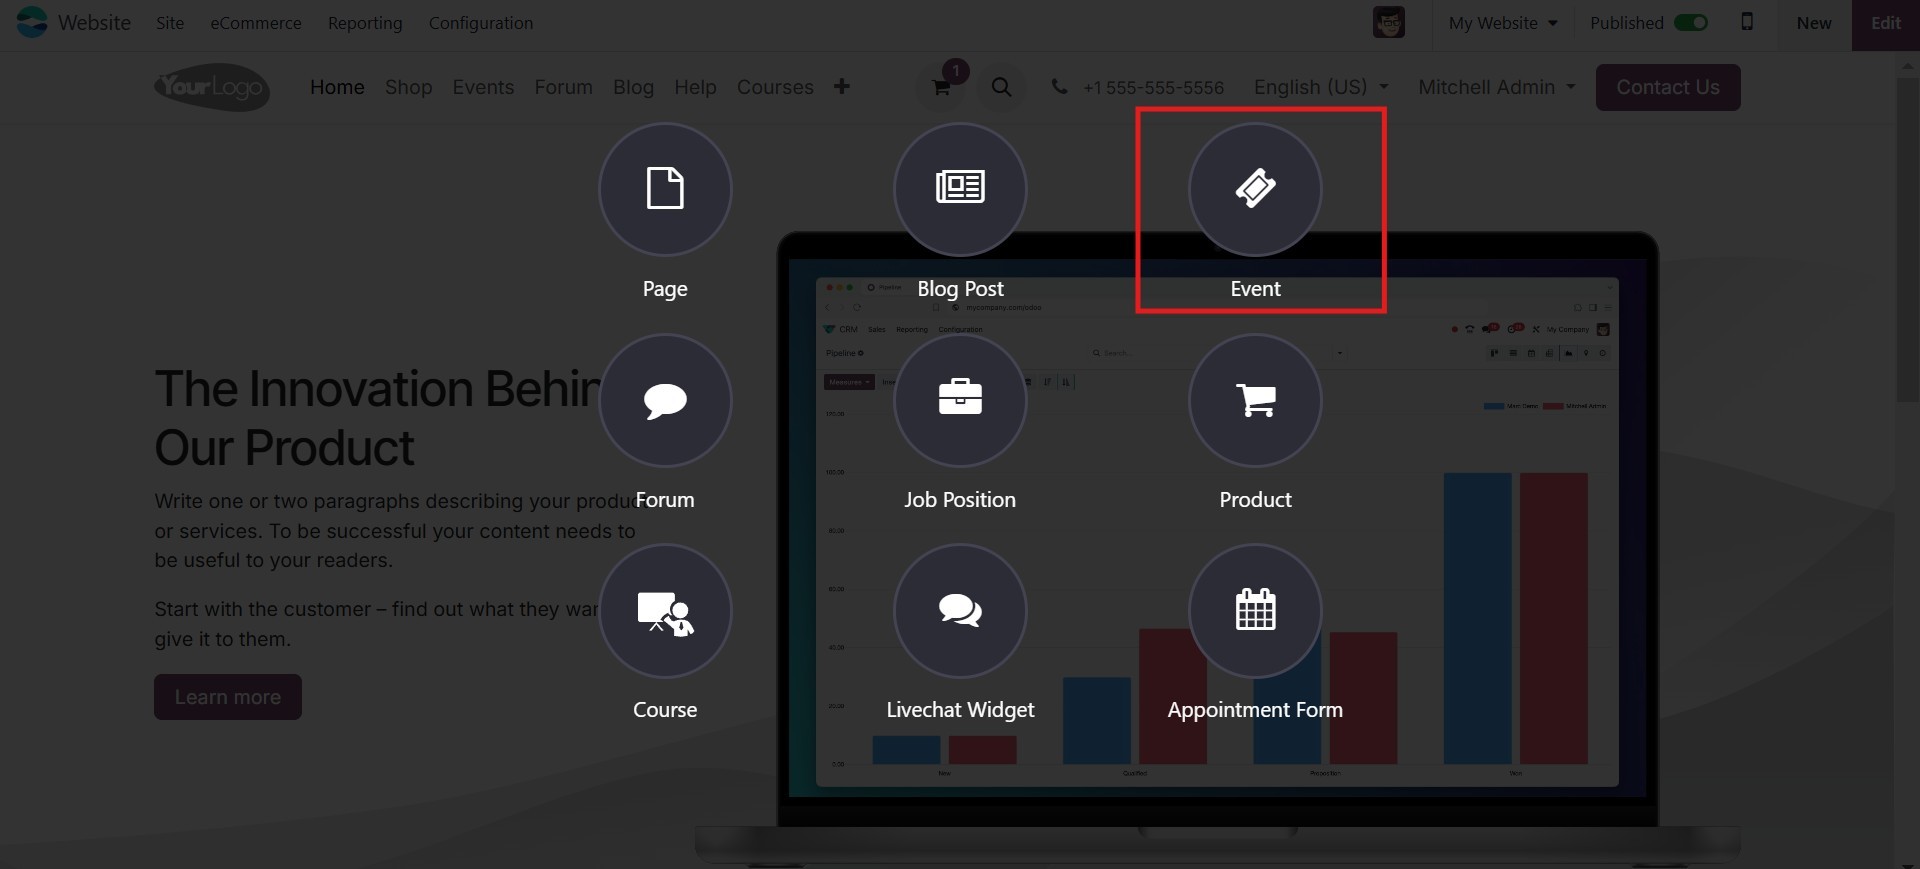
5.3 Events
The Event menu allows you to add
new events to your website.
Go to the +New tab and choose
the Event menu to add new
event details to your
website.
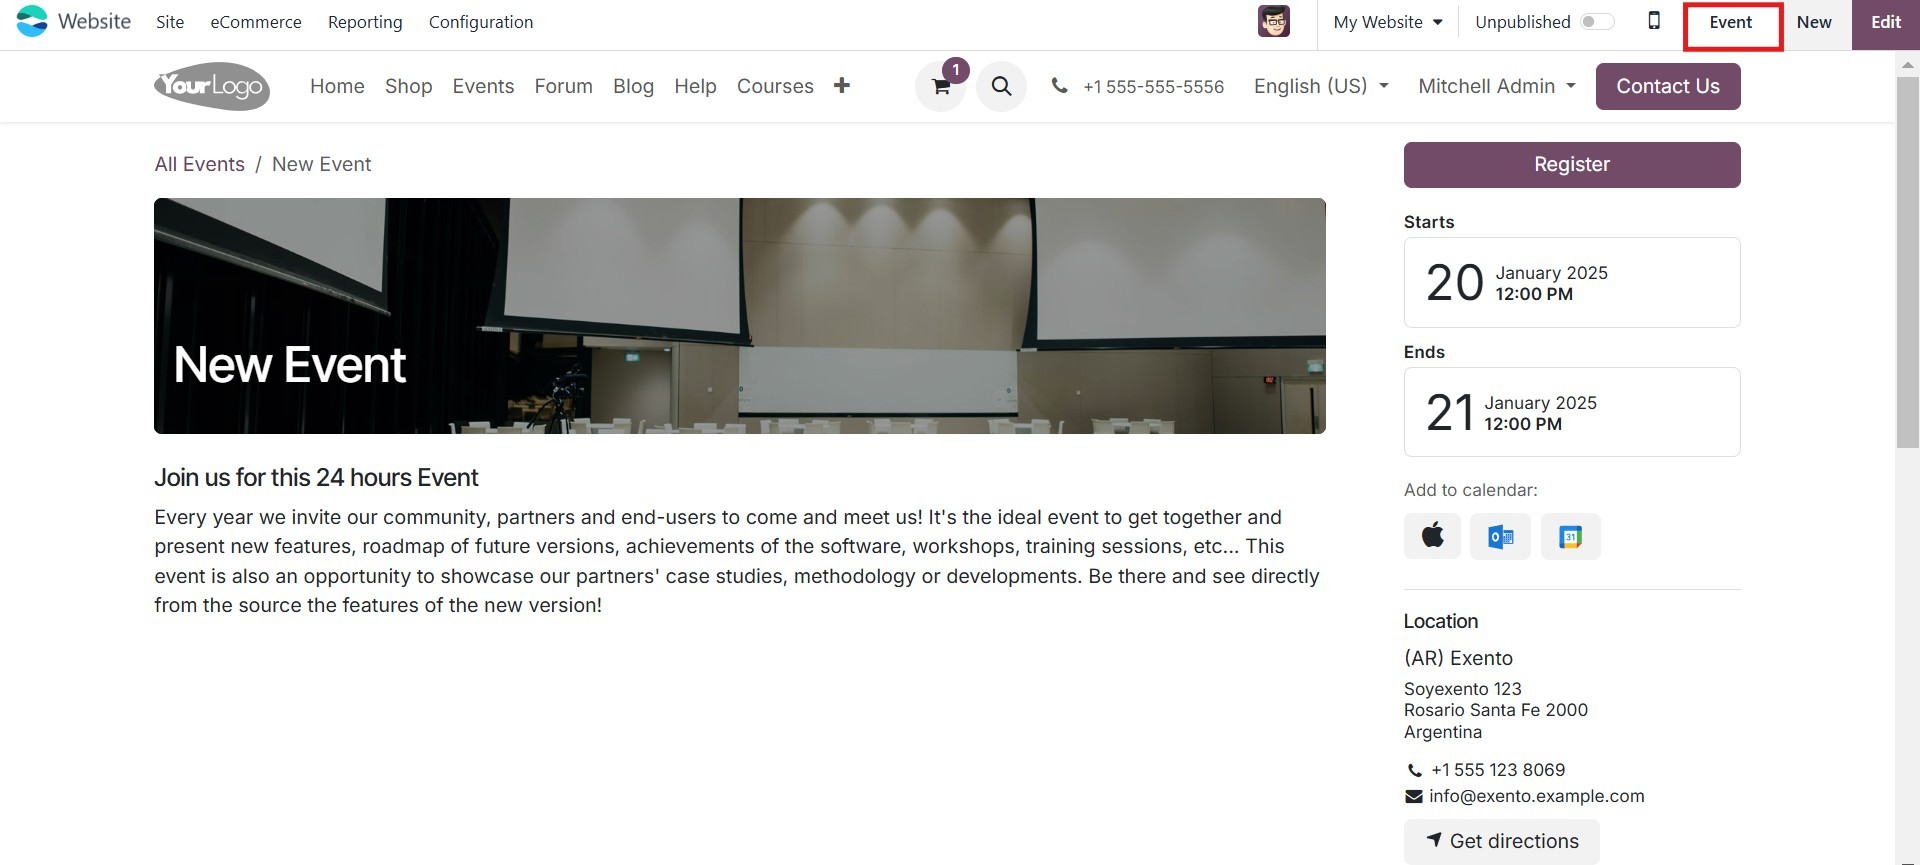
When you select the Event menu, a
pop-up window appears.
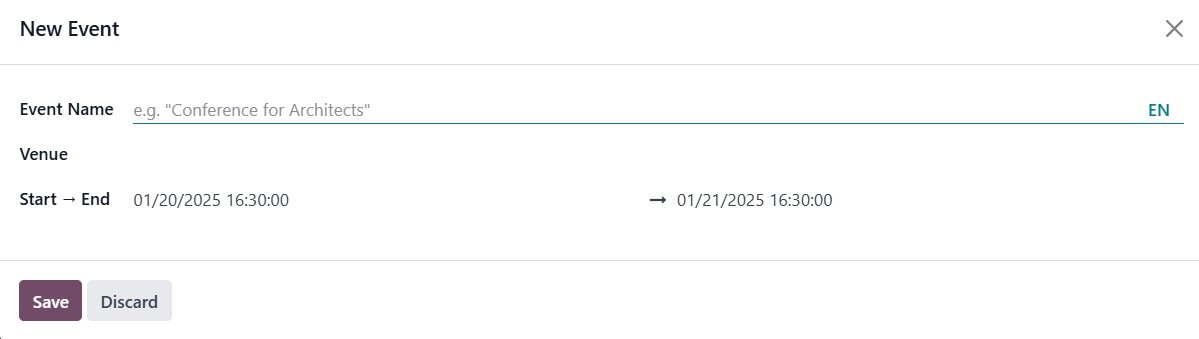
The pop-up box allows you to
enter the Event Name and
Venue, as well as whether the
event is online or on-site.
If the event is held on-site,
you must provide the venue.
The start and end dates are
required. Once you've input
all of the essential
information, click the Save
button.
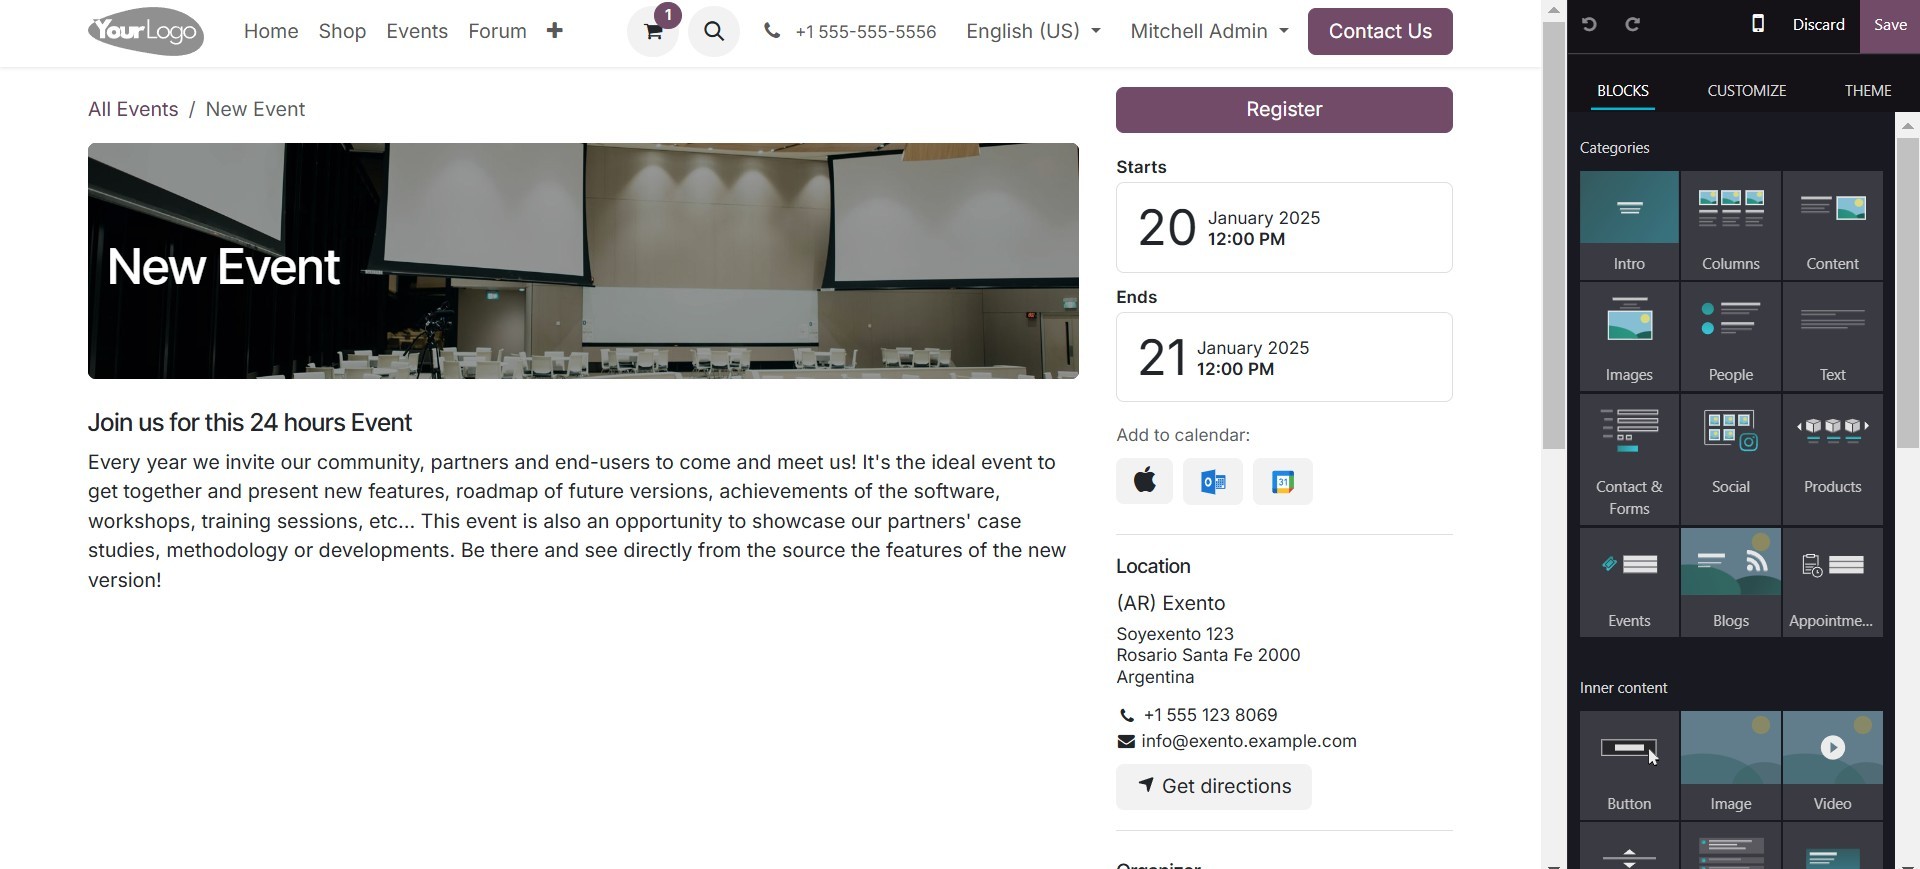
Name, default information,
registration, configure
tickets, and other important
symbols will be explained,
and you may modify and
customize your content using
the editing tools on the left
side of the screen.
The same customization
flexibility applies to the
Events page as well. You can
personalize the layout and
design to better match the
style and purpose of your
events.
To begin customizing, open the
Events page and access the
editing options. You can
choose from various layout
styles, such as the Grid
view, which organizes events
neatly in a structured
format, or Card Design, which
presents each event in an
individual card layout for a
more modern and visually
engaging appearance.
The Template Badge feature allows
you to highlight events with
visual tags or labels, making
them stand out. You can also
activate the Top Bar Filter,
which lets visitors filter
events based on specific
criteria such as Date or
Countries, making it easier
for them to find relevant
events.
Additionally, you can enable the
Sidebar, which adds more
navigation and filtering
tools, offering a better user
experience. These
customization options help
ensure your Events page is
both visually appealing and
user-friendly.
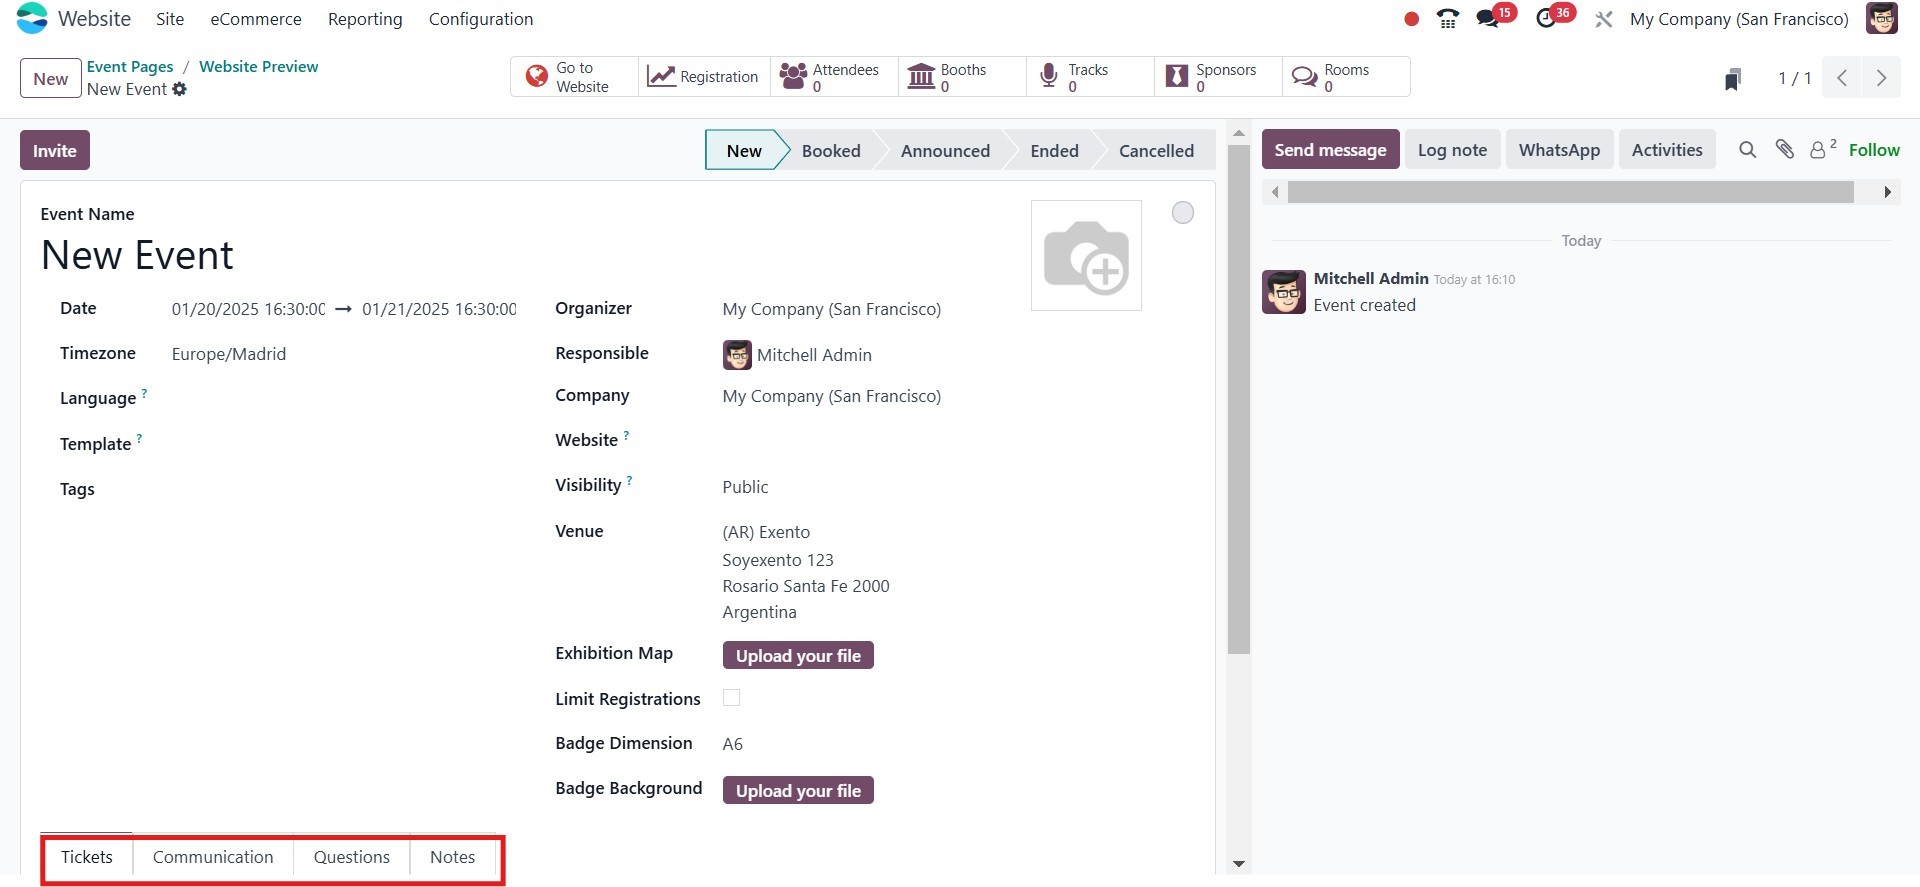
The created event can be edited
in the window that appears,
and you can add the event
date, time zone, organizer,
template, tags, responsible
person, and more.
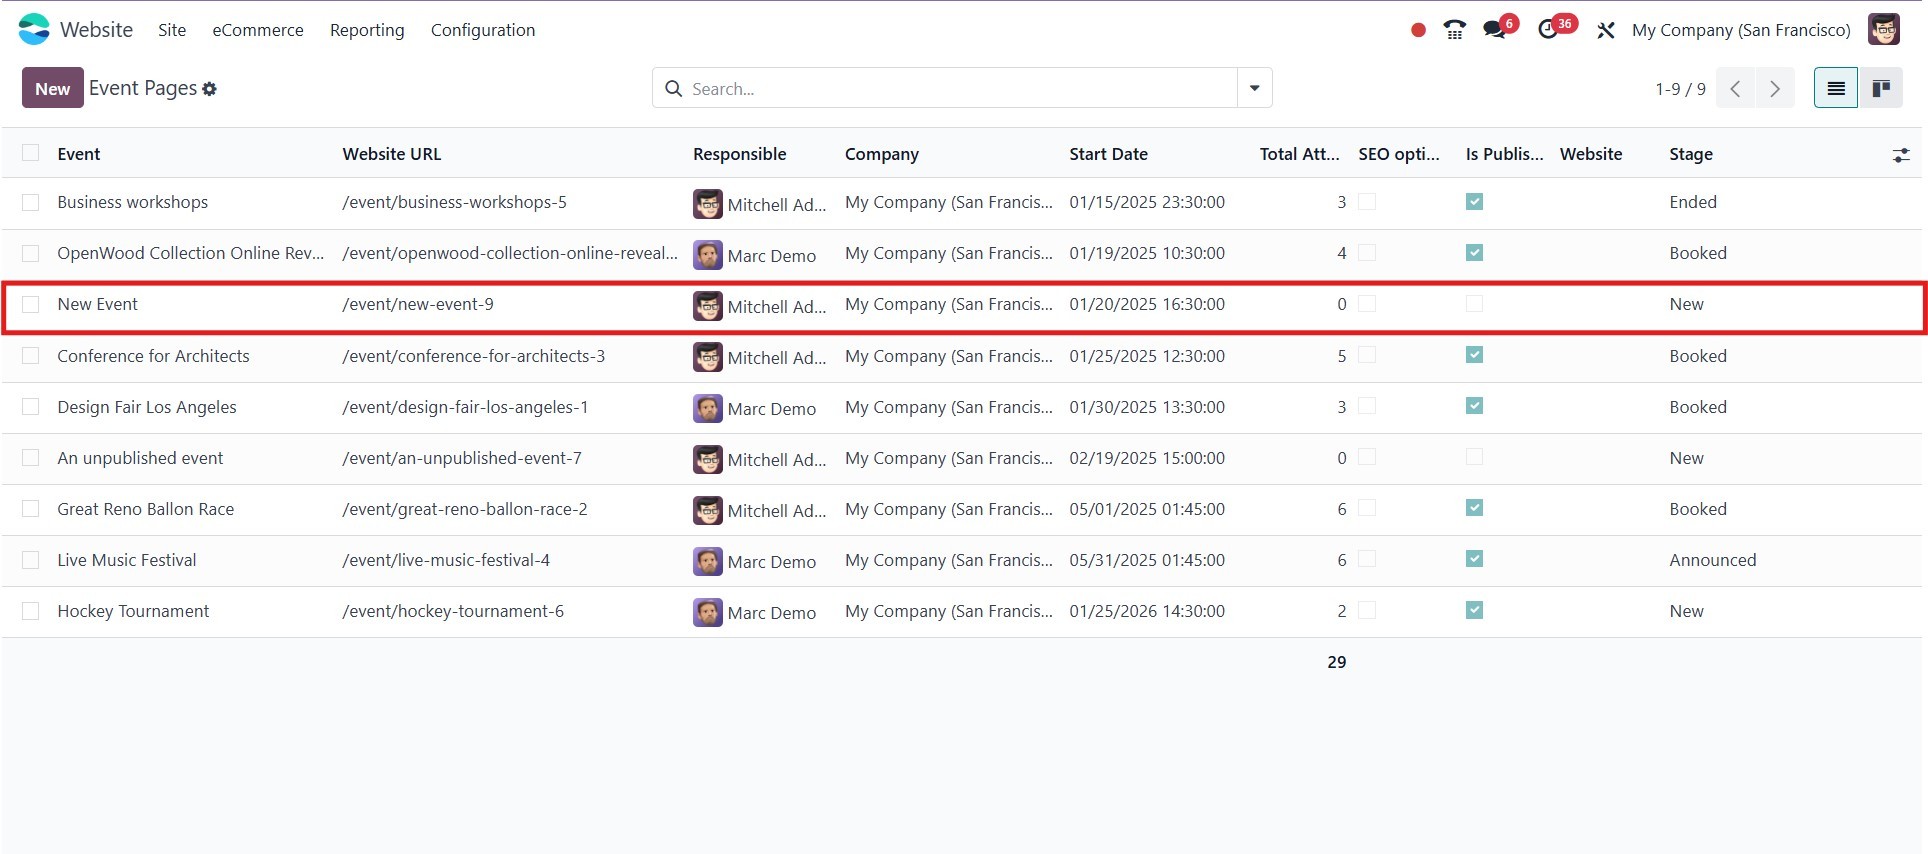
Check out the Events module to
learn more about creating
events. It is also possible
to create an event from the
backend. The Events option is
located on the Site tab. You
can view all of the events
that have been created, and
by selecting the New button,
you can create new events.
5.4 Forum
The Forums menu allows you to add
new forums to your website.
This may be done by clicking
on the Forum menu. The next
step is to create a pop-up
window similar to the one
seen in the image below.
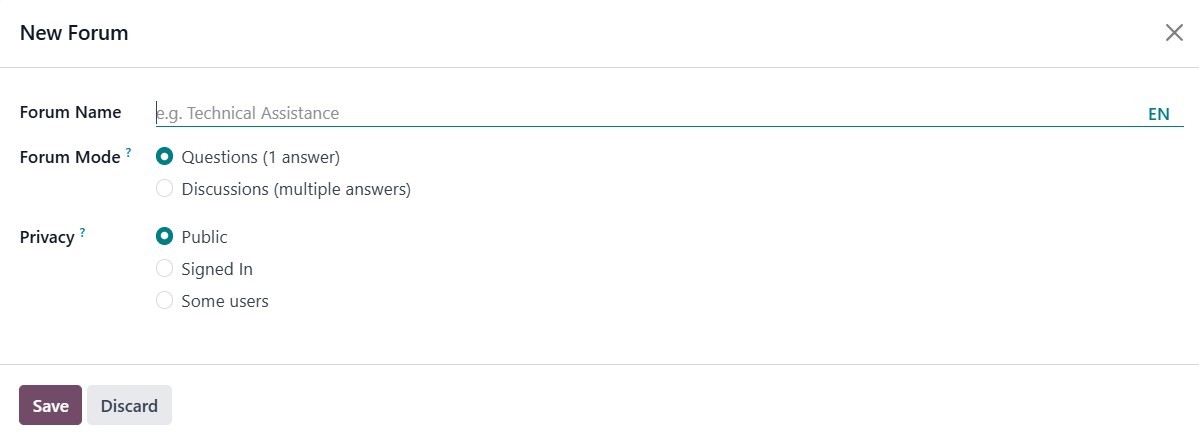
You can enter the name of the
forum here. The Forum Mode
can be described as a
Discussion or Q&A mode, and
it lets you choose the
privacy policy in a variety
of ways, such as Public,
Signed, or Some Users.
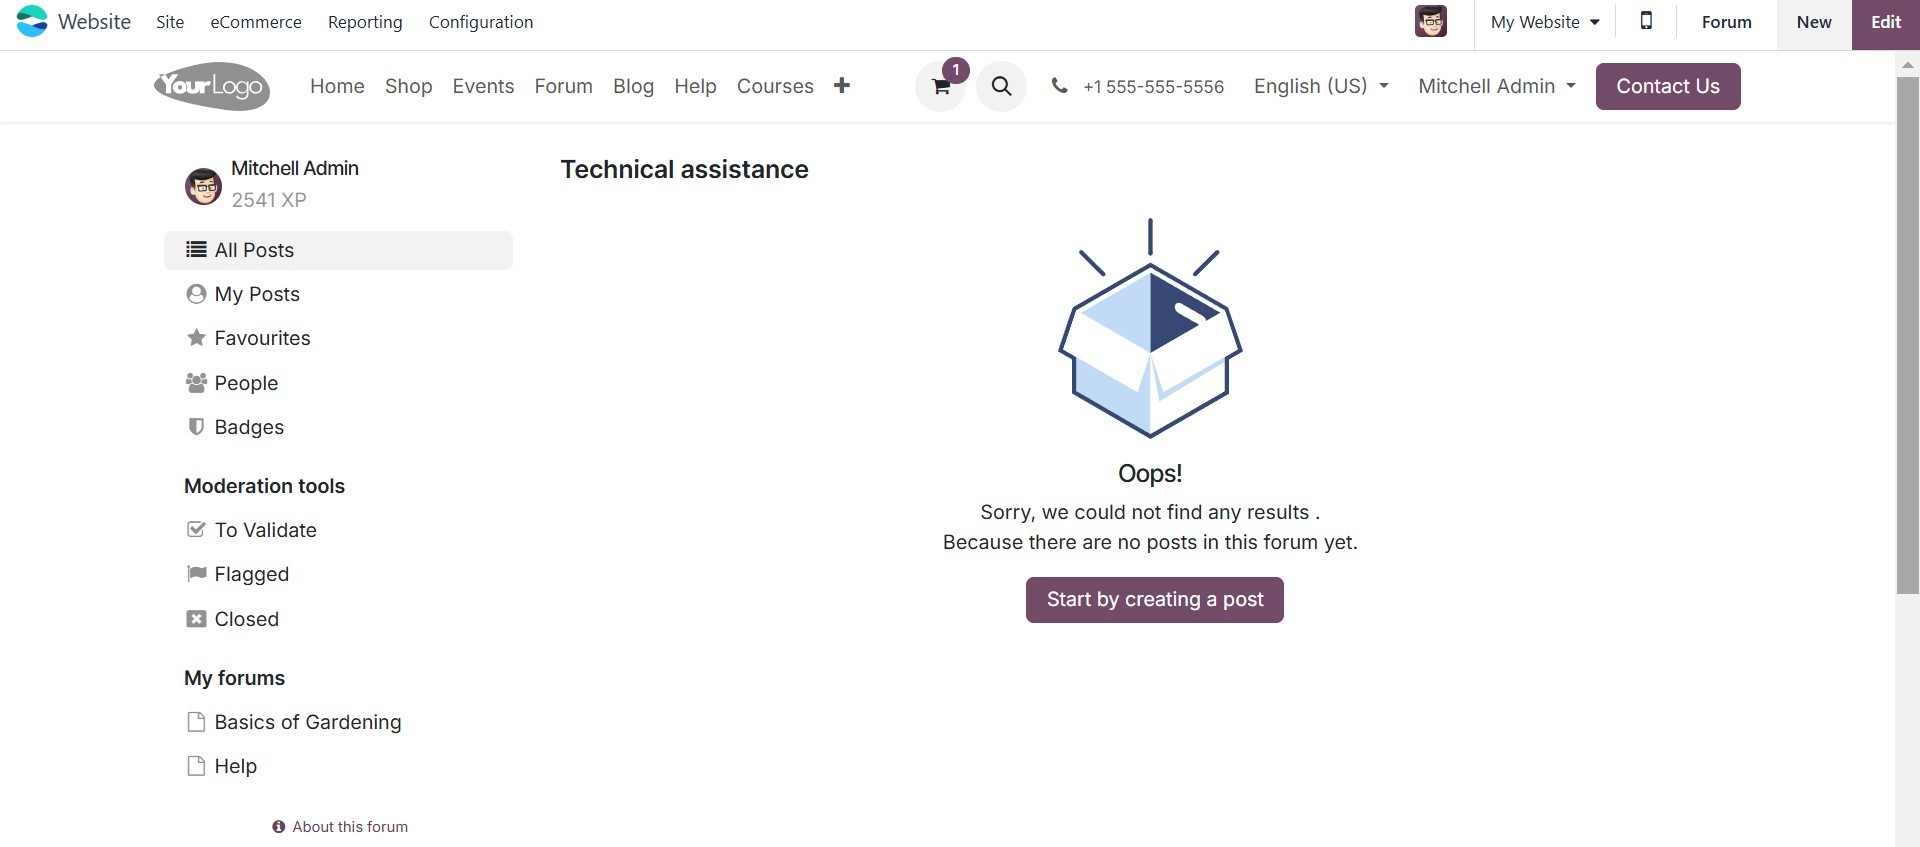
The created Forum can have new
posts added by users using
the ‘Start by creating a
post’ button.
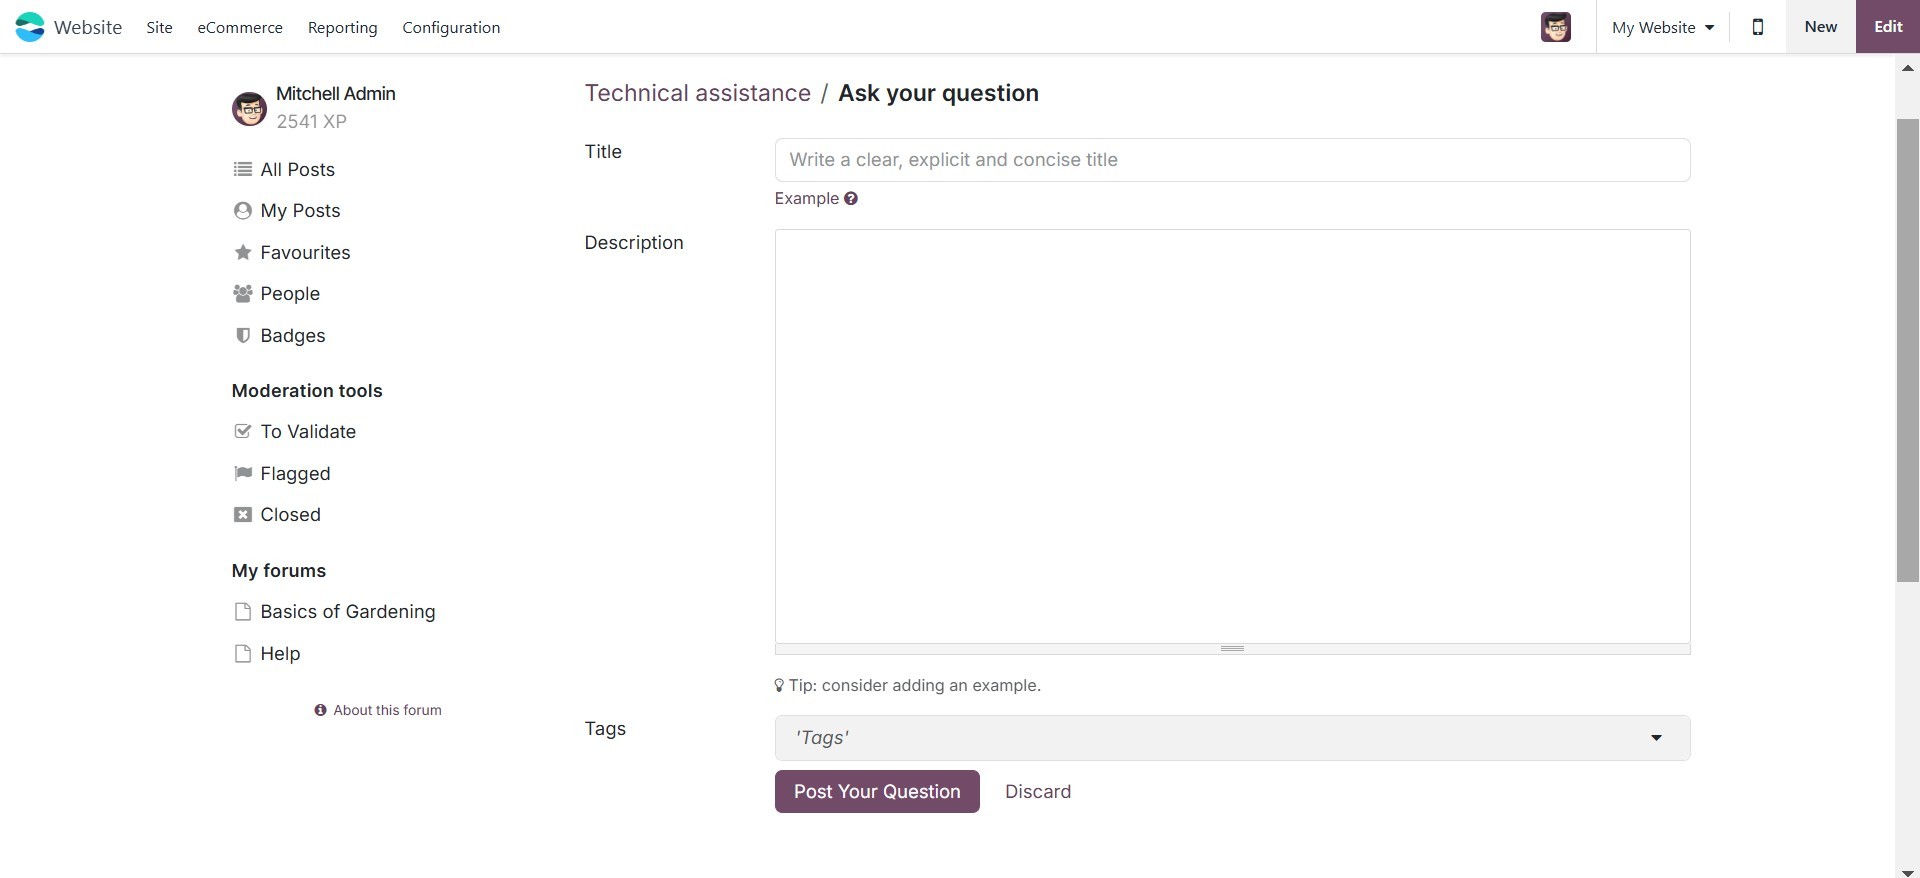
Add the Forum Post Title,
Description, and Tags. Then
click on the Post Your
Question button.
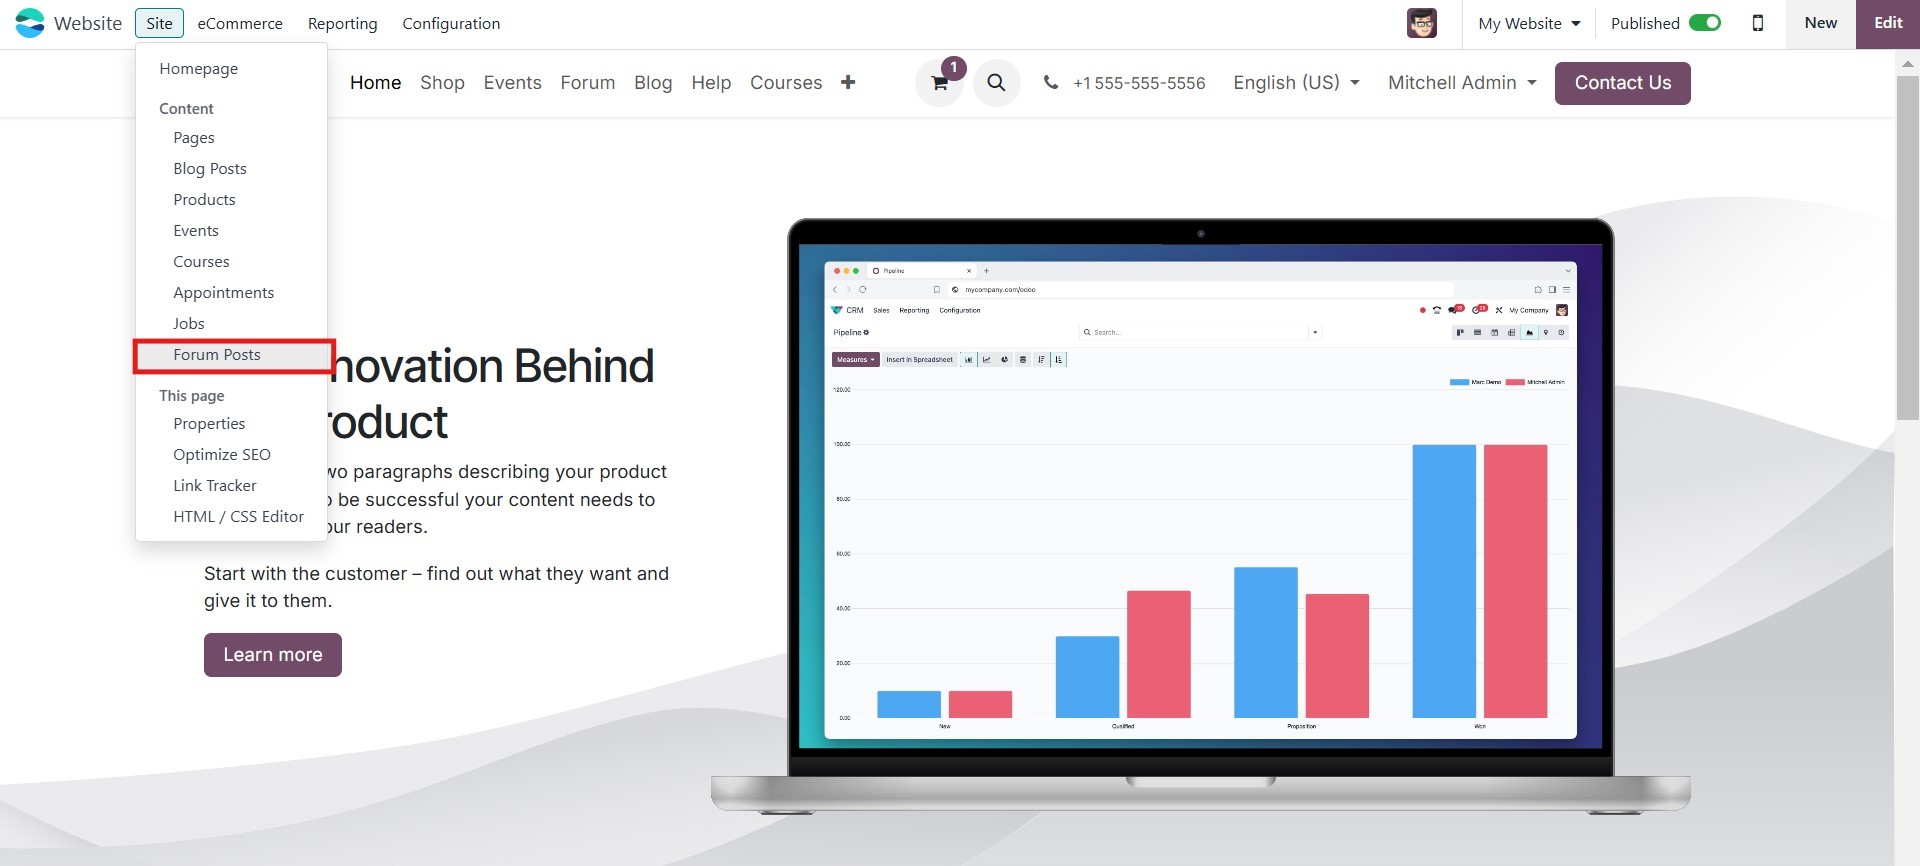
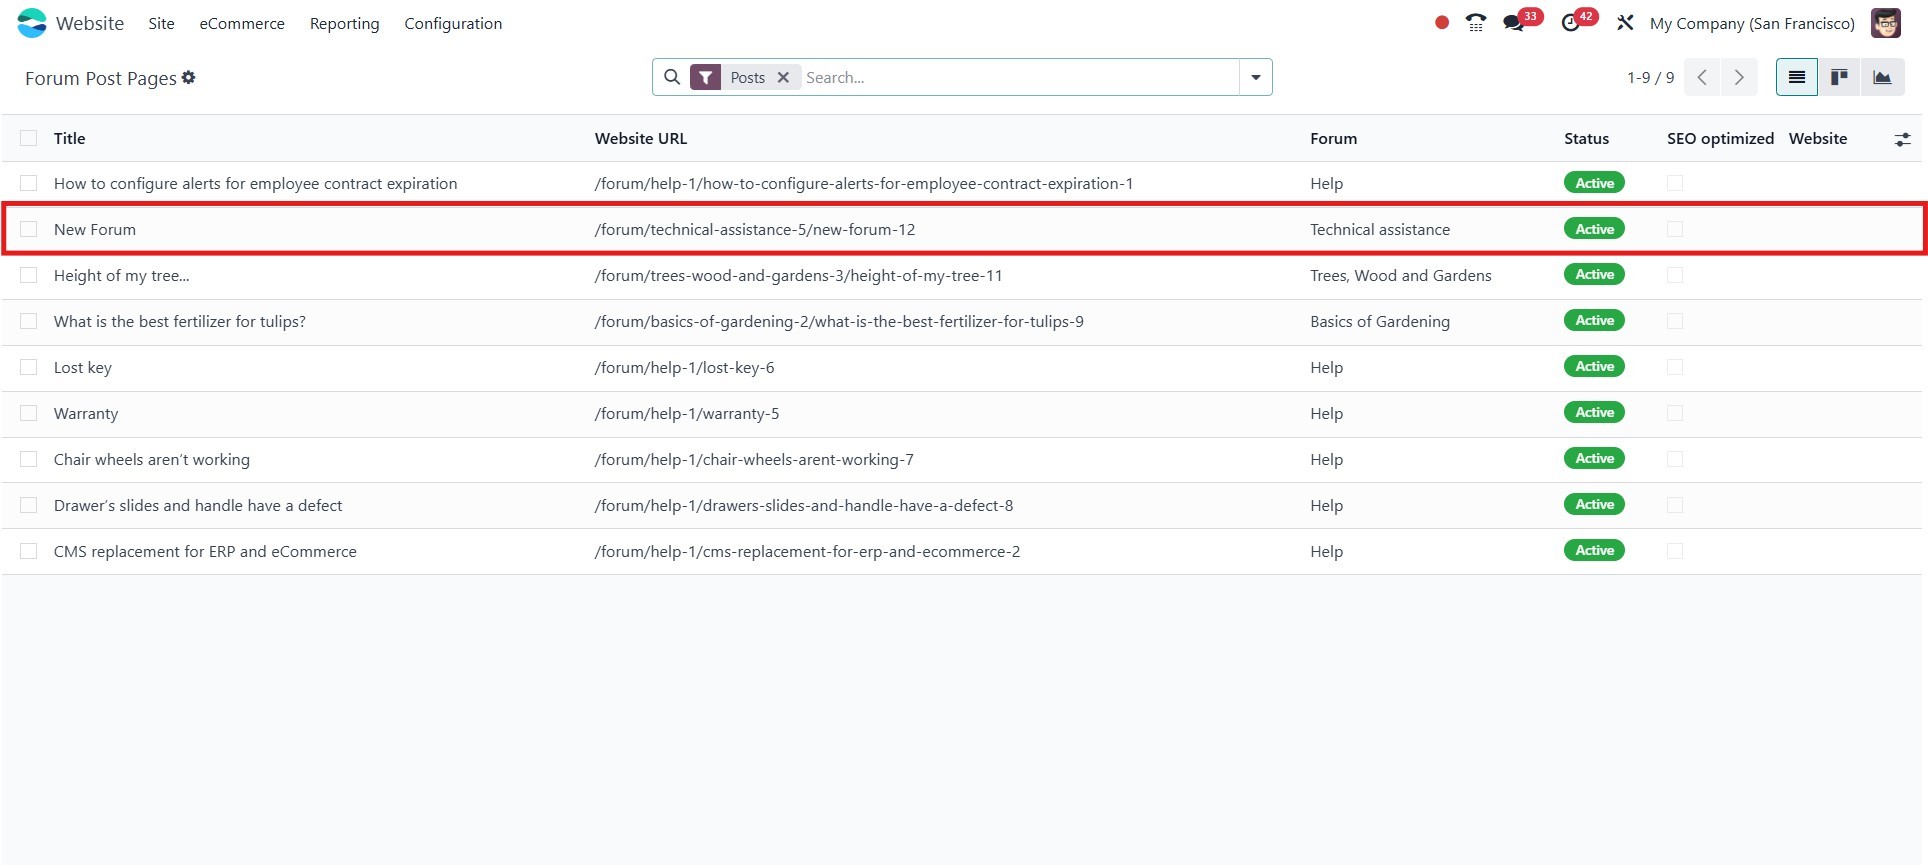
The Forum Post you created can be
seen from the Odoo 18
website's back end. The Forum
Post can be found under the
Site tab.
This displays all of the Forum
Post Pages that have been
created. The page includes
the title, website URL, forum
name, and website. The SEO
Optimized checkbox can be
opened from the page.
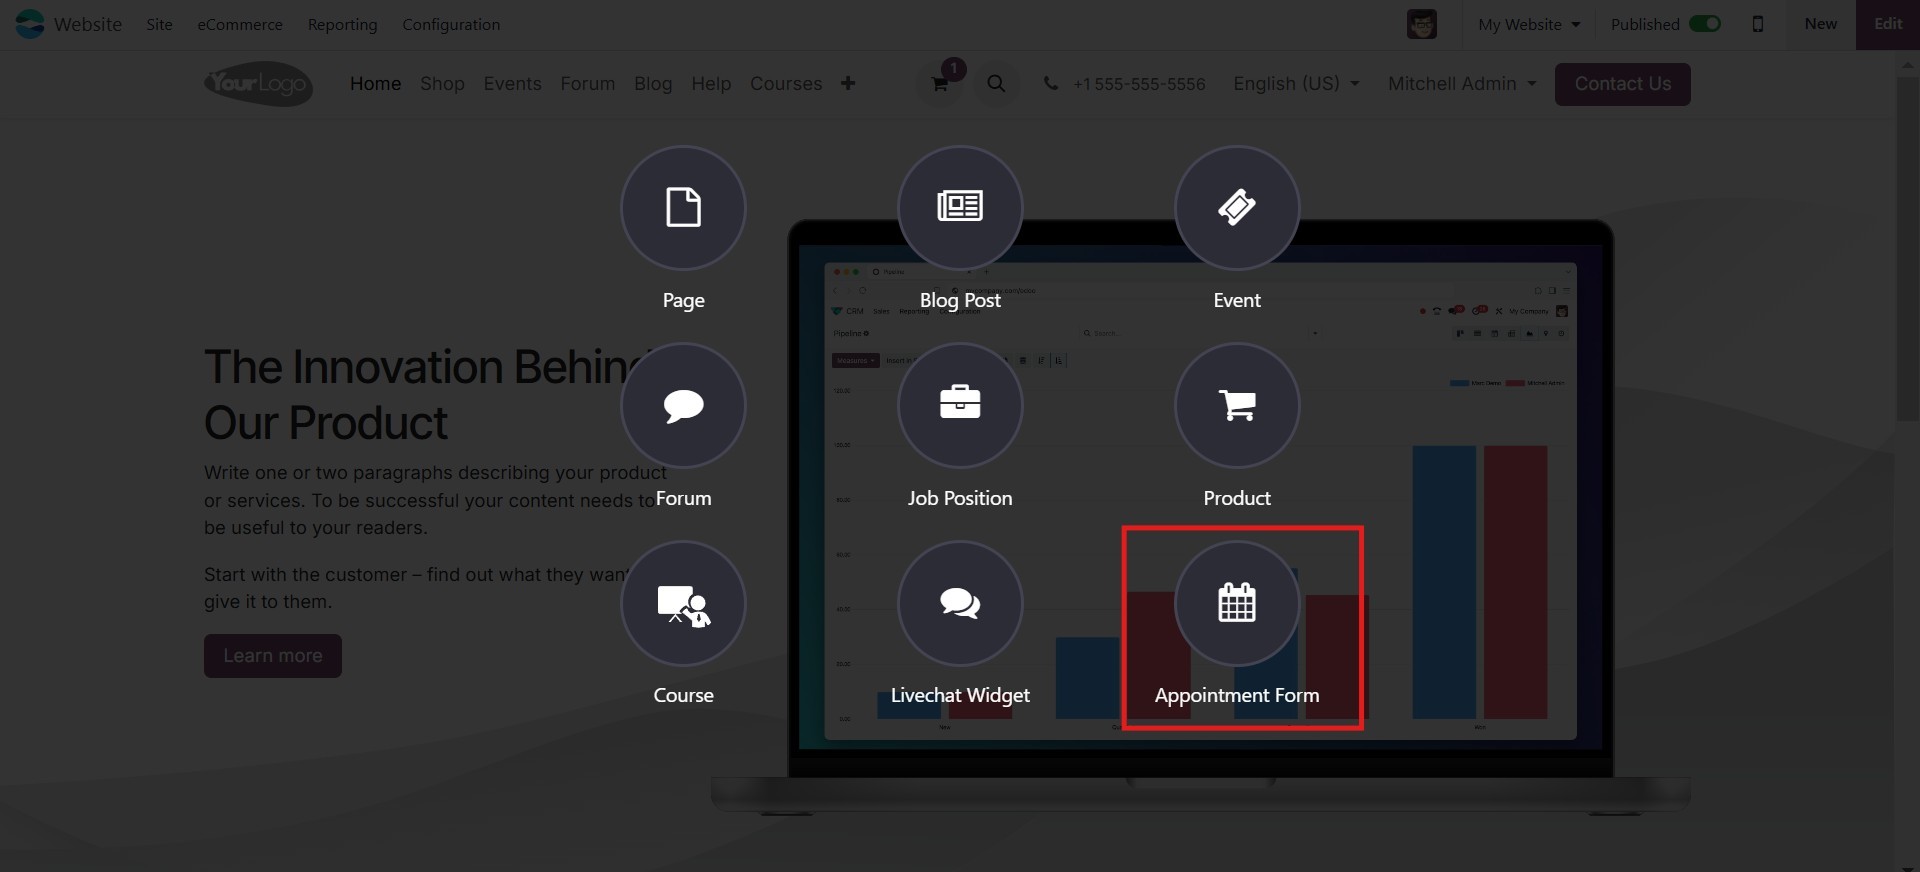
5.5 Appointment Form
The Odoo 18 Website module
features a convenient 'New'
button on the homepage.
Clicking this button allows
you to create and instantly
publish various types of
website content. Among the
available options, you can
select the 'Appointment Form'
menu. This action will
redirect you to a new window
displaying a pop-up interface
where you can easily design
and generate different
appointment form types for
your website.
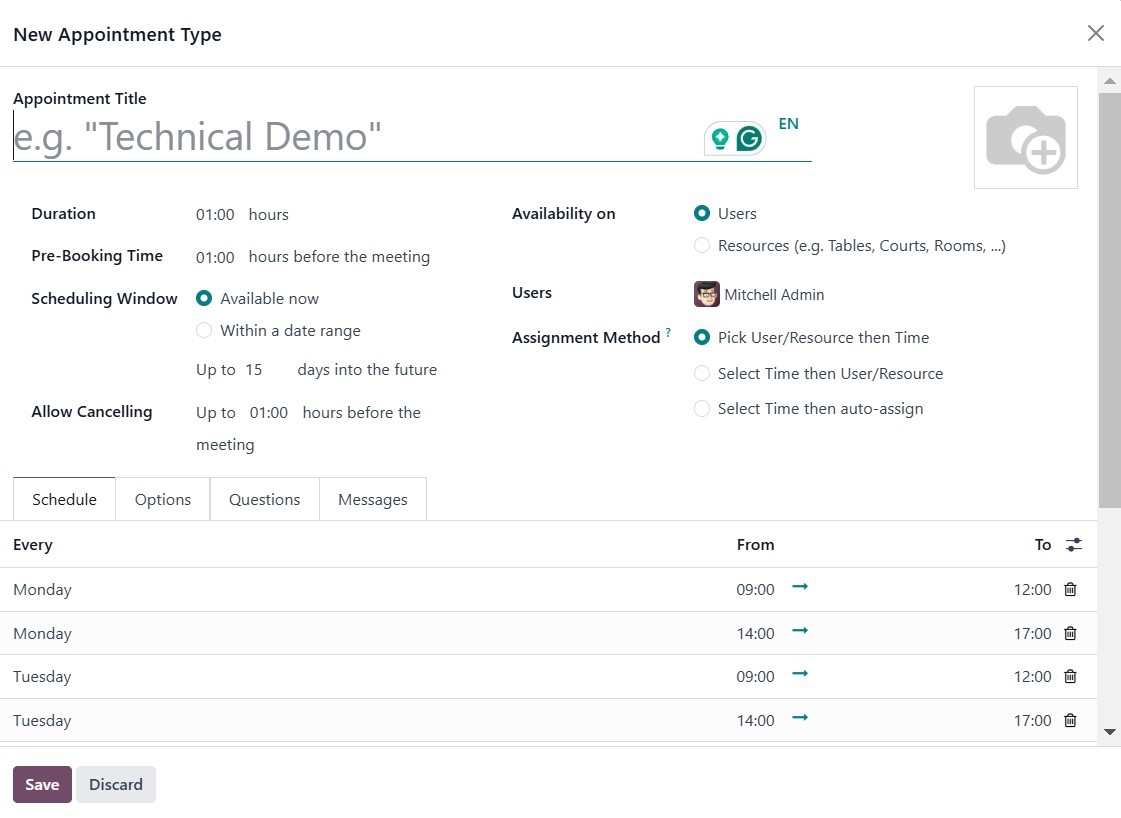
This pop-up window allows you to
offer a description of the
new appointment type name.
You may provide appointment
details such as duration,
schedule, allowable
cancellation time, available
users, and resources. When
you do this and browse to an
appointment page, you will
see the name of the
previously scheduled
appointment.
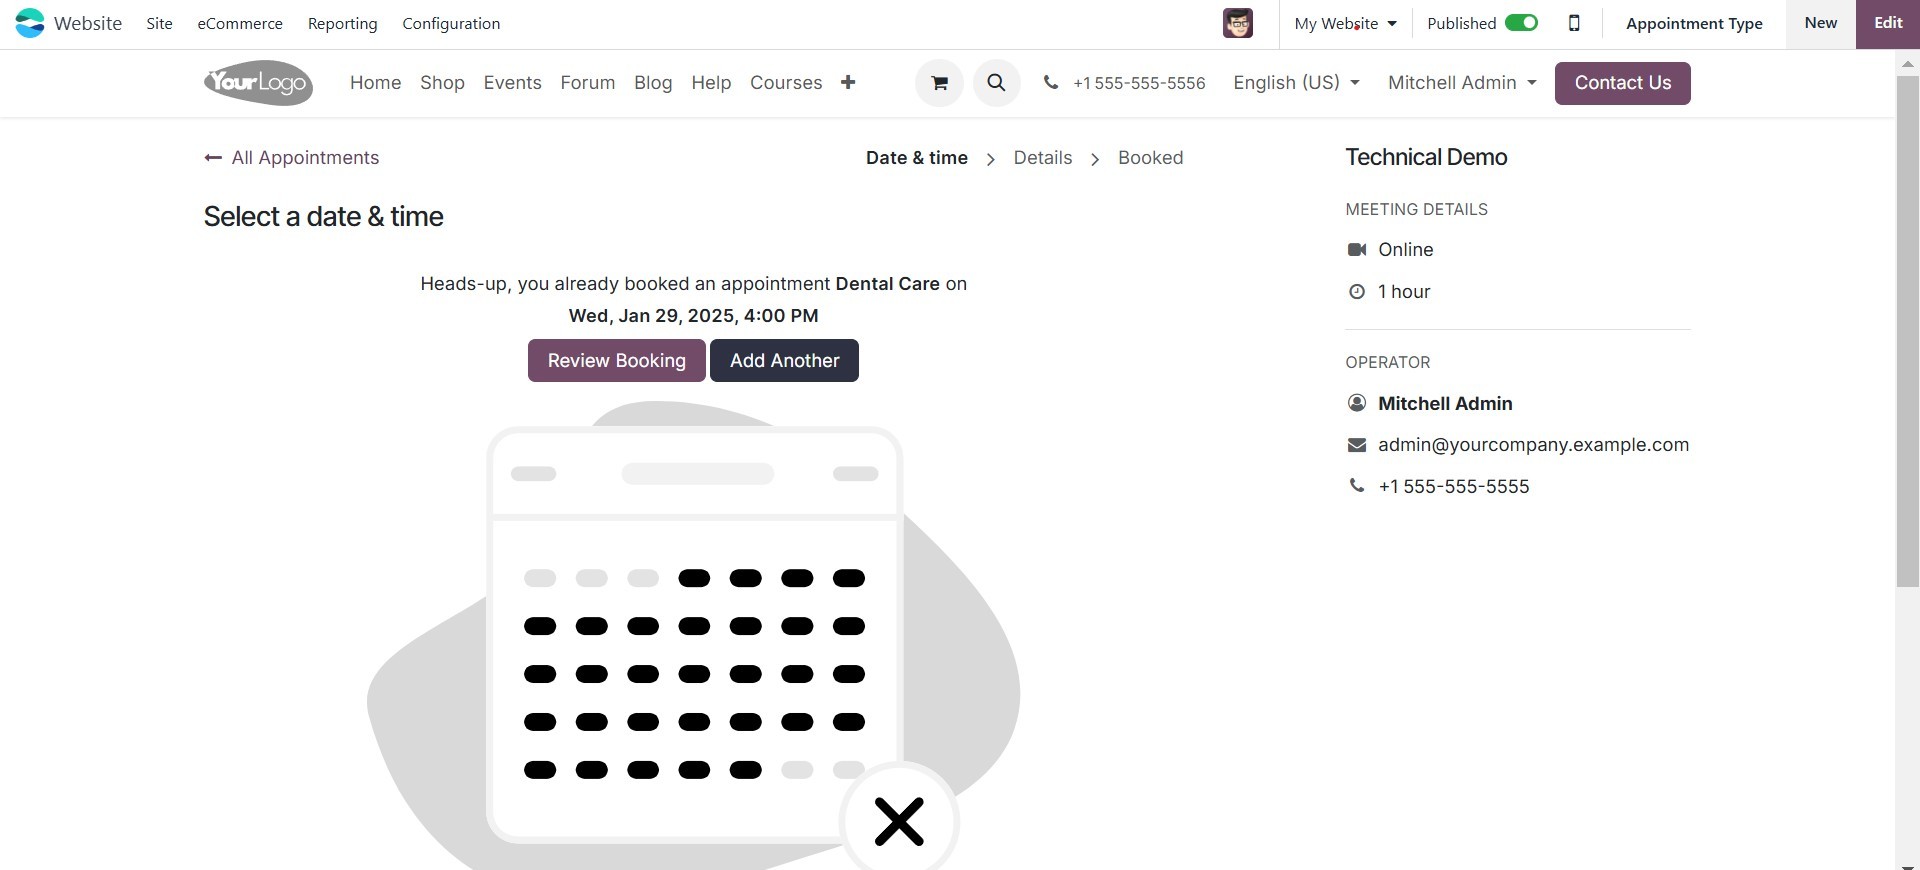
You can change the status of the
new appointment from
Unpublished to Published, as
seen in the image below, to
publish it on your website.
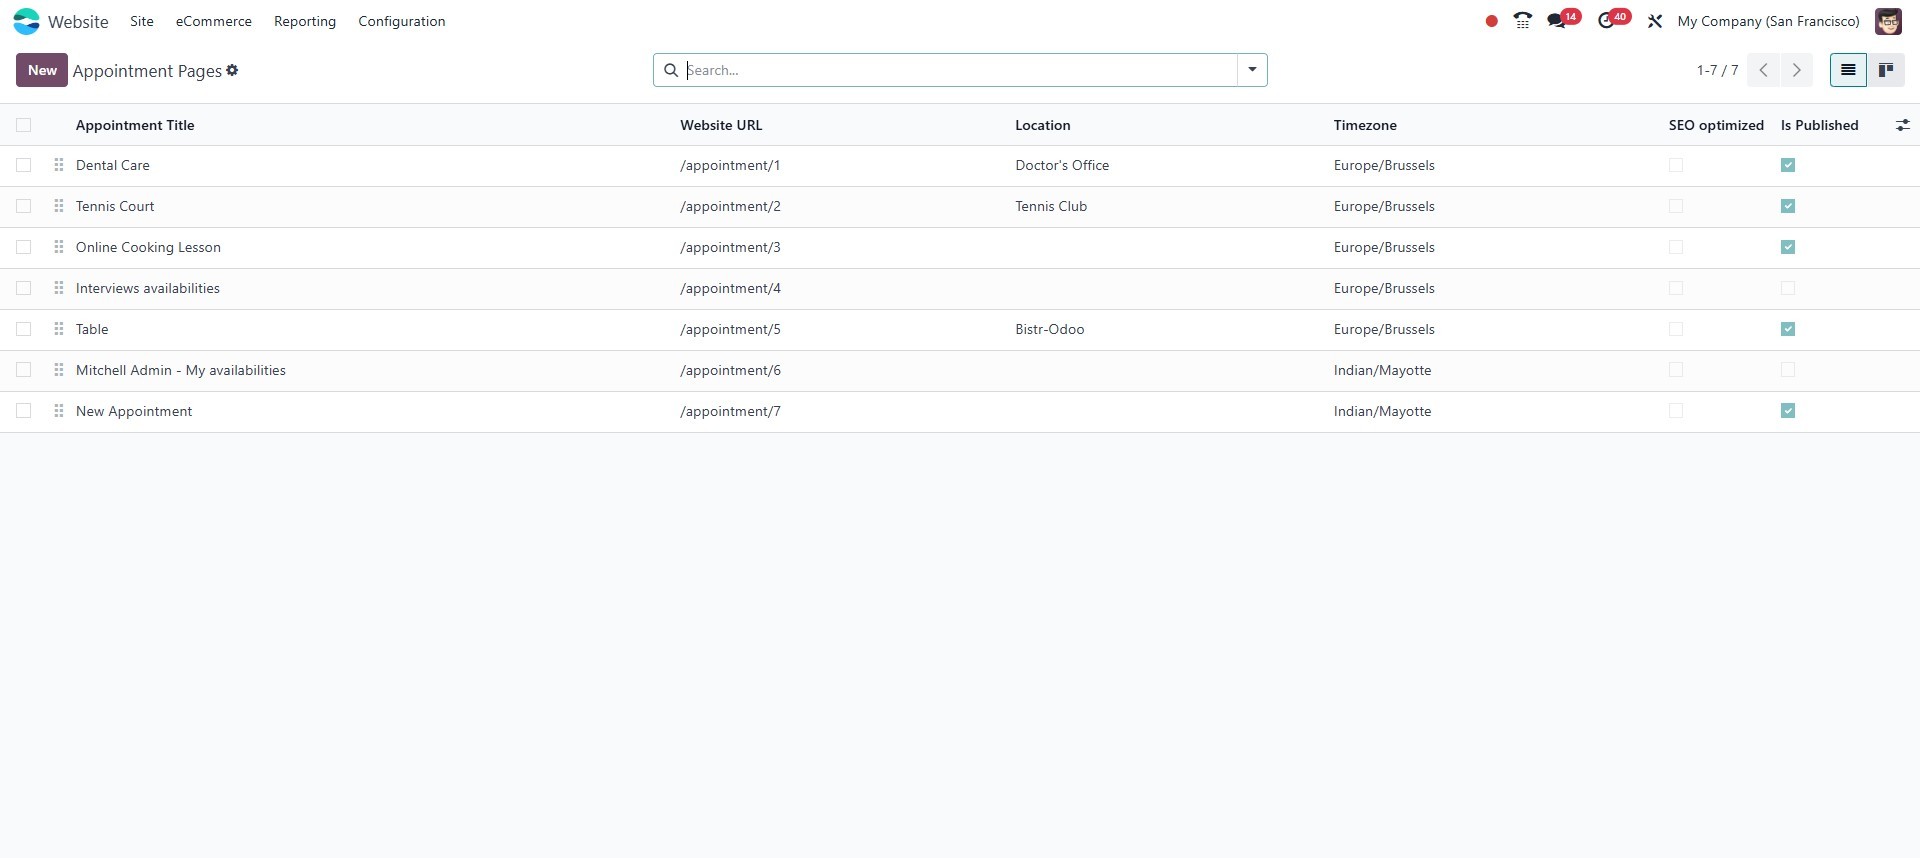
Navigating to the 'Site' tab
reveals the 'Appointments'
section, which provides a
comprehensive view of all
created appointments. This
overview encompasses key
details such as the
appointment's Title, Website
URL, location, timezone, SEO
optimization status, and
publication status.
To understand how the Website
module functions in Odoo 18,
let's delve into its backend.