8. Settings
The Settings tab in the Website module offers a variety of additional
tools to increase operation. Odoo integrates multiple tools with
advanced features at the module level, which are accessible when
exploring each module’s settings. These tools are organized within a
well-structured Settings window, where you can enable various
options to align with your business requirements. By configuring
these settings, you can transform your website into a comprehensive
application with enhanced functionality and efficiency.
The Settings panel in the Website module provides several
configuration options, each categorized into distinct sections:
- Website Settings
- Website Info
- Shop & Payment
- Shop - Checkout Process
- Shop - Products
- Rent Online
- Delivery
- Invoicing
- Email & Marketing
- Privacy
- SEO - Search Engine Optimization
In the Website Settings section, you can define the name of the
website you are configuring. Additionally, the option to create a
new website, along with its exact URL, is available through the
Build + New Website button.
Odoo 18 Enterprise allows you to enhance your website's performance
by integrating a Content Delivery Network (CDN). A CDN helps improve
loading speed by delivering website content from servers that are
geographically closer to your visitors, ensuring faster access and a
better user experience.
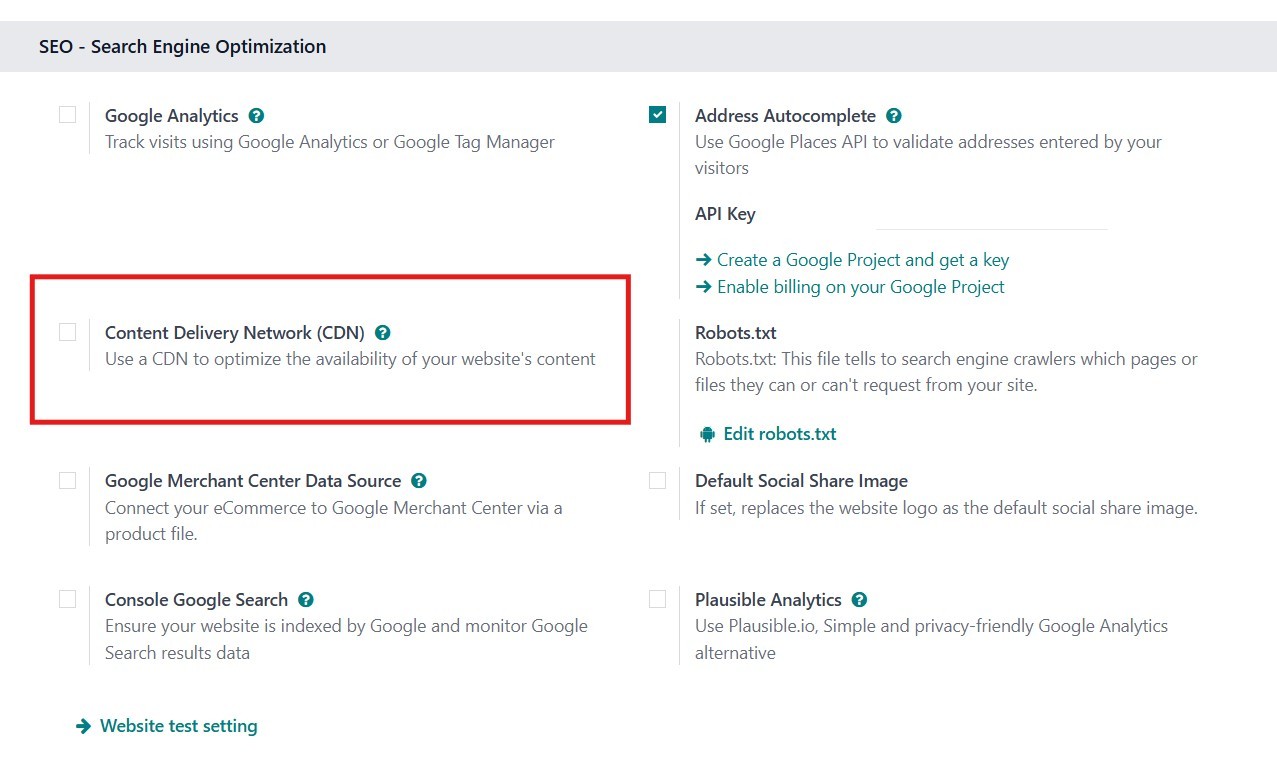
To enable this feature, navigate to Settings and activate the Content
Delivery Network (CDN) option. Before proceeding, make sure that
Developer Mode is turned on, as the CDN Base URL field becomes
visible only in this mode. Once visible, paste the Zone URL value
obtained from your CDN provider into the CDN Base URL field. After
entering the correct URL, click Save to apply the changes. Once the
CDN is activated, your website will begin using it to serve
resources that match the specified regular expression filters.
To verify that the CDN is working, open your website and use your
browser's Inspect or Developer Tools feature. Go to the Network tab
and check the URLs of the loaded images and resources. If the URLs
start with your specified CDN Base URL, it confirms that the
integration is functioning as intended.
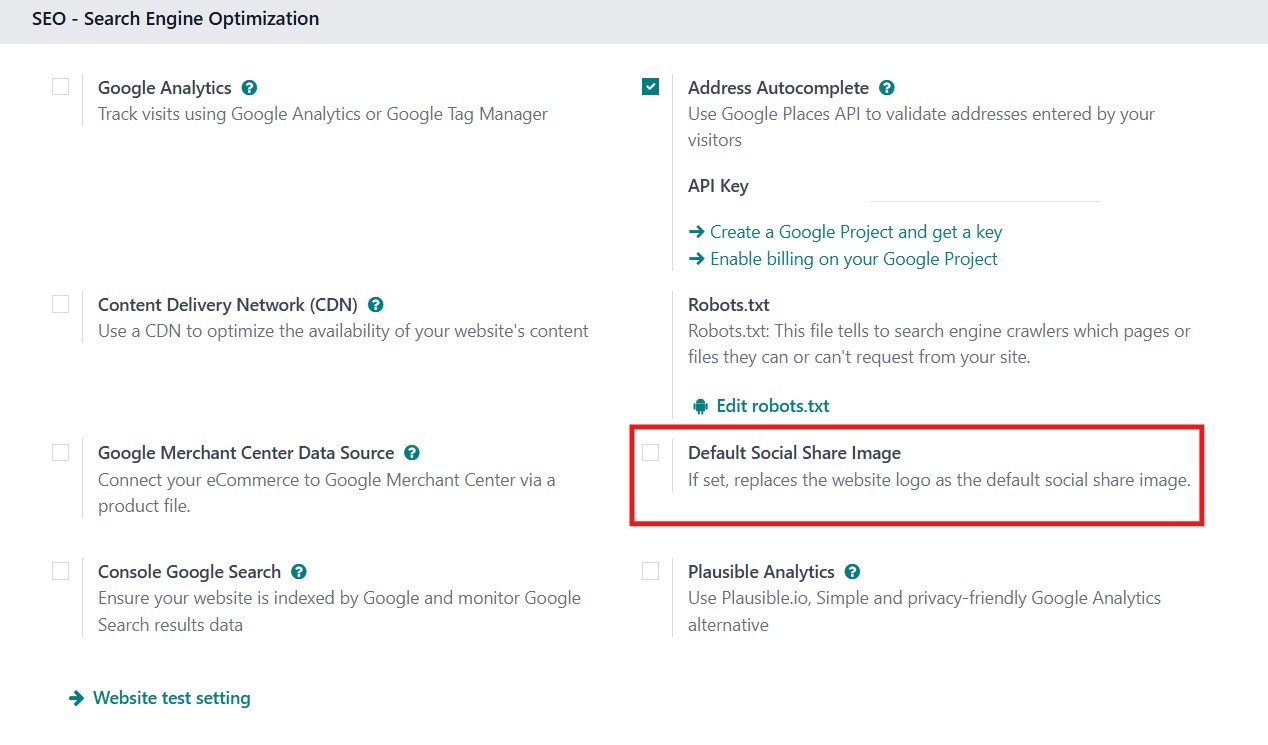
You can further enhance your website’s appearance on social platforms
by setting a Default Social Share Image. This image replaces the
website logo as the default thumbnail when a page from your website
is shared on social media.
Instead of displaying the logo, which might not always be optimized
for sharing, the specified social share image provides a more
visually engaging and brand-consistent preview. You can configure
this by going to the Website Settings and uploading your preferred
image under the Default Social Share Image field. This ensures that
whenever someone shares a link from your site, the image shown is
tailored to represent your brand or content more effectively.
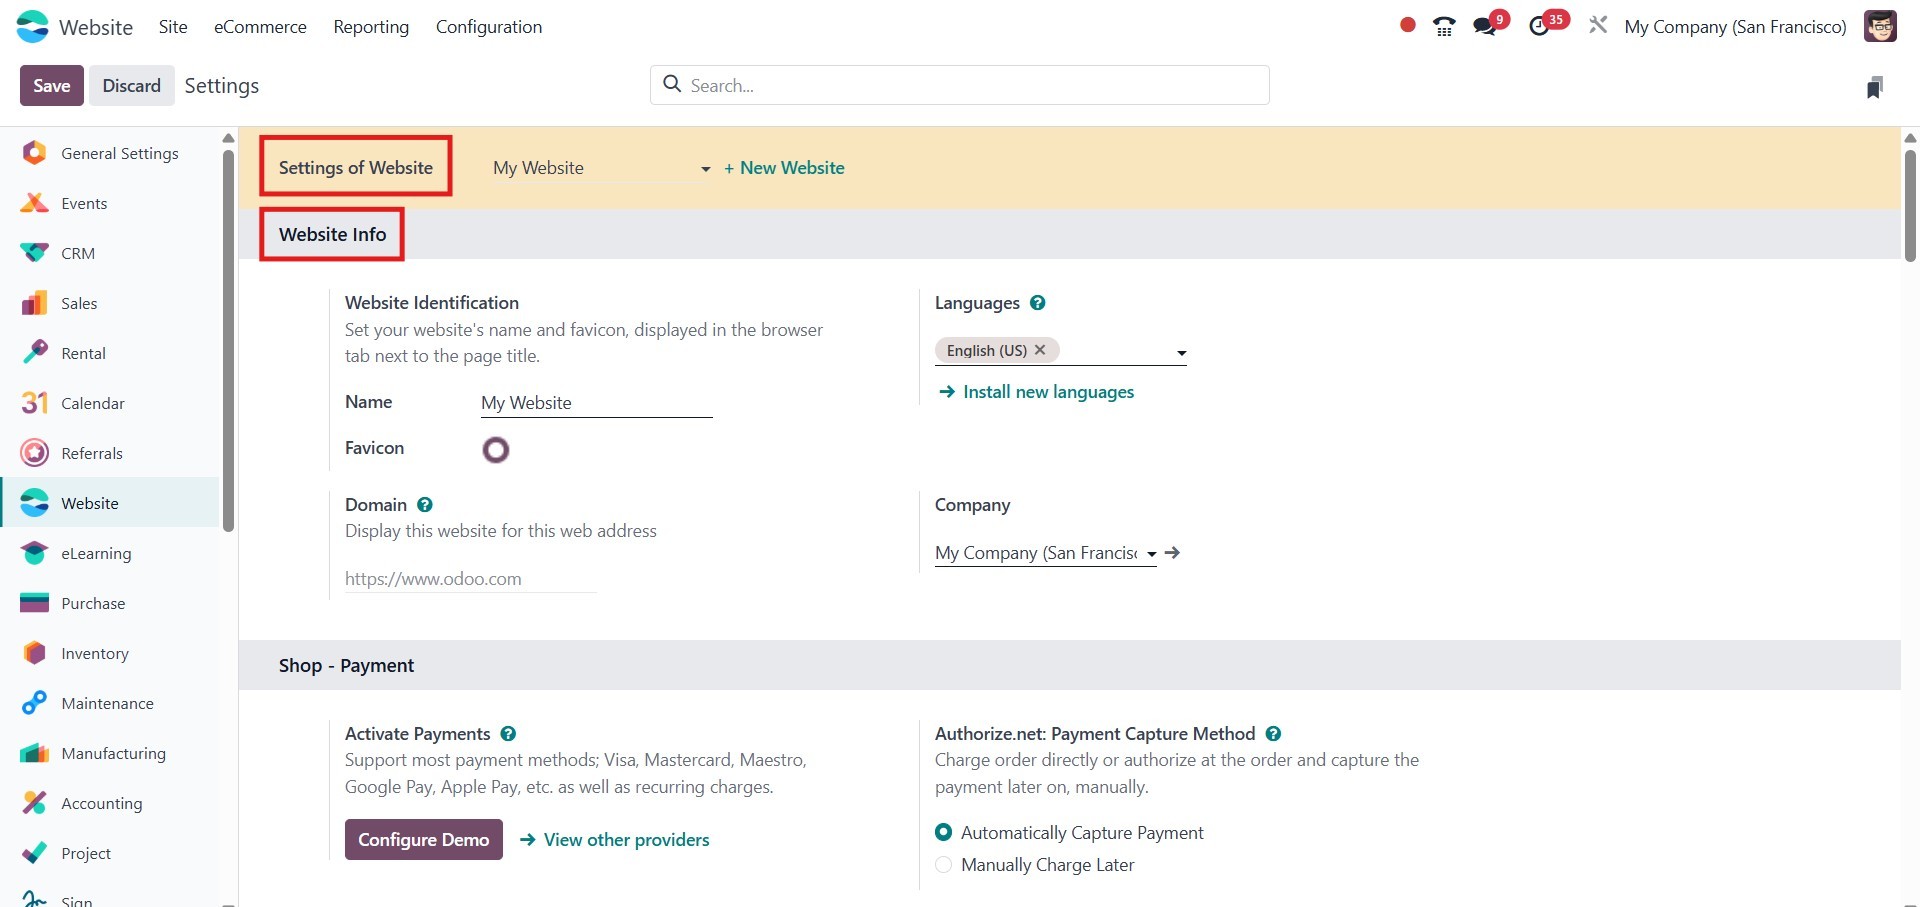
In the Website section, you will find various configuration options.
Under Website Info, you can enter your website’s name and upload a
favicon. Additionally, you can specify the languages in which your
website should be available, including setting a default language.
To add new languages, simply select the Install New Language option.
This section also includes settings for Company, Favicon, and Domain
configurations. Furthermore, you can upload a Default Social Share
Image, which will appear whenever links to your website are shared
on social media platforms, helping maintain a consistent brand
appearance.
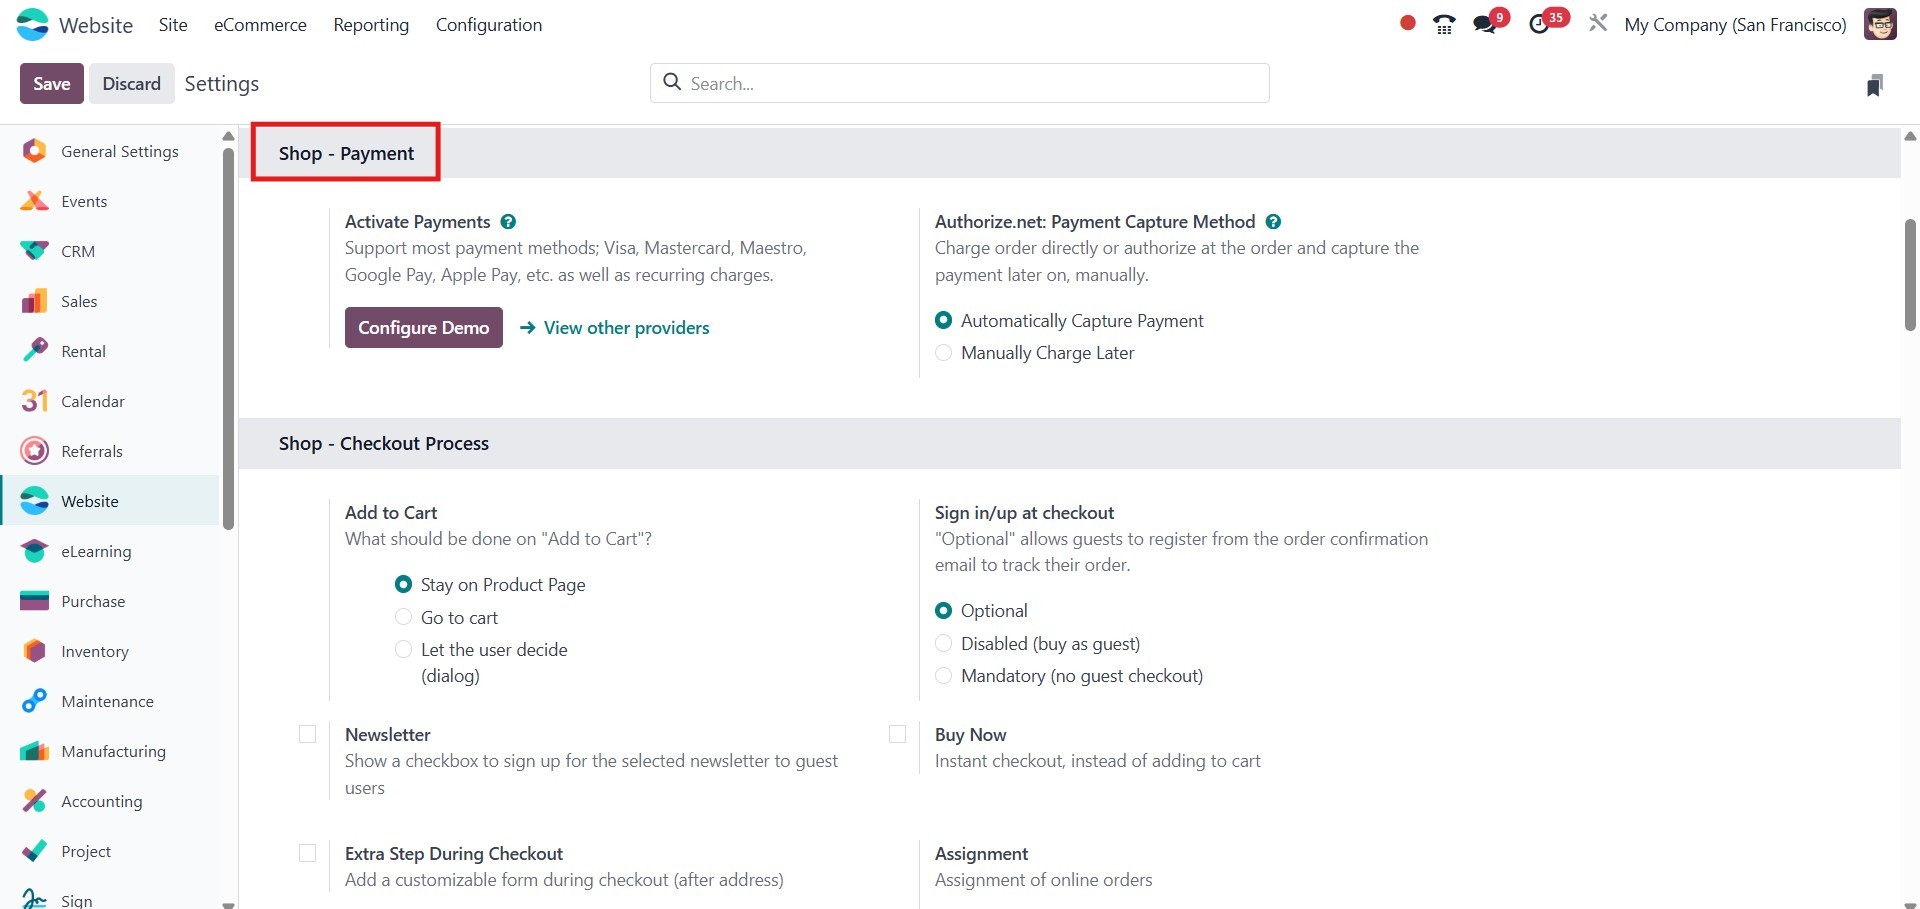
The Shop - Payment section enables users to configure payment
providers, allowing seamless integration for online transactions.
The next section, Email & Marketing, encompasses Email Marketing,
Live Chat, and the functionality to automatically send Abandoned
Checkout Emails. Enabling the Live Chat feature allows website
visitors to communicate directly with staff members in real time.
The Email Marketing feature facilitates bulk email campaigns,
enabling users to efficiently reach their contacts.

In the Privacy section, users can enable the Shared Customer Accounts
option to access their accounts across multiple websites. This
section also includes options for the Cookies Bar and Events PWA
settings.
Enabling Shared Customer Accounts allows website accounts to be used
across all your websites. Customers can either sign up for a free
account or log in via an invitation to access their documents
through their Customer Account.
Under the SEO section in the Odoo Website Settings, various tools are
available, including Google Analytics, Google Analytics Dashboard,
Google Search Console, Sitemap, and Robots.txt. To track website
visits using Google Analytics, simply enable the corresponding
option. Access to these features may require valid credentials. If
you wish to monitor website traffic directly in Odoo, you can
activate the Google Analytics Dashboard option, provided you have
the necessary credentials. To configure this, you need to enter the
Client ID and Client Secret.

The Sitemap.xml file helps search engine crawlers index your website
more effectively by indicating which pages are current and which
have been recently updated. Odoo automatically generates this file
to enhance website visibility.
Additionally, the Google Search Console option allows for data
monitoring, helping you track your website’s search performance.
The Robots.txt file further controls how search engine crawlers
interact with your site by specifying which pages or files they are
allowed or restricted from accessing.
In addition to Google Analytics, Odoo also supports integration with
Plausible Analytics, a lightweight and privacy-friendly web
analytics tool. By enabling Plausible Analytics, users can track
their website traffic efficiently while respecting visitor privacy,
without the need for heavy tracking scripts.
Odoo also supports integration with Plausible Analytics, a simple and
privacy-friendly alternative to Google Analytics. Plausible.io is
designed to provide meaningful website insights without compromising
user privacy or requiring cookie consent banners, making it a great
choice for GDPR-compliant analytics.
To enable Plausible Analytics in Odoo, navigate to the Website
Settings and locate the Plausible Analytics section. Here, you can
enter your Plausible Domain, which is typically your website’s
domain as registered in your Plausible account. Once added and
saved, Odoo will automatically embed the Plausible tracking script
into your website’s code.
This integration allows you to monitor traffic, page views, and user
interactions in a lightweight and ethical way, without the overhead
or complexity of traditional analytics tools. It’s an ideal solution
for businesses focused on performance, simplicity, and privacy.