Defining Horizontal Groups
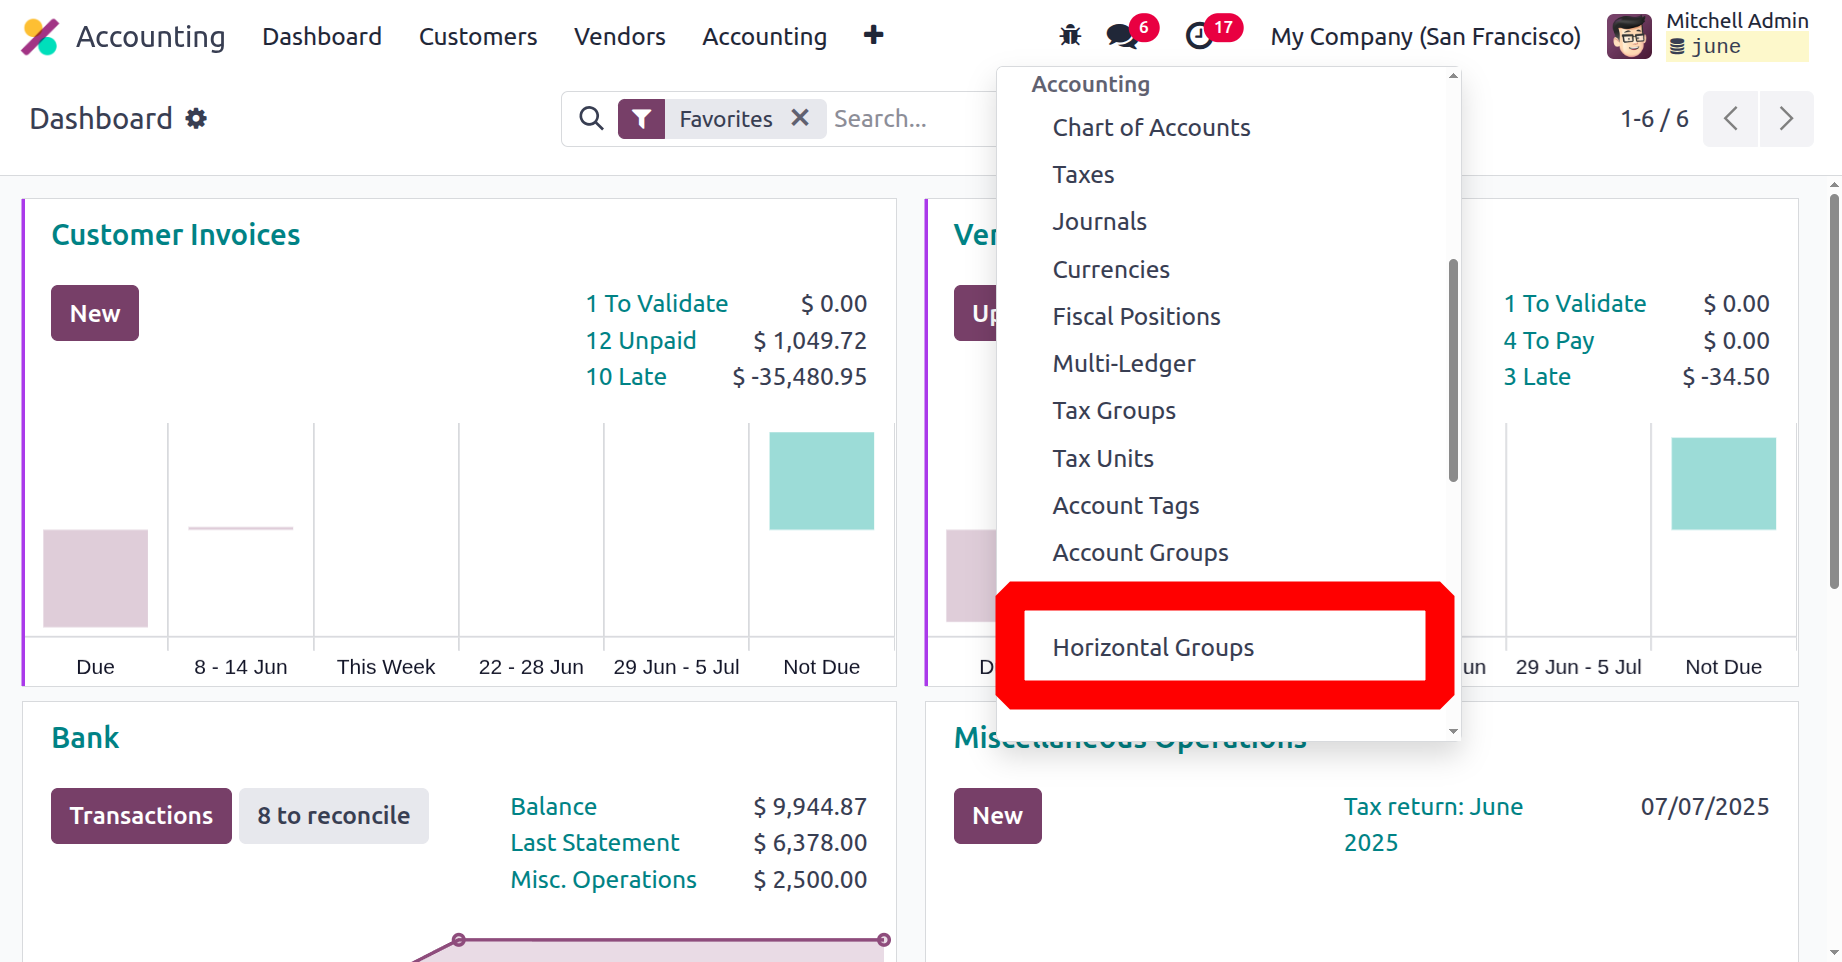
Horizontal Groups are one of the enhanced aspects of the Odoo 18 Accounting module, which creates particular requirements. These horizontal groups can be used to filter the financial statements. This feature can only be accessed through the accounting application's setup menu if developer mode is enabled.
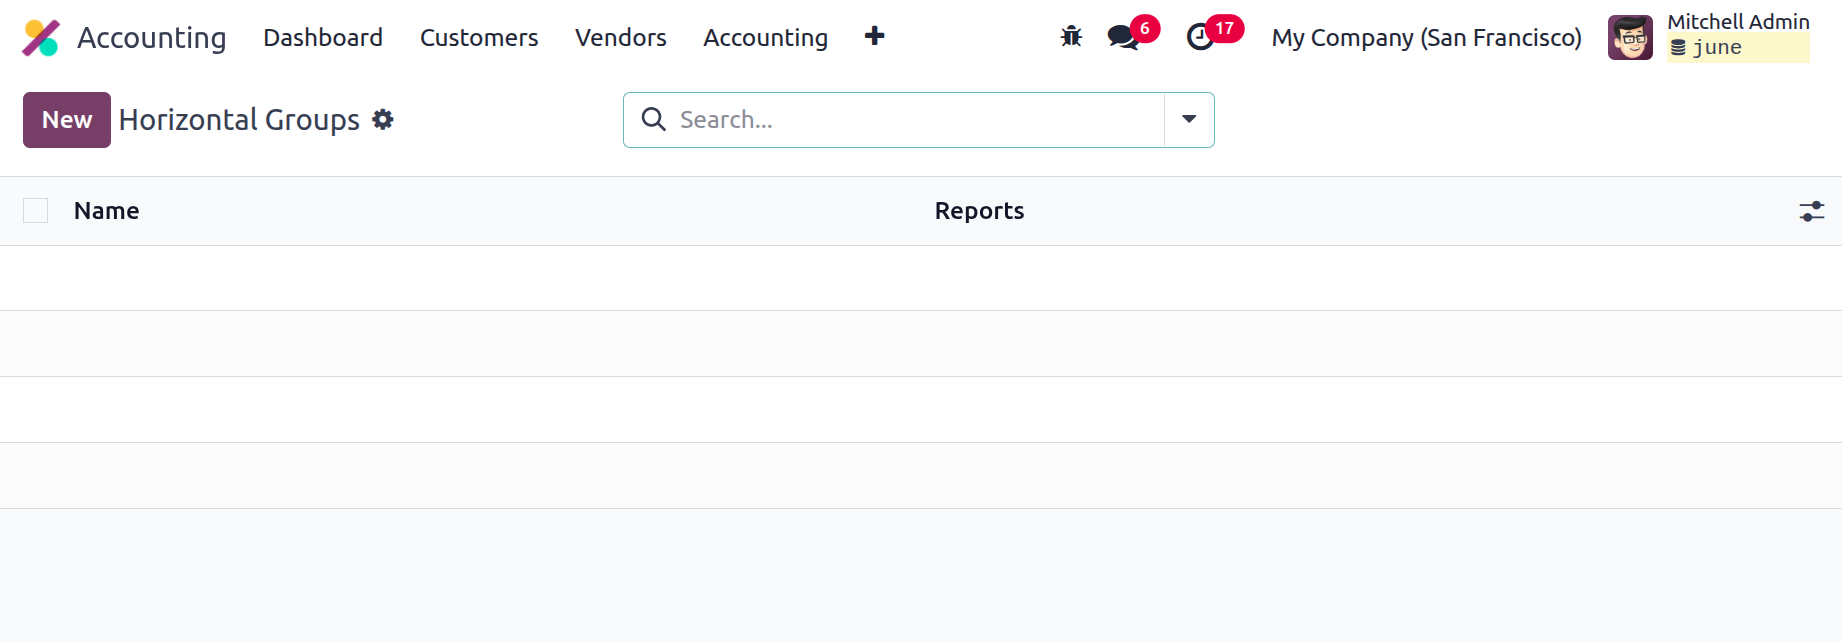
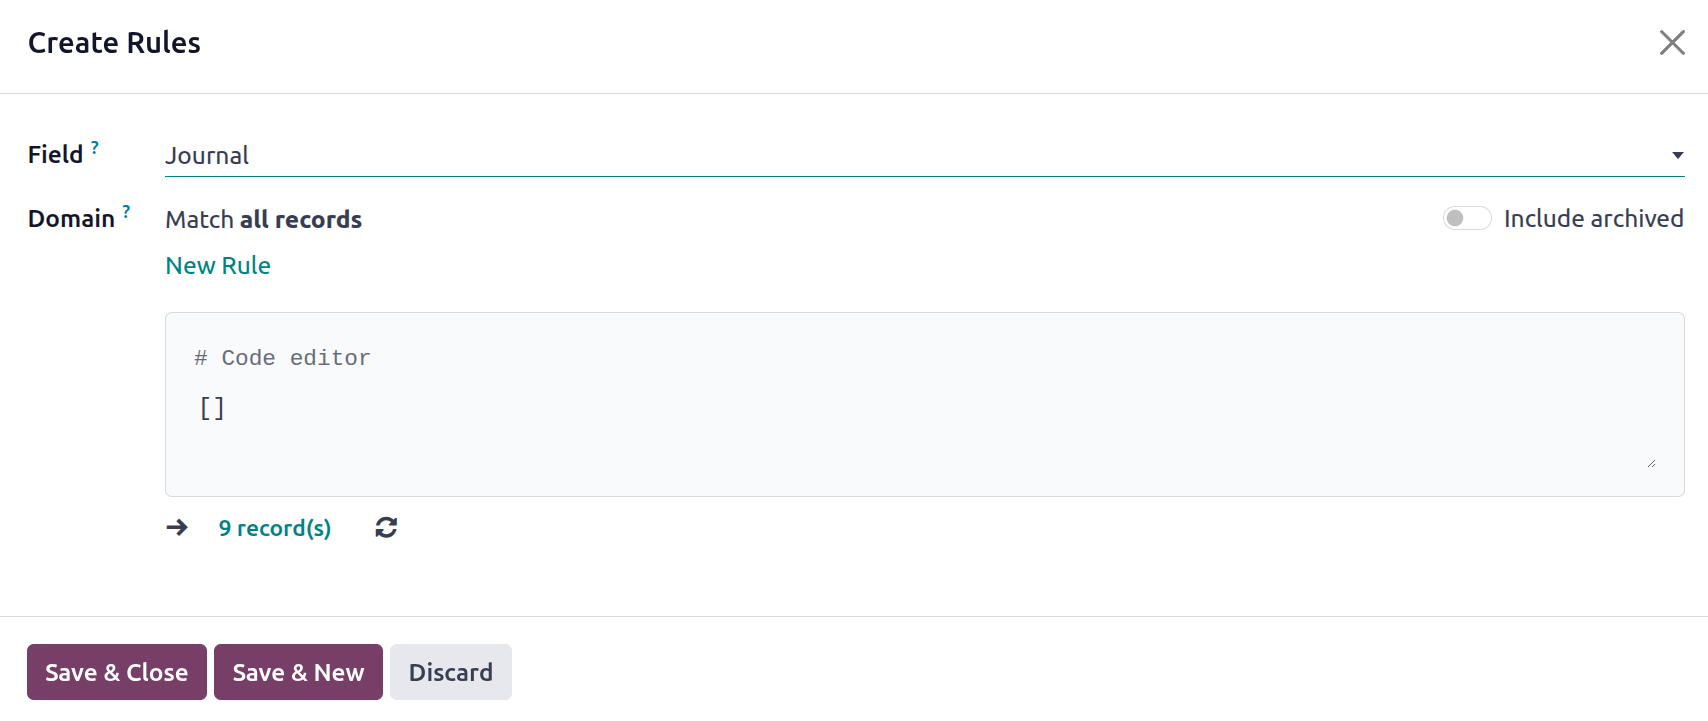
The NEW button in the horizontal groups gives you the option to create new horizontal groups. We can designate which financial reports will include a horizontal group when creating them.
The domain can be entered in the section field.
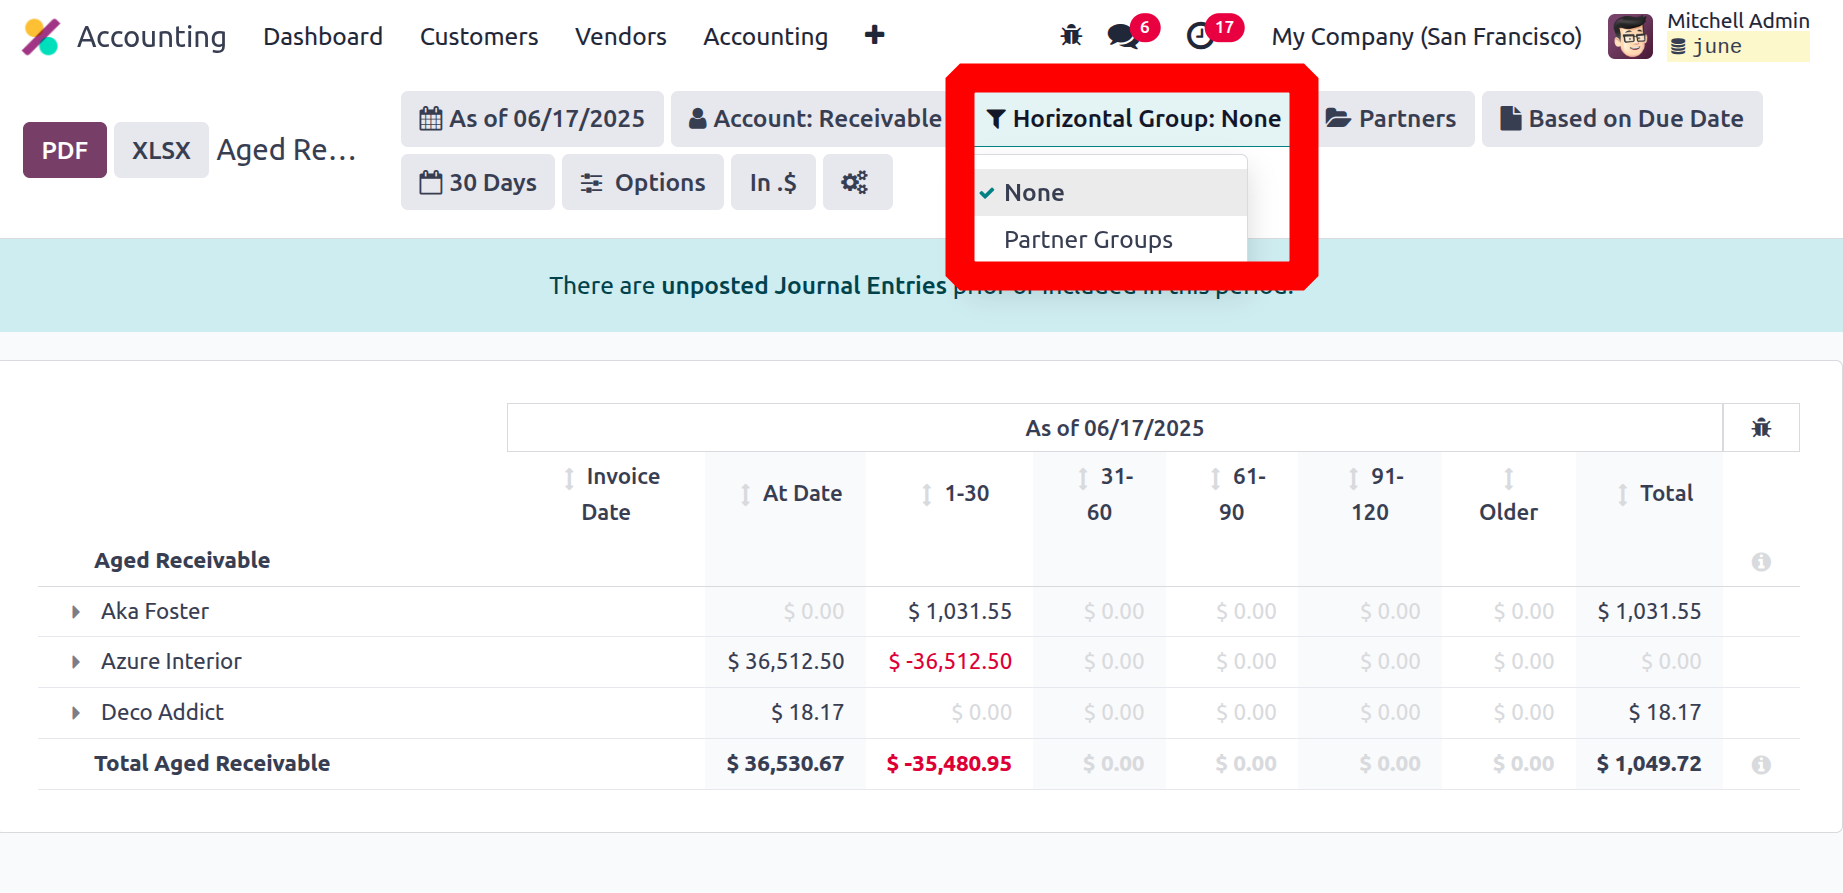
Following the application of the horizontal group, the data in the financial reports was filtered based on the domain.
Account Tags
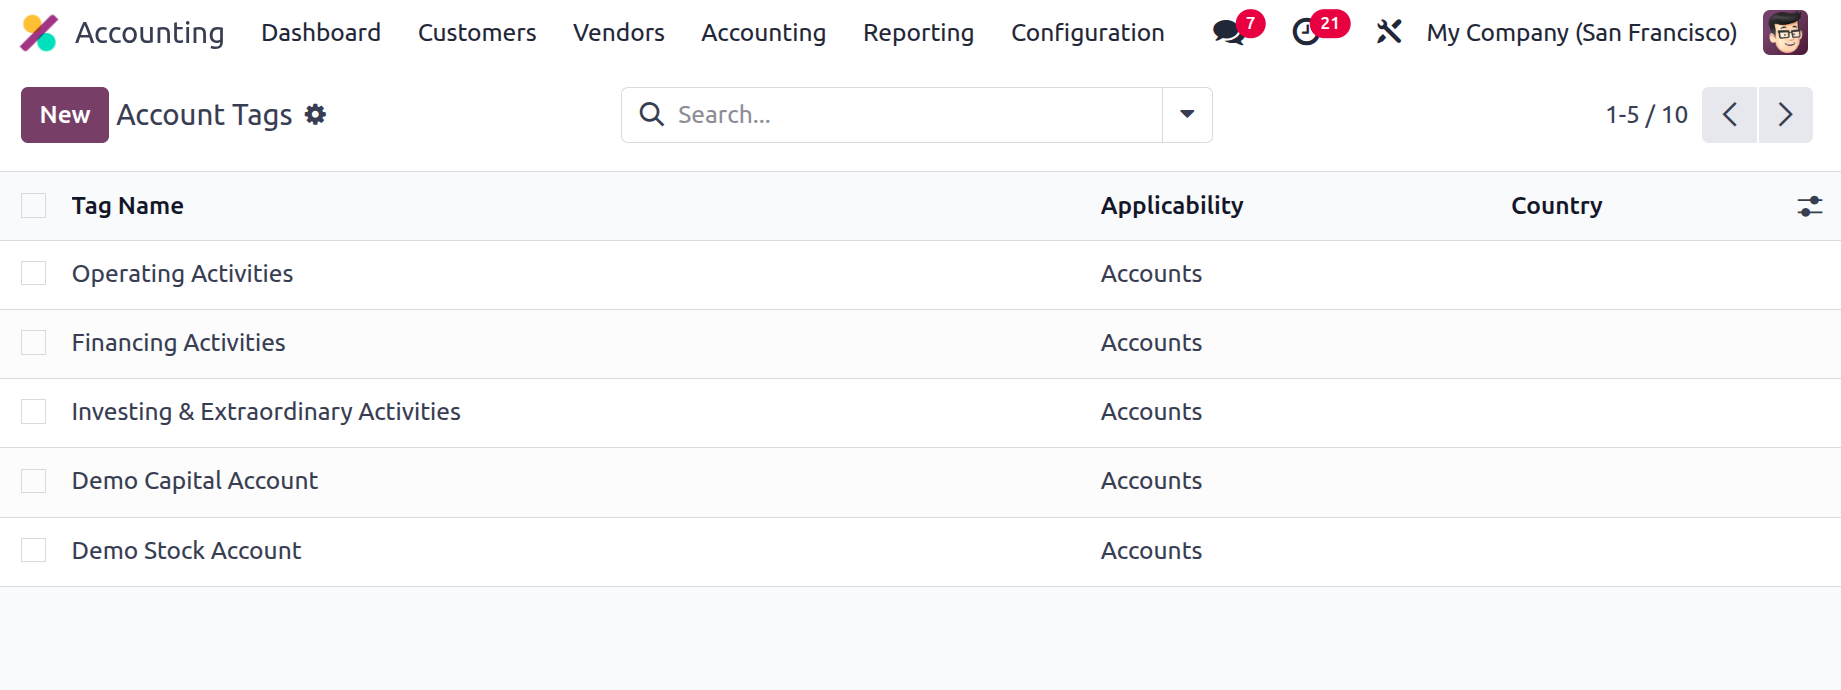
The next one is Account Tags. all the created account tags are listed on the screen while clicking on the Account Tags. The Tag Name, Applicability and country can be shown there. To add a new account tag click on the New button.
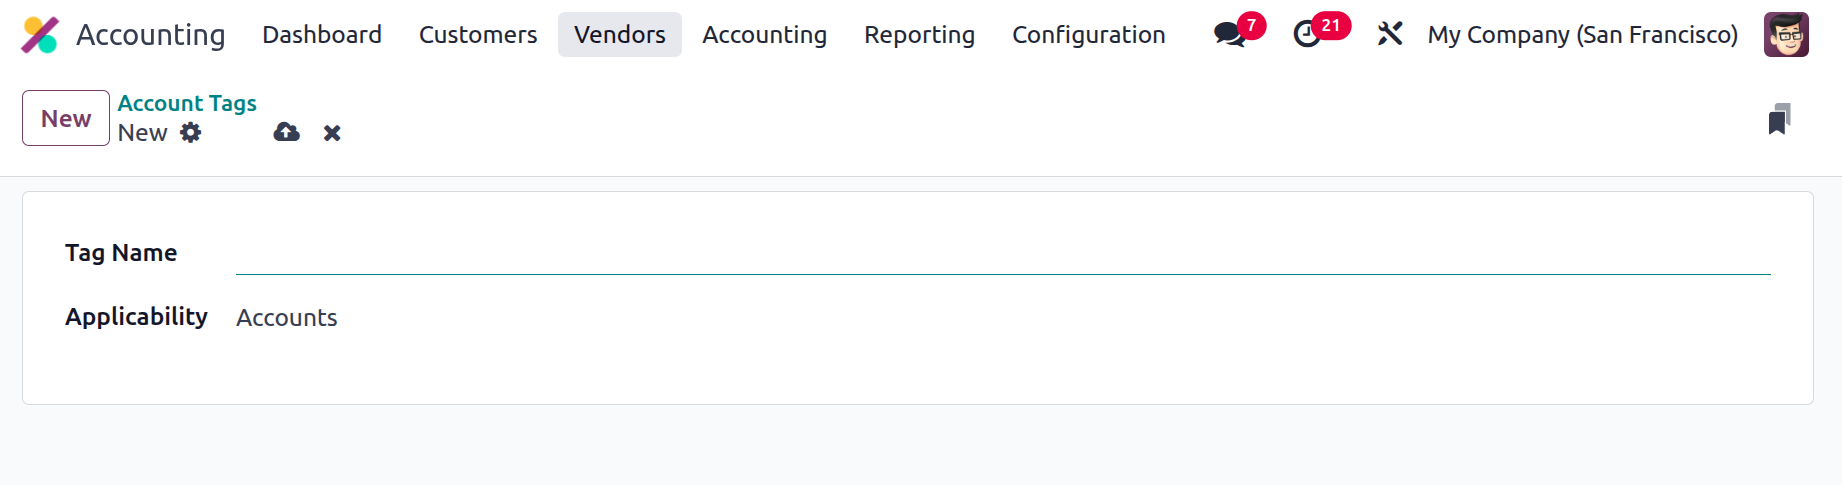
Add the Tag Name and Applicability. From the applicability field users can choose Accounts, Taxes and Products.
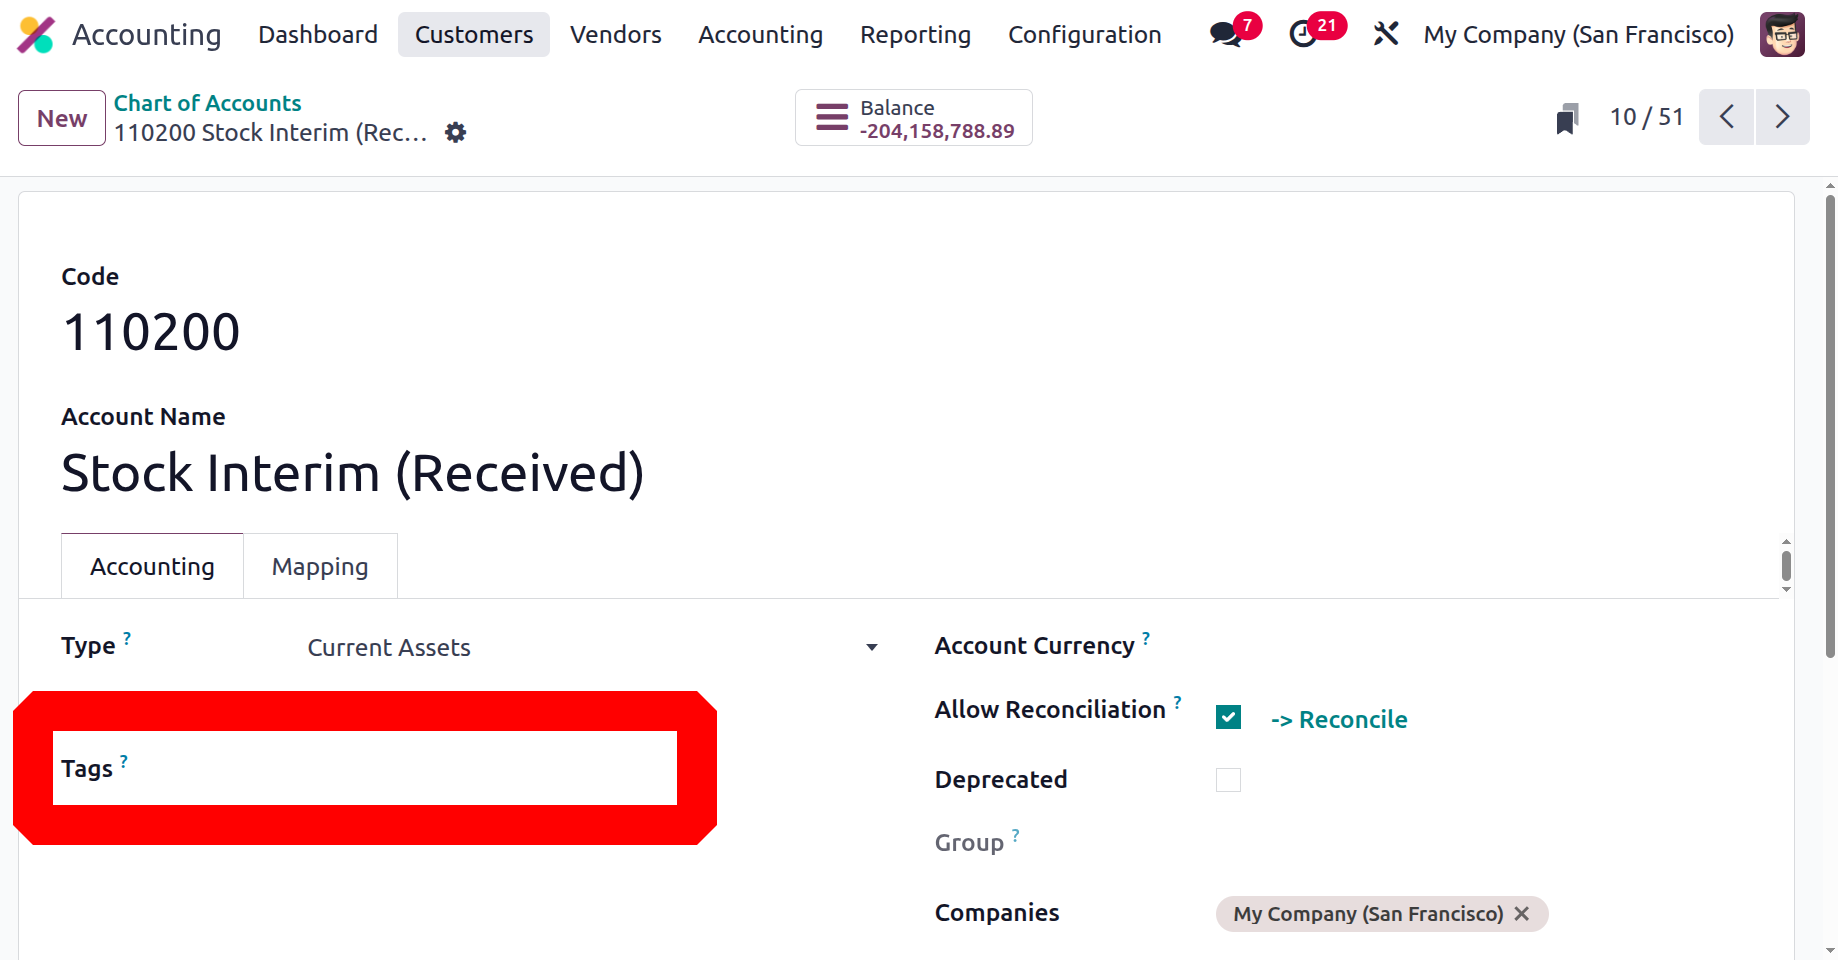
As seen in the screenshot below, you can add Create Account Tags inside the Chart of Accounts. For bespoke reporting, you might want to add these optional tags.
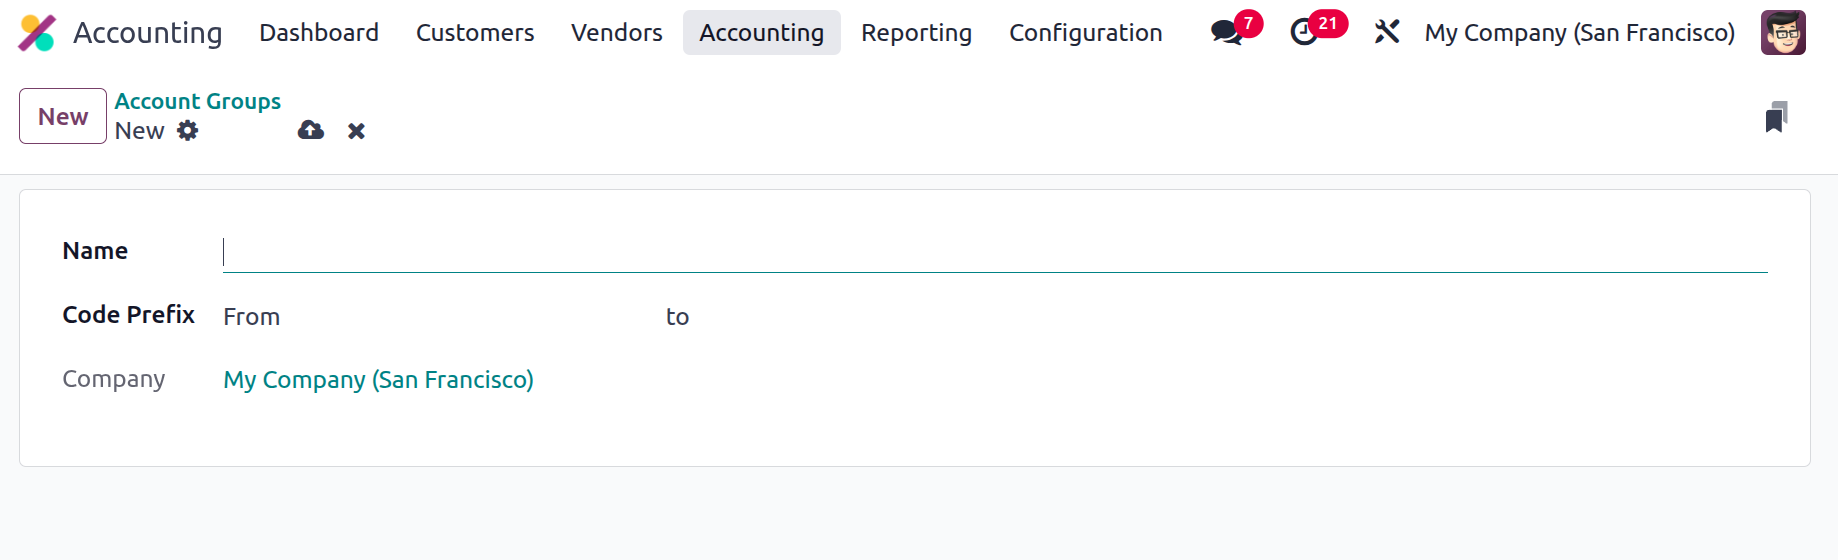
Account Groups
To improve financial reporting and analysis, accounts in Odoo 18 Accounting are arranged and categorised into logical hierarchies using Account Groups. They aid in organising the chart of accounts, which facilitates the creation of precise profit and loss statements and balance sheets. Choose the Account Groups from the Configuration.
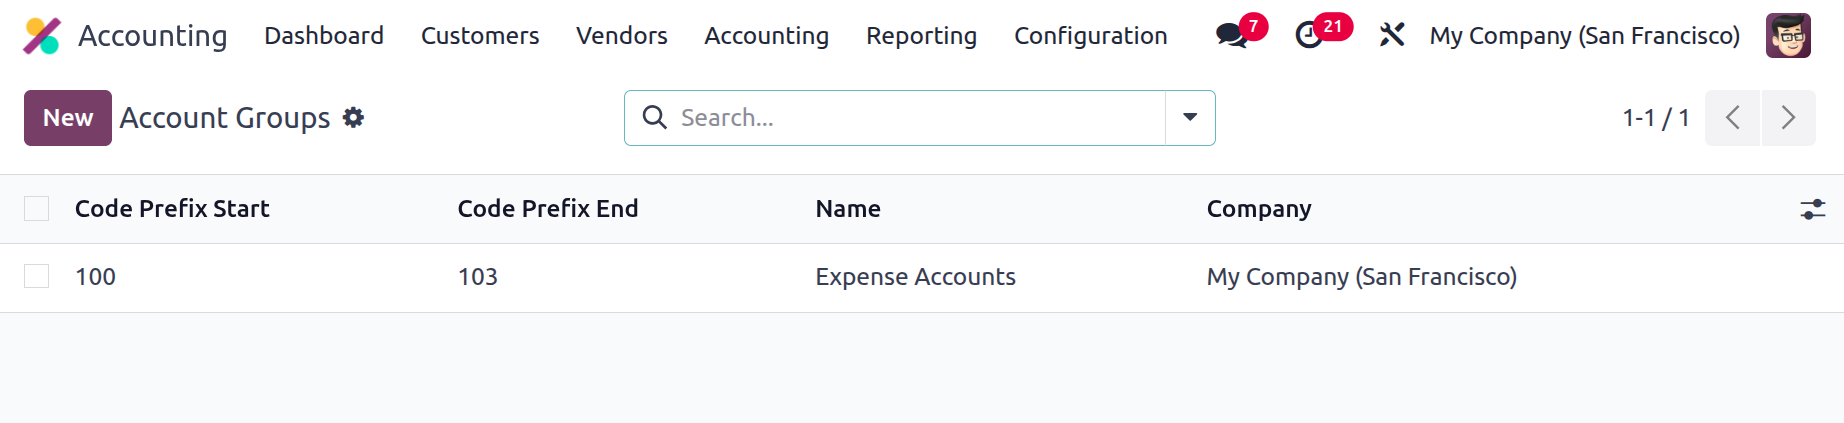
Code Prefix start, Code prefix End, Name and company are shown there. To add a new one use the New button. Then add the name Code prefix From and to.
The Create Account group can be chosen inside the Chart of account as shown below.

Financial Budgets
Businesses can create anticipated income and expenditure targets for particular accounts over a specified period of time using Odoo 18 Accounting's Financial Budget function. It facilitates improved financial control and decision-making by tracking actual performance against the budget.
So choose the Financial budget from the Configuration menu. To add a new one click on the New button.

Add the name first. Then there is the Budget Items tab. Add the Account, Months and Amount inside the Budget Items tab.
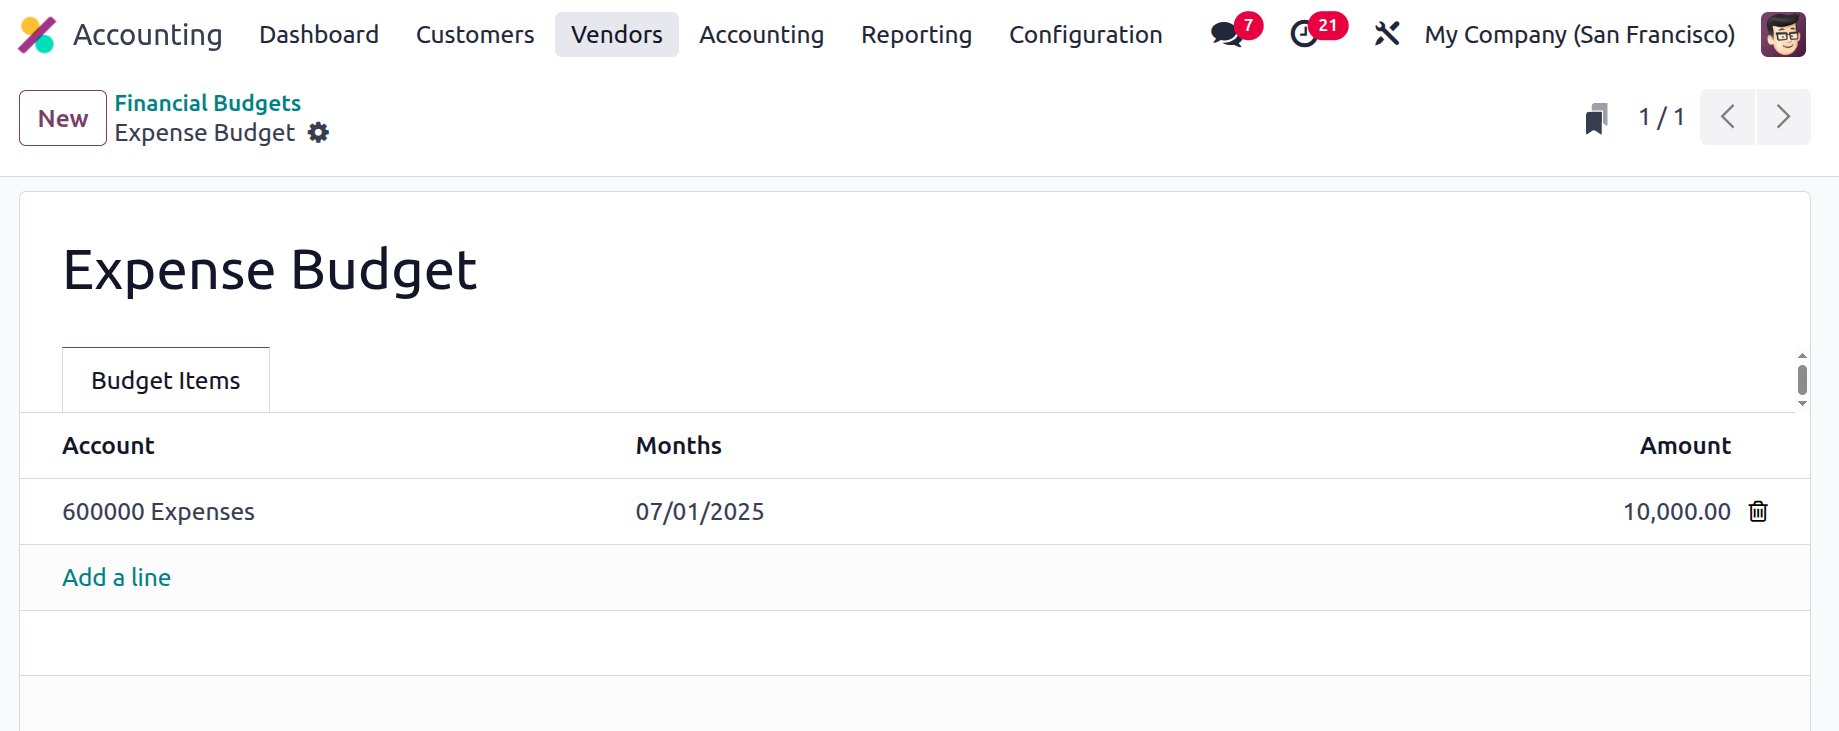
Then from the Reportings, users can filter the data on the basis of the created Budget. So users can easily compare the added account based on the target amount set inside the budget with the actual value.
